
Some days your gut feels calm and steady; other days it’s… not. Fortunately, a handful of everyday choices can quietly nudge things back into balance—easing discomfort, supporting regularity, and, over time, fostering a more resilient microbiome. Below you’ll find ten dependable foods for gut health, each with simple ways to use them, gentle portion ideas, and credible sources woven naturally into the text. Try one or two this week, notice how you feel, and keep the habits that actually fit your life.
Fermented foods for gut health: kefir, live-culture yogurt, kimchi, sauerkraut, miso
Let’s begin with the heavy hitters. Fermented foods deliver living microbes that can shift the ecosystem in your gut toward greater diversity and calmer immune signaling. In a 10-week randomized diet trial, adults following a fermented-food pattern showed increases in microbiome diversity and reductions in multiple inflammatory proteins—real, human outcomes reported in Cell and summarized by Stanford Medicine. For everyday life, start with ½ cup plain kefir or live-culture yogurt at breakfast, or 2–4 tablespoons of kimchi or sauerkraut alongside lunch. Begin small, observe how you feel, and build gradually.
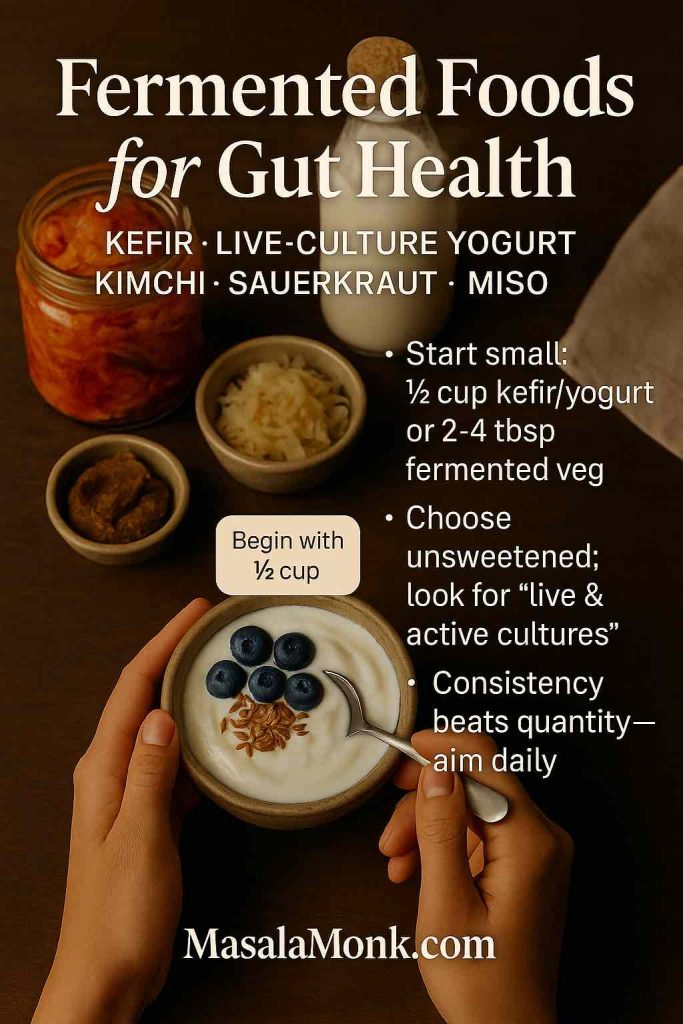
Meanwhile, a quick shopper’s cue helps: choose plain, unsweetened yogurt or kefir and look for “live & active cultures.” Harvard’s Nutrition Source has a straightforward guide to choosing yogurt wisely. And because not every fermented food is automatically a probiotic, professionals lean on the ISAPP consensus for clear definitions; if you like digging into the “why,” the prebiotic/probiotic framework is outlined in this Nature Reviews Gastroenterology consensus paper.
How to use today: stir kimchi through fried rice, whisk miso into a warm broth, or blend kefir with berries and a spoon of oats for a quick, gut-friendly smoothie.
Also Read: Hemorrhoids High Fiber Diet: Best Foods, What to Avoid, and a 7-Day Plan
Whole-grain staples as foods for gut health: oats, barley, quinoa
Next, whole grains act like long-game allies. Their fermentable fibers are broken down by your microbes into short-chain fatty acids (SCFAs)—including butyrate, which helps maintain the integrity of the gut lining and keeps immune crosstalk on an even keel. For a readable primer that connects dietary fiber to SCFAs and gut function in humans, see this open-access review: “Short-Chain Fatty Acids and Human Health”.
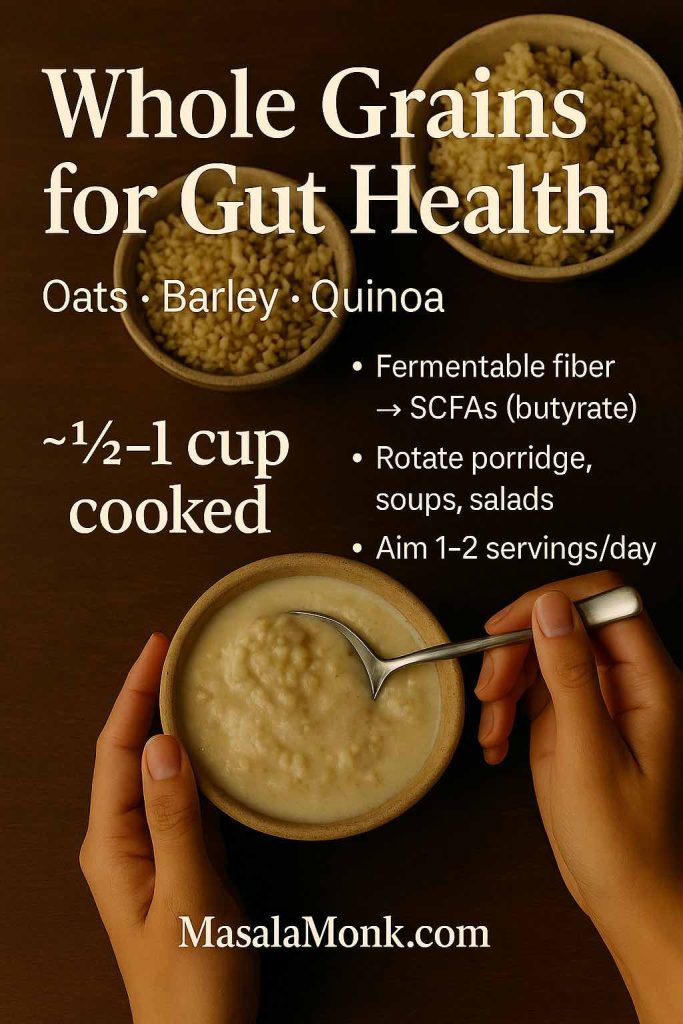
Practically speaking, rotate oats (comforting and quick), barley (hearty in soups), and quinoa (light yet satisfying). If you’re deciding which base suits a given day, here’s a plain-spoken comparison of quinoa vs rice that covers texture, fiber, and when each shines. Consistency matters more than perfection; even one grain swap most days can move the needle.
Easy wins: overnight oats with ground flax; barley-vegetable soup on batch-cook day; quinoa salad with cucumber, lemon, and herbs for packable lunches.
Also Read: Guide to Oats: Types, Nutrition, and Differences Explained
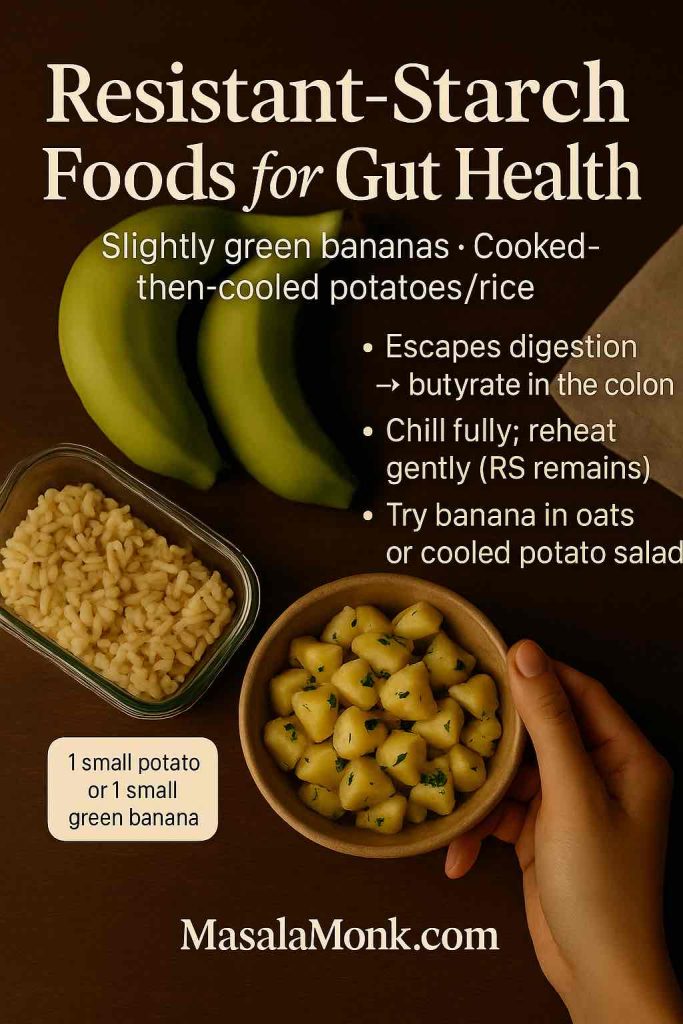
Resistant-starch foods for gut health: slightly green bananas & cooked-then-cooled potatoes/rice
Now for a small tweak with outsized benefits. Resistant starch (RS) behaves like fiber: it escapes digestion in the small intestine, reaches the colon, and is fermented into SCFAs—especially butyrate. Two everyday RS moves stand out:
- Slightly green bananas you can blend into kefir or slice over oats.
- Cooked-then-cooled potatoes or rice you can enjoy as a salad or reheat gently—some RS remains even after warming.
For the “why,” see a clear narrative review on RS and the microbiome (e.g., this overview on National Library of Medicine): “Resistant Starch as a Prebiotic and Its Effects on the Gut Microbiota”. And for the practical detail that cooling rice increases RS and can blunt post-meal glycemia compared with freshly cooked rice, this 2021 review in Science Direct discusses times, temperatures, and reheating implications: “Rice Processing and Resistant Starch Formation”.
If bananas confuse you because sometimes they help and sometimes they don’t, ripeness is the missing variable. Our blog post and guide to bananas for constipation: ripe vs green explains when each makes sense and how to use both.
Tonight’s idea: roast a tray of potatoes, chill them completely, then fold into a lemon-olive-oil salad with herbs. Keep some chilled for quick add-ins all week.
Also Read: Teas for Digestion, Bloating, and Gut Health
Legumes as everyday prebiotic foods: lentils, chickpeas, beans
Moving on, legumes combine soluble fiber, resistant starch, and plant protein in one budget-friendly package—and they behave like prebiotics, i.e., substrates selectively utilized by host microorganisms to confer benefit (see the ISAPP definition in Nature Reviews Gastroenterology & Hepatology). Importantly, beyond mechanism, recent human work points to meaningful outcomes. A 2025 randomized controlled trial reported that a legume-enriched diet improved metabolic health via gut-microbiome mediation in adults at risk (summary in the Proceedings of the Nutrition Society). While the endpoint is metabolic, the pathway ran through microbial changes—another nudge to fold pulses into regular rotation.
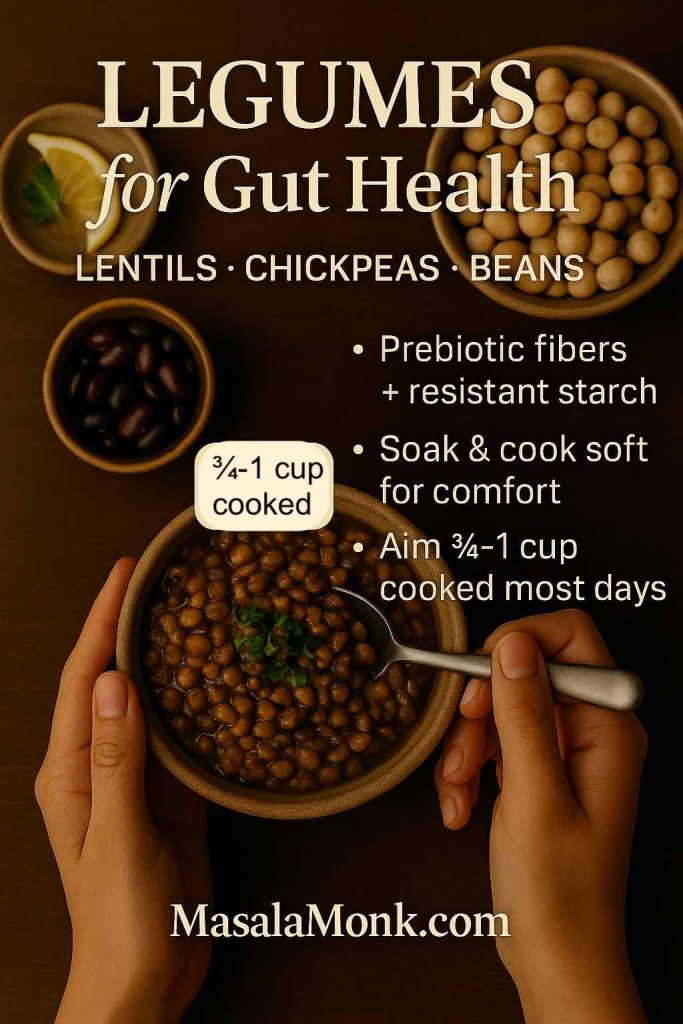
If beans feel tricky at first, soak thoroughly and cook until very soft. Red lentils are often gentler; hummus on whole-grain toast makes an easy entry; and black-bean-quinoa bowls work beautifully for dinner.
How to use now: dal with ginger-garlic; chickpea salad with lemon and herbs; or quick bean tacos with avocado and salsa.
Also Read: How to Make Lentil Patties that Are Better Than Meat? Vegan Protein-Rich Recipe
Allium & spear heroes: garlic, onions, leeks, asparagus, artichokes (prebiotic foods for gut health)
Here’s where we feed your beneficial microbes more directly. Inulin and fructo-oligosaccharides (FOS)—rich in onions, garlic, leeks, asparagus, and Jerusalem artichokes—are classic prebiotic fibers by the field’s gold-standard definition. If you’d like the professional framing (useful when filtering marketing claims), skim the ISAPP prebiotic consensus and you’ll see these foods listed repeatedly in both research and practice.

To improve tolerance, build up slowly. Sauté onions and leeks low and slow for sweetness without sharpness; roast asparagus with olive oil and lemon; stir garlicky yogurt sauce through cooked grains for a creamy, friendly finish.
Walnuts: a small habit that supports butyrate-friendly taxa
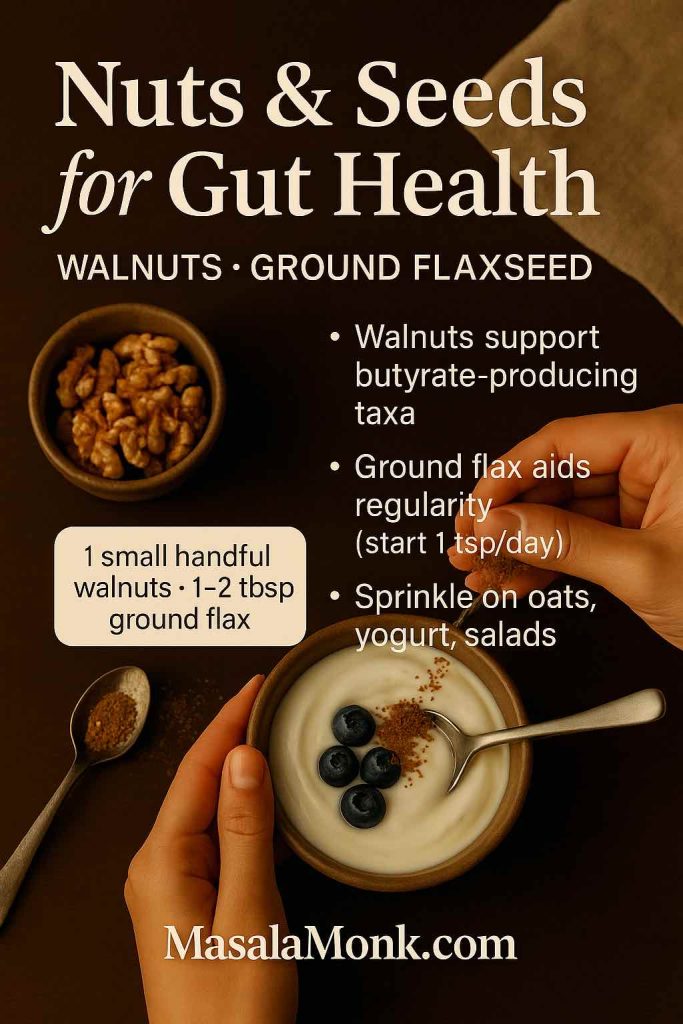
A simple handful of walnuts (about 28–43 g) can matter more than it looks. In an eight-week randomized, controlled feeding trial, daily walnut intake increased butyrate-producing taxa such as Faecalibacterium and Roseburia and favorably shifted microbial metabolites. You can scan the study via PubMed or read the full methods in The Journal of Nutrition. As for the kitchen: sprinkle chopped walnuts onto oats or live-culture yogurt; toss them into grain salads; or blend into a parsley-lemon pesto.
Tip: store nuts in the fridge or freezer to keep their fats fresh.
Also Read: Flax Seeds and Walnuts: 5 Omega-3 Boosting Morning Smoothies for Better Health
Flaxseed for digestive comfort: regularity support with real-world outcomes
Because comfort counts, ground flaxseed earns a spot for clinically meaningful, GI-specific outcomes. In randomized trials with constipated adults, flaxseed improved bowel movement frequency and stool consistency versus common comparators. One open-access example appears in Nutrition & Metabolism (“Flaxseed dietary fibers lower cholesterol and increase fecal fat excretion”), and there are more trials, that offer similar results in functional constipation. Start with 1 teaspoon daily, then build to 1–2 tablespoons as tolerated; drink water alongside. Stir into oats, yogurt, smoothies, or pancake batter.
Why flax vs. psyllium? There’s room for both; flax brings lignans, omega-3 ALA, and a gentler texture many people enjoy.
Also Read: Psyllium Husk (Isabgol/Ispaghula) Side Effects: Risks, Benefits & How to Take It Safely
Kiwifruit (green): small, sweet, and surprisingly effective for gut health
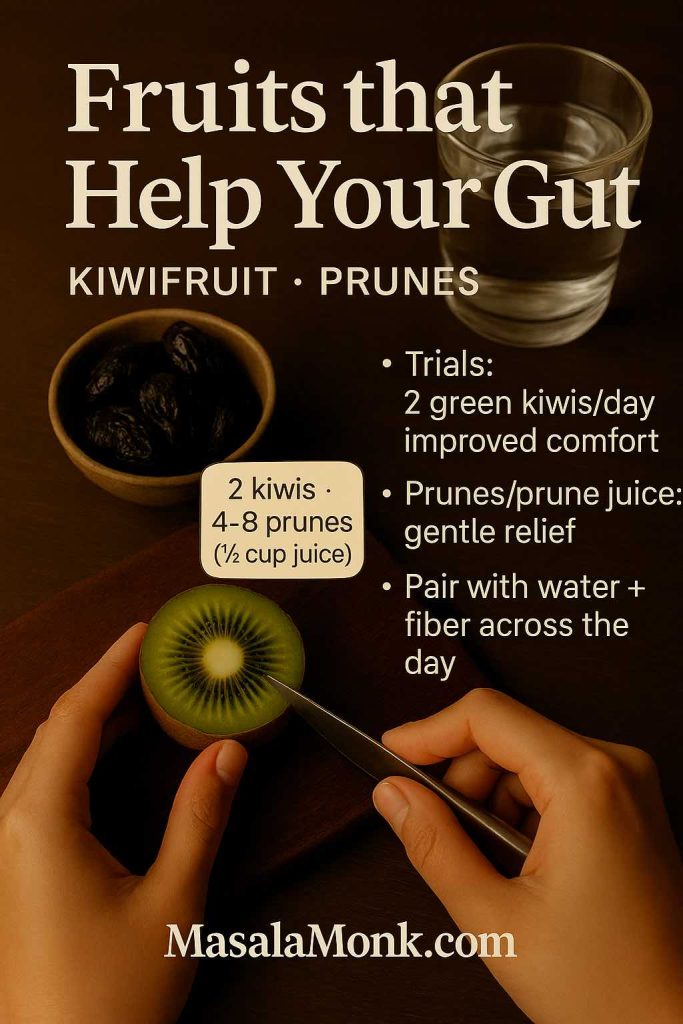
Some foods punch above their weight. In a multicenter randomized, cross-over trial across New Zealand, Japan, and Italy, eating two green kiwifruits per day improved constipation symptoms and abdominal comfort in constipated adults (including IBS-C) and compared favorably with psyllium. You can read the study by The American College of Gastroenterology “Kiwifruit-A Specific Food to Improve Stool Frequency in Patients With Mild Constipation”. Slice kiwi over yogurt, cube it into a citrusy fruit bowl, or blend into kefir; the enzyme actinidin plus soluble fiber makes it a gentle, practical add-in.
Serving note: the “two per day” dose comes from trials; many people feel fine benefits at one, especially when the rest of the day is fiber-forward.
Also Read: The Kiwi – Nutrition, Benefits, and 5 Practical Ways for Weight Loss
Prunes & prune juice: fast, food-first relief that fits a gut-friendly pattern
When you need a quick nudge toward normal, prunes and prune juice are unusually dependable. A double-blind, randomized, placebo-controlled trial showed prune juice improved stool form and constipation symptoms without provoking diarrhea (see NIH: “Effect of Prune Juice on Chronic Constipation”). Earlier, a head-to-head trial found dried plums outperformed psyllium in mild–moderate constipation (Alimentary Pharmacology & Therapeutics, 2011: “Dried plums vs psyllium”). For straightforward dosing and timing, this practical walkthrough on prune juice & prunes for constipation keeps things simple.
How to use: 4–8 prunes as an afternoon snack, or ½ cup prune juice diluted with water in the evening—then reassess the next day.
Also Read: Optimize Digestion with These 5 Fruit Juice Recipes
Omega-3-rich fish as foods for digestive health: a savory nudge toward SCFA-producers
Lastly, think pattern, not pills. Omega-3-rich fish (salmon, sardines, mackerel) slot neatly into a gut-friendly week. In a human randomized trial, omega-3 PUFA intake increased several SCFA-producing bacteria, complementing the effects of fiber and ferments. For a quick understanding, skim the trial abstract here “n-3 PUFA and gut microbiota: human RCT evidence”. Then, build meals around fish plus fiber: grilled salmon with roasted asparagus and a cooled-then-reheated potato; sardine-lemon mash over brown rice; or mackerel flaked into a warm quinoa salad.

Sustainable rhythm: one to two fish meals weekly is plenty for most people—and easier to maintain.
Also Read: Best Fish Oil Supplements on Amazon India
Drinks for gut health: simple sips, low sugar, steady benefits
Even modest adjustments in your glass can make the day feel better—especially when sugar stays low.
- Diluted kefir or a kefir-berry smoothie gives you a fermented “sip” that delivers live microbes without a sugar dump, echoing the fermented-foods trial noted earlier.
- Unsweetened kombucha can be enjoyable in small servings, yet brands vary widely in sugar. The U.S. military’s Human Performance Resource Center offers pragmatic guidance on kombucha benefits and risks—choose low-sugar options and keep portions modest. For label sticklers, the U.S. Alcohol and Tobacco Tax and Trade Bureau explains when kombucha crosses 0.5% alcohol and becomes regulated as an alcoholic beverage; their page on kombucha regulation clarifies the cutoff.
- Water, herbal tea, and miso broth round out a calm, low-sugar trio anyone can manage on a busy day.
Also Read: Health Benefits of Kombucha

How to combine these foods for gut health into a week that actually works
Rather than overhaul everything at once, stitch together a rhythm you’ll keep.
To begin with, anchor most days with one ferment. A tablespoon or two of sauerkraut or kimchi, or ½ cup of kefir or live-culture yogurt, is enough to start. If you’re picking yogurt quickly, Harvard’s piece on how to choose yogurt is worth bookmarking.
Next, add one resistant-starch move per day. Stir slices of a slightly green banana into oats; make a cooled potato salad with olive oil and herbs; or pack leftover cooled rice for lunch. For the science of why cooling matters, the resistant starch reviews above offer a helpful explainer.
After that, build a legume habit. A scoop of hummus, a bowl of dal, or quick black beans folded into quinoa count. Over time, the combination of prebiotic fibers you’ll be eating—legumes plus the alliums/asparagus you’re cooking with—does the quiet daily work (the ISAPP prebiotic definition keeps your filter sharp).
Meanwhile, keep snack time strategic. For something you’ll actually repeat, mix chopped walnuts through live-culture yogurt and top with kiwi; or make a small bowl of oats with ground flax and cinnamon. The walnut trial (butyrate-producing taxa ↑), the flax constipation data, and the kiwifruit study mean these aren’t just “healthy vibes”—they’re practical, evidence-tied swaps.
Finally, have a plan for “those days.” If you’re backed up, prunes and prune juice remain the most reliable, food-first nudge—and yes, randomized trials support that. For dosing and timing you can actually use, this plain guide to prune juice and prunes keeps things simple.
Also Read: Fermented Garlic Honey: Benefits, Safety, and How to Use This Ancient Remedy
A gentle 3-day reset built around foods for gut health (no gimmicks, just calm structure)
This isn’t a cleanse; it’s a practical way to gather these gut-friendly foods into a few quiet days so your system can settle. Adjust portions to your needs and preferences.
Day 1 of the Gut Health Reset Meal Plan
- Breakfast: Plain live-culture yogurt or kefir with two kiwifruits and a spoon of ground flax.
- Lunch: Lentil-quinoa bowl with cucumbers, herbs, olive oil, and lemon.
- Snack: 2–4 tablespoons of sauerkraut with a small handful of walnuts.
- Dinner: Salmon; roasted asparagus; a cooled-then-reheated small potato for resistant starch.
- If needed: ½ cup prune juice diluted with water in the evening; reassess tomorrow.
Day 2 of the Gut Health Reset Meal Plan
- Breakfast: Oats cooked with ground flax; top with slightly green banana coins.
- Lunch: Hummus on whole-grain toast with mixed leafy greens.
- Snack: Warm miso broth; sip slowly.
- Dinner: Black-bean and quinoa tacos with salsa and avocado.
- Evening: Ginger-lemon herbal tea; lights out on time.
Day 3 of the Gut Health Reset Meal Plan
- Breakfast: Kefir smoothie (kefir + spinach + frozen berries).
- Lunch: Chickpea-vegetable soup with leeks and garlic simmered until sweet.
- Snack: A small bowl of prunes or a few slices of kiwifruit.
- Dinner: Sardines mashed with lemon and herbs over cooled brown rice; quick cucumber salad.
- Later: A few ounces of unsweetened kombucha if you enjoy it—check the label and keep sugars modest.
Also Read: The Art of Fermented Fruit Juices: 5 DIY Recipes to Try at Home
A few plain-spoken caveats (because real life matters)
Go slow. Ferments, legumes, and prebiotic fibers are potent—especially if your baseline diet has been low in fiber. Start with tablespoons, not cups, and increase every few days as comfort allows. Your notes beat generic rules; if raw veg bothers you, cook it soft and keep flavors simple for now. On supplements, food first; if you experiment with probiotics or prebiotic powders, choose products that transparently list strains (for probiotics) or fiber types (for prebiotics), and introduce them gradually. When in doubt about terminology, the ISAPP prebiotic consensus is the simplest way to sanity-check marketing claims.
The take-home
You don’t need perfection; you need repetition. Pick one ferment you’ll eat most days, one resistant-starch move you enjoy, and one legume dish you’ll actually cook. Add allium-rich aromatics, rotate in asparagus, snack on walnuts, sprinkle ground flax, and keep kiwifruit and prunes on hand for the weeks that go sideways. Over time, these foods for gut health stop feeling like a plan and start feeling like your normal—and your gut will thank you for it.
FAQs
1) What are the best foods for gut health right now?
First, think in patterns: a small daily serving of fermented foods (kefir, live-culture yogurt, kimchi, sauerkraut, miso), plenty of fiber-rich plants (oats, barley, quinoa, beans, lentils, leafy greens), and consistent prebiotic vegetables (onions, garlic, leeks, asparagus, artichokes). Additionally, add resistant-starch options like slightly green bananas and cooked-then-cooled potatoes or rice, plus nuts and seeds (walnuts, flax, chia).
2) What exactly are prebiotics, probiotics, and postbiotics—and how do they relate to foods for gut health?
Put simply: prebiotics are fibers and plant compounds your good microbes love to eat; probiotics are beneficial live microbes you ingest (often from fermented foods); and postbiotics are the helpful compounds those microbes make (like short-chain fatty acids, including butyrate). Altogether, they form a supportive loop for digestion and gut lining integrity.
3) Can you share a simple prebiotic foods list I can use today?
Certainly. Start with onions, garlic, leeks, asparagus, Jerusalem artichokes, slightly green bananas, oats, barley, legumes (chickpeas, lentils, beans), and seeds (flax, chia). Moreover, rotate several in the same day for fiber diversity.
4) Which fermented foods and probiotics are most practical for everyday gut health?
Begin with plain kefir or live-culture yogurt (½ cup is enough to start). Next, add 2–4 tablespoons of kimchi or sauerkraut with meals, and occasionally whisk miso into warm broth. Meanwhile, keep sugars low and servings modest, then slowly increase if you feel comfortable.
5) What are butyrate foods—and why do they matter?
Strictly speaking, butyrate is produced by your microbes when they ferment certain fibers. Consequently, “butyrate foods” means foods that help you make it: oats, barley, legumes, nuts and seeds, green bananas, and cooled starches (potatoes/rice). In turn, steady butyrate production supports a healthy gut barrier.
6) Best drink for gut health—what should I actually sip?
Start simple: water (still or sparkling), ginger-lemon herbal tea, diluted kefir, miso broth, and modest amounts of unsweetened kombucha. Additionally, keep sugars low and aim for consistency over cleverness.
7) What’s a healthy gut breakfast that won’t bloat me?
Try kefir or yogurt with kiwi and a spoon of ground flax; or warm oats topped with a few walnut pieces and slices of slightly green banana. Alternatively, a savory option like eggs with sautéed greens and a side of kimchi works beautifully.
8) I’m dealing with bloating—what foods for gut health are gentler at first?
Go with cooked vegetables (carrots, zucchini, spinach), tender grains (oats, quinoa), and smaller portions of ferments. Furthermore, introduce prebiotics gradually: start with well-cooked onions/leeks and increase over several days.
9) What are the worst foods for gut health to dial back?
Ultra-processed choices, frequent high-sugar treats, heavy alcohol, and your known trigger foods. However, approach changes kindly: crowd the plate with fiber-rich, minimally processed options rather than focusing only on restriction.
10) Is there a gut reset diet or meal plan that actually helps?
Yes—think “calm structure,” not extremes. For 3 days, include one ferment daily, one resistant-starch move (cooled potatoes/rice or a slightly green banana), and at least one legume meal. Additionally, keep drinks low in sugar and season foods with gentle herbs like ginger.
11) How does a plant-forward gut health diet compare with other approaches?
Broadly, plant-forward patterns offer fiber and polyphenol diversity that microbes thrive on. Nevertheless, include quality proteins and healthy fats, and adjust textures (more cooked than raw) when your gut feels sensitive.
12) Do mushrooms, seeds, and nuts contribute meaningfully to gut health?
Absolutely. Mushrooms add fiber and umami; seeds (flax, chia) bring gel-forming fibers that aid regularity; nuts—especially walnuts—support a friendly microbial profile. Even so, start with small amounts if your gut is reactive.
13) Greek yogurt vs regular yogurt—does the choice matter for digestive health?
Both can fit. Greek yogurt simply has more protein and a thicker texture. Crucially, pick unsweetened varieties with live cultures; then add fruit or cinnamon for flavor rather than sugar.
14) What’s the difference between prebiotic fiber and resistant starch?
Prebiotic fiber (like inulin/FOS) is a broad category selectively used by beneficial microbes; resistant starch is a particular type that resists digestion and reaches the colon intact. Interestingly, both can be in the same meal: cooled potatoes (RS) topped with garlicky yogurt sauce (prebiotic).
15) Are psychobiotic foods a real thing or just hype?
They’re an emerging area. In essence, foods that nurture a resilient microbiome—ferments plus prebiotic-rich plants—may influence mood-relevant pathways. While the term sounds trendy, the practical advice remains the same: diversify fibers and include a small daily ferment.
16) What about a leaky gut diet plan—where should I begin?
Begin gently: emphasize minimally processed foods, steady fiber diversity, a small daily ferment, and omega-3-rich choices like salmon or sardines. Additionally, reduce alcohol and added sugars, and reintroduce potential triggers one at a time to spot patterns.
17) I’ve heard about akkermansia and other “next-gen” probiotics—should I chase them?
For most people, no. Instead, support Akkermansia and other beneficial taxa indirectly with consistent fiber, polyphenols (berries, greens, cocoa nibs), and moderate ferments. Later, discuss targeted supplements with a professional if symptoms persist.
18) How can I choose a probiotic with prebiotic (a synbiotic) without overcomplicating it?
Look for transparent strain names (e.g., Lactobacillus rhamnosus GG), clear CFU counts, and a well-tolerated prebiotic (like PHGG or inulin) in modest doses. Moreover, add it after you’ve established food basics, not before.
19) Are gummies, powders, or capsules better for digestive health?
It depends on tolerance and sugar. Powders often allow flexible dosing; capsules are convenient; gummies can hide added sugars. Therefore, if you try gummies, choose low-sugar versions and keep portions conservative.
20) What are easy gut-friendly snacks I can keep on repeat?
Think Greek yogurt with chia and berries; a few prunes with walnuts; hummus on whole-grain toast; or a spoonful of kimchi with a small omelet. Likewise, mini oat bowls with ground flax and cinnamon make a soothing evening option.
21) How do I increase fiber without feeling miserable?
Gradually. Add one fiber move at a time—say, 1 teaspoon of ground flax daily—then scale up every 3–4 days. In the meantime, drink enough water, cook vegetables soft, and spread fiber across meals rather than loading up at once.
22) Is there a best greens-for-gut-health rotation?
Variety wins: spinach, kale, arugula, and herbs like parsley or coriander. Crucially, alternate raw and cooked textures; for sensitive days, wilted greens or blended soups tend to feel calmer.
23) Can fish oil or omega-3-rich fish genuinely support the microbiome?
Yes—indirectly. Omega-3-rich fish appear to favor SCFA-producing bacteria when eaten consistently. Nevertheless, the real magic happens when you pair fish with fiber-rich sides, not when you rely on supplements alone.
24) What’s the smartest way to start—today?
Choose one ferment you’ll actually eat, one resistant-starch habit you enjoy, and one legume dish you can cook on autopilot. Then, sprinkle in prebiotic vegetables and a nut-or-seed boost. Gradually, these foods for gut health become your normal—not a temporary fix.
25) Finally, how do I know it’s working?
Notice trends, not one-off days: more regularity, less urgent bloating, steadier energy after meals, and a generally calmer belly. If progress stalls despite consistent changes, jot notes and adjust portions, textures, and timing—your gut’s feedback is the best guide.