he ketogenic, or keto, diet has taken the world by storm, and for good reason! It’s a high-fat, low-carb diet that can help with weight loss, improve mental clarity, and more. One ingredient that’s a staple in many keto kitchens is heavy cream. But why is it so popular, and how can you use it in your diet? Let’s dive in! 🏊♀️
What is Heavy Cream and Is It Keto-Friendly? 🍶
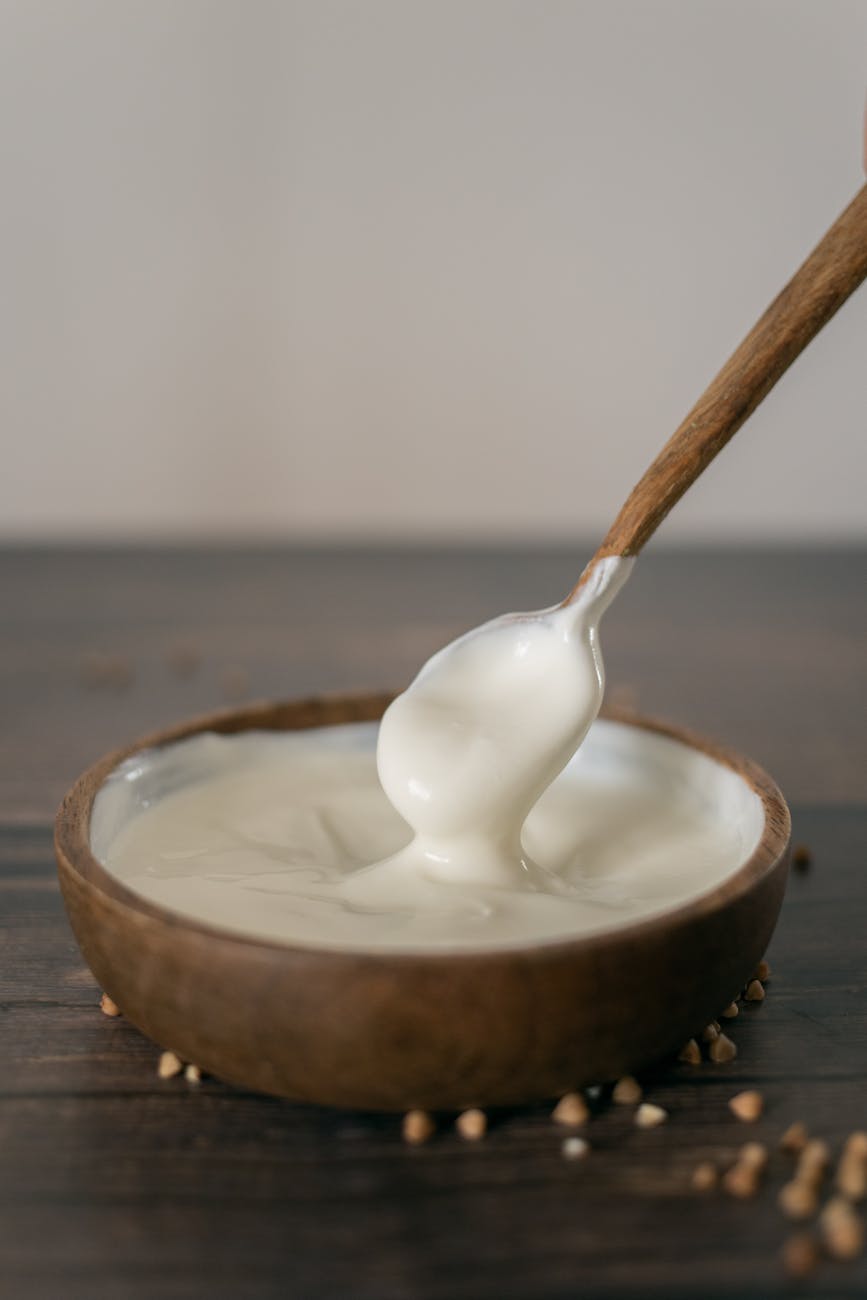
Heavy cream, also known as heavy whipping cream, is a high-fat dairy product that’s made from the high-fat part of fresh milk. When milk is left to settle, the cream rises to the top and can be skimmed off.
The high fat content of heavy cream makes it a perfect fit for a keto diet. With virtually no carbs and a high-fat content, it can help you stay within your macros and keep your body in ketosis. So, to answer the question, “Is cream keto?” – Yes, heavy cream is definitely keto-friendly! 🎉
Here are some key points to remember about heavy cream and keto:
- High in fat: Perfect for meeting your daily fat macros.
- Low in carbs: Helps you stay within your daily carb limit.
- Versatile: Can be used in a variety of keto recipes.
- Delicious: Adds a creamy, indulgent flavor to your meals.
The Nutritional Profile of Heavy Cream 📊
A single tablespoon of heavy cream contains about 5 grams of fat, less than 1 gram of carbs, and about 50 calories. This makes it a great choice for those following a keto diet, as it can help you meet your daily fat intake without adding too many carbs. So, “Does heavy cream have carbs?” – Yes, but very few!
Here’s a quick breakdown of the nutritional content of heavy cream:
- Fat: 5 grams per tablespoon.
- Carbs: Less than 1 gram per tablespoon.
- Calories: About 50 per tablespoon.
- Protein: Less than 1 gram per tablespoon.
Health Benefits of Heavy Cream on Keto 🌿
Heavy cream isn’t just delicious – it’s also packed with nutrients! It’s a good source of vitamin A, which is important for eye health, and calcium, which is essential for bone health. Plus, the high fat content can help keep you feeling full and satisfied, which can aid in weight loss. So, “Is heavy cream good for weight loss?” – It can be, as part of a balanced keto diet!
Here are some health benefits of heavy cream:
- High in Vitamin A: Important for eye health.
- Rich in Calcium: Essential for strong bones and teeth.
- High in Fat: Can help keep you feeling full and satisfied.
- Low in Carbs: Perfect for a keto diet.
Using Heavy Cream in Your Keto Diet 🍽️
There are plenty of ways to incorporate heavy cream into your keto diet. You can add it to your morning coffee for a creamy, indulgent start to your day. It’s also great in soups and sauces, giving them a rich, creamy texture without adding too many carbs. And of course, it’s perfect for making homemade whipped cream to top off your favorite keto desserts!
Here are some ways to use heavy cream in your keto diet:
- In coffee: Add a splash to your morning coffee for a creamy twist.
- In soups and sauces: Gives them a rich, creamy texture.
- In desserts: Perfect for making homemade whipped cream.
- In scrambled eggs: Makes them extra fluffy and delicious.
Delicious Keto-Friendly Recipes with Heavy Cream 🍰
Ready to start using heavy cream in your kitchen? Here are a few keto-friendly recipes to get you started:
- Keto Coffee with Heavy Cream: Start your day off right with a creamy, energizing cup of keto coffee. Just brew your favorite coffee, then blend it with a tablespoon of heavy cream for a delicious and satisfying morning drink. ☕
- Creamy Keto Soup: Make a comforting, creamy soup that’s perfect for chilly days. Sauté some onions and garlic, add your favorite low-carb veggies, then pour in chicken broth and a splash of heavy cream. Simmer until everything is tender and flavorful. 🍲
- Keto Whipped Cream: Whip up some homemade whipped cream for a delicious dessert topping. Just whip heavy cream until it forms soft peaks, then sweeten with a keto-friendly sweetener like stevia or erythritol. It’s perfect on top of a bowl of berries or a slice of keto cheesecake! 🍓
Frequently Asked Questions (FAQs) about Keto Heavy Cream
🥛 Q: Is Heavy Cream a Keto-Approved Ingredient? A: Absolutely! Heavy cream, also known as heavy whipping cream, is a keto-approved ingredient. It’s packed with high-fat content (36-40%) derived from raw milk fat, making it a perfect choice for those following a ketogenic diet.
🍽️ Q: Can I Incorporate Heavy Cream into My Keto-Friendly Meals? A: Yes, you can! Heavy cream is not only high in energizing fats but also versatile enough to be used in a variety of keto-friendly breakfasts, lunches, and dinners. You can even use it as a meal substitute in your keto coffee to help accelerate weight loss.
🧀 Q: Are All Dairy Products Equal on a Keto Diet? A: No, not all dairy products are created equal when it comes to a low-carb or keto diet. While heavy cream is a fantastic choice due to its high-fat content, other dairy products may have a higher carb content and may not be as suitable for a keto diet.
💪 Q: Is Cream a Good Source of Protein on a Keto Diet? A: Heavy cream does contain protein, with 2 to 4 grams of protein per 100 grams. However, it shouldn’t be your only source of protein intake on a keto diet. It’s essential to incorporate other high-protein, low-carb foods into your diet.
🐄 Q: Can I Use Heavy Cream from Grass-Fed Cows on a Keto Diet? A: Yes, you can! Choosing heavy cream from grass-fed cows not only increases the nutritional value of your keto treat but also enhances the levels of healthy fats, vitamins, and other beneficial antioxidant compounds. Grass-fed cows offer more nutritious meat and dairy, making this a perfect choice for a low-carb diet and your overall health.
Conclusion 🎈
Heavy cream is a versatile and delicious ingredient that can help you stick to your keto diet. Whether you’re adding it to your coffee, cooking up a creamy soup, or whipping up a dessert, heavy cream is a keto kitchen staple. So go ahead and enjoy the creamy goodness of heavy cream on your keto journey! 🎉
Remember, as with all things, moderation is key. While heavy cream is keto-friendly, it’s also high in calories, so be sure to use it in a way that fits into your overall diet and health goals. Happy keto cooking! 🍳
Blog tags: Keto Diet, Heavy Cream, Low-Carb Diet, Keto-Friendly Meals, Dairy Products, Protein Source, Grass-Fed Cows, Nutritional Value, Healthy Fats, Antioxidant Compounds.