
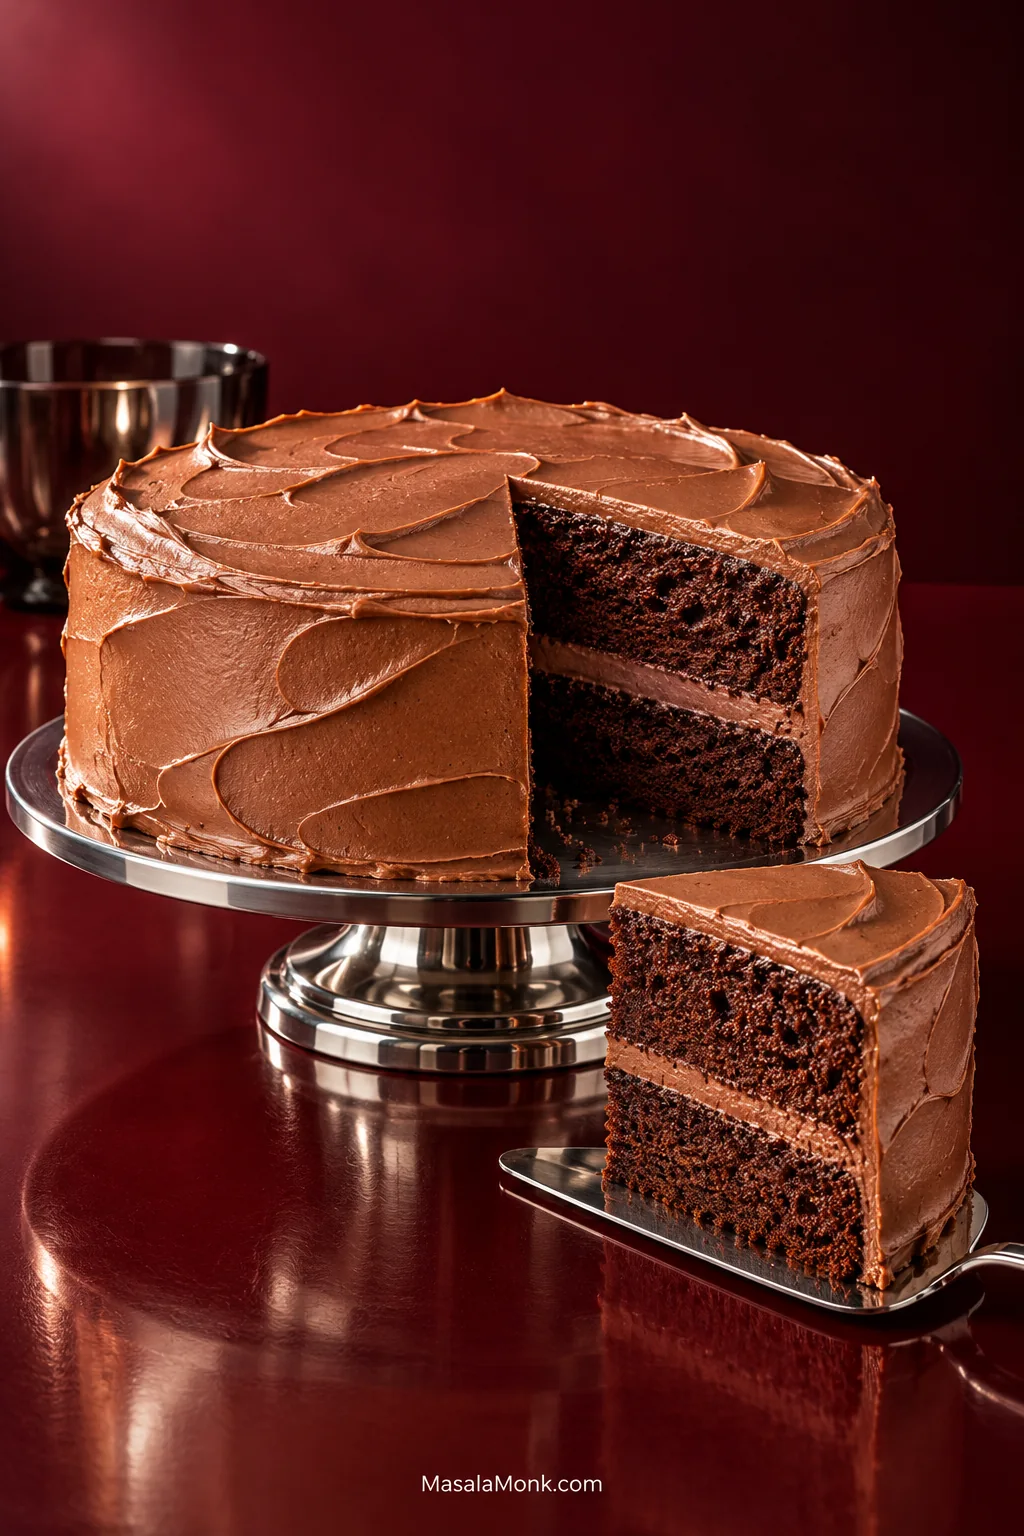
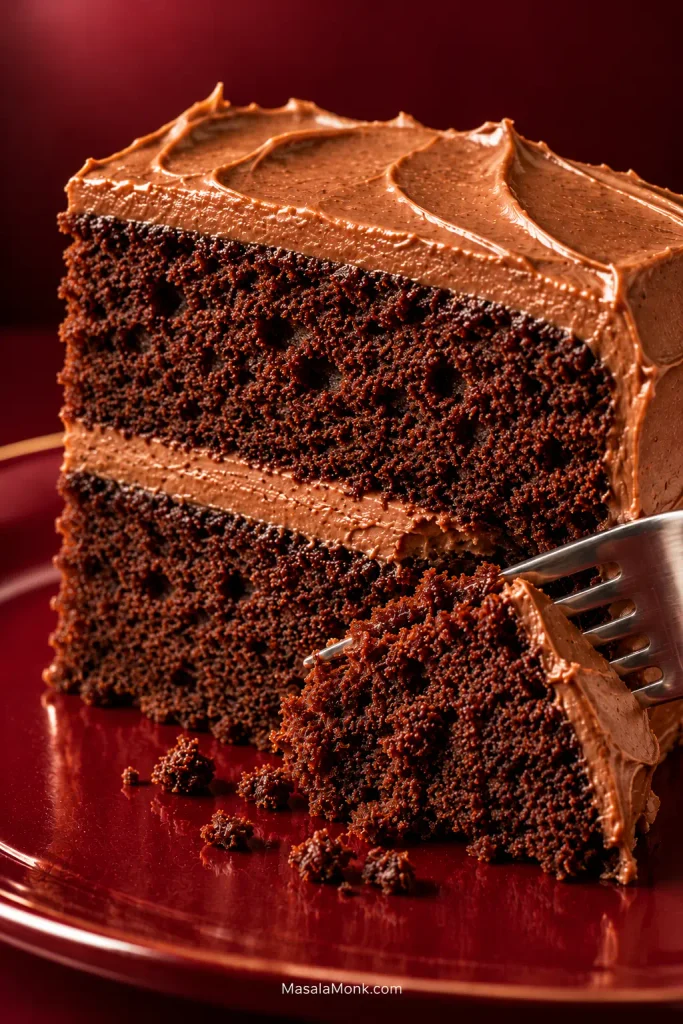
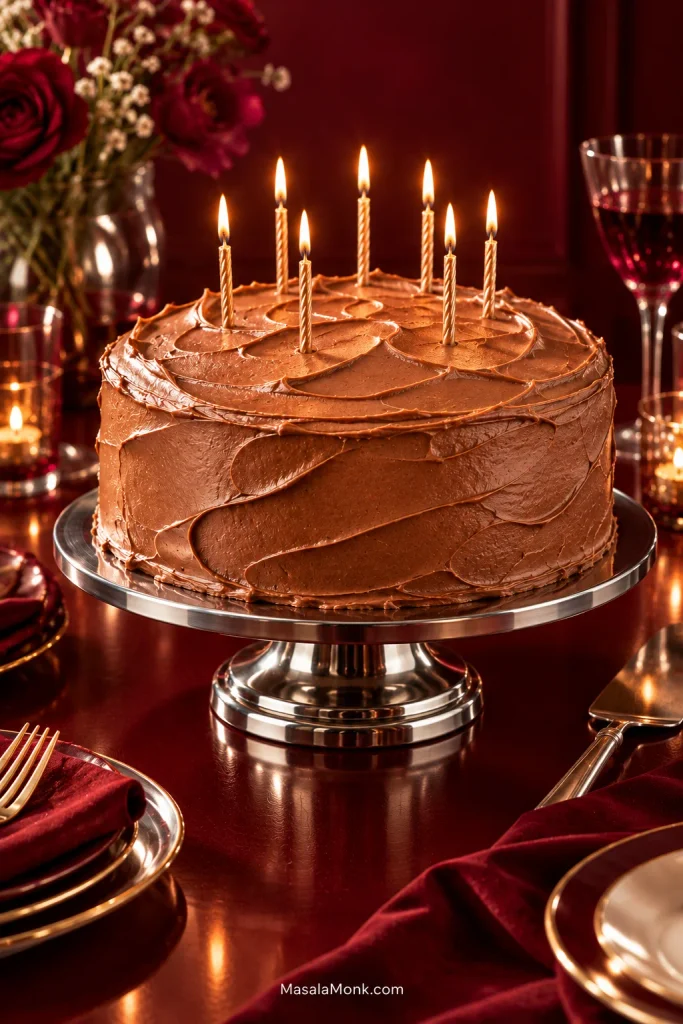
Cut into this chocolate cake and the slice should hold its shape while the fork slips through a tender, dark crumb. The cocoa flavor is deep, the layers stay moist, and the cake has enough structure to fill and frost easily, then slice cleanly. It’s simple enough for a weekend bake but feels right at home with birthday candles on top.
Whisk the dry ingredients, add the eggs, buttermilk and oil, then finish with hot coffee. There’s no butter to cream and no mixer needed for the cake batter.
The only part that may look unusual is the consistency. Once the coffee goes in, the batter becomes quite thin. That’s expected.
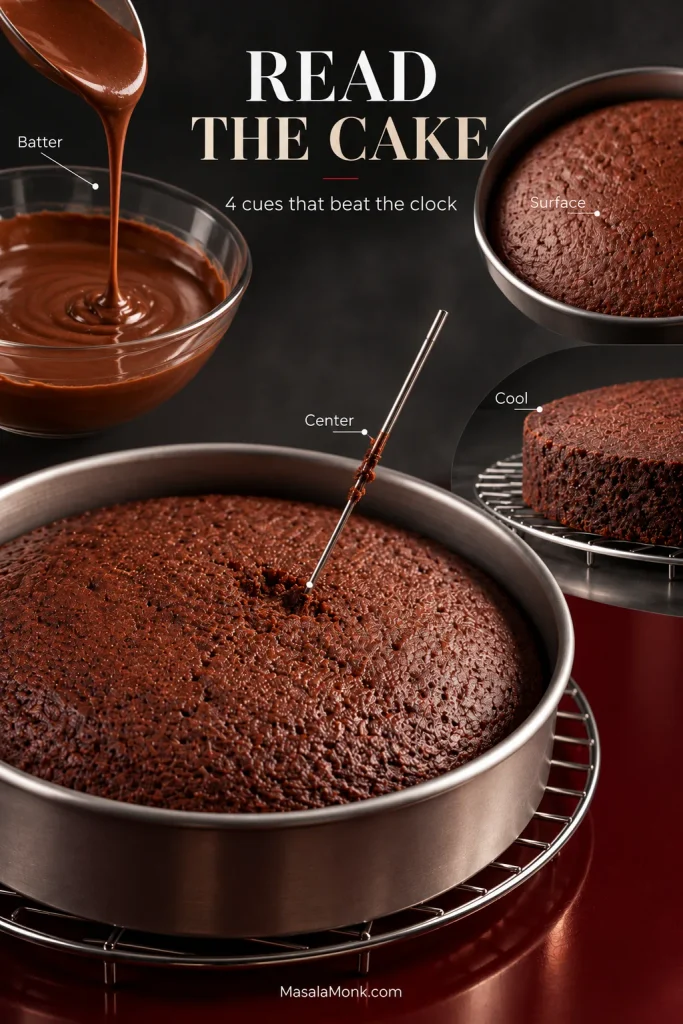
Read the Cake Before You Start
- Mixed batter: smooth, glossy and freely pourable.
- Baked surface: the wet sheen has disappeared.
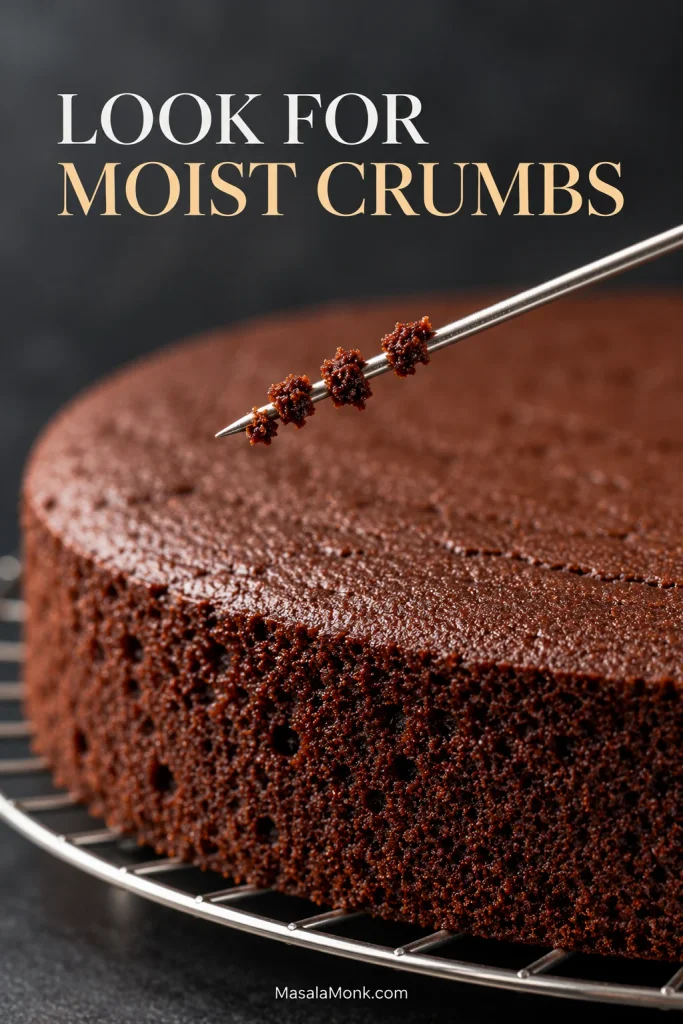
- Center: a light touch springs back and a tester brings up moist crumbs, not liquid batter.
- Ready to frost: the layers have no residual warmth.
Chocolate Cake Recipe
Moist, Rich Chocolate Cake From Scratch
A rich cocoa layer cake made with oil, cultured buttermilk and hot coffee, then covered with chocolate buttercream made from cocoa and melted chocolate. The cake batter comes together by hand in one bowl.
Frost + assemble: allow about 25–30 minutes once the layers are cool. Oven: 350°F / 175°C. Total elapsed time: allow about 2½–3¼ hours, including cooling and frosting; the exact cooling time depends on the pans and the room.
For the chocolate cake
- 230 g (about 1¾ cups + 2 tablespoons) all-purpose flour — weight is preferred
- 70 g (about ¾ cup + 1 tablespoon + 1 teaspoon) natural unsweetened cocoa powder — use natural cocoa, not Dutch-process, for the cake batter
- 380 g (about 1¾ cups + 2 tablespoons) granulated sugar
- 7 g (1½ teaspoons) baking soda
- 4 g (1 teaspoon) baking powder
- 5 g (about ¾ teaspoon) fine salt — volume varies with the salt used
- 2 large eggs — about 100 g without shells
- 240 ml (1 cup) cultured buttermilk
- 120 ml (½ cup) neutral oil — vegetable, canola, sunflower or grapeseed oil
- 10 ml (2 teaspoons) vanilla extract
- 240 ml (1 cup) hot brewed coffee — decaf is fine; hot water also works
For the chocolate buttercream
- 225 g (1 cup) unsalted butter — softened but not greasy
- 300 g (about 2⅔ cups) powdered sugar
- 55 g (about ⅔ cup) unsweetened cocoa powder — natural or Dutch-process both work in the buttercream
- 115 g (4 oz) bittersweet or semisweet chocolate — melted and cooled until fluid but no longer warm
- 60 ml (¼ cup) heavy cream to start — plus up to 30 ml (2 tablespoons) more if needed
- 5 ml (1 teaspoon) vanilla extract
- 2 g (about ⅓ teaspoon) fine salt — adjust to taste
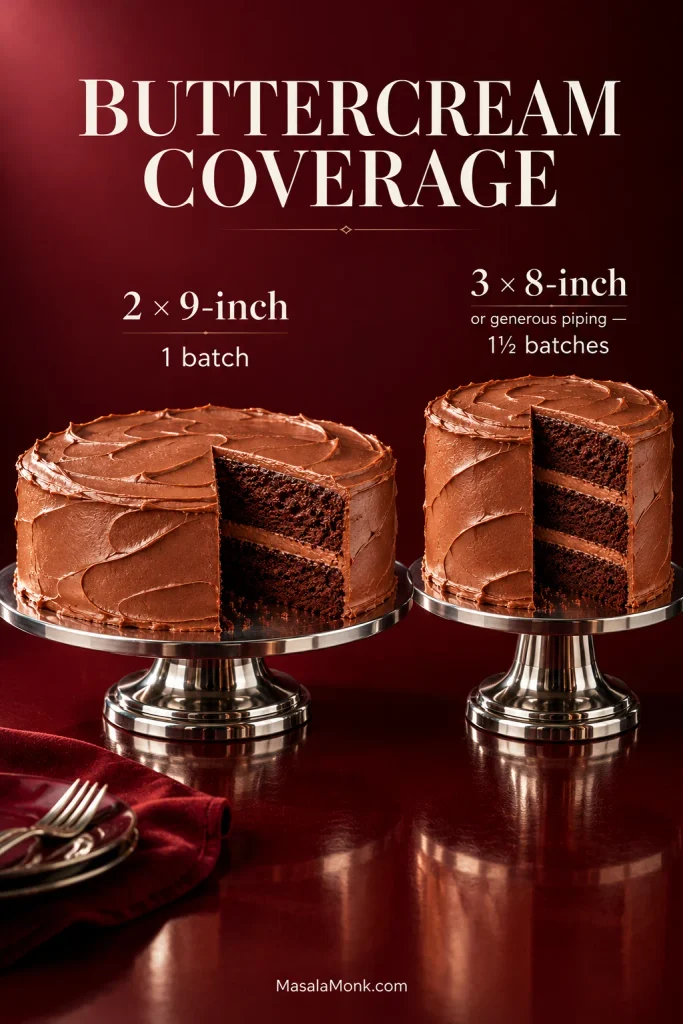
Buttercream coverage: This batch is intended for a modest filling and a complete coat over two 9-inch layers. For three 8-inch layers, thick sides, tall borders, rosettes or generous piping, make 1½ batches.
Equipment
- Two 9 × 2-inch round cake pans
- Parchment paper
- Large mixing bowl, whisk and flexible spatula
- Kitchen scale, strongly recommended
- Toothpick or cake tester
- Cooling racks
- Electric mixer for the buttercream
- Offset spatula for filling and frosting
- Long serrated knife, optional, if a domed layer needs leveling
Make the cake
- Prepare the oven and pans. Heat the oven to 350°F / 175°C with a rack near the center. Lightly grease two 9 × 2-inch round pans and line the bottoms with parchment. Have both pans ready before you mix the batter.
- Whisk the dry ingredients. Combine the flour, cocoa, sugar, baking soda, baking powder and salt in a large bowl. Break up any visible cocoa lumps; sift the cocoa first if it is particularly clumpy.
- Mix in the eggs and liquids. Add the eggs, buttermilk, oil and vanilla. Whisk until combined, scraping the bottom and sides of the bowl once. Stop when no dry pockets remain.
- Add the hot coffee. Pour in the coffee and whisk gently until the batter is smooth and glossy. It will loosen considerably and pour easily from the whisk or spatula. Don’t add extra flour to thicken it.
- Divide and bake. Pour the batter evenly between the pans; a kitchen scale makes it easy to keep the layers the same depth. Put both pans into the oven once the batter is divided.
- Start checking at 28 minutes. The centers should be set and spring lightly under a fingertip. A tester inserted near the middle should bring up a few moist crumbs but no liquid batter. Give the cakes more time if needed.
- Cool the layers. Leave them in the pans for 12–15 minutes, then carefully turn them onto cooling racks and remove the parchment. Allow roughly 1–1½ hours or longer for full cooling. Touch the center before frosting; any remaining warmth means the layers need more time.
Make the chocolate buttercream
- Beat the softened butter until creamy and smooth.
- With the mixer on low, gradually add the powdered sugar, cocoa and salt. Scrape the bowl as needed.
- Add the melted chocolate when it is fluid but no longer warm, then beat in the vanilla. The buttercream will become darker, smoother and silkier as the chocolate blends in.
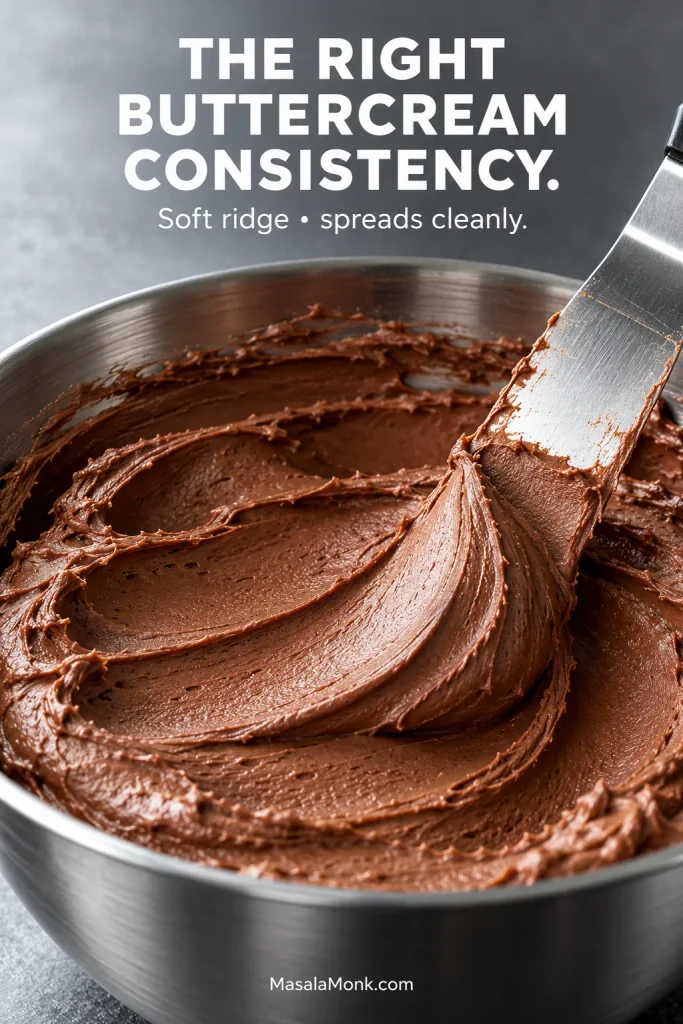
- Mix in 60 ml / ¼ cup heavy cream. Still too stiff? Add more cream one tablespoon at a time. At the right consistency, a spatula drawn through it leaves a soft ridge and the frosting moves easily across the cake.
Fill and frost
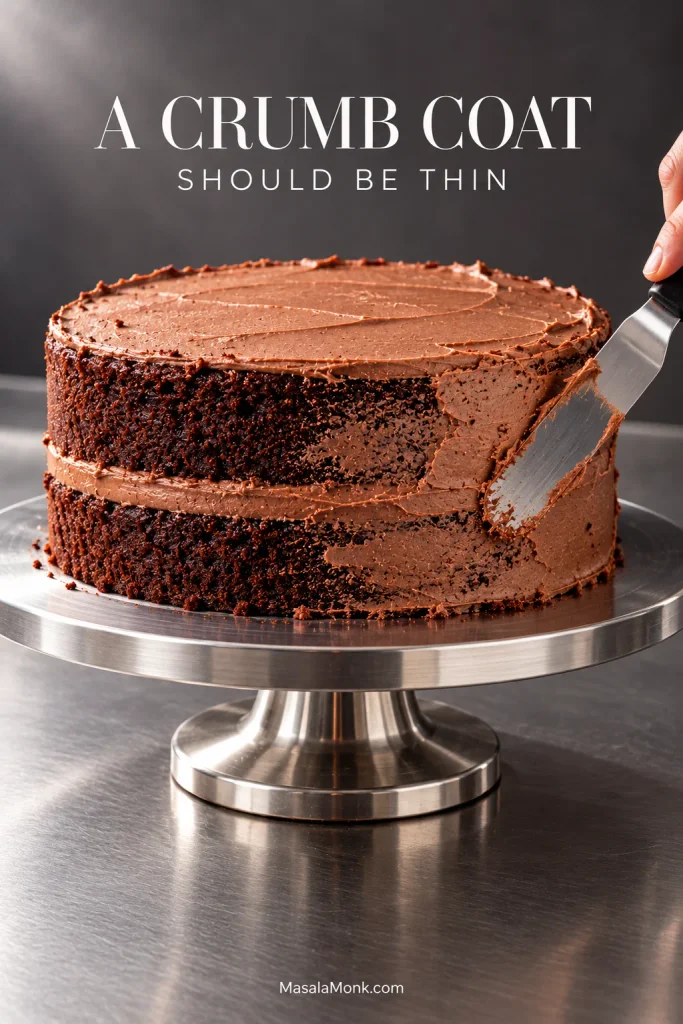
Level a pronounced dome only if you need to. Spread buttercream over the first layer, then add the second layer.
If loose crumbs are a problem, spread on a thin crumb coat and let it firm briefly before adding the final coat over the top and sides. A completely cooled cake helps the buttercream glide instead of pulling crumbs from the surface; if the frosting feels loose, give it a few minutes to firm before continuing.
What to Watch, Change and Fix
The method is simple; the useful decisions come from reading the batter, center and finished texture as you go.
Fix, finish and store
When the Cake Is Done
Chocolate cake doesn’t give you much help from color. The surface starts dark, so once you reach the first check at about 28 minutes, read the center rather than the clock.
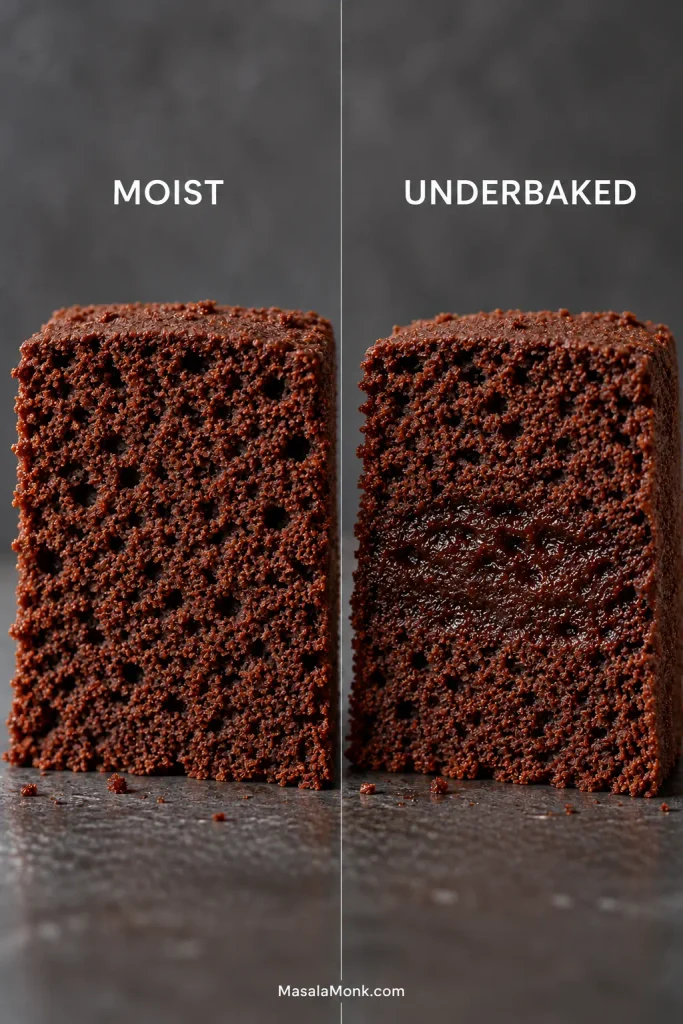
Use several signs together. The middle should no longer look wet or wobble, a light touch should spring back, and a tester should show moist crumbs rather than liquid batter. One sign alone can fool you: a tester can pass through a baked patch while another part of a deep cake still needs time.
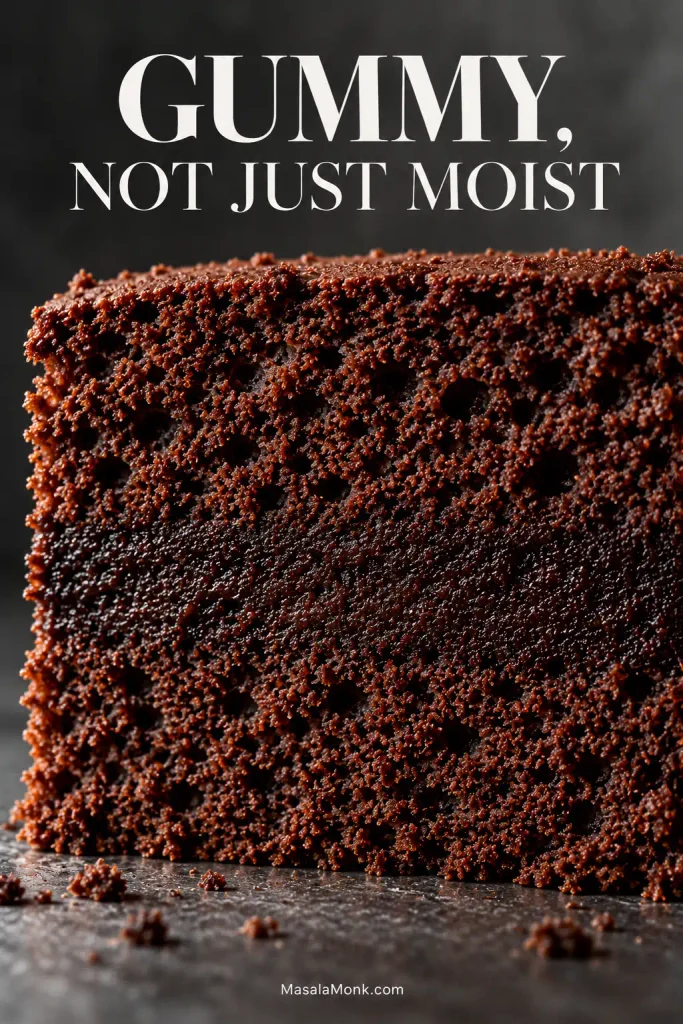
Moist and underbaked aren’t the same thing. A properly baked cake still has a recognizable crumb. By comparison, a gummy strip looks compressed and pasty; an underbaked center may be shiny and smear like batter. For a deliberately flowing chocolate center, our chocolate lava cake recipe is built around a very different result.
How the Cake Gets Its Moist Crumb and Deep Chocolate Flavor
The soft crumb comes from several things working together. Oil helps it stay tender after cooling, buttermilk brings moisture and acidity, and sugar contributes to moisture retention and tenderness. Cocoa builds the chocolate base; hot coffee makes that flavor deeper and rounder.
The finished cake is soft rather than brownie-dense: tender enough to yield easily under a fork, but sturdy enough to stack and slice cleanly. For a darker, fudgier style, our Matilda cake recipe goes further in that direction.
Natural cocoa matters here
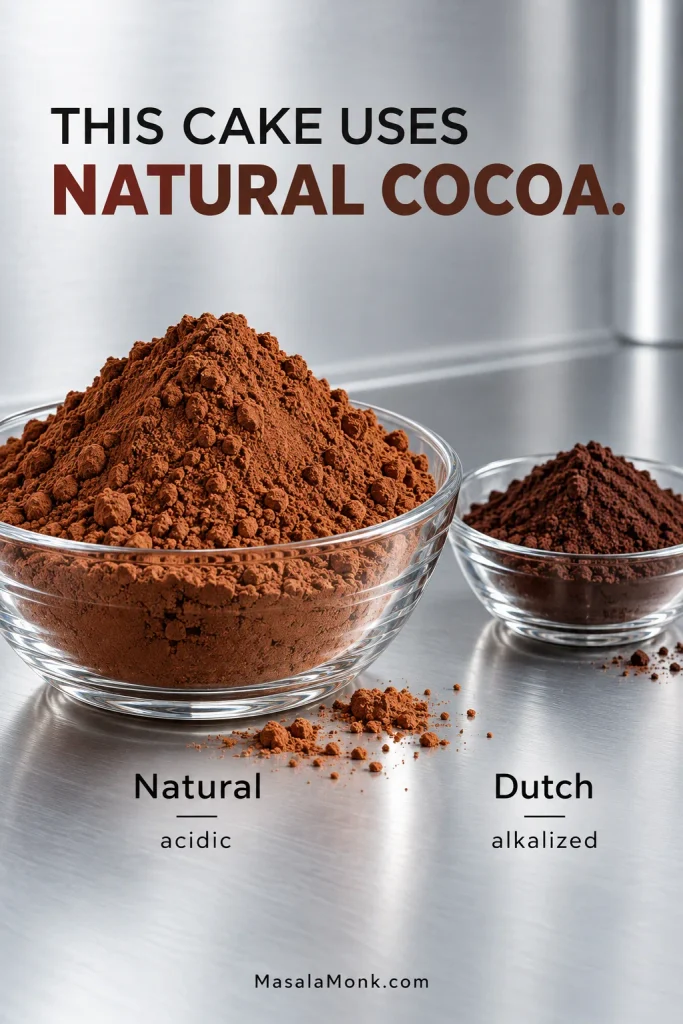
This cake is written for natural unsweetened cocoa powder. Natural and Dutch-process cocoa differ in acidity as well as flavor and color. That changes how the cocoa behaves alongside baking soda and baking powder, so don’t treat Dutch-process as an automatic swap in the cake batter. King Arthur’s guide to natural and Dutch-process cocoa explains the distinction in more detail.
Weigh the 70 g if possible. Cocoa settles differently in a measuring cup, and a heavy scoop changes the balance more quickly than it looks.
Coffee deepens the cocoa
The cake isn’t intended to taste like mocha; the coffee mainly makes the cocoa taste deeper and rounder. Decaf works the same way. Hot water is also fine when coffee isn’t an option, though the chocolate flavor will be a little less full.
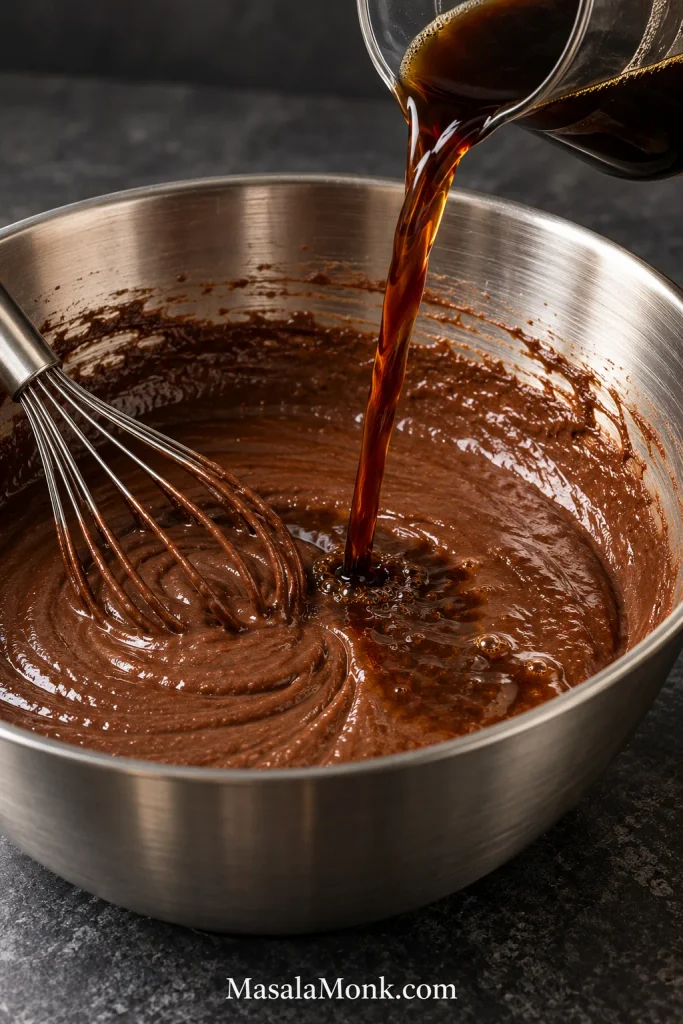
Why Is Chocolate Cake Batter So Thin?
Thin is normal here. The hot coffee loosens the batter into a smooth, glossy mixture that pours in a steady stream.
Don’t compensate with extra flour. That changes the flour-to-liquid balance and can leave the finished cake heavier and drier. Scrape the bowl once, make sure no dry flour or cocoa remains, and stop mixing.
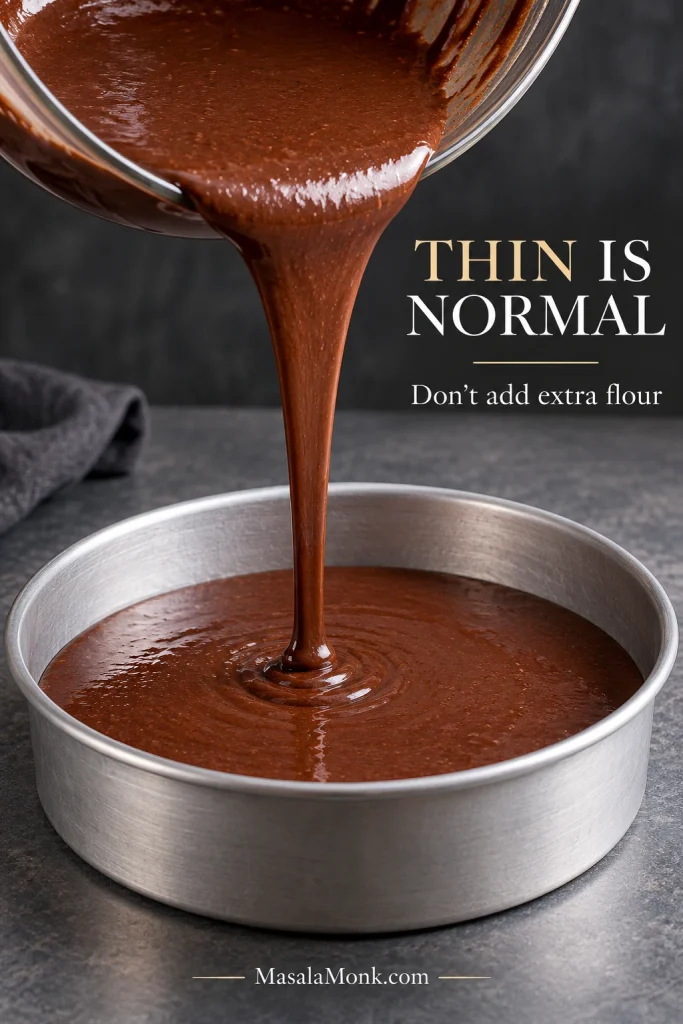
Pan Sizes and Bake Times
Pan capacity isn’t the whole story. Batter depth changes how quickly heat reaches the center, so a deeper layer generally needs more time even when the pans hold a similar amount of batter. King Arthur’s baking-pan guide is useful when comparing unfamiliar sizes and shapes.
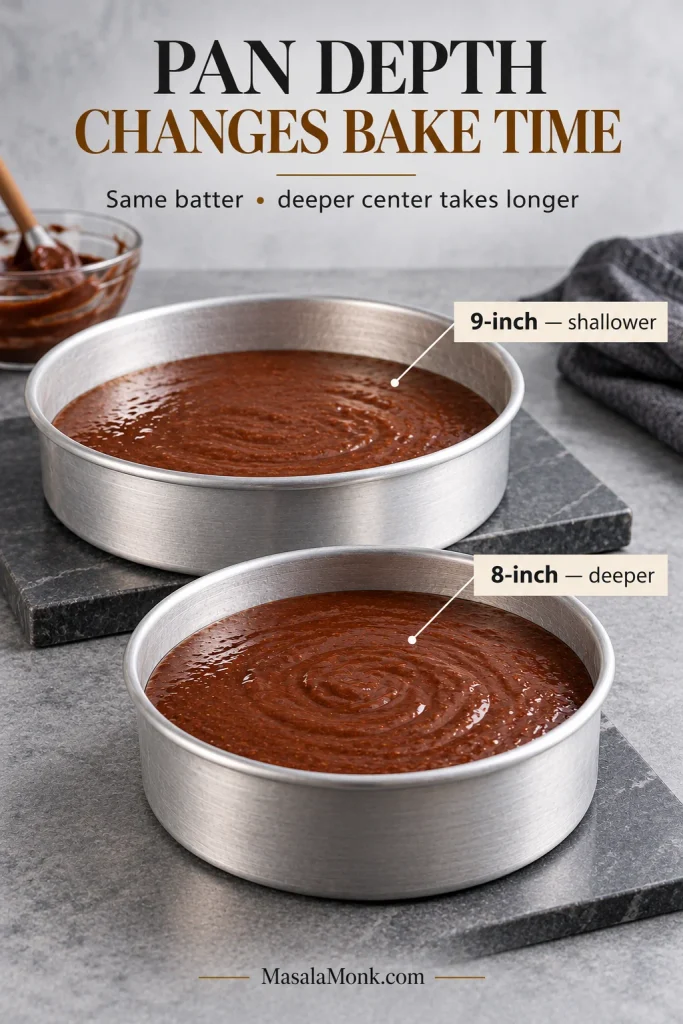
| Pan | Use | Begin checking |
|---|---|---|
| 2 × 9 × 2-inch rounds | Standard two-layer cake | About 28 minutes |
| 2 × 8 × 2-inch rounds | Deeper two-layer cake | About 33–35 minutes |
| 3 × 8 × 2-inch rounds | Three-layer cake | About 24–26 minutes |
| 9 × 13 × 2-inch pan | Single rectangular cake | About 32–34 minutes |
Treat the alternative-pan times as starting points, not promises. Oven accuracy, pan material and batter depth can move the finish in either direction. The center still decides.
Chocolate Cake Troubleshooting
Start with the symptom you can actually see or feel. Different problems point to different first checks.
| What you see | Check first | Next move |
|---|---|---|
| Dry or crumbly | Flour + bake time | Weigh flour; check the cake earlier. |
| Wet or gummy center | Doneness + pan depth | Confirm the pan and whether the center fully set. |
| Tough or rubbery | Flour + mixing | Measure carefully; stop once uniform. |
| Dense instead of cake-like | Ingredient changes + leavening | Review substitutions and leavener measurements. |
| Middle sinks | Center set | Check doneness first, then oven temperature. |
| Large holes or tunnels | Mixing + ingredient changes | Mix only until uniform; review substitutions. |
| Bitter or soda-like | Cocoa + leaveners | Check cocoa type and leavener measurements. |
| Baked edges, raw middle | Pan depth + oven | Confirm pan dimensions and oven temperature. |
| Frosting slides | Cake temperature + buttercream too loose | Cool the cake fully; let loose buttercream firm. |
| Frosting pulls crumbs | Cake temperature + buttercream too stiff | Cool the cake fully; soften stiff buttercream slightly and use a crumb coat. |
Three problems are especially useful to recognize by sight.
Why did my chocolate cake sink in the middle?
A center that hasn’t developed enough structure can rise in the oven and fall as the cake cools. Doneness is the first thing to consider. With that ruled out, look next at oven temperature, pan dimensions, leavener measurements and any major ingredient changes.
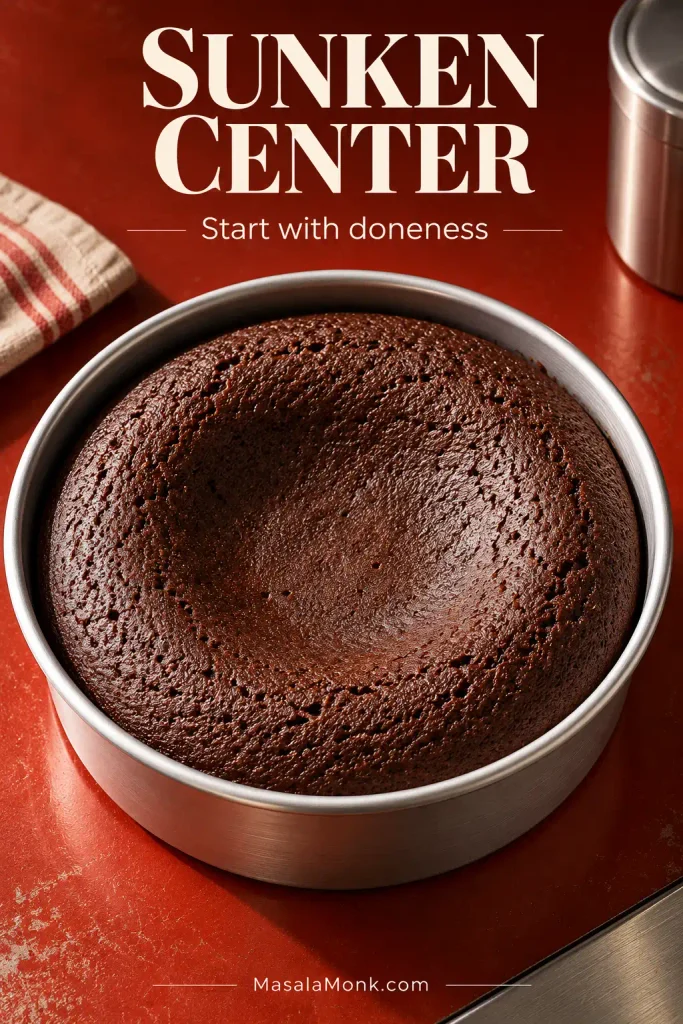
Why is the center of my chocolate cake gummy?
A gummy middle looks compressed and damp, not simply moist. Deep batter can set around the edges while the center is still catching up. Compare your pan size and batter depth with the recipe; when those match, a cool-running oven is worth checking with an oven thermometer.
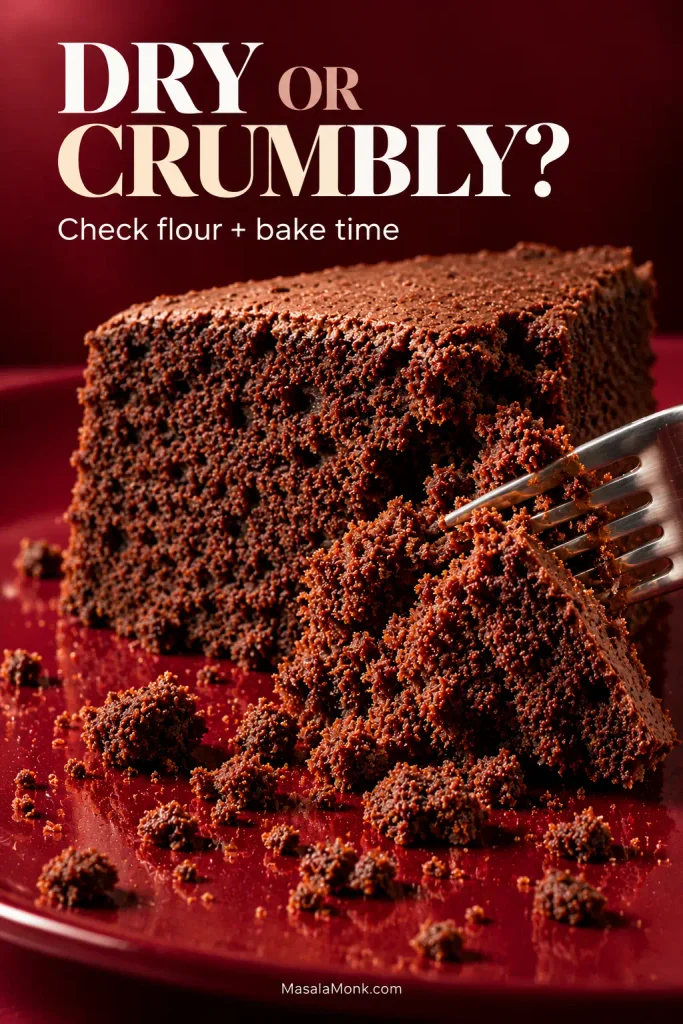
Why did my chocolate cake turn out dry?
Too much flour and too much oven time are the two obvious suspects. Weigh the 230 g of flour if you can; a packed measuring cup can quietly add more than the recipe needs. With the flour amount ruled out, look at when the cake came out of the oven. Extra oven time keeps pulling moisture from a center that is already set.
Chocolate Cake Substitutions
Flavor changes give you more room than changes to the cake’s basic structure. The swaps below are the ones most likely to alter how this cake behaves.
| Change | What to expect |
|---|---|
| Natural cocoa → Dutch-process | Don’t treat this as an automatic 1:1 swap in the cake; the acidity differs. |
| Oil → melted butter | Expect a different flavor and a firmer texture once the cake cools. |
| Large sugar reduction | Changes moisture, tenderness and crumb as well as sweetness. |
| Egg-free, dairy-free, gluten-free or flourless | Use a recipe designed around those changes instead. |
For a cake without eggs or dairy, our vegan chocolate cake recipes are built around those needs instead of asking this cake to absorb several major substitutions at once.
Making it for the first time? Keep the base recipe as written. Seeing how the batter, baked layers and crumb behave in your own oven gives you a much better reference point for future changes.
Chocolate Frosting
This chocolate buttercream gets its depth from both cocoa and melted bittersweet or semisweet chocolate. The melted chocolate rounds out the cocoa and gives the frosting a silkier finish. You want enough chocolate presence to stand beside the cake without turning every bite into frosting first, cake second.
Unlike the cake batter, the buttercream isn’t relying on cocoa for its leavening balance, so natural or Dutch-process cocoa both work here. Choose whichever flavor you prefer. If you’re making it now, jump back to the buttercream method.
For more tang against the chocolate, our chocolate cream cheese frosting takes the cake in a different direction. If coconut-pecan filling is what you want, that’s the defining finish in our German chocolate cake.
Making the Chocolate Cake Ahead
Baking and decorating don’t need to happen on the same day. For a birthday or dinner, getting the layers baked ahead means the oven is off, the mixing bowl is washed and the cake is completely cool before you start decorating.
1–2 days ahead: Cool the unfrosted layers completely and wrap them tightly. Keep them at a cool room temperature; refrigerate instead if the kitchen is particularly warm.
For longer storage: Freeze the wrapped layers. Aim to use them within about 1 month for the best texture. Thaw overnight in the refrigerator while still wrapped.
Buttercream: Make it ahead and refrigerate it in an airtight container for up to 1 week. Let it become spreadable again, then re-whip until smooth before frosting.
Serving day: Fill and frost the cooled layers. Keep the finished cake refrigerated until you are ready to bring out the portion you plan to serve.
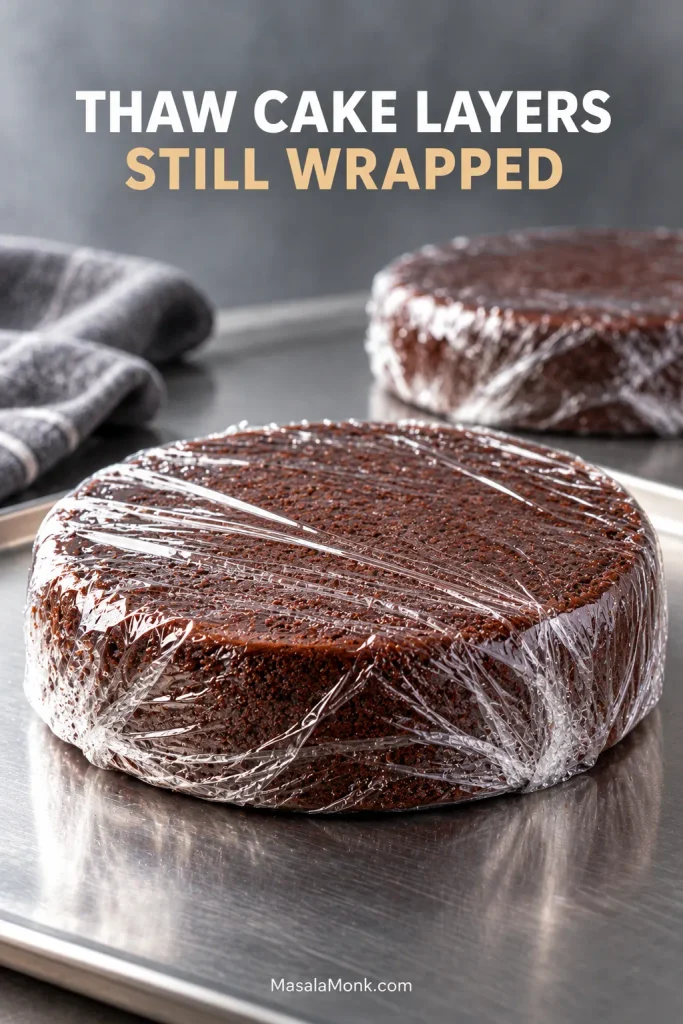
Layers ready to decorate? Go to Fill and Frost.
Storing leftover chocolate cake
Assembled cake: Keep it covered in the refrigerator and plan to enjoy it within about 3–4 days. Cover exposed cut surfaces closely so the crumb doesn’t dry out.
For the best texture: Take out only the portion you plan to serve a little before eating.
Individual slices: Wrap well and freeze for up to about 1 month for best quality. Thaw covered in the refrigerator before serving.
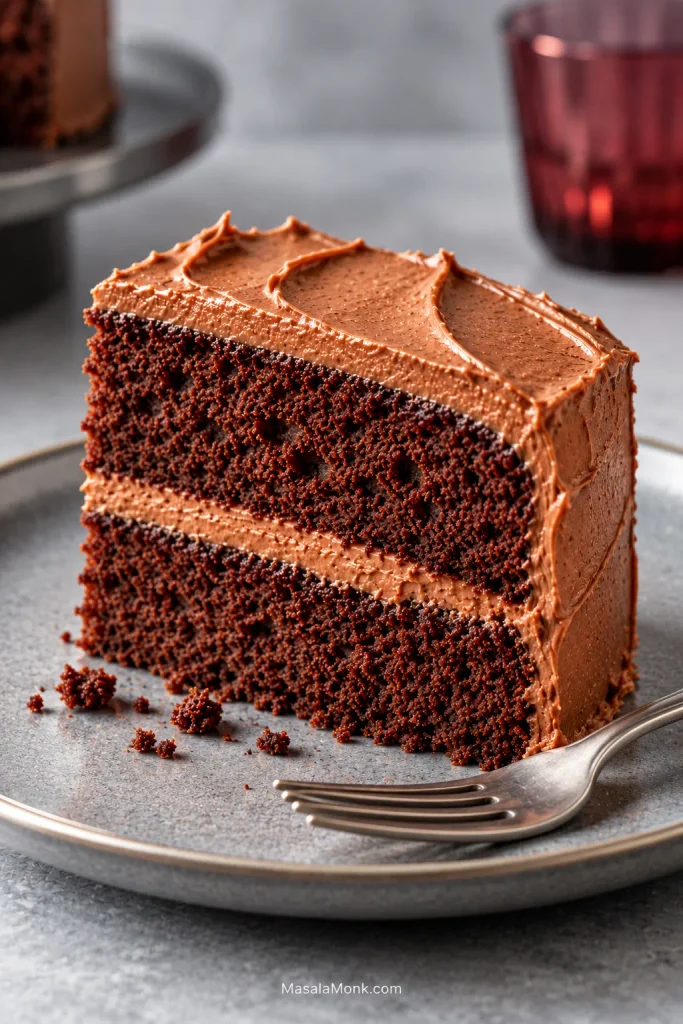
Once the chill has eased, the crumb turns tender again, the frosting silkier and the chocolate fuller. That’s the slice worth saving for tomorrow.








