Welcome to the season of sunshine and sweet indulgence!
As summer unfolds its golden warmth, there’s one fruit that becomes the star of every kitchen—the mighty mango. Whether you enjoy it sliced, pickled, juiced, or churned into desserts, mangoes are a tropical treasure that bring pure joy to our taste buds.
And what better way to enjoy them than with a glass of chilled Mango Shake—a drink so refreshing, it tastes like summer in a cup.
In this post, we’ll walk you through not just the classic mango shake, but also healthy alternatives, including vegan and sugar-free versions, so everyone can savor this golden delight. Let’s get blending!
🍹 Why Mango Shake?
Mango shakes aren’t just delicious—they’re also:
- Nutrient-rich: High in Vitamin C, Vitamin A, and antioxidants.
- Energizing: Perfect for post-workout recovery or as a breakfast smoothie.
- Versatile: Easily customizable with milk substitutes, sweeteners, or even protein powder.
- Kid-approved: Naturally sweet and creamy, it’s a favorite among children.
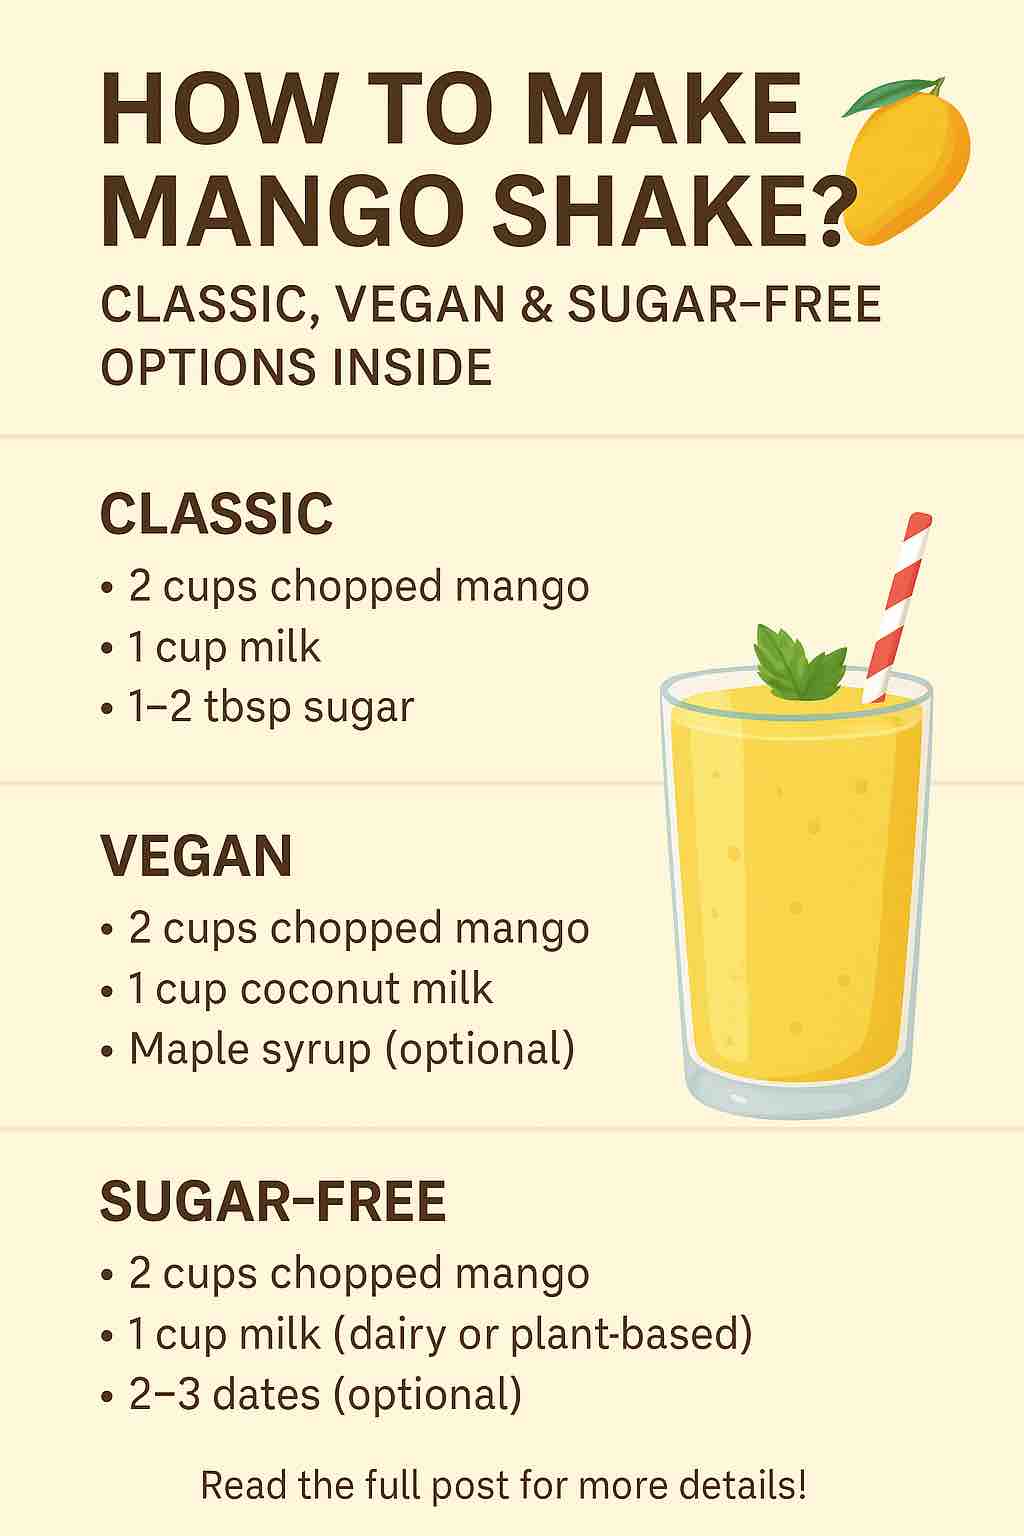
1️⃣ The Classic Mango Shake Recipe
Let’s start with the timeless version that many of us grew up sipping on during sweltering afternoons.
🛒 Ingredients:
- 2 ripe mangoes (Alphonso or Kesar are best)
- 1 cup chilled full-fat milk
- 1–2 tbsp sugar (adjust to taste)
- A few ice cubes
- Optional garnish: chopped pistachios, almonds, or a scoop of vanilla ice cream
🧑🍳 Instructions:
- Prep the mangoes: Peel and cube them, removing the pit.
- Blend: Add mango chunks, milk, sugar, and ice cubes into a blender.
- Whizz until creamy and smooth.
- Pour & garnish: Serve immediately with nuts or ice cream for extra indulgence.
✅ Tips:
- If your mangoes are very sweet, skip or reduce the sugar.
- For a thicker shake, reduce the milk or use frozen mango chunks.
Fun Fact: Alphonso mangoes are often called the “King of Mangoes” in India for their rich flavor and buttery texture.
2️⃣ Vegan Mango Shake (Dairy-Free)
Whether you’re lactose-intolerant, plant-based, or simply want to try something different, this version is just as dreamy.
🛒 Ingredients:
- 1 cup ripe mango cubes
- 1 cup plant-based milk (coconut, almond, oat, or soy milk)
- 1–2 tsp maple syrup or soaked dates (optional)
- Ice cubes
- A pinch of cardamom or vanilla extract (for extra flavor)
🧑🍳 Instructions:
- Add mango cubes and plant-based milk to a blender.
- Toss in your sweetener and ice.
- Blend until smooth and creamy.
- Serve chilled. Top with coconut flakes or chia seeds if desired.
✅ Pro Tips:
- Coconut milk adds richness and a tropical twist.
- Want it thicker? Add a frozen banana or avocado.
Health Note: Plant-based milks are often fortified with calcium and Vitamin D, making this a nutritious drink too.
3️⃣ Sugar-Free Mango Shake (Diabetic Friendly)
Trying to cut down on refined sugar? This version relies on the natural sweetness of mangoes, with optional natural sweeteners.
🛒 Ingredients:
- 1 cup ripe mangoes
- 1 cup milk (dairy or plant-based)
- A few ice cubes
- Optional: 2–3 soaked dates or a few drops of stevia
🧑🍳 Instructions:
- Blend mangoes with milk and ice.
- Add natural sweetener if needed and blend again.
- Serve cold, optionally topped with chopped mint for a fresh touch.
✅ Low-Carb Ideas:
- Use unsweetened almond milk and avoid bananas or additional fruit.
- Try adding cinnamon or ginger powder for flavor without sugar.
Pro Tip: Overripe mangoes are naturally sweeter—perfect for sugar-free recipes.
🌀 Bonus Variations to Try
Take your mango shake to the next level with these creative spins:
💪 Mango Protein Shake
- Add 1 scoop of vanilla or unflavored protein powder.
- Great post-workout drink.
🍨 Mango Lassi Twist
- Add ½ cup yogurt, a pinch of salt, and a dash of cardamom for a classic Indian-style treat.
🍧 Mango Smoothie Bowl
- Blend with less milk to keep it thick.
- Top with berries, granola, and coconut shreds.
🌿 Mango-Turmeric Detox Shake
- Add a pinch of turmeric and black pepper for anti-inflammatory benefits.
📦 Storage & Meal Prep
Can you store mango shake?
- Yes, for up to 24 hours in an airtight jar in the fridge. Shake before serving.
- For meal prep: Freeze mango chunks ahead of time and blend fresh when needed.
🥭 Final Thoughts: Blend, Sip, Smile
Mango shakes are more than just a summer beverage—they’re a nostalgic, mood-lifting treat that can be enjoyed by anyone, in any form. Whether you’re reaching for a classic dairy-based shake, going plant-based, or ditching sugar for a healthier choice, there’s a mango shake recipe here for you.
Don’t forget to experiment and share your unique twists in the comments. And remember—mango season doesn’t last forever. Make the most of it while you can!
📸 Share Your Mango Moment!
Tried one of these? Post your shake on Instagram and tag #MangoShakeMagic or drop a comment below with your favorite version.
🧐 FAQs – Mango Shake Edition
1. Can I use frozen mangoes for mango shake?
Absolutely! Frozen mango chunks are great for thicker, creamier shakes and help eliminate the need for ice. Just reduce the amount of liquid slightly to keep the consistency right.
2. What is the best type of mango for shakes?
Alphonso, Kesar, or Ataulfo mangoes are ideal due to their sweetness, smooth texture, and rich flavor. Avoid fibrous varieties like Haden unless you’re straining the shake.
3. Can I make mango shake ahead of time?
Yes, you can refrigerate mango shake for up to 24 hours in an airtight container. However, it may slightly separate, so shake or stir before serving. For best flavor and texture, consume fresh.
4. How do I make my mango shake thicker?
Use less milk, more mango, or frozen mango chunks. You can also add ingredients like banana, yogurt (for non-vegan versions), or soaked chia seeds for extra thickness.
5. Is mango shake healthy?
Yes, when made without added sugars or heavy ice creams. It’s rich in vitamins A and C, antioxidants, and fiber. Use plant-based milk and natural sweeteners for a healthier version.
6. Can diabetics drink mango shake?
In moderation. Use naturally sweet ripe mangoes and opt for a sugar-free version with almond or oat milk. Dates, stevia, or erythritol can be used sparingly as sweeteners.
7. Which plant-based milk is best for a vegan mango shake?
Coconut milk gives a rich, creamy tropical flavor. Almond, oat, and soy milks are also excellent, depending on your preference and dietary needs.
8. Can I add other fruits to mango shake?
Yes! Great additions include banana (for creaminess), pineapple (for a tropical twist), or berries (for a tangy contrast). Just ensure the flavor of mango remains dominant.
9. How can I turn mango shake into a smoothie bowl?
Use less liquid to keep the shake thick. Pour into a bowl and top with granola, fresh fruits, nuts, or seeds. This makes for a nutritious and Insta-worthy breakfast.
10. Can I add protein powder to mango shake?
Definitely! Vanilla or unflavored protein powders blend well with mango. Great for post-workout recovery or a high-protein breakfast. Adjust sweetness if your protein is sweetened.