If there’s one leafy green that deserves its reputation as a true superfood, it’s spinach. For centuries, it has been celebrated in kitchens and traditional medicine across the world — from Mediterranean salads to Indian palak paneer – this humble green delivers powerful spinach nutrition and weight loss benefits backed by modern science.. And while Popeye may have exaggerated its instant muscle-building powers, modern science confirms what generations before us instinctively knew: spinach is incredibly good for you.
What makes it even more exciting is how well spinach nutrition and weight loss benefits go hand in hand. This humble green is nutrient-dense yet astonishingly low in calories, making it the kind of food you can eat generously without derailing your health goals.
In this feature, we’ll explore spinach’s nutrition profile, its role in supporting weight management, and the many delicious ways you can weave it into your everyday meals.
Spinach Nutrition Facts (100g, 1 Cup, Raw vs Cooked)
The numbers tell a story that nutritionists love: spinach gives you a lot for very little.
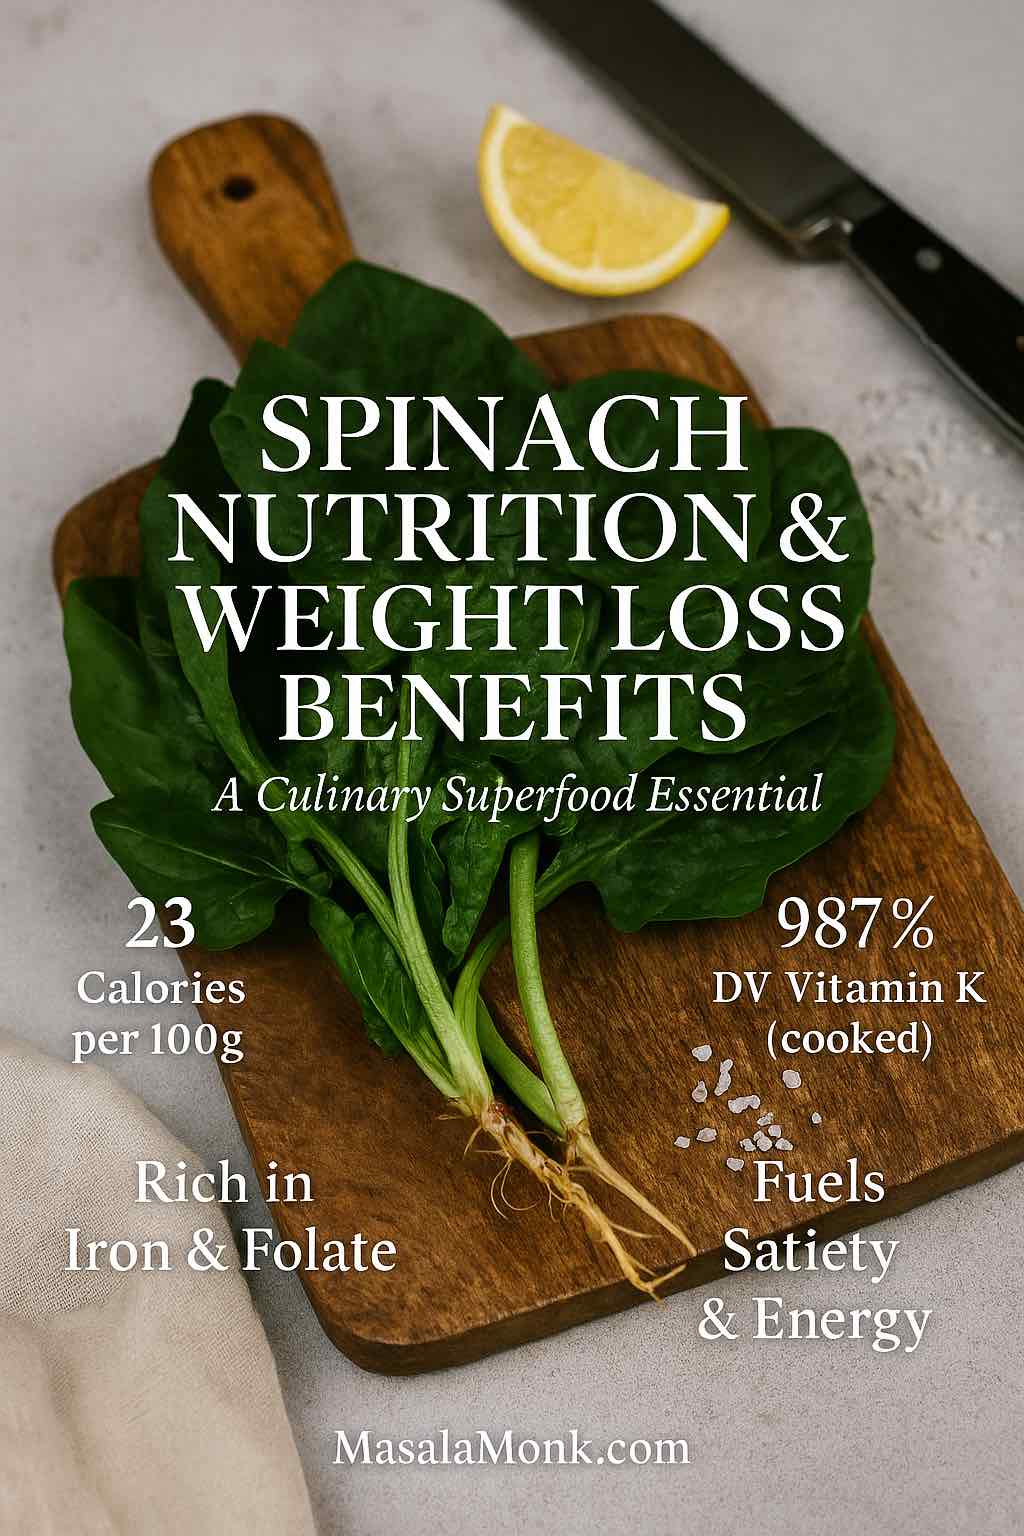
- 100 grams of raw spinach: ~23 calories, ~2.9g protein, ~2.2–2.9g fiber, ~92–94% water. (My Food Data)
- 1 cup raw spinach (30g): ~7 calories, with hefty doses of vitamin K, vitamin A, folate, and manganese. (University of Rochester Medical Center)
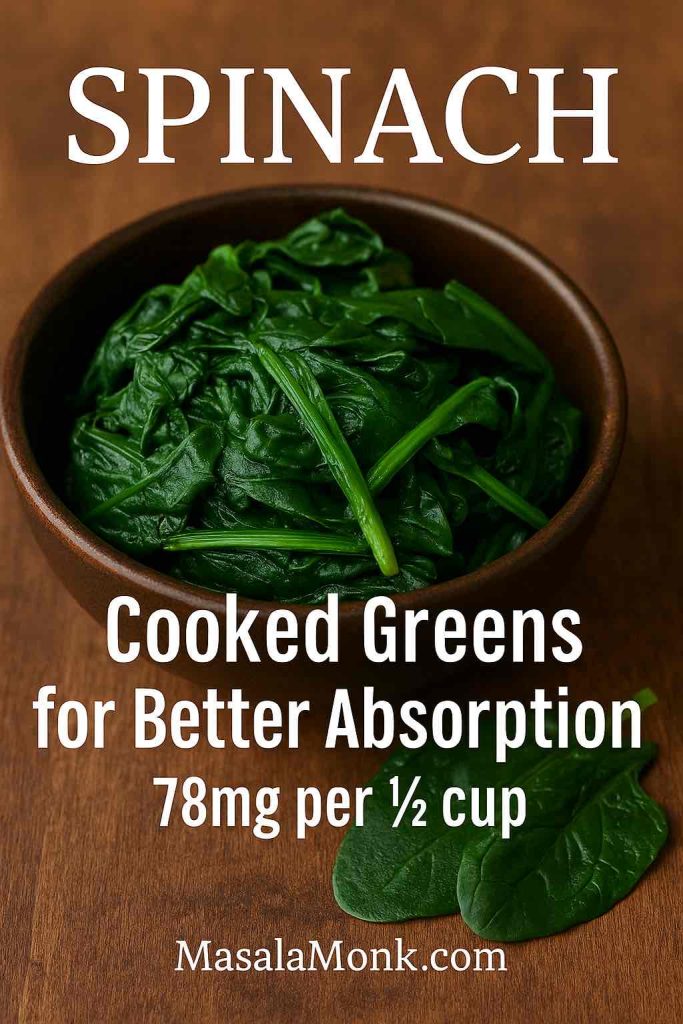
- 1 cup cooked spinach (180g): ~41 calories; as water cooks off, minerals concentrate, especially calcium and iron. (My Food Data)
Spinach is particularly famous for its vitamin K content — one serving can overshoot your daily requirement many times over, with cooked spinach providing ~987% DV per cup. (My Food Data) It also provides vitamin C for immunity, beta-carotene (vitamin A) for eye health, folate for cell repair, and iron for energy production. (My Food Data) In short: it’s a tiny calorie “investment” with a massive nutritional return.
Micronutrient Highlights
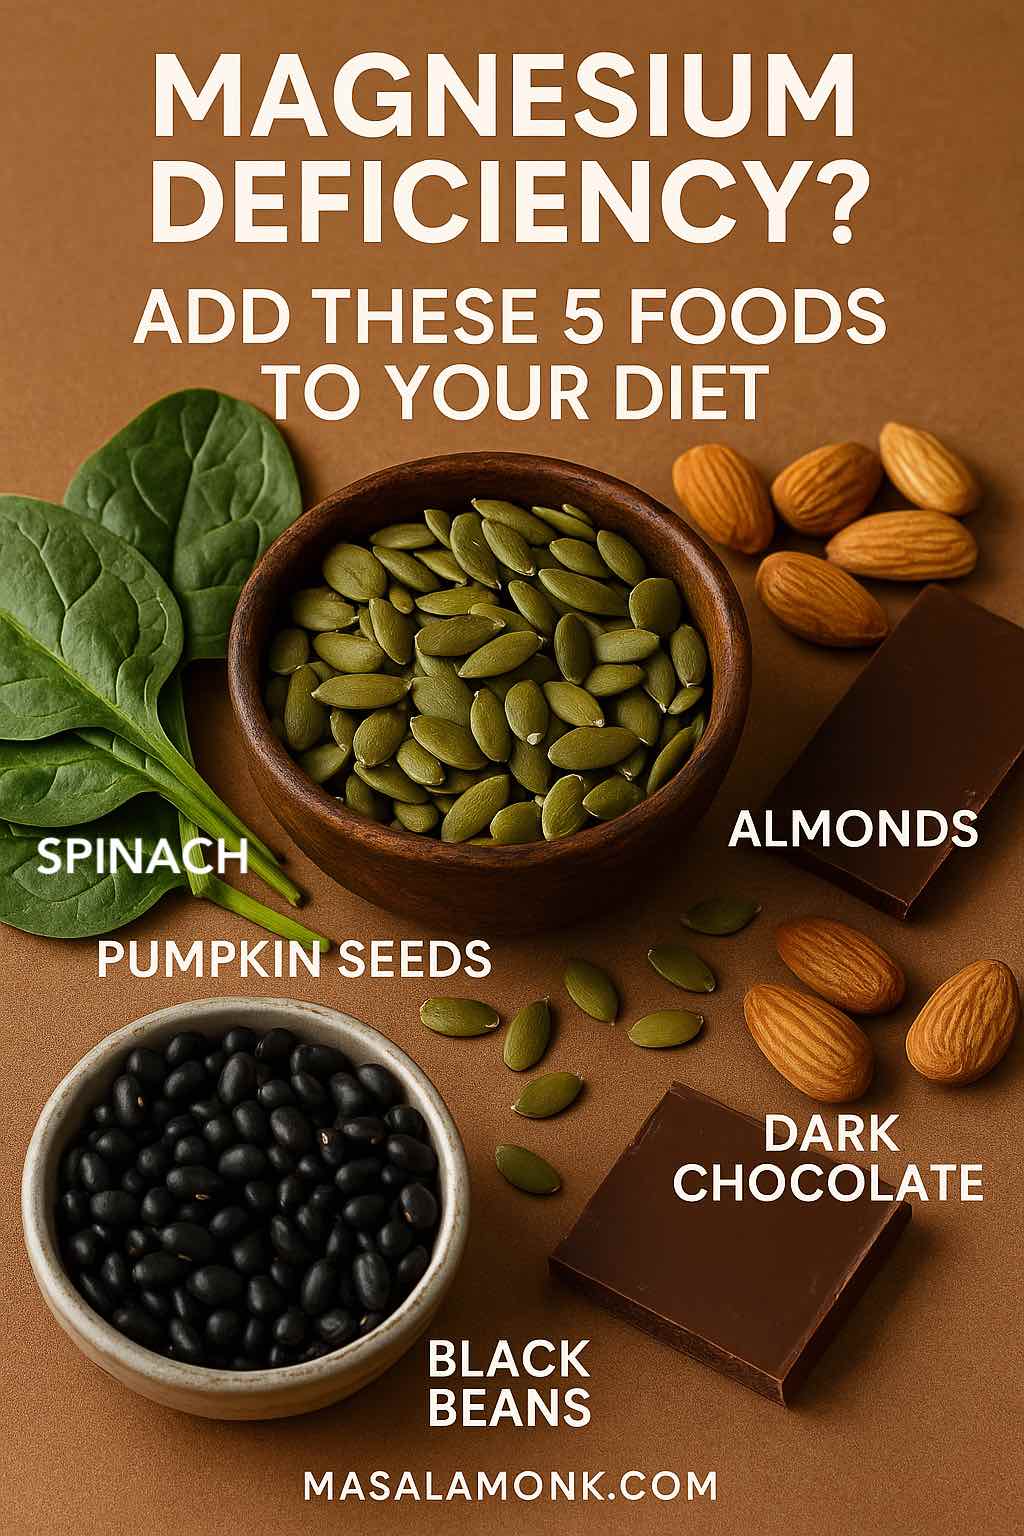
- Magnesium: Supports energy production and muscle health.
- Potassium: Helps regulate blood pressure and fluid balance.
- Manganese: Important for metabolism and bone development.
- B vitamins (B6, riboflavin): Contribute to brain function and energy metabolism.
These micronutrients often get overlooked but are critical for overall health — and spinach delivers them in abundance. (My Food Data)
Suggested Reading: Magnesium Deficiency? The 5 Best Foods (and Drinks) to Boost Your Levels
Spinach vs Other Greens
How does spinach compare to its leafy rivals?
- Spinach vs Lettuce: Spinach offers significantly more vitamins A, C, K, and iron, while lettuce is mostly water and fiber.
- Spinach vs Kale: Kale has more vitamin C, but spinach wins on iron and folate. Know more about Kale in Kale – Nutrition, Benefits, and 5 Practical Ways for Weight Loss.
- Spinach vs Cabbage: Cabbage provides more vitamin C, but spinach is more nutrient-dense calorie for calorie.
It is essentially the “all-rounder” — not the highest in every nutrient, but consistently strong across the board. (My Food Data)
Spinach Nutrition and Weight Loss Benefits Explained
Spinach isn’t a magic bullet, but it’s about as close as real food gets. For anyone focused on maintaining or losing weight, the spinach nutrition and weight loss benefits are especially compelling.
Here’s why spinach is such a powerful ally:
- Volume with Few Calories
You can eat a whole bowl of spinach and still barely crack 50 calories. This means you fill your stomach without overloading your plate. (University of Rochester Medical Center) - Fiber and Water for Satiety
The combination of dietary fiber and high water content slows down digestion and prolongs feelings of fullness, naturally reducing overeating. (My Food Data) - Thylakoids and Appetite Regulation
Spinach contains plant compounds called thylakoids,early human studies using spinach thylakoid extract report delayed fat digestion, increased GLP-1, and lower hedonic hunger/cravings in the short term. (PMC, PubMed). Some research shows that people who consume spinach extracts feel less hungry and have fewer cravings for sugary foods. - Nutrient Density Without Deprivation
Many diets fail because they leave people feeling deprived. Spinach, however, packs vitamins, minerals, and antioxidants into every bite, meaning you get more nutrition for fewer calories. (My Food Data)
Suggested Read: Hearty and Nourishing: 5 Vegan Lentil Soup Recipes for Weight Loss
Real-Life Weight Loss Scenarios
- Swap a 300-calorie side of fries with a spinach salad topped with grilled chicken and vinaigrette — you’ll cut calories in half while doubling your nutrient intake.
- Add a handful of spinach to a smoothie instead of an extra scoop of protein powder — you’ll still feel full, but with added fiber, folate, and iron.
- Replace refined tortillas with spinach wraps or lettuce cups — lowering carbs and calories without giving up the “wrap” experience.
- Or just enjoy this healthy hung curd spinach cheese sandwich as a protein-packed, low-calorie snack.
These swaps might seem small, but done consistently, they embody how spinach nutrition and weight loss benefits compound over time.
Is Spinach Good for Weight Loss? Benefits Explained
In a word: absolutely.
Spinach shines in the weight loss conversation because it satisfies two of the biggest hurdles dieters face: staying full and staying nourished. A food that is both low in calories and rich in vitamins is rare — but spinach checks both boxes effortlessly.
When you load your plate with spinach, you’re essentially eating bulk without the calorie burden. At just 23 calories per 100 grams, you can enjoy heaping portions without worrying about undoing your day’s effort. Add to that a meaningful amount of fiber, water, iron, folate, vitamin A, and vitamin K – and you’ve got a vegetable that actively works to slow digestion and stabilize hunger. (My Food Data)
But satiety is only half the story. Spinach delivers iron for energy, folate for cell repair, vitamin A for skin and vision, and vitamin K for bone health. These aren’t “bonus” nutrients — they’re the very things your body craves to function well. Diets often fail because people feel deprived; spinach flips that script by offering abundance without excess.
So yes — spinach is good for weight loss. Or rather, the spinach nutrition and weight loss benefits make it more than good: they make it a weight management essential.
Also Read: Spinach Chicken Curry| Palak Chicken| Murg Saagwala Recipe
How to Eat Spinach for Weight Loss (5 Practical Tips Expanded)
Spinach’s versatility is what transforms it from “just another vegetable” into a diet ally. Here are five proven ways to weave it into your meals — each expanded with practical examples so you can start today.
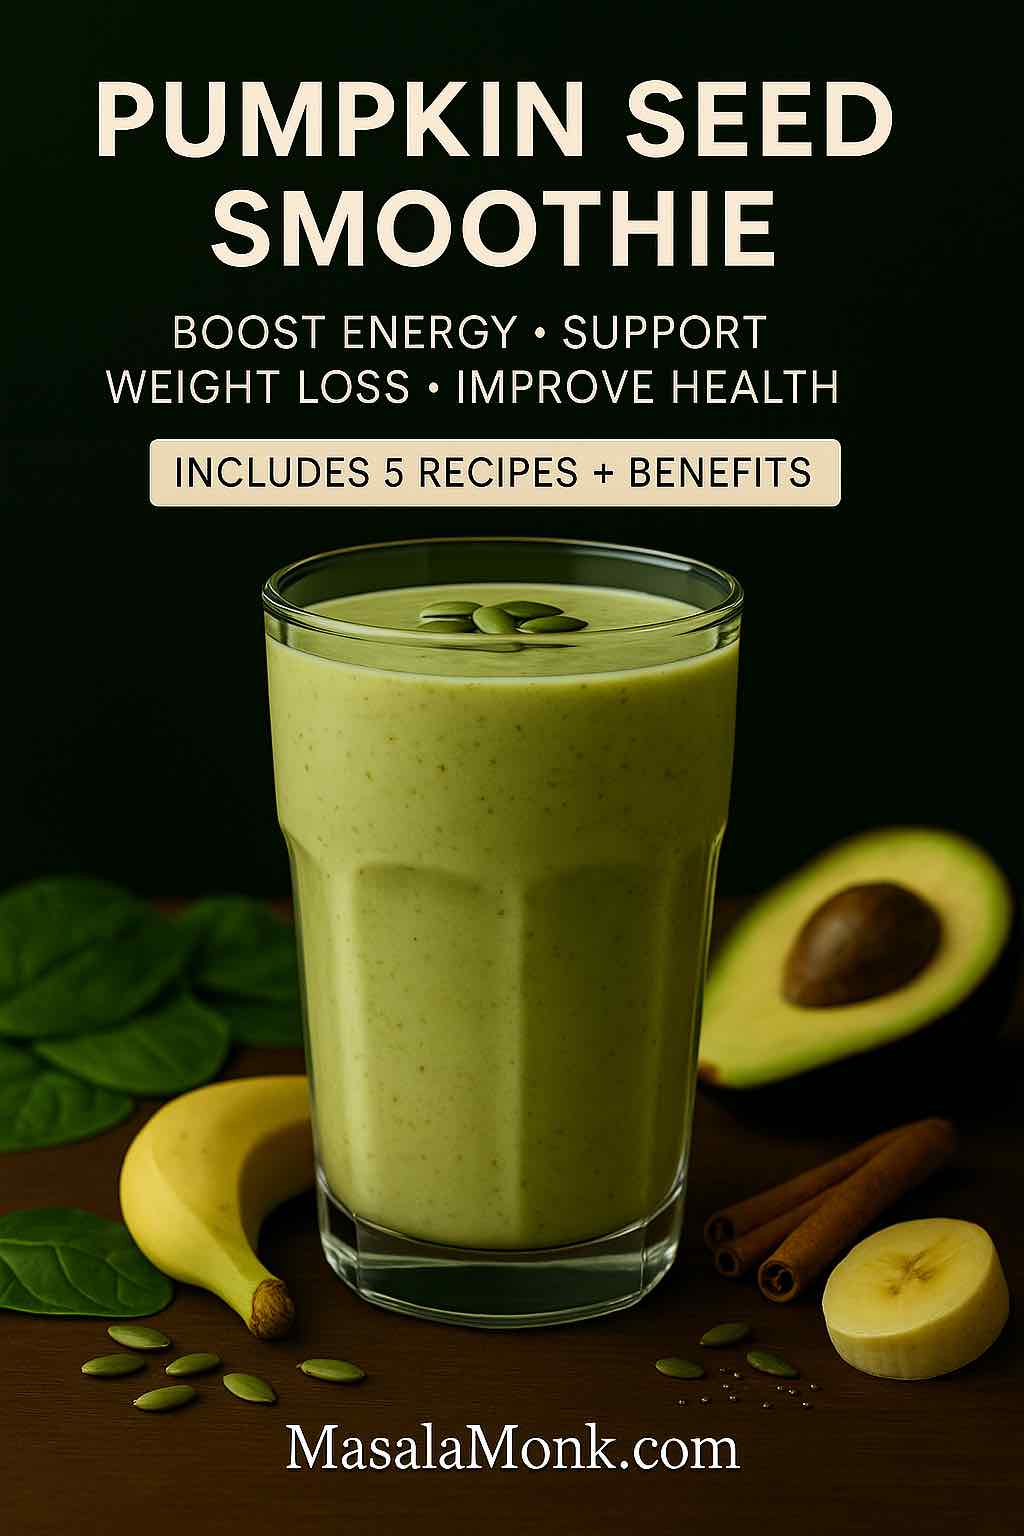
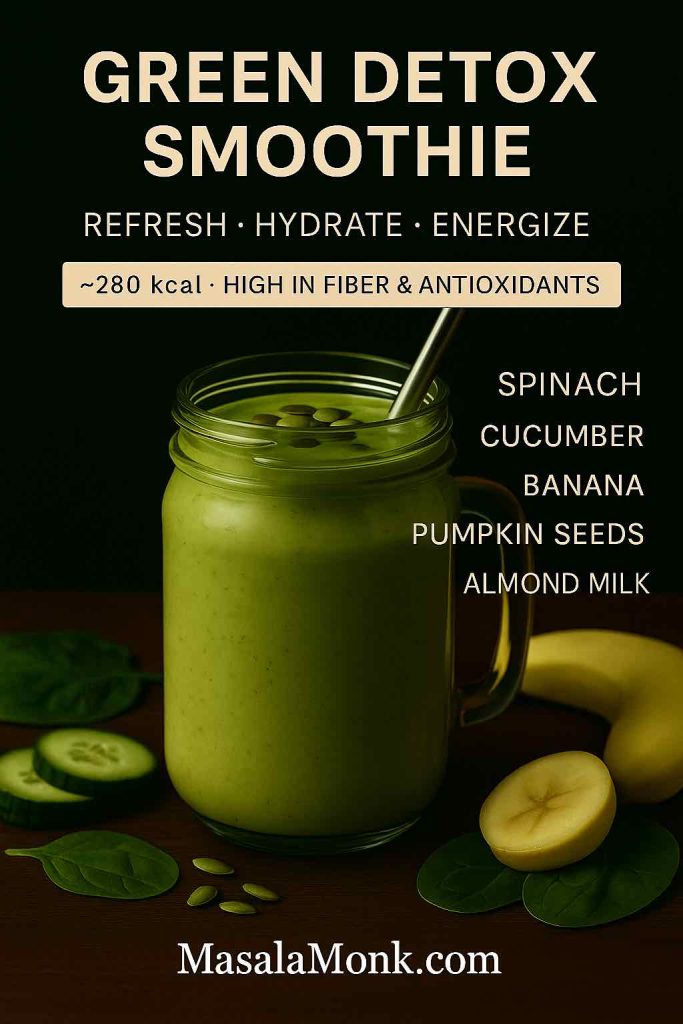
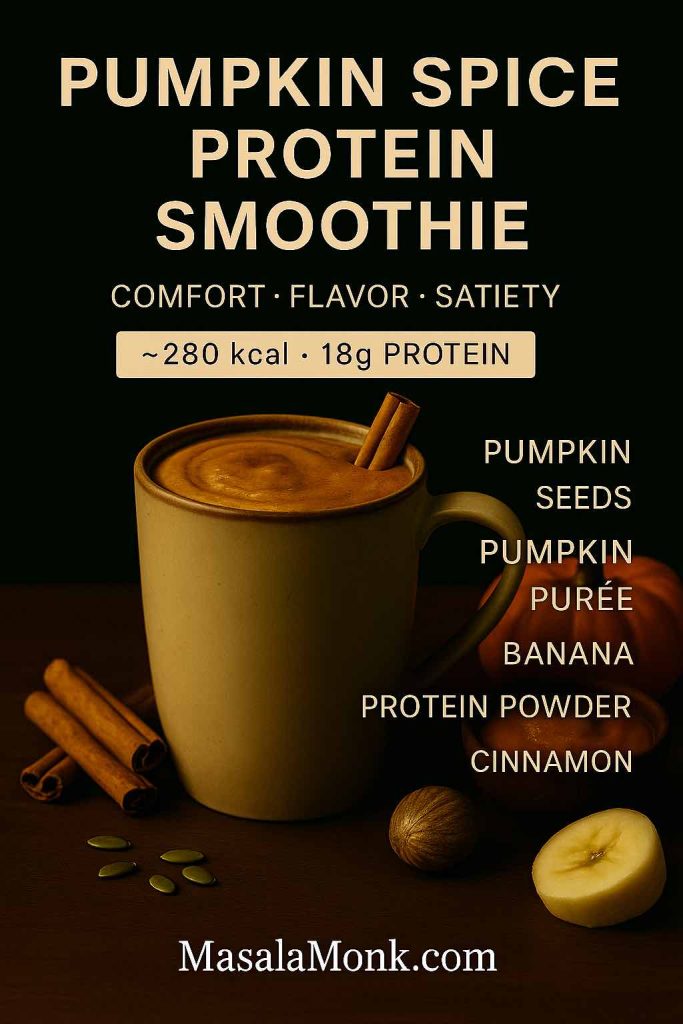
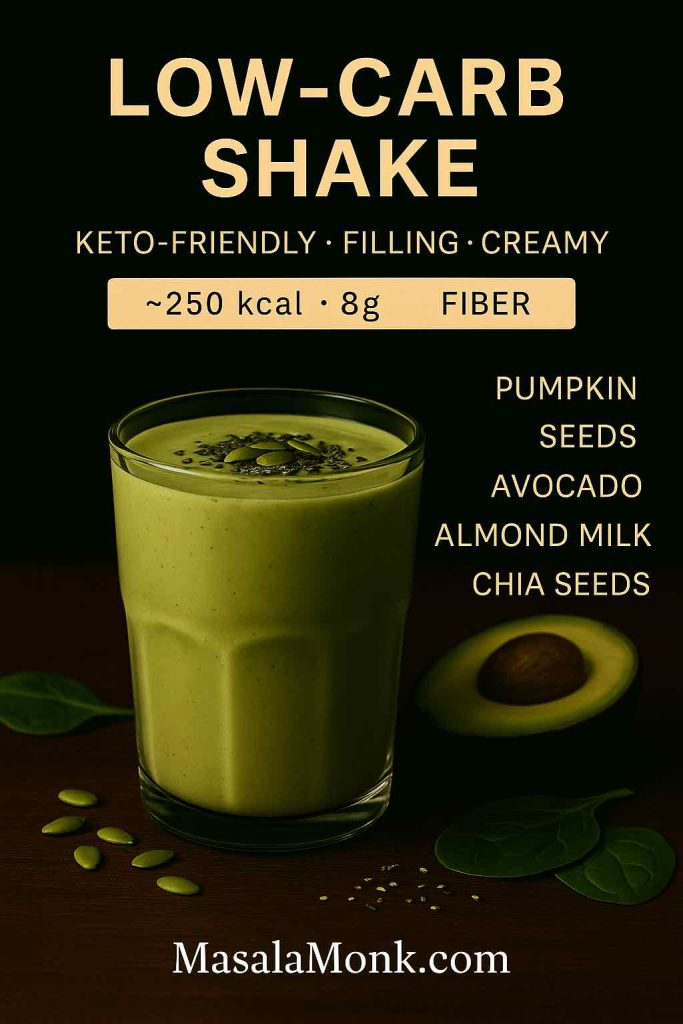
1. Smoothies That Don’t Taste “Green”
Spinach blends seamlessly into fruit-based smoothies. Try:
- 1 cup baby spinach
- ½ banana
- ½ cup frozen mango
- 1 scoop protein powder
- 1 cup almond milk
The fruit masks the greens, but you still get fiber, vitamins, and minerals. For extra satiety, add chia seeds or oats or gt inspiration from one our fragrant cardamom-spinach power drinks for a refreshing twist.
2. Simple Soups and Stews
Add spinach to the pot during the final 2–3 minutes of cooking. It wilts instantly and boosts the nutrient profile without changing the flavor dramatically. A bowl of lentil soup with spinach delivers protein, fiber, and iron in one warming meal.
3. Protein-Packed Salads
Spinach leaves are sturdier than lettuce and pair well with lean proteins. A classic combo:
- 2 cups fresh spinach
- 2 boiled eggs or 100g grilled chicken
- ½ avocado
- A sprinkle of seeds (pumpkin or sunflower)
- Lemon-olive oil dressing
The vitamin C from lemon juice also enhances non-heme iron absorption from spinach — a win-win. (My Food Data)
4. Eggs and Stir-Fries
A handful of spinach in scrambled eggs adds volume, fiber, and nutrients with almost no extra calories. In stir-fries, spinach is a last-minute addition that bulks up the dish while soaking up savory sauces.
5. Spinach Drinks and Juices
Cold-pressed spinach juice has become trendy, but smoothies are more balanced since they retain fiber. For a refreshing green drink: blend spinach with cucumber, apple, and ginger. Need more inspiration? Fuel your mornings with these matcha-spinach energizing drinks which are hydrating, low-calorie, and loaded with antioxidants.
A 7-Day Spinach Weight Loss Meal Idea
Here’s how a week of small swaps can highlight the spinach nutrition and weight loss benefits without boredom:
| Day | Breakfast | Lunch | Dinner | Snack |
|---|---|---|---|---|
| Mon | Spinach & egg omelet | Spinach salad with chickpeas | Grilled salmon + sautéed spinach | Spinach + mango smoothie |
| Tue | Spinach smoothie bowl | Turkey & spinach wrap | Lentil soup with spinach | Spinach hummus + carrots |
| Wed | Greek yogurt with spinach powder | Palak paneer (light version) | Brown rice + stir-fried spinach & tofu | Spinach + apple juice |
| Thu | Oats with spinach powder | Spinach quinoa bowl | Chicken curry with spinach sabji | Spinach + pineapple smoothie |
| Fri | Scrambled eggs with spinach | Spinach chickpea salad | Pasta tossed with spinach & veggies | Frozen spinach added to soup |
| Sat | Spinach + banana smoothie | Spinach tortilla wrap with beans | Grilled shrimp + spinach sauté | Spinach + cucumber juice |
| Sun | Spinach feta omelet | Palak dal with rice | Spanakopita (in moderation) | Spinach dip (yogurt-based) |
This isn’t a “spinach-only” plan — it’s about weaving spinach into meals in creative, enjoyable ways.
Spinach Benefits Beyond Weight Loss: Nutrition and Health
While spinach is a friend to anyone managing weight, its influence goes much further. Eating spinach consistently supports nearly every system in the body.
- Bone Health
Vitamin K and calcium in spinach are essential for bone density. In fact, one cup of cooked spinach provides over 30% of your daily calcium needs. (My Food Data) - Heart Health
Spinach is naturally high in nitrates; a 7-day randomized crossover trial in healthy adults found nitrate-rich spinach soup reduced arterial stiffness and lowered blood pressure versus a low-nitrate control. (PMC, PubMed) - Eye Protection
Spinach provides lutein and zeaxanthin, pigments linked with reduced progression of age-related macular degeneration in human studies/reviews. (PMC) - Brain and Mood
Folate, magnesium, and vitamin B6 in spinach support neurotransmitter function, which may help regulate mood and reduce risk of cognitive decline. (My Food Data) - Anti-Inflammatory Power
Spinach is packed with antioxidants, including flavonoids and carotenoids, which combat inflammation — a root cause of many chronic diseases. (My Food Data)
In short, the spinach nutrition and weight loss benefits are just one slice of the story. This vegetable is more than a diet trick — it’s a long-term health investment.
Baby Spinach and Red Spinach
When you walk into a grocery store, you’ll often see two standouts: baby spinach and, occasionally, red spinach. While they share the same leafy family, each brings something unique to the table.
Baby spinach is simply spinach harvested earlier, when the leaves are smaller, more tender, and milder in taste. Nutritionally, it’s almost identical to mature spinach — rich in vitamin K, vitamin A, folate, and iron — but its delicate leaves make it especially popular in salads and smoothies. For those new to greens, baby spinach is often the easiest entry point.
Red spinach, less common in Western supermarkets but widely used in parts of Asia, has a striking crimson hue thanks to betalains, the same antioxidant pigments found in beets. These compounds may support heart health and reduce oxidative stress. Red spinach also tends to have a slightly earthier, more robust flavor, making it excellent in stir-fries and sautés.
Both varieties reinforce the case that spinach isn’t just one thing — it’s a versatile family of greens with overlapping but distinctive health perks.
Spinach Powder and Supplements
For those who want the benefits of spinach without the daily washing and chopping, spinach powder has become a popular option. Made by drying and pulverizing fresh spinach, it’s often marketed as a nutrient-dense addition to smoothies, soups, and even baked goods.
Here’s what you should know:
- Nutrient retention: Spinach powder preserves many of the vitamins and minerals found in fresh spinach, especially vitamin K, iron, and plant antioxidants.
- Convenience: It’s lightweight, shelf-stable, and easy to scoop into drinks or recipes.
- Cautions: It won’t provide the same water content or fiber as fresh spinach, so it’s best viewed as a supplement, not a replacement.
If you’re traveling, on a tight schedule, or looking to boost smoothies without bulk, spinach powder can be a handy addition. But nothing beats a crisp bunch of fresh spinach on your plate.
Calories in Spinach: Portion and Nutrition Guide
Spinach’s nutrition can sound abstract until you see it broken down into practical portions. Here’s a simple guide to common serving sizes:
| Portion | Calories | Protein | Fiber | Vitamin K | Vitamin A | Iron |
|---|---|---|---|---|---|---|
| 1 cup raw (30g) | 7 | 0.9g | 0.7g | 181% DV | 56% DV | 5% DV |
| 100g raw | 23 | 2.9g | 2.9g | 604% DV | 188% DV | 15% DV |
| 1 cup cooked (180g) | 41 | 5.4g | 4.3g | 987% DV | 377% DV | 36% DV |
| 200g raw (about 6 cups) | 46 | 5.8g | 5.8g | 1,200% DV | 376% DV | 30% DV |
(Sources: University of Rochester Medical Center, for raw Spinach My Food Data, for cooked Spinach My Food Data)
This chart answers queries like “calories in spinach,” “100g spinach nutrition,” “1 cup spinach nutrition facts,” and makes it easy for readers to visualize exactly what they’re getting on their plate.
Spinach Nutrition: Vitamins and Nutrients It’s High In
Spinach isn’t just a “green” — it’s a nutrient pharmacy. Here’s a closer look at the vitamins and minerals that dominate its profile:
- Vitamin K: Spinach is one of the richest natural sources. Just one cup raw covers nearly 200% of your daily needs, critical for bone strength and healthy blood clotting.
- Vitamin A (as beta-carotene): Essential for vision and skin health. Spinach provides more than half your daily intake in a single cup.
- Vitamin C: Supports your immune system, collagen production, and helps your body absorb iron.
- Folate: Important for cell growth and repair, particularly during pregnancy — and spinach is a star in these folate-focused chicken and spinach snacks, which make nutrition easy even on busy days.
- Iron: While plant-based iron isn’t as easily absorbed as animal sources, spinach still contributes meaningfully, especially when paired with vitamin-C-rich foods. In fact, it ranks among the top iron-rich vegetables for boosting hemoglobin.
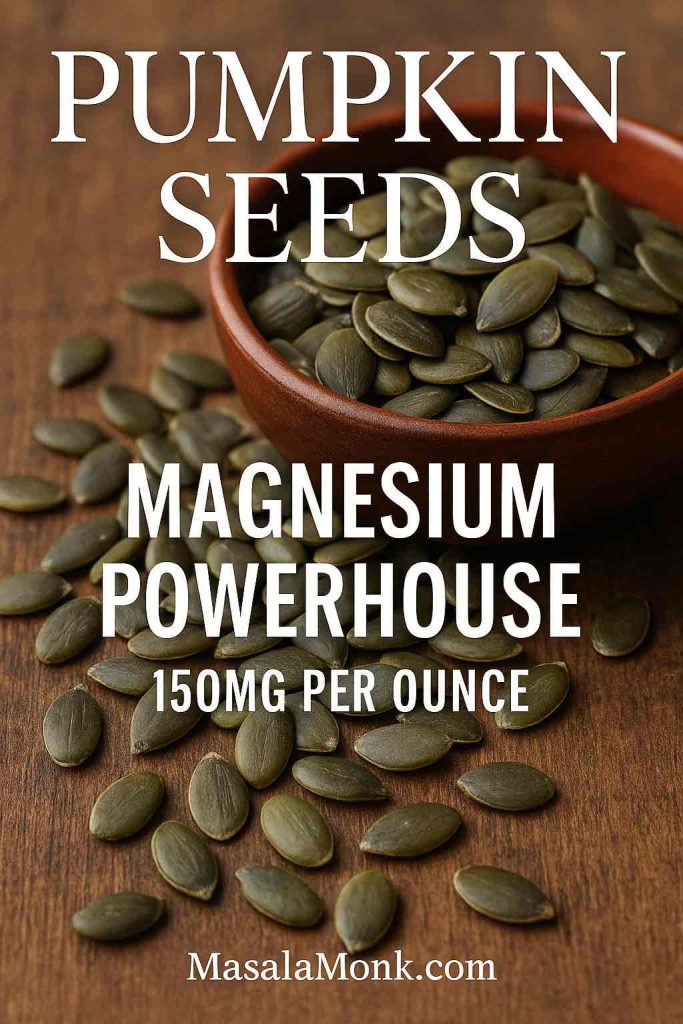
- Magnesium & Potassium: Support energy production, muscle health, and blood pressure regulation.
So, when someone asks “What is spinach high in?” or “Spinach vitamins?”, the answer is: a lot — with a special emphasis on K, A, C, folate, and iron. (My Food Data)
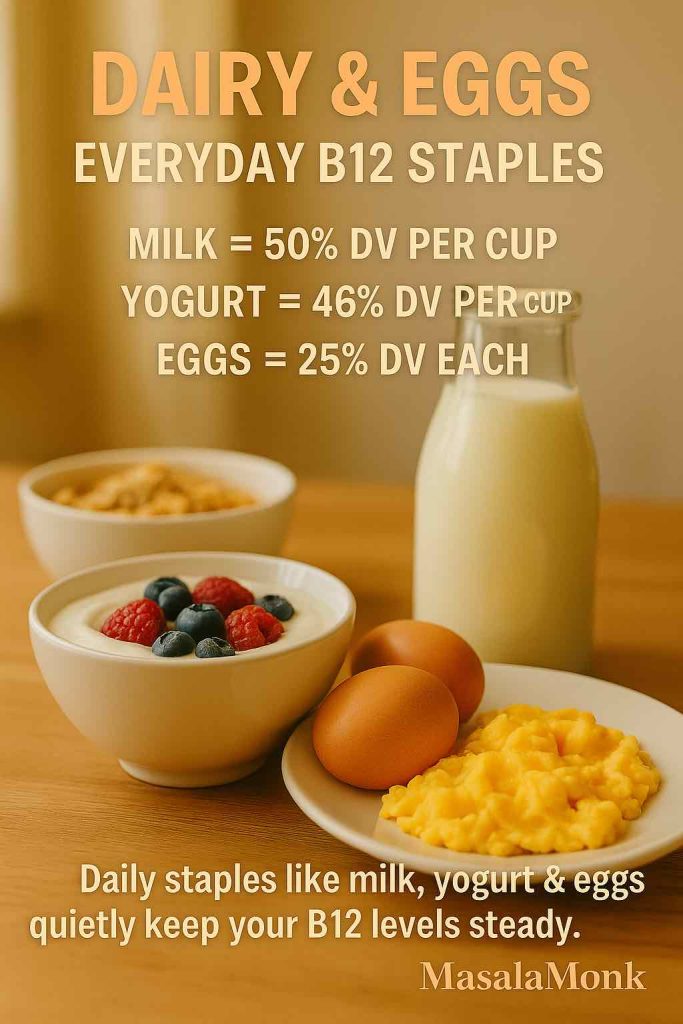
Also Read: Symptoms of Vitamin B12 Deficiency
Palak Nutrition and Indian Spinach Dishes
In India, spinach goes by a more familiar name: palak. This term covers the same leafy green, but the cultural context changes how it’s enjoyed.
- Palak nutrition: Nutritionally identical to spinach — low in calories, high in vitamins K, A, C, and folate.
- Palak paneer: A classic dish combining spinach puree with cottage cheese (paneer). A typical serving delivers protein from paneer plus spinach’s iron and folate. One bowl (250g) averages around 320–350 calories depending on preparation.
- Palak sabji: A simpler stir-fried or sautéed version, often under 150 calories per bowl, making it a weight-loss-friendly staple.
For readers searching “palak nutrition” or “palak for weight loss,” this section bridges the gap between global spinach facts and the local way people eat it daily.
Spinach in Everyday Dishes: Dips, Frozen, and More
Beyond wraps and salads, spinach pops up in comfort foods and pantry staples that many people Google before indulging:
- Spinach artichoke dip: A creamy favorite, but calorie-heavy — restaurant versions often top 250–300 calories per ½ cup, with significant fat from cheese and mayonnaise. Homemade versions with Greek yogurt can be a lighter spin.
- Frozen spinach: Nutritionally comparable to fresh, and in some cases even higher in vitamin C due to flash-freezing. (PubMed). A budget-friendly, year-round option that makes it easier to add spinach to soups and curries.
- Canned spinach: Convenient but less vibrant in taste and texture. It retains minerals but loses some vitamin C in the canning process.
Frozen spinach: about 26 calories per 100g; Canned spinach: about 19 calories per 100g, though sodium may be higher due to preservation.
Can You Eat Spinach Every Day?
It’s one of the most common questions, and the answer is: yes, for most people. Eating spinach daily provides a steady supply of essential nutrients, especially vitamin K, iron, and folate.
The only caveat is oxalates, natural compounds in spinach that can bind to calcium and contribute to kidney stones in susceptible individual. For most healthy people, daily spinach provides a steady supply of vitamin K, folate, and iron. If you’re prone to kidney stones, just be oxalate-smart: moderate very large raw portions, rotate in cooked spinach (cooking lowers oxalates), hydrate well, and pair with calcium-rich foods like Cheese, Paneer or Yogurt. (Mayo Clinic)
So yes — you can absolutely eat spinach every day. The trick is variety in preparation: raw salads, sautéed sides, blended smoothies, and hearty curries all keep your spinach habit sustainable and enjoyable.
Spinach Juice, Smoothies, and Raw Spinach Nutrition
Should you eat spinach raw or cooked? The answer is: both.
- Raw spinach keeps vitamin C intact and works beautifully in salads and smoothies.
- Cooked spinach reduces oxalate levels (which can block calcium absorption), making minerals like calcium and iron more available.
Balance is best: raw for freshness, cooked for minerals. Alternate between salads, sautéed sides, and blended smoothies, and you’ll cover all bases.
Spinach in Popular Foods (Wraps, Spanakopita, Starbucks Feta Wrap)
Spinach also sneaks into some of our favorite comfort foods — sometimes with a healthy twist, other times less so.
- Starbucks Spinach, Feta & Egg White Wrap: Officially listed at ~290 calories per wrap (notable protein and fiber) — a balanced grab-and-go option compared to many fast-food breakfasts. (Starbucks)
- Spanakopita: A delicious Greek pastry filled with spinach and feta. While nutritious, the buttery phyllo adds extra calories — enjoy as a treat, not a daily staple.
- Spinach tortillas/wraps: Marketed as “healthy,” but often made with refined flour and just a sprinkle of spinach. Always check the label for whole grains and actual spinach content.
By being label-savvy, you can enjoy spinach in many forms without derailing your nutrition goals.
Final Thoughts
Spinach is one of those rare foods that ticks every box: nourishing, low in calories, endlessly versatile, and backed by decades of nutritional science. From bone health to heart protection, from satiety to long-term weight management, the spinach nutrition and weight loss benefits make it a true kitchen essential.
Whether you’re aiming to slim down or simply to feel stronger and healthier, spinach is an easy, affordable step in the right direction. Next time you’re at the market, skip past the fad foods and reach for a bunch of spinach — your future self will thank you.
FAQs on Spinach Nutrition and Weight Loss Benefits
1) Is spinach good for weight loss?
Absolutely. Thanks to low calories, high water, and fiber, spinach helps you feel full without piling on energy. Moreover, when you focus on spinach nutrition and weight loss benefits, you get vitamins and minerals that make lighter eating feel satisfying—not deprived.
2) How do I eat spinach for weight loss?
Start simple: add a handful to smoothies, toss it into soups at the end, build salads with protein (eggs, chicken, chickpeas), and fold it into omelets or stir-fries. Additionally, pairing spinach with lemon or other vitamin-C foods boosts iron absorption—another quiet win for overall spinach nutrition and weight loss benefits.
3) Does spinach burn fat?
Spinach doesn’t “melt” fat directly; however, it supports a calorie deficit by enhancing fullness. Early research on spinach thylakoids suggests they may help curb cravings—so, indirectly, spinach nutrition and weight loss benefits make sticking to your plan easier.
4) What are the top spinach nutrition facts (per 100g and per cup)?
Per 100g, spinach has roughly 23 kcal, ~3g protein, ~2–3g fiber, and is ~92% water. Meanwhile, a cup of raw leaves (~30g) has about 7 kcal—tiny calories for big micronutrients like vitamin K, vitamin A, folate, and iron. That’s the “more for less” magic behind spinach nutrition and weight loss benefits.
5) What vitamins is spinach high in?
Spinach is rich in vitamin K, vitamin A (beta-carotene), vitamin C, and folate; it also offers iron, magnesium, and potassium. And because these come packaged with water and fiber, the spinach nutrition and weight loss benefits extend beyond vitamins to real-world satiety.
6) Is raw spinach better than cooked?
Both have advantages. Raw spinach preserves delicate vitamin C, while cooked spinach lowers oxalates and concentrates minerals like calcium and iron. Therefore, alternating raw and cooked gives you the best of both worlds—and maximizes spinach nutrition and weight loss benefits.
7) What are the benefits of eating raw spinach?
Raw spinach is crisp, hydrating, and bright with vitamin C and folate—great for salads and smoothies. Plus, it’s effortless to add daily. However, for mineral availability, rotate in cooked options too; that balance keeps spinach nutrition and weight loss benefits steady.
8) Is baby spinach healthier than regular spinach?
Nutritionally, they’re very similar. Baby spinach is just younger—tender, mild, and perfect for raw dishes—while mature leaves stand up beautifully to cooking. Consequently, choose based on texture and recipe; either way, you’ll capture spinach nutrition and weight loss benefits.
9) What are the benefits of red spinach?
Red spinach (common in parts of Asia) brings betalain antioxidants along with the familiar spinach vitamins. Moreover, its slightly earthier flavor shines in sautés and stir-fries, adding variety while preserving core spinach nutrition and weight loss benefits.
10) What are the calories in spinach (1 cup vs 100g)?
A cup of raw spinach (~30g) has ~7 kcal; 100g has ~23 kcal. Meanwhile, a cup of cooked spinach (~180g) is ~41 kcal because water cooks off and nutrients concentrate. Low energy, high nutrients—that’s the heart of spinach nutrition and weight loss benefits.
11) Is spinach high in fiber?
Yes. While fiber amounts are modest per serving, spinach’s high water + fiber combo really helps with fullness. Additionally, layering spinach with beans, seeds, or whole grains multiplies the effect—practical synergy for spinach nutrition and weight loss benefits.
12) What are the benefits of spinach powder?
Spinach powder is convenient and shelf-stable; you can stir it into smoothies or soups for a micronutrient bump. However, it lacks fresh spinach’s full water and fiber, so use it as a supplement, not a replacement, to keep spinach nutrition and weight loss benefits intact.
13) Is spinach good to eat every day?
For most people, yes. Daily spinach offers reliable vitamin K, folate, and iron. Nevertheless, if you’re prone to kidney stones, moderate raw portions and include cooked spinach (lower oxalates). This balanced approach sustains spinach nutrition and weight loss benefits long-term.
14) What is “palak nutrition,” and is palak good for weight loss?
“Palak” is simply spinach in India—the nutrition is the same. Palak paneer, palak sabji, and dal palak are delicious ways to eat it. And because palak is low-calorie yet nutrient-dense, it aligns beautifully with spinach nutrition and weight loss benefits in everyday Indian meals.
15) How many calories are in a Starbucks spinach feta egg white wrap—and is it a smart choice?
It’s roughly ~290 calories with notable protein and some fiber, so it’s a more balanced on-the-go option than many fast-food breakfasts. Still, check local nutrition info and, if you like, pair it with fruit or a side salad to lean into spinach nutrition and weight loss benefits without overdoing extras.
🌿 Research & Sources on Spinach Nutrition and Weight Loss Benefits
If you’d like to dive deeper into the numbers and science behind spinach nutrition and its role in weight loss, here are the most reliable resources we’ve drawn on. They’re easy to explore, trustworthy, and align perfectly with the spinach nutrition and weight loss benefits covered in this article.
1. Spinach Nutrition Facts
For exact calories, protein, fiber, vitamins, and minerals in both raw and cooked spinach, MyFoodData provides clear breakdowns:
2. Thylakoids and Appetite Control
Research on spinach’s natural compounds called thylakoids shows they may help reduce cravings and increase satiety — one reason spinach is such a powerful ally for weight management.
3. Spinach Nitrates and Heart Health
Studies show spinach’s naturally high nitrates can help improve blood flow and lower blood pressure.
4. Lutein & Zeaxanthin for Eye Protection
These antioxidants in spinach are strongly linked to protecting against age-related macular degeneration.
5. Oxalates and Kidney Stones
For most people spinach is safe daily, but for those prone to kidney stones, here’s Mayo Clinic’s guidance on oxalates:
6. Fresh vs. Frozen Spinach
Frozen spinach is not a downgrade — in fact, flash-freezing often helps retain key nutrients like vitamin C.
7. Everyday Spinach Choices
Even quick-service meals like Starbucks’ spinach wrap can give you a balanced on-the-go option.
✨ Takeaway: These sources show that the spinach nutrition and weight loss benefits are not hype but supported by credible data and real science. Whether you’re tracking calories, exploring antioxidants, or just trying to eat healthier, spinach earns its place on your plate.