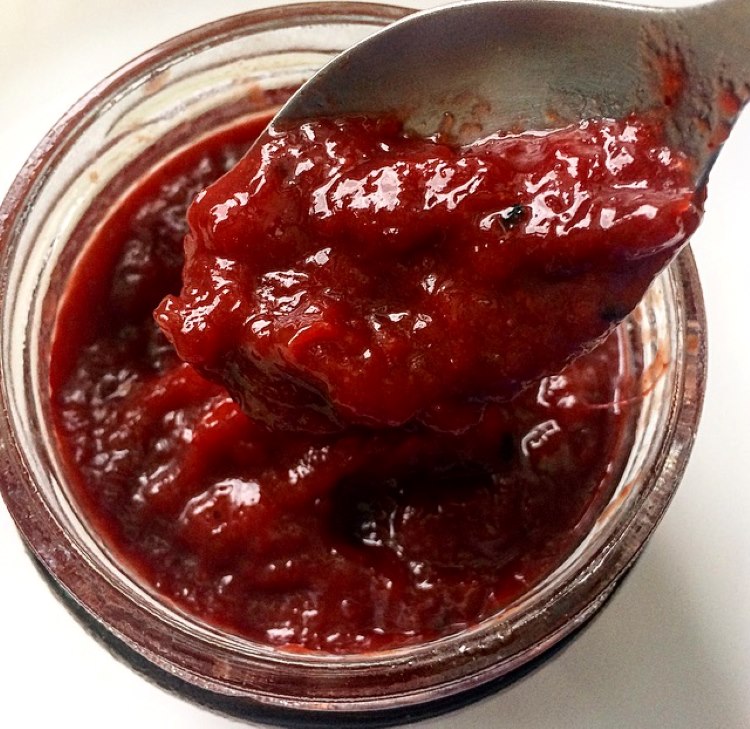
Dip, lick or eat.. This chutney is absolutely delicious. Indian Plum Chutney also known as Aloo Bukhara Chutney is a flavor bomb. It is spicy, tangy and a sweet condiment. I made this chutney for the first time in 2019. It happened by chance. I had no intention of making plum chutney. It was only when my husband got so many organic plums that we got tired of eating them. They were just lying around the kitchen counter and no one spared them a glance. They kept getting riper and riper and before they became overripe it caught my attention. And thank God they did otherwise I would have never made this chutney.
Plums are packed with nutrients. It contains vitamin K, vitamin B3, vitamin B2, vitamin A, vitamin B6, copper, manganese, potassium & phosphorus. Plums also contain antioxidants which will help repair damaged cells and fight free radicals. The antioxidants in plums have powerful anti-inflammatory properties better than any other stone fruit. Also, if you or your child has constipation issues then, a little bit of this chutney can help in easy bowel movement because fibre in plums is extremely good. In Ayurveda, plums are known to aid digestion and strengthen immune system.
Plums are in season and before this amazingly nutritious and yummy stone fruit goes out of season you have got to make this yummy chutney for your family. I promise kids will love it too.
Fun ways to use this Chutney
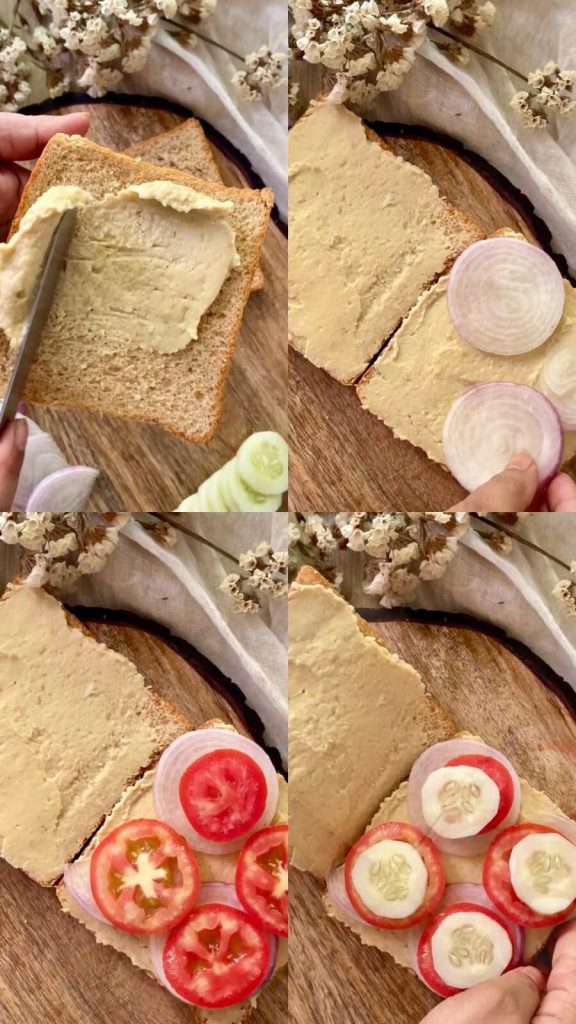
- Use it as a spread for wraps, sandwiches, burgers or a toast.
- Use as a substitute for BBQ sauce for pork chops or chicken
- It can be an excellent addition to your cheese board to add more dimension and flavour.
- My favourite way is to have it with dal and rice or with simple plain Parantha.
Recipe Ingredients
Plums: Always use black ripe plums that have tart skin and sweet flesh for making plum chutney.
Spices: I have used ginger, garam masala, chilli powder, kalonji (Nigella seeds), nutmeg powder, cinnamon, bayleaf, cloves and peppercorn. If you don’t have some spices, you can still make this chutney without it.
Sweetness: For sweetness I have used jaggery powder. Apart from adding nutrition, jaggery add its own earthy rich caramel flavour. You can use other sweetener like coconut sugar, palm sugar.
Black Salt or Kala Namak: Black salt has a distinct tangy and pungent flavour. It tends to give a dish a rich umami flavour. It also helps to aid digestion. You can substitute black salt with Himalayan Pink Salt.
Recipe: makes 500 grams Chutney
Ingredients
- Plums: 1 kg
- Jaggery: 250 grams
- Rock salt to taste: 1.5 tsp or as per taste
- Red chilli powder: 1/2 tsp
- Minced ginger: 1 tbsp
- Garam masala: 1/2 tsp
- Any Non-fragrant Oil: 2 tbsps (I used groundnut oil)
- Water: 1/2 cup
- Nigella seeds/Kalongi: 1/4th tsp
- Nutmeg powder: a pinch
Whole Spices
- Bayleaf: 1
- Cinnamon stick: 1” long
- Cloves: 4
- Peppercorns: 6
Instructions
- Chop plums roughly and add ginger to it.
- In a wok, heat oil. Add bayleaf, kalongi or nigella seeds, cloves, cinnamon and black peppercorns.
- After 30 seconds, add plum and ginger mix. Cook for a minute.
- Break jaggery into small pieces and add to plums.
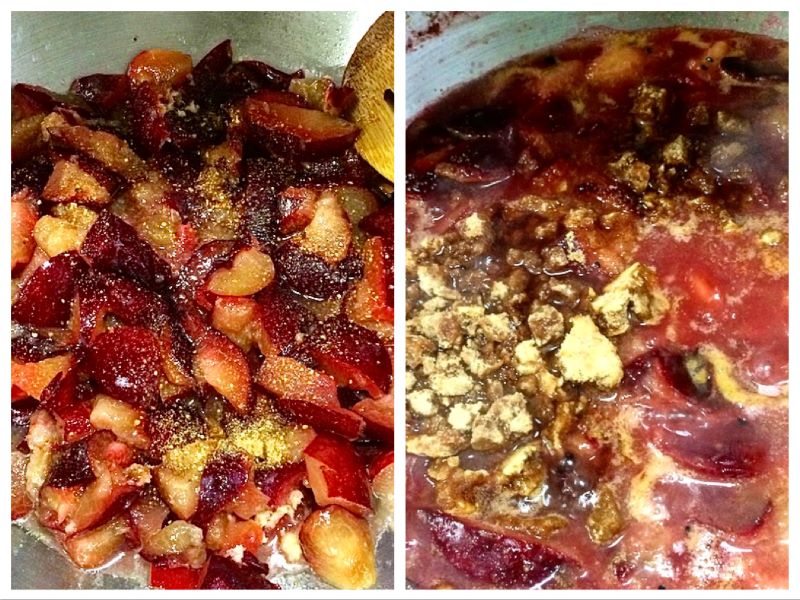
- Stir well and let jaggery dissolve.
- Then add salt, red chilli powder & garam masala. Mix well. Cook for 2 minutes.
- Now add water and let it cook for about 30 minutes or till it gets thick and jammy.
- Keep stirring in between.
- Finish it with some grated nutmeg in the end. Mix well.
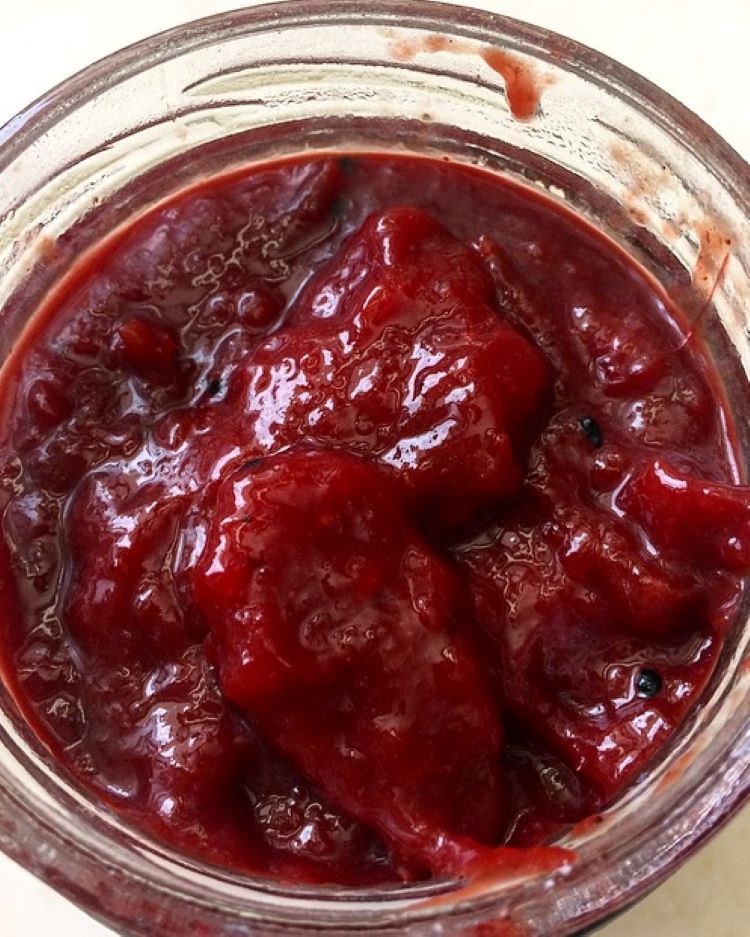
- Let cool and the pour it in clean glass jars.
How to store Plum Chutney
Allow the chutney to cool completely before storing it in a clean dry airtight container. Refrigerate this chutney. It will last you approximately 3 to 4 weeks. However, if you are planning to make a large batch then do follow proper canning procedures. There is no point in going through all the processes of preserving, if it is going to spoil before you get to open the jar.
Notes
- Fresh whole spices add more punch.
- Try to get your hands on black salt or kala namak. It goes very well in this recipe.
- Adjust sweetener as per your taste. When using ripe plums this recipe will yield a sweet tangy chutney, but not overly sweet.