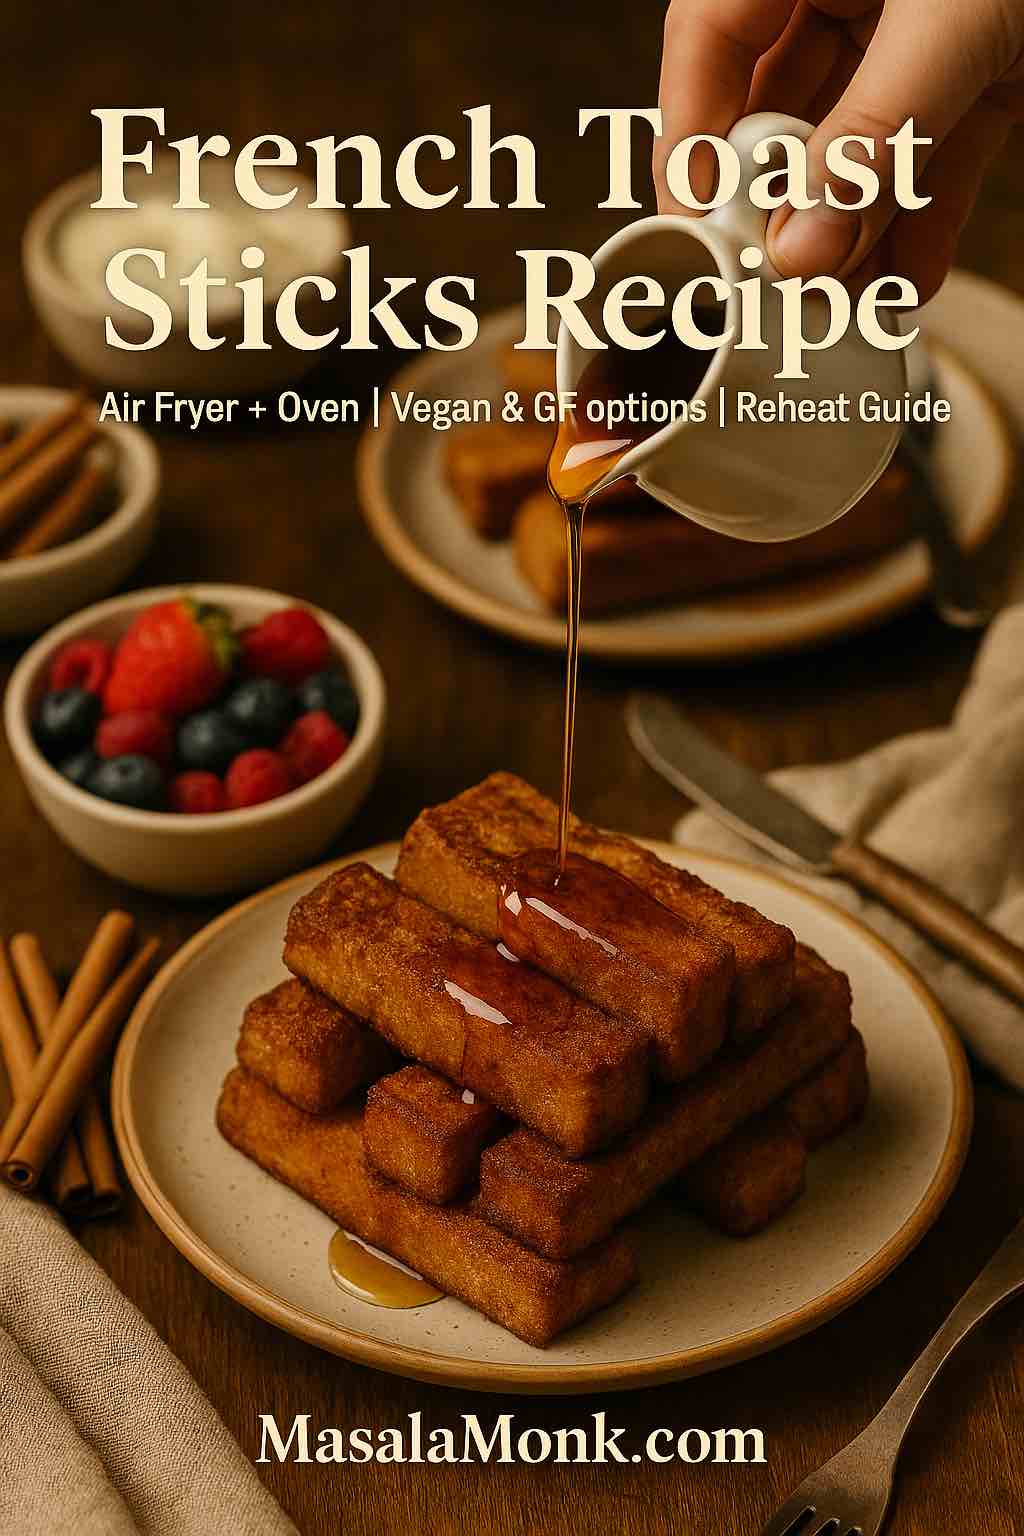
There are breakfasts you make on autopilot and there are breakfasts that pull everyone to the table. This french toast sticks recipe sits firmly in the second camp: shatteringly crisp edges, a custardy middle that stays tender, and dippable batons that feel festive on a Tuesday and right at home on a holiday brunch board. The method is wonderfully forgiving once you understand three levers—custard ratio, heat management, and evaporation. We’ll walk through air fryer and oven paths, then branch into vegan, gluten-free, and protein-forward variations, plus copycat crunch coats, batch-freezing, and precise reheating. Along the way, when you need a plant-based base that already works, reach for the tried-and-true guide to Vegan French Toast: 6 Easy Recipes; it adapts to sticks beautifully with only a couple of tweaks.
Before we begin, a quick but important food-safety reminder: the center of an egg-based custard should reach about 71°C / 160°F; when you want belt-and-braces certainty, the USDA safe minimum temperature chart explains the number succinctly. With that in mind, let’s get cooking.
Core Ingredients (and Why They Work)
- Bread (8 thick slices): Brioche, challah, or Texas toast excel because their enriched crumb absorbs custard without collapsing. Standard sandwich bread will do in a pinch if you lightly dry it first.
- Eggs (3 large): Structure, gloss, and gentle richness.
- Milk (¾ cup / 180 ml): Whole milk yields plush centers; almond or oat milk keep things dairy-free without losing crispness. If you love making your own nut milk, you can follow this simple primer on how to make almond milk at home for a clean, neutral base.
- Sugar (1 tbsp): Quickens browning; keep it modest so the crust doesn’t scorch.
- Vanilla (1 tsp) & Cinnamon (½ tsp): Aroma that plays well with maple, chocolate, or fruit.
- Salt (pinch): Brightens everything.
- Butter or neutral oil (1–2 tbsp): A whisper on the basket or pan dramatically boosts crunch.
As a north star for technique and proportions, the explainer at Serious Eats is an evergreen reference; we’ll echo the spirit while tuning for stick geometry and the speed of convection.
Classic French Toast Sticks Recipe — Air Fryer Method
Yield: 4 generous servings (20–24 sticks)
Active time: about 20 minutes
Step 1: Cut and Dry
Stack each slice and cut into thirds to form batons. Set them on a wire rack for 5–10 minutes while you mix the custard. Alternatively—and especially if the bread is very fresh—give the slices 2–3 minutes in a low oven to drive off a little surface moisture. This brief drying is your first insurance policy against sogginess.
Step 2: Whisk the Custard
In a shallow dish, whisk 3 eggs, ¾ cup (180 ml) milk, 1 tbsp sugar, 1 tsp vanilla, ½ tsp cinnamon, and a pinch of salt until perfectly smooth. The custard should coat the back of a spoon and leave a clean trail when you draw a finger through it.
Step 3: Quick Soak
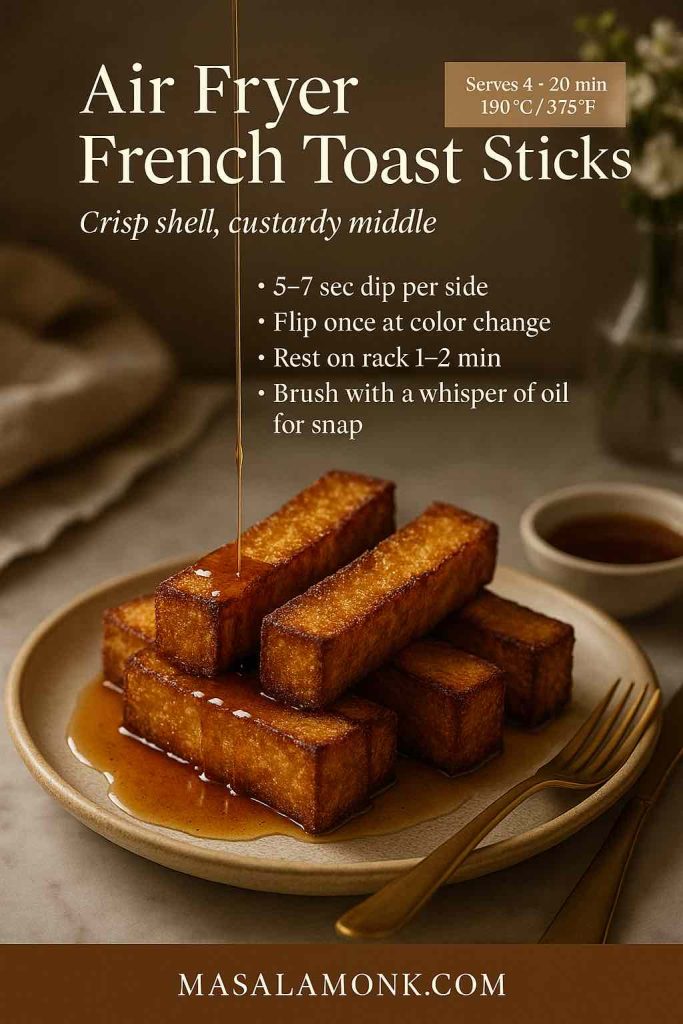
Dip 6–8 sticks at a time for 5–7 seconds per side. Let excess drip until the coating thins to a glossy film. Because sticks have more edge area, they don’t need a deep soak; brevity yields better texture.
Step 4: Air Fry for Crunch
Preheat to 190°C / 375°F. Lightly brush or spray the basket with butter or oil. Arrange sticks with space between them—hot air needs room to circulate. Air fry 6–8 minutes total, flipping at the halfway point when the color deepens from gold to amber. For a dramatic shell, brush the exposed sides with a trace of oil just before the flip.
Step 5: Rest, Then Serve
Transfer to a wire rack for 1–2 minutes. That brief rest vents steam and sets the crust. Serve immediately with warm maple syrup, or go playful with a small bowl of 3-minute homemade chocolate syrup that turns glossy on contact.
Sheet-Pan French Toast Sticks — Oven Method (Batch-Friendly)
When you’re cooking for a crowd or stocking the freezer, the oven delivers consistency without babysitting.
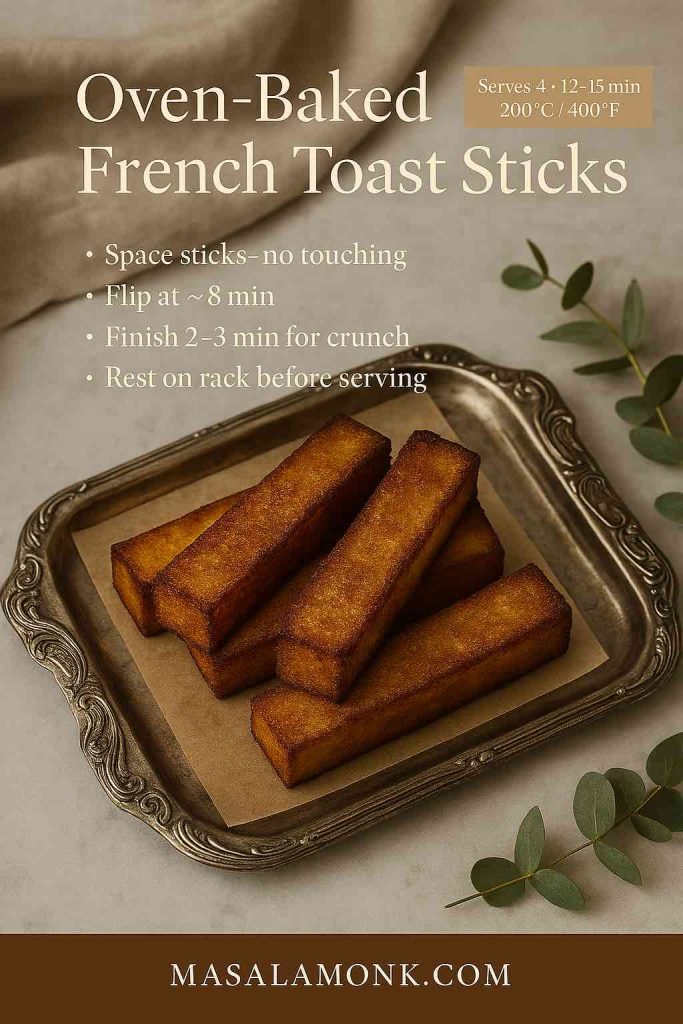
- Heat oven to 200°C / 400°F. Line a rimmed sheet with parchment or set a rack over the sheet; brush with melted butter.
- Dip sticks as above and lay them out so they don’t touch.
- Bake 12–15 minutes, flipping around 8 minutes, until deeply golden.
- For extra crunch, give them 2–3 minutes more after the flip.
- Rest on a rack before plating or freezing.
Although times vary with ovens, color and feel tell the truth: crisp edges, bouncy centers. If the center indents and stays wet, a minute or two more will finish the set.
Stovetop Skillet Variation — When You Want Pan Caramelization
Sometimes you crave the scent of butter browning in a pan. In that case:
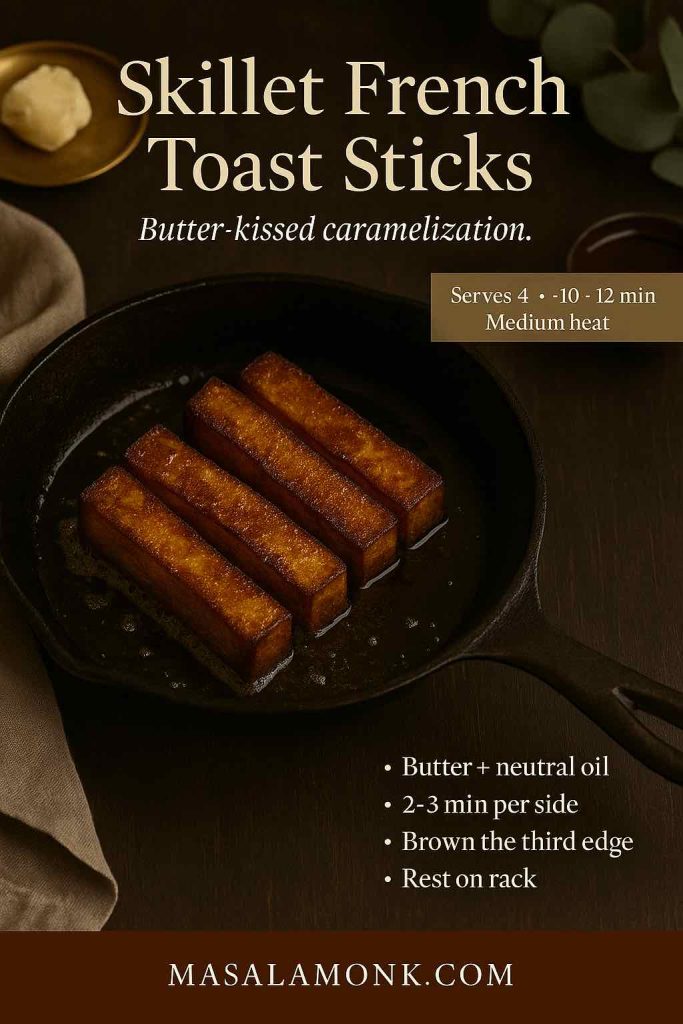
- Heat a large nonstick or well-seasoned cast-iron skillet over medium.
- Film the pan with a mix of butter and oil.
- Cook sticks 2–3 minutes per side, turning to brown the third “edge” as needed.
- Slide finished sticks onto a rack so the bottoms don’t steam.
This route gives you a slightly deeper caramel note and a touch more flexibility if your air fryer is busy with bacon or potatoes.
Vegan French Toast Sticks — Plant-Forward with Crisp Edges
If you’re cooking for vegans, egg allergies, or you simply like the flavor of plant-based custard, swap in the method from Vegan French Toast: 6 Easy Recipes and adapt it for sticks with two small upgrades:
- Add 1–2 tsp neutral oil directly to the vegan custard to enhance browning.
- Keep the soak short (as above) so structure holds.
- Air fry at 190°C / 375°F for 6–8 minutes total, flipping once, or bake per the oven method and extend a minute if edges look pale.
Because plant custards can set more gently, the rack rest is doubly important; it locks in crunch while the interior finishes.
Gluten-Free French Toast Sticks — Crisp Without Crumble
Gluten-free breads vary substantially, so choose a loaf with a close crumb and assertive structure—brioche-style GF loaves or thicker sandwich slices perform best. Dry the sticks slightly longer before dipping, and keep the soak short. Follow either the air fryer or oven timing above; add 1–2 minutes after the flip if the surface looks soft.

If gluten is new territory for you or your readers, a quick primer like What is Gluten? helps demystify labels. For a naturally GF side that complements sticks, consider a spoon of millet porridge or these ideas in millets as a gluten-free superfood—they round out the plate without competing on sweetness.
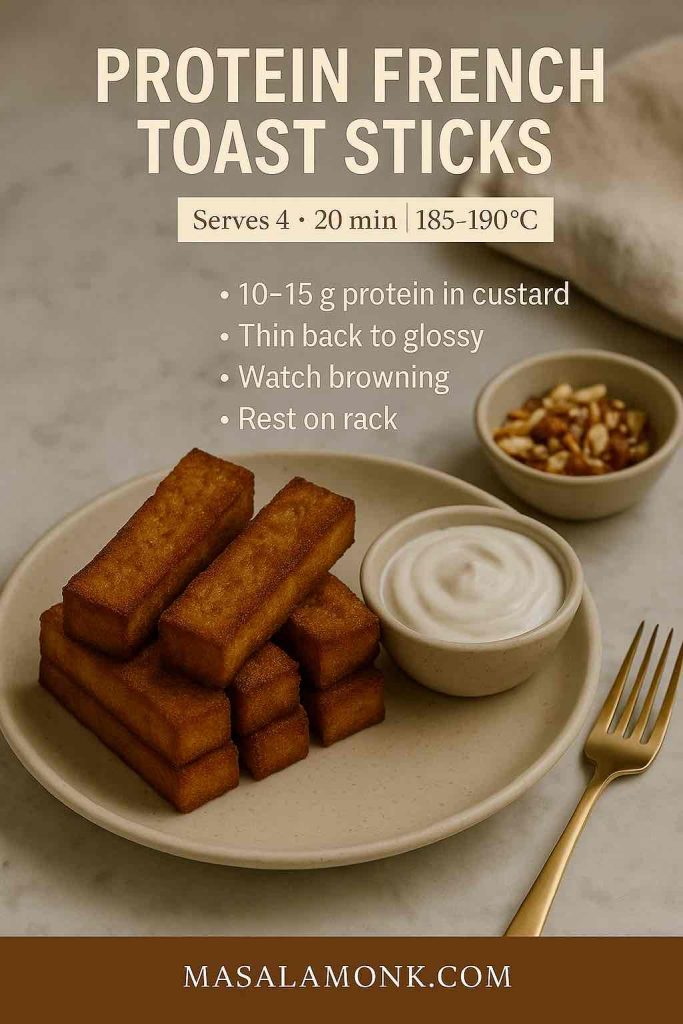
Protein French Toast Sticks — Higher Satiety, Same Crunch
For a more filling breakfast without leaning on syrup, whisk 10–15 g unflavoured whey or plant protein into the custard, then thin with milk until it returns to that glossy, spoon-coating texture. Because added protein browns quickly, watch color closely and lower the air fryer temperature to 185°C / 365°F if necessary. Serve with thick yogurt and chopped nuts, or keep it light and pair a few sticks with keto chia pudding with almond milk so everyone at the table gets what they prefer.
Crunch Coats & Copycat Textures — From Churro Sugar to Cornflake Crust
Now and then, you want that fairground crunch or a drive-thru echo at home. Happily, sticks invite embellishment:
- Cinnamon Sugar “Churro” Finish: Toss just-cooked sticks in a blend of 3 tbsp sugar + 1 tsp cinnamon. Do this while they’re still hot so the sugar clings.
- Cornflake Crust: After dipping, press each stick into lightly crushed cornflakes. Air fry as usual. The shards add audible crunch without deep-frying.
- Graham Dust: Blitz plain grahams into coarse crumbs; press on as with cornflakes for a cookie-like halo.
- Nutty Edge: Roll one long side in finely chopped, lightly toasted almonds or pecans before cooking; it creates a textural contrast without overwhelming the custard.
For inspiration and a sense of what diners expect from a fast-food take, a quick skim of the Sonic Drive-In menu will reveal how they pair sticks and dips. You’ll find that a simple vanilla-maple dip (equal parts maple syrup and thick yogurt, scented with vanilla) outshines most chain versions at home.
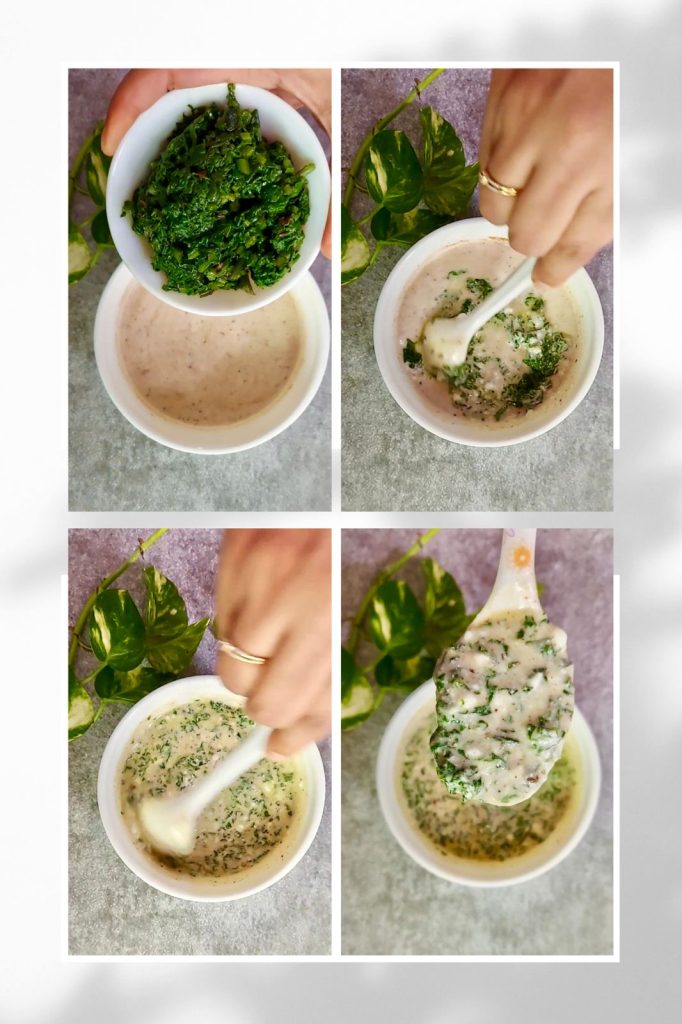
Sauces, Dips, and Fruit — Keep the Party on the Plate
Maple syrup is non-negotiable for purists; nevertheless, little jars of toppings make breakfast feel abundant:
- Warm Chocolate Spoon Sauce: Drizzle a ribbon of 3-minute homemade chocolate syrup over a stack and watch it set into a gloss as the sticks cool.
- Cinnamon Apples: Spoon over stewed cinnamon apples for a diner-style plate without the cloying sweetness.
- Yogurt-Maple Dip: Whisk ½ cup thick yogurt with 2 tbsp maple and a pinch of salt.
- Berry Smash: Crush berries with a touch of sugar and lemon; strain or leave rustic.
- Orange Zest Sugar: Microplane zest into sugar with a whisper of nutmeg; toss hot sticks lightly for a holiday finish.
Because sauces add sweetness, you can reduce sugar in the custard slightly and lean on caramelization for flavor.
Freezer-Friendly: How to Batch, Store, and Reheat Perfectly
Sticks freeze and reheat better than whole slices thanks to their surface area. Here’s the straightforward route:
- Cook completely and rest on a rack until room-temp.
- Freeze in a single layer on a parchment-lined sheet until firm.
- Bag & label, pressing out air.
- Reheat from frozen:
- Air fryer 180°C / 356°F for 3–5 minutes (shake once).
- Oven 200°C / 400°F for 6–8 minutes on a rack set over a sheet.
If you keep a box of store-bought sticks as a back-pocket option, use these ranges as a starting point and adjust by brand. For context, you can glance at Eggo French Toaster Sticks or Farm Rich French Toast Sticks to see packaging guidance, then dial toward your preferred crispness. Either way, trust color and firmness more than labels.
Ratio Sense — Cook by Feel When Measuring Cups Vanish
Holiday rentals and late-night cravings share one trait: missing measuring cups. Fortunately, this recipe scales by intuition:
- For 2 slices (6 sticks): 1 large egg + a scant splash of milk (about 60–80 ml).
- For 4 slices (12 sticks): 2 eggs + ~150 ml milk.
- For 8 slices (24 sticks): 3 eggs + 180 ml milk (our base).
Aim for a custard that’s thicker than milk and thinner than cream, glossy, and clingy. If it runs like water, add part of another egg; if it clumps, thin with a splash of milk. This single cue—how the custard coats the back of a spoon—unlocks consistency regardless of brand or bread.
Troubleshooting French Toast Sticks Recipe
- Edges browned, center wet: Shorten the soak next time; for this batch, give the sticks 1–2 extra minutes on a rack in a hot oven to finish.
- Pale even after time: Preheat longer and add a teaspoon more sugar to the custard; sugar fuels browning.
- Eggy streaks: Whisk the custard more thoroughly and avoid letting sticks lounge in the liquid.
- Soft after resting: Always move finished sticks to a wire rack; the air gap prevents steam from softening the bottom.
- GF bread crumbling: Choose a denser loaf, cut slightly thicker, and keep the dip brisk.
- Overly sweet: Reduce sugar in the custard and switch to yogurt-maple dip for balance.
For doneness anxiety, an instant-read thermometer ends the guesswork; custard-based dishes earn their melt-in-the-middle texture right around that 71°C / 160°F sweet spot highlighted by the USDA chart.
Flavor Variations That Behave Well in Stick Form
Because the format is stable, you can dress it up or down without losing structure:
- Orange–Cardamom: Zest one orange into the custard and add a pinch of cardamom; finish with icing sugar.
- Maple–Brown Butter: Brown 1–2 tbsp butter; brush it on hot sticks and drizzle maple.
- Coconut: Stir a spoon of coconut cream into the custard; sprinkle toasted coconut to finish.
- Hazelnut: Thin chocolate-hazelnut spread with warm milk for a pourable gloss.
- Spiced Sugar: Combine cinnamon, a hint of ginger, and nutmeg; toss lightly while hot.
If you lean into crunchy coats (cornflake or graham), reduce custard sugar slightly to avoid tipping into brittle sweetness.
Scaling Up or Down French Toast Sticks Recipe
- For one: 1 egg + 60–80 ml milk + 2 slices (6 sticks) → air fryer 6–7 minutes total.
- For two: 2 eggs + ~150 ml milk + 4 slices (12 sticks) → same heat; cook in two rounds.
- For a crowd: Double the base and use two sheet pans on convection; rotate pans and flip at the 8-minute mark.
Meanwhile, if you’re running a mixed table—vegan, dairy-free, and classic—cook the vegan batch first, followed by gluten-free if needed, then the standard custard last. Separate racks keep everything crisp and tidy.
A Note on Bread, Moisture, and Timing
Bread is a living variable. Even within the same brand, dryness swings with storage and climate. Consequently, your soak time is the dial you turn most. Fresh, soft brioche? Dry slightly longer and dip quickly. Day-old challah? Dip a hair longer. Very dry loaf? Add a tablespoon of milk and extend the soak by a second or two. Ultimately, color and feel tell you more than the clock: aim for caramel edges and a buoyant middle that springs back when pressed.
If you enjoy tinkering, the classic ratio outlined by pros—roughly one egg per ¼–⅓ cup milk—gives you leeway; the granular reasoning in the Serious Eats overview is a useful mental model as you experiment.
Serving Boards and Balanced Plates
Because sticks are sweet-leaning, anchor the plate with freshness or creaminess. Citrus segments and mint keep things bright; a small bowl of salted yogurt reins in syrup. For a sweet-savory spread, add salty nuts or crisp bacon; for a fully plant-based board, go with fruit, maple, and a side of millet ideas for texture variety. If dessert-for-breakfast is the vibe, a warm ribbon of house chocolate syrup and cinnamon apples earns applause every single time.
Quick Reference Cards (Copy/Paste Friendly)
Air Fryer French Toast Sticks Recipe
- Ingredients (serves 4): 8 thick slices bread; 3 eggs; ¾ cup (180 ml) milk; 1 tbsp sugar; 1 tsp vanilla; ½ tsp cinnamon; pinch salt; butter/oil.
- Method: Cut each slice into thirds; dry briefly. Whisk custard smooth. Dip 5–7 s/side. Air fry 190°C / 375°F, 6–8 min, flipping halfway. Rest on a rack. Serve immediately.
Oven-Baked French Toast Sticks Recipe
- Ingredients: Same as above.
- Method: Heat oven 200°C / 400°F. Line/rack pan; butter lightly. Dip quickly; arrange with space. Bake 12–15 min, flip at 8 min; add 2–3 min for extra crunch. Rest and serve.
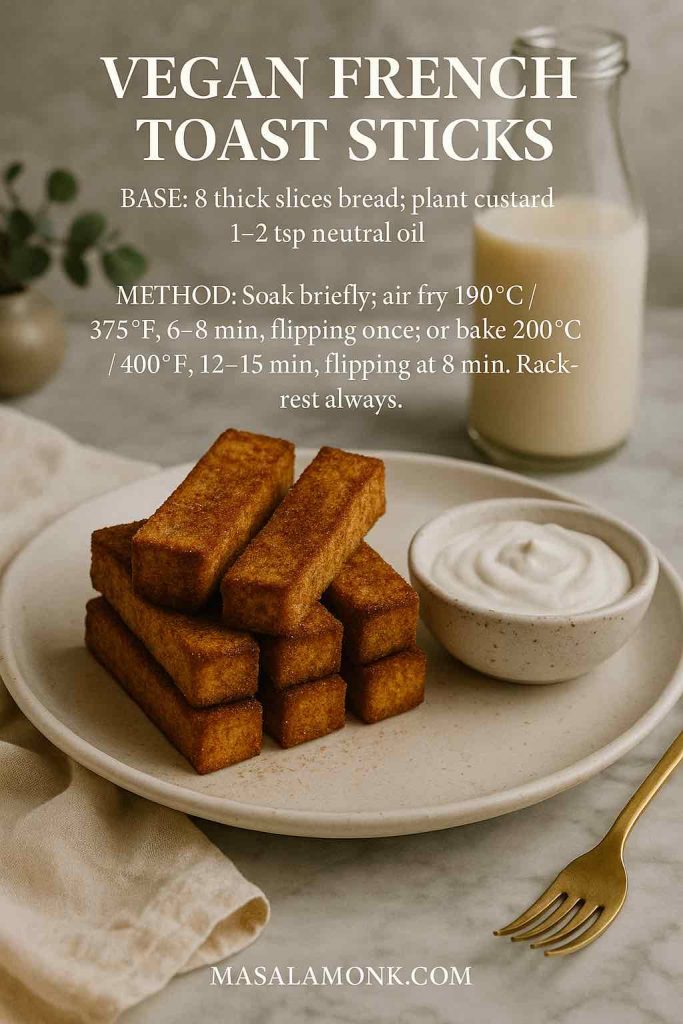
Vegan French Toast Sticks (No Egg, No Dairy)
- Base: Use plant custard from this vegan guide; add 1–2 tsp neutral oil to the mix.
- Method: Soak briefly; air fry 190°C / 375°F, 6–8 min (flip once) or bake as above; extend a minute if pale. Rack-rest always.
Gluten-Free French Toast Sticks
- Bread: Choose a sturdy GF loaf with a tight crumb.
- Method: Dry a touch longer; soak briefly; follow air fryer/oven timings; finish 1–2 min more if needed.
Make-Ahead & Reheat
- Freeze fully cooked sticks in a single layer; bag when firm.
- Reheat from frozen: Air fryer 180°C / 356°F, 3–5 min; Oven 200°C / 400°F, 6–8 min on a rack.
Closing Thoughts
Once you’ve made this french toast sticks recipe a couple of times, you’ll feel the controls in your hands: how quickly to dip, when to flip, and exactly how deep a golden you prefer. From there, variations are easy—vegan when you need it, gluten-free for guests, a protein twist for longer mornings, a churro dust when nostalgia calls. And because the methods scale without drama, you can cook a few sticks for a sleepy kiddo or line up two trays for a party brunch without changing anything but the pan.
When you want the plant-based path that just works, lean on Vegan French Toast: 6 Easy Recipes. If you’re curious about the science of ratios and why small tweaks matter, browse the Serious Eats technique explainer for clarity. And whenever you want precise safety numbers, the USDA chart is the last word. Beyond that, trust your senses: the scent of browning butter, the feel of a springy center, and the sound of a crisp edge snapping are the only cues you really need.
FAQs
1) How long do I air fry french toast sticks, and at what temperature?
For a classic french toast sticks recipe, preheat the air fryer to 190°C / 375°F; cook 6–8 minutes total, flipping halfway. Moreover, if the bread is extra thick, add 1–2 minutes until edges are deeply golden and the center springs back.
2) What’s the best oven time and temperature for french toast sticks?
Bake at 200°C / 400°F for 12–15 minutes, turning at the 8-minute mark. Additionally, for an extra-crisp shell, finish 2–3 minutes more; the interior should feel bouncy rather than wet.
3) What is the ideal egg-to-milk ratio for the custard?
Generally, aim for about 1 large egg per ¼–⅓ cup (60–80 ml) milk. Conversely, if using very stale bread, increase milk slightly so the custard stays silky. This balance keeps the french toast sticks recipe tender without turning soggy.
4) How do I keep french toast sticks crispy instead of soggy?
Firstly, dry the bread briefly before dipping. Secondly, dip quickly (5–7 seconds per side), allowing excess custard to drip off. Furthermore, cook with space between sticks and rest them on a wire rack for a minute before serving.
5) Which bread works best for a french toast sticks recipe?
Brioche, challah, and Texas toast consistently shine thanks to sturdy crumbs and gentle sweetness. Nevertheless, thick-cut sandwich bread succeeds if you dry it slightly beforehand.
6) Can I make french toast sticks without eggs?
Yes. Use a vegan custard base (e.g., plant milk plus thickener and flavorings) and proceed with the same timings. Importantly, add a teaspoon of neutral oil to the batter to encourage browning.
7) How do I make dairy-free french toast sticks?
Simply replace milk with almond, oat, or coconut milk at a 1:1 ratio. Additionally, brush or spray the basket/pan lightly with oil to enhance crisp edges, since non-dairy custards brown a touch slower.
8) What if I have no vanilla or cinnamon?
Omit both and rely on butter browning and maple for aroma. Alternatively, use orange zest, cardamom, or a whisper of nutmeg. Notably, the french toast sticks recipe still tastes great with just salt and sugar.
9) How many eggs per slice (or per batch) should I plan?
As a rule of thumb, 1 egg covers 1–2 slices (3–6 sticks) depending on thickness. Accordingly, for 8 slices (about 24 sticks), 3 eggs plus ¾ cup milk is a dependable starting point.
10) How long should french toast sticks cook on each side in a skillet?
Use medium heat and cook about 2–3 minutes per side. Meanwhile, rotate briefly to brown the “third edge”; transfer to a rack so the bottoms don’t steam.
11) Can I freeze french toast sticks? How do I reheat them later?
Absolutely. Freeze fully cooked sticks in a single layer, then bag. Subsequently, reheat from frozen: air fryer 180°C / 356°F for 3–5 minutes, or oven 200°C / 400°F for 6–8 minutes on a rack.
12) What internal cues tell me the sticks are done?
Look for deep golden edges and a springy center that rebounds with a gentle press. Additionally, the custard should not ooze when cut; if it does, cook 1–2 minutes more.
13) How do I scale this french toast sticks recipe for one person or for a crowd?
For one, use 1 egg + 60–80 ml milk and 2 slices (6 sticks). For a crowd, double or triple the base; use two sheet pans and rotate them, flipping at 8 minutes. Likewise, hold finished sticks on a rack in a warm oven.
14) Can I add protein powder without making the texture chalky?
Yes—whisk in 10–15 g unflavoured whey or plant protein per 1–2 eggs, then thin with milk until the custard coats a spoon. However, because added protein browns faster, reduce heat slightly or watch carefully.
15) What are smart gluten-free adaptations?
Choose a dense GF loaf with a tight crumb, dry the sticks a bit longer, and keep the soak brisk. Moreover, add 1–2 minutes after the flip if the surface looks soft; the extra time sets structure.
16) How do I get a “crunch coat” like churro or cereal-crusted sticks?
Immediately after dipping, press sticks lightly into crushed cornflakes or graham crumbs. Afterward, air fry or bake as usual. Gently dust hot sticks with cinnamon sugar to finish if desired.
17) Can I make the custard richer with cream or half-and-half?
Certainly. Replace up to half the milk with heavy cream or half-and-half. Nevertheless, to prevent a greasy feel, keep cook temperature moderate and avoid over-soaking.
18) What’s the easiest way to avoid eggy streaks in the batter?
Whisk thoroughly until the custard is homogenous and glossy. Additionally, stir between batches, since spices can settle; a smooth custard gives even browning.
19) How do I keep the flavor balanced if I’m using very sweet dips?
Reduce sugar in the custard by a teaspoon and rely on caramelization for depth. Ultimately, the french toast sticks recipe should taste gently sweet on its own, with sauces providing the accent.
20) Can I make french toast sticks ahead for brunch service?
Yes. Cook completely, cool on a rack, and refrigerate up to 4 days. Then, just before serving, re-crisp: air fryer 180°C / 356°F for 3–4 minutes or oven 200°C / 400°F for 5–7 minutes.
21) What pan fat is best—butter or oil?
Butter delivers aroma and browning; a small blend with neutral oil raises the smoke point. Consequently, use butter for flavor and a touch of oil for resilience, especially on the second batch.
22) How do I adapt the french toast sticks recipe for very fresh, soft bread?
Dry the slices lightly in a low oven for 2–3 minutes per side, cool 1 minute, then dip quickly. Conversely, if the loaf is quite dry, increase milk slightly and extend the soak by a second or two.
23) What toppings pair well without overwhelming the texture?
Thick yogurt with a pinch of salt, warm berries, cinnamon apples, peanut-maple, or a restrained chocolate drizzle. Additionally, finish with citrus zest to brighten richer combinations.
24) How do I know I’ve nailed the texture every time?
Color, feel, and sound guide you: amber edges, a gentle spring in the center, and a faint crackle after a brief rack rest. In short, when those cues align, your french toast sticks recipe is spot on.