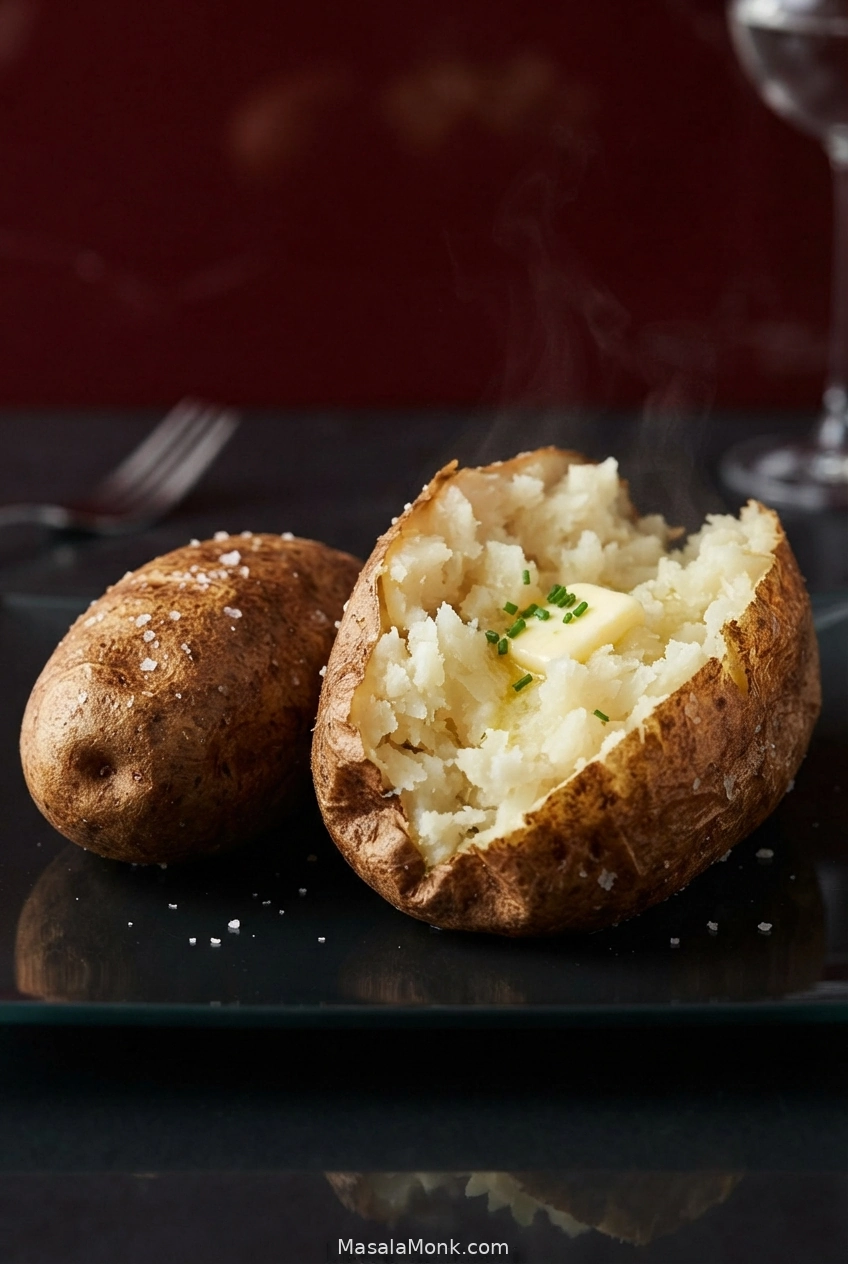
An air fryer baked potato should have crisp, salty skin and a hot, steamy center that fluffs easily under a fork. The frustrating version looks completely ready from the outside, then you cut it open and the knife hits a firm core.
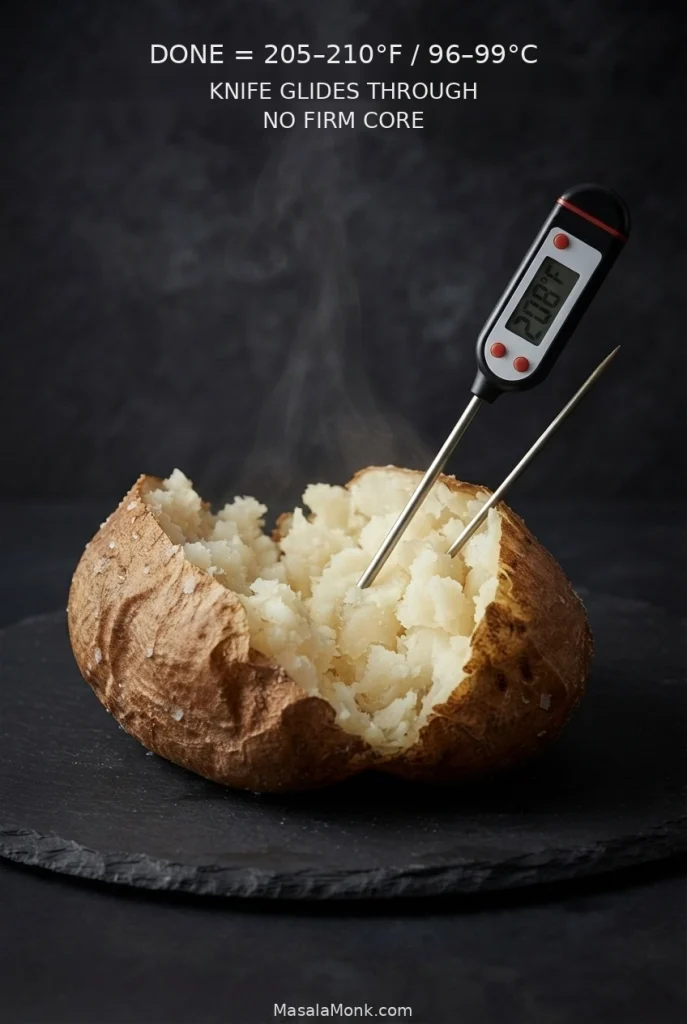
For 8–10 oz / 225–285 g Russets, air fry at 400°F / 200°C and start checking around 35 minutes. The knife should glide through the thickest part with almost no resistance and no firm core. With a thermometer, look for about 205–210°F / 96–99°C in the center.
Larger or thicker potatoes can take much longer, so treat the clock as a checkpoint rather than a guaranteed finish time.
Short on time? The microwave-first method below gets the center nearly cooked before the air fryer crisps the skin.
In This Guide
Cook the Potato
Set Up the Air Fryer
Fix and Serve
Air Fryer Baked Potato Recipe
This recipe is for two similarly sized Russet potatoes, about 8–10 oz / 225–285 g each. The same method works for one potato.
Ingredients
- 2 similarly sized Russet potatoes, about 8–10 oz / 225–285 g each
- 1½–2 teaspoons oil, or just enough to lightly coat the skins
- About ½ teaspoon kosher or coarse salt, or to taste
- Black pepper, optional
Russets give you the fluffiest center. Yukon Golds stay creamier and denser. In the UK, Maris Piper or King Edward are good choices for an air-fryer jacket potato.
Helpful, not essential: a kitchen scale for comparing potato sizes and an instant-read thermometer if you want to take the guesswork out of doneness.
Instructions
- Scrub and dry. Wash the potatoes well, then dry them thoroughly. Moisture left on the skin has to evaporate before the surface can brown and crisp.
- Pierce, oil and salt. Use a fork to pierce each potato a few times. Rub a thin coat of oil over the skin, then season all over with salt. Add black pepper if you like.
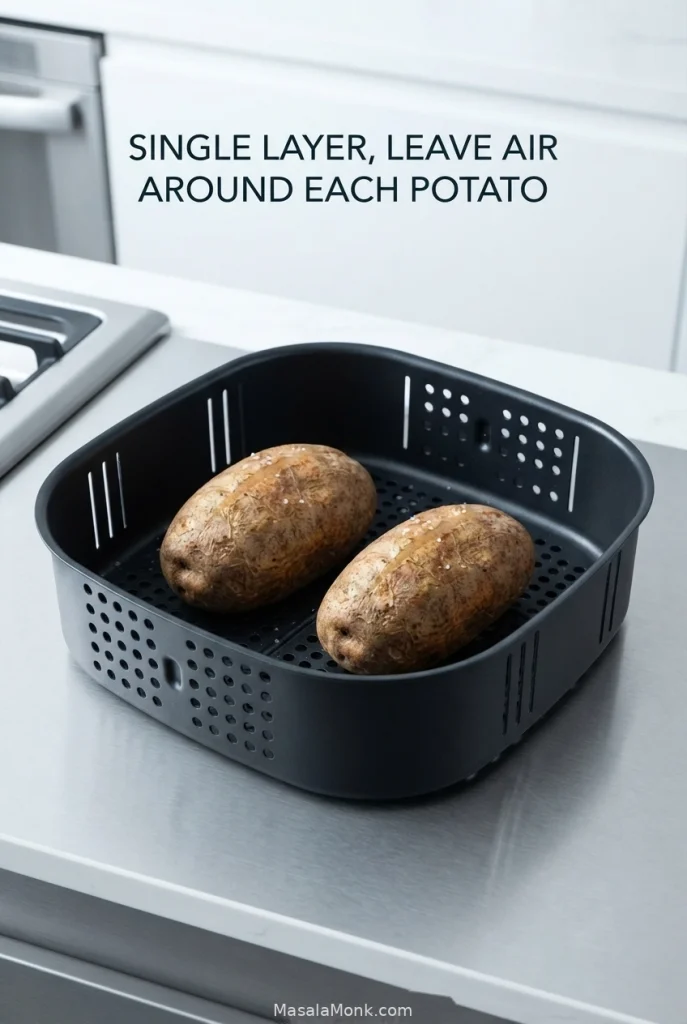
- Put them in the basket. Keep the potatoes in a single layer with a little room around each one. Do not stack them.
You do not need ruler-perfect gaps between the potatoes. A loose single layer with visible basket space around much of each Russet is enough for air to circulate around the exposed skin.
- Air fry at 400°F / 200°C. Use your air fryer’s normal preheat cycle; you don’t need to add an extra one. For 8–10 oz / 225–285 g Russets, test the center at about 35 minutes. Most will take roughly 35–50 minutes. Turn them halfway only when your machine consistently browns one side faster than the other.
- Check the center. Push a thin knife or skewer through the thickest part. It should glide through with almost no resistance and no firm core. With a thermometer, look for roughly 205–210°F / 96–99°C. Still firm? Give it another 3–5 minutes.
Finish: Open and Fluff While Hot
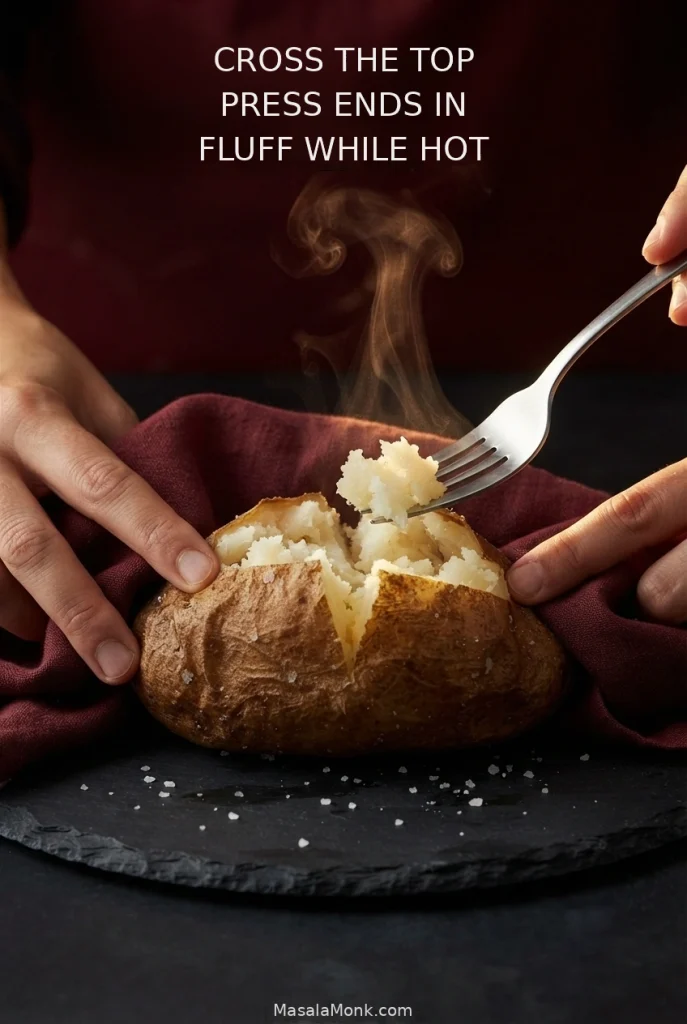
While the potato is still hot, cut a shallow cross in the top. Protect your hands with an oven mitt or clean towel, then gently press the ends inward so the potato opens, releases steam and is easy to fluff with a fork.
Making a bigger batch? If four potatoes fit comfortably, cook four. Check them at the usual time, but a fuller basket may need longer to finish. If they have to be jammed into the basket, use our oven baked potato recipe instead.
Different-size potatoes? Jump to the timing-by-weight guide.
How Long to Air Fry a Baked Potato
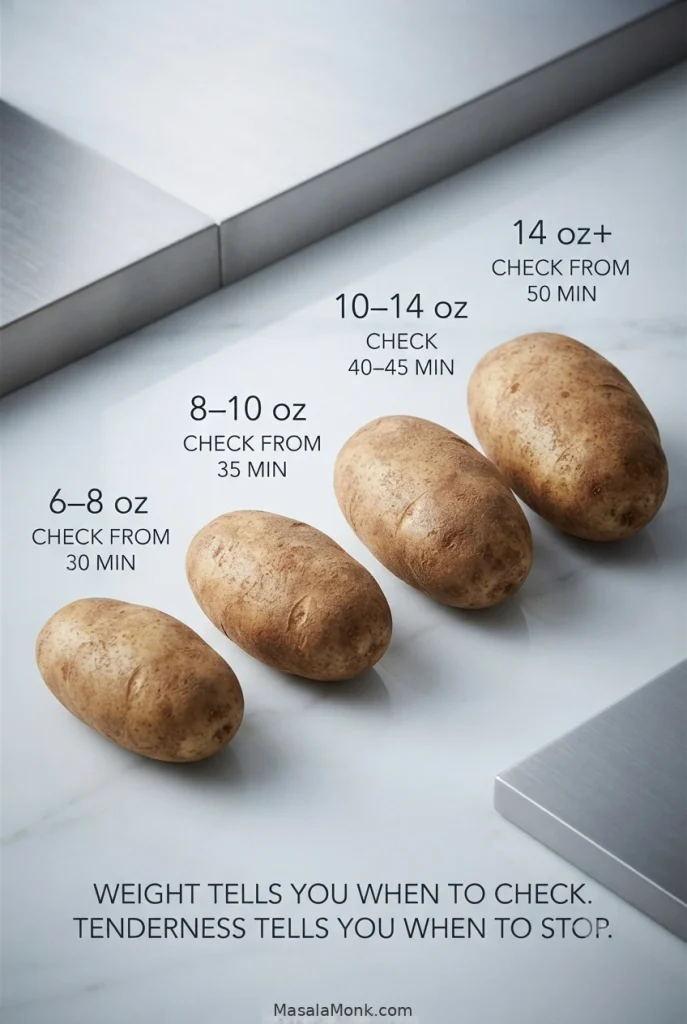
For Russets, potato weight gives you a much better starting point than words such as “medium” or “large.” The table below is built around Russet potatoes; other varieties can cook somewhat differently.
| Approx. potato weight | Start checking | Plan for roughly |
|---|---|---|
| 6–8 oz / 170–225 g | 30 min | 30–40 min |
| 8–10 oz / 225–285 g | 35 min | 35–50 min |
| 10–14 oz / 285–400 g | 40–45 min | 40–60 min |
| 14 oz / 400 g and larger | 50 min | 50–65+ min |
Use weight to decide when to start checking. Then let tenderness decide when to stop. Right on a boundary between two rows? Use the earlier check time.
Shape matters too. A long, narrow 10-ounce potato may finish before a short, round one of the same weight because heat has less distance to travel from the skin to the deepest part. By contrast, a thick potato can look completely finished before the center gets there, so do not let browned skin make the decision for you.
How to Tell When the Center Is Done
Push a thin knife or skewer through the thickest part. It should glide through with almost no resistance and no firm core. A fork pressed only into the outer flesh can feel tender too soon on a large potato.
With an instant-read thermometer, aim for roughly 205–210°F / 96–99°C. The Idaho Potato Commission uses about 210°F as its fully baked target.
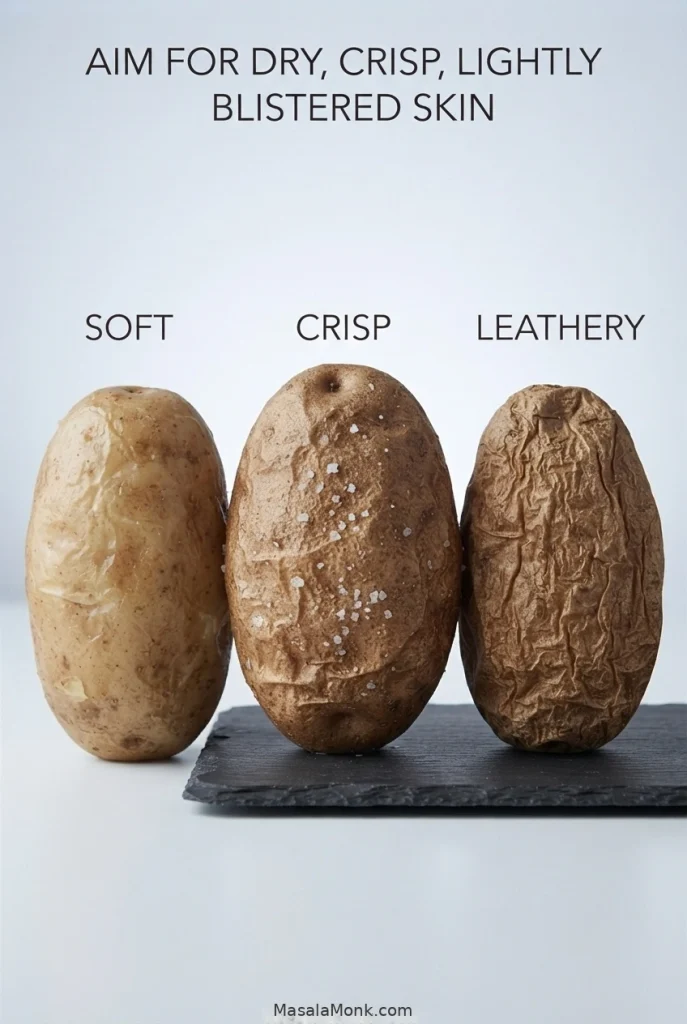
When it is right, the skin should feel dry and crisp rather than leathery, and the flesh should loosen easily into soft, steaming flakes under a fork.
Air Fry, Bake, Roast or Air Crisp?
When your recipe says Air Fry but your machine seems to want Roast, you are not using it wrong. Air-fryer button names are not standardized, and different machines use different labels for similar kinds of cooking.
When your model’s manual gives a specific whole-potato mode, use that setting. The same knife and temperature checks still tell you when the potato is done.
| Your air fryer | Where to start |
|---|---|
| Standard basket | Use Air Fry at 400°F / 200°C. |
| Dual basket | Use Air Fry and keep the potatoes in each zone similar in size. |
| Ninja / Foodi | Air Fry or Air Crisp are common starting points. |
| Instant / Vortex-style machine | Check the model guidance; some use Roast for a whole potato. |
| Oven-style or toaster-oven air fryer | Use Air Fry or convection. Watch the skin when the potato sits close to the heating element. |
Instant Pot’s own air-fryer timetable is a good example: it lists Roast for a jacket potato rather than Air Fry.

Do You Need Foil, Preheating or Flipping?
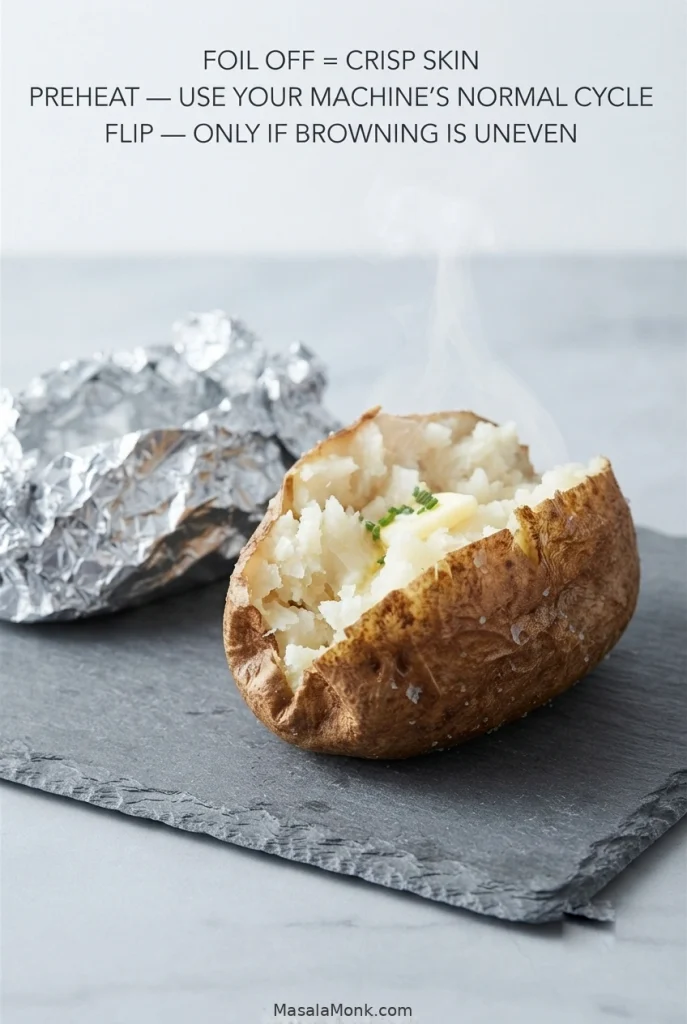
Use your air fryer’s normal preheat cycle. If it preheats automatically or the manual calls for preheating, let it. Flipping is optional too; turn the potato only when one side consistently browns faster.
Leave the foil off when crisp skin is what you want. Wrapping traps moisture close to the surface and leaves the jacket softer. A liner is not necessary either; when you do use one, make sure your air fryer’s instructions allow it and that it does not block circulation around the potato.
Need It Faster? Microwave the Middle First
A whole potato still needs time for heat to reach its center. For a faster lunch, let the microwave do most of that work, then use the air fryer for the crisp finish.
- Pierce the potato several times and put it on a microwave-safe plate.
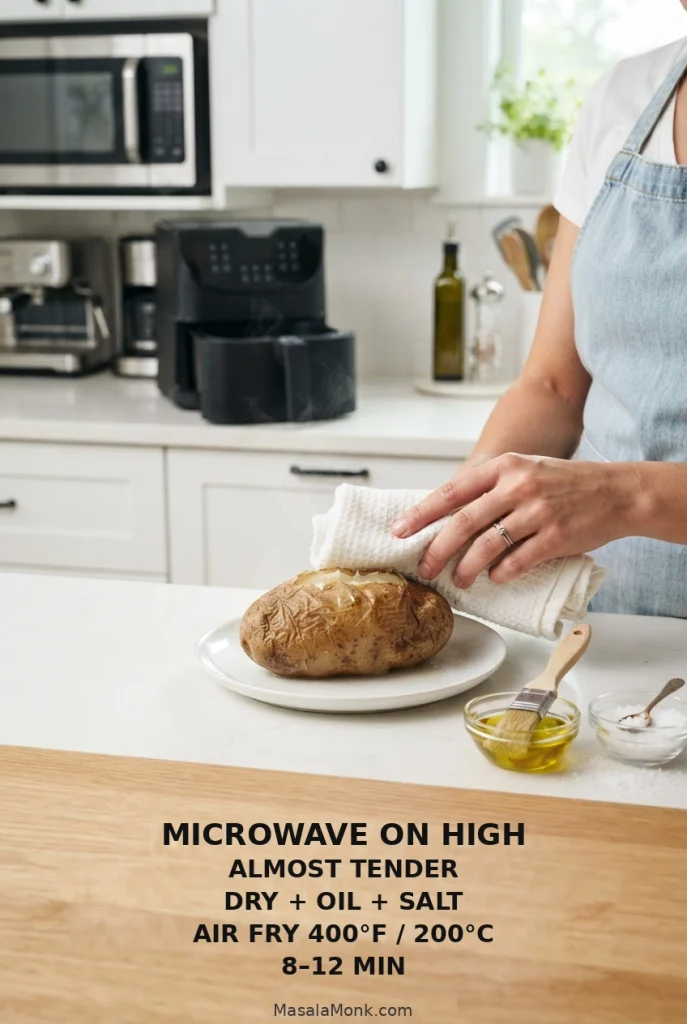
- Microwave on HIGH until almost tender. For one 8–10 oz / 225–285 g potato, test it after about 4–5 minutes. Turn it, then continue in 1–2 minute bursts until a thin knife reaches the center with only a little resistance. Microwave power varies, so add more time only as needed.
- Dry, oil and salt the skin. Blot away any moisture on the outside, then add a thin coat of oil and salt.
- Air fry at 400°F / 200°C until the skin feels crisp and the center is completely tender, usually another 8–12 minutes.
Prefer the standard method? Back to the recipe card.
Air Fryer Baked Potato Troubleshooting
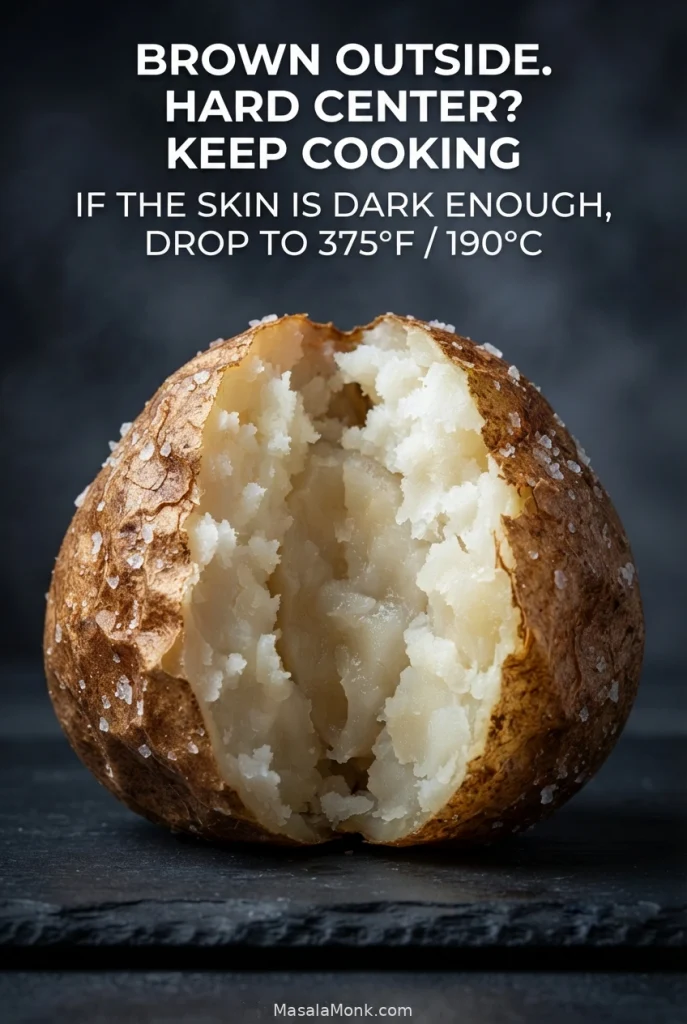
Brown Outside but Hard in the Center?
Start with the center rather than the color of the skin. Even a well-browned Russet can still be underdone at its thickest point, so keep checking tenderness instead of treating a dark jacket as proof that the middle is ready.
Quick Fixes for Other Common Problems
| What happened | What to do |
|---|---|
| You cut it open and the center is still firm | Microwave the opened potato briefly until tender, then re-crisp it in the air fryer if the skin softens. |
| Skin is soft | Dry the potato well before cooking, leave off the foil and avoid crowding. Split it soon after cooking so trapped steam does not soften the skin. |
| Skin is tough or leathery | Once the center is tender, stop cooking. Extra time can take the skin from crisp to tough, especially on a smaller potato. |
| Center feels dry instead of fluffy | The potato went a little past its best point. Next time, test the thickest part earlier and pull it as soon as the knife glides through easily. |
| One potato finishes first | Take it out and let the larger one continue. Next time, choose potatoes closer in size. |
| Your potato takes an hour | An hour is not automatically a sign that something went wrong. A large or thick Russet can genuinely take that long. Keep cooking until the center is tender. |
What Soft, Crisp and Leathery Skin Tell You
After the center is tender, the skin becomes its own clue. Moisture tends to leave it soft, while too much additional cooking can push a crisp jacket toward a tougher, leathery texture.
Need to recheck the basics? Timing by weight · Doneness · Air-fryer setting · Recipe card
Serving and Reheating
Refrigerate leftovers within 2 hours and use them within 3–4 days. Reheat to 165°F / 74°C; the microwave is quickest, with a short air-fryer finish if you want the skin crisp again.
Butter and salt may be enough; sour cream and chives keep it classic. For something more substantial, spoon over our white chicken chili, or add broccoli and our easy cheese sauce to make it dinner.