Posted on Leave a comment

12 Healthiest Foods You Should Eat In The Morning

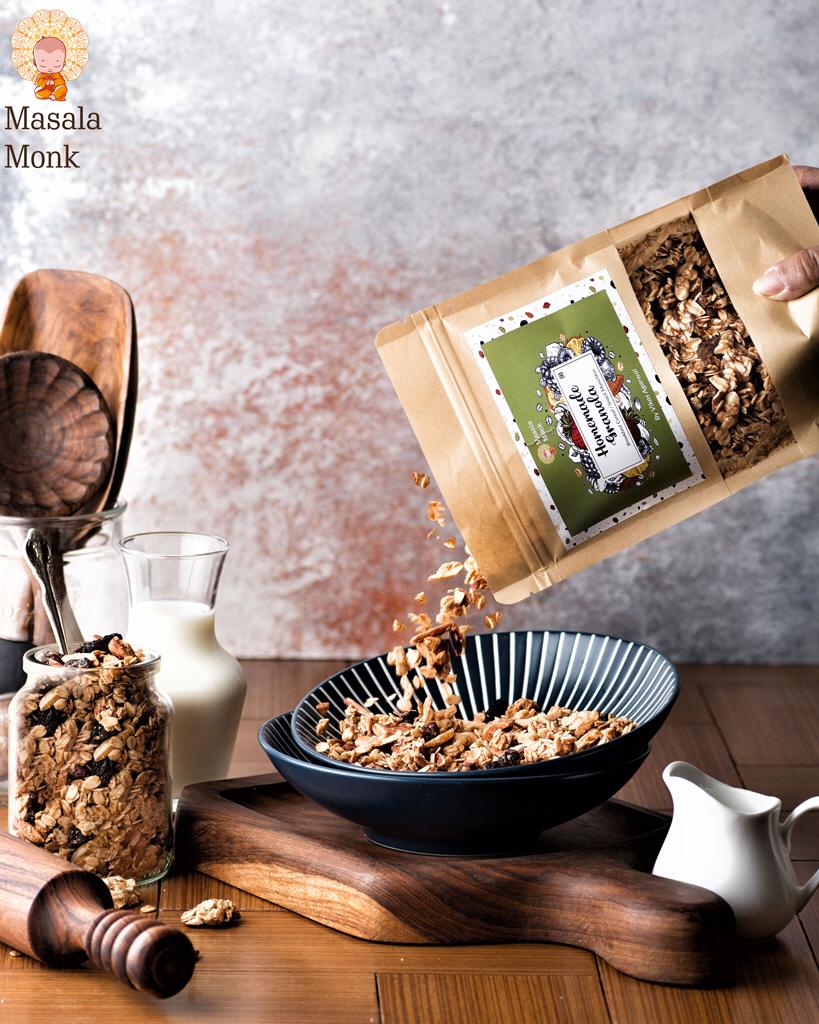
MM Granola Breakfast Cereal

Good morning, foodies! 🌞🥐☕️ Are you one of those people who just have a cup of coffee for breakfast and skip the most important meal of the day? Or perhaps you stop by the local pastry shop and get a donut or pancake for breakfast? 🍩🥞 While these might be quick and convenient, they’re loaded with lots of saturated fats and sugars and little to no protein or fiber. So, what should you eat in the morning that is both healthy and keeps you going until midday? Let’s find out! 🍽️

In a video by HealthNormal, they discuss 12 healthy foods you should eat in the morning. The video has garnered over 1.3 million views, proving its popularity and the value of its content. 📺👀

  1. Fruits: Fruits are rich in all sorts of polyphenol compounds depending on their color, so keep your plate as colorful as possible. Oranges, strawberries, lychee, papaya, cherries, kiwi, guava, apples, bananas, cantaloupe, and mango are all high in vitamins and antioxidants. 🍊🍓🍒🥝🍏🍌🍈🥭
  2. Salmon: Salmon is a superfood that provides you with essential omega-3 fatty acids. It pairs beautifully with scrambled eggs and whole wheat toast. 🐟🍞
  3. Cottage Cheese: Cottage cheese is rich in vitamins A, B, and calcium and can curb hunger like a champ. You can mix it with pepper, fruits, or nuts for a quick, delicious, and healthy breakfast. 🧀🍇🥜
  4. Protein Shakes: Protein shakes and smoothies are probably the easiest and quickest forms of breakfast. Whey and pea protein are probably the most famous, but there are countless brands that sell them, so choose wisely. 🥤💪
  5. Black Tea: Black tea is an excellent substitute for coffee in the morning. It will wake you up, help fight lethargy, and increase your focus. ☕️🌞
  6. Greek Yogurt: Greek yogurt is a first-class source of protein you can add to your daily breakfast. You can eat it with fresh or frozen berries, walnuts, almonds, or coconuts. 🍨🍓🥥
  7. Nuts: Nuts are true nutritional powerhouses rich in magnesium, potassium, monounsaturated fats, and antioxidants. Brazil nuts, almonds, and walnuts are excellent sources of protein and fiber. 🥜💪
  8. Sweet Potatoes: Sweet potatoes are delicious superfoods full of fiber, vitamins, and minerals. They’re a fantastic fresh new option that’s healthy and delicious. 🍠😋
  9. Flaxseed: Flaxseeds are rich in omega-3 fatty acids, fiber, and protein. Sprinkle some flax seeds on your yogurt, oatmeal, or your smoothies for an extra punch of energy. 🥣🌾
  10. Whole Wheat Toast: Whole wheat toast is a simple breakfast option that will provide you with a good source of carbs and fiber. You can have fried eggs and tomatoes with whole wheat toast or eat avocado and chili flakes on whole wheat toast. 🍞🥑🍅
  11. Spinach: Spinach is aleafy green rich in folate and muscle-building fiber. It can decrease the risk of osteoporosis or heart disease, protecting your muscles from degeneration and increasing blood flow. Add a cup of spinach to your omelets, sandwiches, or smoothies for a nutrient-packed start to your day. 🥬💪
  12. Eggs: Eggs are a breakfast staple food for good reason. They are nutritious, rich in high-quality protein, and delicious. You can try baking them, making omelettes, soft boiling, hard boiling, or even poaching them. 🥚🍳

These are just some of the healthy foods you can incorporate into your morning routine. Remember, no matter how busy your morning is, don’t skip breakfast. Your health comes first! 🏋️‍♀️🏃‍♂️

For more detailed information, check out the full video by HealthNormal here. HealthNormal is a popular YouTube channel that provides evidence-based health and wellness information. Their videos are fact-checked and reviewed by qualified health professionals, ensuring you get the most accurate and beneficial advice.

Also, don’t forget to join our foodie community on Facebook where we share more tips, recipes, and food love! 🍽️💕

Posted on Leave a comment

Lotus Biscoff Dessert Cups: A No-Bake Delight

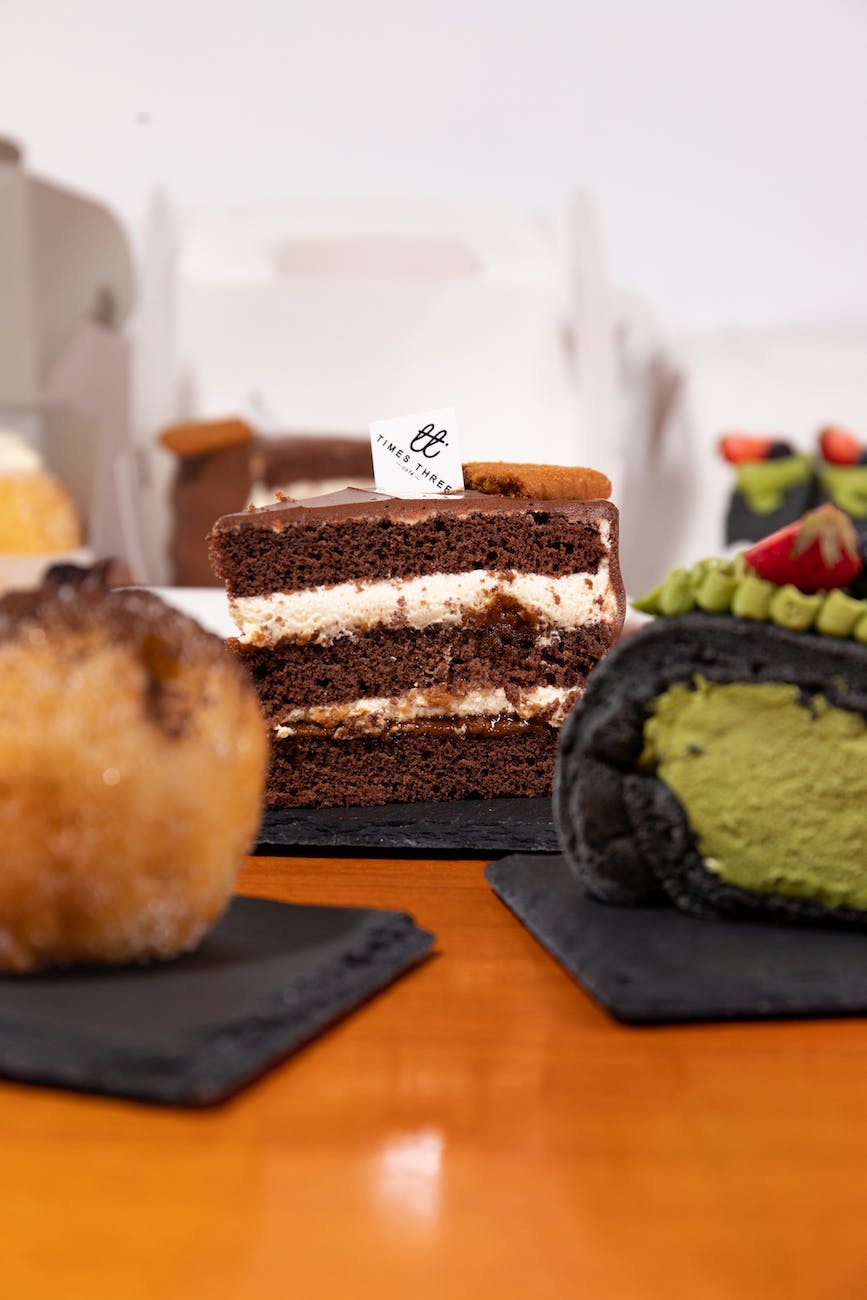
food wood coffee dark

Hello, dessert lovers! 🍨 Today, we’re diving into the world of no-bake treats with a recipe that’s both easy and delicious. We’ve found a delightful video by Easy & Yummy that guides you through the process of making Lotus Biscoff Dessert Cups. This video has been viewed over 4.1 million times, making it a popular guide for homemade dessert enthusiasts.🍮

Easy & Yummy demonstrates how to make homemade Lotus Biscoff Dessert Cups that are rich, creamy, and incredibly satisfying. The best part? No oven is required! These dessert cups are super easy to whip up and are made with just a few simple ingredients.

The Ingredients 🥣

To start, you’ll need a few basic ingredients:

  • 200 g Lotus Biscoff biscuits + 5 for decoration
  • 300 ml milk
  • 1.5 tbsp custard powder
  • 1 tbsp sugar
  • 300 ml whipping cream
  • 1 tbsp sugar
  • Pinch of vanilla powder or essence

The Process 🍮

Once you’ve gathered your ingredients, the process is straightforward:

  1. Crush 200g of Lotus Biscoff biscuits.
  2. In a separate jug, combine 300ml of milk with 1.5 tablespoons of custard powder and mix until the powder is fully dissolved.
  3. Add 1 tablespoon of sugar to the milk and custard mixture.
  4. Pour the mixture into a pot and heat on medium, stirring continuously until it thickens.
  5. In a separate bowl, whip 300ml of cream with 1 tablespoon of sugar and a pinch of vanilla powder or essence until stiff peaks form.
  6. Layer the crushed biscuits, custard, and whipped cream in cups, starting with the biscuits and ending with a layer of cream.
  7. Top each cup with a Lotus Biscoff biscuit for decoration.

The Result 🎉

The result is a batch of fresh, homemade Lotus Biscoff Dessert Cups that are creamy, rich, and full of that iconic Lotus Biscoff flavor. These dessert cups are perfect for parties or for when you don’t have time to make a cake. Plus, they’re ready to eat straight away!

For a step-by-step guide and to see the process in action, check out the full video by Easy & Yummy. Don’t forget to like and subscribe to their channel for more easy and yummy ideas!

We invite you to join our vibrant community on Facebook where we share our love for food, cooking, and everything in between. Let’s continue learning and growing together in our culinary journey. 🍽️👩‍🍳

Posted on Leave a comment

Air Fryer vs. Air Fryer Toaster Oven: Which One is Right for You?

happy woman with rolling pin cooking at home

Hello, culinary enthusiasts! 🙌 Today, we’re diving into a hot topic in the world of kitchen appliances: Air Fryers vs. Air Fryer Toaster Ovens. If you’ve been contemplating adding one of these to your kitchen arsenal, we’ve found an incredibly insightful video by America’s Test Kitchen that will help you make an informed decision. This video has garnered over 1.2 million views, making it a popular and trusted source for kitchen appliance reviews.

The Traditional Air Fryer 🍟

The traditional air fryer, as demonstrated by Lisa in the video, is a compact, drawer-style appliance that uses convection technology to circulate hot air around the food. This design is deemed the safest and most efficient, keeping you away from the heating element and ensuring even cooking.

The video features the Instant Vortex Plus 6 Quart model, which emerged as the winner in their tests. It has a large capacity, able to accommodate portions for four people or even a whole four-pound chicken. It also has a non-stick interior for easy cleaning, and it preheats for just two minutes, which significantly improves its performance.

The Instant Vortex Plus is versatile, capable of roasting, baking, reheating, and broiling, in addition to air frying. Lisa even demonstrates how it can be used as a toaster and a cheesecake maker.

The Air Fryer Toaster Oven 🍞

On the other hand, the air fryer toaster oven, as shown by Hannah, is a larger appliance that combines the functionality of a toaster oven and an air fryer. It’s a great option if you’re looking for a second, smaller oven for your kitchen.

The Breville Smart Oven Air, their top pick, is praised for its digital interface, multiple rack levels, and the ability to accommodate larger bread slices. It also excels in air frying, producing crispy and delicious food. However, it’s worth noting that it’s larger and more expensive than a traditional air fryer.

For a less expensive option, they recommend the Oster model. While it doesn’t cook as evenly and is harder to clean, it does a reasonably good job of integrating air fryer technology and a toaster oven.

The Verdict 🏆

If you’re mostly interested in air frying and prefer a more compact and less expensive option, a traditional air fryer like the Instant Vortex Plus is a great choice. However, if you’re looking for a versatile appliance that can serve as a second oven, the Breville Smart Oven Air is worth considering, despite its larger size and higher price.

For more detailed insights and demonstrations, do check out the full video by America’s Test Kitchen. Don’t forget to like and subscribe to their channel for more kitchen equipment reviews and cooking tips!

We invite you to join our vibrant community on Facebook where we share our love for food, cooking, and everything in between. Let’s continue learning and growing together in our culinary journey. 🍽️👩‍🍳👨‍🍳

Posted on Leave a comment

How to Make Ice Cream with a KitchenAid Mixer?

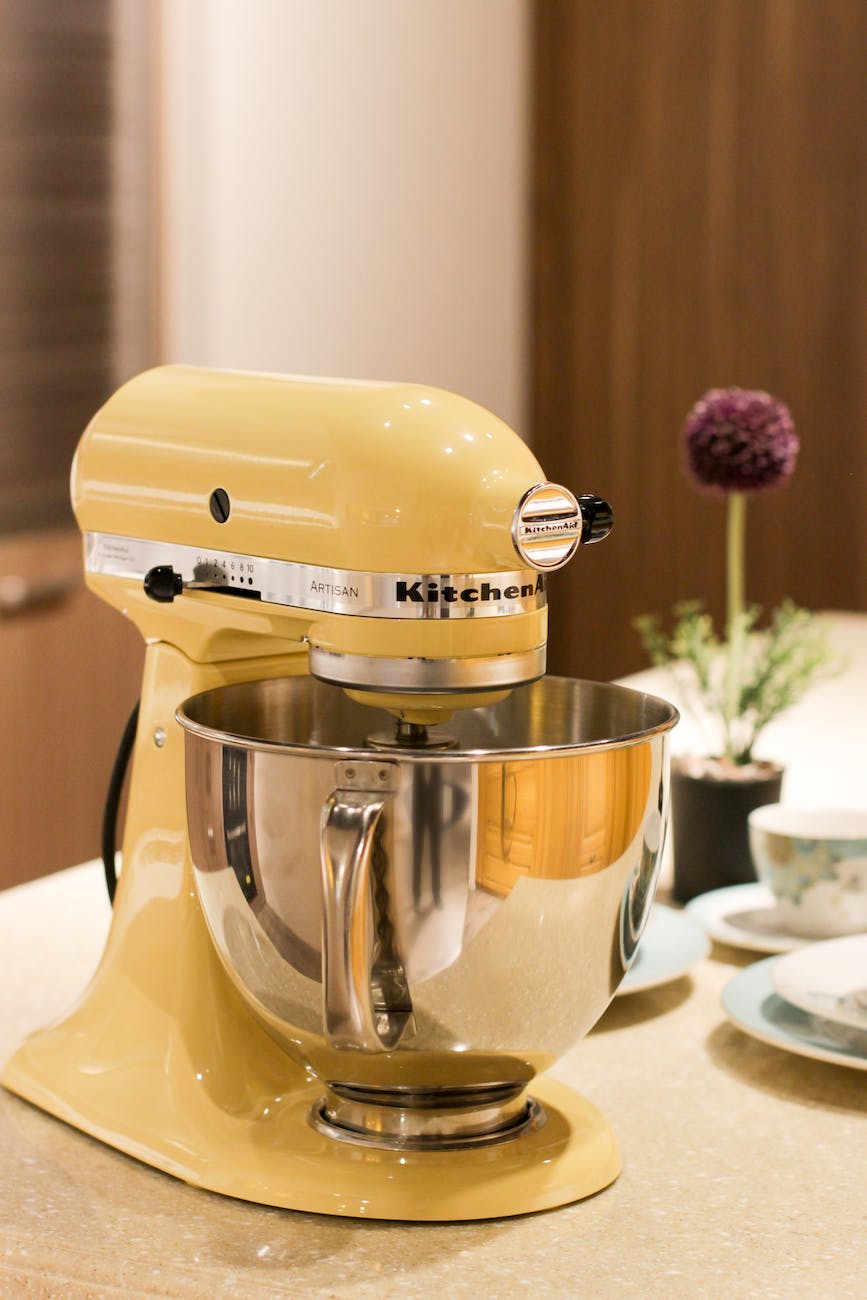
yellow kitchenaid stand mixer

Hello, dessert lovers! 🍨 Today, we’re stepping into the world of homemade ice cream. If you’ve ever wondered how to make your own ice cream at home, we’ve found a delightful video by Crafty Sher Cupcake that will guide you through the process. This video has been viewed over 678,000 times, making it a popular guide for homemade ice cream enthusiasts.

Crafty Sher Cupcake demonstrates how to make homemade ice cream using a KitchenAid mixer and an ice cream maker attachment. The process is simple, and the result is a delicious, creamy treat that you can customize to your liking.

The Ingredients 🥣

To start, you’ll need a few basic ingredients:

  • 2 cups of whipping cream
  • 1 cup of milk (Sher uses 2% milk, but you can use any type you prefer)
  • 3/4 cup of sugar
  • 1 teaspoon of vanilla extract
  • A pinch of salt

Sher emphasizes the importance of using quality ingredients, especially the vanilla extract. She uses Mexican vanilla extract, which she praises for its strong, rich flavor.

The Process of Making Icecream in KitchenAid Mixer 🍨

Once you’ve gathered your ingredients, the process is straightforward:

  1. Combine the whipping cream, milk, sugar, vanilla extract, and salt in a large bowl. Mix until the sugar and salt are fully dissolved.
  2. Chill the mixture in the refrigerator for at least half an hour. This step is crucial for achieving the right ice cream consistency.
  3. While the mixture is chilling, prepare your KitchenAid mixer with the ice cream maker attachment. Sher uses the KitchenAid ice cream maker, which consists of a special bowl that you keep in the freezer and a paddle attachment.
  4. Once the mixture is chilled, pour it into the ice cream maker while it’s churning. The churning process takes about 15-20 minutes.
  5. When the ice cream reaches a soft-serve consistency, it’s ready! If you want to add mix-ins like fruit, nuts, or cookies, this is the time to do it.

The Result 🎉

The result is a batch of fresh, homemade ice cream that’s ready to enjoy immediately or store in the freezer for later. Sher notes that the ice cream is soft and creamy at this stage, perfect for topping off a hot dessert or enjoying on its own.

Making your own ice cream at home allows you to control the ingredients and customize the flavors to your liking. Plus, it’s a fun and rewarding process!

For a step-by-step guide and to see the process in action, check out the full video by Crafty Sher Cupcake. Don’t forget to like and subscribe to her channel for more sweet and crafty ideas!

We invite you to join our vibrant community on Facebook where we share our love for food, cooking, and everything in between. Let’s continue learning and growing together in our culinary journey. 🍽️👩‍🍳👨‍🍳

Blog Tags: Homemade Ice Cream, KitchenAid Mixer, Ice Cream Maker, Dessert Recipes, Crafty Sher Cupcake, EatLo Community, DIY Desserts, Ice Cream Recipes, Kitchen Gadgets, Cooking Tips

Posted on Leave a comment

Making Roti Dough with a KitchenAid Mixer: A Quick and Easy Guide

yellow kitchenaid stand mixer

Hello, home cooks! 🍽️💕 Today, we’re exploring a quick and easy method to prepare roti dough using a KitchenAid Mixer. This fantastic guide comes from the YouTube channel Cook with Kash and Manish, a wonderful resource for anyone looking for simple yet efficient cooking techniques. This video has garnered over a million views, proving its popularity among home cooks worldwide.

🍞 The Magic of KitchenAid Mixer 🥖

A KitchenAid Mixer is a versatile kitchen appliance that can be used for a variety of tasks, from mixing cake batter to kneading dough. In this guide, we’ll be using it to prepare roti dough, a staple in many cuisines around the world. The best part is that it takes only 3 minutes to make a beautiful soft dough, and anyone can do it, even kids (under adult supervision, of course)!

🍽️ The Guide: How to Make Roti Dough Using a KitchenAid Mixer 🍞

Unfortunately, the video doesn’t provide a detailed step-by-step process in the transcript. However, based on the video description and common practices, here’s a general guide on how to make roti dough using a KitchenAid Mixer:

  1. Attach the dough hook to your KitchenAid Mixer.
  2. Add your flour to the mixing bowl. The quantity would depend on how many rotis you plan to make.
  3. Start the mixer on a low speed to avoid flour dust.
  4. Gradually add water to the bowl while the mixer is running. The amount of water will depend on the type of flour and the desired consistency of the dough.
  5. Increase the speed of the mixer as the dough starts to form.
  6. Continue mixing until the dough is soft and pliable. This should take about 3 minutes.

And there you have it, a quick and easy way to make roti dough using a KitchenAid Mixer!

🍴 Enjoying Your Homemade Roti 🍽️

Once you have your roti dough ready, you can roll it out and cook it on a hot griddle or tawa. Serve your homemade roti with your favorite curry or use it to make wraps and sandwiches. The possibilities are endless!

🎉 Join the Foodie Community! 🍽️

If you try this method or have other cooking techniques to share, join the vibrant and engaging food lovers community on Facebook. It’s a place where you can share your culinary experiments, discover new recipes, and connect with fellow food enthusiasts.

🙏 Credits 🙏

A big thank you to Cook with Kash and Manish for sharing this fantastic guide on making roti dough using a KitchenAid Mixer. Their channel is a treasure trove of culinary delights, with recipes and techniques that are not only delicious but also easy to follow. So, if you’re looking for more culinary inspiration, do check out their channel.

And remember, as they say, “Cooking life is more easier with a KitchenAid Mixer!” 🍽️💕