
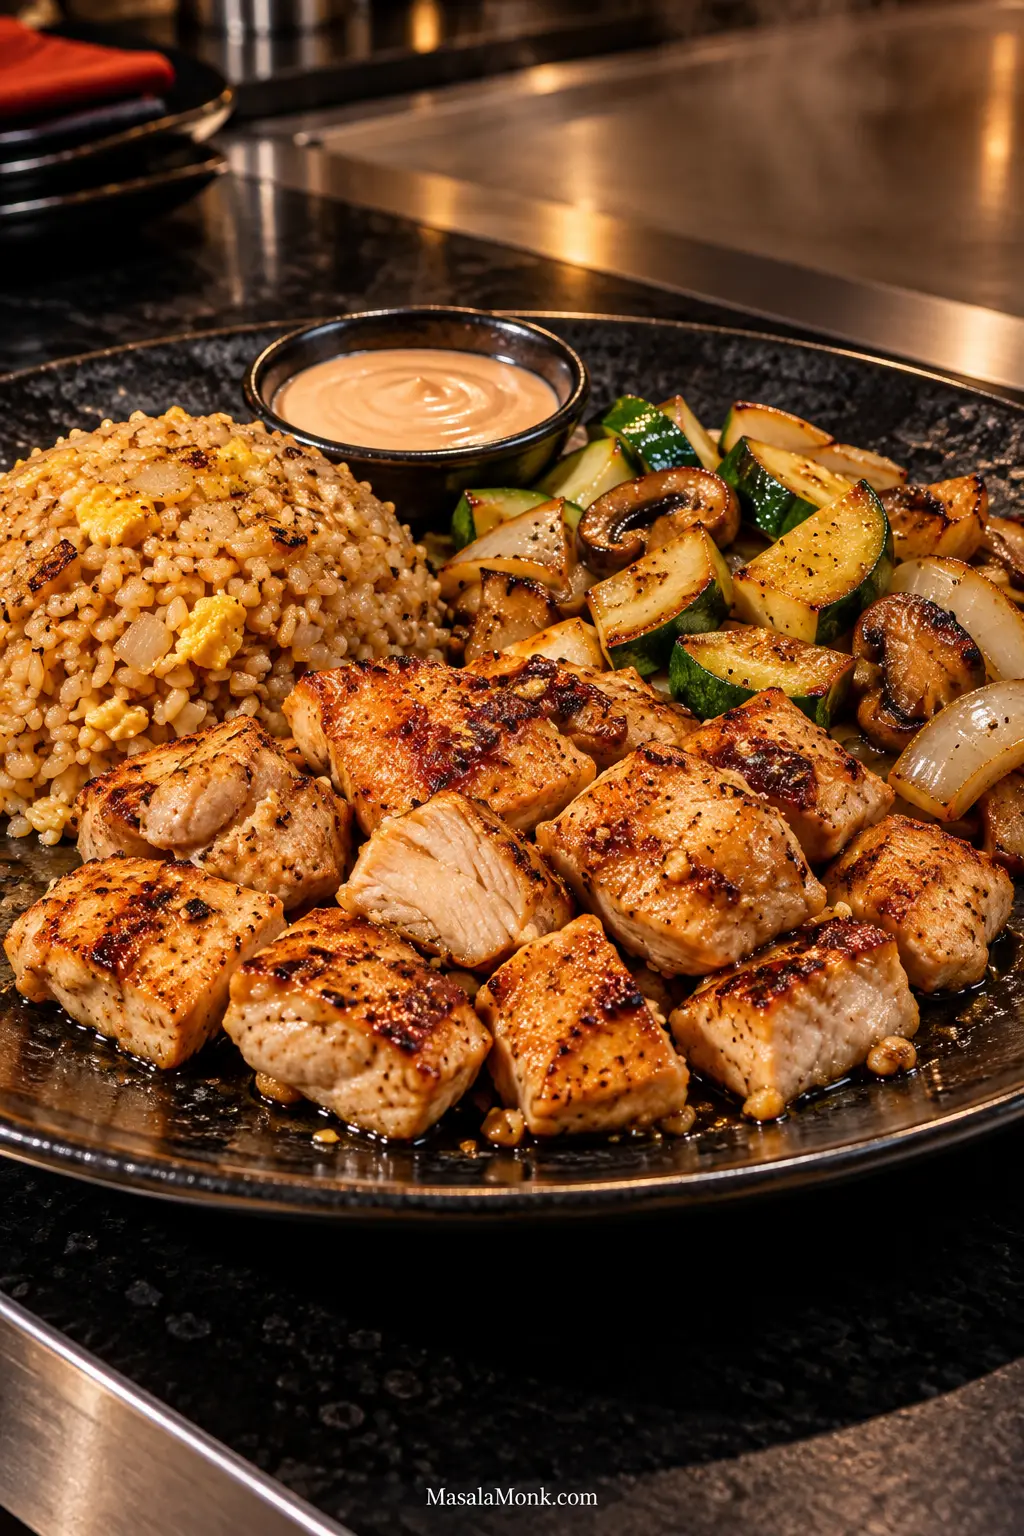
Good hibachi chicken should reach the table with browned edges, a juicy middle, buttery savory flavor, and enough garlic, black pepper, and lemon to keep every bite lively.
The smell is part of the appeal: chicken hitting hot metal, butter melting around garlic, and soy catching the heat for just a moment. You hear that lively sizzle before the plate ever reaches the table.
At home, the main challenge is not finding a secret marinade. It is giving the chicken enough hot surface to brown before anything wet reaches the skillet. A packed 12-inch pan does not have the open cooking area of the flat-top Japanese-steakhouse style most U.S. diners call hibachi—more technically, teppanyaki—so this recipe keeps the chicken in larger pieces for the initial sear and cooks it in sensible batches.
Brown First. Flavor Second.
Three things matter most here: dry chicken, a properly hot skillet, and enough room for the pieces to sear. Get those right and the rest becomes much easier.
Start with neutral oil, salt, and black pepper. Let the chicken develop real color before soy sauce or garlic butter reaches the skillet. The wet, flavorful ingredients come later, once the browning is already there.
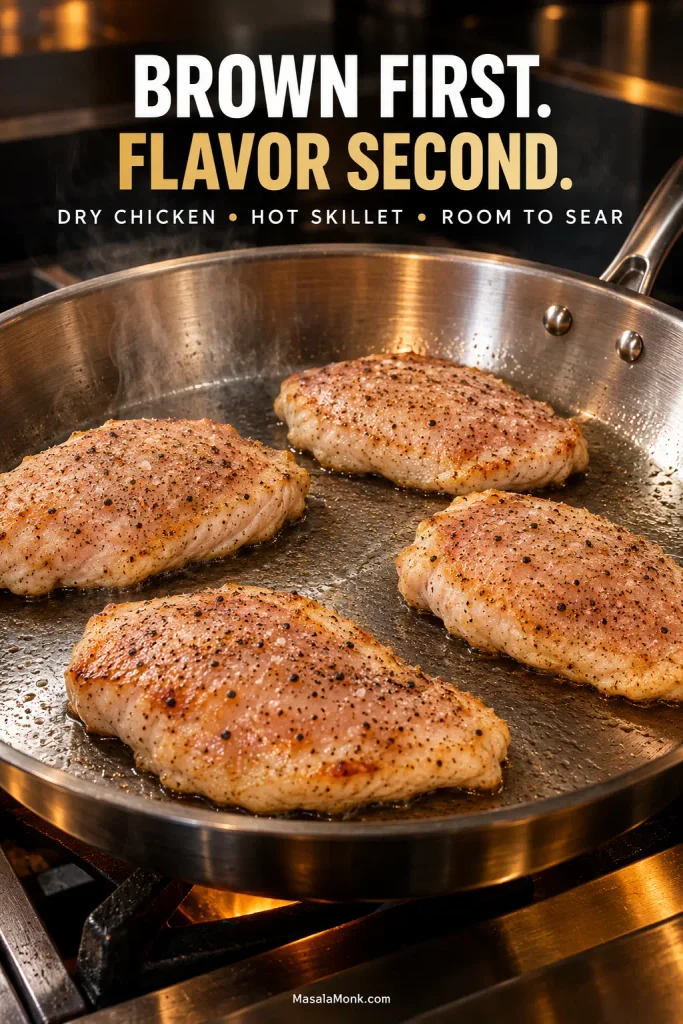
Listen to the pan. The chicken should hiss loudly when it touches the skillet. If that sound fades into wet bubbling and liquid gathers around the pieces, give the pan more space and heat before moving on.
Before the Pan Gets Hot
Four servings, one skillet, and no marinade required.
| Decision | Best Default Here |
|---|---|
| Chicken | Boneless, skinless breast for the closest steakhouse-style result |
| Marinade | None required |
| Pan | Wide 12-inch / 30 cm heavy skillet |
| Batch size | Half the chicken at a time in a typical 12-inch skillet |
| Flavor timing | Neutral oil first; soy + garlic butter after browning |
| Doneness | 165°F / 74°C |
Making fried rice and vegetables too? Cook the vegetables first, rice second, and chicken last. Rice and vegetables tolerate a short, loosely covered hold much better than chicken breast does, so the chicken can reach the table while its browned edges are still hot and the center is juicy.
Chicken Hibachi Recipe
What you’re after is juicy chicken with browned edges, savory garlic-soy butter, and enough fresh lemon to keep the finish from feeling heavy.
Equipment
- 12-inch / 30 cm cast-iron, carbon-steel, or heavy stainless-steel skillet
- Instant-read food thermometer
- Tongs or a thin spatula
- Sharp knife and cutting board
- Small bowl for the garlic-soy butter
For the Chicken
- 1½ lb / 680 g boneless, skinless chicken breasts
- 1½ to 2 tablespoons / 22 to 30 ml neutral high-heat oil, divided
- ½ teaspoon / about 3 g fine sea salt (use ¼ teaspoon / about 1.5 g with regular soy sauce)
- ¾ teaspoon / about 1.5 g finely ground black pepper
For the Garlic-Soy Butter
- 3 tablespoons / 42 g unsalted butter, softened
- 3 medium garlic cloves / about 9 g, finely grated or mashed
- 1 tablespoon / 15 ml low-sodium soy sauce
For Finishing
- 1 tablespoon / 15 ml low-sodium soy sauce
- 1 tablespoon / 15 ml fresh lemon juice
- ½ teaspoon / 2.5 ml toasted sesame oil, optional
- 1 tablespoon / about 9 g sesame seeds, preferably toasted, optional
1. Mix the Garlic-Soy Butter
Before you heat the skillet, mix the softened butter, garlic, and 1 tablespoon / 15 ml soy sauce in a small bowl. Measure the finishing soy, juice the lemon, and have the thermometer and a clean plate nearby. Once cooking begins, things move quickly.
2. Thin, Dry and Season the Chicken
Slice very thick breasts horizontally into thinner cutlets or butterfly them. Aim for pieces ½ to ¾ inch / 1.3 to 2 cm thick across most of their surface. Lightly pound any much thicker areas.
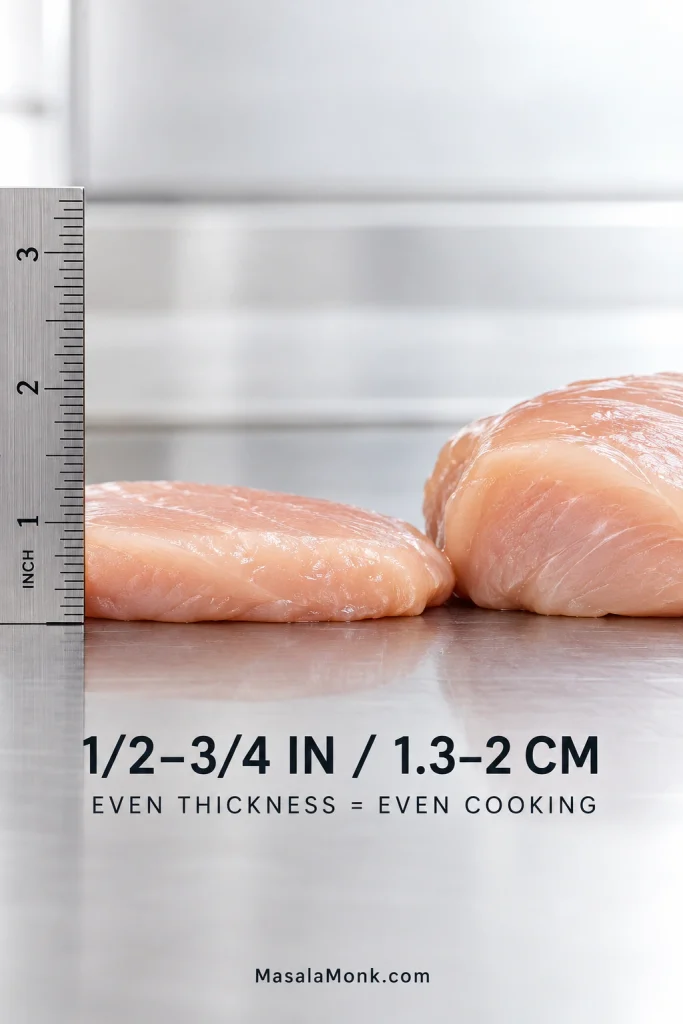
Pat every surface thoroughly dry, then season both sides with salt and black pepper. Pick up a piece: the surface should feel dry, not slick.
Food-safety note: Wash your hands and thoroughly clean the knife and board that touched raw chicken, or switch to a clean set. The cooked chicken will be cut later.
3. Preheat the Skillet
Heat a heavy 12-inch / 30 cm skillet over medium-high until it is hot all the way across. Cast iron and heavy stainless steel usually need several minutes.
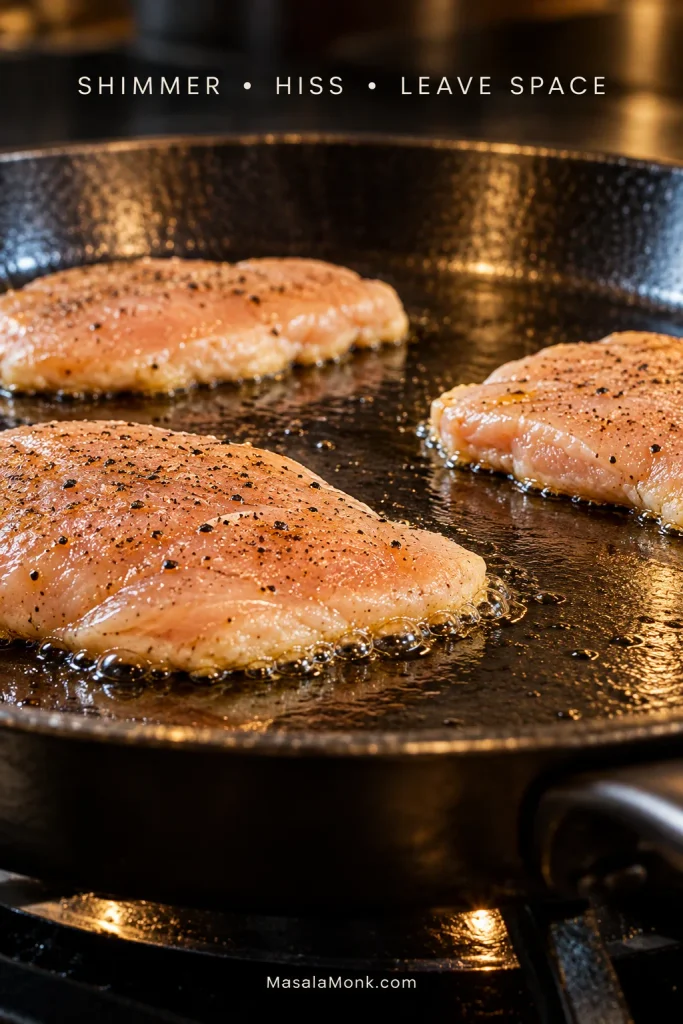
Add about half the oil, or enough to leave a thin film across the skillet. The oil should move easily and shimmer. Touch one edge of a chicken piece to the surface; an immediate lively hiss means the skillet is ready.
4. Sear the First Batch
Add half the chicken, leaving visible space between the pieces.
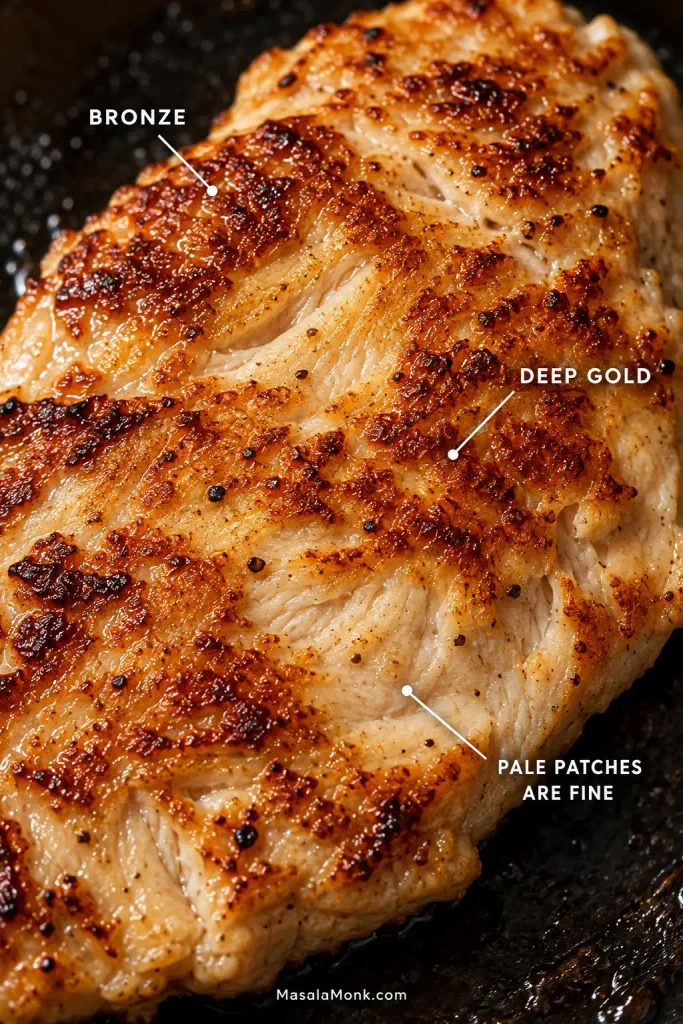
Leave the first side alone for 2½ to 3½ minutes. When you turn it, the underside should have patches of bronze and deep gold. Do not chase perfectly even color; those darker patches are exactly what you want.
Flip and start checking after 1½ to 2 minutes. Insert the thermometer from the side so the probe reaches the center without touching the skillet; chicken breasts vary, so let the thermometer—not the clock—decide. Cook to 165°F / 74°C, the USDA safe minimum for poultry, then transfer the chicken to a clean plate.
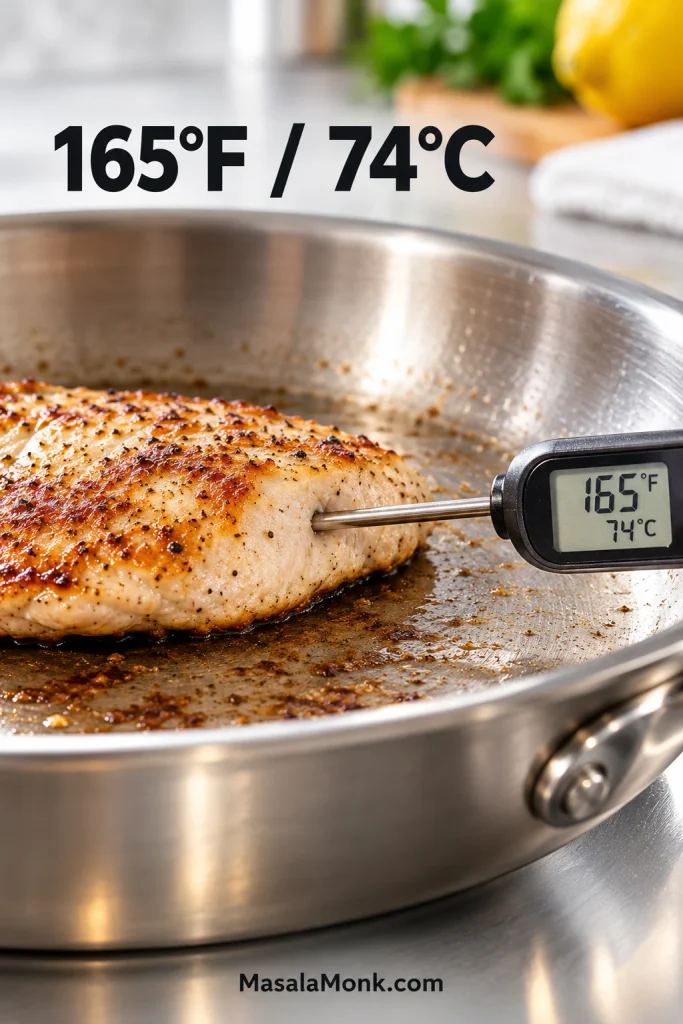
Leave it uncovered while the second batch cooks. A tight cover traps steam and softens the browned surface.
If liquid starts collecting around the chicken: stop thinking about sauce. Give the pieces more room and let that moisture evaporate until the loud sizzle comes back.
5. Cook the Second Batch
Before the remaining chicken goes in, give the skillet a moment to recover. Add a little more oil if the surface looks dry. You’ll know the heat has come back when the chicken hits the skillet with that same sharp sizzle.
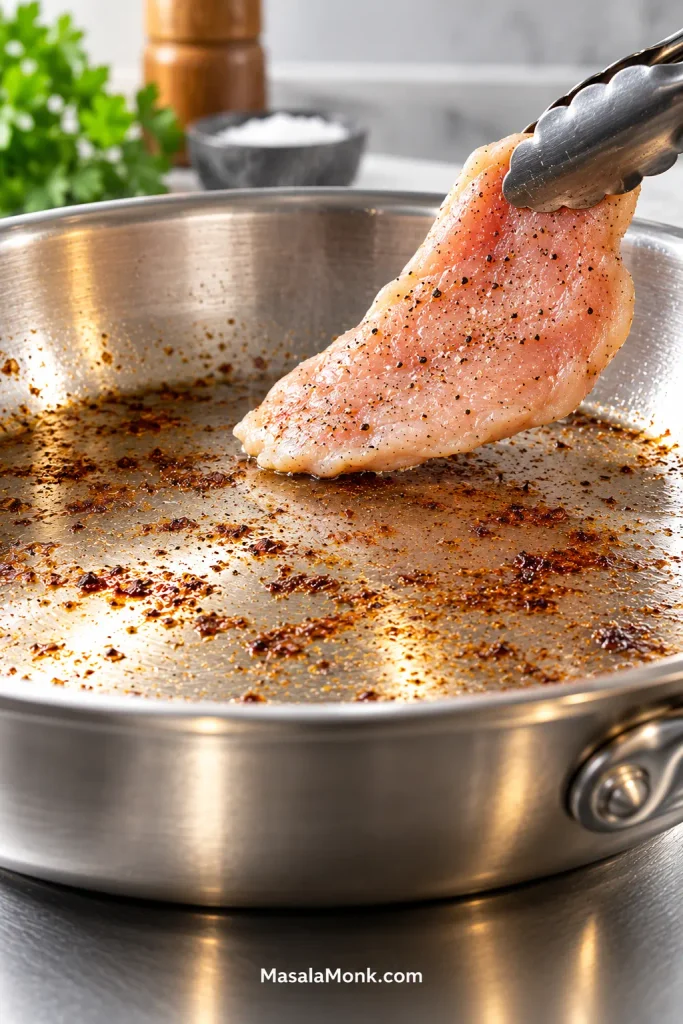
Repeat with the remaining chicken, again cooking it to 165°F / 74°C, then move it to the clean plate.
6. Make the Garlic-Soy Finish
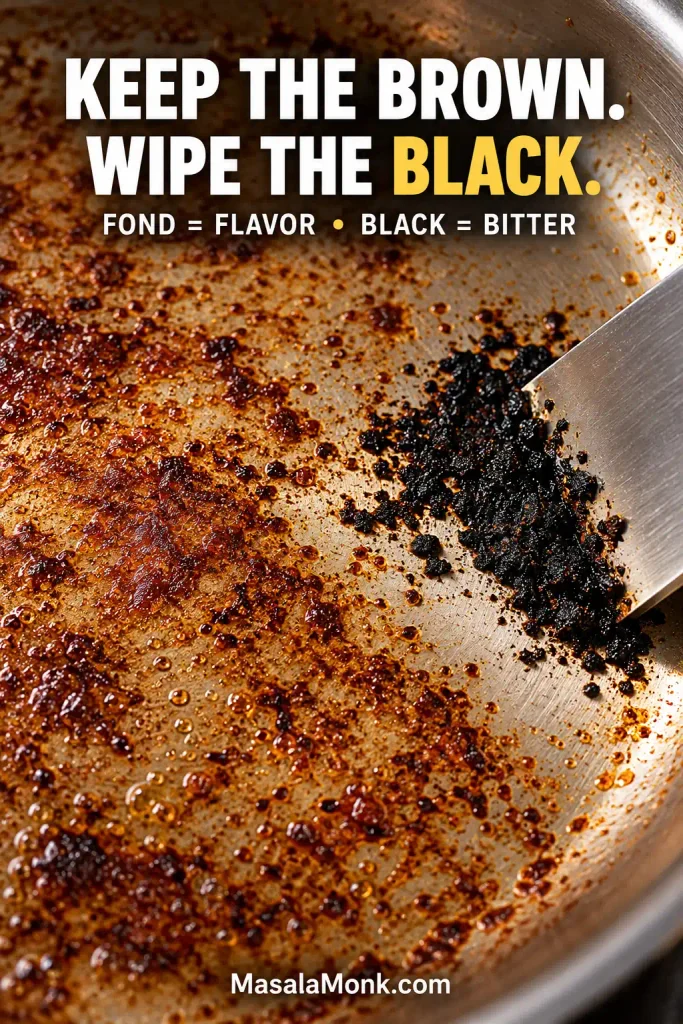
Lower the heat. Wipe out any blackened bits; leave the brown fond.
Add the garlic-soy butter and stir for 20 to 30 seconds, until the sharp raw-garlic smell softens. Now it starts smelling like hibachi.
Stir in the remaining soy sauce, then turn the burner off.
7. Cut and Toss Off Heat
While the second batch finishes resting, cut the first into bite-size pieces, about 1 inch / 2.5 cm. Once the second batch has rested for about 3 minutes in total, cut it too.
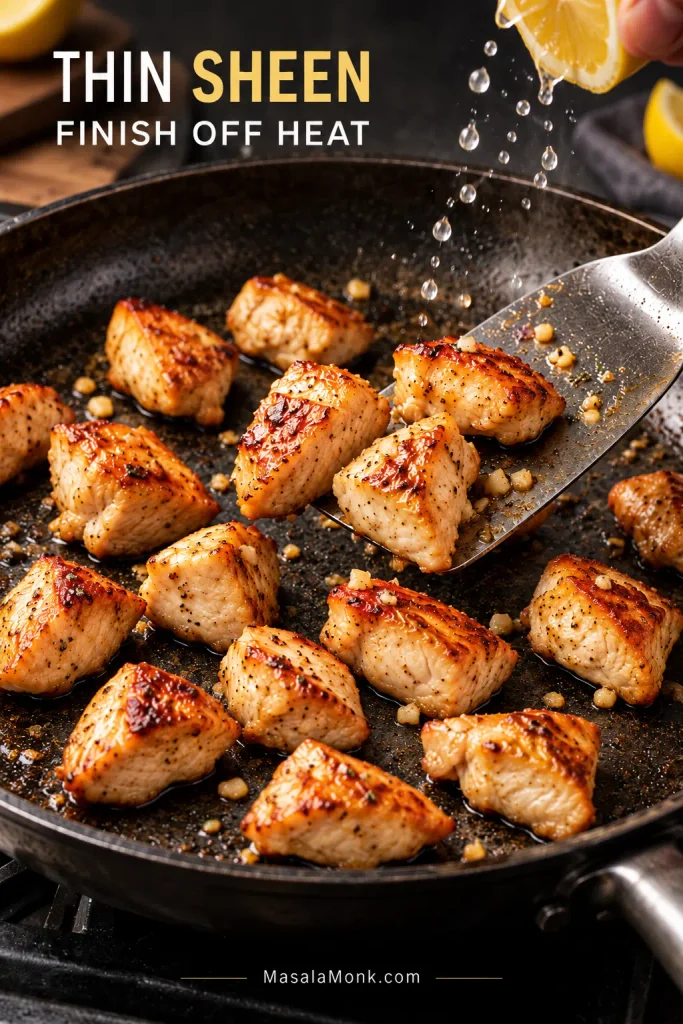
Return both batches and any juices on the plate to the skillet. Toss briefly, just until the garlic butter clings to the chicken in a thin sheen. With the burner off, the skillet is still hot enough to coat and warm the chicken without drying it out.
8. Finish with Lemon and Sesame
Add the lemon juice and optional sesame oil, toss, then taste for salt. The lemon should sharpen the buttery soy flavor without taking over.
Scatter over the sesame seeds, if using, and get the chicken onto the plate while the garlic butter still clings to those browned edges.
What Good Hibachi Chicken Looks Like
Look for irregular patches of bronze and deep gold directly on the chicken. Cut into a piece and the center should still look juicy, while the outside carries a thin buttery sheen.
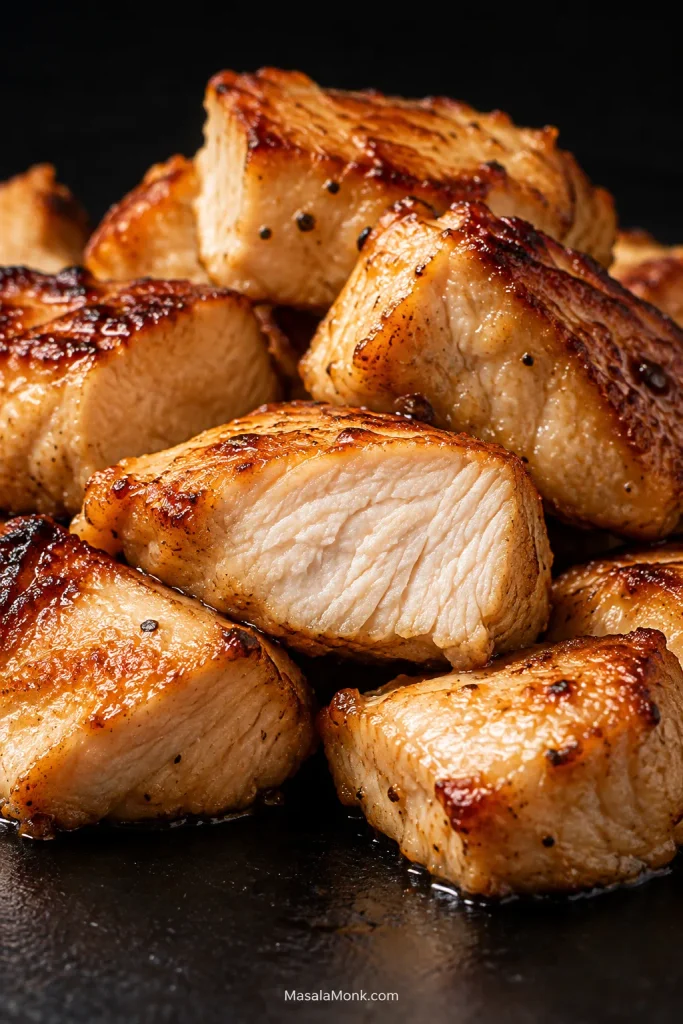
The garlic should smell sweet and savory, with black pepper quietly in the background. Lemon keeps the butter from feeling heavy.
Most of all, the first flavor should still be browned chicken—not soy sauce.
Need More Than the Recipe?
Why Home Hibachi Chicken Turns Watery
Hibachi chicken turns watery when moisture reaches the skillet faster than the heat can drive it away. Damp chicken, crowding, a pan that has cooled, partially frozen meat, and sauce added too early can all push the skillet from searing into steaming.
You can hear it happening. The sharp sizzle softens into wet bubbling, liquid appears between the pieces, and the chicken starts simmering. Meanwhile, the breast keeps cooking inside while the surface struggles to brown.
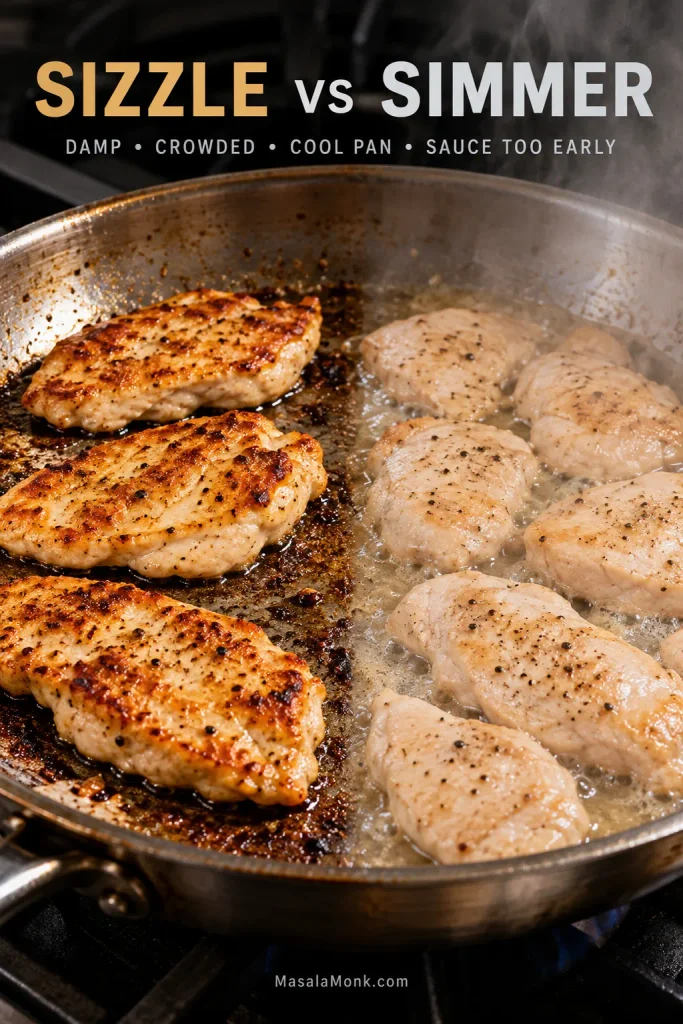
That is when another splash of soy can seem tempting. It brings more water and salt when the thing you actually need is heat and evaporation.
What to Do When You See the Puddle
Create more space. Let the liquid cook away. Increase the heat if your cookware permits. You’ll know the skillet is back on track when the sharp sizzle returns and the exposed chicken starts taking on color.
Save the soy and butter for later.
Butter, Soy, Garlic & Lemon: How the Flavor Comes Together
The familiar hibachi flavor comes from browned chicken, garlic butter, measured soy sauce, black pepper, and fresh lemon, added at different stages rather than all at once.
| Ingredient | When It Goes In | Job |
|---|---|---|
| Neutral oil | Beginning | Handles the high-heat sear |
| Black pepper | Before searing | Warm background bite |
| Soy sauce | After browning | Salt + umami |
| Garlic butter | After the sear | Richness + aroma |
| Fresh lemon | Off heat | Brightness |
| Toasted sesame oil | Optional finish | Sesame aroma |
Timing matters. Neutral oil can handle the hard sear. Butter and garlic arrive later, once the intense browning stage is over. Soy follows the color instead of getting in its way, while lemon stays fresh because it goes in at the end.
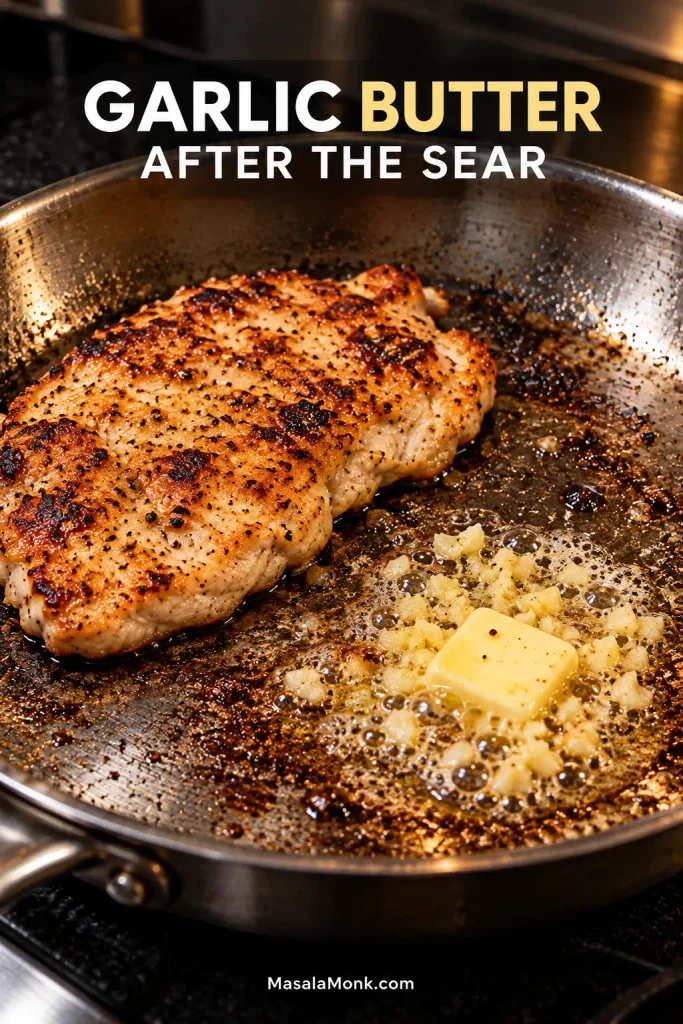
Taste before adjusting the seasoning. Saltiness and savory depth are not the same thing.
Toasted sesame oil needs restraint. Half a teaspoon / 2.5 ml is enough to perfume the whole batch. Use it as a finishing aroma; frying the chicken in it makes sesame dominate.
What Is Hibachi Seasoning?
There is no single universal dry “hibachi seasoning” blend. In this chicken recipe, salt and black pepper season the meat first, while butter, garlic and soy build the familiar savory steakhouse flavor during cooking.
Ginger appears in some hibachi-style chicken recipes and dipping sauces, and commercial hibachi seasoning blends can include it too. It is not essential to the garlic-butter profile used here.
Keeping the seasoning simple also makes problems easier to diagnose. Browning, garlic, acidity, and salt each do a different job.
Cut Before or After Cooking? Match the Method to the Pan
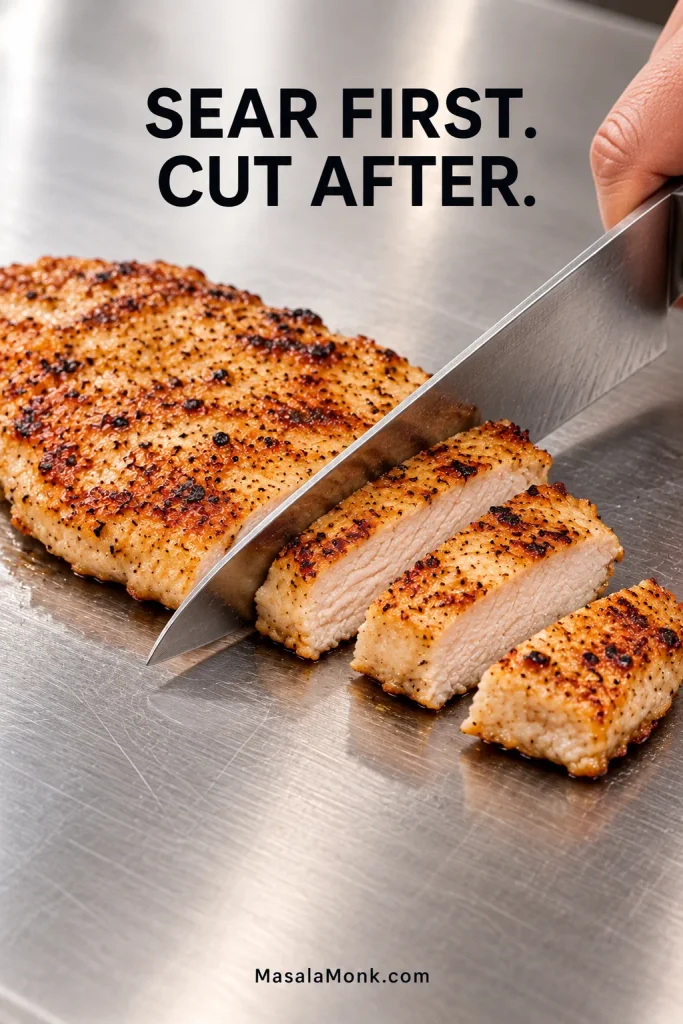
For a home skillet, sear larger thin pieces and cut them afterward. On a roomy Blackstone or flat top, raw bite-size pieces are much easier to spread out and brown without steaming.
| Method | Best Place to Use It | Main Trade-Off |
|---|---|---|
| Raw cubes first | Blackstone or very large flat top | Can steam quickly in a small skillet |
| Thin pieces, then cut | Home skillet | Less like the restaurant chopping show |
| Sear, partly cook, chop, finish | Flat top / experienced griddle cooking | More awkward handling of partly cooked poultry at home |
Keeping the breasts larger gives them more uninterrupted contact with the skillet. That extra contact time helps the meat pick up color before released moisture cools the surface.
Does Hibachi Chicken Need a Marinade?
No. You do not need a wet marinade for this steakhouse-style method. Most of the flavor is built through seasoning, browning, garlic-soy butter, black pepper, and lemon.
A wet marinade can make browning harder because the chicken carries more surface moisture into the skillet. Prefer marinated chicken anyway? Drain it well and blot it thoroughly before cooking.
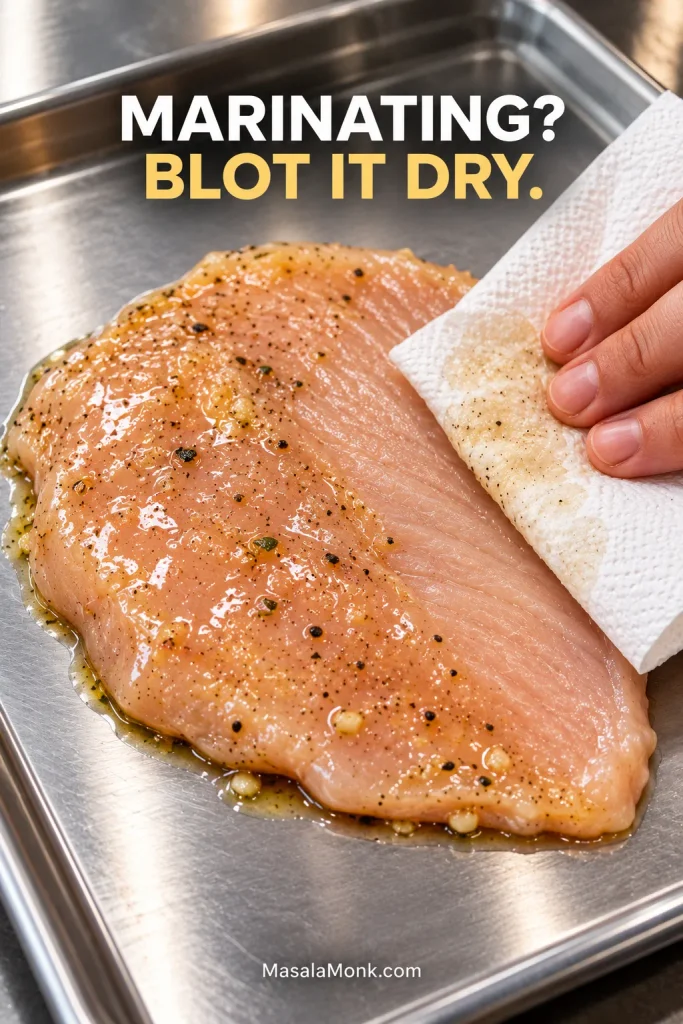
Be especially careful with honey, sugar, or sweet bottled sauces. They can darken quickly on a hot skillet while the chicken underneath is still pale.
Chicken Breast or Thighs?
Use breast for the firmer, leaner Japanese-steakhouse-style bite in this recipe. Choose boneless thighs when you want richer meat and a little more forgiveness if the timing runs long.
Benihana currently describes its Hibachi Chicken as chicken breast with mushrooms and sesame seeds, so breast is a useful reference point for the style we are recreating here.
Thighs are especially forgiving on a Blackstone or when cooking larger batches. The same brown-first approach still applies.
Hibachi Sauces & Yum Yum Sauce
Choose the sauce by the kind of contrast you want beside the chicken. The chicken itself already has its soy-and-garlic-butter finish; these are dipping sauces or alternate flavor directions.
Creamy and cool: our Yum Yum Sauce gives you the familiar pale pink, mildly sweet steakhouse dip. That cold creamy sauce is particularly good beside chicken that has just come hot from the skillet.
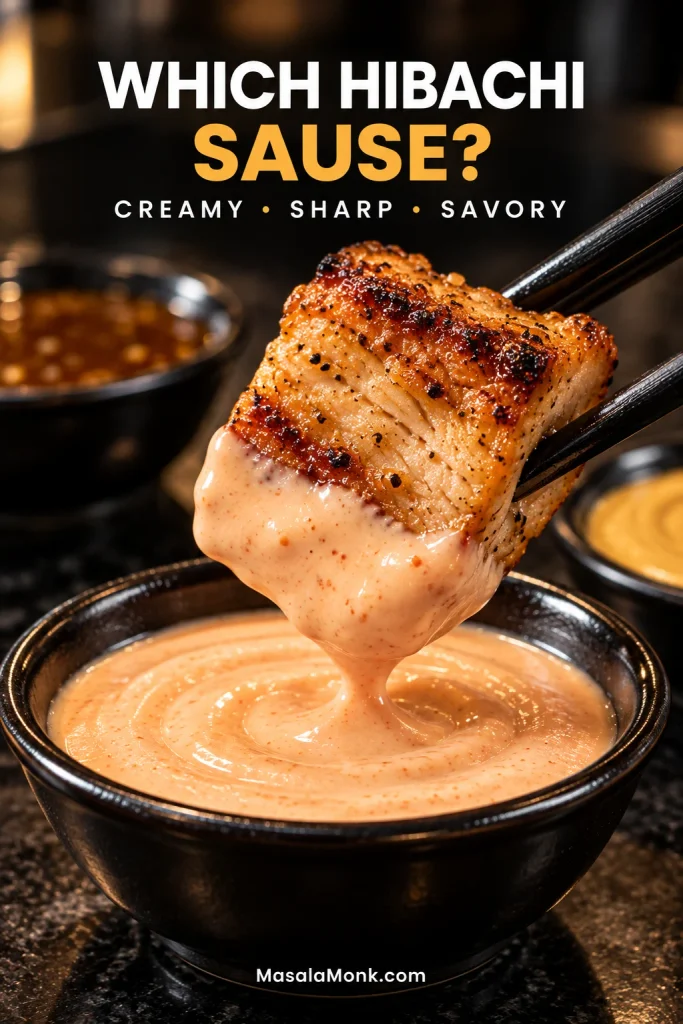
Sharp and fresh: ginger dipping sauce is thinner and more acidic, so it cuts through buttery chicken without adding more richness.
Savory and punchier: mustard-style steakhouse sauce works especially well when you want a stronger companion for chicken or steak.
Sweet and glossy: use our homemade teriyaki sauce when you want the chicken to move in a sweeter, glaze-heavy direction.
If what you really want is sticky, sauce-forward chicken rather than a butter-led steakhouse finish, our Sesame Chicken recipe is the better direction.
Making Hibachi Chicken on a Blackstone
For Blackstone hibachi chicken, preheat the chicken zone to about 400–425°F / 204–218°C and keep separate areas for hard searing, vegetables or rice, and holding finished food.
The large griddle changes the main constraint. You have far more hot surface than a 12-inch skillet, so raw bite-size chicken can brown well as long as you actually spread it out. Larger breast pieces still work too.
Use the hotter area for the chicken. Keep vegetables and rice on their own medium-hot sections, with a cooler edge available for anything that finishes early.
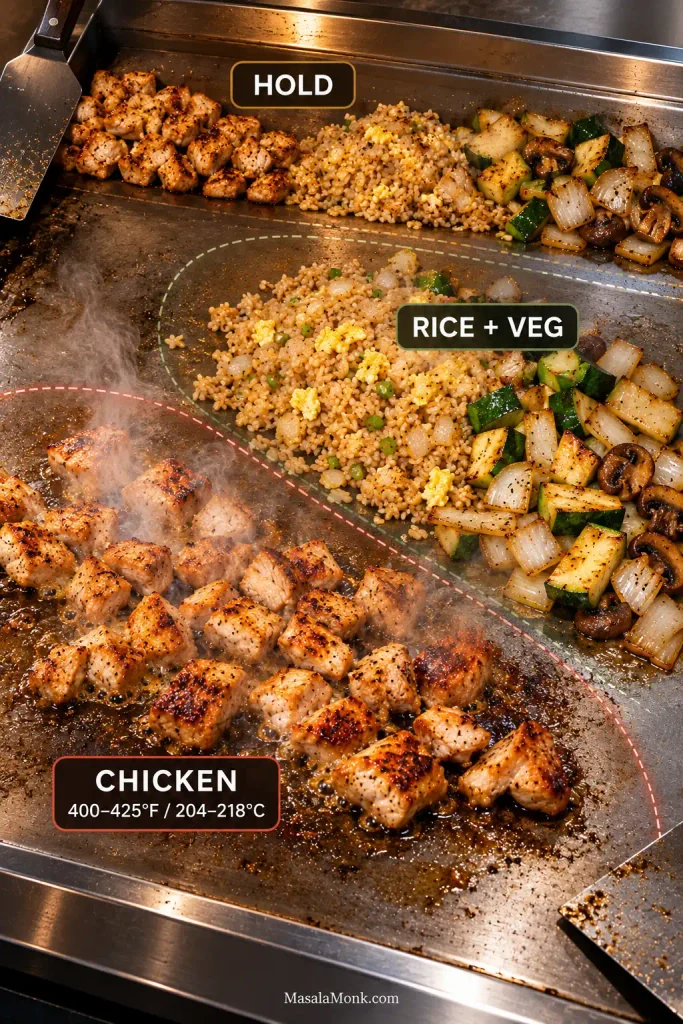
A wide field of sizzling chicken is what you want. By contrast, a steaming mound in the middle of the griddle is not.
Brown the chicken before adding the garlic butter and soy. Once it reaches 165°F / 74°C, move it away from the strongest heat, coat it briefly, and finish with lemon.
That extra surface area is the advantage of the Blackstone: chicken, vegetables, and rice can occupy different zones instead of competing for the same patch of hot metal.
Hibachi Fried Rice & Vegetables: The Best Cooking Order
For a one-skillet hibachi dinner, cook the vegetables first, fried rice second, and chicken last. Keep the first two components loosely covered while the chicken cooks; they tolerate the short wait far better than chicken breast.
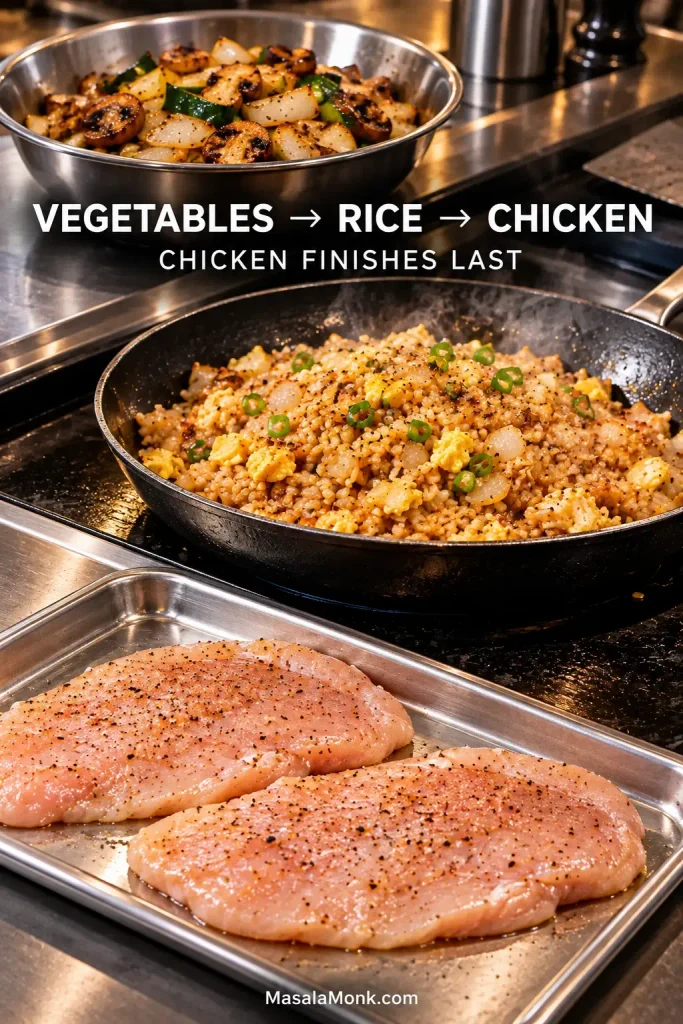
Have everything cut and the cooked rice ready before the skillet gets hot. Once the first component starts cooking, this meal moves quickly.
Vegetables First
For four servings, start with 1 medium onion, 2 small zucchini, and 8 oz / 225 g mushrooms. Cook the onion and mushrooms first, then add the zucchini later so it keeps some structure.
Move the vegetables to a bowl and cover loosely. Cook mushrooms here, not beside the chicken during its initial sear; they release enough moisture to make chicken browning harder.
Fried Rice Second
Cold cooked rice works well because the surface is drier and the grains are firmer. “Day-old” is not magic, though. Rice that started undercooked can become unpleasantly hard after refrigeration and another round of high heat.
Fry the rice in a reasonably thin layer, season it lightly, then move it to a loosely covered bowl while the chicken cooks. Starting with uncooked rice? Our guide to cooking rice covers stovetop and rice-cooker methods before you move on to cooling and frying.
You want savory grains, not rice soaked in soy sauce.
Chicken Last
Finish with the chicken using the recipe above. By the time it is tossed through the garlic butter, the vegetables and rice should already be waiting.
The payoff is a plate with contrast: juicy browned chicken, buttery fried rice, mushrooms with real color, zucchini that still has some bite, and something cool and creamy on the side if you are serving Yum Yum Sauce.
Adding Shrimp or Steak
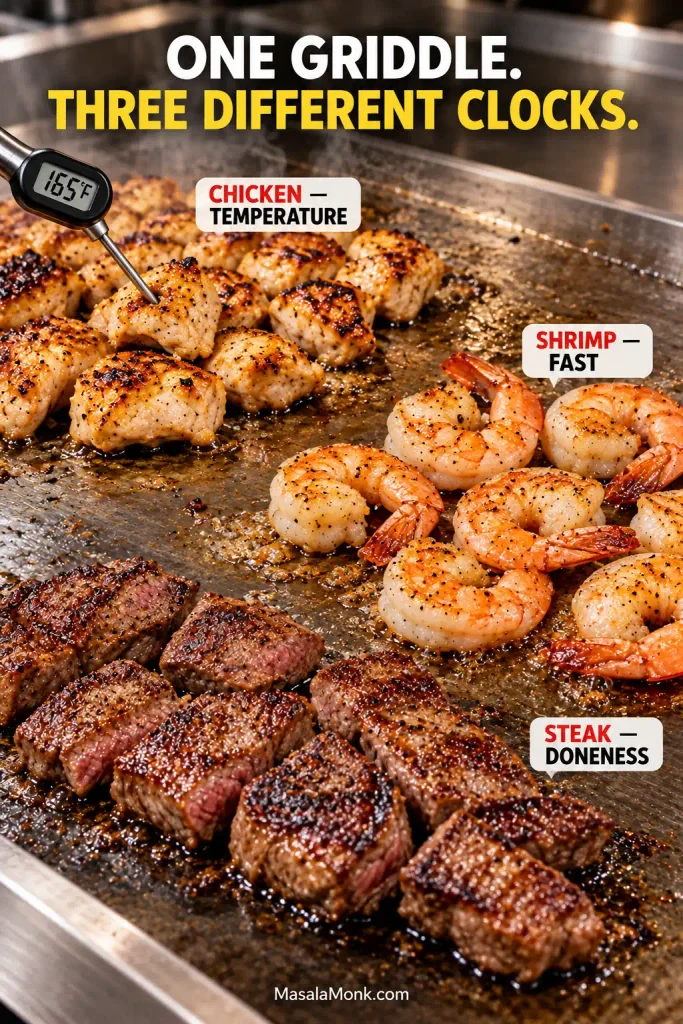
Cook each protein on its own clock. Shrimp, steak, and chicken have different doneness windows, so forcing them onto one timer is the easiest way to overcook something.
Keep juices and utensils that touched raw chicken away from shrimp, steak, and cooked food; switch to clean utensils once the chicken is cooked.
Chicken and Shrimp
Large shrimp on a properly heated griddle often need only 1 to 2 minutes per side. Watch for the flesh to turn opaque and curl loosely.
Finish most of the chicken cooking first, then cook the shrimp separately or add it much later on a griddle.
If shrimp becomes the main event rather than an add-on, our Shrimp Fried Rice gives it its own cooking window while using the same useful habits: dry surfaces, a properly heated pan, cold rice, and restrained sauce.
Chicken and Steak
Steak may be ready well before the chicken, depending on thickness and preferred doneness. Give it its own section of the griddle or cook it separately, then judge the beef and chicken independently.
Read the Pan: Hibachi Chicken Troubleshooting
When hibachi chicken goes wrong, the skillet usually tells you before the finished plate does. Listen to the sound, look at the surface of the chicken, and pay attention to what is collecting around it.
| What You See or Hear | What It Usually Means | What to Do |
|---|---|---|
| Pale chicken sitting in liquid | Wet chicken, cool skillet, crowding, or liquid added early | Create space and let the strong sizzle return |
| No sharp sizzle when batch two lands | The skillet has not recovered its heat | Wait before adding more chicken |
| Brown outside but dry inside | Pieces too small, uneven thickness, or too much cooking | Use even cutlets and a thermometer |
| Dark sticky surface, pale chicken underneath | Sugar or sauce browned before the meat | Sear the chicken before adding sweet sauces |
| Salty but still flat | Soy is replacing browning, garlic, pepper, or acidity | Stop adding soy and fix the missing layer |
| Bitter garlic | Garlic hit high heat too early | Add it with the finishing butter |
| Blackened bits smoking | Burned fond or garlic | Wipe them out before adding the butter |
| Sesame dominates | Too much toasted sesame oil | Use it sparingly at the end |
| Everything finishes at different times | Too many components started together | Cook sequentially indoors or use separate griddle zones |
Brown but Dry
Very small raw cubes can cook through before much crust develops. Thick uneven breasts create the opposite problem: the thin parts wait while the center catches up. Even thickness and a thermometer give you far more control.
Salty but Still Not Right
Do not add more soy. If the chicken is already salty, soy is not the missing ingredient. Check the sear, garlic butter, black pepper, and lemon.
If you already cook with MSG, a small optional pinch can deepen the savory flavor. It still cannot replace browning or rescue burnt garlic.
Dark Does Not Always Mean Seared
Honey, brown sugar, teriyaki sauce, hoisin, and sweet Japanese barbecue sauces can darken quickly on a hot skillet. A proper initial sear leaves dry bronze or deep-golden patches directly on the chicken. Sticky dark sauce over pale meat is a different result.
Storage & Reheating
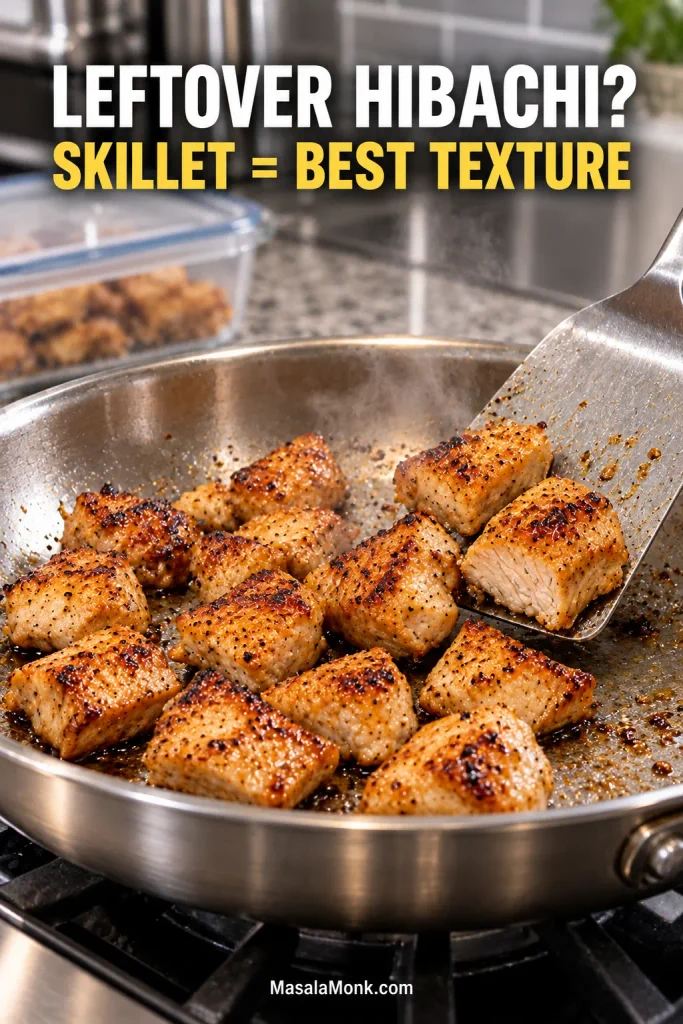
For the best texture, reheat hibachi chicken gently in a skillet; the microwave works too when speed matters.
Following USDA food-safety guidance, refrigerate cooked chicken within 2 hours, or within 1 hour when the surrounding temperature is above 90°F / 32°C. Store it in a shallow airtight container and use it within 3 to 4 days.
For skillet reheating, use medium-low heat with a teaspoon of water or a small amount of butter if the chicken looks dry. Cover briefly if needed and reheat the leftovers to 165°F / 74°C.
For the microwave, use short covered intervals and stir between them. Stop as soon as the chicken is hot through so the smaller edge pieces do not spend several minutes drying out.
If you stored a full hibachi dinner, keeping dipping sauce separate makes reheating much easier. Rice and vegetables can be warmed alongside the chicken, while cold Yum Yum or ginger sauce stays cold.
Practical Hibachi Chicken FAQs
1. Can I double the recipe?
Yes, but keep roughly the same amount of chicken in each batch. Doubling the recipe should not mean doubling the amount crowded into the skillet.
2. Can I make it in a nonstick skillet?
Yes. Follow the manufacturer’s heat limits and preheat more moderately. The crust may be lighter than it would be in cast iron, carbon steel, or stainless steel, but the larger-piece method still works.
3. Can I cook the chicken from frozen?
Not for this method. Thaw it completely first. Partially frozen chicken releases extra water as it cooks and makes browning much harder to control.
4. What oil is best for hibachi chicken?
Use a neutral oil that handles fairly high heat, such as avocado, canola, grapeseed, or another neutral cooking oil you normally use for searing. Save strongly flavored oils and toasted sesame oil for lower-heat cooking or the finish.
5. Can I use tamari instead of soy sauce?
Yes. If you are avoiding gluten, choose a tamari specifically marked gluten-free because products vary. Sodium levels vary too, so keep the measured amount modest and adjust after tasting.
The Difference Is in the Order
Dry chicken. Hot skillet. Enough room for the pieces to sear. Get those three things right before you worry about sauce.
Then the payoff comes quickly: garlic butter hits the browned fond, soy brings the savory edge, and lemon wakes everything up at the end.
When it all comes together, the chicken reaches the plate bronzed around the edges, glossy with garlic butter, juicy through the middle, and bright enough that the richness never feels heavy.
That is the whole idea behind this chicken hibachi recipe: brown first, flavor second.








