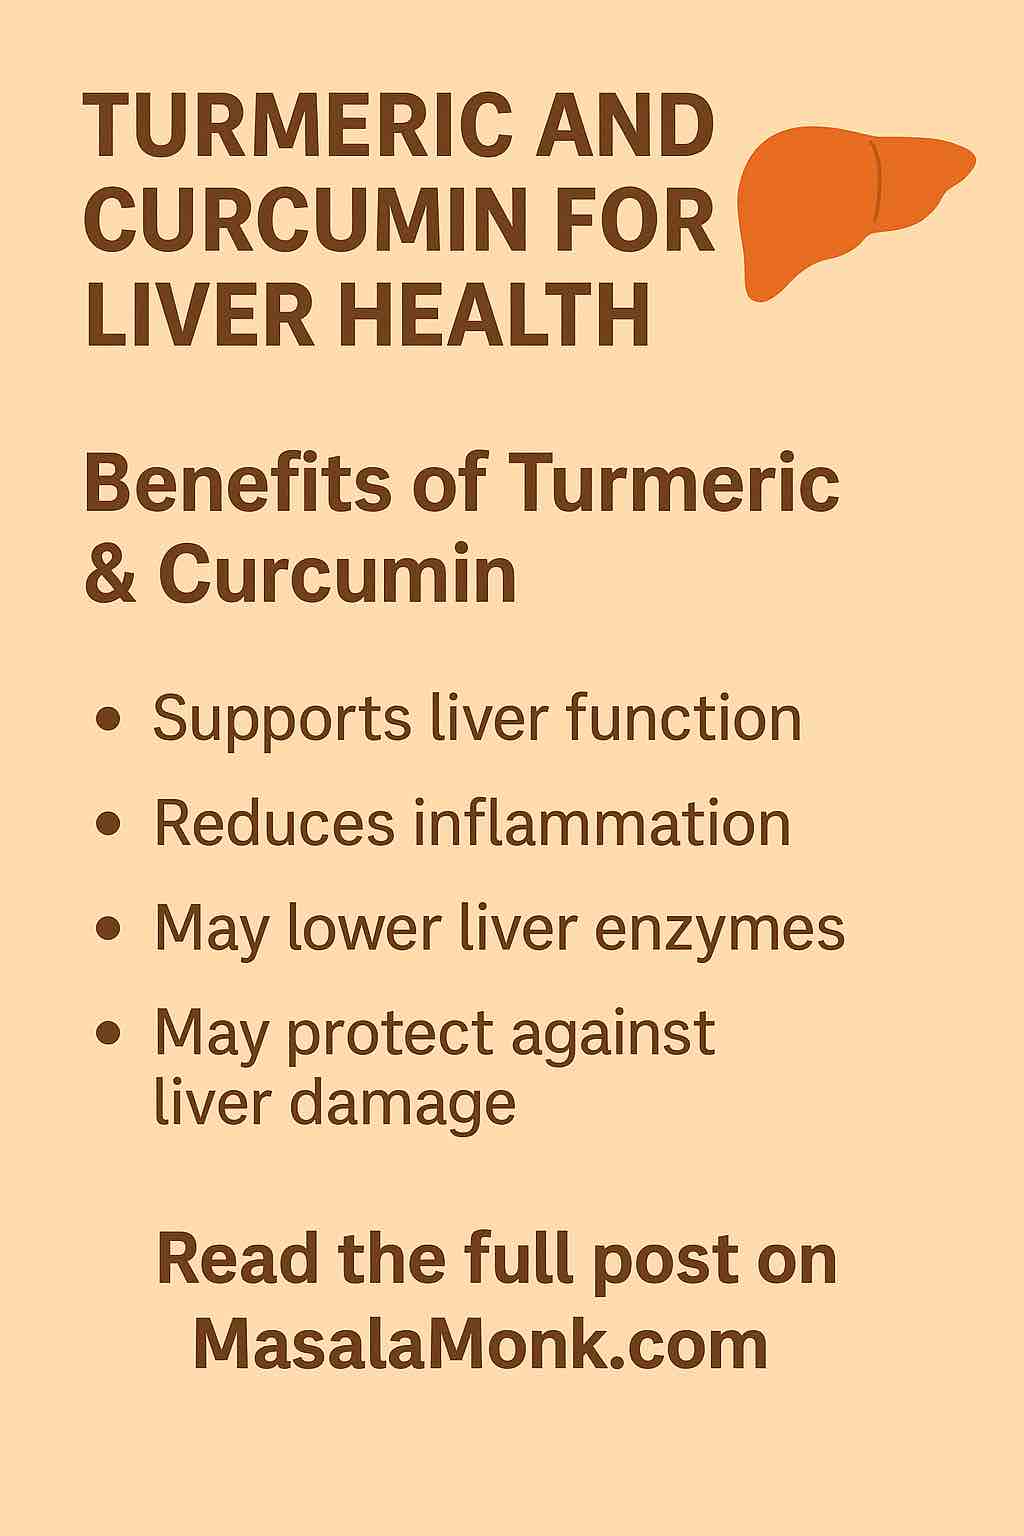
Turmeric has gone from humble kitchen spice to global health superstar. Scroll through any supplement aisle or wellness blog, and you’ll spot turmeric and its active ingredient, curcumin, being hyped for everything from joint pain to brain fog—and especially for liver health. But does this bright yellow root really deserve the spotlight? Is it a safe, effective option for supporting your liver, or could there be risks hiding in those capsules?
In this post, we’ll dig beneath the marketing claims to bring you the latest research, real user stories, and practical guidance so you can make informed decisions for your liver and your health.
The Science: What Do We Know About Turmeric, Curcumin, and the Liver?
1. Why the Hype?
Your liver is a metabolic powerhouse. It filters toxins, metabolizes nutrients, manages hormones, and helps keep your whole system in balance. Chronic liver disease—especially metabolic dysfunction-associated steatotic liver disease (MASLD, formerly NAFLD)—is a growing global concern.
Curcumin, the most active compound in turmeric, has been celebrated for its antioxidant and anti-inflammatory powers. Preclinical studies (meaning: in cells and animals) show curcumin can reduce inflammation, limit oxidative stress, and may even block or reverse scarring (fibrosis) in the liver.
2. Human Evidence: What Do Clinical Trials Show?
Over the past decade, numerous randomized controlled trials (RCTs) and meta-analyses have investigated curcumin’s impact on liver health, especially in people with fatty liver or at metabolic risk.
Key takeaways:
- ALT & AST Reduction: Meta-analyses in 2024–2025 consistently found that curcumin (usually 500–2000 mg/day, sometimes with black pepper extract/piperine) can reduce ALT and AST, two enzymes that signal liver cell stress or injury.
- Steatosis Improvement: Some trials show reduced liver fat (“steatosis”) by ultrasound or MRI in those with MASLD/NAFLD.
- Inflammation: Curcumin reliably lowers inflammation markers like IL-6 and TNF-α.
However, results vary. Some trials show dramatic improvements, others more modest or no effect. There is not yet definitive proof that curcumin prevents serious liver complications (like cirrhosis or cancer).
3. Mechanisms: How Does Curcumin Work in the Liver?
Curcumin acts through multiple pathways, including:
- Blocking NF-κB and TGF-β/Smad signaling (major players in inflammation and fibrosis)
- Boosting antioxidant enzymes (SOD, catalase, glutathione)
- Reducing fat buildup and improving insulin resistance
But curcumin’s biggest limitation is poor absorption. On its own, it’s not easily absorbed from the gut—so many supplements combine it with piperine, which can increase bioavailability and risk of interactions or side effects.
The Caution: Rare But Real Risks
While turmeric as a food is widely considered safe, supplement use is another story.
1. Recent Liver Injury Cases
In the last five years, the number of reported liver injuries linked to turmeric/curcumin supplements has grown. Clinical case registries (like the U.S. DILIN) and national news outlets report:
- Acute hepatitis and even near-fatal liver failure in previously healthy adults taking high-dose curcumin (often >1,000 mg/day, sometimes enhanced with piperine).
- Recovery is common after stopping the supplement, but hospitalization and even transplants have occurred.
- A genetic risk factor (HLA-B*35:01) may predispose certain individuals, but is rarely screened.
Bottom line: These events are rare, but real. The risk appears highest with high-dose, bioavailability-boosted supplements, not with culinary turmeric.
2. User Experiences: What People Are Saying
On Reddit, health forums, and supplement review sites, user stories paint a mixed picture:
- Positive: Many report “noticeable anti-inflammatory benefits,” improved joint pain, or lower blood sugar with regular, moderate curcumin use.
- Negative: Some share alarming spikes in AST/ALT on bloodwork, fatigue, or digestive upset. “My enzymes were through the roof after four months,” one user shared; “improved after I stopped curcumin.”
- Culinary Use: Most agree that using turmeric in food is safe. “Add it to your curries, smoothies, or tea—just don’t megadose on pills,” one Redditor advised.
Quality concerns are also frequent: “Watch out for lead contamination—cheap turmeric supplements or powders can be adulterated,” users warn, echoing recent U.S. FDA alerts.
Practical Guidance: If You’re Considering Turmeric or Curcumin for Liver Health
1. Choose Food First
- Culinary turmeric (spice) is extremely unlikely to harm your liver. In fact, traditional diets with regular turmeric may be mildly protective thanks to a spectrum of plant compounds.
- Supplements should be considered only if you have a clear reason and after consulting your healthcare provider.
2. Know Your Dose
- Most clinical benefits (and most reported harms) occur at 500–2000 mg/day of curcumin extract.
- WHO suggests a limit of ~3 mg/kg body weight per day—about 200 mg/day for a 70 kg (154 lb) adult.
- Enhanced-absorption supplements (with piperine, nanoparticles, or phospholipids) increase both potential benefit and risk.
3. Monitor Your Liver
- If you choose to use a curcumin supplement, get baseline and follow-up liver function tests (LFTs)—especially if you have any symptoms (fatigue, jaundice, dark urine) or risk factors.
- Be alert to any unexplained fatigue, yellowing of skin/eyes, or digestive changes.
4. Quality Matters
- Buy from reputable brands with third-party testing for purity and absence of heavy metals.
- Avoid unknown brands, “proprietary blends,” or products with unclear labeling.
5. Consider Alternatives
- Other supplements like milk thistle (silymarin) or omega-3 fatty acids have supporting evidence for liver health, with different risk profiles.
- Lifestyle factors—diet, weight management, exercise—have the biggest and most proven impact on liver health.
FAQ: Your Top Questions Answered
Q: Is turmeric in food safe if I have liver disease?
A: Yes, unless your doctor advises otherwise. Spices used in food are not linked to liver injury.
Q: Should I get a genetic test before using curcumin supplements?
A: Not currently practical; the risk is still rare. But if you or a family member have had unexplained liver enzyme spikes on supplements, mention this to your doctor.
Q: What about “liver detox” products with turmeric and other herbs?
A: Be especially cautious—multi-ingredient products can be riskier, less well-tested, and harder to trace if a problem occurs.
Conclusion: Turmeric and Your Liver—Smart Use, Not Blind Faith
Turmeric and curcumin are not miracle cures, but neither are they “dangerous toxins.” When used as a spice, turmeric is safe and may gently support liver and overall health. Supplements have shown real promise in some clinical settings—but the risk of rare but severe liver injury, especially at high doses or with absorption enhancers, means they aren’t for everyone.
If you’re thinking of using a turmeric or curcumin supplement:
- Talk to your doctor, especially if you have liver concerns or take other medications.
- Use the lowest effective dose for the shortest necessary time.
- Prioritize reputable brands and monitor your liver health.
And remember: The best thing you can do for your liver isn’t in a capsule. It’s in the choices you make every day—what you eat, how much you move, and how you care for your whole self.
References and Further Reading:
- Frontiers in Pharmacology – 2025 Umbrella Review
- Dovepress – Curcumin in Chronic Liver Diseases (2025)
- Reddit: r/Supplements, r/Biohackers
- Verywell Health – Supplements & Liver Toxicity
- People.com – Liver Hospitalization Case
What’s your experience with turmeric or curcumin? Share your story in the comments, or let me know what you’d like to see covered next!
1. Q: Is turmeric safe for people with pre-existing liver conditions?
A: Turmeric as a spice used in food is generally considered safe, even for those with liver disease. However, turmeric or curcumin supplements—especially in high doses or enhanced formulations—should only be used under medical supervision. If you have hepatitis, cirrhosis, or unexplained liver enzyme elevations, always consult your doctor before taking supplements.
2. Q: What is the difference between turmeric and curcumin?
A: Turmeric is the yellow spice from the root of the Curcuma longa plant. Curcumin is its most active compound and the main ingredient studied for health benefits. Most research uses concentrated curcumin extracts, not plain turmeric powder.
3. Q: Can turmeric or curcumin supplements actually cause liver injury?
A: Rare but serious liver injuries have been reported in people taking high-dose or enhanced-bioavailability curcumin supplements. Most cases improved after stopping the supplement. The risk is much lower with turmeric in food.
4. Q: How much turmeric or curcumin is considered safe per day?
A: For supplements, the World Health Organization suggests a maximum of about 3 mg per kg body weight per day (around 200 mg for a 70 kg adult). Doses used in research are often higher, but side effects become more likely at those levels, especially with piperine or other absorption boosters.
5. Q: Are there interactions between turmeric/curcumin and medications?
A: Yes. Curcumin and especially piperine can affect the metabolism of many drugs (including blood thinners, diabetes medications, and chemotherapy agents). Always check with your healthcare provider before combining supplements with prescription medicines.
6. Q: Does black pepper (piperine) make turmeric more effective or more risky?
A: Piperine significantly increases the absorption of curcumin, which may improve effectiveness but also raises the risk of side effects and drug interactions. Most serious liver injury cases involved high doses with piperine or enhanced forms.
7. Q: Are there quality concerns with turmeric supplements?
A: Yes. Some turmeric powders and supplements have been found contaminated with heavy metals (especially lead) or adulterated with cheaper substances. Choose reputable brands with third-party testing and clear sourcing.
8. Q: Should I take turmeric or curcumin supplements for fatty liver disease?
A: Some research suggests curcumin may help lower liver enzymes and reduce fat in people with MASLD/NAFLD. However, lifestyle changes (diet, exercise, weight loss) remain the first and most important treatment. Supplements should only be an add-on and used with medical guidance.
9. Q: What are symptoms of liver injury from supplements to watch for?
A: Be alert for fatigue, jaundice (yellow skin or eyes), dark urine, nausea, loss of appetite, or unexplained itching. If these occur after starting a new supplement, stop use and seek medical advice immediately.
10. Q: Is it safe to take turmeric/curcumin long-term?
A: Long-term safety data is limited, especially at high doses. Culinary turmeric is safe for ongoing use as part of the diet. For supplements, use the lowest effective dose for the shortest time, and have your liver function monitored regularly if you continue.

