Posted on Leave a comment

Indian Cottage Cheese Jaffles- Vegetarian Protein Rich- Ultimate Comfort Food

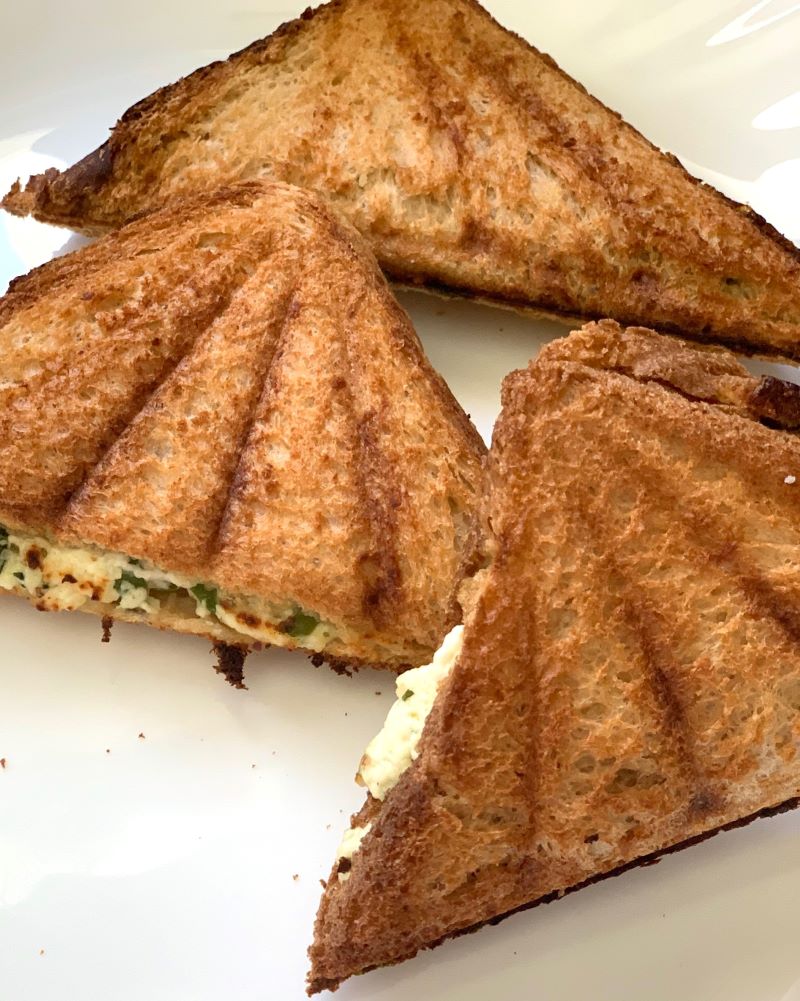
Did you know, a Jaffle is an Australian name for closed toasted sandwich? It’s an Aussie invention. The first electric jaffle maker was released in 1974 that seal and cut a sandwich. When it comes to the iconic jaffle, there is something about the crispy sealed edges and perfectly cut triangular chambers of gooey goodness that makes them simply irresistible. This ultimate comfort food makes the perfect anytime meal or snack, and takes the humble sandwich to the next level.

I have sweet childhood memories attached to jaffles. My mother would often fix us quick breakfast with leftover sabji from last night, add her own touch of masalas to make it even more flavourful and turn it into delicious jaffles. As a child this used to be one of favourite breakfast options.

These paneer jaffles are my 10 year old and family’s favourite. I am sure every one of you have had jaffles atleast once. Every household has its own recipe. So sharing one out of many of my jaffle recipes with you. These are different, tastes very fresh, summery and of course it’s super healthy. I can bet you are going to love it. Do try!

Recipe: makes 6 jaffles

Ingredients 

  • Indian Cottage Cheese/Paneer: 250 grams
  • Capsicum: 1/2 cup, finely chopped
  • Minced ginger and garlic: 1 tsp
  • Fresh Mint Leaves: Handful
  • Fresh Sweet Basil Leaves: Handful
  • Salt and pepper to taste
  • Italian Seasoning to taste
  • Red pepper flakes to taste
  • Cream Cheese: 2 tbsps (optional)
  • Bread Slice: 12

Instructions 

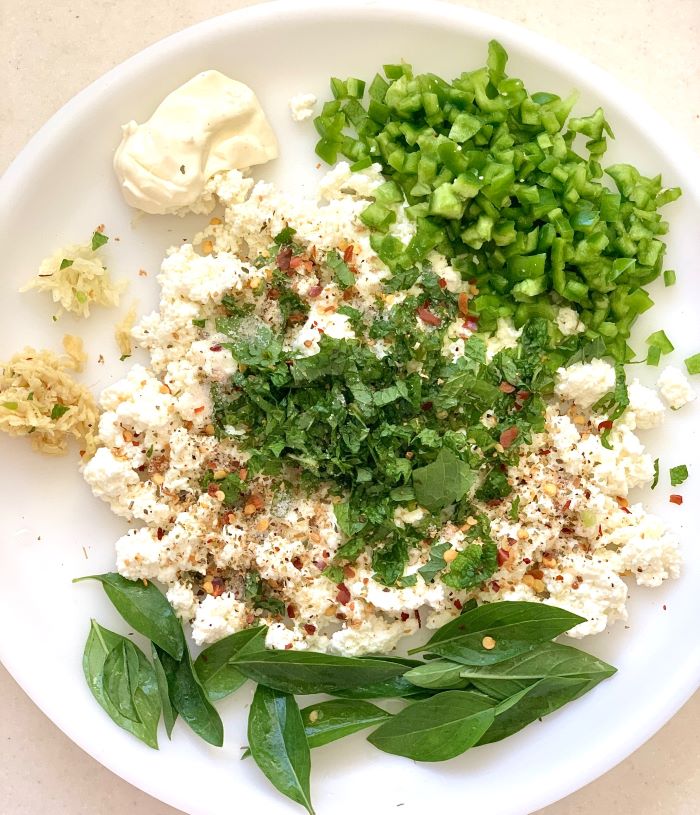
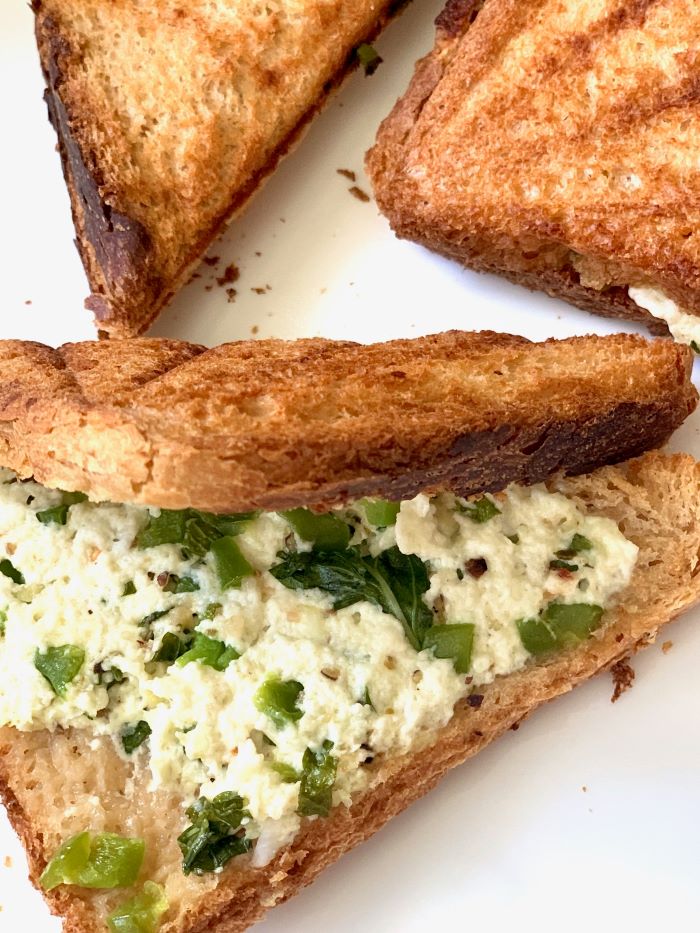
  • Crumble cottage cheese. To it, add capsicum, minced garlic & ginger, chopped fresh mint leaves, chopped fresh sweet basil leaves and cream cheese. Cream cheese will bring it all together and will also add creaminess. 
  • Now add Italian seasoning, freshly ground pepper, red pepper flakes & salt. 
  • Mix it all well. Apply it on a slice of bread, top it with another slice. Apply butter on both sides and toast it in jaffle iron.
  • Serve hot with ketchup or dip of your choice. 
  • Note: You can store the leftover filling in the refrigerator and use within 3 days.

Substitutes: 

  1. For Vegan option substitute paneer with tofu.
  2. If cream cheese is not available, you can add hung curd/Greek yogurt. 
  3. You can also add vegetables of your choice like bell peppers, shredded carrots or cabbage.

Do try out this simple recipe. I am sure you guys will love it. Let me know what other kind of jaffles you make at home and what is your comfort filling in the comments section. It will be great to know. Stay Healthy! 🙂

Posted on Leave a comment

25 Nutritious and Delicious Lunch Box Ideas to Keep Mealtime Exciting

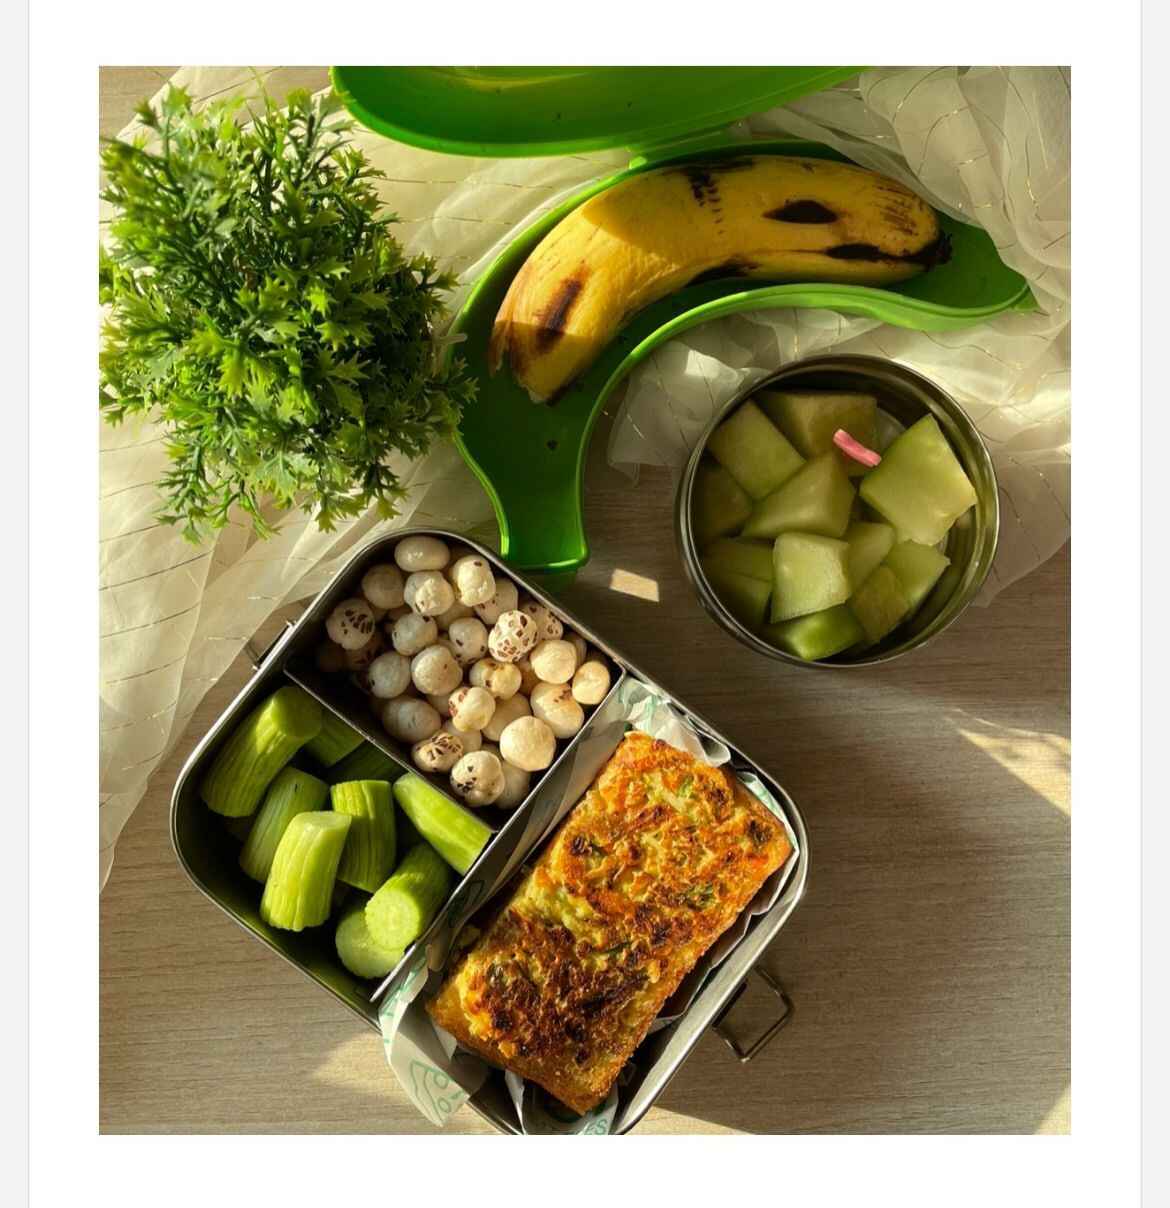
Summer vacation is ending soon, and it’s time to get back to our daily routines. As we transition from lazy summer days to busy school schedules, packing a nutritious and tasty lunch box becomes essential. Here are 25 lunch box ideas that are not only delicious but also packed with essential nutrients. Whether you’re preparing lunch for kids or adults, these suggestions are sure to help you out.

1. Spinach, Beetroot, Carrot Idlies

These colorful idlies are a feast for the eyes and the stomach. Packed with the goodness of spinach, beetroot, and carrots, they’re a healthy alternative to regular idlies. Pair them with coconut chutney or a tangy tomato sauce for a complete meal.

2. Mix Veggies Paratha

Stuffed with a mix of seasonal vegetables, these parathas are a wholesome meal in themselves. Serve with a side of curd or pickle to add a tangy twist. They are not only nutritious but also a great way to ensure your kids get their daily dose of veggies.

3. Channa Kabab

Chickpeas are a great source of protein and these channa kababs are both delicious and nutritious. They’re great on their own or as a patty in a sandwich. Serve with a mint chutney or ketchup to make it more appealing.

4. Potato Chilla

A quick and easy recipe, potato chillas are savory pancakes made with grated potatoes and spices. They’re crispy and loved by all. Pair them with a side of yogurt or a tangy chutney for added flavor.

5. Soya Nutri Pulao

This protein-packed pulao made with soya chunks and vegetables is a great lunch box option. It’s filling and full of flavor, ensuring your child gets the necessary nutrients to stay active throughout the day.

6. Broccoli Paratha

Broccoli, often disliked by kids, can be turned into a delicious stuffing for parathas. Add some cheese to make it even more appealing. Serve with a side of raita or pickle for a complete meal.

7. Mix Vegetables Pulao

This colorful and nutritious pulao is made with a mix of vegetables and basmati rice. It’s a wholesome meal that’s easy to prepare and ensures a balanced diet.

8. Stuffed Moong Dal Chilla

Chillas made with moong dal are healthy and packed with protein. Stuff them with a mix of vegetables for added nutrition. Pair them with a side of green chutney or ketchup.

9. Paneer Bhurji + Paratha

Paneer bhurji is a quick and tasty dish that goes perfectly with parathas. It’s high in protein and very filling. Add some chopped vegetables to the bhurji for an extra nutrient boost.

10. Stuffed Gobhi Paratha

A delicious and nutritious option, stuffed gobhi parathas are made with spiced cauliflower filling. Serve with a side of curd or pickle for a tangy twist.

11. Podi Idli

Idlis tossed in a flavorful podi (spice mix) are a hit with kids and adults alike. They’re easy to make and perfect for a lunch box. Pair them with a side of coconut chutney.

12. Podi Dosa

Dosas sprinkled with podi (spice mix) and a drizzle of ghee make for a tasty and healthy lunch. Serve with a side of sambar or chutney.

13. Spinach Corn Sandwich

A healthy sandwich stuffed with spinach and corn. It’s easy to make and a great lunch box idea. Add some cheese to make it even more appealing.

14. Pesto Spaghetti

A delightful pasta dish made with pesto sauce, spaghetti, and a mix of vegetables. It’s a nutritious and tasty option that’s sure to be a hit.

15. Beetroot Paneer Paratha

A delightful combination of beetroot and paneer stuffed in a whole wheat paratha. It’s colorful, healthy, and a great way to sneak in some veggies.

16. Corn Cutlets

Crispy and golden, these corn cutlets are perfect for a quick snack or lunch. Made with sweet corn, potatoes, and spices, they’re a hit with kids and adults alike.

17. Methi Puri

These fenugreek-flavored puris are a healthy twist on the traditional puri. Pair them with a side of yogurt or pickle for a complete meal.

18. Beetroot Carrot Appe

Soft and spongy, these appes made from beetroot and carrot are not only nutritious but also fun to eat. They make a perfect lunch box item for kids.

19. Rajma Cutlets

Rich in protein and fiber, rajma cutlets are a delicious and healthy option. They’re great on their own or as a patty in a sandwich.

20. Curd Rice with Beetroot

A refreshing dish for hot days, curd rice with beetroot is cooling and delicious. It’s easy to digest and loved by kids and adults alike.

21. Quinoa Salad

A healthy and colorful quinoa salad loaded with vegetables, nuts, and a light dressing. It’s perfect for a light and nutritious lunch.

22. Vegetable Frankie

A delicious wrap made with roti and stuffed with a mix of vegetables and spices. It’s a fun and healthy lunch box option.

23. Millet Khichdi

A nutritious and easy-to-digest khichdi made with millets and vegetables. It’s light yet filling.

24. Spinach Corn Sandwich

A healthy sandwich stuffed with spinach and corn. It’s easy to make and a great lunch box idea.

25. Vegetable Macaroni

 A classic macaroni dish loaded with colorful vegetables.

Packing a nutritious and tasty lunch box can be challenging, but with these ideas, you can ensure that every meal is both enjoyable and healthy. Try these recipes and make lunchtime exciting and varied.

What are your go-to lunch box recipes? Share your ideas and feedback in the comments below!
Posted on 1 Comment

Chia Seed Mango Pudding- Guilt Free Dessert

With this unbearable heat your appetite too goes for a toss. This chia seed pudding recipe has become my go-to breakfast/afternoon snack. It’s cool, creamy, and lightly sweet. Even my 10 year old keeps demanding it from time to time as an evening snack. Topped with fresh fruits with a drizzle of maple syrup and vanilla, this tastes like a dessert but with goodness of fibre, protein, healthy fats, vitamins and minerals. 

Chia Pudding Recipe Ingredients

Here’s what you’ll need to make this chia pudding recipe:

  • Chia seeds, of course! I have used black chia seeds but you can use white chia seeds as well.
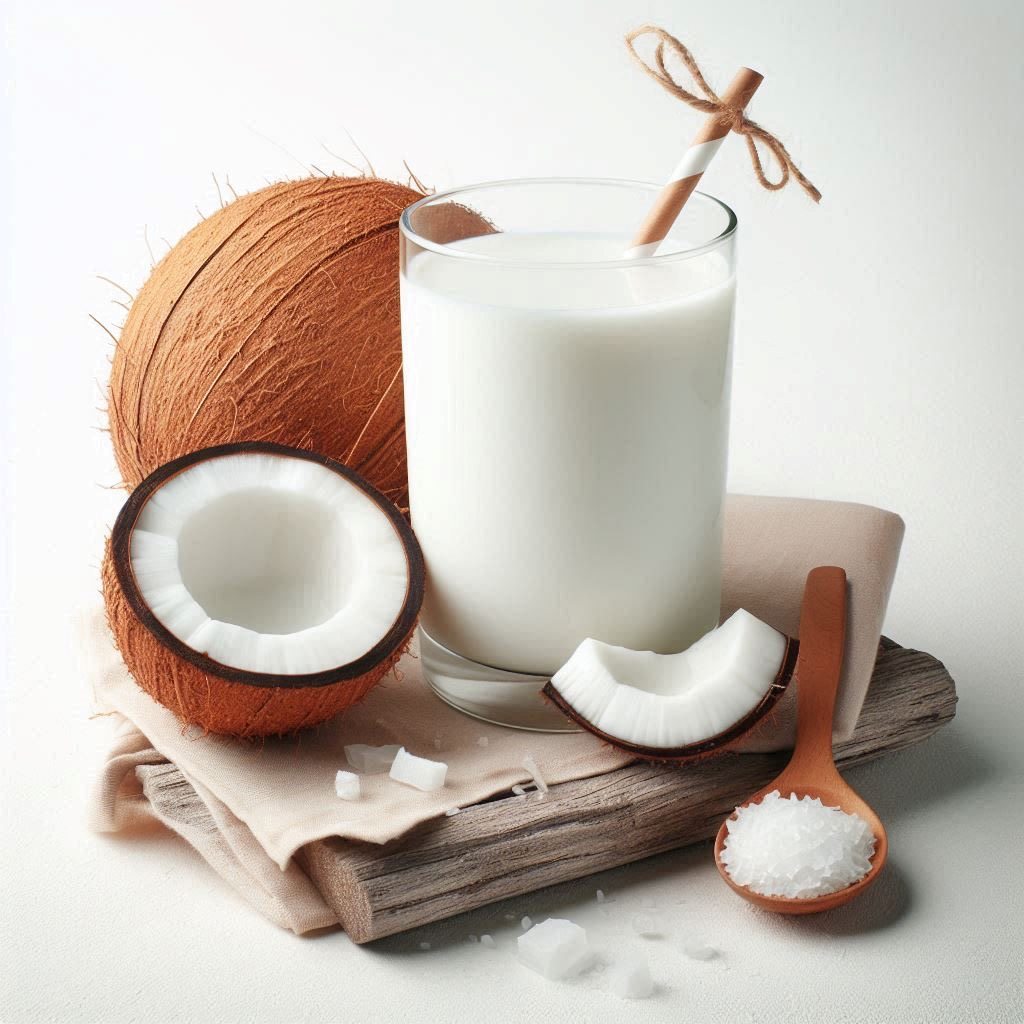
  • Coconut milk or almond milk – I like to use this light homemade coconut milk in this recipe because it makes the pudding extra-rich and creamy, but if you don’t have any on hand, don’t worry! Almond milk is also a great choice.
  • Maple syrup – I mix some into the chia seed pudding to sweeten it naturally. 
  • Vanilla – To add more flavour. You can choose to add cinnamon too.
  • Mango: It’s summer- The Mango Season! You can take any seasonal fruit of your choice. Either purée it or finely chop it. Totally upto you.

Find the complete recipe with measurements below.

Chia seeds are great addition to your and your child’s diet. 

  • It’s loaded with antioxidants.
  • Protein in Chia seeds is high quality protein since they have a good balance of amino acids. 
  • Chia seeds are high in several nutrients like calcium, phosphorus, magnesium that are important for bone health.
  • It also helps in reducing inflammation 
  • Great source of Omega 3 fatty acids

There’s no better way of introducing these super healthy seeds in your child’s diet than this guilt free, sugar free dessert. Trust me you and your child will love it. 

Recipe

Ingredients: serves 2 

  • 250 ml Coconut milk or any other milk of your choice. 
  • 1/2 cup Mango puree (you can add more too)
  • 1/4th cup Chia seeds
  • 1/2 tsp Vanilla extract 
  • 2 tbsps Pure Maple syrup or Raw Honey

Method: 

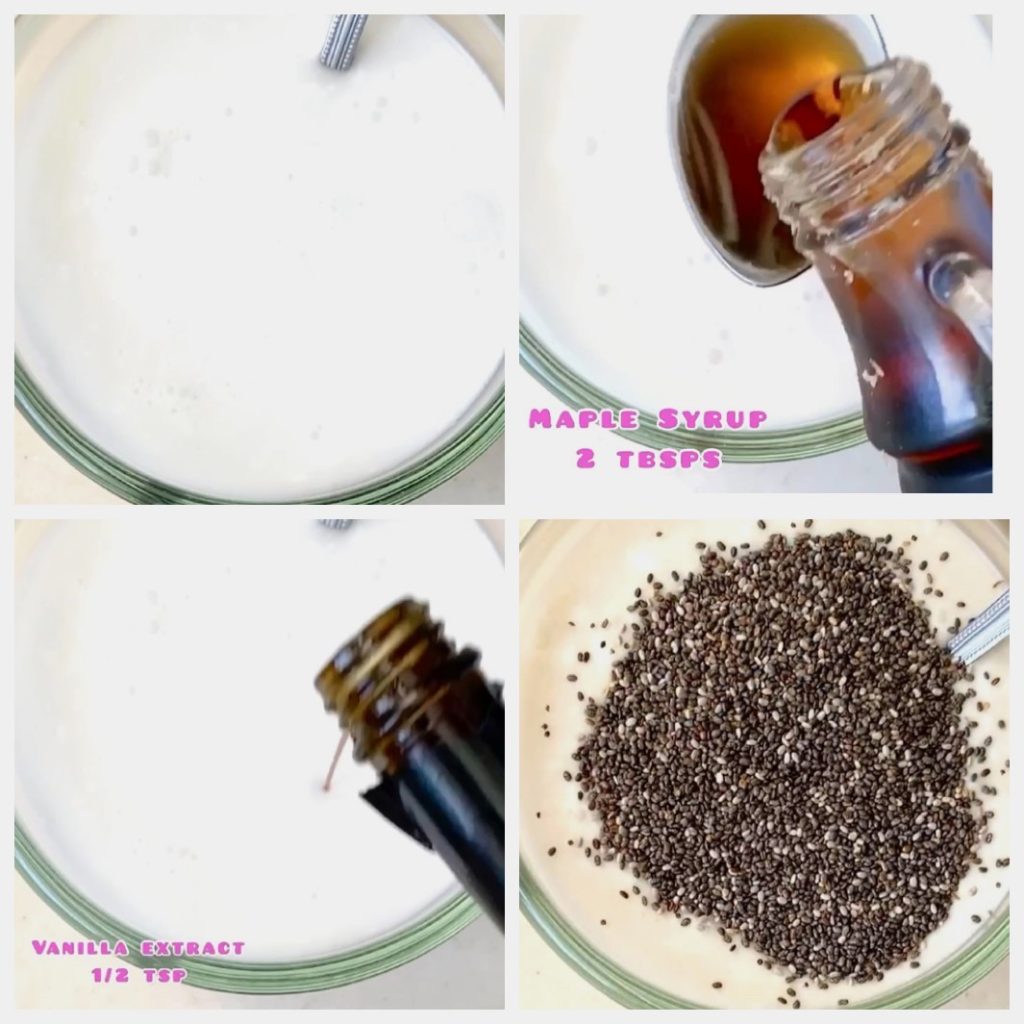
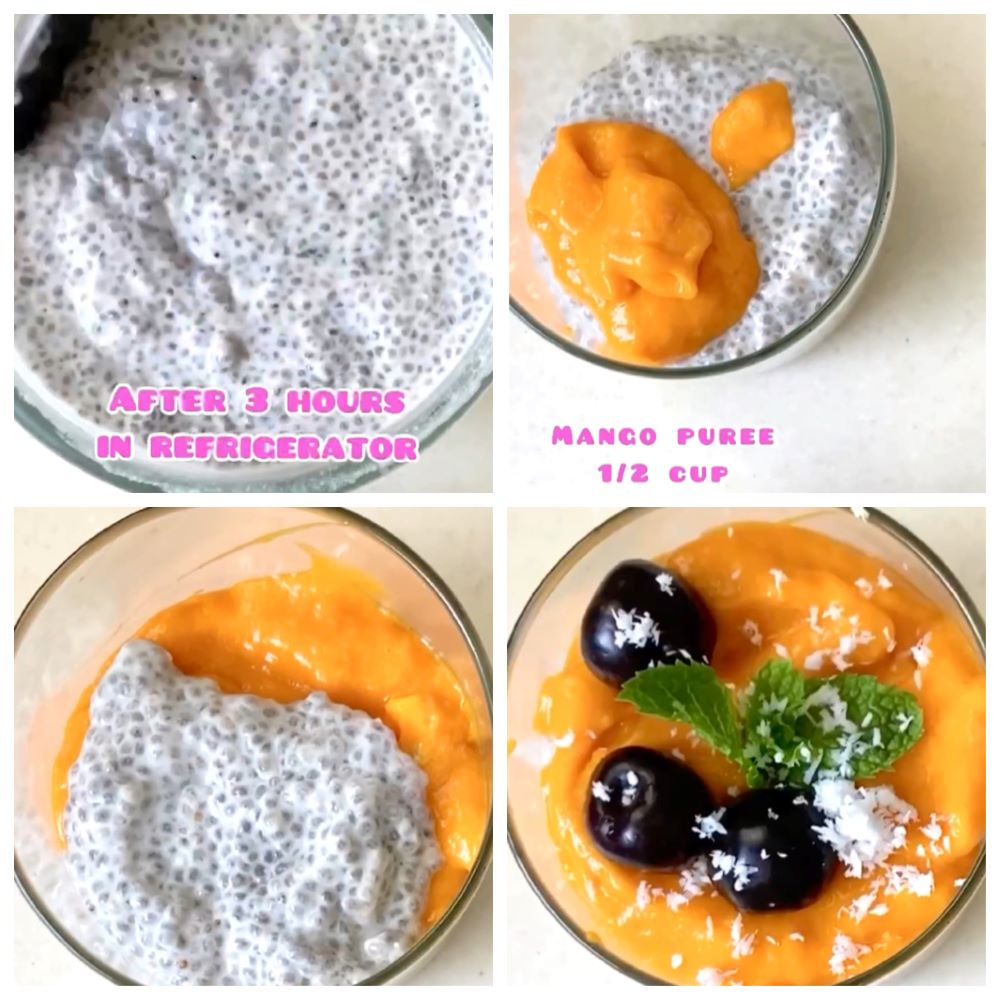
  • In coconut milk or any other milk of your choice, add chia seeds, vanilla extract & maple syrup/honey. Mix well and refrigerate for atleast 1 hour or maximum 12 hours. It should have thick pouring consistency. 
  • Puree mango in a blender.
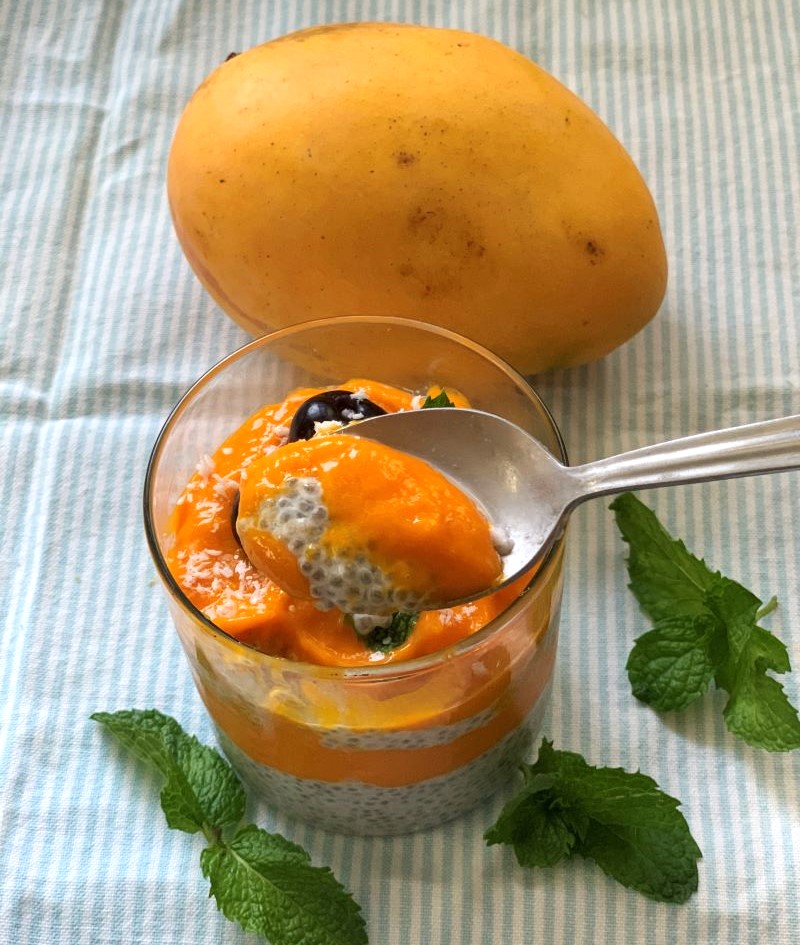
  • Now take a bowl or a jar, add a layer of soaked chia seed first. Too it with mango puree then soaked chia seeds and finish it with mango puree. 
  • Garnish it the way you like. 
  • I added mint leaves which my son conveniently chucked, some cherries and desiccated coconut.

Notes: 

  1. You can use fruits of your choice. 
  2. You can also add granola to it. 
  3. This can be made ahead and refrigerated overnight so you have a quick breakfast ready.
  4. Store any leftovers in the covered jar or an airtight container for up to 3 days
  5. If the pudding becomes thick, loosen it up by adding more milk. 

Enjoy this super healthy guilt free no sugar dessert. 🙂 For recipes with mangoes try this delicious summer lunch recipe that goes great with a bowl of rice Fajeto – A Gujarati Mango Kadhi or this Quick and Easy Mango Pudding that will take you 10 minutes to whip up.

Posted on 1 Comment

How to make Coconut Milk at Home

Coconut is also known as Kalpa Vriksha in Sanskrit, which means Tree of Life– “the tree which provides all the necessities of life”. All its parts from top to bottom are used to sustain human life.

In this post I will share with you how to make coconut milk in the most easiest way. Coconut milk is a traditional food ingredient used in Southeast Asia, Oceania, South Asia, and East Africa. It is so easy to make at home. I actually never buy coconut milk from the market because it takes 5 minutes to make it at home. Also, store-bought Coconut milk contains additives and gums in the canned version that I prefer to avoid. They don’t contain much of actual coconut and remember they are likely to contain some kind of preservatives, flavouring and sweeteners because homemade version will spoil in a few days and store bought ones can last you months. Also, curries and stews made from homemade coconut milk tastes so much better and real than store bought ones.

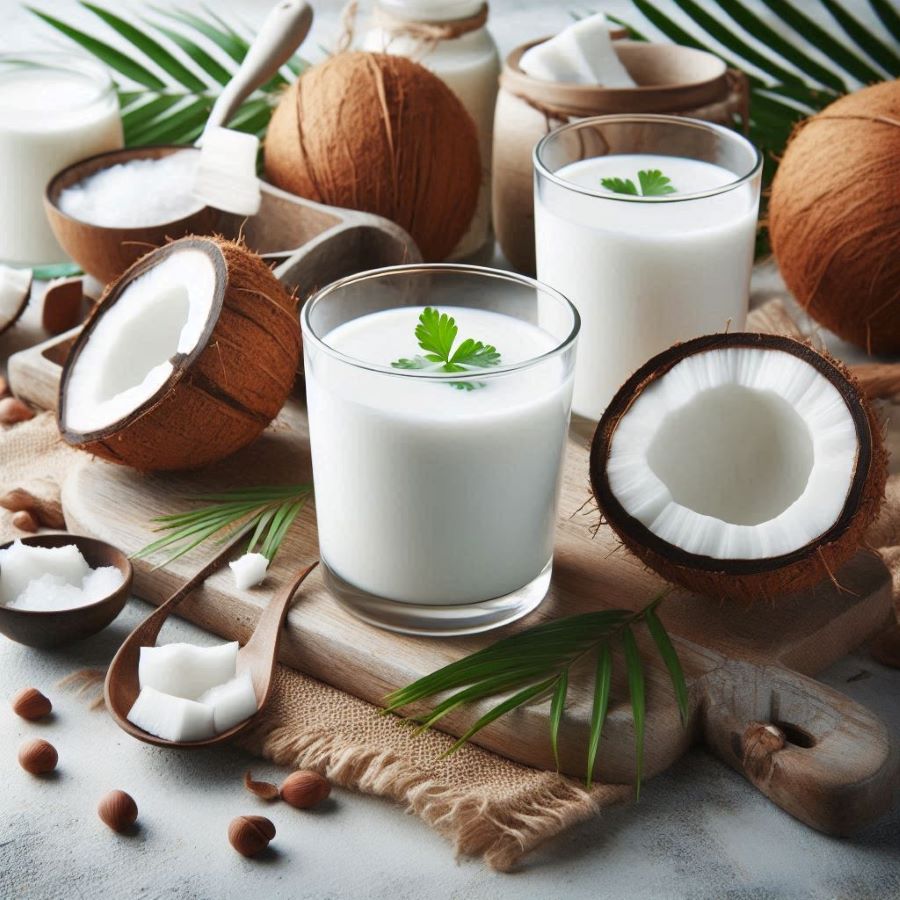
This plant milk is tasty alternative to cow’s milk that provides several health benefits too. Coconut milk comes from white flesh of mature brown coconuts, which are the fruit of the coconut tree. Unlike coconut water, the milk does not occur naturally. Instead, solid coconut flesh is mixed with water to make coconut milk, which is about 50% water. 

The milk has a sweet taste, is thick in consistency and has a rich, creamy texture. But it goes beyond taste – Ayurvedic experts ages ago discovered that coconut milk is a power drink; and modern research confirms this. It pacifies Vata and Pita while increasing Kapha. If you find yourself unable to digest dairy or are allergic to nuts, this milk is a pretty good option for you. You can also try oats milk if you are allergic to dairy or nut milk. Check out this easy to make recipe of Oats Milk here. In case you are not allergic to nut milk, you can try this delicious Almond Milk recipe.

Benefits of Coconut Milk

This white elixir is full of surprising benefits. People are so obsessed with cow’s milk, goat’s milk, camel’s milk that this ancient milk is conveniently cornered. 

  • Lauric acid

Coconut milk contains an important ingredient: lauric acid. It is considered anti-inflammatory, antiviral and antibacterial. It helps your body fight off pathogens. Therefore, have coconut milk if you are suffering from bacterial or viral disease.

  • Cytokines as an Anti-Aging Agent

Coconut milk contains strong antioxidant protection. Cytokines are proteins that protect our cells, and can protect the skin from premature aging.

  • Improves digestion

Coconut helps to improve digestion due to the presence of medium-chain fatty acids. These medium-chain fatty acids are digested and absorbed easily in the body. They may be immediately broken down by saliva and gastric juice. Therefore, consuming coconut milk may be good for people with digestive problems.

  • Coconut milk for Cancer

Coconut milk may be beneficial for cancer. Various studies on cell lines have shown that coconut milk may help in the case of breast cancer. Coconut milk may kill the cancer cells and suppress the growth of cancer-causing cells.

  • Reducing Cholesterol Levels 

This milk can help maintain your cardiovascular health due to its high content of lauric acid. Some studies indicate that consuming foods with coconut milk in moderation could help to lower the levels of bad cholesterol low and boost the levels of good cholesterol

  • May fasten recovery from sickness 

Though not as good a source of electrolytes as coconut water, coconut milk does contain magnesium and potassium. These minerals regulate blood volume, aid in the functioning of the heart and help with diarrhea and dehydration.

How to make Coconut Milk at Home

Recipe: makes around 600 ml 

Ingredients:

  • 1 mature Coconut (remove the brown skin)
  • Water: 3 cups; half warm and half room temperature water 

Instructions 

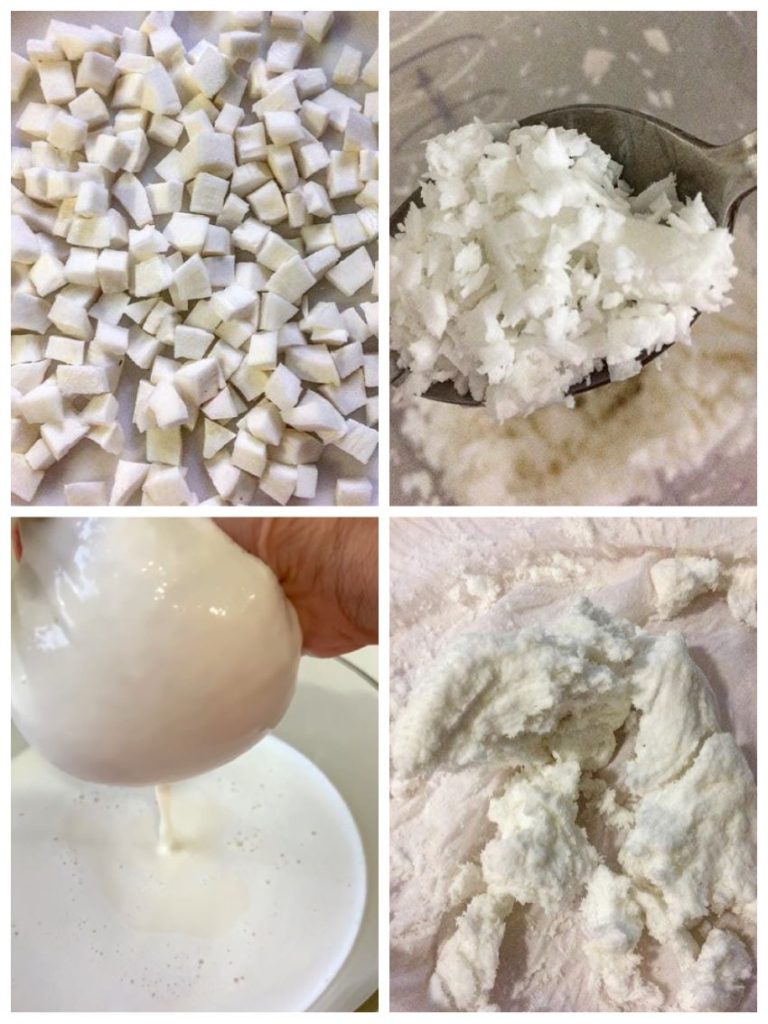
  1. Chop the coconut into tiny pieces. 
  2. Put the coconut pieces in a blender and shred it.
  3. Then add hot water first and blend on high for a few seconds. Then add room temperature water and blend again.
  4. Open the lid and scrap the sides and blend again for a minute. 
  5. Take a clean large bowl and spread a muslin or cheese cloth over it. Sieve through the prepared milk through it. Squeeze out all the milk using your hand from the coconut meat. And that’s it! Coconut milk is ready to be served.

Notes:

  1. Though Coconut milk is least allergic but please consult your pediatrician before introducing it to kids below 1 years. Introduce little at a time. 
  2. Since coconut milk is high in fats, don’t feed more than 150 ml to toddlers. Though the homemade version can be made less creamy by diluting it with more water.
  3. Coconut milk is not a great source of Calcium, Protein or Vitamin D. If you are replacing dairy with coconut milk, then eat a well balanced diet to get all the nutrients. 
  4. Coconut milk has innumerable benefits but keep in mind that coconut milk is relatively rich in calories. So, you should only have it in moderate amounts.
  5. You can re-use the residue of coconut as fertilizer for your plants or you can dry roast it and store in an air-tight jar. Use it to make cookies, cakes,muffins,energy bars etc.
  6. You can store this milk in glass bottles for upto 4-5 days in the refrigerator.

I hope you liked this recipe and will try out this easy to make Homemade Coconut Milk. If you do, do let me know in the comment section. Would love to hear from you guys. Till then cheers to good health! 🙂

Posted on Leave a comment

Apple Pancakes for Baby-led Weaning or Toddlers-Dairy free Gluten free 

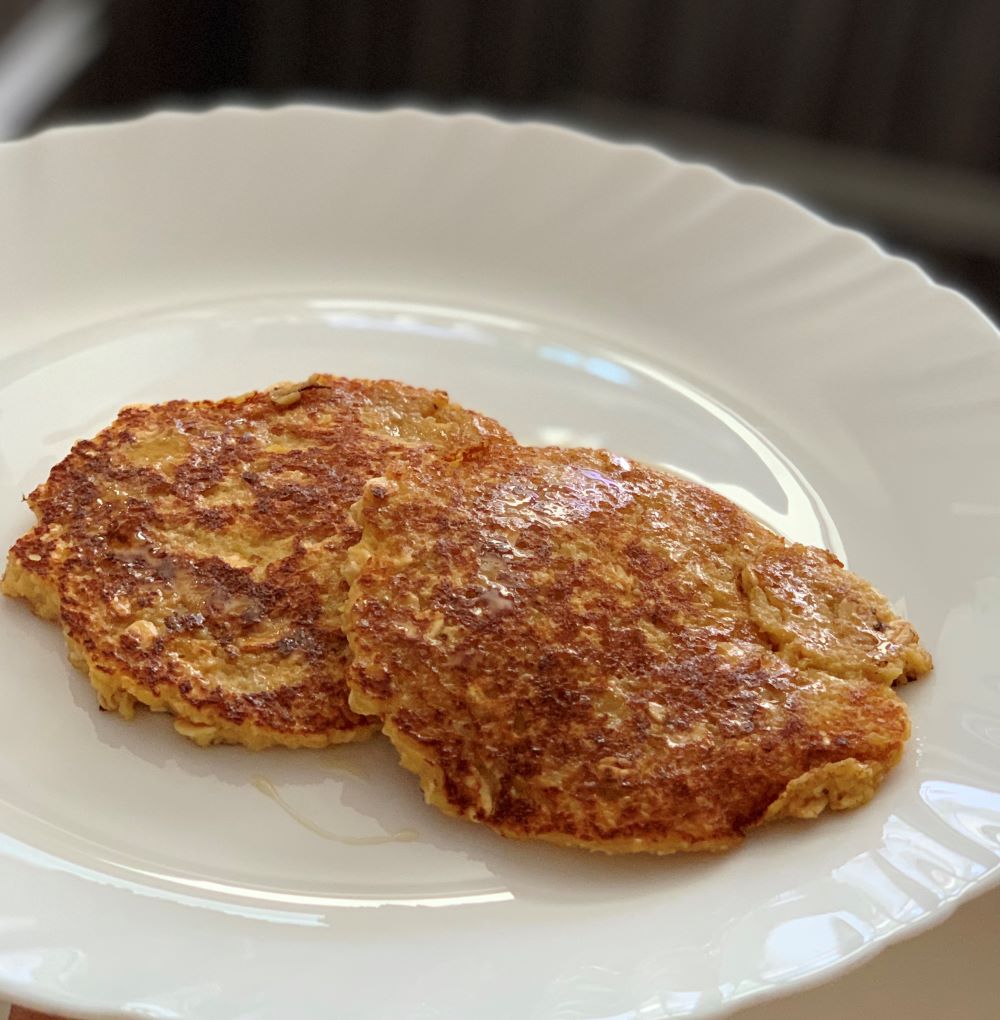
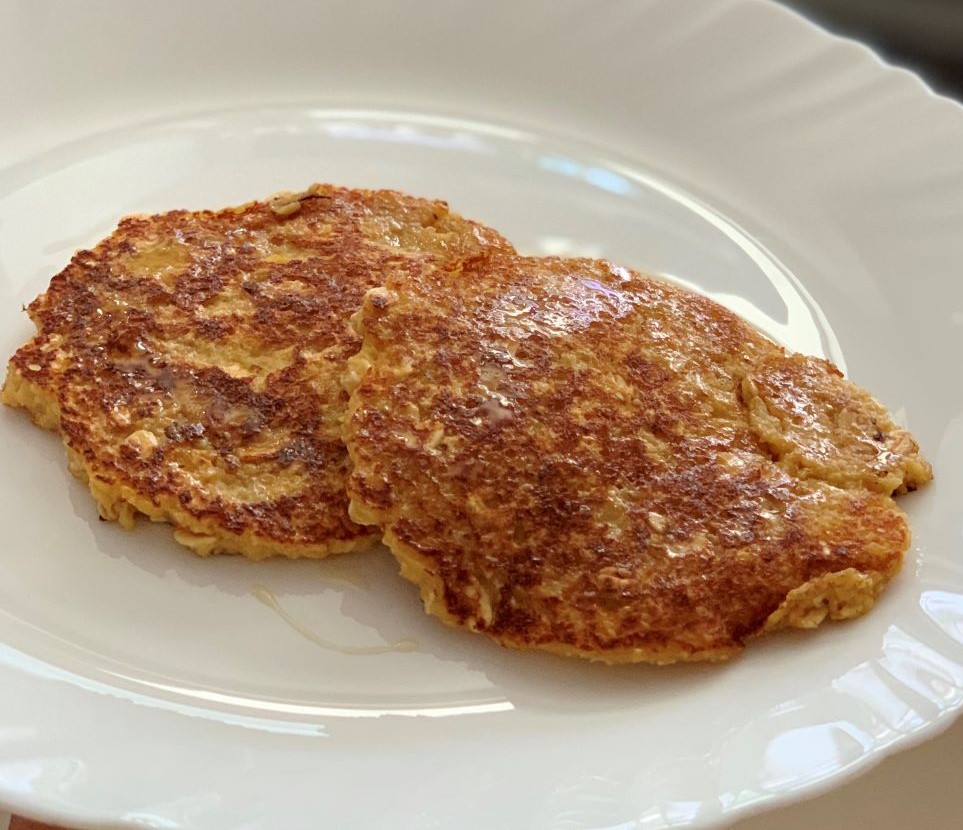
Apple pancakes are great finger foods for baby lead weaning or toddlers. Pancakes are the simple snack or breakfast option that I often whip for son. I experiment quite a lot with different wholegrain flours and fruits to make nutritious pancakes for my child. 

The good part about these apple pancakes which makes it great for babies and toddlers is that, it doesn’t contain any leavening agents. 

These pancakes are very simple to make. You can literally whip these in 15 minutes with minimal ingredients. All you need is rolled oats, apple and an egg. These pancakes do not require any milk. Moisture from apple and egg will be enough to get the right batter consistency.

If you don’t have rolled oats, you can use wholewheat flour too or any other flour of your choice. I can bet your toddler won’t refuse this for breakfast 

Recipe: makes 4 pancakes

Ingredients 

  1. Large Apple: 1 
  2. Large Egg: 1
  3. Rolled Oats flour: 5 tbsps (simply grind rolled oats in a grinder)
  4. Rolled Oats: 2 tbsps 
  5. Butter/Oil for cooking
  6. Cinnamon: 1/4th tsp
  7. Vanilla extract: 1/4th tsp

Instructions

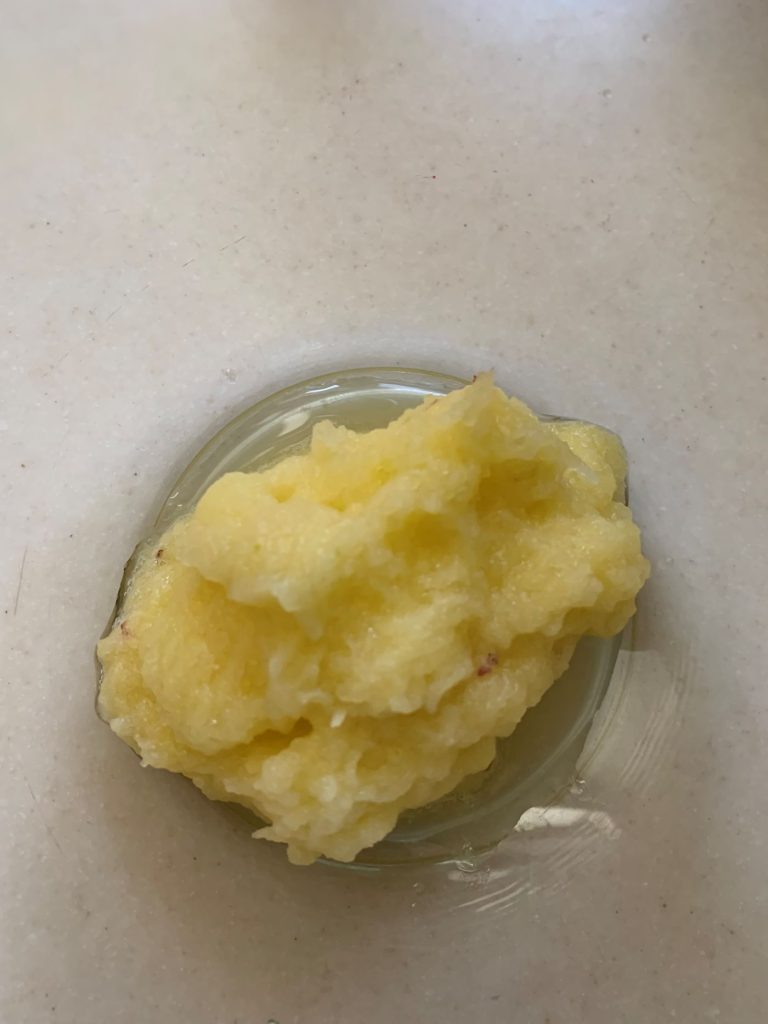
  • Peel the apple and grate it in a bowl. 
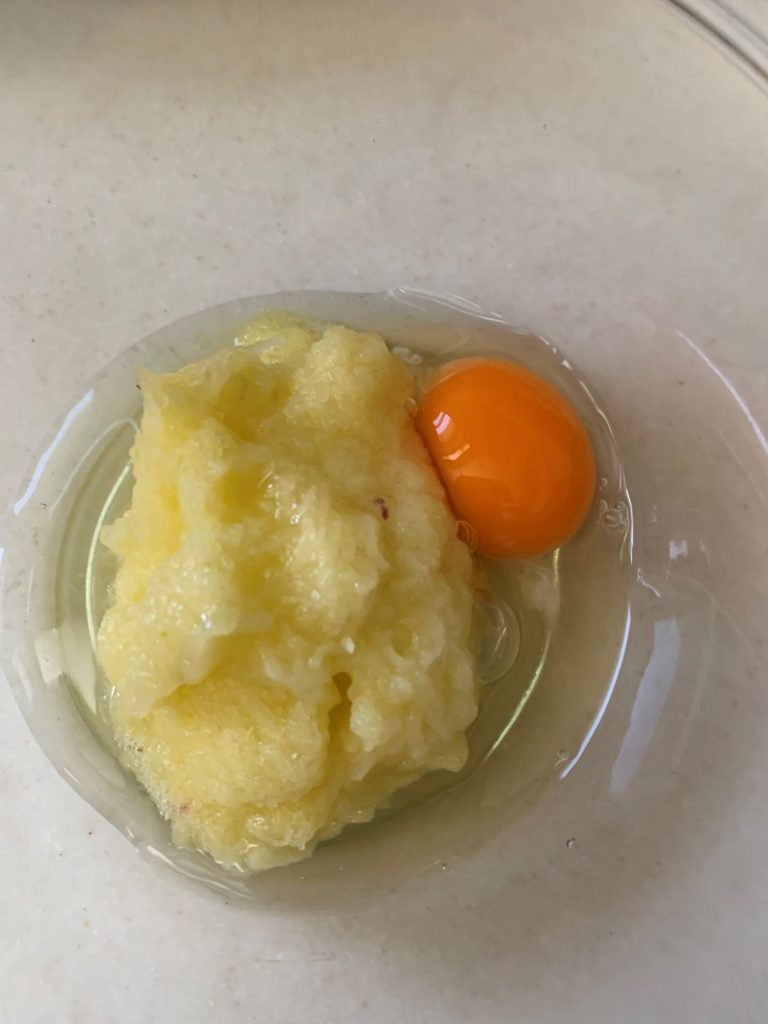
  • Crack an egg straight in a bowl or you can use a separate bowl and lightly whisk it first and then add to apple. Mix it well.
  • Tip in cinnamon and pure vanilla extract. Mix well. 
  • Now add rolled oats flour and 2 tbsps rolled oats. This is optional. I like to keep a bite and texture of rolled oats in pancakes. You can grind it if you want. Mix till everything incorporates. Batter consistency is thick.
  • Heat a nonstick or cast iron pan to a medium heat. Brush it with some butter or oil. Pour 1 scoop or roughly 1/4th cup batter.
  • Cook till top sets and edges start to leave the pan. Gently flip and cook the other side till golden brown. Cook the remaining batter similarly.

How to serve pancakes?

  • Babies 6-9 months old: cut pancakes vertically in the size of your index finger. It is easier for babies to grasp.
  • Babies 9months+: You can cut the pancake to small bite size pieces.
  • Toddlers: Serve the same way as you would serve an adult. You can also smear pancakes with some nut butter fold them and make a little pancake sandwich.

Variations

  1. You can swap apple with any other fruit of your choice like peach, strawberry or mango.
  2. You can also experiment with different flours- wholewheat flour or different millet flour.
  3. You can also substitute fruit with a vegetable like carrot or zucchini.