Whether you are reading a book, watching your favourite show, chatting with a friend or just having a quiet me time, who doesn’t love the warmth of a good tea.
Unlike real tea (green, yellow, white, black, oolong, and post-fermented tea) which comes from Camellia Sinensis, herbal teas are made from dried flowers, dried fruits, fruit peels, herbs and spices. They are not only delicious but have soothing, calming and health-promoting properties. Most herbals contain no caffeine, and do not have tea’s special antioxidants EGCG or the amino acid tea theanine.
Whether you are struggling with recurring bouts of bloating, acidity, indigestion, or flatulence or are looking to give your gut a much-needed break these herbal infusions can give you relief and strengthen your digestion and metabolism. In addition to that, certain herbal teas can help strengthen your heart and liver health.
Human beings have been experimenting with herbal teas for centuries. In historical records, the Sumerians were the first group to use herbs dating back to 5,000 years ago. 1,000 years later, records mention China and India using herbals as well. India has been considered as a treasure house of medicinal and aromatic plant species. According to WHO (2000), 65% of the world’s population integrate the medicinal plant for treatment and 80% of the Indian population used plant product for treating many diseases.
Which herbal tea you should use will depend upon your needs and body condition that will make you choose one herbal infusion over another. According to Chinese medicine, all herbals teas are separated into two categories: cooling and warming. Some herbals have stronger cooling properties, helping cut down inflammation. Warming properties help you with better blood circulation.
Herbal teas have become very popular over the years because it is almost always caffeine free, and with gentle and mild flavors there are many choices. In this post we will discuss 5 Herbal Teas from which you can choose based on your requirement, availability and body needs. If you are an expectant mother and morning sickness is one of your major concerns give this Ginger and Herbal Blends: 5 Blends for Morning Sickness Relief a try.
To understand more about what kind of herbal teas you can have when you are pregnant, this post will give a detailed understanding about ‘why’ behind each recommendation- Herbal Teas in Pregnancy: Navigating Safety and Embracing Benefits
5 Herbal Tea Infusions
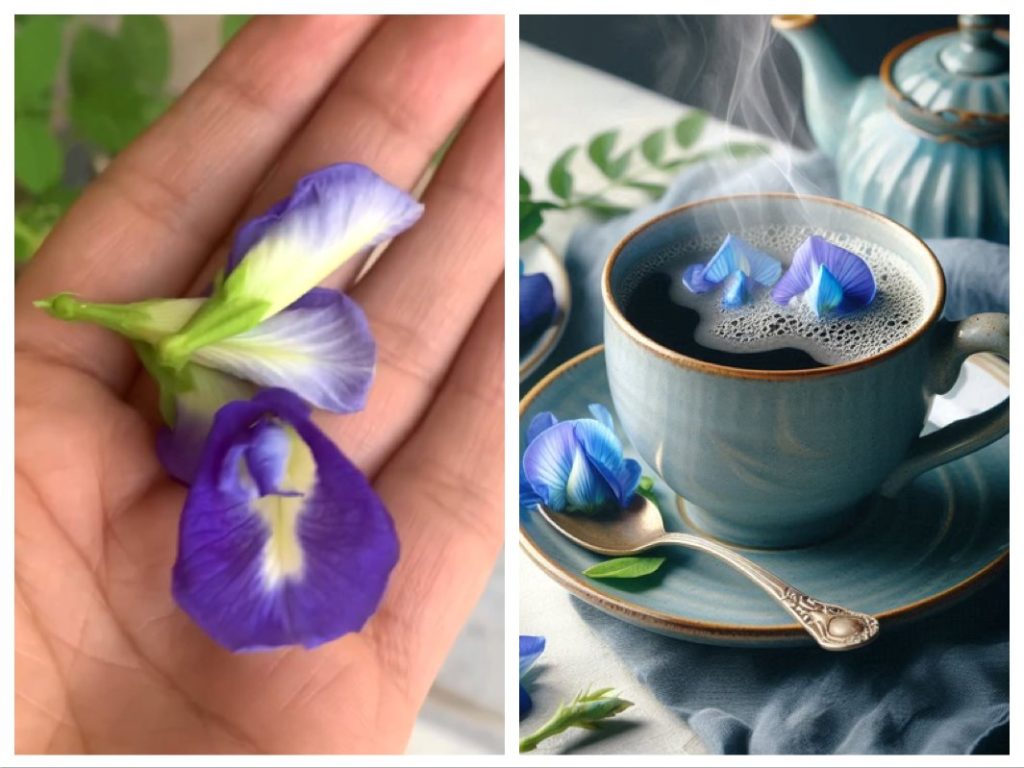
1. Blue Tea:
Blue tea is made with Butterfly Pea flowers or Aparajita flowers. It’s not a new fad. This concoction is centuries old and has its origin in South East Asia. Thanks to travel shows and food blogging, this caffeine free tea became famous worldwide
- Helps to aid digestion.
- When consumed before bedtime, it helps to promote healthy sleep.
- Antioxidants present in blue tea can help improve skin health.
- Stimulates hair growth
- Stimulates collagen production
- Helps to reduce anxiety and promote relaxation due to its potential interaction with neurotransmitters in the brain.
How to brew it?
Just add 4-5 dried or fresh flowers in a cup of hot water. Cover and let it seep for 10 minutes. You can add a cinnamon stick, cardamom, star anise or honey to enhance the flavour. Finish it with some lemon juice.
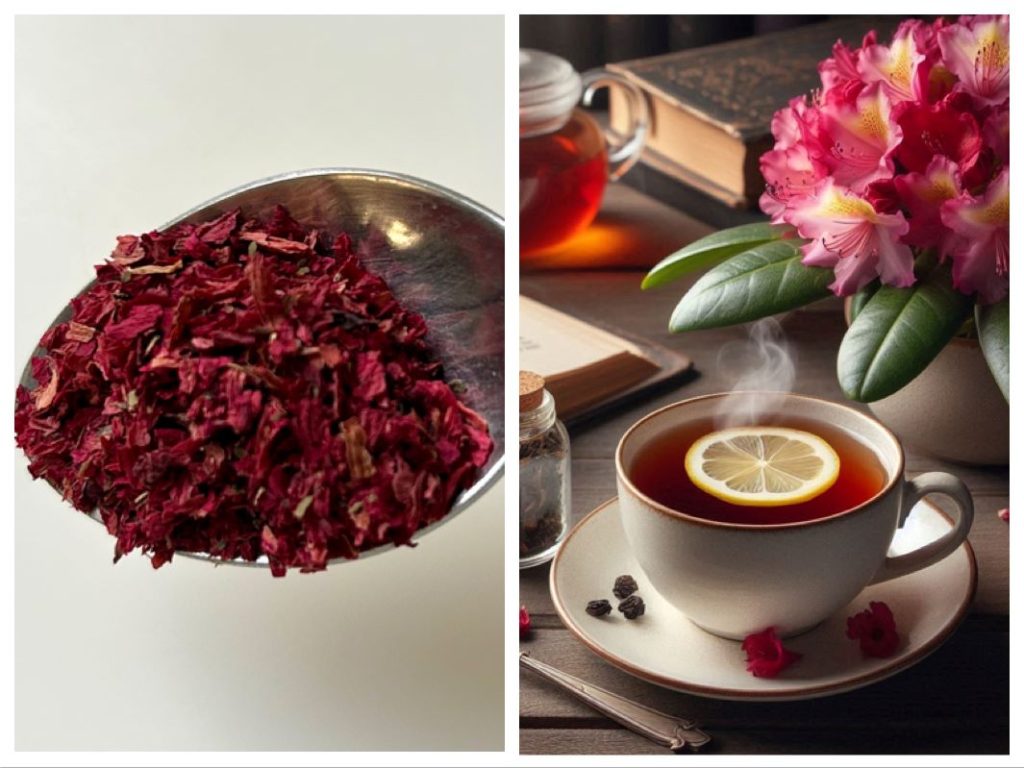
2. Rhododendron Tea:
Rhododendron is naturally occurring plant which originated in the valley of Himalayas, Kashmir, Assam and Manipur in India and in some regions of Bhutan. This plant is acquiring a special place in the cultural as well as economic life of the people. It possess various health benefits, such as prevention and treatment of diseases associated with heart, detoxification, inflammation, bronchitis and asthma. The leaves possess effective antioxidant activity. Due to these reasons, the flower has been entitled as the national flower of Nepal and state flower of Himachal Pradesh (India)
- It provides protection against stress and inflammation reduction
- Helps safeguard against chronic diseases
- Regular consumption of rhododendron can help strengthen your immunity making you less susceptible to illnesses.
- Contribute to maintaining healthy heart. They assist in reducing cholesterol levels and lowering blood pressure.
- Provide relief from symptoms such as bloating, indigestion and constipation.
- Possess properties which help in congestion, ease coughs and improve overall respiratory health.
How to brew it?
Put 1 tsp of dried rhododendron flowers in a cup of hot water. Let it steep for 3-4 minutes or longer as per your liking. Add lemon juice if required. For cold infusion, let the steeped tea cool down.
Aside from the above mentioned advantages, rhododendron juice extracted from the flowers or leaves of this plant is widely used to harness its benefits. It is renowned for its properties and contributions to health. It is a hydrating beverage that proves especially beneficial in hot climates or during physical exertion. For days when hot beverages are not your thing, you can try out Masala Monk’s Rhododendron Squash (Buransh ka Sharbat) which is produced from fresh Rhododendron Flowers that are hand-picked in the foothills of the Himalayas.
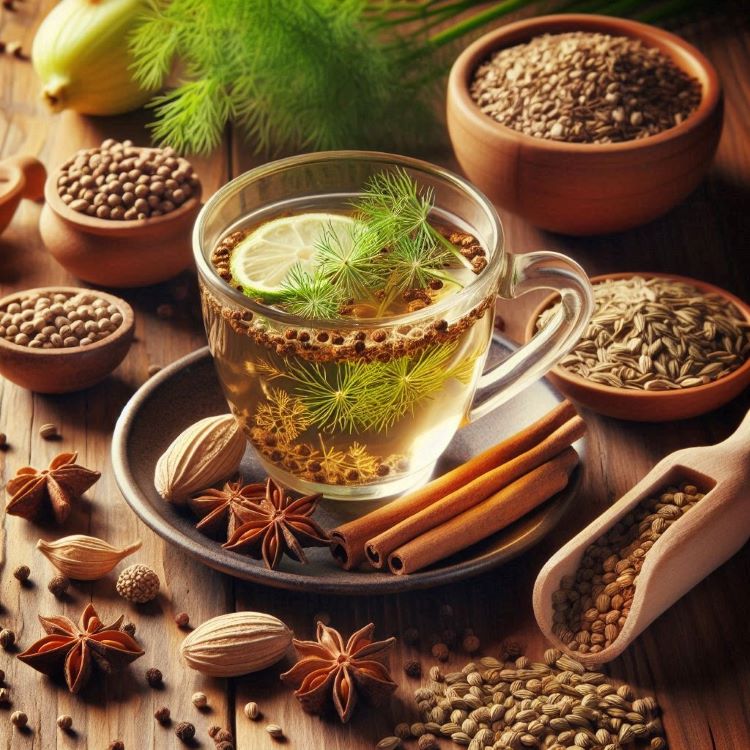
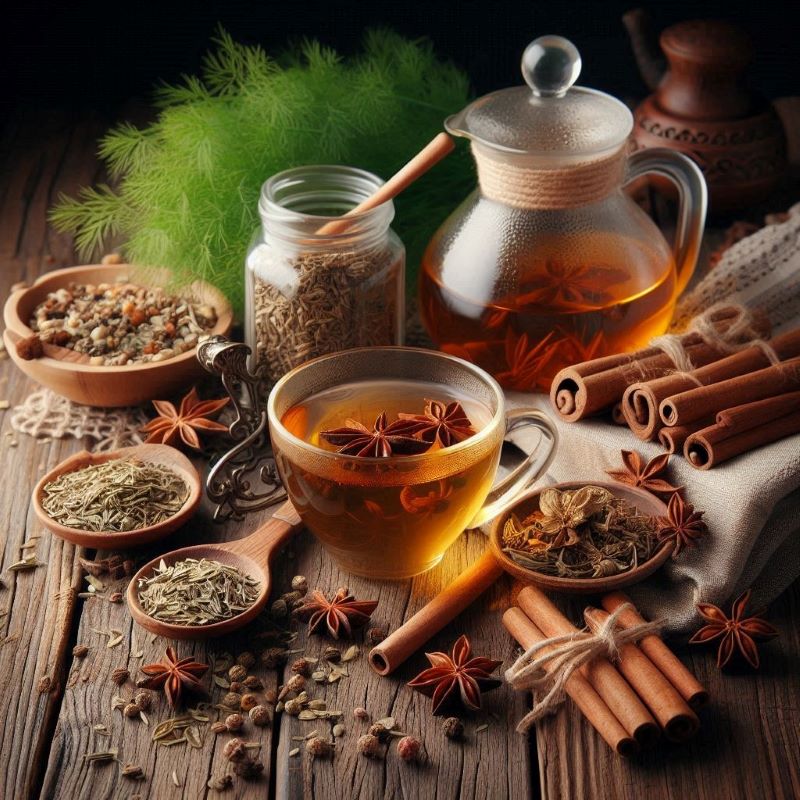
3. Spiced Tea:
If you are struggling with bloating, indigestion, flatulence, acidity, or gas, this will calm down your digestive system. This tea will help to strengthen your metabolism and will help in better digestion. All these spices below have a calming effect on your digestive system. You can have it either in the morning or 30 minutes after a heavy meal.
How to brew it?
Ingredients:
- 1/2 tsp Cumin Seeds
- 1/2 tsp Fennel Seeds
- 1/2 tsp Coriander Seeds
Take 2 cups of water. Add all the ingredients above. Let it boil till it reduces to half. Sieve and sip warm. You can add lemon juice to it once it is off heat.
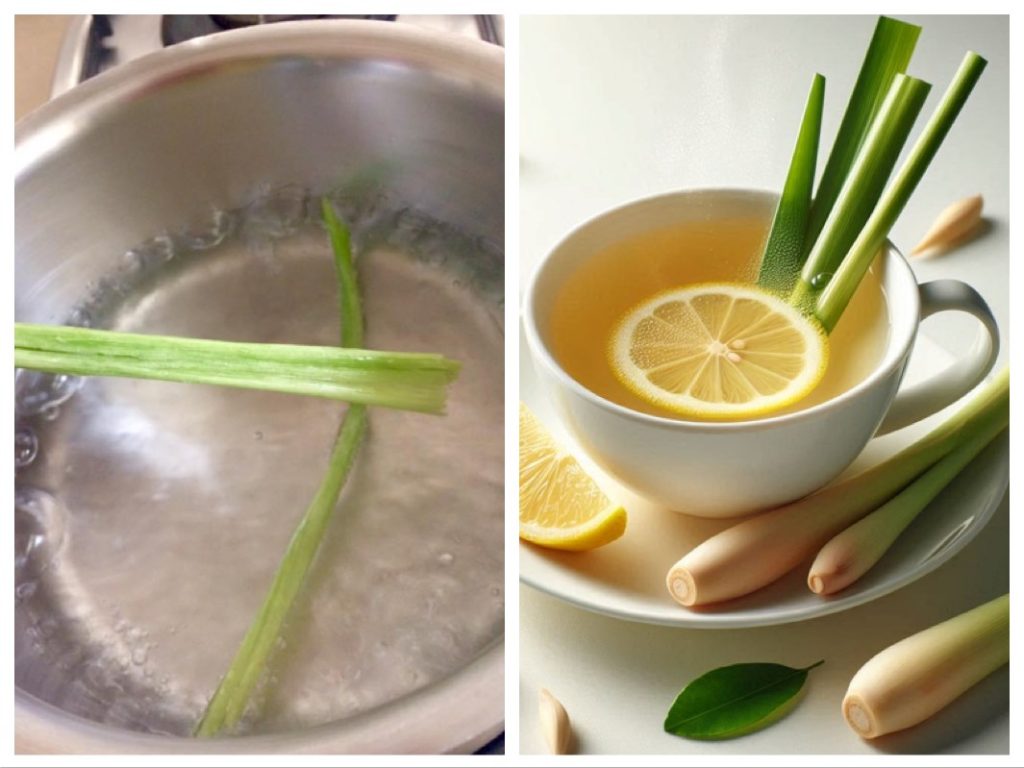
4. Lemongrass Tea:
I love lemongrass flavour- mild, slightly lemony and sweet. It’s not only a delightful drink but has great health benefits too. If you have lemongrass plant at home, make the most of it. It’s full of antioxidants and it’s a great healthy drink if you have water retention problems.
- It aids digestion due to its cooling effect esp if you have bloating problems.
- It can help in controlling chronic cough and cold by reducing congestion
- It’s an amazing immunity boosting and stress relieving concoction.
- It is a powerful diuretic, stomach and gut cleanser and helps fight water retention.
How to brew it?
Add 2-3 stalks of lemongrass in 2 cups of water. The best way to squeeze out maximum flavour from lemongrass is to use its bottom stalk and bruise the stalk slightly with a rolling pin before adding. To enhance the flavour you can try adding 2-3 pods of cardamom and 1 star anise. Reduce the infusion to half and sip warm. You can add honey or lemon slice to it while serving.
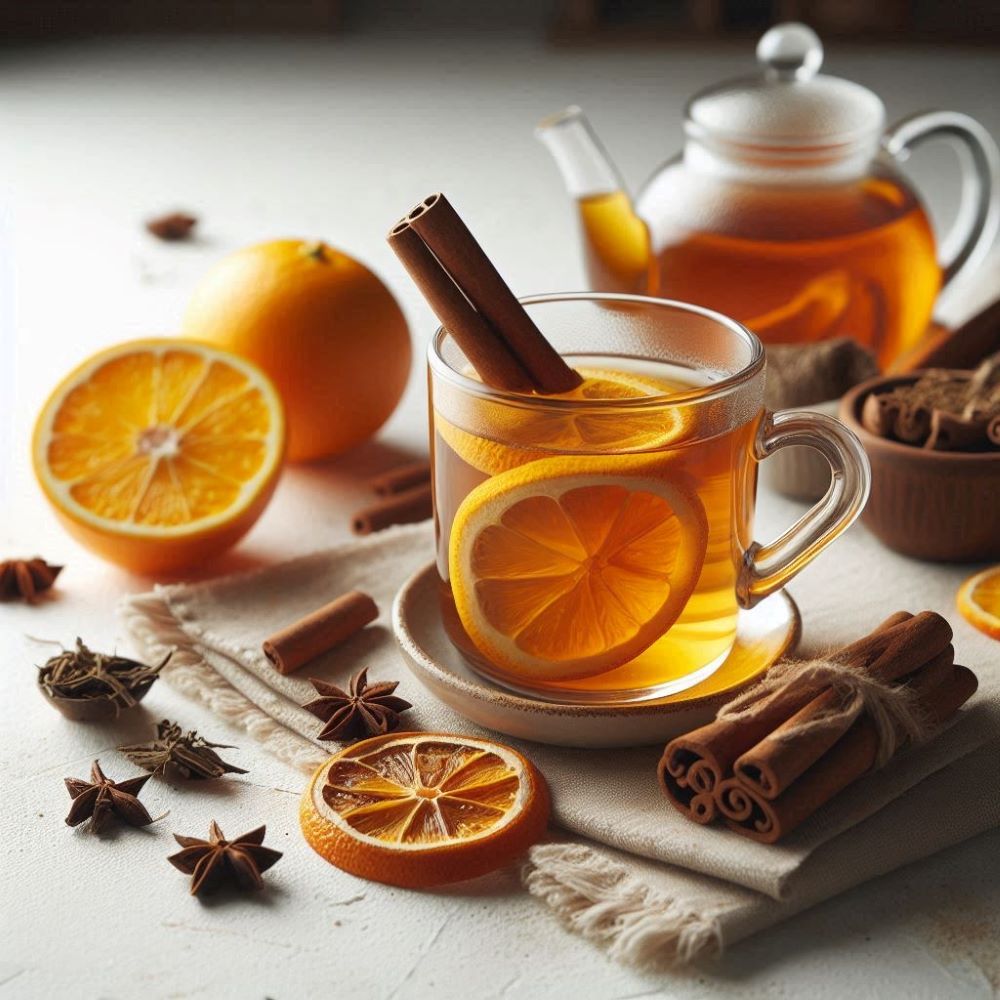
5. Orange Peel Tea:
This is one of my favourites. There is nothing more comforting than a cup of freshly brewed hot tea with citrus fragrance. Oranges are one of the healthiest fruits and their peels have great medicinal properties. There’s proven research around the effectiveness of orange peels in boosting metabolism and immunity.
- A natural decongestant, in clearing lungs and phlegm and in also reducing allergy-causing histamine.
- It has diuretic properties that help to eliminate excess body fluid and reduce abdominal bloating.
- It has excellent amounts of hesperidin, a flavonoid with anti-inflammatory and antioxidant properties which improve blood circulation.
- Because it contains excellent amounts of antioxidants, orange peel tea helps improve the function of insulin.
- It’s anti-inflammatory and anti-oxidants can protect and improve liver function.
How to brew it?
Take a tbsp of fresh or dried orange peel without the white part. It is recommended to prioritize organic versions of the fruit, as these are less likely to contain pesticides. Boil the water in a kettle or pot. Turn off the heat, and add the orange peels. Infuse for 5 to 10 minutes and then strain and drink without adding sugar or sweetener. To enhance the taste I like to add a small piece of cinnamon stick to it.
Takeaway
All these herbal infusions have tremendous health benefits when made a part of your lifestyle. But these herbal infusions are in no way a magic potion or a replacement for your medication. If you are suffering from some ailment, keep your doctor in loop before trying anything new. While you have these infusions, keep in mind that you must make necessary changes in your lifestyle to reap the health benefits. Eat smart and move more to stay healthy.