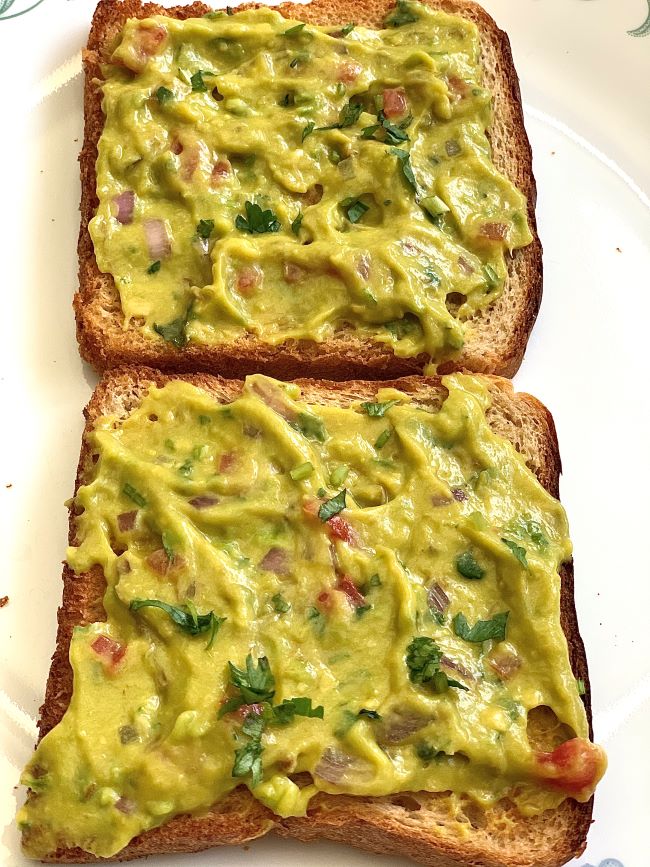
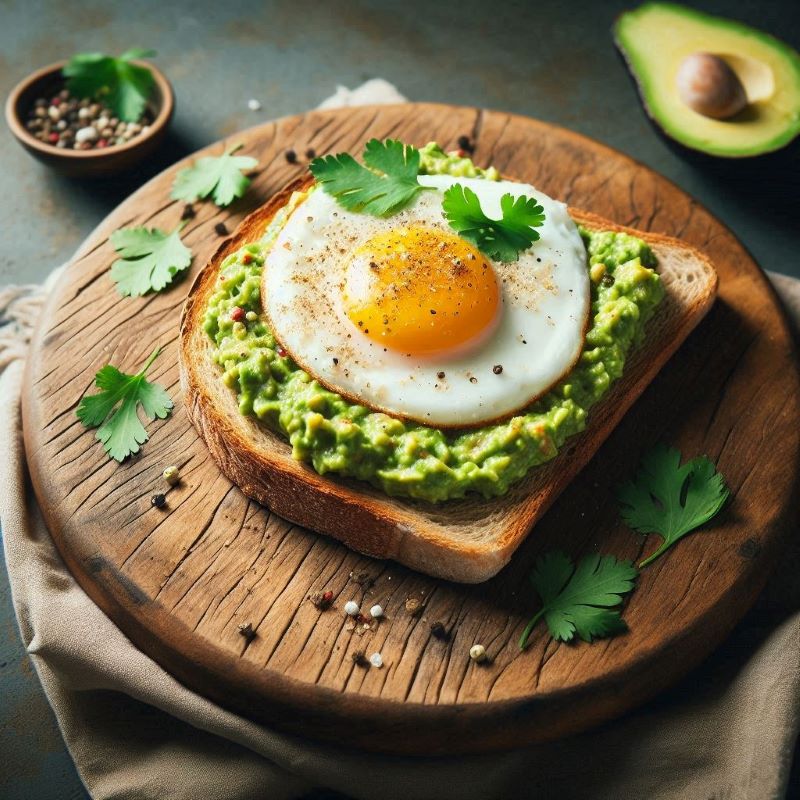
I absolutely love avocados for their rich buttery taste. Guacamole is an avocado-based dip or spread that originated in Mexico. Mexico cuisine is quite incomplete without guacamole. Making guacamole at home is super easy. It will literally take you 5 minutes with which you can make a classic side dish. You can spread guacamole on a toast, serve with tacos, chips, tortillas or burrito bowl.
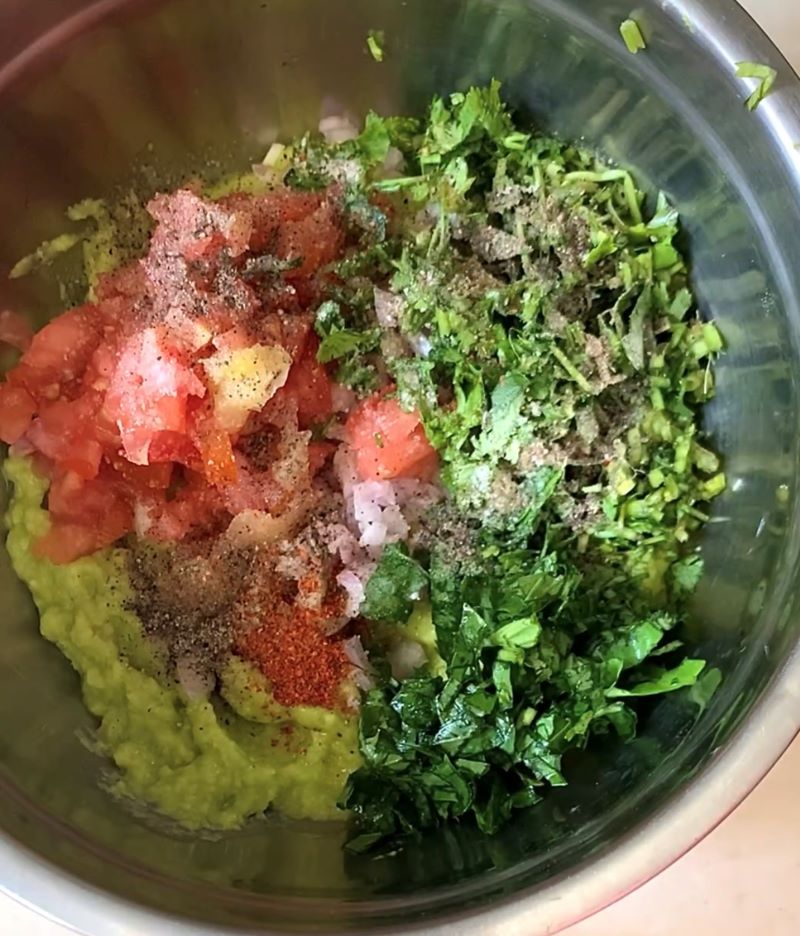
Avocados are well loved for its buttery rich creamy flavour. Authentic guacamole doesn’t contain fillers and unnecessary ingredients. All you need is ripe avocados, onion, tomatoes, cilantro, lime juice, garlic, and salt. Easy and delicious! The key to making a good guacamole is to keep it simple. Do not get too fancy with the ingredients. Keep it plain and simple!
Pick ripe avocado for best guacamole. How to pick ripe Avocado?
Pick ripe but firm avocado. We are not looking for soft mushy ones for this recipe.
- Ripe avocados will yield to firm gentle pressure in the palm of your hand.
- If avocado is ripe, it may have a darker colour but colour can vary so it is best to go by feel as well as colour. It will feel lightly soft but it will not feel “mushy” to the touch.
- The “stem trick” can also help you determine—by pulling off the nubby stem—how ripe an avocado is. If it comes off easily and the color is bright green, it’s ready.
- Another indicator is the skin. Feel for bumpy skin. Avocados that are ready to eat will have a bumpy and not smooth skin.
Avocado Benefits
Incorporating avocado into a varied, healthy diet can provide a number of benefits.
- They are loaded with vitamins, potassium and antioxidants. Avocados are a source of Vitamin C, E, K, and B6, as well as riboflavin, niacin, folate and pantothenic acid.
- They are excellent source of omega 3 fatty acids. These are good fats which helps a person feel fuller in between meals. Eating healthy fats supports skin health, enhances the absorption of fat-soluble vitamins and minerals
- Avocados also contain high levels of phytochemicals and carotenoids, which may have anticancer properties.
- It can also help you loose weight. A half-cup of guacamole has about 6 grams, almost 1/4, of your daily fiber needs. Fiber helps you feel full, so you’re less likely to overeat. Although avocados are high in fat, it’s mainly healthy monounsaturated fat which will not lead to unnecessary weight gain.
- Avocados can also help lower “bad” cholesterol, triglycerides, and blood pressure.
How do you make Guacamole?
Ingredients:
- 2 large ripe Avocados
- Juice of 1 Lemon
- 1 clove Garlic, minced
- 1 small Onion, chopped very fine
- 1 small Roma tomato, chopped very fine
- 1 small Jalapeño, chopped finely
- Handful of finely chopped Sweet Basil leaves (optional)
- Handful of finely chopped Cilantro
- Salt, Black pepper and Cayenne Pepper to taste
Instructions
- Slice the avocados in half, remove the pit, and scoop into a mixing bowl.
- Mash the avocado with a fork and make it as chunky or smooth as you’d like.
- Add the remaining ingredients and stir together. Give it a taste test. Add more salt or lemon juice if needed.
- Refrigerate the guacamole for 30 minutes before serving. It tastes best when it is cold.
How to store the leftover
Guacamole is best consumed the same day because it oxidizes and turns brown quickly. There are lot of old wives tales that tell you to keep a pit in guacamole to prevent it from browning but I tell you none of this works.
The most common guacamole preservation hack is placing plastic wrap directly on the guacamole and refrigerate it to prevent oxidation. This may work for a day or two.
Happy eating! Do try out this easy peasy recipe and let me know in the comment section how you liked it. 🙂