In a world where superfoods trend by the minute, white sesame seeds—humble, tiny, and often overlooked—stand tall as one of the oldest and most powerful health allies, especially for women. These little ivory-hued seeds have been a staple in Asian, Middle Eastern, and African cultures for thousands of years, not just for their nutty flavor but also for their impressive nutritional benefits.
Today, we’ll explore how white sesame seeds (Sesamum indicum) can empower women through every stage of life—from adolescence to menopause and beyond.
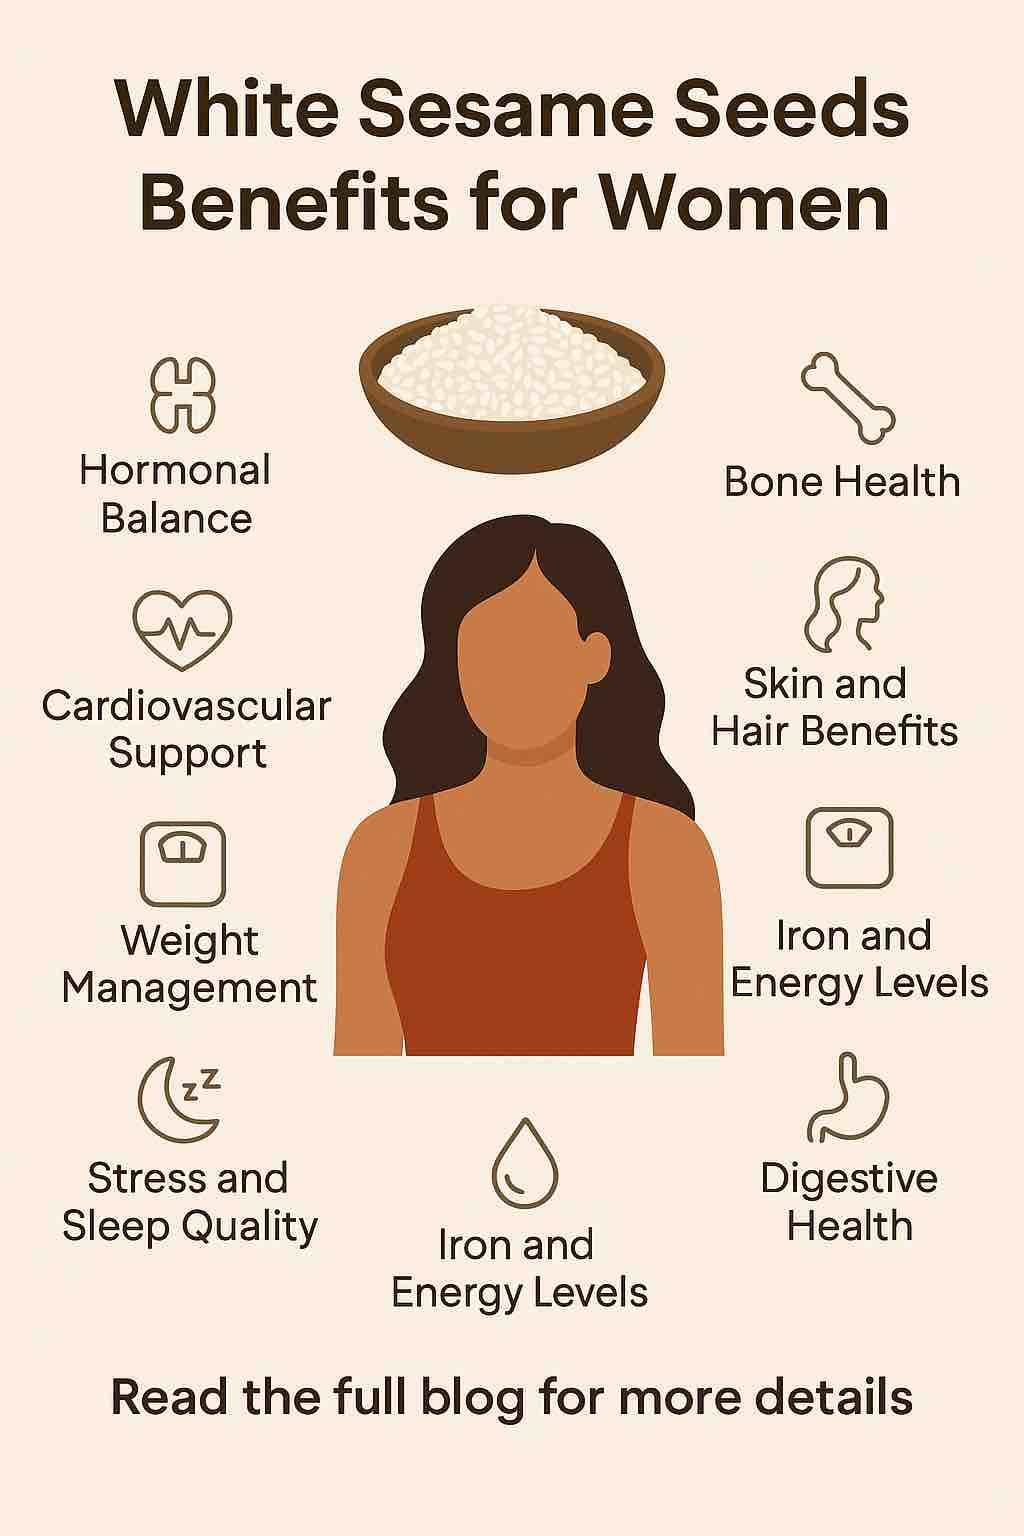
🌱 What Makes White Sesame Seeds So Special?
White sesame seeds are the hulled variety of sesame seeds, which gives them a lighter color and milder taste compared to their black counterparts. But beneath their delicate appearance lies a robust nutritional profile:
- Rich in calcium, magnesium, phosphorus, and zinc
- Loaded with healthy fats (especially omega-6)
- Packed with plant-based protein and fiber
- High in lignans and antioxidants (sesamin and sesamol)
- Excellent source of iron and B-vitamins
Let’s break down how these nutrients specifically benefit female health.
🌸 1. Hormonal Harmony & Menstrual Support
Hormones can often feel like a roller coaster, especially during menstruation, pregnancy, or perimenopause. Here’s where white sesame seeds shine.
👉 Phytoestrogens for Hormonal Balance
White sesame seeds contain lignans, which are plant compounds that mimic estrogen in the body. These phytoestrogens can be particularly beneficial during:
- PMS (Premenstrual Syndrome) – easing cramps, irritability, and bloating
- Perimenopause and Menopause – countering declining estrogen levels, reducing hot flashes and mood swings
👉 “Seed Cycling” for Natural Regulation
Seed cycling is a natural hormone-balancing practice where women consume specific seeds during different phases of their menstrual cycle. White sesame seeds are often used in the second half (luteal phase) to support progesterone production and ease PMS symptoms.
🦴 2. Bone Health and Osteoporosis Prevention
As women age, especially after menopause, they face a higher risk of bone density loss due to declining estrogen levels.
White sesame seeds are an excellent plant-based source of calcium, containing roughly 88 mg of calcium per tablespoon. They also provide:
- Magnesium, which improves calcium absorption
- Zinc and phosphorus, essential for bone mineralization
Including sesame seeds regularly can be a proactive step toward reducing the risk of osteoporosis and maintaining strong, healthy bones.
❤️ 3. Cardiovascular Care for Women
Heart disease is the leading cause of death in women worldwide. The good news? Nature provides a delicious preventative tool.
White sesame seeds support heart health by:
- Lowering LDL (bad) cholesterol levels
- Raising HDL (good) cholesterol
- Reducing oxidative stress due to their antioxidant compounds
- Providing healthy monounsaturated and polyunsaturated fats that reduce inflammation
Incorporating these seeds into your diet could be a heart-smart choice—literally.
💁♀️ 4. Glowing Skin and Strong Hair
Who doesn’t want radiant skin and luscious hair? White sesame seeds are rich in antioxidants and zinc, both essential for:
- Collagen production (hello, firmer skin!)
- Combating free radicals that cause premature aging
- Preventing dryness, flakiness, and inflammation
- Supporting hair strength and reducing hair fall
Their natural oils, when consumed or used topically (like in sesame oil), can give your beauty routine a natural boost from within.
⚖️ 5. Support for Weight Management
Trying to maintain a healthy weight or curb mindless snacking?
White sesame seeds are high in fiber and healthy fats, which help you:
- Stay full longer
- Prevent spikes in blood sugar
- Reduce cravings and overeating
They can easily be added to smoothies, salads, or snack bars, making them a satiety-promoting powerhouse.
🩸 6. Combat Iron-Deficiency Anemia
Many women, especially during their reproductive years, struggle with iron-deficiency anemia due to menstruation or pregnancy.
White sesame seeds are a valuable non-heme iron source, making them perfect for vegetarians and vegans. Pairing them with vitamin C-rich foods (like lemon or oranges) boosts iron absorption significantly.
🧘♀️ 7. Better Sleep and Reduced Anxiety
High in magnesium, white sesame seeds play a key role in relaxing the nervous system. This can translate to:
- Improved sleep quality
- Less anxiety and tension
- Muscle relaxation
A bedtime drink of warm milk with ground sesame seeds is a popular Ayurvedic remedy for a peaceful night.
🌾 8. Digestive Wellness
Struggling with bloating or sluggish digestion?
Thanks to their dietary fiber, sesame seeds support:
- Regular bowel movements
- A healthy gut microbiome
- Reduced constipation and bloating
They gently stimulate digestion while offering a rich source of plant protein, aiding in nutrient absorption.
🥄 How to Incorporate White Sesame Seeds into Your Diet
The best part? They’re incredibly versatile and easy to use daily:
- Sprinkle over salads, smoothies, or soups
- Mix into yogurt or oatmeal
- Use as a crust for fish, tofu, or chicken
- Blend into hummus or tahini
- Add to homemade granola, energy balls, or muffins
For maximum absorption of nutrients, lightly roast or grind the seeds before consumption.
⚠️ Precautions and Considerations
While white sesame seeds offer an array of benefits, moderation is key:
- High in calories – be mindful of portions if you’re watching your weight.
- May trigger allergies – sesame is a common allergen for some individuals.
- Best consumed soaked or ground – this improves digestibility and unlocks more nutrients.
If you’re pregnant or managing hormonal conditions, consult a healthcare provider before adding them in large quantities.
✨ Final Thoughts
Nature’s pharmacy often comes in the smallest packages—and white sesame seeds are a prime example. For women seeking hormonal balance, bone strength, beauty benefits, heart health, and more, these tiny seeds deliver big impact.
Whether sprinkled on your salad or blended into a smoothie, a daily dose of sesame might just be the most delicious step you take toward holistic wellness.
✅ Frequently Asked Questions (FAQs)
1. Can women eat white sesame seeds daily?
Yes, women can consume white sesame seeds daily in moderate amounts (1–2 tablespoons). Regular intake supports hormonal balance, bone health, and skin nourishment.
2. Are white sesame seeds good during periods?
Absolutely. Their natural phytoestrogens and magnesium help reduce cramps, stabilize mood, and support hormone regulation during menstruation.
3. Do sesame seeds help in menopause symptoms?
Yes, the lignans in sesame seeds mimic estrogen and can help ease hot flashes, mood swings, and bone loss associated with menopause.
4. Can sesame seeds boost fertility in women?
White sesame seeds may support fertility by improving hormonal balance and providing essential minerals like zinc and iron, which are important for reproductive health.
5. Are sesame seeds good for pregnancy?
Yes, in moderation. They provide iron, calcium, and healthy fats beneficial for both mother and baby. However, consult your doctor for personalized advice, especially in early pregnancy.
6. How should women eat sesame seeds for maximum benefit?
Lightly roasting, soaking, or grinding sesame seeds enhances nutrient absorption. They can be added to smoothies, salads, soups, or baked goods.
7. Do white sesame seeds help with hair fall?
Yes. Rich in zinc and antioxidants, sesame seeds support collagen production and reduce oxidative stress, which can strengthen hair and reduce hair fall.
8. Can sesame seeds cause hormonal imbalance?
No, when consumed in moderation, they help regulate hormones. Excessive intake, however, especially with other estrogenic foods, could potentially influence hormone-sensitive conditions.
9. Are white sesame seeds better than black sesame seeds for women?
Both are nutritious. White sesame seeds are slightly higher in calcium and have a milder taste, while black sesame seeds contain more antioxidants. Women can benefit from both varieties.
10. Who should avoid white sesame seeds?
Anyone with a sesame allergy should avoid them. People with certain hormone-sensitive conditions or on anticoagulants should consult a healthcare provider before consuming large amounts.