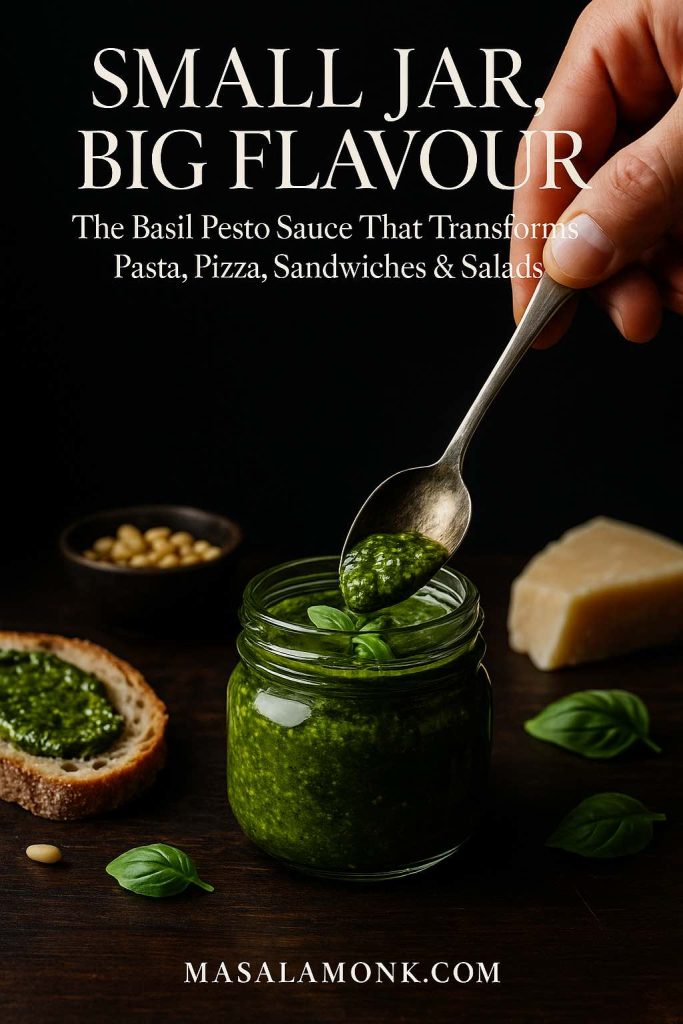
There are days when dinner looks like plain boiled pasta, some grilled chicken, maybe a tired bag of salad leaves. And then there are days when a spoonful of emerald-green pesto sauce hits the plate and suddenly everything looks intentional. Pesto is one of those sauces that seems fancy when it comes from a jar, but becomes shockingly simple once you learn how to make it yourself. A handful of basil, a little garlic, a nut or two, good olive oil, a salty cheese – that’s all it takes for a classic pesto recipe.
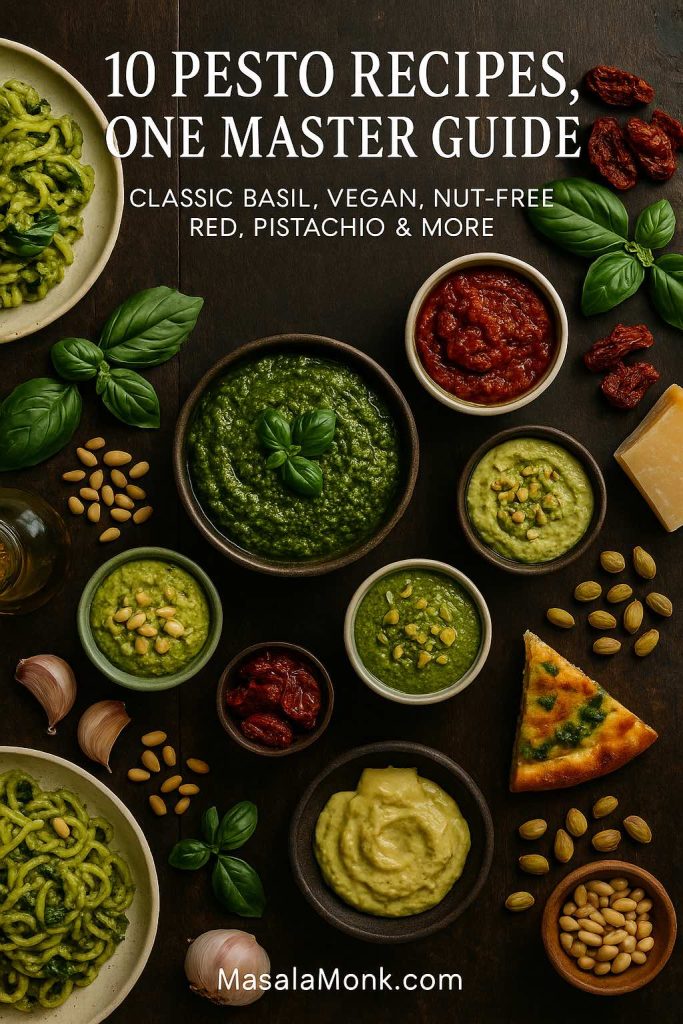
From learning basic – How to make Pesto, you can move in countless directions: vegan pesto, nut free pesto, red pesto with sun dried tomato, pistachio pesto, smooth creamy pesto sauce for pasta, pesto butter for steaks, pesto salad dressing, pesto dip for snacks and pesto mayo for sandwiches. This guide starts with a solid basil pesto sauce you can rely on every time. After that, we’ll move into ten useful variations, then finish with practical ways to use them in everyday cooking: pesto pasta, pesto pizza, pesto pasta salad, chicken pesto pasta, pesto salmon, pesto sandwich ideas and more.
What pesto actually is
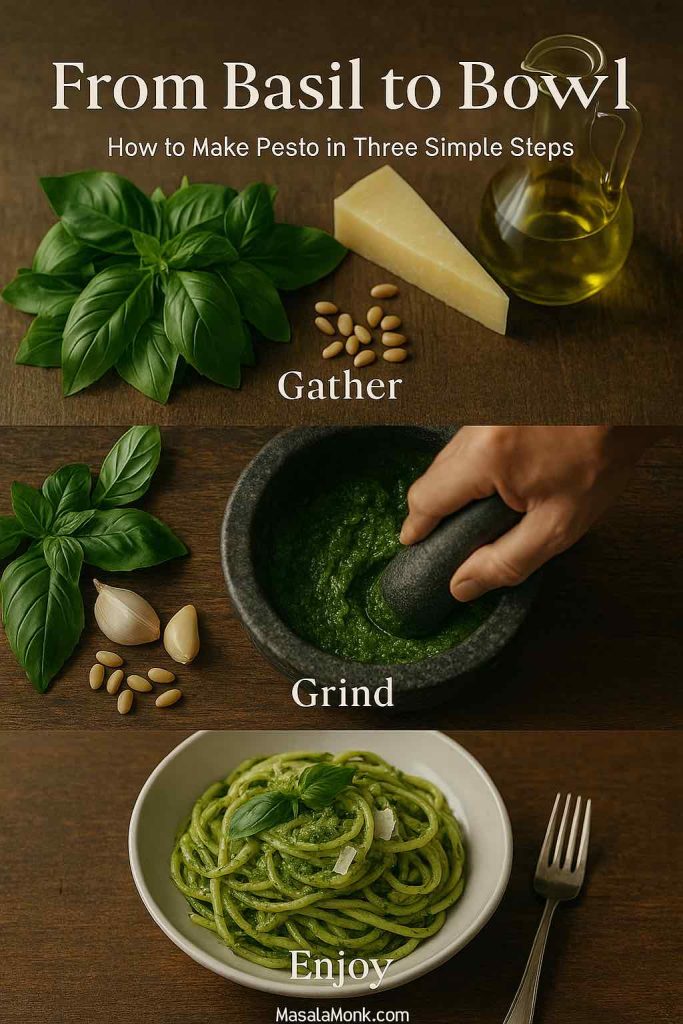
At its core, pesto is a raw Italian sauce. The name comes from the Italian verb pestare, “to pound” or “to crush,” because the original method uses a mortar and pestle. A traditional pesto is made with:
- Basil or another soft leafy herb
- A nut, usually pine nuts
- A hard, salty cheese
- Garlic
- Olive oil
- Salt, and sometimes a touch of acidity
The most iconic version, pesto alla Genovese, comes from Liguria in northern Italy. Classic recipes from that region use only fresh basil, garlic, pine nuts, Parmigiano Reggiano, Pecorino, olive oil and salt.
Modern cooks bend the rules a bit. Walnuts often replace pine nuts. Some recipes use almonds or pistachios. Others lean on kale or rocket instead of all basil. In some kitchens, cheese is omitted completely in favour of nutritional yeast, turning it into a vegan pesto sauce. Even so, the structure stays the same: a rich, thick, uncooked herb sauce that can be thinned to make pesto pasta sauce or used thick as a pesto spread.
Because it’s based on olive oil, nuts, basil and cheese, pesto also sits in that rare category of condiments that feel indulgent but can still support a fairly balanced way of eating. Nutrition writers often point out that it’s rich, yes, but mostly in unsaturated fats and antioxidants.
So if you’ve only met pesto in the form of a slightly dull jar that lives at the back of the fridge, it’s worth meeting it again, properly fresh.
Also Read: Healthy Tuna Salad – 10 Easy Recipes (Avocado, Mediterranean, No Mayo & More)
Classic Basil Pesto Recipe (Base Pesto Sauce)
This is your baseline pesto recipe. Every variation later either starts from here or uses the same ratio logic.
Ingredients (about 1 cup)
- 2 packed cups fresh basil leaves
- ¼ cup pine nuts (walnuts or almonds also work)
- ½ cup finely grated Parmesan, or a mix of Parmesan and Pecorino
- 1–2 small garlic cloves, smashed
- ½ cup extra virgin olive oil, plus more to cover for storage
- ½–1 tablespoon lemon juice (optional but brightening)
- ½ teaspoon fine salt, or to taste
- A pinch of black pepper
You can swap quantities slightly to taste – more cheese for a saltier pesto, more nuts for a richer pesto, more olive oil for a looser pesto sauce – but this is a reliable starting point.
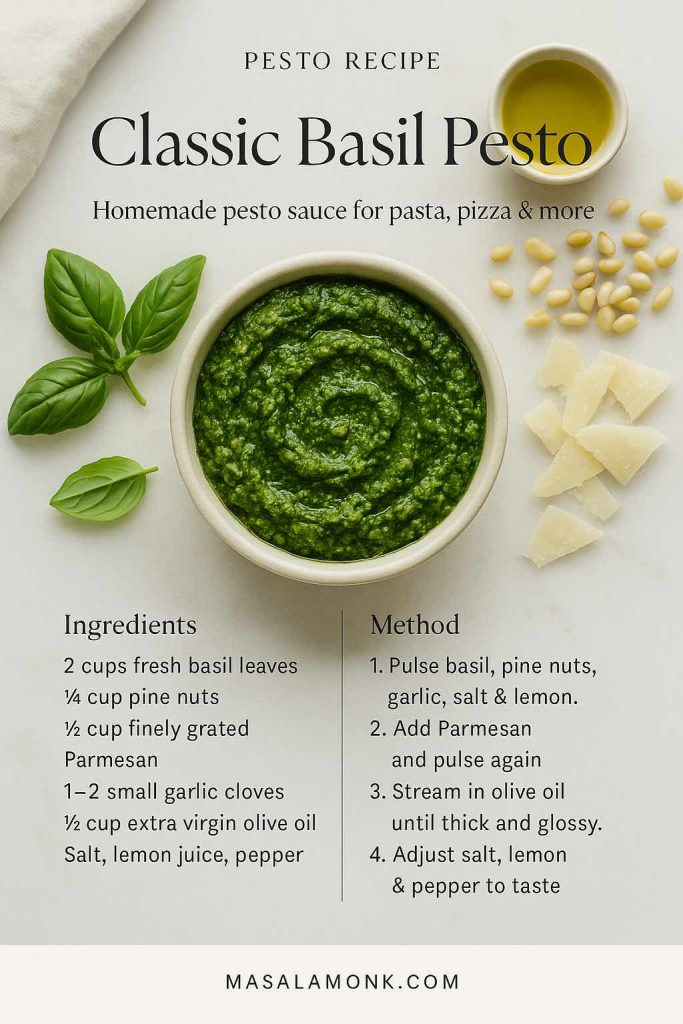
How to make basil pesto (processor method)
Although the traditionalists might side-eye the blender, most home cooks will use one. Used gently, it still makes excellent pesto.
- Build the flavour base
Tip the basil leaves, pine nuts, garlic, salt and lemon juice into a food processor. Pulse in short bursts until everything is finely chopped. You want a moist, finely minced mixture, not a purée yet. - Fold in the cheese
Add the grated Parmesan. Pulse again a few times to mix it through. - Stream in the olive oil
With the processor on low, slowly pour in the olive oil. Watch the texture: once it turns into a thick, glossy paste that loosens slightly as the blade moves, you’re there. Scrape down the sides once or twice. - Taste and balance
Now check what you’ve got. Too heavy? Add a little more lemon. Too sharp? Round it out with a spoonful more olive oil or a sprinkle of cheese. Lacking intensity? A tiny pinch of extra salt usually wakes everything up.
That’s it: a classic homemade pesto sauce that works in basil pesto pasta, spooned onto grilled vegetables, folded into grain bowls, spread under cheese on toast, or served as a pesto dip with raw vegetables and crackers.
Mortar and pestle option for Pesto Recipe
If you ever feel like going fully traditional, making pesto in a mortar and pestle is worth experiencing at least once. Many Italian cooks swear the flavour and colour are better, because crushing releases oils without the same heat and aeration you get from fast blades. Recent tests from cooking writers also suggest the mortar method gives a silkier, more stable emulsion that clings beautifully to pasta.
The order matters:
- Pound garlic and salt to a smooth paste.
- Add basil in handfuls, crushing and twisting until it collapses into a thick green paste.
- Add the nuts and smash until they mostly disappear into the basil.
- Work in the grated cheese.
- Finally, drizzle in olive oil and stir until you have a cohesive sauce.
The flavour will be softer, less grassy, and the colour often stays more vivid.
How to store pesto safely
Homemade pesto is raw and includes fresh basil, garlic and oil, so storage isn’t something to wing.
Guidance from the National Center for Home Food Preservation is very clear: pesto should be made fresh, kept in the refrigerator for no more than three days, and frozen for any longer storage.
A practical approach at home:
- Spoon pesto into a clean jar.
- Smooth the top and pour a thin layer of olive oil over the surface.
- Close and refrigerate for up to 2–3 days.
- For longer, portion into ice cube trays or small containers and freeze.
Food preservation experts repeatedly stress that pesto should not be canned; there are no safe, tested canning times for an oil-rich, low-acid mixture like this, and freezing is the recommended method instead.
With the base recipe and storage sorted, the fun part begins.
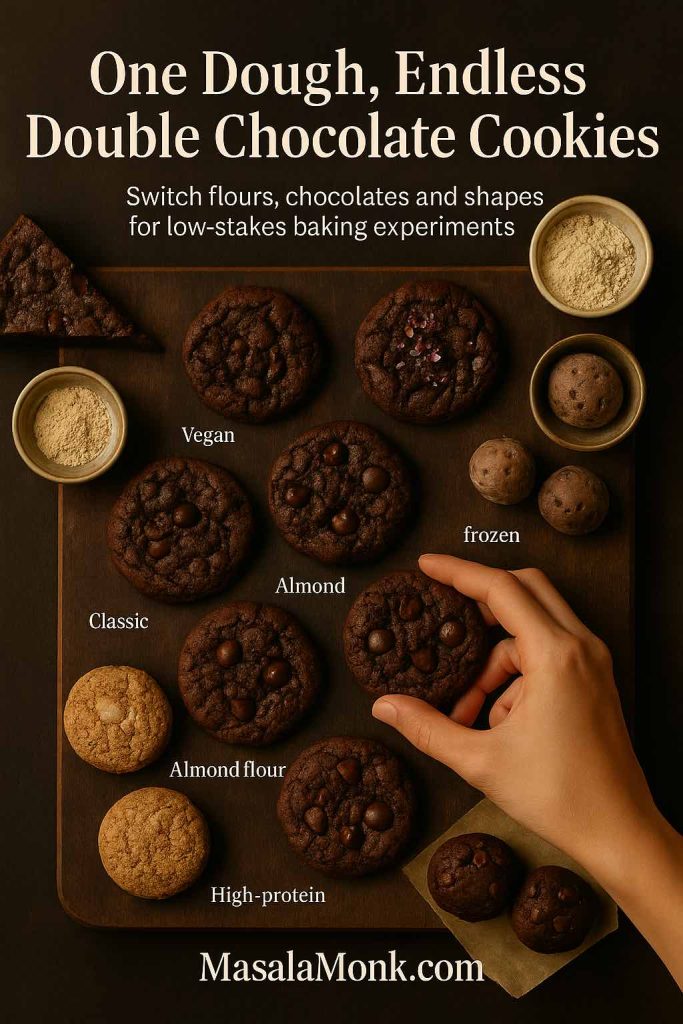
Also Read: Double Chocolate Chip Cookies – Easy Recipe with 7 Variations
Ten useful pesto variations & their recipe
Instead of thinking of each variation as a completely new pesto recipe, it helps to treat the classic version as a template:
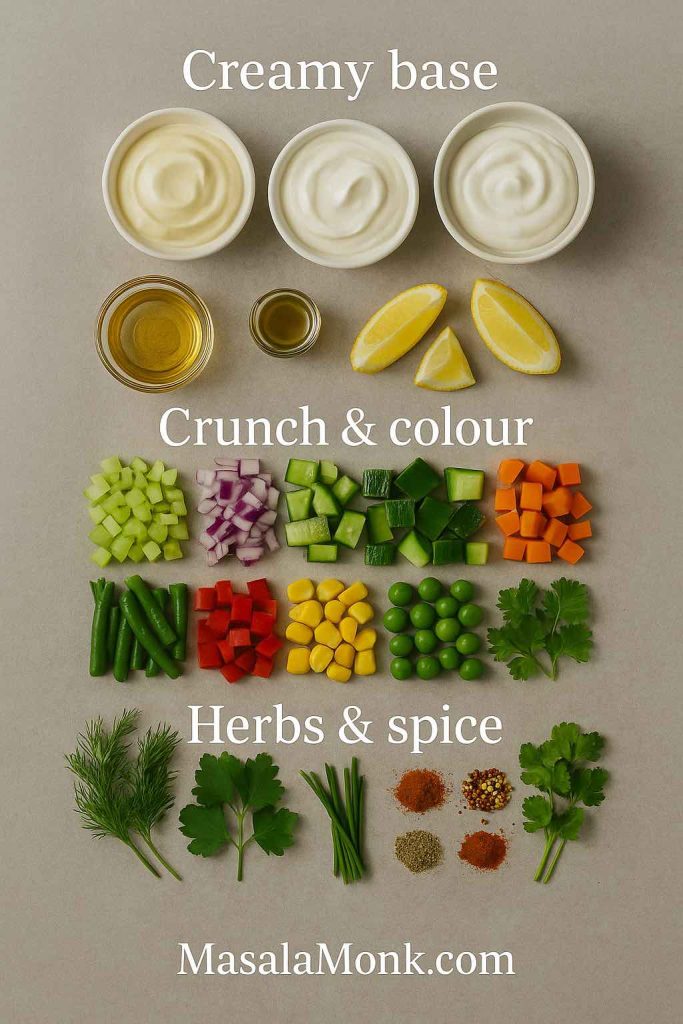
- Greens or herbs
- Nuts or seeds
- Cheese or a savoury substitute
- Garlic or a more gentle flavour base
- Olive oil
- Salt, with optional lemon or vinegar
Every variation below changes one or more of those slots: sometimes to accommodate dairy-free, nut-free or low FODMAP needs, and sometimes simply to chase a different flavour.
1. Vegan Pesto Recipe (Dairy Free Basil Pesto Sauce)
When you take cheese out of pesto, you have to put savouriness back somehow. Luckily, that’s exactly what nutritional yeast is good at.
A very simple vegan pesto looks like this:
- 2 cups basil (or basil plus a little parsley)
- ¼ cup nuts or seeds – cashews, walnuts, pine nuts or pumpkin seeds
- 3–4 tablespoons nutritional yeast, instead of Parmesan
- 1–2 cloves garlic
- Olive oil, lemon juice, salt and pepper
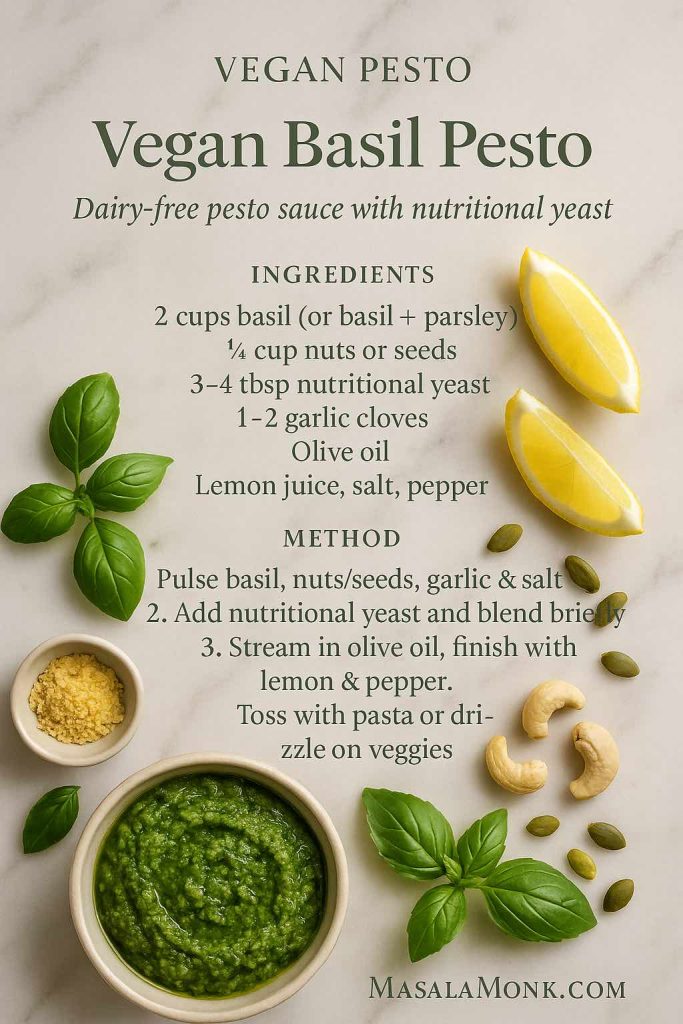
The method is identical to the classic pesto recipe. The taste is a little different – more nutty, slightly cheesy from the nutritional yeast – but it does everything you’d want a basil pesto sauce to do: coat pasta, dress salads, work as a pesto dip, even stand in as a pesto spread on toast.
If you prefer a tested version with exact measurements, you can also look at MasalaMonk’s own fresh basil vegan pesto, which uses basil, cashews, pumpkin seeds and lemon to create a rich dairy-free sauce.
This style works beautifully with vegan pesto pasta, as a base for vegan pesto pizza, or even stirred into a pot of vegetable soup just before serving.
Also Read: Vegan French Toast: 6 Easy Recipes (Pan, Air Fryer, GF & High-Protein)
2. Nut free pesto recipe (no nuts, no pine nuts)
For nut allergies, the simplest fix is to keep basil and olive oil the same and replace pine nuts with seeds. Sunflower seeds, pumpkin seeds and hemp hearts all blend well and give a creamy pesto without nuts.
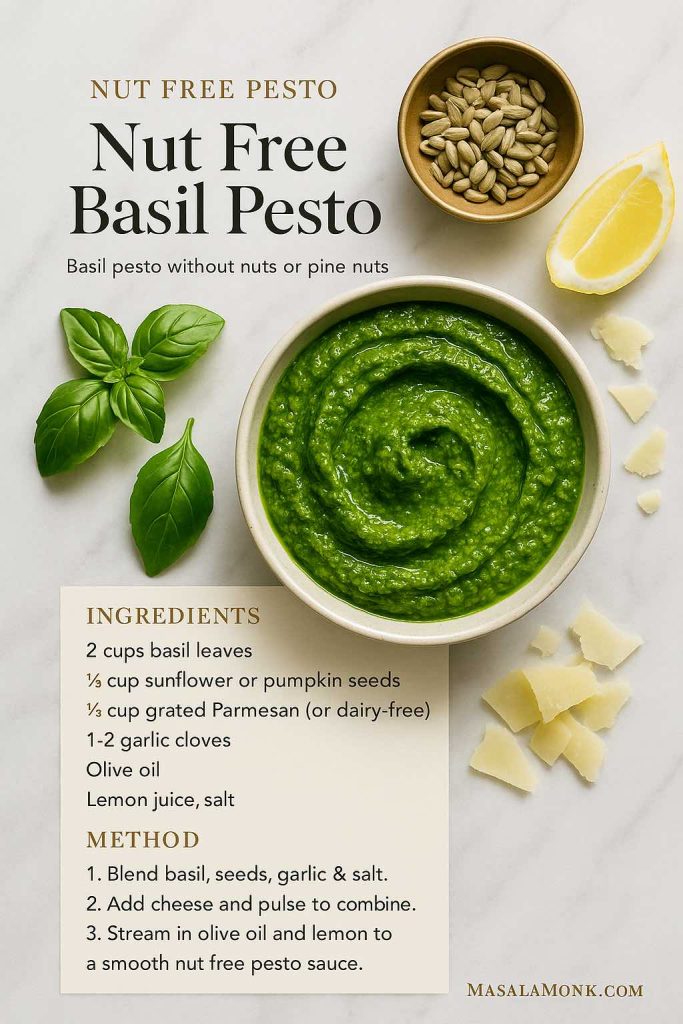
A nut free pesto base might be:
- 2 cups basil
- ¼ cup sunflower or pumpkin seeds
- ½ cup grated Parmesan (or a dairy-free alternative if needed)
- 1–2 garlic cloves
- Olive oil, lemon, salt
You can also skip seeds completely and rely on basil, cheese and olive oil for body. That gives you a smooth, slightly lighter pesto sauce that works in pesto pasta and pesto noodles while staying safe in nut-free homes and lunchboxes.
Also Read: French 75 Cocktail Recipe: 7 Easy Variations
3. Red Pesto Recipe (Sun Dried Tomato Pesto Rosso)
Red pesto – sometimes called pesto rosso – swaps out most of the basil for tomatoes and peppers. It’s richer, deeper and a little sweeter, and it loves grilled meats, toasted breads and hearty pasta shapes.
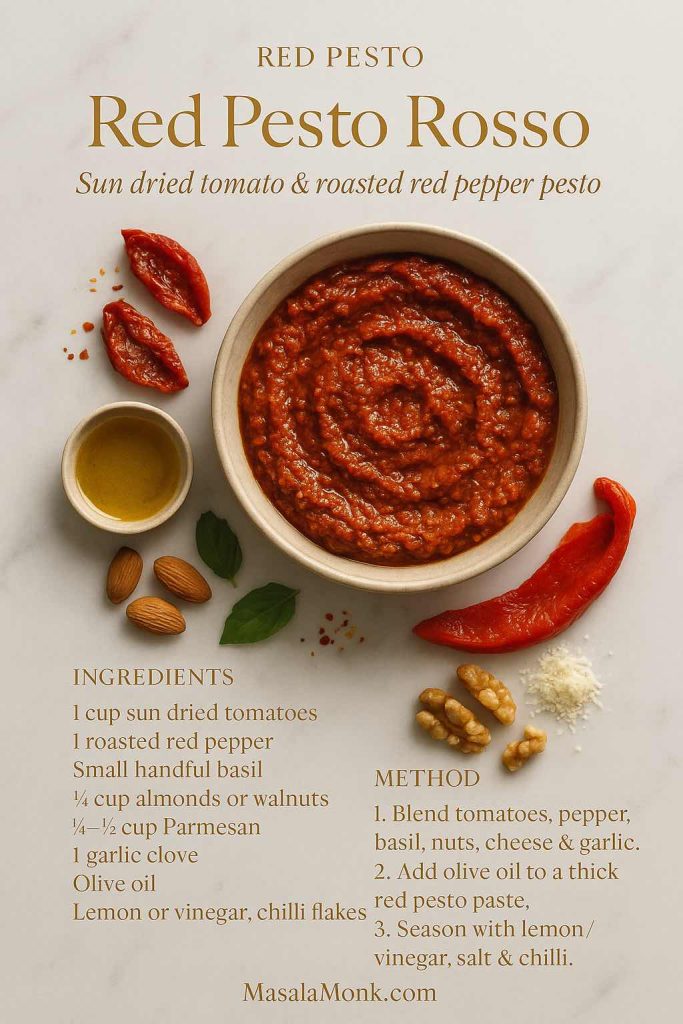
A flexible red pesto pattern:
- 1 cup drained sun dried tomato halves (oil-packed or rehydrated)
- 1 roasted red pepper (jarred or homemade)
- Small handful fresh basil leaves
- ¼ cup toasted almonds or walnuts
- ¼–⅓ cup grated Parmesan
- 1 garlic clove
- Olive oil as needed
- A spoon of red wine vinegar or lemon juice
- Optional pinch of dried chilli flakes
Blend everything except the oil first, then add oil until it turns into a thick, glossy paste. Use this red pesto with penne for a punchy red pesto pasta, toss it through warm potatoes, spread it inside a pesto grilled cheese, or spoon it over roast chicken.
To make a slightly sharper version, you can lean more on roasted red pepper, a little chilli pesto style heat, and less on tomatoes. Either way, this lives firmly in the “fast weeknight pasta” category.
Also Read: Whole Chicken in Crock Pot Recipe (Slow Cooker “Roast” Chicken with Veggies)
4. Pistachio Pesto Recipe (How to Make Pistachio Pesto)
Pistachio pesto feels fancy, but it’s just a simple swap: pistachios instead of pine nuts. However, the effect is dramatic. The sauce becomes silkier and a touch sweeter, pairing beautifully with seafood, chicken and grilled vegetables.
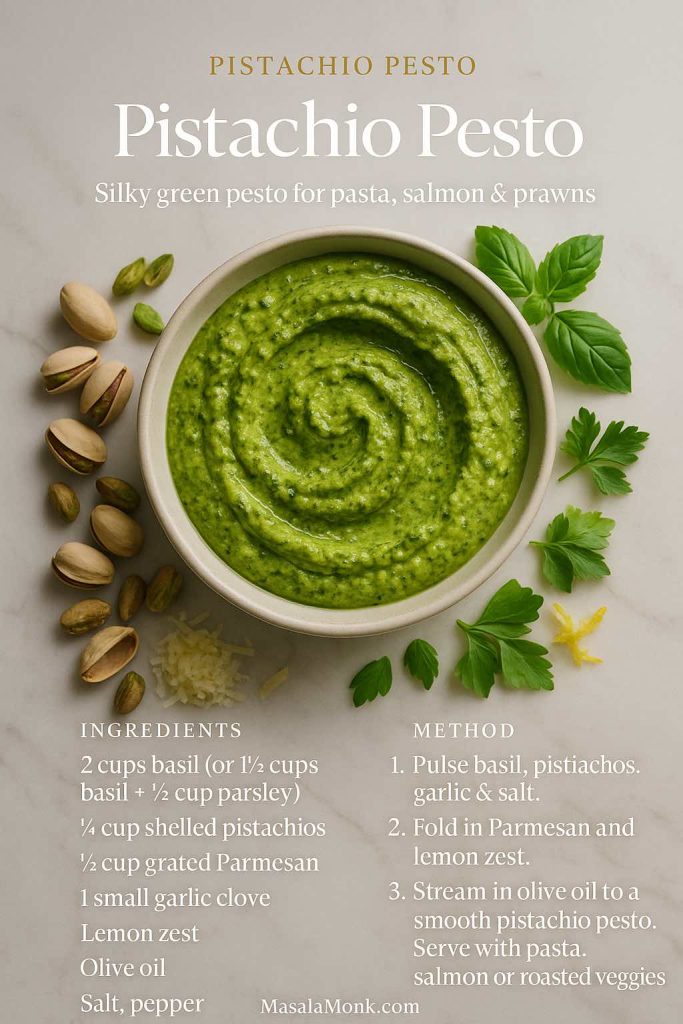
A good starting ratio:
- 2 cups basil (or 1½ cups basil + ½ cup flat-leaf parsley)
- ¼ cup pistachios, shelled
- ½ cup grated Parmesan
- 1 small garlic clove
- Finely grated lemon zest
- Olive oil, salt and pepper
This pistachio pesto is wonderful tossed with spaghetti, folded into a pistachio pesto pasta salad, spooned over pesto salmon, or drizzled onto roasted cauliflower and carrots.
For an even greener effect, you can blend in a few spinach leaves or rocket with the basil. It’s not necessary, but it does make a bowl of pasta look restaurant-ready.
Also Read: 10 Spinach Dip Recipes: Cold, Baked, Artichoke & More
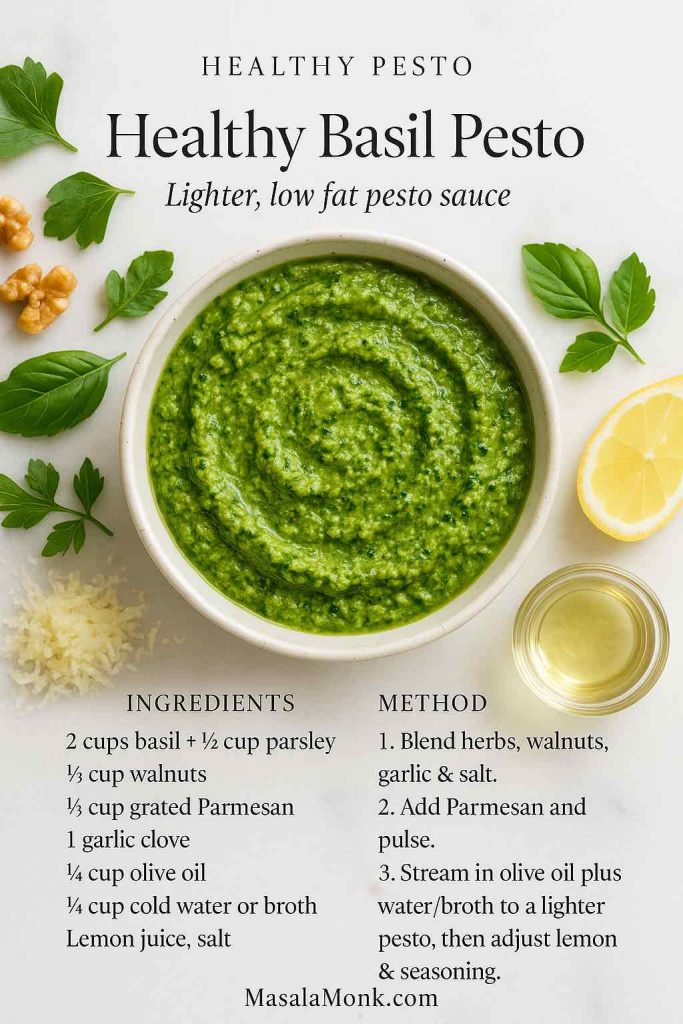
5. Healthy / Lighter Pesto Recipe (low fat, lower calorie, lower sodium)
Pesto isn’t a low-calorie sauce; most of its calories come from olive oil, nuts and cheese. That said, those calories aren’t empty. Several nutrition write-ups describe pesto as energy-dense but also rich in unsaturated fats and antioxidants from olive oil and basil, and suggest it can absolutely fit into a balanced diet in reasonable portions.
If you’d like a lighter pesto for everyday use, there are a few gentle tweaks:
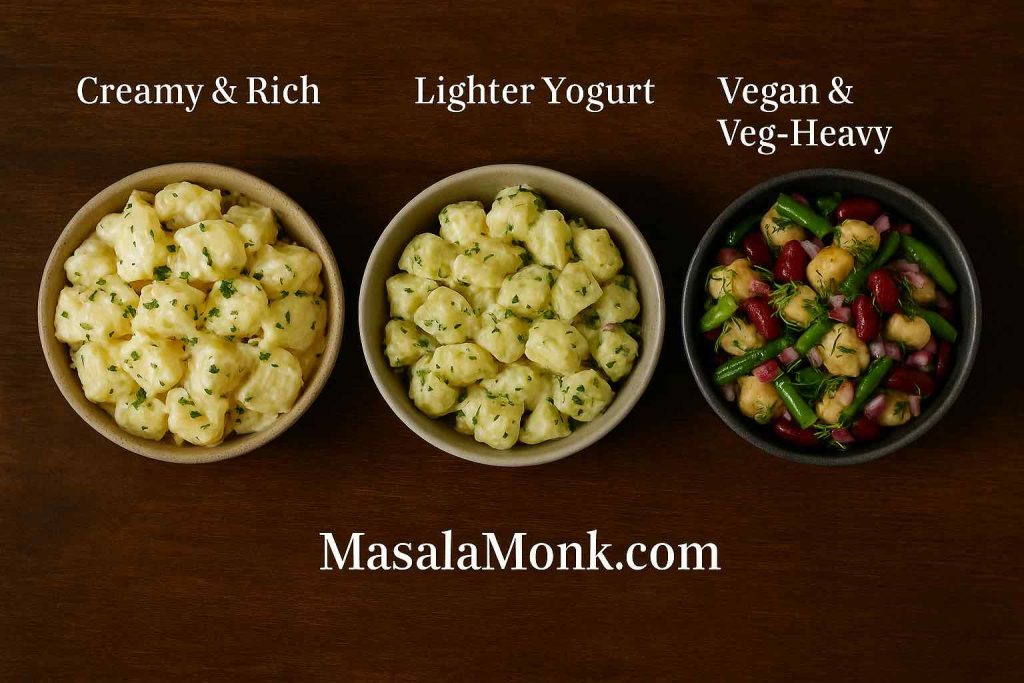
- Replace part of the olive oil with cold water or vegetable broth.
- Use slightly less cheese and bump up the basil and parsley instead.
- Add a spoonful of yogurt or soft ricotta to create a creamy pesto sauce that feels rich but uses less oil.
- Season with a lighter hand if you’re watching sodium.
One simple “healthy pesto” approach is:
- 2 cups basil + ½ cup parsley
- ¼ cup walnuts
- ⅓ cup grated Parmesan
- 1 garlic clove
- ¼ cup olive oil + ¼ cup cold water
- Lemon juice and salt to taste
This still coats pasta nicely, yet feels less heavy. You can also thin it further into a pesto salad dressing for grain bowls built from whole wheat pasta, brown rice or quinoa. As you experiment with those bases, it’s handy to keep guides like Quinoa vs Rice: Nutrition, Glycemic Index, and When to Choose Each nearby if you like number-driven decisions.
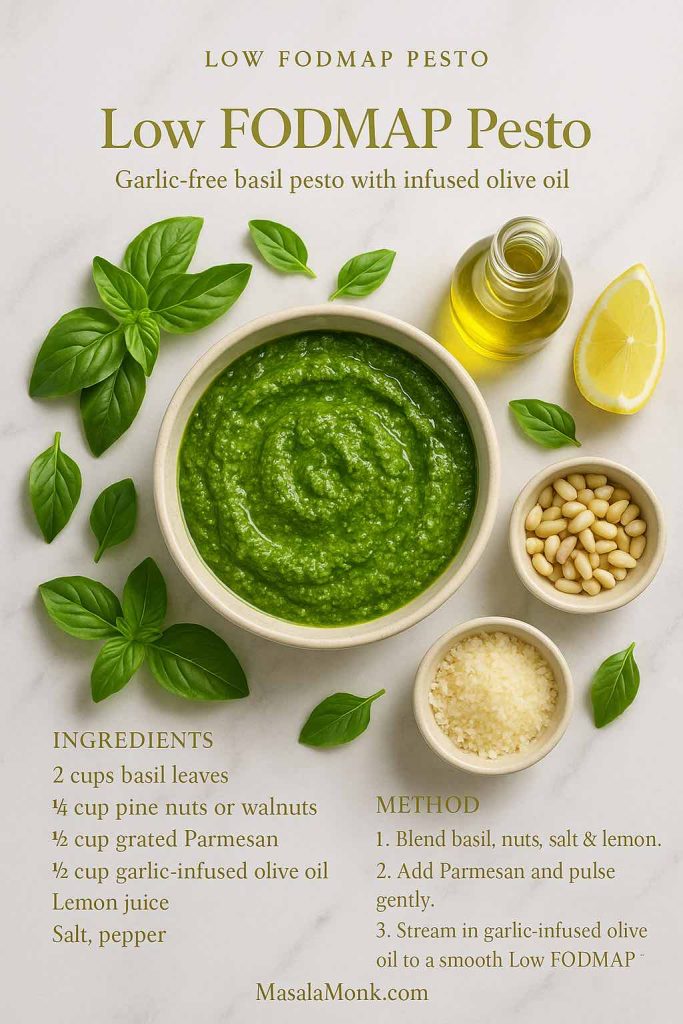
6. How to make Pesto – Low-FODMAP and no-garlic
For anyone with a sensitive gut, raw garlic can be a problem. Yet most of the character in classic pesto comes from garlic and basil together, so the trick is to soften the impact without losing all of the aroma.
Two easy strategies:
- Skip garlic entirely and balance the flavour with more lemon zest, basil and cheese.
- Use garlic-infused olive oil in place of both garlic and some of the plain oil.
A low-FODMAP-friendly pesto might look like this:
- 2 cups basil
- ¼ cup pine nuts or walnuts
- ½ cup Parmesan
- ½ cup garlic-infused olive oil
- Lemon juice, salt and pepper
You can make the same kind of adjustments to red pesto, pistachio pesto and kale pesto. The result won’t be identical to the garlicky classic, but it still gives you herby, savoury richness for pesto pasta, pesto macaroni salad, pesto and chicken, pesto and salmon or even a simple pesto dip for roasted vegetables.
Also Read: Easy Lemon Pepper Chicken Wings (Air Fryer, Oven & Fried Recipe)
7. Green pesto recipe variations: rocket, kale and wild garlic
Sometimes you simply don’t have enough basil. Other days you have a bag of kale that needs using, or a bunch of rocket that’s about to wilt. Pesto is kind to those situations.

Rocket pesto (arugula pesto)
Rocket has a peppery bite that cuts nicely through pasta cream sauces and rich cheeses.
- 1 cup basil + 1 cup rocket
- ¼ cup walnuts or almonds
- ½ cup Parmesan
- Garlic, olive oil, lemon and salt
This rocket pesto works well in pasta and on pizza, and it’s especially good with grilled courgettes or roasted beetroot.
Kale pesto
As we know, Kale is sturdier than basil, so blanching it briefly helps tame bitterness and gives a smoother texture.
- Blanch 2 cups kale leaves in boiling water for 30–40 seconds, then shock in ice water and squeeze dry.
- Blend with 1 cup basil, ¼ cup nuts, ½ cup cheese, garlic, olive oil and lemon.
Pesto made from Kale is great in everything from warm pasta to cold pesto pasta salad and even as a pesto spread on sandwiches.
Wild garlic and garlic scape pesto
In spring, wild garlic and garlic scapes give you a short window to make some very special pesto. This is where herb-only pestos really shine: wild garlic leaves or scapes, olive oil, nuts and a little cheese turn into an intensely aromatic sauce that can make even boiled potatoes taste like something from a restaurant.
Because these greens are powerful, they often work best when combined with a little basil, spinach or parsley.
Also Read: Katsu Curry Rice (Japanese Recipe, with Chicken Cutlet)
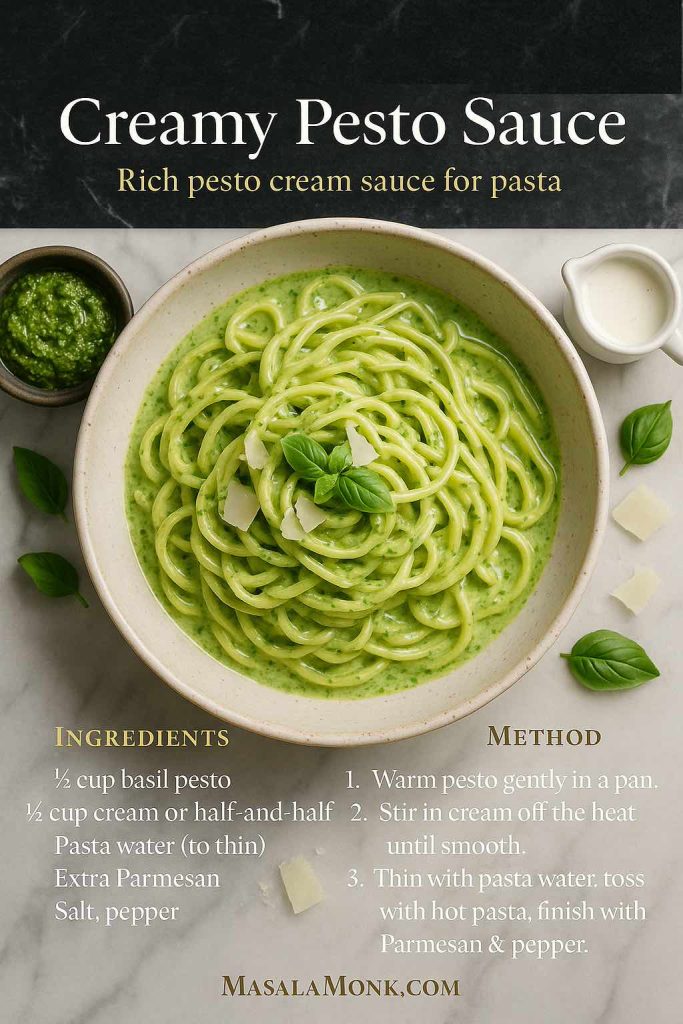
8. Creamy pesto sauce recipe
On some evenings, what you really want is a large bowl of creamy pesto pasta. Not a thin coating, not a light drizzle – a proper comfort-bowl, almost like an Alfredo, but green.
There are a few different ways to get there:
- Stir a splash of cream into warm pesto and toss quickly with hot pasta off the heat.
- Whisk pesto with ricotta, mascarpone or Greek yogurt to make a thicker, tangier sauce.
- Fold pesto into a simple white sauce or béchamel for baked dishes.
For an easy creamy pesto pasta sauce:
- Warm ½ cup of basil pesto gently in a pan.
- Add ½ cup of cream or half-and-half and whisk until smooth.
- Thin with a little pasta water if needed.
- Toss with cooked pasta, then finish with extra Parmesan and black pepper.
If you enjoy playing with cream-based sauces generally, it’s fun to line this up alongside guides like Classic vs. Authentic Alfredo: 5 Essential Recipes and Chicken Alfredo Pasta, 5 Ways and use similar techniques to control thickness, gloss and richness.
9. Recipe for Pesto butter and pesto dip
Pesto isn’t only a sauce. Once you realise it can behave like a compound butter or flavoured cream cheese, the number of quick upgrades you can pull off on a weeknight multiplies.
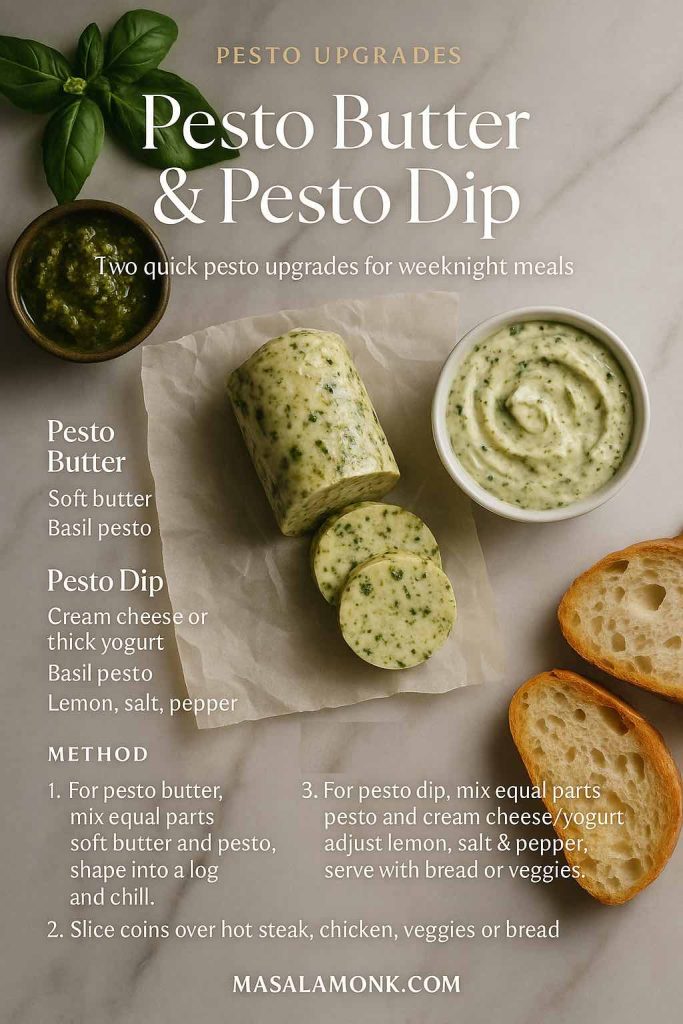
Pesto butter
- Mix equal parts soft butter and pesto.
- Shape into a log in baking paper and chill.
- Slice coins of pesto butter onto grilled steak, roast chicken, steamed vegetables, jacket potatoes or warm focaccia.
The heat melts the butter, spreading basil, garlic and Parmesan over everything without any extra effort.
Pesto dip
- Mix equal parts pesto and cream cheese, labneh or thick yogurt.
- Adjust with lemon and pepper to taste.
This pesto dip works as a snack with vegetable sticks and crackers, or as an easy spread inside chicken pesto sandwiches, pesto grilled cheese or even a simple pesto breakfast sandwich.
Also Read: Cheesy Chicken Broccoli Rice – 4 Ways Recipe (One Pot, Casserole, Crockpot & Instant Pot)
10. Pesto mayo and pesto salad dressing recipe
Finally, the condiments. A spoonful of pesto can transform plain mayonnaise into something special, and turns basic vinaigrettes into basil pesto salad dressing that feels like it came from a café.
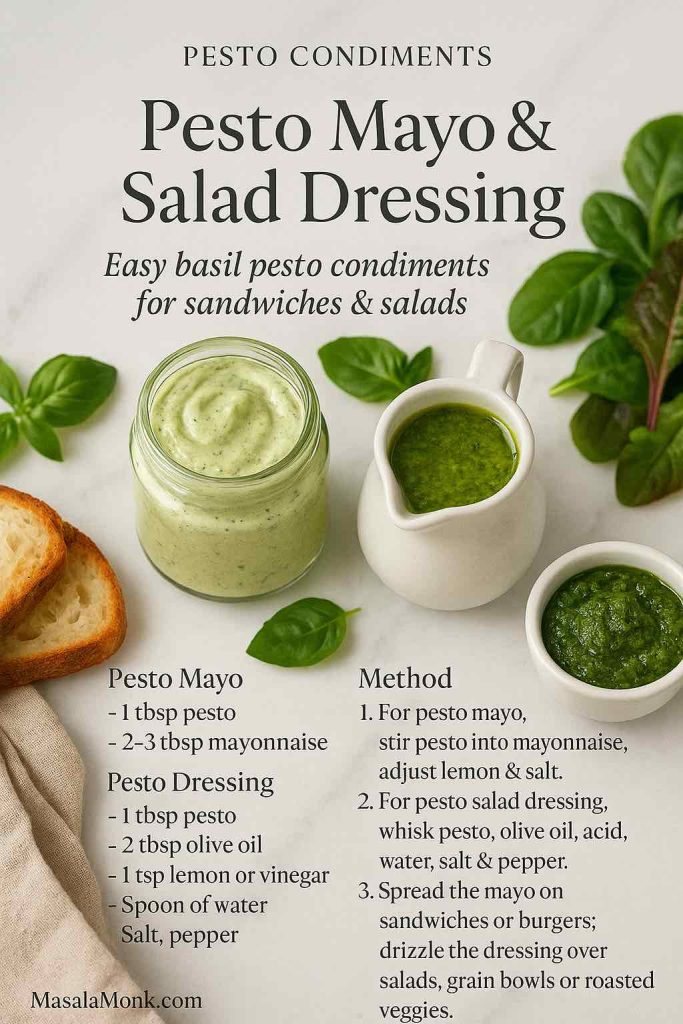
Pesto mayo and pesto aioli
- Stir 1 tablespoon pesto into 2–3 tablespoons mayonnaise (or vegan mayo).
- Taste and adjust salt and lemon.
That’s it. Use it as a spread on pesto sandwich combinations with mozzarella and tomato, or smear it over toasted bread before layering roasted vegetables or grilled chicken. It’s also excellent as a dip for potato wedges and crisp fries.
Pesto salad dressing
- Whisk together:
- 1 tablespoon pesto
- 2 tablespoons olive oil
- 1 teaspoon vinegar or lemon juice
- A spoon of water, to thin
- A pinch of salt and pepper
Shake everything in a jar until smooth. This dressing slips easily over green salads, cold pesto pasta salad, tomato and mozzarella plates, grain bowls, even leftover roasted vegetables.
In lists of “better-for-you condiments”, pesto often shows up alongside salsa and hummus, because it packs a lot of flavour into a small spoon and uses ingredients like olive oil, basil and nuts that contribute useful fats and micronutrients.
Also Read: Crispy Homemade French Fries From Fresh Potatoes (Recipe Plus Variations)
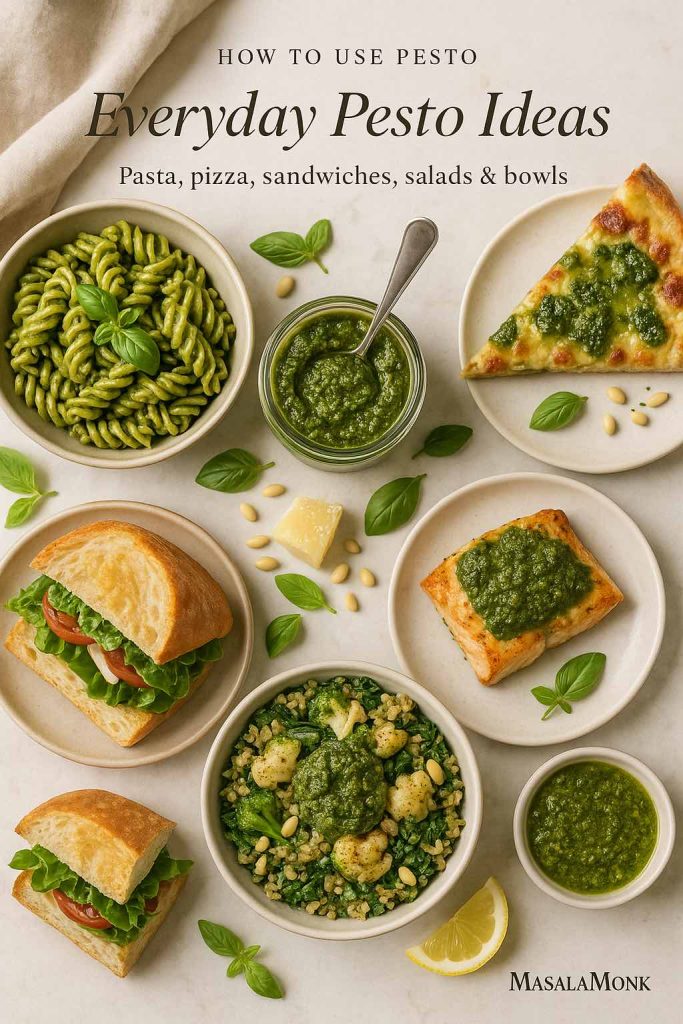
How to use pesto in everyday cooking
Once you have a jar of pesto – classic, vegan, nut-free, red, pistachio or any other – the simplest way to make it earn its keep is to use it across multiple meals. It’s not just for pesto pasta.
Pesto pasta and pesto noodles
A basic pesto pasta follows the same pattern almost every time:
- Cook pasta in well-salted water until al dente.
- Scoop out a cup of the cooking water.
- Drain the pasta, return it to the pot (off the heat).
- Add a generous spoonful of pesto and a splash of cooking water.
- Toss until each strand or shell is coated in a glossy pesto pasta sauce.
That works with spaghetti, fusilli, penne, shells and even zucchini noodles or chickpea pasta. For creamy pesto pasta, finish with a little cream, ricotta or cashew cream.
You can also take pesto pasta in different directions. For example, MasalaMonk’s Pesto Pasta: Adding 5 Delightful Indian Twists to the Italian Classic plays with coriander pesto pasta, mint pesto pasta, curry leaf pesto pasta, spinach pesto pasta and even tomato-sesame pesto, showing how flexible the basic idea is.
Pesto pasta salad
Cold pesto pasta salad is just as easy:
- Cook short pasta (fusilli, farfalle, macaroni) until just tender.
- Rinse briefly under cold water to stop cooking, then drain very well.
- Toss with pesto, a drizzle of olive oil or yogurt, chopped vegetables and optional protein like chickpeas or cubed chicken.
- Chill until serving.
You can lean creamy, with a little mayo or yogurt, or keep it sharp and light, close to a pesto dressing. Either way, it works alongside barbecues, picnics and big bowls of other sides like the potato salad variations MasalaMonk already explores.
Pesto pizza
Pesto pizza is the sort of idea that sounds like a restaurant trick but becomes a home staple once you try it.
- Spread a thin layer of basil pesto over your pizza base instead of tomato sauce.
- Scatter mozzarella, cherry tomatoes, olives, maybe some sliced red onion.
- Add cooked chicken if you’re heading towards a chicken pesto pizza.
- Bake until the cheese is bubbling and golden.
You can do the same on naan, pita breads, thin flatbreads or even thick toast for a fast pesto pizza toastie.
Pesto sandwiches, breakfast and snacks
Pesto behaves extremely well as a spread. It cuts through richness and gives instant character.
Some ideas:
- Spread pesto or pesto mayo onto toasted sourdough, add mozzarella, tomato and a little salt for a simple mozzarella pesto sandwich.
- Stir pesto into scrambled eggs and tuck them into a soft roll for an egg pesto sandwich or a pesto breakfast sandwich.
- Layer leftover roast vegetables, pesto and cheese into a grilled sandwich or panini and toast until crisp.
Even a spoon of pesto on a piece of warm bread next to a bowl of soup can make a simple lunch feel finished.
Pesto and protein: chicken, salmon, tuna and shrimp
Pesto also loves protein.
- Toss hot pasta with chicken strips and basil pesto for a quick chicken pesto pasta.
- Spoon pistachio pesto or classic basil pesto over baked salmon fillets just after they come out of the oven.
- Fold pesto into tuna with a little yogurt or mayo for an upgraded tuna salad to stuff into sandwiches, wraps or baked potatoes.
- Stir pesto into hot spaghetti with garlic prawns or shrimp for a spaghetti pesto shrimp bowl.
On days when you’re already cooking something creamy like Alfredo, pesto can even step in for a swirl of colour and flavour, or sit alongside recipes like Chicken Alfredo Pasta, 5 Ways as a “green cousin” that shares similar comfort but a very different flavour profile.
Pesto with grains, beans and vegetables
Pasta doesn’t get all the fun. Pesto is just as happy with grains and beans:
- Toss cooked quinoa, farro or brown rice with a spoonful of pesto and roasted vegetables for an easy lunch bowl.
- Stir pesto into warm white beans and serve on toast.
- Mix pesto with a little extra olive oil and lemon juice and drizzle over roasted potatoes, grilled courgettes or steamed green beans.
If you enjoy building high-fibre, gut-friendly plates, those kinds of bowls also sit nicely next to pieces like Top 10 Foods for Gut Health or your quinoa comparison posts – pesto adds flavour while the base and vegetables carry most of the nutrition work.
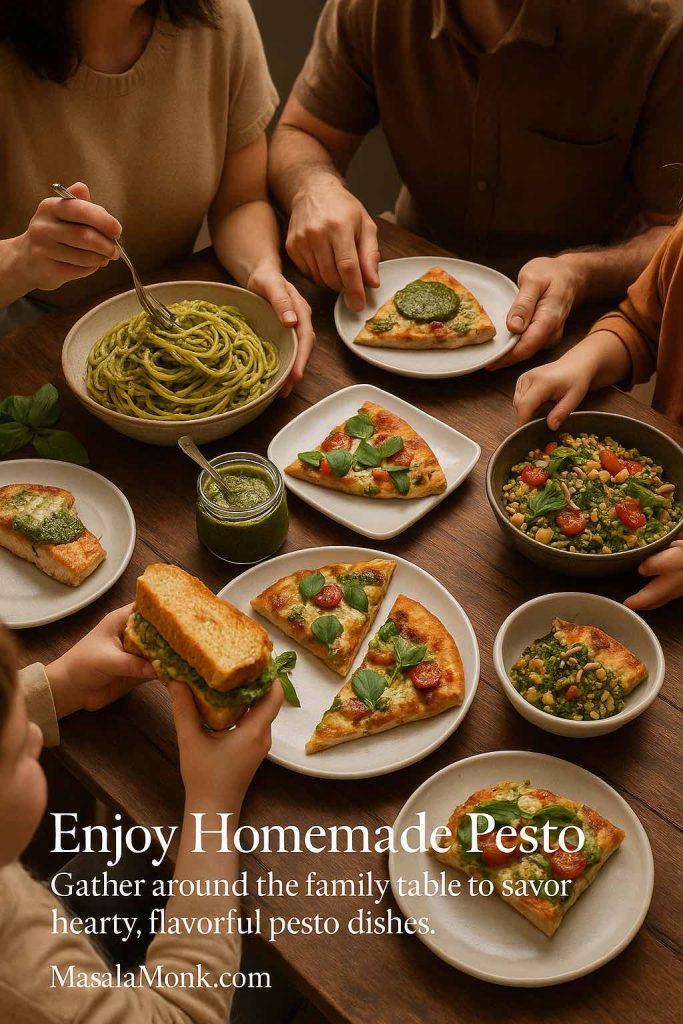
Bringing it all together
At this point, “pesto” should feel less like a single sauce and more like a family:
- A classic basil pesto recipe made from basil, pine nuts, garlic, cheese and olive oil.
- A set of practical variations: vegan and dairy-free pesto, nut free pesto, red pesto, pistachio pesto, lighter healthier pesto, low-FODMAP pesto without garlic, kale and rocket pesto, creamy pesto sauce, pesto butter, pesto dip, pesto mayo and basil pesto salad dressing.
- A long list of easy uses: pesto pasta and pesto noodles, pesto pasta salad, pesto pizza, pesto sandwiches, pesto chicken and pesto salmon, pesto potato salad and pesto grain bowls.
Once you treat the base pesto recipe as a template rather than a fixed law, it becomes much easier to work with what you have. Basil low today? Stretch it with spinach. Out of pine nuts? Use walnuts. Cooking for vegans? Swap cheese for nutritional yeast and use a recipe like the vegan basil pesto on MasalaMonk. Keeping an eye on calories? Thin the olive oil with water or broth and lean harder on herbs.
In the end, a jar of pesto – whether classic green, sun dried tomato red pesto, pistachio pesto or a dairy-free basil pesto – is simply a way to put a lot of flavour into a small spoon. Once you know how to make pesto sauce yourself, you can keep that spoon working, from pesto pizza on Friday nights to chicken pesto pasta on Mondays, and everything in between.
FAQs
1. What is pesto made of?
Most classic pesto recipes use fresh basil, pine nuts, Parmesan or Pecorino, garlic, extra virgin olive oil, salt and sometimes a little lemon juice. Together they create a thick, uncooked green sauce with a strong basil flavour.
2. What is the basic pesto recipe ratio?
A simple starting point is 2 cups basil, ¼ cup nuts, ½ cup cheese, 1–2 cloves garlic and about ½ cup olive oil. Then you can adjust salt, lemon and pepper to taste.
3. How do I make pesto sauce for pasta?
Blend your basil pesto fairly thick, then cook pasta and save some cooking water. Toss the hot pasta with pesto off the heat, adding splashes of the starchy water until it becomes a smooth pesto pasta sauce that coats every piece.
4. Can I make pesto without pine nuts?
Yes, you can swap pine nuts for walnuts, almonds, cashews or pistachios. Each nut changes the flavour slightly, but the pesto sauce still works exactly the same.
5. How do I make nut free pesto?
For nut free pesto, use sunflower seeds, pumpkin seeds or hemp hearts instead of nuts, or skip them entirely. Just rely more on basil, cheese and olive oil to give body to the pesto recipe.
6. How can I make dairy free or vegan pesto?
To make vegan pesto, remove the cheese and stir in nutritional yeast for a savoury kick. You keep basil, nuts, garlic and olive oil, so the sauce still feels like classic basil pesto.
7. What is red pesto?
Red pesto, or pesto rosso, usually combines sun dried tomatoes, roasted red pepper, a little basil, nuts, cheese, garlic and olive oil. It tastes richer and sweeter than green pesto and is great with red pesto pasta, toast and grilled meats.
8. What is pistachio pesto best for?
Pistachio pesto is creamier and slightly sweeter than regular pesto, so it pairs beautifully with pasta, prawns, salmon and roasted vegetables. It also makes a lovely spread for crostini.
9. Is pesto healthy?
Pesto is high in calories but mainly from olive oil and nuts, which contain mostly unsaturated fats. When you use modest amounts over vegetables, whole grains and lean proteins, it can fit into a healthy eating pattern.
10. How do I make light or low fat pesto?
You can make a lighter pesto by reducing the oil, using a bit more basil and parsley, and slightly cutting down the cheese and nuts. Adding a spoon of water, broth or yogurt thins the sauce without adding too much extra fat.
11. How long does homemade pesto last in the fridge?
Homemade pesto is best used within 3 days in the refrigerator. Cover the surface with a thin layer of olive oil to slow browning and always keep it chilled.
12. Can I freeze pesto?
Yes, pesto freezes very well. Spoon it into ice cube trays or small containers, freeze solid, then store the cubes in a bag and drop them straight into hot pasta or soup later.
13. Why did my pesto turn dark or brown?
Pesto darkens when basil oxidises after contact with air or heat. To limit this, blend briefly, avoid very hot blades and cover the finished pesto with olive oil before storing.
14. Why does my pesto taste bitter?
Bitterness usually comes from overworked basil, too much raw garlic or a very sharp olive oil. Next time, pulse gently, use smaller cloves and taste the oil before adding; a squeeze of lemon and a bit more cheese can also soften bitterness.
15. Can I make pesto without garlic?
Yes, you can skip garlic completely or use garlic-infused olive oil. In that case, add a bit more basil, lemon zest and cheese so the pesto sauce still tastes full and balanced.
16. What greens can I use instead of basil?
Rocket (arugula), kale, spinach, coriander, parsley and wild garlic all work well in pesto recipes. Often a mix of basil plus one of these greens gives the best flavour and colour.
17. What pasta shapes work best with pesto?
Short shapes with ridges or curves, like fusilli, rotini, farfalle and shells, grab pesto pasta sauce very nicely. Long strands such as spaghetti and linguine also work well if you loosen the pesto a bit more.
18. How do I use pesto beyond pasta?
Pesto is great on pizza instead of tomato sauce, in pesto sandwiches, stirred into soups, spread under cheese on toast, mixed into potato salad, brushed onto roasted vegetables and spooned over chicken, tuna or salmon.
19. How do I make creamy pesto sauce?
To make creamy pesto sauce, warm a few spoonfuls of pesto and gently stir in cream, ricotta or Greek yogurt off the heat. Then thin with a little pasta water until it coats the back of a spoon.
20. Can I use jarred pesto in these recipes?
You can use jarred pesto anywhere you would use homemade pesto, although the flavour is usually milder. Often it helps to add a little extra fresh basil, lemon juice or grated cheese to brighten a store-bought pesto sauce.