If you’ve ever grabbed a store-bought granola bar in a rush and later regretted it after reading the label, you’re not alone. Many so-called “healthy” bars are loaded with hidden sugars, syrups, and additives. They may look nutritious on the package, but in reality, they’re often closer to candy bars than real fuel. The good news is that you don’t need to rely on those packaged options. With just a few simple ingredients, you can create your own healthy oat protein bars at home — bars that are naturally sweetened, nourishing, and quick to prepare. They make the perfect grab-and-go snack, a light breakfast, or even post-workout recovery fuel.
And here’s the best part: oats and protein aren’t just tasty, they’re backed by science. Oats are rich in beta-glucan, a soluble fiber proven to lower total and LDL cholesterol by up to 10% in clinical studies (PubMed). In fact, Health Canada even allows oat-based products to carry a heart health claim based on this evidence (Health Canada). Beyond heart health, oats also provide slow-digesting carbs that help stabilize blood sugar and keep energy levels steady throughout the day (Health.com).
When you combine oats with protein from nut butters, seeds, or powders, you don’t just make a snack—you create a balanced mini-meal. Protein helps with satiety, supports muscle repair, and prevents energy crashes. Dietitians often recommend snacks with at least 7 grams of protein to keep you feeling full and focused (Real Simple). That’s exactly what these recipes deliver.
Also Read: The Science of Protein: Maximizing Muscle Growth and Recovery
Why Make Homemade Healthy Oat Protein Bars?
It’s tempting to toss a box of granola or protein bars into your cart. But once you understand the difference, you may never want to go back.
First, you control the ingredients. With homemade bars, there are no hidden sugars, syrups, or preservatives. A surprising number of commercial “protein bars” contain as much sugar as a candy bar (NY Post). By making your own, you decide whether to sweeten with bananas, dates, or honey—and you know exactly what’s going into your body.
Second, the nutrition is better. Oats are packed with fiber and help slow digestion, which means fewer spikes in blood sugar and better appetite control (Verywell Health). Add protein and healthy fats from nut butters, seeds, or yogurt, and you’ve got a truly balanced snack.
Third, they’re more satisfying. When you hit that 7–10 grams of protein mark, you’re not just curbing hunger—you’re setting yourself up for better focus, energy, and even fewer cravings later in the day. That’s something most sugary snack bars simply can’t deliver.
Finally, they’re cost-effective and customizable. A batch of homemade oat protein bars often costs less than a single box of store-bought ones, and you can change the flavors week to week: chocolate one week, fruit the next, apple-cinnamon when the weather turns crisp.
In other words, by making your own bars, you save money, gain control, and actually get a snack that fuels you the way it should.
Also Read: Oats vs Oatmeal: What’s the Difference?
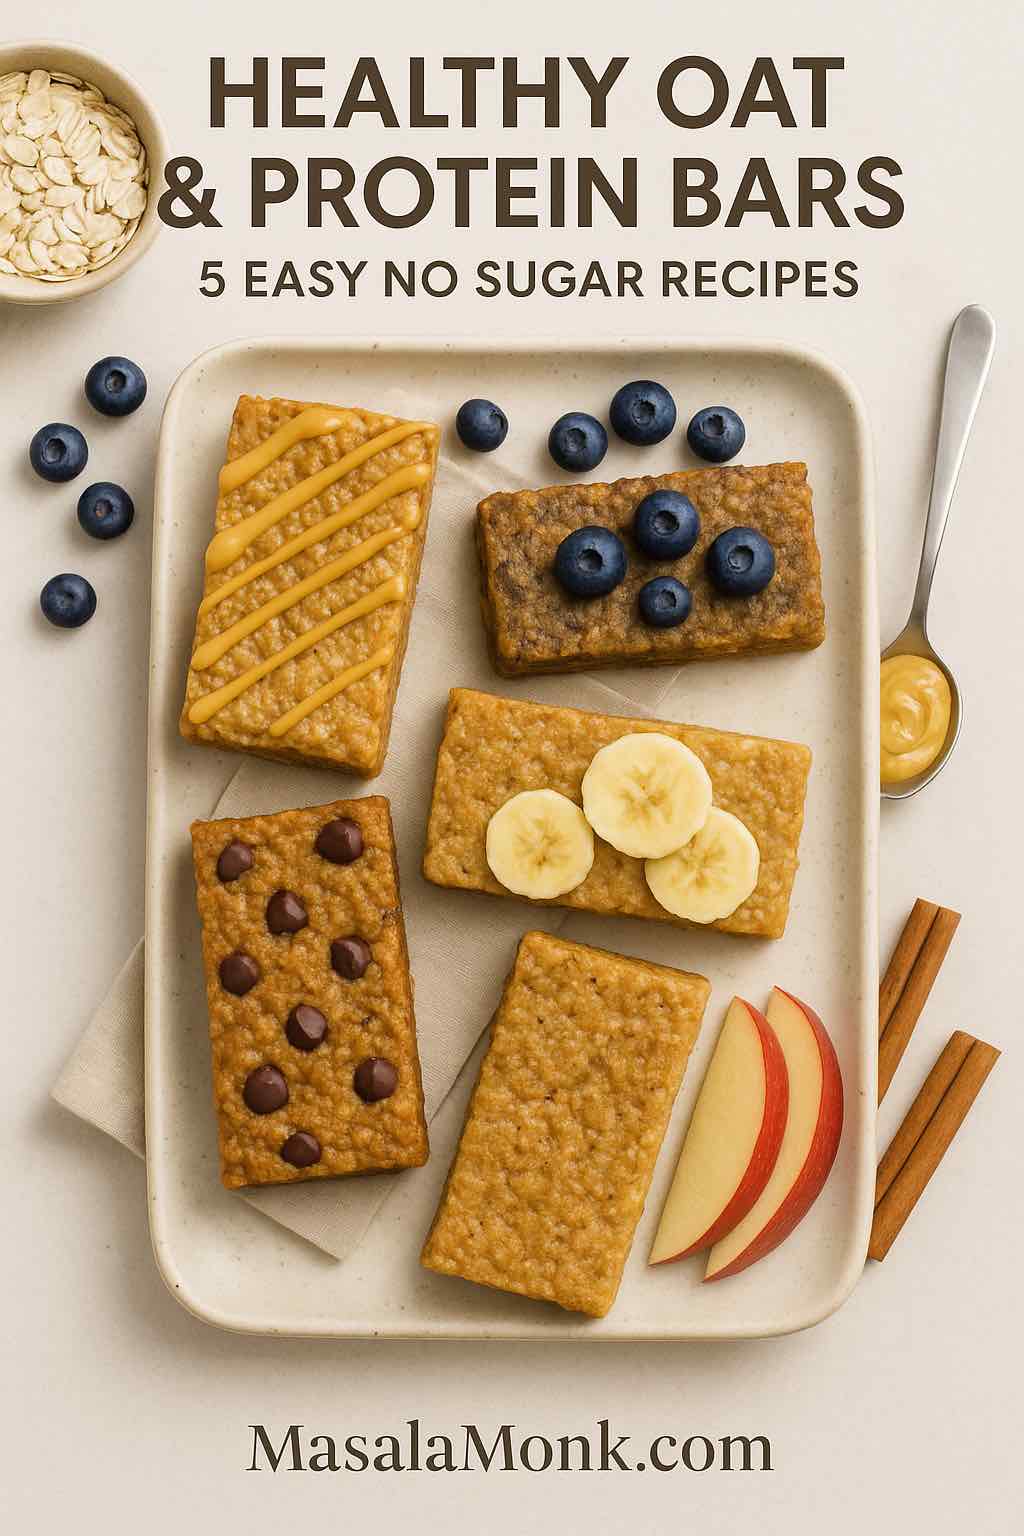
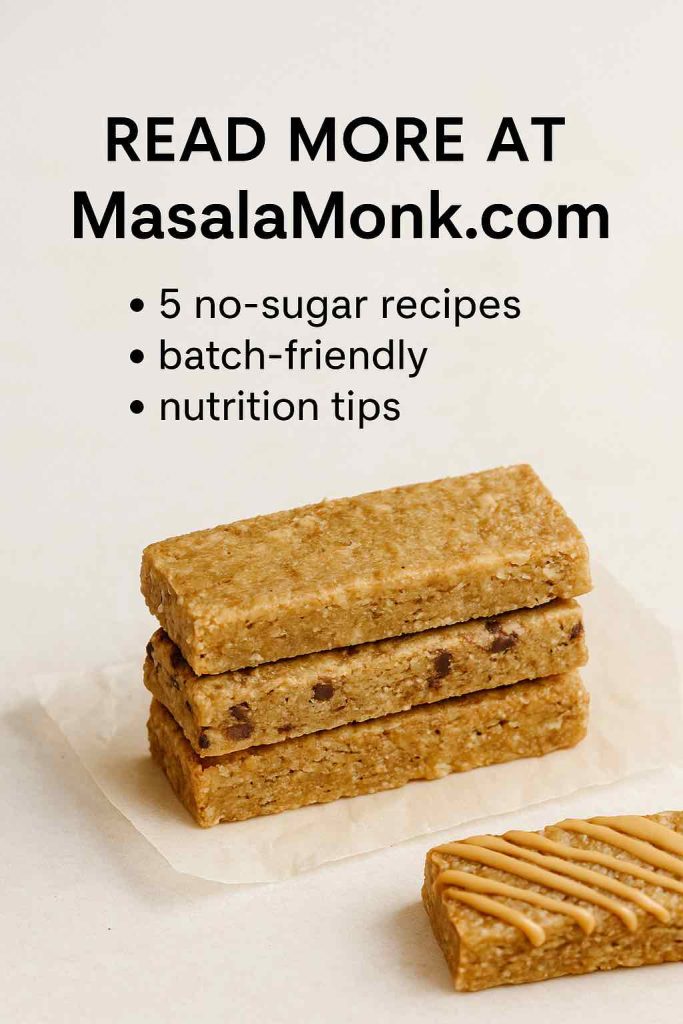
5 Easy No Sugar Healthy Oat Protein Bar Recipes
These recipes all follow the same simple formula: oats + binder + protein source + flavor boost. But each one has its own personality. Some lean indulgent (hello, chocolate chip), others are light and fruity (blueberry, apple cinnamon), while peanut butter and banana offer a more classic, hearty vibe.
Each recipe makes about 8–10 bars. Nutrition is estimated per bar.
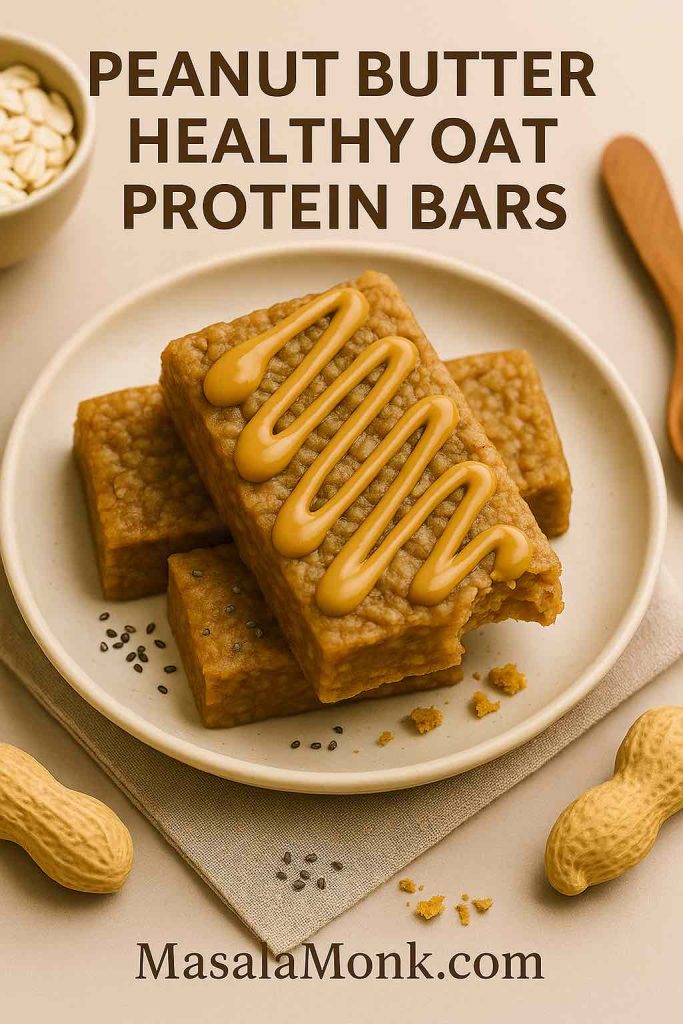
1. Peanut Butter Healthy Oat Protein Bars
Peanut butter lovers, this one’s for you. These bars are rich, creamy, and full of that nutty goodness we all crave. Unlike packaged peanut butter bars that often sneak in added sugars and oils, these are made with nothing but whole, real ingredients. They’re also naturally high in protein, making them ideal for a pre-workout energy boost or a post-gym recovery snack.
Ingredients:
- 2 cups rolled oats
- ½ cup natural peanut butter (no sugar added)
- ¼ cup honey or 1 mashed banana
- 1 scoop vanilla protein powder (optional)
- 2 tbsp chia seeds
Method:
- Warm peanut butter and honey/banana until smooth.
- Stir in oats, protein powder, and chia seeds.
- Press mixture into a lined pan and refrigerate for at least 1 hour.
- Slice into bars.
Estimated Nutrition (per bar): ~180 calories · 8g protein · 20g carbs · 4g fiber · 8g fat
👉 Pro tip: Wrap each bar individually so you can toss it into your bag for a quick, protein-packed snack whenever you need it.
Also Read: What is Protein? – To understand more about this essential Macronutrient, how much and why you need it.
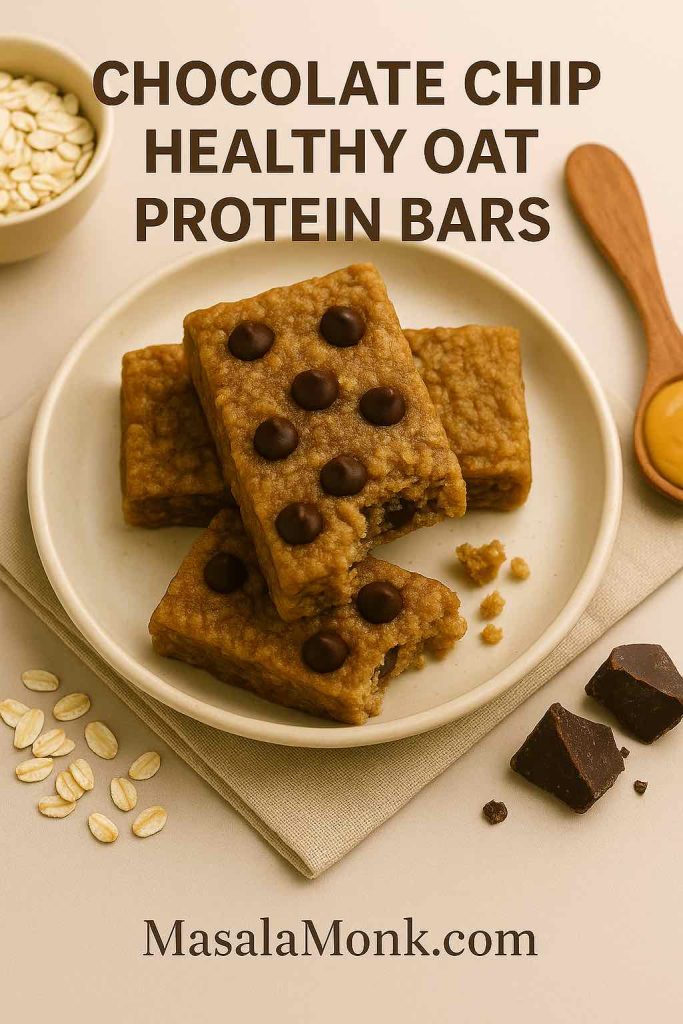
2. Chocolate Chip Oatmeal Protein Bars
These bars are proof that healthy doesn’t have to mean boring. By using dark chocolate (70–85% cacao), you get antioxidants and rich flavor without the sugar overload of milk chocolate. Think of these as a smarter version of a chocolate chip cookie—one you can enjoy any time of day without guilt.
Ingredients:
- 2 cups oats
- ½ cup almond butter
- ¼ cup maple syrup or date paste
- ¼ cup dark chocolate chips
- Pinch of sea salt
Method:
- Mix almond butter and maple syrup until smooth.
- Stir in oats, chocolate chips, and salt.
- Press into a pan, chill, and slice.
Estimated Nutrition (per bar): ~190 calories · 6g protein · 22g carbs · 3g fiber · 9g fat
👉 Pro tip: For a lower-sugar version, swap chocolate chips for cacao nibs. You’ll still get the chocolatey flavor with added crunch.
Do Read: Almonds for Brain Health: Unleashing the Nutritional Powerhouse for Cognitive Function
3. Banana Oat Protein Bars
Bananas are one of the best natural sweeteners you can use in baking. They’re loaded with potassium and fiber, and they double as a binder, eliminating the need for eggs or refined sugar. These bars come out soft and chewy—like banana bread in snack form. They’re perfect for kids, or as a wholesome breakfast bar.
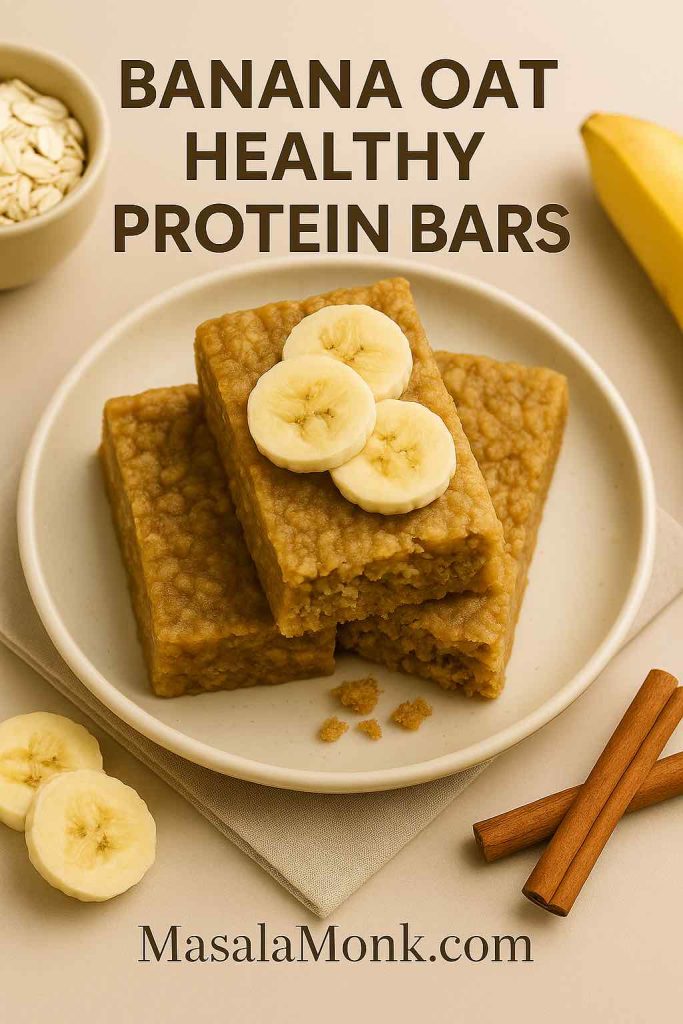
Ingredients:
- 2 ripe bananas, mashed
- 2 cups oats
- 2 tbsp almond butter
- ½ tsp cinnamon
- Optional: 1 scoop protein powder
Method:
- Mash bananas until smooth, then stir in almond butter.
- Add oats, cinnamon, and protein powder if using.
- Bake at 350°F (175°C) for 20–25 minutes, or chill for a no-bake version.
Estimated Nutrition (per bar): ~160 calories · 5g protein · 26g carbs · 4g fiber · 4g fat
👉 Pro tip: Add chopped walnuts or raisins for extra texture and flavor. This small change transforms them into a snack that feels almost like banana bread bars.
Also Read: How Much Potassium Is in a Banana? Nutrition Facts, Comparisons & Benefits
4. Blueberry Healthy Oat Protein Bars
When you’re craving something fruity and refreshing, these bars are the answer. Blueberries are packed with antioxidants and natural sweetness, while Greek yogurt adds protein and creaminess. The result is a bar that feels indulgent yet energizing—a cross between a snack and a mini breakfast.
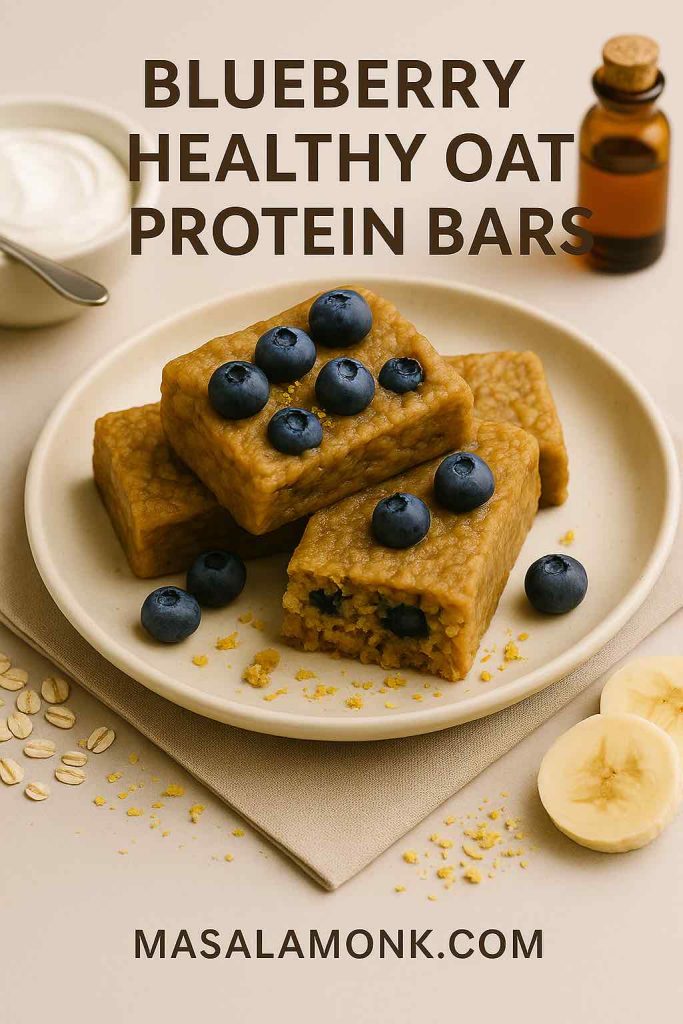
Ingredients:
- 2 cups oats
- ½ cup Greek yogurt
- ½ cup fresh or frozen blueberries
- 2 tbsp honey or mashed banana
- 1 tsp vanilla extract
Method:
- Mix oats, yogurt, honey/banana, and vanilla until smooth.
- Fold in blueberries gently.
- Press into a pan and refrigerate until set.
Estimated Nutrition (per bar): ~170 calories · 7g protein · 23g carbs · 3g fiber · 5g fat
👉 Pro tip: Add a sprinkle of lemon zest to give these bars that bright, muffin-like flavor—without the bakery sugar.
Suggested Read: Health Benefits of Blueberries
5. Apple Cinnamon Oatmeal Protein Bars
These bars are like autumn in snack form. The grated apple keeps them moist, while cinnamon adds that cozy, spiced flavor. Unlike many packaged “apple cinnamon” bars that rely on artificial flavors, these actually taste like real fruit and spice. They’re perfect with a cup of tea or coffee in the afternoon.
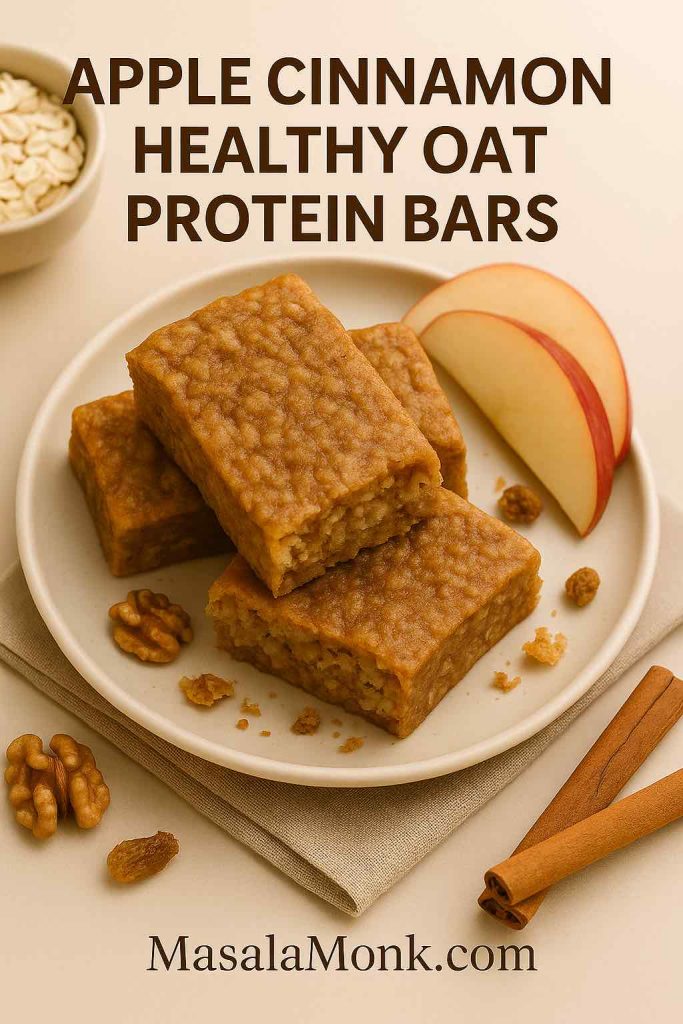
Ingredients:
- 1 apple, grated
- 2 cups oats
- 2 tbsp almond butter
- ½ tsp cinnamon
- Optional: walnuts or raisins
Method:
- Mix grated apple with almond butter.
- Stir in oats, cinnamon, and extras.
- Bake for 20 minutes at 350°F (175°C), or refrigerate overnight.
Estimated Nutrition (per bar): ~165 calories · 5g protein · 24g carbs · 4g fiber · 4g fat
👉 Pro tip: Make a batch on Sunday, and you’ll have a cozy, ready-to-go snack all week long.
Do Read: 20 Benefits of Cinnamon
Tips for Making the Best Healthy Oat Protein Bars
To make sure your bars turn out just right:
- Boost the protein: Add whey or plant-based protein powders, hemp hearts, or pumpkin seeds. Hitting at least 7 grams of protein per bar ensures satiety (Real Simple).
- Bind naturally: Dates and mashed bananas are excellent natural binders, holding the bars together without refined sugars.
- Store smartly: Keep them in the fridge for up to 7 days, or freeze in batches for up to 2 months.
- Get creative: Change up flavors to keep it exciting—add cranberries, coconut, or even drizzle with dark chocolate.
Wrapping It Up
These healthy oat protein bars prove that eating well doesn’t mean sacrificing taste or convenience. They’re versatile, affordable, and backed by science. Oats improve heart health, cholesterol, and blood sugar stability (Verywell Health), while protein adds staying power, focus, and recovery support.
So instead of grabbing a sugar-laden bar off the shelf, imagine reaching into your own fridge for a bar you made yourself—with oats, protein, and flavors you love. The result? A snack that truly works with your body, not against it.
👉 Try one of these recipes this week and see the difference. Once you taste how simple and satisfying homemade oat protein bars can be, you may never go back to store-bought again.
Frequently Asked Questions About Healthy Oat Protein Bars
1. Are healthy oat protein bars actually good for you?
Yes, absolutely! Healthy oat protein bars combine the slow-digesting carbs and soluble fiber in oats with the satiating power of protein. As a result, they not only give you energy but also help keep you full for hours. Unlike store-bought bars—which can contain as much sugar as a candy bar—homemade oat bars allow you to control every ingredient and avoid artificial fillers. That makes them a smart choice for breakfast, snacks, or even post-workout recovery.
2. Can oatmeal protein bars help with weight loss?
They can definitely support weight management when used wisely. Oats are naturally rich in beta-glucan fiber, which has been shown to improve fullness and reduce cravings. When you combine oats with protein, you slow digestion and stabilize blood sugar, which helps prevent overeating later. Therefore, oatmeal protein bars make an excellent snack for anyone looking to manage appetite and maintain steady energy.
3. How much protein should homemade oat bars have?
Most dietitians recommend that snacks contain at least 7 grams of protein to be truly satisfying. That’s why many of the recipes here include nut butters, Greek yogurt, or protein powder. Consequently, each bar hits that target, making them not just tasty but also functional. Whether you’re eating them for breakfast, as a midday bite, or as a quick oat protein snack before the gym, that protein makes all the difference.
4. Do you need sugar to make oat protein bars taste good?
Not at all. In fact, one of the best things about homemade oat bars is that you can rely on natural sweeteners like ripe bananas, Medjool dates, or even a touch of honey. These add gentle sweetness without spiking your blood sugar the way refined sugar does. Moreover, when combined with cinnamon, vanilla, cocoa, or fruit, your bars taste amazing without needing extra sugar.
5. How long do healthy oat protein bars last?
Freshly made bars usually keep for 5–7 days in the fridge when stored in an airtight container. For longer storage, freeze them for up to 2 months. That means you can meal prep a whole batch of oatmeal protein bars on Sunday and enjoy healthy, ready-to-go snacks all week long. In addition, freezing makes it easy to keep a stash for busy days.
6. Are oat protein snacks good for kids?
Yes, and kids often love them! Since these bars are soft, slightly sweet, and customizable, they’re a much healthier alternative to packaged granola bars or sugary cereal bars. Of course, you can adjust ingredients—like skipping protein powder for younger children—and still provide a wholesome, naturally sweet snack. Therefore, oat protein snacks are family-friendly, portable, and easy to make in bulk.