Fermentation is both a tradition and a modern wellness trend. Among the vibrant world of pickles and krauts, fermented carrots stand out: sweet, crunchy, quick to make, and loaded with probiotic benefits.
But this isn’t just another “old-world” practice revived for social media—recent research (2022–2025) is shining new light on why fermented carrots matter for your gut, your brain, and even your sleep. Whether you’re a home cook, a health geek, or just carrot-curious, this is your practical deep-dive guide to fermenting carrots.
The Science: Probiotics, Gut Health & Beyond
Fermenting carrots unlocks something remarkable. Through lacto-fermentation, beneficial bacteria (mainly Lactobacillus species) convert carrot sugars into lactic acid and a suite of health-boosting metabolites. Here’s what the latest research reveals:
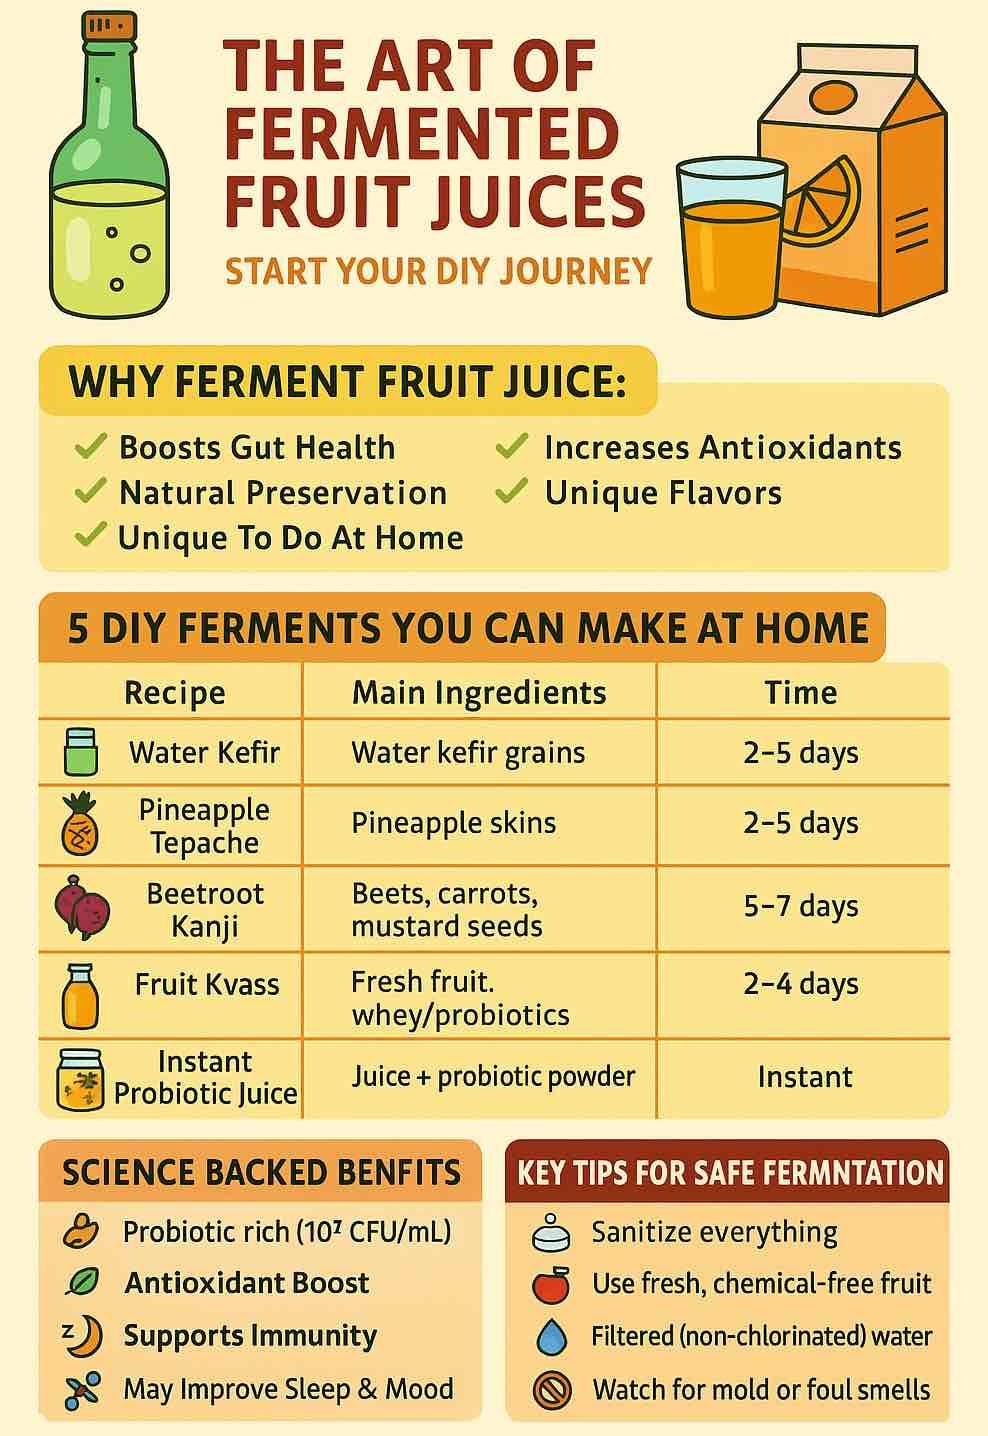
- Probiotic Powerhouses: Recent studies confirm that fermented carrots can contain Lactobacillus brevis and other probiotics, supporting digestion and immunity.
- Gut–Brain Connection: Exciting 2025 research shows fermented vegetables can act as “psychobiotics,” influencing mood and sleep via the gut–brain axis—thanks to compounds like GABA and serotonin precursors.
- Bioactive Compounds: LAB fermentation increases short-chain fatty acids (SCFAs), B vitamins, and bioavailability of micronutrients.
- Sleep Support: New animal studies suggest fermented carrot juice may improve sleep quality, opening doors for human trials.
- Metabolic Diversity: Regularly eating lacto-fermented veggies increases the diversity of metabolites in the gut—linked to lower risk of chronic disease.
If you want a snack that’s easy, delicious, and could help your microbiome and mind—fermented carrots are a stellar choice.
Getting Started: Ingredients & Tools
You don’t need fancy equipment. Here’s what you’ll need for classic fermented carrot sticks:
Ingredients:
- Fresh carrots (organic if possible)
- Non-iodized sea salt (or kosher salt, no additives)
- Filtered water (chlorine can inhibit fermentation)
- Optional flavorings: garlic cloves, ginger, dill, mustard seed, peppercorns, bay leaves
Equipment:
- Clean glass jar (wide-mouth quart Mason jar is ideal)
- Fermentation weight (glass weight, small jar, or cabbage leaf)
- Fermentation lid or loose jar lid (to allow CO₂ to escape)
- Clean hands, cutting board, knife
Step-by-Step: The Fermentation Process
1. Prep the Carrots
- Wash and peel carrots. Slice into sticks or rounds for best texture and even fermentation.
- Aim for uniform sizes so all pieces ferment at the same rate.
2. Mix the Brine
- Dissolve 1 tablespoon (about 19g) salt per 1 quart (about 1 liter) filtered water.
- Stir until the salt is completely dissolved.
3. Pack the Jar
- Layer flavorings (garlic, dill, etc.) at the bottom.
- Tightly pack carrot sticks upright. Pack them firmly—they’ll shrink slightly as they ferment.
- Pour in brine, ensuring all carrots are completely submerged. Leave about 1–2 inches of headspace at the top.
4. Weigh Down and Cover
- Use a glass weight, smaller jar, or even a folded cabbage leaf to keep carrots below the brine line (oxygen is the enemy here!).
- Loosely cap with a fermentation lid or regular jar lid (not tightly, so gas can escape). An airlock lid is ideal for beginners.
5. Ferment
- Set the jar out of direct sunlight at room temperature (ideally 68–72°F/20–22°C).
- Fermentation is usually active within 24–48 hours (bubbles, cloudiness = good signs).
- Start tasting at day 3. Most prefer 5–7 days; the longer you wait, the tangier and softer they get.
6. Finish and Store
- Once you love the taste and texture, remove the weight, tighten the lid, and refrigerate.
- Fermented carrots will keep for months in the fridge, their flavor deepening over time.
Advanced Tips & Troubleshooting
Want Carrots Crispier?
- Add a grape or oak leaf (tannin slows softening).
- Use small, fresh carrots—older ones soften faster.
Brine Turning Cloudy?
- Totally normal; this means fermentation is active.
Worried About Mold?
- White surface yeast (“kahm yeast”) is harmless but should be removed.
- Pink, black, or fuzzy mold? Discard the batch and scrub equipment thoroughly.
Carrots Too Salty or Bland?
- Adjust salt in future batches—stick to the 2–3.5% range.
- Add more or less garlic/spices next time to suit your taste.
Flavor Variations: Personalize Your Carrots
Fermentation is a playground. Try these twists:
- Ginger–Carrot Sticks: Add 2–3 slices fresh ginger.
- Spicy Carrots: Add a whole dried chili or a few peppercorns.
- Curry Carrots: Sprinkle in mustard and cumin seeds.
- Mixed Veggies: Ferment carrot sticks with sliced radish, cauliflower, or bell pepper for color and crunch.
How to Use Fermented Carrots
- Snack straight from the jar (the crunch is addictive!).
- Slice onto salads, grain bowls, or in sandwiches for tangy brightness.
- Serve alongside cheese and charcuterie boards.
- Dice into slaws for an extra probiotic punch.
- Drink the brine—it’s full of probiotics (great for salad dressings).
Beyond the Kitchen: The Big Picture
Fermenting carrots is about more than flavor. It’s:
- A simple way to support gut and brain health
- A powerful tool for reducing food waste (preserve garden carrots for months)
- An endlessly customizable, creative process—no two batches are exactly alike
And now, cutting-edge research is showing us that these humble jars of fermented veggies might just be part of a holistic, science-backed path to better sleep, mood, and long-term wellness.
Final Thoughts: Start Your Fermentation Journey
If you’ve never tried fermentation before, carrots are the perfect place to start—quick, easy, low-risk, and always rewarding.
Experiment, play, and share your creations! Your gut (and maybe your mind) will thank you.
Have you tried fermenting carrots? Share your favorite variations or ask your fermentation questions in the comments below!
Frequently Asked Questions (FAQs)
1. How long do fermented carrots last in the fridge?
Fermented carrots, once the desired tang is reached and they’re refrigerated, can last 3–6 months (or even longer) if kept submerged in brine and stored in a clean, airtight jar. Always check for off-odors, sliminess, or mold before consuming.
2. How do I know if my carrots have fermented correctly?
Look for signs like bubbles in the brine, a pleasantly tangy/sour aroma, and a cloudy liquid. The carrots should remain crisp, not slimy. Any pink, black, or fuzzy mold is a sign to discard the batch.
3. Can I use table salt for fermentation?
It’s best to use non-iodized, additive-free salt like sea salt or kosher salt. Table salt with iodine or anti-caking agents can interfere with fermentation or produce undesirable flavors.
4. What if my carrots float above the brine?
Carrots must stay fully submerged to avoid spoilage and mold. Use a fermentation weight, a small clean jar, or a folded cabbage leaf to hold them down.
5. Are fermented carrots safe for kids?
Yes! Fermented carrots are generally safe and nutritious for kids, though introduce them in small amounts to avoid digestive discomfort as their gut adapts to probiotics.
6. Can I ferment carrots with other vegetables?
Absolutely! Carrots ferment well with cauliflower, radishes, peppers, beets, and more. Just be sure to cut everything to similar sizes for even fermentation.
7. My brine is cloudy—is this normal?
Yes, cloudy brine is a positive sign of active fermentation. This is caused by lactic acid bacteria and beneficial metabolites.
8. Why do my fermented carrots taste too salty?
This can result from a high salt concentration or not enough vegetables relative to brine. For future batches, adjust the salt to a 2–3.5% ratio and taste your brine before fermenting.
9. Can I use tap water for the brine?
If your tap water contains chlorine or chloramine, it’s better to use filtered or dechlorinated water. Chlorine can slow or halt fermentation by killing beneficial bacteria.
10. What are the health benefits of eating fermented carrots?
Fermented carrots provide probiotics (like Lactobacillus), enhanced vitamin bioavailability, and gut-healthy metabolites (SCFAs). Emerging research suggests benefits for digestion, immune support, mental health, and even sleep.