
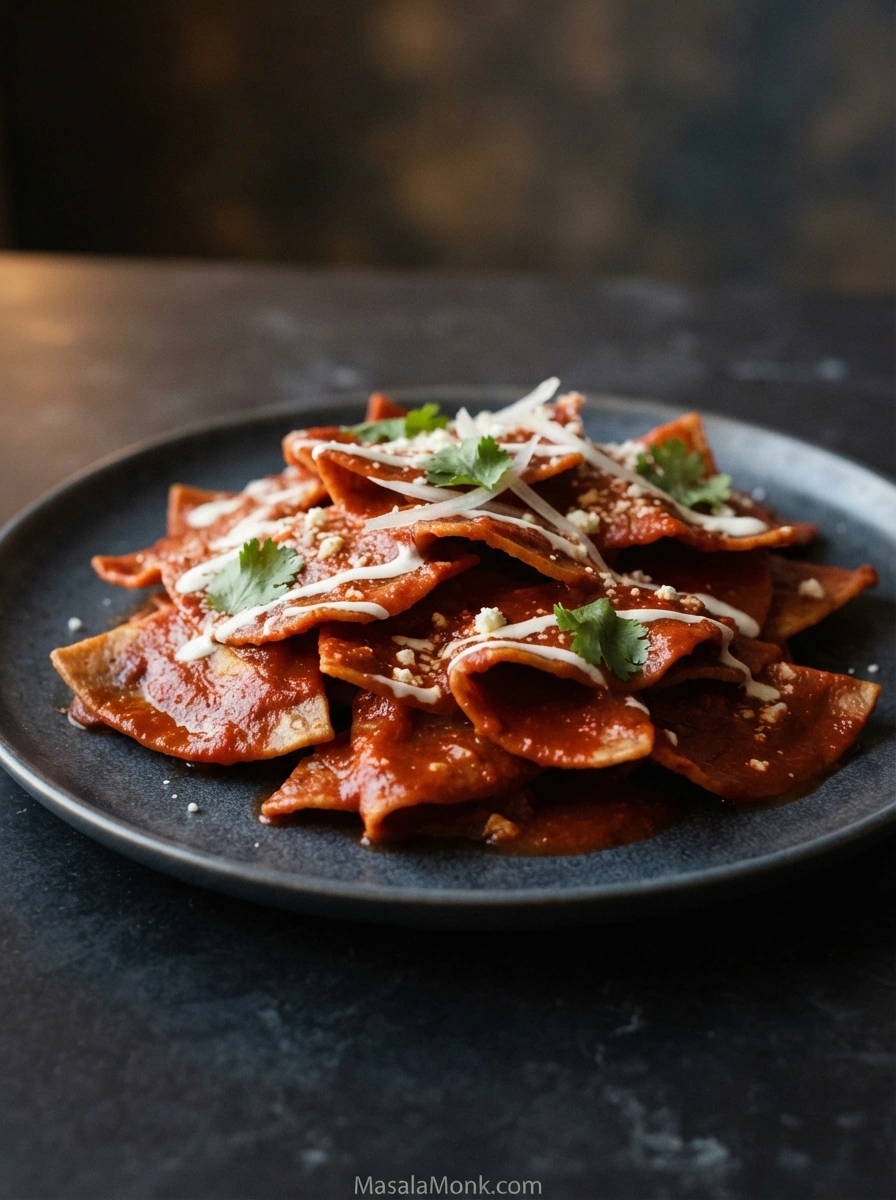
Good chilaquiles are saucy, but they should not turn soft by accident. This chilaquiles recipe starts with freshly crisped corn tortillas and a deep red tomato-guajillo salsa. The sauce soaks into the tortillas while a few toasted edges keep their bite, then cool crema, salty cheese and sharp white onion cut through the warm chile sauce.
Chilaquiles (pronounced chee-lah-KEE-lehs) are a Mexican dish of crisp corn tortilla pieces tossed or briefly cooked with salsa, then usually finished with crema, cheese and onion. They are especially common at breakfast and brunch, often with eggs, although they work just as well later in the day.
Need them fast? The packaged-chip version can be on the table in about 15 to 20 minutes with sturdy corn tortilla chips and a smooth prepared red salsa.
Chilaquiles Recipe
Crispy, Saucy & Easy Red Chilaquiles
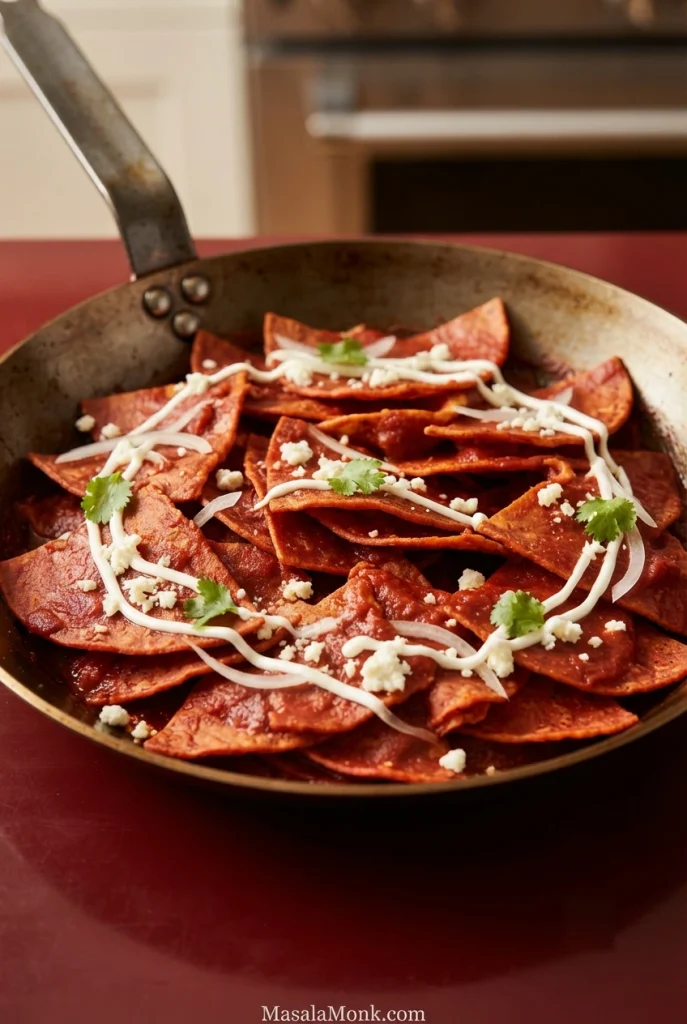
Red chilaquiles with crisp-fried corn tortillas, tomato-guajillo salsa, crema, cheese and onion, plus timing cues for serving them firmer or softer.
Equipment
- 12-inch / 30-cm wide skillet or larger for the salsa and chilaquiles
- Medium saucepan
- Blender
- 10-inch / 25-cm heavy skillet for frying
- Fine-mesh sieve, optional
- Slotted spoon, spider or tongs
For the salsa roja
- 6 Roma tomatoes, about 1½ pounds / 680 grams
- 4 dried guajillo chiles, stemmed and seeded, about 1¼ ounces / 35 grams
- 1 to 2 dried chiles de árbol, optional — omit for a milder salsa, or add to taste for more heat
- ½ medium white onion, about 3½ ounces / 100 grams
- 3 garlic cloves
- 1½ cups / 355 ml low-sodium chicken broth, vegetable broth or water, divided, plus a little more if needed
- 1 tablespoon / 15 ml neutral oil
- 4 grams fine sea salt, about ¾ teaspoon, to start; more only after tasting
For the crisp tortillas
- 12 six-inch corn tortillas, preferably slightly stale, about 10 ounces / 285 grams
- 1 to 1½ cups / 240 to 355 ml neutral oil, or enough for roughly ¼ inch / 6 mm depth in the frying skillet
- Fine salt, used lightly
Store-bought chip shortcut: replace the tortillas and frying oil with about 8 ounces / 225 grams thick, restaurant-style corn tortilla chips. Need the faster method? Follow the 15–20 minute shortcut for amounts and salsa adjustments.
For serving
- ⅓ cup / 80 ml Mexican crema, or sour cream thinned with a splash of milk or water until it drizzles easily
- ½ cup / about 60 grams crumbled queso fresco or Cotija
- ¼ small white onion, very thinly sliced
- ¼ cup loosely packed cilantro leaves, optional
- 1 avocado, sliced, optional
- 2 to 3 radishes, thinly sliced, optional
- 1 lime, cut into wedges, optional, for adjusting the salsa and serving
- 4 fried eggs, optional
- 1½ cups / about 210 grams cooked shredded chicken, optional; use up to 2 cups / about 280 grams for a more filling meal
1. Make the salsa roja
Heat a dry skillet over medium heat. Toast the guajillo chiles and optional chiles de árbol for about 10 to 15 seconds per side, just until fragrant. Pull them off before they blacken; burnt dried chiles can make the salsa bitter.
Transfer the chiles to a heatproof bowl, cover with very hot water and soak for about 15 minutes. Drain and discard the soaking water.
Meanwhile, place the tomatoes, onion and garlic in a saucepan and cover with fresh water. Bring to a gentle simmer and cook for about 8 to 10 minutes, until the tomatoes soften. Drain.
Add the softened chiles, tomatoes, onion, garlic, 1 cup / 240 ml broth or fresh water and the salt to a blender. Blend until very smooth. If you can still see noticeable pieces of chile skin, pass the salsa through a fine-mesh sieve.
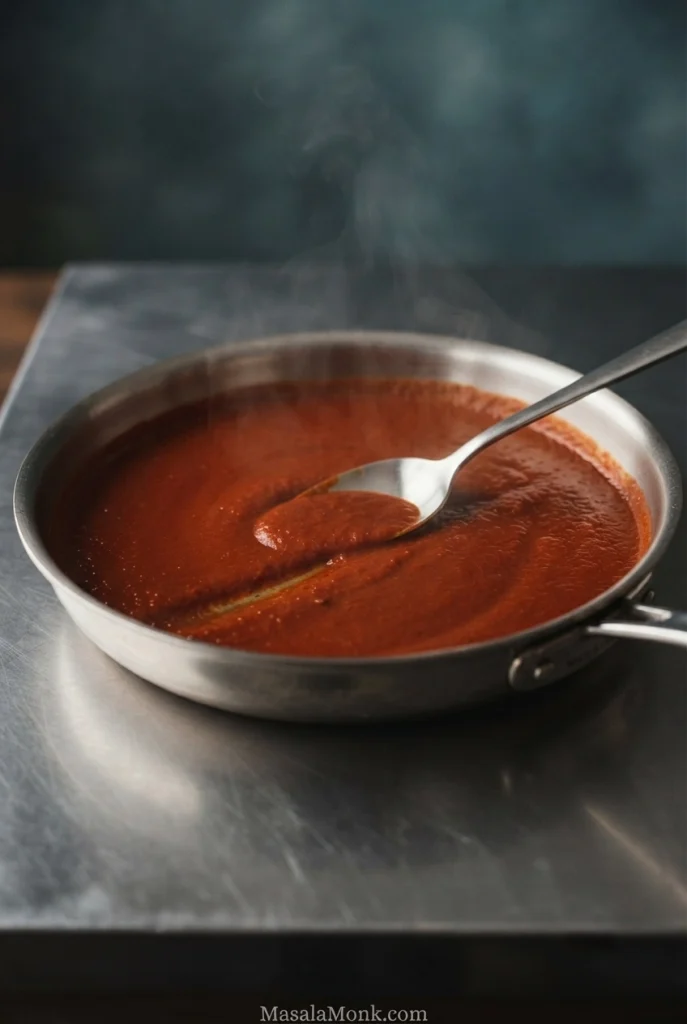
Heat 1 tablespoon / 15 ml oil in a 12-inch skillet or larger over medium heat. Carefully pour in the blended salsa—it may sputter—and cook for about 5 to 7 minutes, stirring often. The raw tomato smell should fade, the guajillo aroma should come forward and the red color should deepen slightly.
Add some or all of the remaining ½ cup / 120 ml broth as needed. Simmer until you have roughly 3½ cups / 830 ml salsa, usually another 7 to 12 minutes depending on the tomatoes.
Check the salsa before adding tortillas
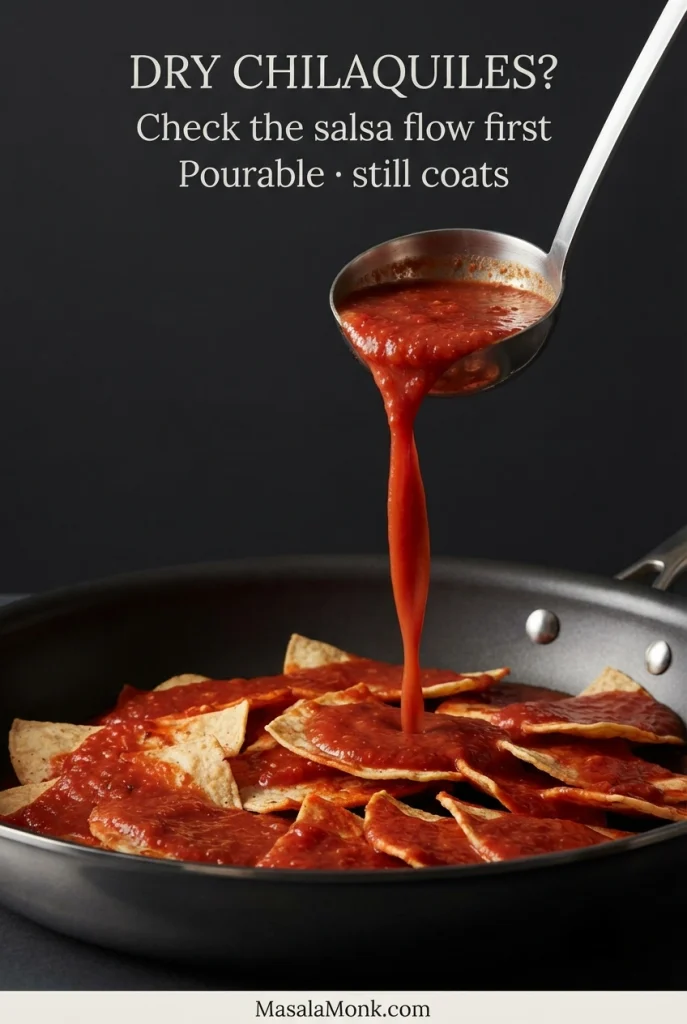
Watch the consistency. The salsa should pour easily but still leave a glossy red coating on a tortilla. Reduce it a little longer if it is watery; loosen it with broth or fresh water if it becomes too thick. If you are unsure whether the sauce needs thinning or the tortillas need more, compare it with the salsa consistency guide below.
2. Crisp the tortillas
Cut each corn tortilla into 6 wedges.
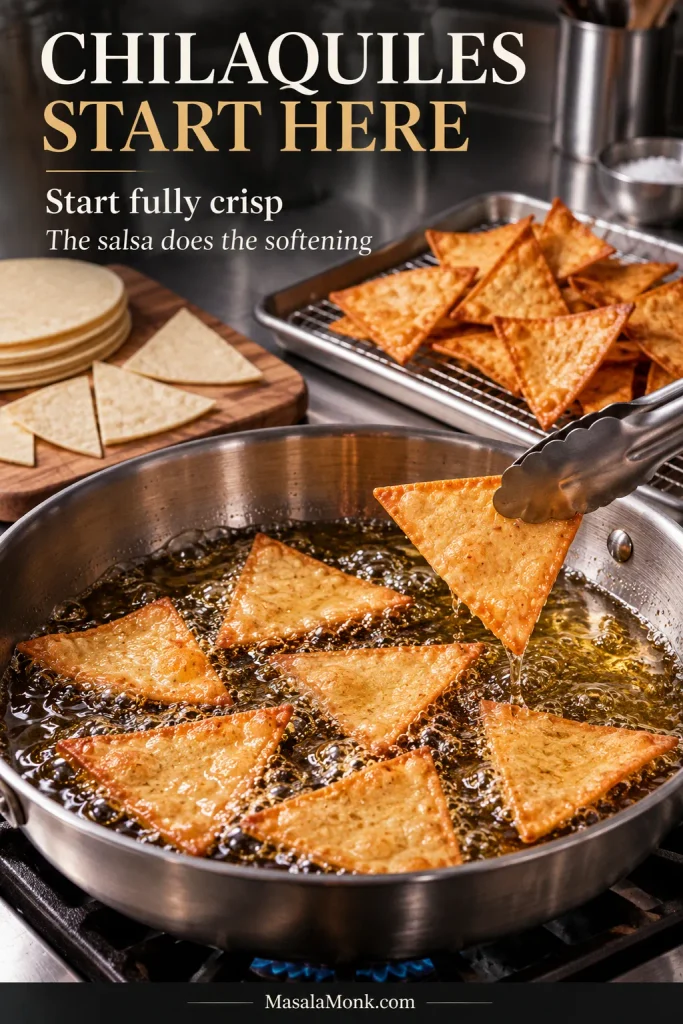
Pour enough neutral oil into a 10-inch heavy skillet to reach roughly ¼ inch / 6 mm deep. Heat to about 350°F / 175°C. Without a thermometer, test with one tortilla corner: it should start sizzling immediately without browning on contact.
Fry in small batches for roughly 2 to 3 minutes total per batch, moving or turning the pieces as needed. They should become lightly golden and crisp, and the vigorous bubbling around them should calm noticeably.
Transfer to a paper-towel-lined tray with a slotted spoon or spider. Season lightly while warm. Give the wedges room in the oil; overlapping pieces steam and cook unevenly. For more on choosing tortillas that hold their shape after saucing, see the tortilla guide.
3. Get the toppings ready
Crumble the cheese, slice the onion and radishes, portion the crema and prepare any cilantro, avocado or lime. Fry the eggs now if you are serving them. Have cooked chicken ready to warm.
4. Taste the salsa
Bring the salsa back to a lively simmer and taste it for salt and chile heat. Loosen a thick sauce with a splash of broth or water; reduce a watery one briefly before adding the tortillas.
If the salsa tastes flat, a small squeeze of lime can sharpen it.
For a chicken variation, stir the cooked shredded chicken into the hot salsa now and let it warm through.
5. Sauce the tortillas
Start with fully crisp tortillas. The salsa will do the softening.
For homemade tortilla wedges, start with about 3 cups / 710 ml hot salsa in the skillet and keep the remaining ½ cup / 120 ml nearby.
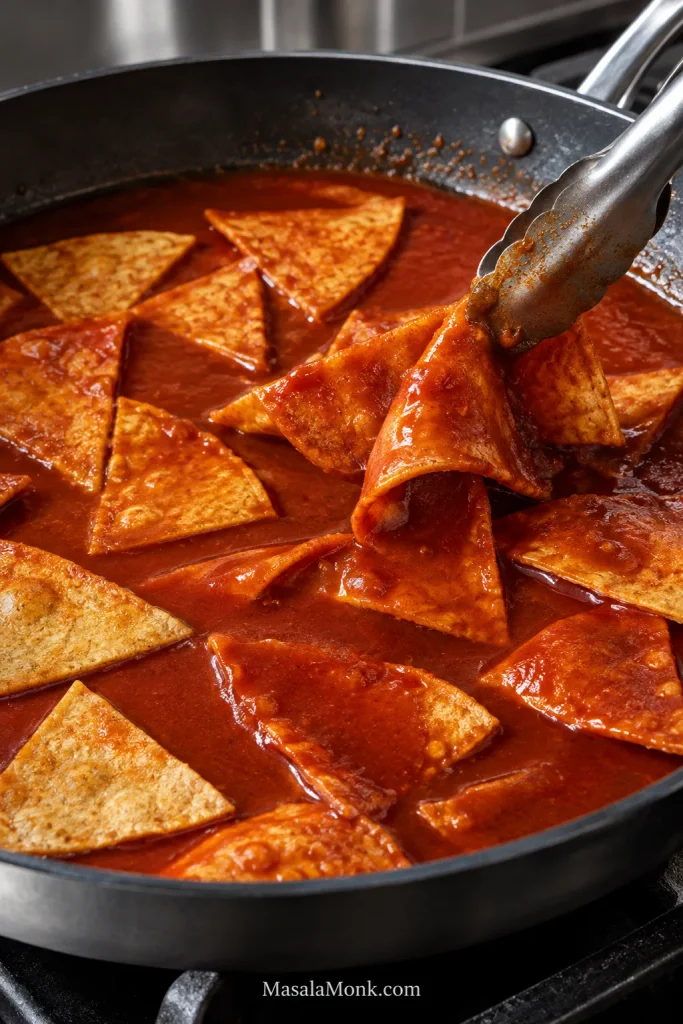
Add the crisp tortillas and lift and fold gently with a broad spatula or tongs until the sauce reaches every layer and the obvious dry patches disappear.
At first the wedges will feel rigid under the tongs. Within the first minute, the thinner edges begin to yield while the thicker folds still have some bite.
If dry areas remain, add a little more of the reserved salsa. Once the tortillas begin to soften, handle them gently so the wedges do not break down.
6. Stop where you like them
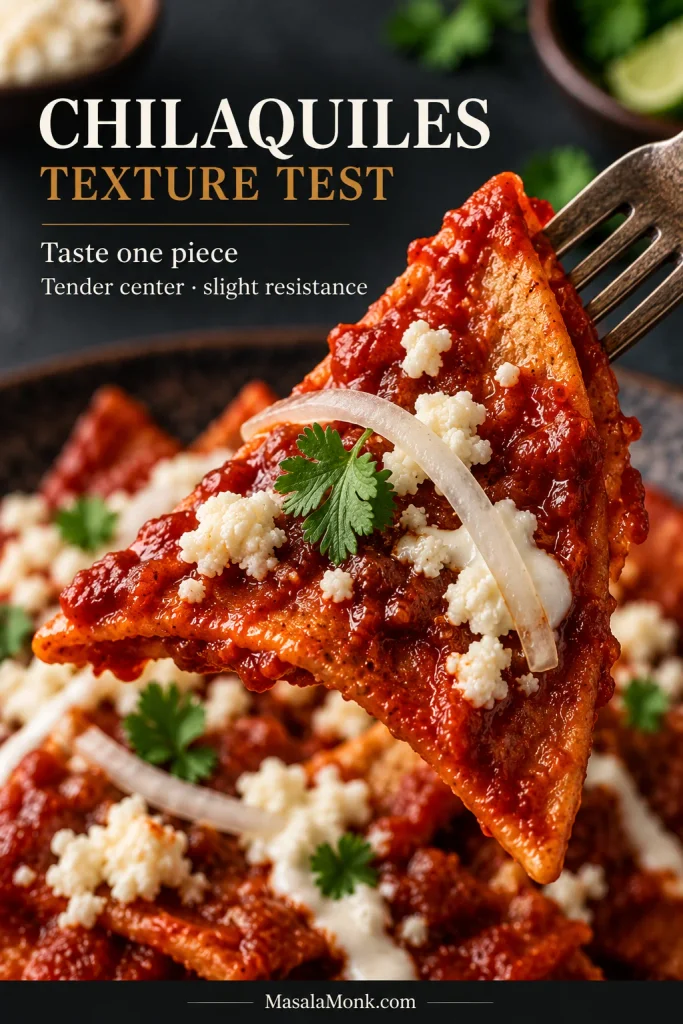
For the texture used here, remove the skillet from the heat once everything is coated and rest for about 1 to 2 minutes. Taste one piece. The center should be tender while a thicker fold still offers a little resistance.
If that is the texture you want, plate now. For firmer chilaquiles, serve them sooner; for a softer skillet, add more of the reserved salsa and give the tortillas another 1 to 2 minutes. The texture guide compares the firmer, middle and softer finishes.
7. Finish and serve
Divide among warm plates. Add cool crema, queso fresco or Cotija and thinly sliced white onion. Finish with any cilantro, avocado or radish you want. Add a fried egg if using, and serve lime at the table.
The crema cools the chile heat, while the onion and crumbly cheese give the soft, salsa-soaked tortillas some sharpness and salt.
Eat the chilaquiles while they are hot. The salsa will keep working its way into the tortillas as they sit.
Recipe Notes
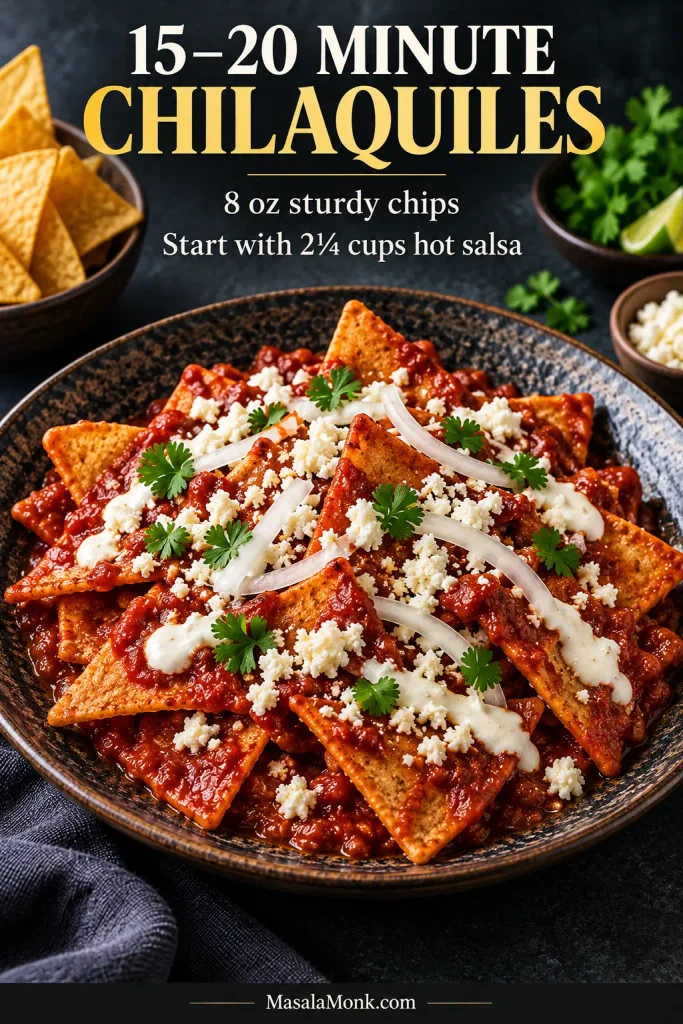
- Packaged chips with homemade salsa: use about 8 ounces / 225 grams corn tortilla chips. Start with 2¼ cups / 530 ml salsa and keep another ¼ to ½ cup / 60 to 120 ml nearby.
- Want extra crunch? Reserve a small handful of crisp tortilla pieces and scatter them over the finished plate instead of leaving the whole batch under-sauced.
- Baked tortilla chips: lightly coat the wedges with oil, spread them in a single layer and bake at 400°F / 205°C for about 10 to 15 minutes, turning once. Let them cool for about 5 minutes so they finish crisping before you use them.
- Vegetarian chilaquiles: use water or low-sodium vegetable broth and leave out the chicken.
MasalaMonk note: This recipe is research-derived and has not been independently kitchen-tested.
Chilaquiles Guide
Texture & Tortillas
Sauce & Serving
Troubleshooting & Storage
Should Chilaquiles Be Crispy or Soft?
If you have ever wondered whether chilaquiles are supposed to be crisp or soft, the slightly frustrating answer is that both can be right. Some are served fairly firm, others become deeply soaked with salsa, and plenty land somewhere between the two. Rick Bayless’s chilaquiles master recipe describes that same range, from relatively crisp to much softer.
Chilaquiles need the salsa to work into the tortillas; simply spooning salsa over dry chips gives you a different result. How they turn out then comes down mostly to four things: how crisp they started, how fluid the salsa is, how much sauce you use and how long the two sit together.
Choose Your Chilaquiles Texture
| If you want… | Do this |
|---|---|
| Firmer, crisp-edged chilaquiles | Coat well and plate almost immediately. |
| Tender with some structure | Remove from the heat and rest for about 1 to 2 minutes. |
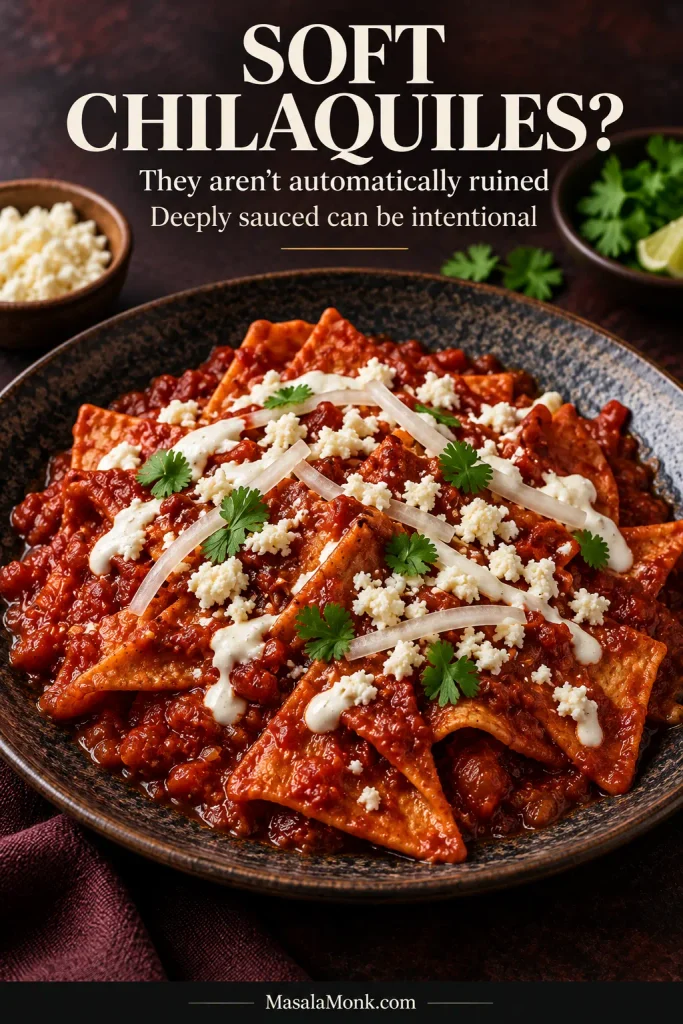
| Soft and deeply sauced | Add more salsa and give the tortillas another minute or two to absorb it. |
| Saucy with extra crunch | Finish the tender version with a few reserved crisp tortilla pieces. |
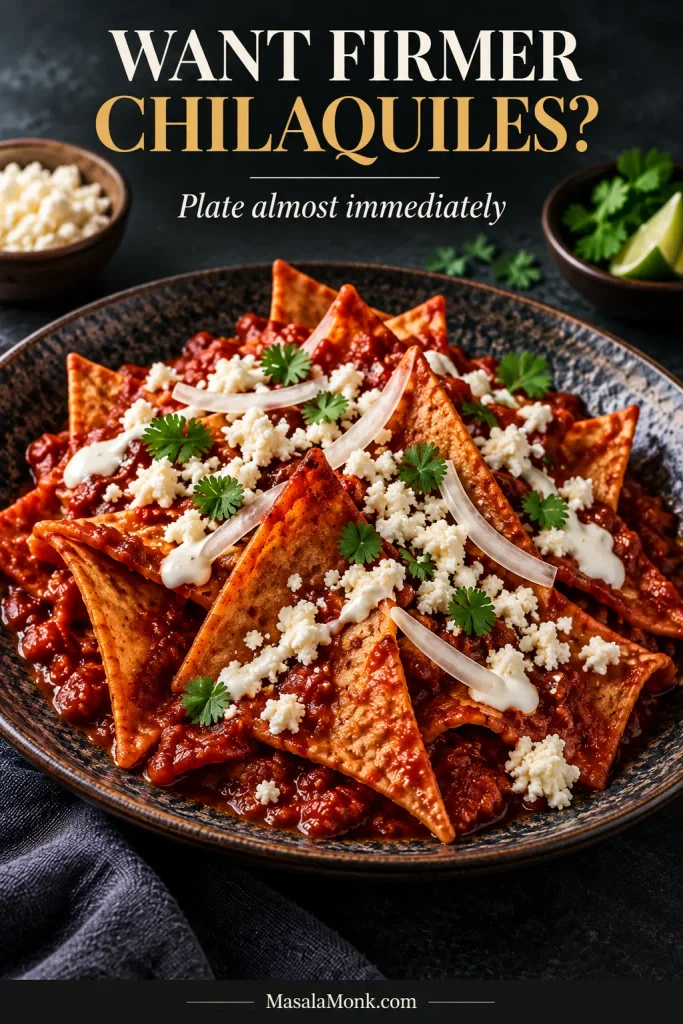
In the middle range, the salsa has worked into the corn tortilla without erasing every toasted edge. That is the texture this recipe aims for.
If yours go softer than you meant, they are not automatically ruined. Plenty of chilaquiles are served soft and deeply sauced. Eat them as they are, then shorten the sauce time next time if you want more bite.
The sturdier the tortilla starts, the more room you have to choose where you stop. When you are ready to cook, return to the recipe card for the full ingredient amounts and sequence.
Start With Tortillas That Can Handle the Salsa
Use corn tortillas here, not flour. Corn tortillas crisp firmly enough to absorb salsa while still holding some shape. Flour tortillas behave differently once soaked.
If you want to make them from scratch, the homemade corn tortilla recipe covers masa harina, hydration, pressing and cooking. Let fresh tortillas dry a little before cutting and frying them for chilaquiles.
If you are frying your own
Slightly stale tortillas have already lost some moisture, so they crisp more readily and give you a sturdier base once the salsa goes in. If yours are very fresh, let them dry a little before frying. After a properly fried wedge cools for a minute, it should feel dry and crisp at the surface, not oily or bendy.
Can You Use Store-Bought Tortilla Chips?
Yes. Use thick, restaurant-style corn tortilla chips. Thin dipping chips soften much faster, and even sturdier brands vary, so watch the texture instead of relying only on the clock.
Measure the chips by weight; use about 8 ounces / 225 grams for four servings. Taste the chips before adding extra salt. If you are using prepared salsa, taste that too; packaged chips, prepared sauce and Cotija can make the finished skillet salty surprisingly quickly.
The 15–20 minute chilaquiles shortcut
For chilaquiles in 15 to 20 minutes, use 8 ounces / 225 grams thick corn tortilla chips and about 2½ cups / 590 ml smooth prepared salsa roja.
Prepared salsa varies a lot. Heat it in a wide skillet first; if it holds its shape on the spoon, loosen it with a little water or low-sodium broth. Start with about 2¼ cups / 530 ml hot salsa, fold in the chips gently and let them sit for about 1 to 2 minutes. Add more of the remaining salsa only where the chips still look dry, then top and serve immediately.
How Saucy Should Chilaquiles Be?
The salsa should pour easily and still have enough body to cling to the tortillas. When it is too thick, it sits in heavy patches. If it is too thin, the skillet can turn soupy before the tortillas absorb much flavor. A tortilla lifted through the pan should look glossy and red, with salsa in the folds but enough structure to reach the plate intact. If the finished skillet still looks dry, clumpy or soupy, the troubleshooting table helps separate those problems.
For 12 homemade tortillas, start with about 3 cups / 710 ml hot salsa and keep the remaining ½ cup / 120 ml nearby. That gives this recipe its saucy-but-structured middle ground; add more if you want the tortillas softer or the skillet still looks dry.
Why guajillo works well here
Guajillo gives the salsa its deep red color and warm dried-chile flavor without making it fiercely hot. Chile de árbol handles the heat: leave it out for mild chilaquiles, or add one or two for more bite.
Too thick and too little are different problems
A dry-looking skillet does not always need a huge pour of extra salsa. First check whether the sauce is simply too thick to move between the tortilla pieces. Thin it if needed, then add more only where the pan still looks dry.
Red or Green? Eggs, Chicken and Toppings
This recipe makes chilaquiles rojos with tomatoes and dried red chiles. Green chilaquiles take a brighter, tangier route with tomatillos and green chiles. For the green version, this salsa verde recipe gives you a roasted tomatillo base and explains how to loosen it for dishes such as chilaquiles.
Once the salsa is decided, eggs, chicken and toppings are mostly about how you want to build the plate.
Eggs are optional
Chilaquiles do not require eggs. A fried egg is especially good here because the soft yolk runs into the red chile sauce, although scrambled eggs can be served with chilaquiles too.
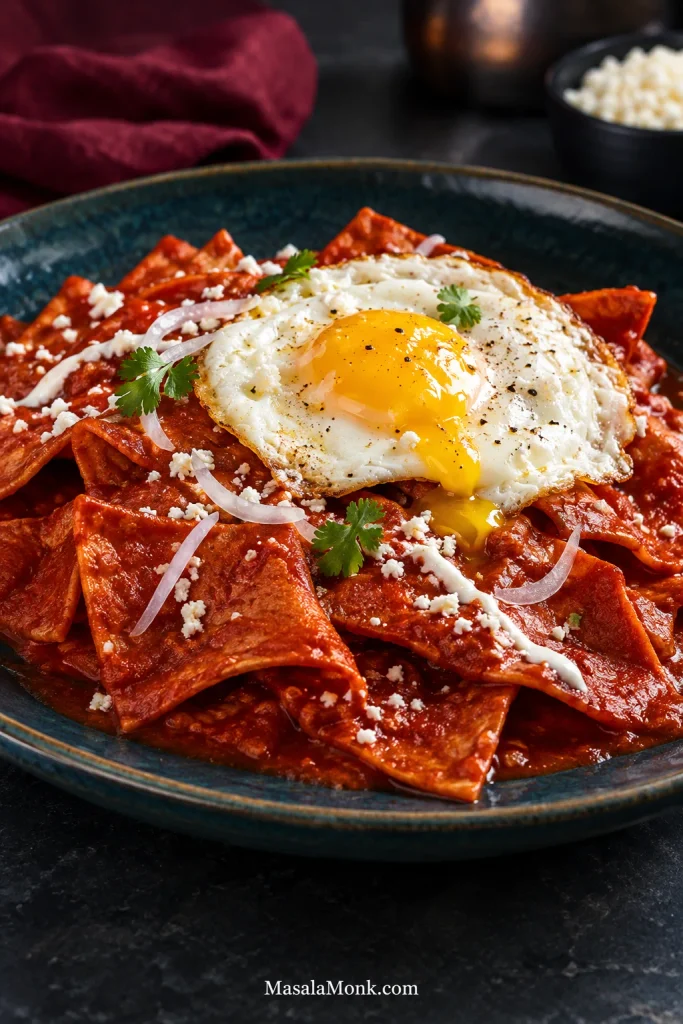
If you are thinking of migas, the overlap is real, especially once eggs are involved. The practical distinction is that chilaquiles center on tortillas cooked with salsa, while migas more often center on eggs cooked with tortilla pieces.
Chicken chilaquiles
For a more filling plate, shredded chicken adds substance without changing the basic chilaquiles method. About 1½ cups / 210 grams cooked shredded chicken is plenty for four servings; use up to 2 cups / 280 grams for a heartier meal. Warm it in the salsa before adding the tortilla pieces.
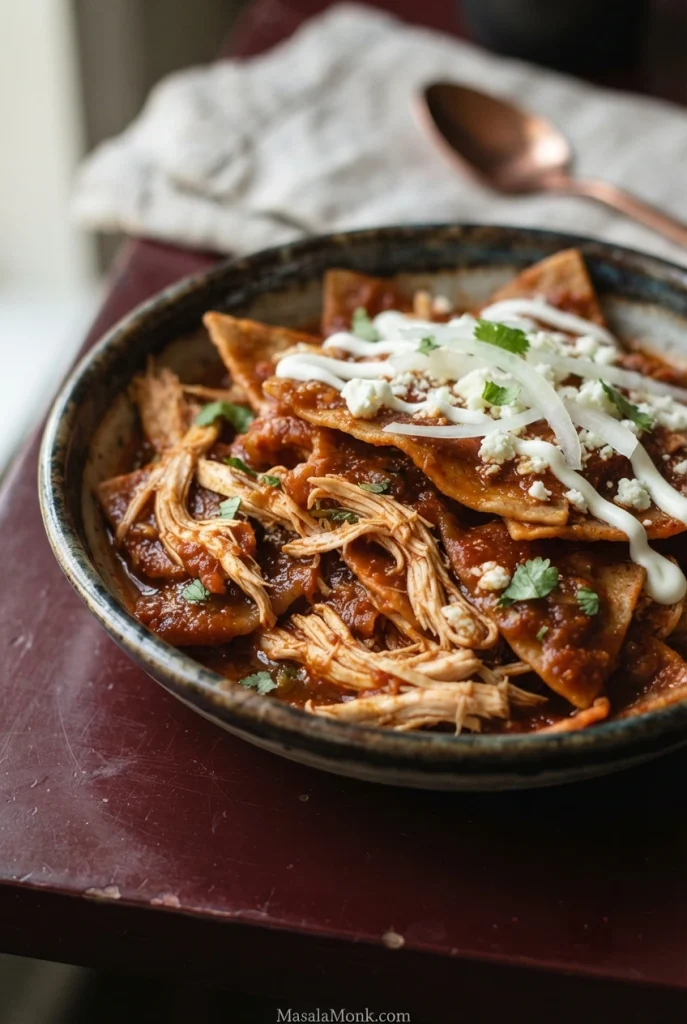
Leftover roast or rotisserie chicken is ideal. Starting with raw chicken? Bake it first, then shred it; the baked chicken breast recipe covers temperature and doneness cues.
Keep the Toppings Simple
Crema, crumbly cheese and thinly sliced white onion are enough on their own. Add avocado, radish or cilantro if you like, but the tortillas and salsa should still be the focus.
Queso fresco keeps the finish mild and fresh, while Cotija brings more salt and punch. Oaxaca or another melting cheese takes the dish in a different direction, giving you melted strands instead of the crumbly finish of queso fresco or Cotija.
Pico de gallo brings a cooler, fresher contrast. Drain off excess tomato juice, or spoon mostly the solids over the plate so you do not water down the chilaquiles.
For a larger breakfast or brunch, serve creamy refried beans alongside.
Chilaquiles Troubleshooting
If the skillet does not look right, first separate tortilla problems from salsa problems; the same dry-looking pan can need either more sauce or a thinner sauce.
Quick fixes by symptom
| Problem | What to try |
|---|---|
| They taste dry or more like nachos | Add a ladle of hot salsa and fold gently. If the sauce barely moves, thin it first. |
| They softened more than you wanted | That can still taste great. Next time, use thicker chips or crisper tortillas and plate sooner. |
| The tortilla pieces fell apart | Thin packaged chips, under-crisped tortillas and too much stirring can all contribute. Fold gently once they begin softening. |
| The salsa sits in clumps | Thin it with fresh water or low-sodium broth until it pours easily. |
| The skillet looks soupy | Reduce a thin sauce before adding the tortillas, and keep some salsa back instead of pouring in everything at once. |
| Everything tastes too salty | If it is already too salty, add unsalted salsa if available and choose queso fresco over Cotija. Next time, taste the chips before seasoning. |
| The salsa is hotter than you wanted | Add mild tomato salsa or tomato purée. Use broth only if the sauce also needs thinning. |
| They were perfect in the skillet but soft on the plate | Serve sooner; have eggs, toppings, chicken and plates ready before saucing the tortillas. |
| Some pieces are crisp while others are leathery | Fry smaller batches and keep the tortilla wedges from overlapping in the oil. |
Cooking for a crowd? Work in batches. A packed skillet is difficult to fold gently, and the first tortillas keep softening while you fight with the last ones.
Return to the cooking steps · Back to recipe card
Make Ahead and Storage
The salsa, tortilla chips and toppings can all be prepared ahead. Wait until you are ready to eat before putting the skillet together.
Store each component separately
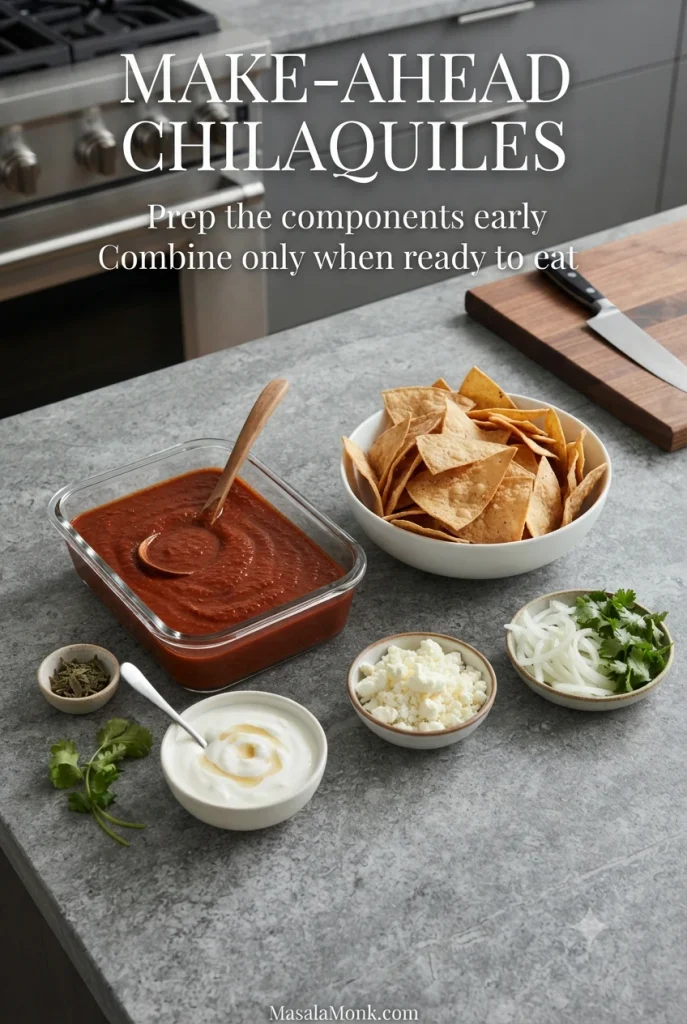
- Salsa roja: refrigerate in an airtight container for about 3 to 4 days. Reheat it in the skillet and add a splash of water or broth if it has thickened.
- Homemade tortilla chips: cool completely and keep airtight at room temperature for about 2 to 3 days for the best crispness.
- Cooked chicken: refrigerate separately for 3 to 4 days, then warm it in the salsa before assembling.
- Toppings: prep them ahead where practical and refrigerate anything perishable until serving.
- Finished chilaquiles: refrigerate leftovers and use within about 3 to 4 days, knowing the tortillas will become much softer.
If you need a breakfast that can be completely assembled in advance, chilaquiles are not the best fit. These meal-prep breakfast burritos are designed for refrigerator and freezer storage and handle reheating much better.
Leftover chilaquiles can be reheated, but reheating cannot recreate the contrast of freshly crisped tortillas folded into hot salsa. When you are ready to make a fresh batch, jump back to the step for saucing the tortillas.
Bring the tortillas and salsa together while the sauce is hot, then finish with cool crema, salty cheese and sharp onion. The point is not to keep every tortilla crisp; give the salsa enough time to soak into the corn, then stop when the chilaquiles have the texture you want.
↑ Back to top · Recipe card · Texture guide · Troubleshooting








