Posted on 1 Comment

How to make Coconut Milk at Home

Coconut is also known as Kalpa Vriksha in Sanskrit, which means Tree of Life– “the tree which provides all the necessities of life”. All its parts from top to bottom are used to sustain human life.

In this post I will share with you how to make coconut milk in the most easiest way. Coconut milk is a traditional food ingredient used in Southeast Asia, Oceania, South Asia, and East Africa. It is so easy to make at home. I actually never buy coconut milk from the market because it takes 5 minutes to make it at home. Also, store-bought Coconut milk contains additives and gums in the canned version that I prefer to avoid. They don’t contain much of actual coconut and remember they are likely to contain some kind of preservatives, flavouring and sweeteners because homemade version will spoil in a few days and store bought ones can last you months. Also, curries and stews made from homemade coconut milk tastes so much better and real than store bought ones.

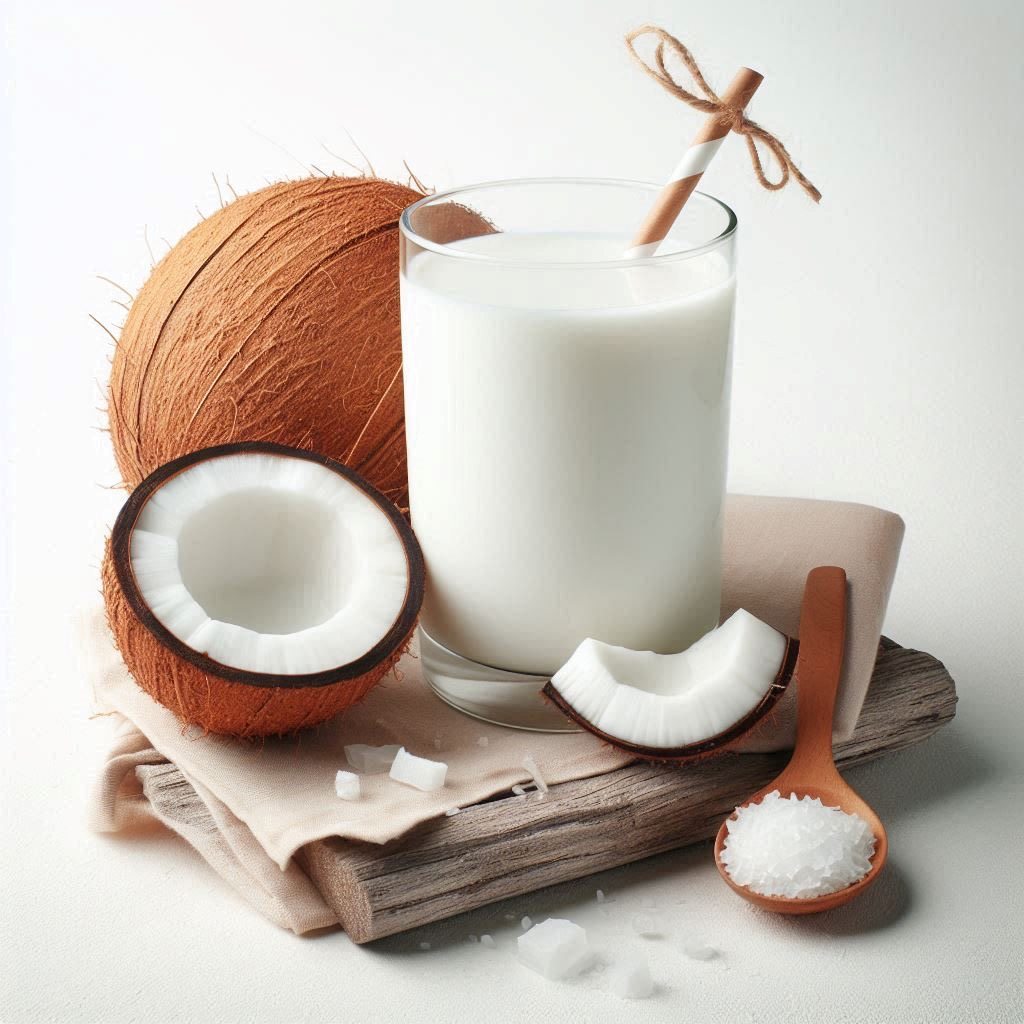
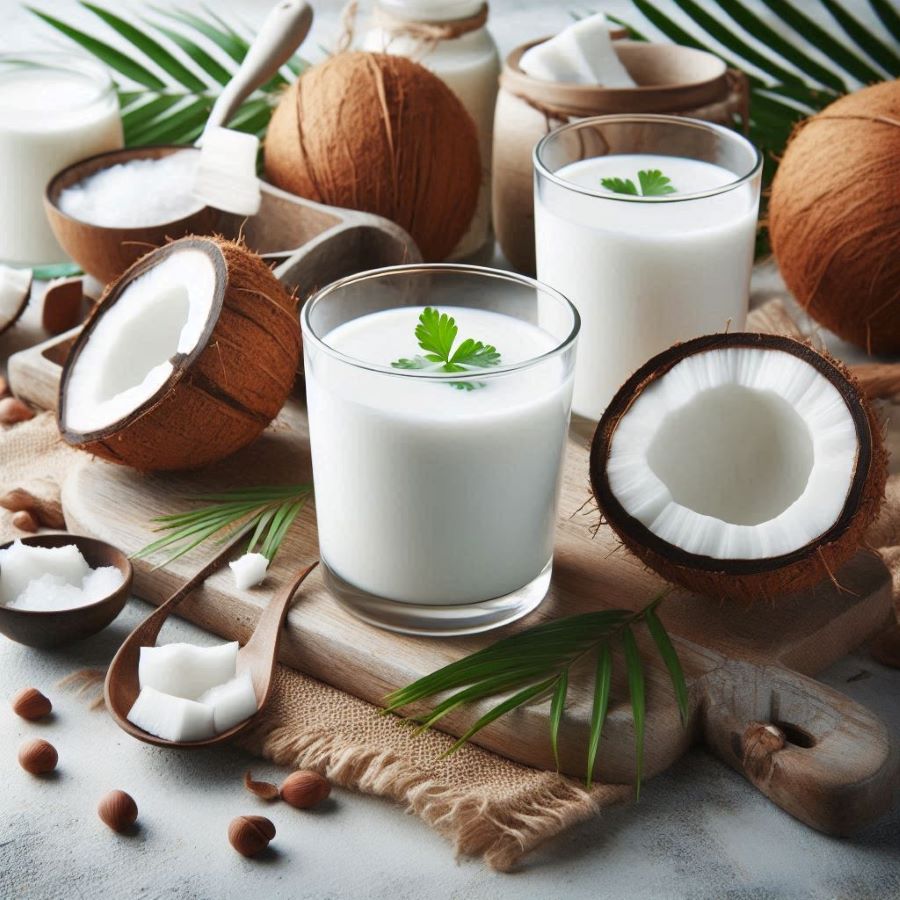
This plant milk is tasty alternative to cow’s milk that provides several health benefits too. Coconut milk comes from white flesh of mature brown coconuts, which are the fruit of the coconut tree. Unlike coconut water, the milk does not occur naturally. Instead, solid coconut flesh is mixed with water to make coconut milk, which is about 50% water. 

The milk has a sweet taste, is thick in consistency and has a rich, creamy texture. But it goes beyond taste – Ayurvedic experts ages ago discovered that coconut milk is a power drink; and modern research confirms this. It pacifies Vata and Pita while increasing Kapha. If you find yourself unable to digest dairy or are allergic to nuts, this milk is a pretty good option for you. You can also try oats milk if you are allergic to dairy or nut milk. Check out this easy to make recipe of Oats Milk here. In case you are not allergic to nut milk, you can try this delicious Almond Milk recipe.

Benefits of Coconut Milk

This white elixir is full of surprising benefits. People are so obsessed with cow’s milk, goat’s milk, camel’s milk that this ancient milk is conveniently cornered. 

  • Lauric acid

Coconut milk contains an important ingredient: lauric acid. It is considered anti-inflammatory, antiviral and antibacterial. It helps your body fight off pathogens. Therefore, have coconut milk if you are suffering from bacterial or viral disease.

  • Cytokines as an Anti-Aging Agent

Coconut milk contains strong antioxidant protection. Cytokines are proteins that protect our cells, and can protect the skin from premature aging.

  • Improves digestion

Coconut helps to improve digestion due to the presence of medium-chain fatty acids. These medium-chain fatty acids are digested and absorbed easily in the body. They may be immediately broken down by saliva and gastric juice. Therefore, consuming coconut milk may be good for people with digestive problems.

  • Coconut milk for Cancer

Coconut milk may be beneficial for cancer. Various studies on cell lines have shown that coconut milk may help in the case of breast cancer. Coconut milk may kill the cancer cells and suppress the growth of cancer-causing cells.

  • Reducing Cholesterol Levels 

This milk can help maintain your cardiovascular health due to its high content of lauric acid. Some studies indicate that consuming foods with coconut milk in moderation could help to lower the levels of bad cholesterol low and boost the levels of good cholesterol

  • May fasten recovery from sickness 

Though not as good a source of electrolytes as coconut water, coconut milk does contain magnesium and potassium. These minerals regulate blood volume, aid in the functioning of the heart and help with diarrhea and dehydration.

How to make Coconut Milk at Home

Recipe: makes around 600 ml 

Ingredients:

  • 1 mature Coconut (remove the brown skin)
  • Water: 3 cups; half warm and half room temperature water 

Instructions 

  1. Chop the coconut into tiny pieces. 
  2. Put the coconut pieces in a blender and shred it.
  3. Then add hot water first and blend on high for a few seconds. Then add room temperature water and blend again.
  4. Open the lid and scrap the sides and blend again for a minute. 
  5. Take a clean large bowl and spread a muslin or cheese cloth over it. Sieve through the prepared milk through it. Squeeze out all the milk using your hand from the coconut meat. And that’s it! Coconut milk is ready to be served.

Notes:

  1. Though Coconut milk is least allergic but please consult your pediatrician before introducing it to kids below 1 years. Introduce little at a time. 
  2. Since coconut milk is high in fats, don’t feed more than 150 ml to toddlers. Though the homemade version can be made less creamy by diluting it with more water.
  3. Coconut milk is not a great source of Calcium, Protein or Vitamin D. If you are replacing dairy with coconut milk, then eat a well balanced diet to get all the nutrients. 
  4. Coconut milk has innumerable benefits but keep in mind that coconut milk is relatively rich in calories. So, you should only have it in moderate amounts.
  5. You can re-use the residue of coconut as fertilizer for your plants or you can dry roast it and store in an air-tight jar. Use it to make cookies, cakes,muffins,energy bars etc.
  6. You can store this milk in glass bottles for upto 4-5 days in the refrigerator.

I hope you liked this recipe and will try out this easy to make Homemade Coconut Milk. If you do, do let me know in the comment section. Would love to hear from you guys. Till then cheers to good health! 🙂

Posted on 2 Comments

Healthy Tangy Spicy Peanut Chutney- No Onion, No Garlic

Peanut Chutney also known as Groundnut Chutney is a flavourful, delicious Indian chutney.  It is an easy and a tasty chutney made with peanuts and is served popularly along with South Indian breakfast dishes. The texture of this chutney is thick and creamy with of course great blend of flavours. Among all the other Indian chutneys, this groundnut chutney is quite unique, given that there is no addition of coconut, onion or garlic. 

It is made with just few everyday ingredients and is flavour bomb. You can serve this chutney with idlis, dosas, Indian savoury pancakes, pakoras, flatbreads or wraps. It is excellent to brighten up your meal and add a lot flavour to your dish. 

This Indian peanut chutney is protein-packed and boost the nutrition profile of your everyday breakfast meal and it is naturally vegan too. I made this Iron Rich Pancake for breakfast. It is made with chickpea flour and sattu, both of which are great sources of protein as well. But I wanted to add more protein to my vegetarian meal, so I decided to make this Peanut Chutney. One bite of this and the flavours just blew my mind. You guys have to try this to believe it. You can also try pairing this chutney with this Semolina pancakes or this Karnataka style Coconut dosa.

I kept this recipe in some way traditional by using raw peanuts which are roasted and then ground with other ingredients. I have also kept the skin of the peanuts. Peanut skins have the highest antioxidant levels compared to other parts of the peanut, and roasted peanut with skins have a high antioxidant capacity. 

The traditional version is usually made with only 6 ingredients such as roasted peanuts, garlic, green chilies, cumin seeds, salt and tamarind. All of these are ground with water to a smooth chutney & most often it is not tempered.

The traditional version is great too but I’ll share with you a way to add maximum punch with minimal ingredients that you will actually always make this peanut chutney without onion and garlic. This flavourful chutney can also be taken in any vrat. So save this recipe for your next Navratri fast.

How to make Peanut Chutney?

Ingredients 

  1. Raw Peanuts: 1/2 cup
  2. Roma Tomato: 1 medium size
  3. Dry Red Chillies: 3 (you can increase or decrease chilli as per your liking)
  4. Salt to taste
  5. Groundnut oil: 1 tbsp
  6. Lemon juice: 2 tbsps or to taste
  7. Water: 1/4th cup or as required

For Tempering 

  1. Groundnut oil: 1 tbsp
  2. Mustard seeds: 1/2 tsp
  3. Curry leaves: 5-6

Instructions

  • In a flat bottom pan, heat 1 tbsp oil to a medium heat. Add raw peanuts and roast till they change colour and become fragrant. 
  • Once peanuts are roasted, in the same pan add roughly chopped tomato, salt and dried chilli. Cook on a medium to low flame till tomato becomes mushy. If the need be, you can sprinkle some water to cook tomato.
  • Remove from heat and allow it to cool a little. Then add everything to a mixer grinder. Add lemon juice and 1/8th cup of water. 
  • Give it a blitz. Now add remaining water and blend till it becomes smooth and creamy. You can add more water if required but don’t add too much. Add little at a time. 
  • Empty the chutney into a bowl. For tempering, heat a tbsp of oil. Add mustard seeds and asafoetida/hing. Let mustard seeds splutter. Turn off the flame. 
  • Now add curry leaves and swirl it around. Let curry leaves rest in oil for 15-20 seconds then add this tempering to the chutney and mix well.
  • Check for salt and lemon juice. Adjust as per your liking. Your chutney is ready to serve.

Notes: 

  1. You can adjust the consistency by adding less or more water, but do not make the consistency runny or thin.
  2. Store your peanut chutney in an air-tight container. Refrigerate and use within a week.
  3. To make groundnut chutney, always use fresh dry peanuts. Do not use peanuts that have gone rancid.
  4. In case raw peanuts are not available, you can make this chutney with roasted salted peanuts. In that case, please be mindful of additional salt. 
  5. You can replace lemon juice with tamarind. Rinse or soak the tamarind in some water before you blend it with the remaining ingredients.

I genuinely encourage you to try this recipe because it is absolutely delicious. Do let me know in the comments section if try this recipe. Happy eating! 🙂

Posted on Leave a comment

Nutritious and Delicious: Green Moong Dal Chilla with Veggie Stuffing

As the seasons change, so does our craving for nutritious and delicious meals. Today, I’m excited to share with you a recipe that’s perfect for breakfast or a light dinner – Stuffed Green Moong Dal Chilla. This recipe is packed with protein and veggies, making it a wholesome choice for everyone in the family.

Ingredients:

For the Chilla Batter:

1 cup soaked green moong dal
2-3 garlic cloves
2 green chillies
Salt to taste

For the Stuffing:

1 carrot, grated
1 capsicum, finely chopped
1 beetroot, grated
100g paneer, grated
Instructions:

Soak the green moong dal overnight or for at least 6 hours.

Drain the soaked moong dal and add it to a blender along with garlic cloves, green chillies, and salt. Blend until you get a smooth batter. You can add a little water if needed to reach the desired consistency.

Grate the carrot, beetroot, and paneer. Finely chop the capsicum. Mix all the grated and chopped vegetables together. Add a pinch of salt if desired.

Heat a non-stick pan or griddle over medium heat and lightly grease it with oil. Pour a ladleful of the chilla batter onto the pan and spread it in a circular motion to form a thin pancake.


Cook the chilla on one side until it starts to turn golden brown. Flip it over and cook the other side.

Once both sides of the chilla are cooked, place a generous amount of the vegetable and paneer stuffing on one half of the chilla.


Fold the chilla over the stuffing to make a semi-circle. Press down gently with a spatula to ensure the stuffing is secure and the chilla is cooked through.

Serve the stuffed green moong dal chilla hot with a side of your favorite chutney or yogurt.

Health Benefits of Green Moong Dal Chilla:
Protein-Rich: Green moong dal is an excellent source of plant-based protein, essential for muscle repair and growth.

Fiber-Filled: The vegetables and dal provide a good amount of dietary fiber, aiding in digestion and keeping you full for longer.

Nutrient-Dense: Packed with vitamins and minerals from the carrots, capsicum, beetroot, and paneer, this dish supports overall health and well-being.

Give this delicious and nutritious stuffed green moong dal chilla a try, and don’t forget to share your feedback! If you have your own variations, we’d love to hear them in the comments below. Happy cooking!

Posted on Leave a comment

How to sprout moong overnight with one secret step

Green moong sprouts, also known as moong bean sprouts, are highly nutritious and offer a variety of health benefits. Here are some of the key benefits of incorporating green moong sprouts into your diet:

Green moong sprouts is high in plant-based protein, essential for muscle building and repair. It is good source of vitamins such as Vitamin C, Vitamin K, and several B vitamins (like folate). Green moong sprouts contains important minerals like iron, magnesium, phosphorus, and potassium. It is Rich in antioxidants like Vitamin C, which help strengthen the immune system and fight off infections.

Here’s a step-by-step guide on how to make green moong sprouts at home:

Ingredients:

1 cup green moong (whole green gram)
Water for soaking

Instructions:

1. Soaking:

Take 1 cup of green moong (whole green gram) in a large bowl. Add enough water to completely submerge the moong.
Allow the moong to soak overnight, typically for about 8-10 hours. This will help soften them and initiate the sprouting process.

2. Washing and Rinsing:

After the soaking time is up, drain the soaked moong using a sieve or strainer. Rinse the moong thoroughly under cold running water. Make sure to wash away any residual starch.

3. Sprouting:

Take a plate and place a strainer (channi) over it. Transfer the rinsed moong to the strainer, spreading them out evenly.
Cover the moong with a clean muslin cloth (or any breathable cloth). Sprinkle some water over the muslin cloth to keep it moist but not soaked. Find a warm place in your kitchen to keep the moong for sprouting you can use microwave without turning it on. Alternatively, you can keep them in a dark, warm corner of your kitchen.
Allow the moong to sprout for about 12 hours. During this time, check and sprinkle water lightly if needed to keep the cloth moist.

4. Checking for Sprouts:

After 12 hours, your green moong should have sprouted. You’ll notice tiny white sprouts emerging from the moong.

5. Using the Sprouts:

Incorporating green moong sprouts into your daily diet is a great way to boost your nutrition. Here are some simple and delicious ways to include them in your meals:

Salads: Add green moong sprouts to your salads for a crunchy texture and extra protein. Combine with fresh vegetables, herbs, and a light dressing.

Smoothies: Blend green moong sprouts into your morning smoothie for an added nutrient boost. They blend well with fruits like bananas, berries, and spinach.

Stir-Fries: Toss green moong sprouts into your vegetable stir-fries. They cook quickly and add a nice crunch to the dish.

Soups: Add green moong sprouts to soups for extra texture and nutrition. They work well in both clear and creamy soups.

Sandwiches and Wraps: Use green moong sprouts as a filling in sandwiches and wraps. They pair well with spreads like hummus or avocado.

Breakfast Bowls: Sprinkle green moong sprouts over your oatmeal, yogurt, or smoothie bowls for a protein-packed breakfast.

Indian Dishes: Incorporate green moong sprouts into traditional Indian dishes like chaat, curry, or kachumber (a type of salad).

Sprout Pulao: Make a nutritious sprout pulao by adding green moong sprouts to rice along with your favorite vegetables and spices.

Sprout Dosa: Mix green moong sprouts into your dosa batter for a healthy twist on this popular South Indian breakfast.

Sprout Pancakes: Add green moong sprouts to your pancake or cheela (savory pancake) batter for a protein-rich meal.

Enjoy your freshly made green moong sprouts, packed with nutrients and great for adding a healthy touch to your meals!

Posted on Leave a comment

3 Minutes Homemade Chocolate Syrup- Dairy and Gluten free

Homemade Chocolate Syrup is incredibly easy to make and trust me it rivals or dare I say doesn’t come even close to anything you’ll buy at the store. You can literally whip up chocolate syrup using this recipe in 5 minutes and that includes prep time. That’s how quick and easy this Homemade Chocolate Syrup recipe is.

God knows how much I hate those store-bought chocolate syrups. With less than 5% cocoa, it is just full of artificial flavors, emulsifiers, liquid glucose, thickeners, artificial colours and as if liquid glucose was not enough, the second main ingredient in these syrups is Inverted sugar. What a whole lot of crap! And they don’t even taste authentic.

I made this chocolate syrup some 4 years back because I wanted something chocolatey to go with my waffles. I was surprised to see how unbelievably delicious, smooth, sweet and chocolate-y it turned out to be. I just couldn’t stop myself from licking it from the spoon. 

When I found this recipe, it was just too simple to believe. No fancy ingredients required. It is dairy free and gluten free. Looks like store bought syrup but tastes way better. It is perfect to add to a plate of Fluffy Buttermilk Pancakes.

Difference between Chocolate Syrup and Chocolate Sauce

If you find yourself confused between the two, you are clearly not alone. They have a lot in common from their appearances and use, whether drizzled over sundaes, pancakes, waffles or bread pudding. They both are often used interchangeably. It all comes down to viscosity. Chocolate syrup is thinner than chocolate sauce. Syrup is mostly created with cocoa powder, water and sugar whereas sauce has cream, butter and sugar, giving it more richness.

Recipe: makes 90 ml or 3 ounces

Ingredients: 

  • Unsweetened Cocoa/Cacao powder: 1/4th cup
  • Sugar: 3 tbsps or as per taste
  • Water: 100 ml
  • Instant Coffee: 1 tsp
  • Pure Vanilla extract: 1/2 tsp
  • Coconut oil: 1 tbsp
  • Salt: a pinch 
  • Dark Chocolate (70%): 25 grams

Method: 

  • In a pan mix together cocoa powder, sugar, salt and instant coffee. Now add water and bring it to boil while whisking continuously till everything incorporates. Use a wire whisk.
  • Cook for 2 minutes on low flame while stirring continuously. Stirring is important to avoid grainy syrup.
  • Take it off flame. Then add coconut oil, vanilla extract and dark chocolate and whisk till chocolate melts. 
  • Allow it to cool. Transfer it in a glass jar. Refrigerate for 30 minutes before using. It tastes even better the next day.

Notes: 

  • The chocolate syrup will be thin when it finishes boiling. But it will thicken quite a bit on cooling and even more after refrigeration.
  • It will last you a week or 10 days in refrigerator.
  • The taste of this sauce will depend on the quality of cocoa powder and dark chocolate you will use. So use good quality cocoa powder & dark chocolate. 
  • This recipe gives 3 ounces but it can easily be doubled or tripled.
  • You can add more sugar if you like. I like it bitter sweet.

How you can use it

  • Pour it over icecream, pancakes or waffles
  • Stir it in milk
  • Drizzle it over brownies
  • Make chocolate trifle 
  • Use it as a dip for fruits

Enjoy. 😊