Posted on Leave a comment

Top 7 YouTube Channels for Beginner Indian Cooks

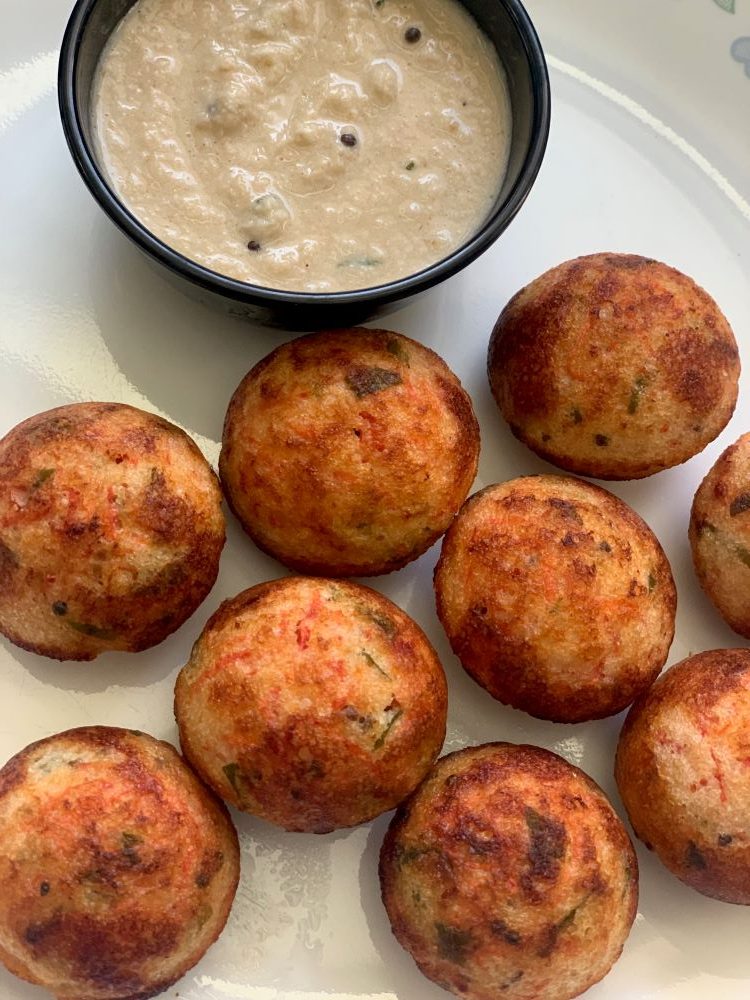
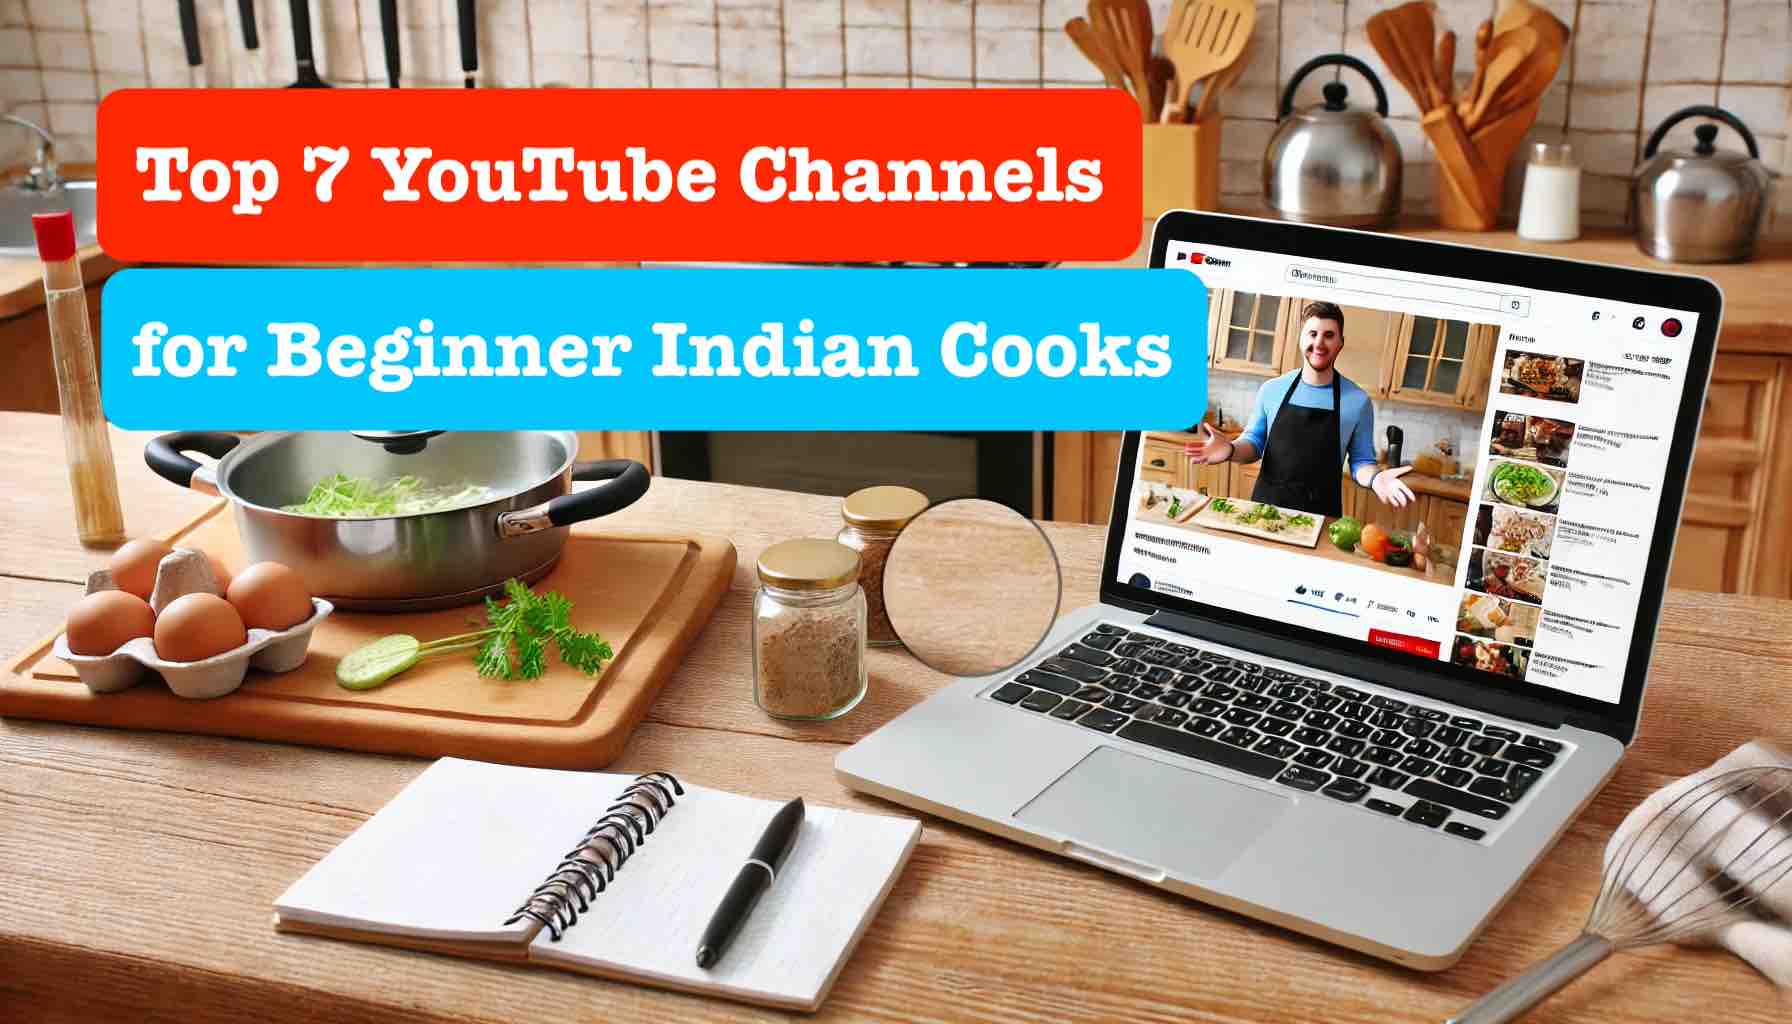
Embarking on your culinary journey, especially with Indian cuisine, can be both exciting and daunting. Indian cooking is known for its rich flavors, diverse ingredients, and intricate techniques. If you’re a beginner looking to dive into this world, finding the right resources is crucial. Here’s a quick guide to the top 10 YouTube channels that will help you master Indian cooking, even if you’re starting from scratch.

1. Your Food Lab

  • Host: Sanjyot Keer
  • Why It’s Great: “Your Food Lab” offers a fantastic mix of traditional and contemporary recipes. Sanjyot’s clear instructions, exact measurements, and focus on technique make it easier for beginners to follow along and achieve great results.
  • Link: Your Food Lab

2. Vahchef – VahRehVah

  • Host: Sanjay Thumma
  • Why It’s Great: Vahchef is one of the pioneers in Indian cooking on YouTube. His early videos are especially useful for beginners, with a fun presentation and thorough explanations of each step.
  • Link: Vahchef – VahRehVah

3. Cooking Shooking

  • Host: Yaman Agarwal
  • Why It’s Great: Yaman’s channel covers a wide range of recipes, from simple snacks to elaborate meals. His straightforward instructions and practical tips make it an excellent resource for novice cooks.
  • Link: Cooking Shooking

4. Bharatz Kitchen

  • Host: Bharat
  • Why It’s Great: Bharat’s approachable style and emphasis on home cooking make this channel ideal for beginners. His recipes often use easily available ingredients and focus on everyday meals.
  • Link: Bharatz Kitchen

5. Ranveer Brar

  • Host: Chef Ranveer Brar
  • Why It’s Great: Chef Ranveer combines storytelling with cooking, making his videos both informative and entertaining. While some dishes may be advanced, he often includes tips for beginners.
  • Link: Ranveer Brar

6. Nisha Madhulika

  • Host: Nisha Madhulika
  • Why It’s Great: Focused on vegetarian recipes, Nisha’s channel is a treasure trove for those looking to explore Indian cuisine. Her calm demeanor and clear instructions are perfect for new cooks.
  • Link: Nisha Madhulika

7. Bong Eats

  • Why It’s Great: Specializing in Bengali cuisine, Bong Eats offers detailed explanations and a focus on authenticity. The videos are designed for both novice and experienced cooks, making complex dishes accessible.
  • Link: Bong Eats

And yes, do not forget to expore exciting recipes like Healthy Non-Fried Gulgule Recipe For Kid’s Lunch Box or Protein Rich Cherry Pancakes Recipe in our own Recipes section, here.

Tips for Beginner Cooks

  • Start Simple: Begin with recipes that require minimal ingredients and steps to build your confidence.
  • Master Basic Techniques: Focus on learning basic cooking techniques like chopping, sautéing, and boiling.
  • Follow Along: Watch the entire video once before starting to cook to get an overview of the process.
  • Be Patient: Cooking is a skill that improves with practice. Don’t be discouraged by initial failures.
  • Experiment: Once you’re comfortable, start experimenting with flavors and ingredients to make the recipes your own.

Conclusion

Learning to cook Indian cuisine can be a rewarding experience that opens up a world of flavors and techniques. These YouTube channels provide a wealth of knowledge and guidance to help you become a confident cook. So, pick a recipe, gather your ingredients, and start your culinary adventure!

Do let us know your thoughts if you are already familiar with some channel or you end up trying any from the above.

Happy cooking! 🍛

Posted on 1 Comment

Homemade Garlic Bread Loaf from Scratch- Easy Recipe

Baking gives me so much joy. I don’t consider myself as an exceptionally good baker but whenever I chance upon a good baking recipe, I would often bookmark it and bake it at home. So, when I saw this amazing recipe on Pinterest, I immediately bookmarked it. 

My interest in bread baking started during Covid time. It was when there was a lockdown in my city and procuring everyday things became such a hassle. I think that was the time when many people tried baking recipes at home. Before bread baking, I was used to making a lot of tea cakes and cookies at home but 2020 was the first time I tried my hands in bread baking. After a couple of trials, I started baking decent bread at home. Taking confidence from that, I started baking buns, dinner rolls, focaccia and many more kind of breads at home. Now 3 years down the line, I can say I am pretty good at it. You can try my Braided Coconut Banana Bread which is mildly sweet and delicious.

I absolutely love garlic bread- that buttery aromatic garlicky flavoured bread that I can just munch away. This recipe is exactly that. I don’t like making those dishes that involve too many ingredients and have too many complicated steps. I often go for recipes which are fuss free, has easy to follow steps and tastes absolutely delicious. The moment I saw this recipe, I was excited to bake it. The next day I gathered all the ingredients and spend some time in the kitchen baking this wonderful garlic bread. The recipe is adapted from a blog Magic from Indian Rasoi. 

This an easy recipe and if you are a beginner you can definitely try this. Let’s see how you can make this

Recipe: Bakes 2 loaves

Ingredients: cup measurement 250 ml

  • All Purpose Flour: 2.5 cups
  • Sugar: 1 tbsp
  • Extra Virgin Olive oil: 3 tbsp
  • Instant Dry Yeast: 1.25 tsp tsp
  • Salt: 1.5 tsp
  • Lukewarm Milk: 1/2 cup
  • Milk Powder: 2 tbsps
  • Minced Garlic: 2 tbsp
  • Melted Salted Butter: 2 tbsps, for brushing
  • Mixed Italian Herbs for garnish (optional)

Instructions 

  • In a bowl add minced garlic, mixed Italian herbs and melted salted butter. Keep aside.
  • In another bowl add yeast, sugar & lukewarm water & milk. Mix it. Keep aside for 7-10 minutes for yeast to proof. You know the yeast has proofed if it becomes foamy. You can use instant yeast directly, but I like to proof it just to be sure. 
  • In another large bowl, add flour, milk powder & salt. After proofing, mix the mixture to form a soft & sticky dough. The dough will be very sticky at this point, and you will get tempted to add more flour but strictly avoid it.
  • Sprinkle very little flour on the kitchen counter or your work surface. Take the dough out on kitchen counter and add olive oil. Knead in forward and backward motion for 10 minutes or till the dough becomes smooth and non-sticky. I kneaded it for 15 minutes. 
  • To be sure if you have kneaded enough, poke the dough. If it bounces back, it’s done. If not and the indentation remains, knead for some more time. 
  • Grease a big bowl with oil. Place the dough in it, apply oil on top and even out the dough with your hands.
  • Cover with a cling wrap or a kitchen towel to avoid dough from drying and proof it at a warm place for 1 to 1.5 hours or till the dough doubles in size. It might take more time depending on the temperature in your area. 
  • After the dough has doubled, punch it down and knead again for 1-2 mins.
  • Divide the dough into two equal portions (approx. 260 gm each). 
  • Using a rolling pin, roll each portion into a rectangle and generously apply garlic butter on the inside covering all the corners with a brush.
  • Now tightly roll the rectangle into a log shape and place both the loafs on two different 6 by 3-inch loaf pans.
  • Cover the pans loosely with a cloth and keep it in dark place for second proofing. It’ll take 35-40 minutes. Just gently poke on the side. If the indentation remains, your bread has proofed and is ready to bake.
  • In the meantime, pre-heat the oven at 180C/350F for 10-12 mins. 
  • After the second proof, apply remaining garlic oil on the top of the loaf & sprinkle some mixed herbs. 
  • Place the pans on a baking tray at the centre rack (both rods on) & bake at 180C for 30 mins or until a golden crust form on top. Once done, tap the bread, if it makes a hollow sound, it’s done. 
  • Once baked, remove the Garlic Bread Loaves from the oven & brush it generously with melted butter.
  • Transfer the bread to a cooling rack & allow it to cool completely for 1-2 hours before slicing it.

Notes: 

  • How do you know the first rise is done: This can take one to three hours, depending on the temperature and moisture in the dough. Check your dough. If it has doubled in size, it’s good for second proofing. Generally speaking, a warm, humid environment is best for rising bread.
  • How do you know your bread is ready for baking? To check that your dough has risen to its full capacity, gently press a fingertip into the surface – if the dough springs back, it means the gluten hasn’t developed fully, so you can leave it for a little longer. If the indentation left by your finger remain, it means the gluten has stretched as much as it can, and the dough is ready to bake. Don’t leave it any longer or the air bubbles will start to collapse, and your bread will be dense.
  • Dough will feel sticky at the starting but do not add more flour to it. It will become smooth after kneading for 10 mins. 
  • While rolling the dough into a log, make sure you tuck in all the edges. Leave no gaps. 

You can half the recipe if you want to make only 1 loaf. You can also keep the dough in the refrigerator after putting it in the loaf tin after the first proofing and bake it the next day. The dough will proof slowly in the refrigerator. In fact, it will develop more flavour.

I hope you enjoyed reading this recipe. Do give this recipe a shot. I am sure this recipe will bring you a lot of joy. If you try this recipe, do give us a shout out. Just click a picture and tag us on @masala.monk or use the hashtag #MasalaMonkRecipe and share on Instagram and Facebook. We would love to hear from you. Happy Baking! 🙂

Posted on Leave a comment

Savoiardi Chocolate Vanilla Pudding- Easy Dessert Recipe

Just like any meal, you should always have a quick and easy dessert recipe up your sleeve. If you love chocolate pudding, you will love this easy variation to classic dessert. It’s got layers of vanilla and chocolate between the soaked ladyfingers. The richness of chocolate pudding complements the sweetness of vanilla cream and the bitterness of cocoa powder so well. And what’s even better is that this recipe is ultra easy to make.

This no-bake recipe is perfect if you want to impress your guests without having to spend hours in the kitchen. You can also make this dessert for any special occasion or just as a sweet treat anytime. 

Savoiardis or ladyfingers are very popular Italian Meringue cookies. They get their name from looking like fingers. Lol! They are commonly known for as a cookie base for Tiramisu, but ladyfingers are not just limited to Tiramisu. They are so versatile. You can make so many desserts with it. They can be used in trifles or in layer cakes. These are easily available at a departmental store near you. If you can’t find Savoiardi, then you can totally make this recipe with Vanilla Sponge cake. Just cut the cake into long strips.

Tips:

  1. If you are making this dessert for just adults, you can add liquor too. Simply soak the lady fingers in a mixture of milk and Kahlua liqueur or Bailey’s or any other liquor of your choice.
  2. You can also make this dish by layering the cookies and pudding in ramekins or dessert glasses instead of a large dish. 
  3. Make sure the fresh cream you will use is completely chilled. Also put the bowls in which you will whip, in the freezer for an hour before whipping. 
  4. If you don’t have cornstarch and vanilla extract, you can use vanilla custard powder for the pudding. 
  5. Use good quality dark chocolate and cocoa powder for best taste.

Let’s see how we can make this delicious dessert 

Recipe: for approx 12 by 8” deep  rectangular dish

Ingredients

  1. Savoiardi or Ladyfingers: 14 cookies
  2. Milk: 1 cup for dipping Savoiardi

For Chocolate Pudding

  1. Milk: 750 ml + 4 tbsps
  2. Sugar: 2 tbsps
  3. Salt: A pinch
  4. Unsalted Butter: 30 grams
  5. Cornflour or Cornstarch: 2 tbsps
  6. Unsweetened Cocoa Powder: 2 tbsps
  7. Pure Vanilla Extract: 1 tsp
  8. Dark Chocolate (70%): 80 grams
  9. Instant Coffee Powder: 1 tsp

For Vanilla Cream

  1. Chilled Fresh Cream: 200 ml
  2. Vanilla Icecream: 200 ml
  3. Icing Sugar: 2 tbsps

Instructions:

For Chocolate Pudding

  • In a heavy bottom pan, add milk, sugar and unsalted butter. Mix till it melts.
  • Mix 2 tbsps cornflour in 4-5 tbsps of cold milk and keep aside. 
  • Once the sugar dissolves and butter melts, lower the flame and add cornflour mixture and cocoa powder. Whisk it well for 3-4 minutes till cornflour completely dissolves and there are no lumps.
  • Now add vanilla extract, salt, and mix 1 tsp coffee in a tbsp of water and add. Cook on a medium flame till the milk thickens and reduces to almost half. It should coat the back of the spoon.
  • Switch off the flame. Chop dark chocolate in chunks and add to hot pudding. Whisk everything till chocolate melts completely. 
  • Let the pudding come to room temperature. Then in a blender, pulse it for few seconds to make it smooth. This will ensure that the pudding is smooth and there are no lumps. Do not blend for long. Just give one blitz.
  • Put it in bowl, cover it with a lid or a cling and refrigerate for 2 hours or till it becomes cold.

For Vanilla Cream: 

  • Take super chilled fresh cream in a bowl. I used Amul Fresh Cream which has 25% fat content. Refrigerate the cream overnight or for 6-7 hours till is completely chilled.
  • In the same bowl add slightly melted vanilla ice-cream and icing sugar. Put the mixing bowl with cream on ice bath. Basically, take a larger vessel, fill it with chilled water and ice cubes and place the mixing bowl with cream on it.
  • Now with the help of an electric beater, whip it all till you get soft peaks. You can use your hands too and whisk it with a manual whisker if you are in the mood for some arm workout. 

Assembling: 

  • Take milk in the glass. Dip savoiardi one by one and place it on the rectangular dish. Leave no gaps.
  • Top it with cream base followed by chocolate pudding or vice versa. It’s totally your choice. If you want white layer on top, then add chocolate pudding first and then cream. Make 2 such layers. 
  • Cover the dish with a cling and chill for 4 to 5 hours. Once set, garnish it the way you like. I topped it with some unsweetened cocoa powder, chocolate shavings and fresh cherries. 
  • Cut and serve chilled. This dessert stays good in refrigerator for upto 2 days.

Enjoy 😊

Do give this recipe a shot. I am sure this will become your new favourite. If you try this recipe, do give us a shout out. Just click a picture and tag us on @masala.monk or use the hashtag #MasalaMonkRecipe and share on Instagram and Facebook. We would love to hear from you. 

Posted on Leave a comment

Idli Podi | Milagai Podi Recipe

If you have never heard of podi before, podi is a flavourful South Indian coarse spice powder condiment made with lentils, seeds and spices and served with Idlis. But for most fans, you can say podi is an emotion. It is like a flavour imbibed in every bite. Podi is a general South Indian word that means “powder”. In the Tamil language, the word milagai means red chilies and podi means powder. Idli podi is always served with ghee or sesame oil. There is a popular dish in South India where idlis are smeared with podi and ghee or sesame oil. But Idli Podi is not just limited to idlis. You can serve podi with paniyarams, sprinkle it on dosas, uttapams or make podi rice. Its main purpose is to add flavour to a meal, sometimes when certain spices are involved, podis can aid digestion too.

The flavour of podi is quite unique and tasty. There is a slight crunch in it that comes from roasted lentils. The nutty taste comes from sesame seeds with some smokiness and pungency from red chilies and other ingredients.

You can try serving podi with Ragi Idli. They pair beautifully with podi and other sautéed vegetables and makes a healthy, gluten free breakfast.

The recipe is pretty simple. You just have to roast the ingredients and grind everything together. There is some spiciness and heat in a typical milagai podi but you can control the heat as per your preference. There are variations to idli podi where some like to add dry coconut, curry leaves or peanuts.

There is another variation of idli podi called as gunpowder which is spicy and includes more red chilies as well as garlic.

The podi recipe that I am sharing with you is a recipe that I have been making for years now. There is always a jar of podi at my house. I like to add this powder in Masala Idli, sprinkle it on dosa, serve it with paniyarams or make podi rice with ghee. 

Tips for making Idli Podi

  1. Always use fresh spices and lentils to make podi. 
  2. It is always better to soak lentils for an hour in warm water and dry them with cotton kitchen towel before roasting. 
  3. I always add sesame seeds to make podi. It gives a great flavour and also is super nutritious. You can skip it if you like. You can use either black or white sesame seeds. 
  4. Rinse curry leaves with fresh water and then pat dry them with a kitchen towel. 
  5. Do not roast sesame seeds for long or it will taste bitter. 

Let’s see how you can make this flavour bomb.

Recipe: makes approx 200 grams

Ingredients: 

  • Urad dal: 1/2 cup
  • Channa dal: 1/4th cup
  • Curry leaves: 1/2 cup
  • Sesame seeds: 1/4th cup
  • Dried Red Chillies: 12-15 (add more if you like)
  • Mustard seeds: 2 tsps
  • Hing/Asafetida: 1/4th tsp
  • Oil: 2 tbsps
  • Salt as per taste

Method: 

  • Wash and soak both the lentils separately for an hour in warm water. This step is optional. You can just wash the lentils, pat dry and roast them but soaking helps to soften the lentils and makes them easy to digest.
  • Bring a wide heavy bottom pan to medium heat. Add sesame seeds and roast them till they become slightly brown and start crackling and popping. Set aside in a large plate.
  • Roast curry leaves till the leaves become crisp and shrink in size. Set aside.
  • Now add washed, soaked and towel dried urad dal. Roast till golden brown and fragrant. Set aside. 
  • Add channa dal and roast. Chana dal takes longer to roast. It should get browned or golden. For uniform cooking and color, keep on stirring them often.
  • Now add a tbsp of oil and roast dry red chilies on a low flame. Roast till you get a pungent smoky aroma from chilies. Set aside
  • Next add mustard seeds and roast them till they start crackling and popping in the pan. Set aside.
  • Lastly, add a tbsp of oil and cook asafoetida or hing in it for 10-15 seconds. Mix it with the other roasted ingredients.
  • Once everything is well roasted, put it all in a blender. Add salt to taste and grind well. Grind in intervals of some seconds to a coarse powder. Do not grind in one go for long as the sesame seeds will release oil.
  • Store Podi in an airtight glass jar. The powder will last you almost a year.

Happy Cooking!! 🙂

Do give this recipe a shot. If you try this recipe, do give us a shout out. Just click a picture and tag us on @masala.monk or use the hashtag #MasalaMonkRecipe and share on Instagram and Facebook. We would love to hear from you. 🙂

Posted on 1 Comment

Kuzhi Vegetable Paniyarams Recipe

Vegetable Paniyaram or Appe/Appam as it is commonly known is a South Indian breakfast recipe made from idli/dosa batter and known as kuzhi Paniyaram in Tamil, Paddu in Kannada, and Gunta Ponugulu in Telugu. It’s the best way to use idli dosa batter if the batter has turned sour after a couple of days. It is perfect for kids too as it is extremely healthy, has a good dose of vegetables and looks colourful and attractive. My kid loves it and often asks for it especially in his school tiffin. He would take extra to school as requested by his friends. 🙂

Some years back my uncle gifted this cast iron Paniyaram pan (appe pan) to me and it has been my most treasured kitchen possessions. Since then my obsession with appe pan started and I make not only paniyarams in it but also fritters, little pancake balls, patties, bread rolls, falafel, kofte and dahi bhallas. Basically, anything that you need to shallow or deep fry can be made in appe pan with much less oil. 

I like the instant version of Vegetable Paniyaram – it is quick to make with leftover idli/dosabatter. The last few cups of idli batter might not always yield soft idlis or make soggy dosas. I add mixed sautéed veggies with some spices into the leftover idli batter and it turns into flavourful paniyarams which I often serve with Coconut Chutney or Kara Chutney.  They are really crispy on the outside and soft on the inside.

Check out this recipe below. If you have leftover Idli batter you can use that. In the recipe below I’ll share with you the recipe of fresh batter

Recipe: makes 20-25 paniyarams 

Ingredients 

For the Batter

  1. White Split Urad Dal: 1/2 cup
  2. Bengal Gram/Channa Dal: 1/8th cup
  3. Fenugreek Seeds: 1 tsp
  4. Rice: 1 cup
  5. Flattened Rice/Poha: 1/4th cup
  6. Water as required for the batter
  7. Rock Salt: 1 tsp

For Paniyarams 

  1. Mixed Chopped or Grated Vegetables: 1 cup (I used onion, capsicum, carrot)
  2. Minced Ginger: 1 tsp
  3. Asafoetida/Hing: a pinch
  4. Mustard Seeds: 1 tsp
  5. Curry Leaves: Handful
  6. Oil/Ghee for Cooking
  7. Salt to taste
  8. Green chilies: 2 (optional)

Instructions 

  • Wash and soak urad dal, channa dal and 1 tsp of fenugreek seeds for 3-4 hours. 
  • Wash and soak rice and poha for 3-4 hours.
  • First grind the dals using water. Add water gradually to make a smooth thick but flowing consistency batter. 
  • Now grind rice and poha, again by adding little water at a time to make thick but flowing consistency batter.
  • Mix both the batters in a steel or a glass bowl. Add rock salt. Mix well. Leave it for fermentation for atleast 8 hours or more at a warm place. The batter will rise and will become airy with tiny bubbles. If it hasn’t then leave for some more time. 
  • In a pan, add a tbsp of oil. Add some mustard seeds & hing. Let mustard seeds splutter. Now add some finely chopped green chilies if using, curry leaves and minced ginger. Cook for few seconds then add finely chopped vegetables of your choice.
  • Season it with some salt. Cook for 2 minutes on medium flame or till they soften a bit. Allow it to cool. Then add the sauteed vegetables to the fermented batter and mix gently.
  • Now your batter is ready. The consistency of the batter is similar to idli batter. If it’s thick, add a bit of water. Check for salt. Heat Paniyaram pan to medium heat. Brush it with ghee or oil in each cavity and fill it with batter. Leave some space for paniyarams to rise.
  • Cover with a lid and cook on medium to low flame for 3 minutes or when the top has set, and edges have browned.
  • Then with a help of a skewer or a knife flip the paniyarams and cook the other side for 2-3 minutes. 
  • Serve immediately with chutney of your choice. 

Tips:

  • Cook appe on low-medium heat or else you will end up with raw batter in the middle.
  • You may use any combination of veggies minced broccoli, cauliflower, cabbage, or greens like methi or drumstick leaves works too.
  • Use a paniyaram pan that has been seasoned well and used in the past. If not the paniyarams will stick to the pan.

Do give this recipe a shot. I am sure this will be your child’s and your family’s new favourite. If you try this recipe, do give us a shout out. Just click a picture and tag us on @masala.monk or use the hashtag #MasalaMonkRecipe and share on Instagram and Facebook. We would love to hear from you. 🙂