You probably want straight answers about milk and eczema: does milk trigger flares, which milk works best, and do plant alternatives help at all? Since advice online can feel contradictory, this guide simplifies the moving parts and shows what you can do today—without hype, and with your skin, time, and nutrition in mind.
Educational purpose only. This article doesn’t replace medical advice. If you’re managing eczema for an infant—or if your symptoms run moderate to severe—please work with your clinician before changing diets.
Start with skin, then consider dairy (the order matters)
Atopic dermatitis (eczema) begins with a fragile skin barrier and inflammation. Food can trigger symptoms for a subset of people; however, food usually doesn’t cause eczema on its own. Therefore, you’ll make more progress if you lock in daily emollients, short lukewarm baths, and a prescriber-approved anti-inflammatory plan before you tinker with milk. Moreover, broad elimination diets can stunt growth in children and still fail to help; the American Academy of Dermatology explains these risks clearly in plain English: American Academy of Dermatology on food and eczema.
For quick, real-life steps that calm irritation, you can also skim our own guide to dermatologist-approved tips to soothe eczema.
Quick note: this section—and the rest—stays educational. Please avoid long or strict diets without medical supervision, especially for babies and toddlers.
Dairy and eczema: allergy vs intolerance, in plain English
Because terms get mixed up online, let’s separate the big ones and move forward with less confusion.
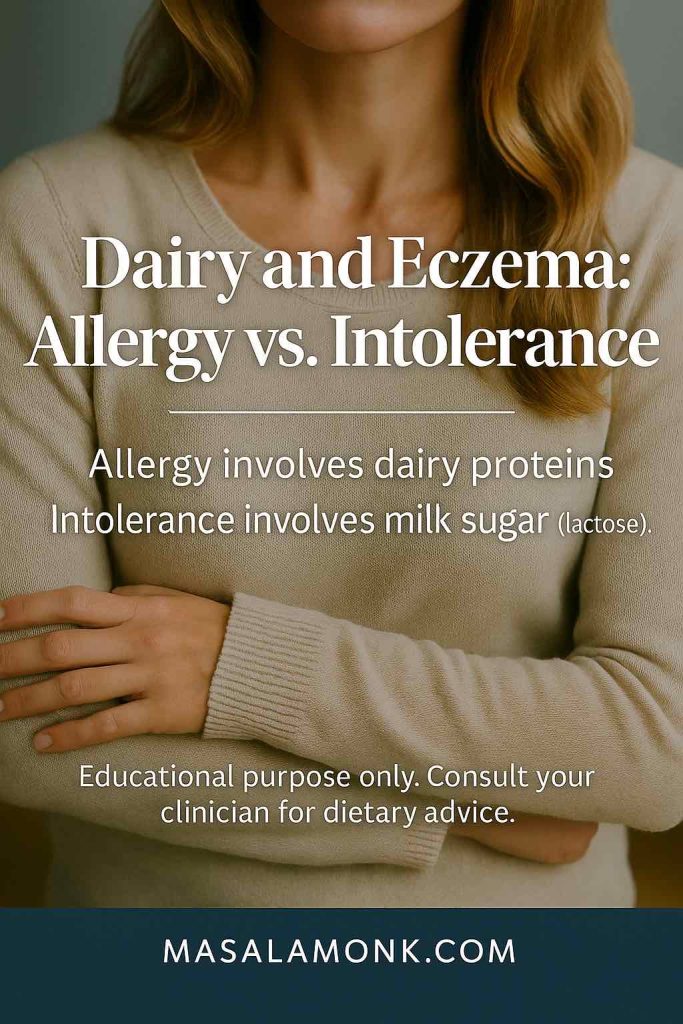
Cow’s milk protein allergy can trigger eczema flares
When the immune system reacts to proteins like casein and whey, dairy can worsen eczema in people—especially infants—with confirmed cow’s milk protein allergy (CMPA). Good decisions follow a structured assessment and a supervised re-challenge rather than guesswork. For a practical “when to suspect it” map, see NICE CG116: NICE guideline on assessing food allergy in children. (NICE)
Because eczema isn’t one thing, it also helps to know your pattern; this quick primer on the 8 types of eczema can orient your home care.
Lactose intolerance differs—and usually doesn’t affect eczema
Lactose intolerance involves the milk sugar and digestive enzymes, not the immune system. Consequently, lactose-free milk still carries the same proteins that matter in allergy. So, swapping to lactose-free rarely changes eczema. For a crisp explainer, see the U.S. NIDDK summary: NIDDK: lactose intolerance—definition and facts.
Bottom line
Precision beats guesswork. Start with skin care, then test one milk change, and finally bring in a clinician if flares look food-linked. If itch drives you up the wall, begin with these how to stop eczema itching immediately tips, then layer dietary experiments on top.
Short reminder: this article informs decisions; it doesn’t diagnose or prescribe.
Best milk for eczema (adults and older kids): choose for tolerance and nutrition
No milk cures eczema. Instead, the right choice balances tolerance, nutrition, and real-life habit—so you stick with it.
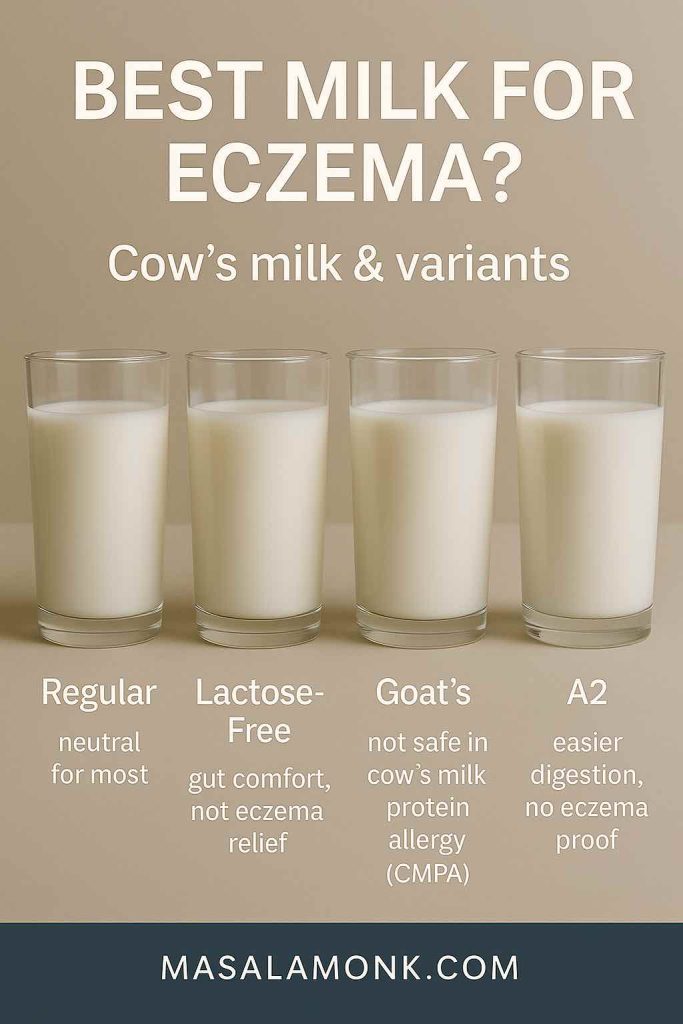
Cow’s milk and eczema
If you digest dairy and don’t have milk allergy, regular cow’s milk won’t fix eczema, and it rarely wrecks it either. Keep it while you upgrade moisturising and flare care. If curiosity persists, try a single 2–4 week switch and watch your skin without changing five other things at once.
Lactose-free milk and eczema
Manufacturers remove the sugar (lactose), not the proteins. Consequently, lactose-free seldom improves eczema. Use it for gut comfort if you need it; don’t expect skin benefits (the NIDDK overview above explains why).
Goat’s milk and eczema
This one misleads many shoppers. Goat’s milk proteins often cross-react with cow’s milk proteins; therefore, people with CMPA commonly react to goat’s milk too. As a result, it doesn’t offer a safe workaround. National allergy guidance warns against that swap—see ASCIA: ASCIA on cow’s milk allergy and related milks. For a lab-to-clinic look at cross-reactivity, review this PubMed-indexed paper by Mansor and colleagues: Mansor et al., 2023—cross-reactive milk proteins. (PubMed)
A2 milk and eczema
A2 milk (with mostly A2 β-casein) sometimes feels easier on digestion; however, current evidence doesn’t show reliable eczema improvement. If you like it, enjoy it—as a preference, not a treatment. And if you have CMPA, remember: A2 still contains cow’s milk proteins.
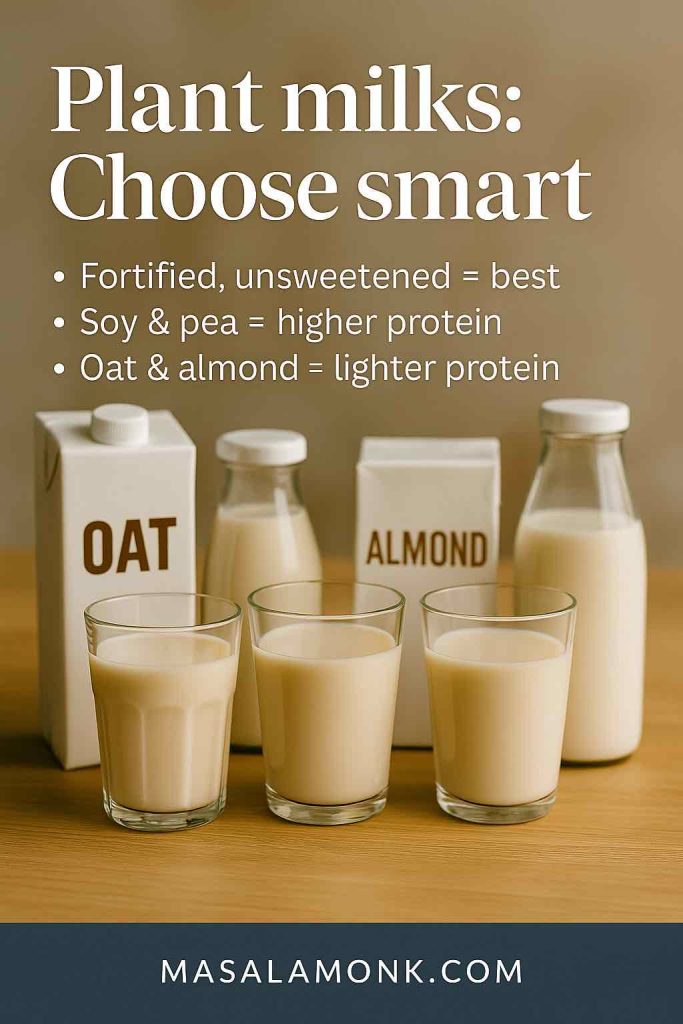
Plant milks and eczema: oat, almond, soy, pea, coconut, rice
Plant milks can help when you prefer dairy-free or when you run a short, targeted trial. Nevertheless, choose fortified, unsweetened options, scan labels for calcium and vitamin D, and mind protein: soy and pea trend higher; oat and almond trend lower. In some CMPA toddlers, soy also triggers reactions, so paediatric teams individualise that choice. For a practical, clinician-level overview, see the Canadian Paediatric Society (2024): CPS position on cow’s milk protein allergy. (cps.ca)
If you want a hands-on trial, you can keep it simple with how to make almond milk at home or follow our easy homemade oat milk method. Meanwhile, if you’re weighing pros and cons, this overview of oat milk benefits explains the trade-offs.
Milk and eczema in babies and toddlers: safety first, always
When growth and development sit on the line, structure beats internet hacks.
Breastfeeding with suspected CMPA
Breastfeeding remains ideal when possible. If symptoms suggest CMPA in a breastfed infant, teams may advise a short, targeted maternal dairy (± soy) elimination with close follow-up. Because long, strict maternal diets can harm nutrition and still miss the real trigger, clinicians keep trials time-bound. The CPS statement above balances these decisions well. (cps.ca)

Infant formulas: hydrolysed and amino-acid options
Across many systems, clinicians start with extensively hydrolysed formulas (eHF) for most CMPA cases and escalate to amino-acid formulas (AAF) for severe or unresponsive cases. For detailed, global guidance, review the World Allergy Organization DRACMA update (2024): World Allergy Organization—DRACMA update on nutritional management. (worldallergyorganizationjournal.org)
Please don’t swap to other mammalian milks in CMPA
Because protein similarity drives cross-reactivity, goat and sheep milks usually fail as substitutes and may add risk. The ASCIA article and the Mansor study underscore this point, while the NICE guideline clarifies when to investigate true allergy rather than guessing. (Allergy.org.au, PubMed, NICE)
Paediatric safety note: this section is educational. Always involve your paediatrician or an allergy-trained clinician when eczema intersects feeding decisions.
Colostrum and eczema: early science, limited human data
Colostrum products attract attention, and for good reason—researchers keep exploring immune effects. Even so, human evidence for eczema remains limited. Some experimental models (including animal studies) suggest anti-inflammatory potential; however, these data don’t translate into clinic-ready recommendations. Therefore, treat bold marketing with caution and check whether a claim comes from mouse data or from small, non-eczema trials. When evidence matures, clinicians will fold it into care pathways; until then, keep expectations realistic and focus on proven basics.
Short reminder: early lab signals guide future studies; they don’t justify self-treatment without medical oversight.
“Milk baths” vs colloidal oatmeal: not the same thing
Because the words sound similar, confusion spreads quickly.
Colloidal oatmeal has support
Colloidal oatmeal—the finely milled, standardised powder in many over-the-counter eczema products—acts as an FDA-recognized skin protectant. Paediatric trials also show itch and barrier benefits with oatmeal-containing creams. For the regulatory reference, see the FDA skin protectant monograph: FDA monograph for colloidal oatmeal. For a small, readable trial in children, skim: Lisante et al., 2017—oatmeal cream RCT.
If you’d like a step-by-step soak, our guide to oatmeal baths for eczema and dermatitis walks through it.
Pouring dairy milk into the tub lacks evidence
Regular milk in bathwater doesn’t equal colloidal oatmeal. Because residue and fragrance additives can annoy sensitive skin—and because controlled data remain thin—you can skip “milk baths.” Instead, keep baths short and lukewarm, pat dry, and moisturise within three minutes—the classic “soak and seal.”
Quick reminder: this is general information, not a prescription.
Curious about home remedies? Approach them carefully. For instance, some families ask about vinegar soaks; read our cautious how-to on apple cider vinegar for eczema and patch-test first. Educational only—stop if stinging or redness worsens.
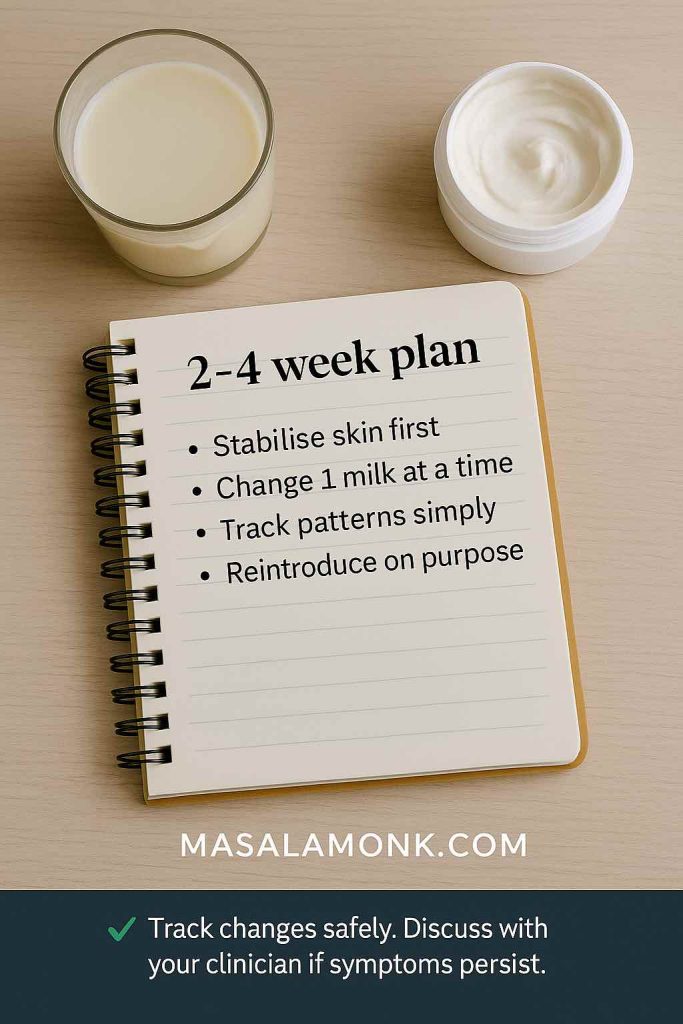
A calm, 2–4 week plan that respects your time (and your skin)
Change sticks when you know exactly what to do on Monday morning. Try this sequence and adapt it with your clinician if you have medical complexity.
- Stabilise the skin first
Apply emollient twice daily, use a gentle cleanser, and follow your prescriber’s anti-inflammatory plan for flares. Consequently, you reduce noise before you test food. (The AAD guidance above explains why this order works.)
If you prefer simple oils, start fragrance-free and read our plain-English note on olive oil and eczema (non medical, educational, lifestyle) before you experiment. - Make one nutrition change, not five
Pick one: for example, switch from cow’s milk to a fortified, unsweetened plant milk you’ll actually drink. Alternatively, if lactose bothers your gut but not your skin, choose lactose-free for comfort—just keep expectations realistic for eczema. - Track like a minimalist scientist
In your phone, note date, single change made, moisturiser use, sleep, sweat, stress, weather, and a simple flare score (0–10). Because eczema has many moving parts, this tiny log reveals patterns without obsession. - Re-introduce on purpose
After 2–4 weeks, bring the original milk back for several days. If nothing changes, that milk likely doesn’t matter for your skin. If a consistent flare returns—especially with hives, swelling, or vomiting—stop and contact a clinician. - Avoid serial eliminations
Serial cuts can spiral into nutrient gaps. Keep experiments short and supervised. If you suspect true allergy, request an allergist referral and bring your diary; specialists appreciate clear timelines. (The NICE guideline outlines a sensible assessment pathway.) (NICE)
Want dairy-free ideas that still feel indulgent? Read our posts on vegan cold coffee with almond milk or a quick keto chia pudding with almond milk.
And if your flares cluster around the neckline (sweat, fabrics, perfume), these neck-specific tips cover practical tweaks.
Practical disclaimer: adults with complex histories and all families with infants should personalise this plan with their care team. Educational guidance only.
“Best milk for eczema”: a fast, human-friendly checklist
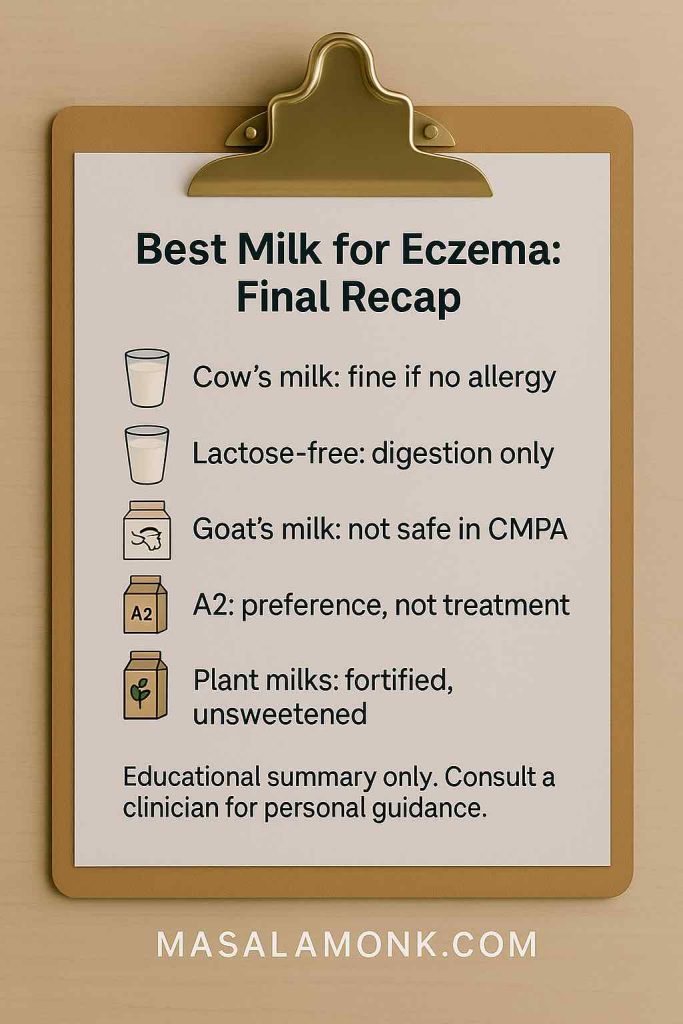
- No milk cures eczema. Therefore, choose for tolerance and nutrition, not magic.
- Cow’s milk suits most people without allergy; optimise skin care first.
- Lactose-free supports digestion, not eczema relief (see the NIDDK overview).
- Goat’s milk often cross-reacts with cow’s milk proteins; it isn’t a safe CMPA workaround (ASCIA and the Mansor study explain why). (Allergy.org.au, PubMED)
- A2 milk may soothe GI symptoms; it lacks strong eczema data.
- Plant milks help during trials; pick fortified options and mind protein.
- Infants with CMPA need clinician-guided choices: eHF for many, AAF for severe or refractory cases (the World Allergy Organization DRACMA update details this pathway). worldallergyorganizationjournal.org
- Baths and topicals: use colloidal oatmeal products; skip dairy “milk baths.” (See the FDA monograph and the oatmeal trial.) (eCFR, PubMED)
Sources used for information in this
- American Academy of Dermatology on food and eczema
- NICE guideline on assessing food allergy in children
- NIDDK: lactose intolerance—definition and facts
- ASCIA on cow’s milk allergy and related milks
- Mansor et al., 2023—cross-reactive milk proteins
- World Allergy Organization—DRACMA update on nutritional management
- Canadian Paediatric Society: cow’s milk protein allergy (2024)
- FDA monograph for colloidal oatmeal
- Lisante et al., 2017—oatmeal cream RCT
FAQs on Milk and Eczema
Friendly reminder: this FAQ offers general education. Personalise choices with your care team—especially for infants, toddlers, pregnancy, or complex histories.
1) Does milk cause eczema?
Not directly. Eczema starts with a sensitive skin barrier and inflammation. However, cow’s milk protein allergy can trigger flares in some people—especially infants. Therefore, you’ll get the best results when you first solidify daily skincare and then, if needed, test dairy changes methodically. (Educational only—see AAD guidance in references.)
2) What’s the difference between milk allergy and lactose intolerance for eczema?
Great question. Milk allergy involves the immune system reacting to milk proteins (casein, whey) and can aggravate eczema. Lactose intolerance involves the milk sugar and digestion; it usually doesn’t affect eczema. Consequently, lactose-free milk still contains the same proteins that matter for allergy. (See the NIDDK overview.)
3) Will lactose-free milk help eczema?
Usually not. Because manufacturers remove lactose (the sugar) and not the proteins, lactose-free milk rarely changes eczema. That said, if lactose bothers your gut, you can use lactose-free for comfort—just don’t expect a skin benefit. (See the NIDDK overview.)
4) What is the best milk for eczema?
No milk treats eczema. Instead, choose based on tolerance, nutrition, and age. If you don’t have milk allergy, keep whatever you digest well while you optimise skincare. If allergy is confirmed, avoid cow’s milk proteins and consider appropriate alternatives under guidance. (See AAD guidance and NICE guideline.)
5) Is A2 milk good for eczema?
Not specifically. Some people find A2 gentler on digestion; however, evidence doesn’t show reliable improvement in eczema. And remember: A2 is still cow’s milk protein, so it won’t help if you have cow’s milk protein allergy.
6) Is goat’s milk good for eczema?
Be careful. Goat’s milk proteins often cross-react with cow’s milk proteins, so many people with cow’s milk protein allergy also react to goat’s milk. Therefore, it’s not a safe workaround. (See national allergy guidance referenced.)
7) Is oat milk good for eczema?
Often it’s fine if you tolerate it, and many like it for taste and convenience. Nevertheless, oat milk doesn’t “treat” eczema; it’s a dietary choice. Pick fortified, unsweetened versions and round out protein elsewhere.
8) Is almond milk good for eczema?
Possibly fine if you tolerate nuts. Again, it won’t treat eczema, and almond milk tends to run low in protein. Choose fortified options and keep your overall diet balanced.
9) Is soy milk good for eczema?
Sometimes. Soy and pea milks provide more protein than many other plant milks. However, some toddlers with cow’s milk protein allergy also react to soy. Consequently, paediatric teams individualise this choice. (See CPS position statement.)
10) Is coconut milk good for eczema?
It can fit into a dairy-free pattern if you enjoy it and tolerate it. Still, it doesn’t treat eczema, and many coconut milks have low protein. As always, check fortification for calcium and vitamin D.
11) Is rice milk good for eczema?
It’s usually tolerated, yet it’s low in protein. Therefore, if you drink rice milk, plan other protein sources across the day and choose fortified cartons.
12) What’s the best milk alternative for eczema sufferers?
Short answer: the one you tolerate, that meets your nutrition needs, and that you can stick with. Soy or pea milk often helps with protein; oat or almond may appeal for taste; coconut or rice can suit certain preferences. Meanwhile, confirm allergy status before you eliminate major foods.
13) Can oat milk cause eczema?
Only if you personally react to oats (which is uncommon). If your skin seems to flare after oat milk consistently, pause it, stabilise skincare, and discuss a short, structured re-challenge with your clinician.
14) Can milk trigger eczema in adults?
Yes—if you have cow’s milk protein allergy. Adults can carry food allergies too, although it’s less common than in infants. If hives, swelling, wheeze, or vomiting ever occur, stop the exposure and seek medical care promptly.
15) What milk is best for toddlers with eczema?
If cow’s milk protein allergy is confirmed, clinicians typically start with extensively hydrolysed formula (eHF) and consider amino-acid formula (AAF) for severe or unresponsive cases. Avoid goat/sheep milk substitutes because of cross-reactivity. (See WAO/DRACMA update and CPS statement.)
16) I’m breastfeeding and my baby has eczema—should I cut dairy?
Sometimes a short, targeted maternal dairy (± soy) elimination helps when allergy is suspected. However, long, strict diets can harm nutrition and still miss the real trigger. Therefore, work with your paediatric team, keep trials time-bound, and re-introduce systematically. (See CPS statement and NICE guideline.)
17) Does colostrum help eczema?
Evidence in humans remains limited. Some early studies explore potential immune effects, yet they don’t translate into clinic-ready recommendations. Consequently, set expectations low and prioritise proven eczema care while the research evolves.
18) Are “milk baths” good for eczema?
Not really. Regular dairy milk in bathwater differs from colloidal oatmeal, which regulators recognise as a skin protectant and which studies support for itch relief. Therefore, skip “milk baths,” and, instead, keep baths short and lukewarm, then moisturise within three minutes. (See FDA monograph and paediatric trial in references.)
19) Can lactose intolerance cause eczema?
No—lactose intolerance involves digestion, not the immune response that drives eczema. You might choose lactose-free for gut comfort, but don’t expect it to change your skin. (See the NIDDK overview.)
20) How do I safely test a dairy elimination for milk and eczema?
Keep it simple and short:
- First, stabilise skincare (emollients, flare plan).
- Next, change one variable (e.g., switch to a fortified plant milk) for 2–4 weeks.
- Then, re-introduce the original milk on purpose and watch for a consistent change.
If reactions look immediate or severe, stop and seek medical advice. (See AAD guidance and NICE pathway.)
21) When should I see an allergist or dietitian?
Reach out if eczema stays moderate to severe despite consistent care, if you suspect true food allergy, or if growth/feeding creates concern. Specialists can structure testing and protect nutrition during any trials. (See NICE guideline and WAO/DRACMA update.)
22) Does dairy affect seborrheic dermatitis the same way as eczema?
Not exactly. Seborrheic dermatitis behaves differently from atopic dermatitis. While some people report food triggers, the evidence remains limited. Therefore, prioritise scalp/skin routines specific to seb derm and discuss any diet experiments with your clinician.
Friendly reminder: this FAQ offers general education. Personalise choices with your care team—especially for infants, toddlers, pregnancy, or complex histories.