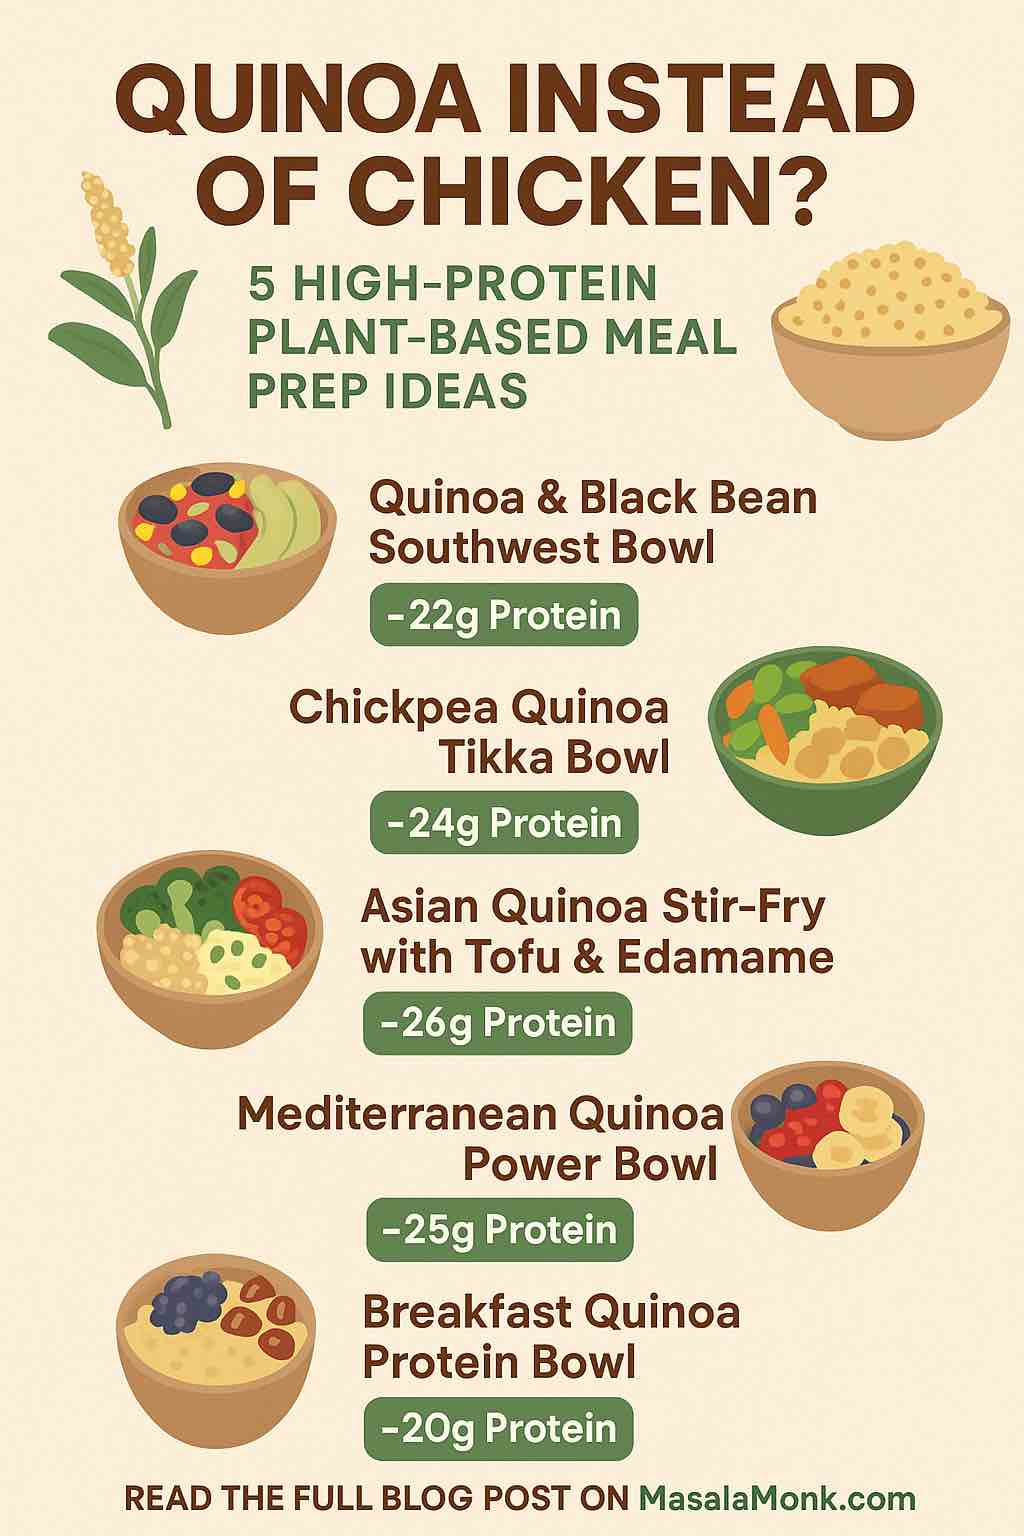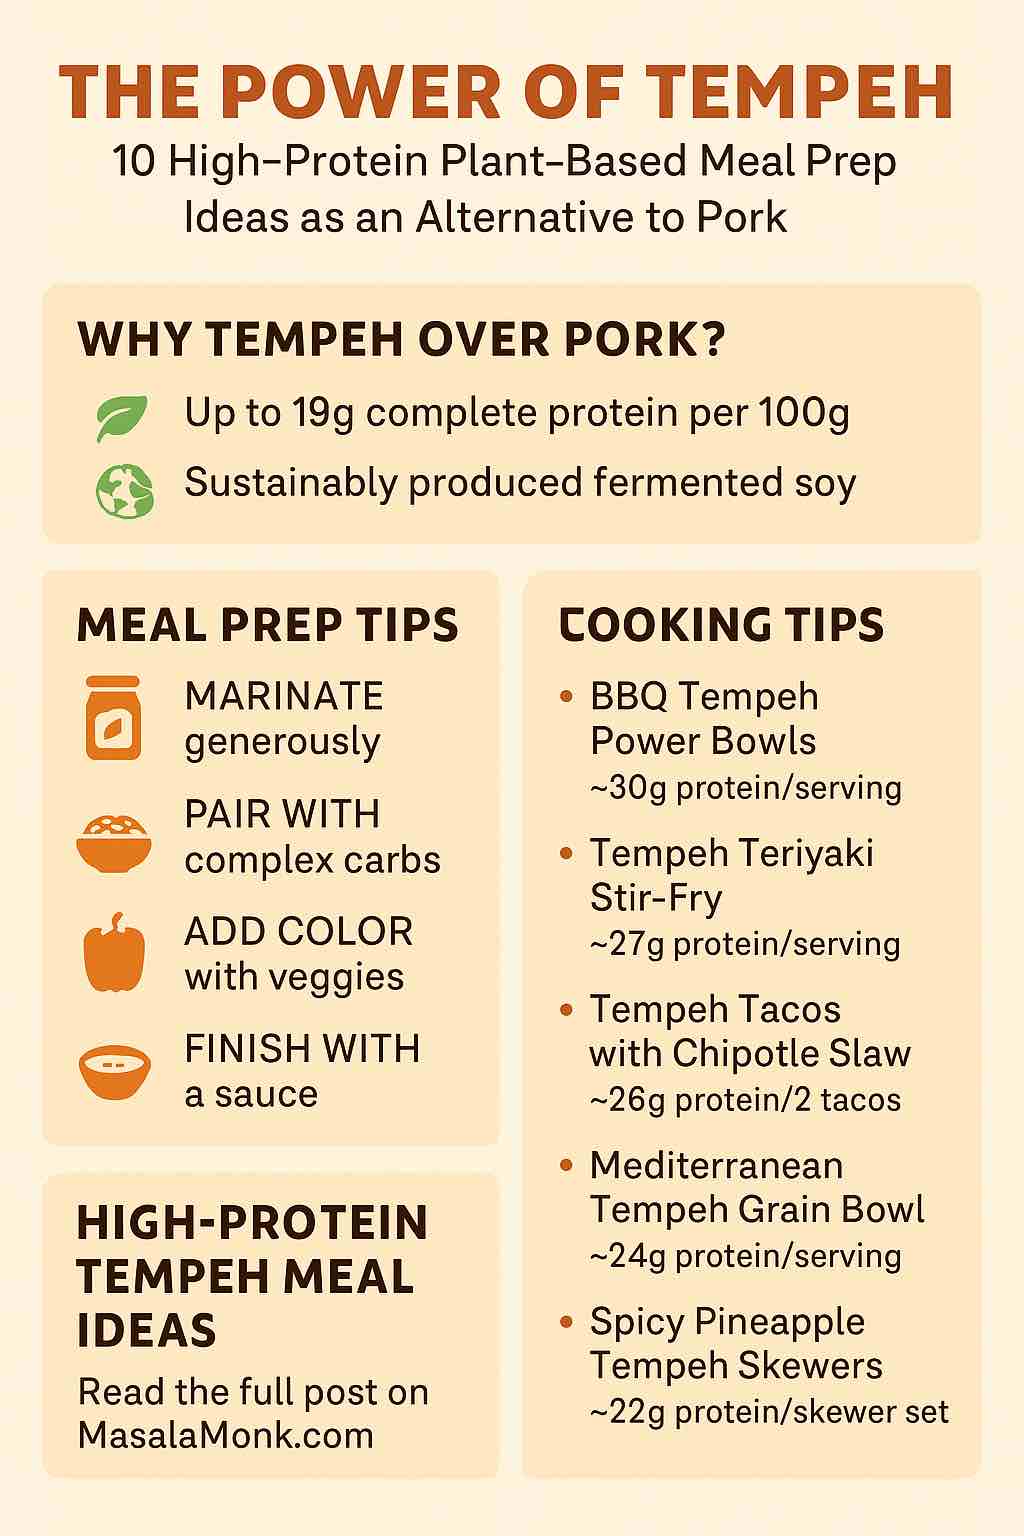
n an age of conscious eating, where health, sustainability, and flavor converge, tempeh has emerged as a plant-based powerhouse. With its meaty texture, impressive protein content (up to 19–22 grams per 100g), and remarkable culinary flexibility, tempeh is no longer just a vegan fallback—it’s a serious contender for replacing pork in your weekly meal prep.
Whether you’re reducing meat, cutting costs, or simply exploring bold, nourishing flavors, this guide explores why tempeh deserves a permanent spot in your fridge—with 10 detailed, high-protein recipes for batch cooking success.
🌱 Why Tempeh Over Pork?
✅ Nutritional Edge
- Complete Protein: Unlike most plant proteins, tempeh contains all nine essential amino acids.
- Fermented for Gut Health: Natural fermentation enhances digestibility, supports gut microbiota, and increases bioactive compounds like isoflavones.
- Heart-Smart: Zero cholesterol, low saturated fat, and high in fiber.
- Micronutrient Rich: Iron, magnesium, manganese, phosphorus, calcium, and B vitamins.
🌍 Sustainability Wins
- Tempeh has up to 20x lower environmental impact compared to pork in terms of land, water, and CO₂ emissions.
- Fermented legumes (soy, chickpeas, peas) require minimal processing and energy inputs.
🍽️ Meal Prep Philosophy: Batch. Balance. Boldness.
Meal prepping with tempeh is more than reheating leftovers. It’s about crafting boldly seasoned, protein-packed meals that fuel you through the week.
Here’s how to do it:
- Marinate generously: Tempeh soaks up flavor better than tofu.
- Pair with complex carbs: Quinoa, brown rice, millet, or sweet potatoes.
- Add color: Roasted or raw veggies boost nutrition and texture.
- Finish with a sauce: Tahini, BBQ, miso-lime, or peanut dressing = magic.
🔟 High-Protein Tempeh Meal Prep Ideas (as Pork Replacements)
Each recipe is high in protein (~20–30g per portion), budget-friendly, and designed to prep once, eat all week.
1. BBQ Tempeh Power Bowls
Protein: ~30g/serving
Best for: Replacing pulled pork
- Ingredients: Tempeh (cubed), BBQ sauce, roasted sweet potato, kale, corn, black beans, avocado-lime dressing.
- Prep Tip: Bake tempeh in BBQ sauce for 25 min at 400°F until caramelized.
- Store: 4 days in airtight containers.
2. Tempeh Teriyaki Stir-Fry
Protein: 27g/serving
Best for: Asian pork stir-fry substitute
- Ingredients: Tempeh, broccoli, bell pepper, snap peas, carrots, ginger-garlic teriyaki sauce, brown rice.
- Prep Tip: Pan-fry tempeh until golden before tossing in sauce.
- Flavor Booster: Add toasted sesame oil + scallions.
3. Tempeh Tacos with Chipotle Slaw
Protein: 26g/2 tacos
Best for: Taco Tuesday or meal prep lunches
- Ingredients: Crumbled tempeh, chipotle adobo, cumin, lime, cabbage slaw, avocado, corn tortillas.
- Batch Tip: Cook tempeh filling in bulk; reheat in pan with water splash to refresh.
4. Mediterranean Tempeh Grain Bowl
Protein: 24g/serving
Best for: Replacing pork gyros
- Ingredients: Tempeh, farro or couscous, roasted eggplant & tomato, olives, arugula, lemon tahini dressing.
- Meal Prep Hack: Serve dressing on the side to prevent soggy greens.
5. Spicy Pineapple Tempeh Skewers
Protein: 22g/skewer set
Best for: Grilled pork skewers alternative
- Ingredients: Tempeh cubes, pineapple, red onion, bell pepper, chili-soy glaze.
- Cooking: Grill or bake on skewers at 425°F for 20 minutes.
- Serve With: Coconut rice + cucumber salad.
6. Tempeh Bacon & Veggie Wraps
Protein: 30g/wrap
Best for: Pork bacon lovers
- Ingredients: Thin-sliced marinated tempeh (“bacon”), kale, hummus, tomato, whole-grain wrap.
- Flavor Profile: Smoky, salty, savory.
- Great Cold or Warm: Ideal for work lunches.
7. Tempeh ‘Meatballs’ in Marinara
Protein: 28g/4 meatballs
Best for: Italian sausage replacement
- Ingredients: Tempeh, oats, garlic, flax egg, herbs.
- Pair With: Spaghetti, zucchini noodles, or whole wheat penne.
- Batch Tip: Freeze in sauce-safe containers for up to 2 months.
8. Sweet Chili Air-Fried Tempeh Bites
Protein: 25g/serving
Best for: Crispy pork bites or popcorn chicken
- Ingredients: Tempeh, cornstarch, sweet chili sauce, sesame seeds.
- Equipment: Air fryer = best texture.
- Dipping Sauce: Vegan ranch or chili mayo.
9. Chickpea-Tempeh Protein Salad
Protein: 35g/meal jar
Best for: Cold meal prep
- Ingredients: Chickpeas, tempeh, quinoa, cucumber, tomato, parsley, lemon-garlic vinaigrette.
- Storage: Mason jar layered salad = 5-day shelf life.
- Eat Straight or Toss Over Greens
10. Smoky Tomato Tempeh & Quinoa Bowl
Protein: 29g/serving
Best for: Comfort food cravings
- Ingredients: Crumbled tempeh simmered in paprika-tomato sauce, served over quinoa with roasted zucchini.
- Pro Tip: Add smoked paprika + nutritional yeast for umami.
🛠️ Pro Meal Prep Tips for Tempeh
🔁 Rotate Sauces
Change flavor profiles weekly: teriyaki, chipotle, garlic miso, sweet chili, balsamic BBQ.
🧊 Freeze Smart
Tempeh freezes beautifully after cooking—slice or cube and store in reusable silicone bags.
🌿 Diversify Protein
Blend tempeh with lentils, tofu, or chickpeas for custom protein blends or texture shifts.
🕒 Time Saver
Cook 2–3 recipes at once and store in labeled containers by day (Mon–Fri).
🧠 Bonus: Future of Tempeh (2025 Onward)
- Chickpea & Pea Tempeh: Under development at UMass for non-soy, hypoallergenic, high-protein options.
- Better Nature’s 44g Protein Packs: Rivals meat protein with prebiotic support.
- Bioavailability Boost: Fermentation improves nutrient absorption compared to other meat analogues.
✅ Final Thoughts
Tempeh isn’t just a vegan meat replacement—it’s a nutrient-rich, versatile superfood that can redefine how we think about protein. It’s time to move beyond pork and embrace something cleaner, greener, and just as satisfying.
So pick your recipe, grab your containers, and turn tempeh into your new weekly staple.
🔟 Tempeh FAQs for First-Time & Experienced Cooks
1. What is tempeh made from?
Tempeh is a fermented product typically made from whole soybeans, although newer varieties use chickpeas, black beans, peas, or lentils. The beans are partially cooked, inoculated with a beneficial mold (Rhizopus oligosporus), and fermented into a firm, nutty-tasting block.
2. How much protein is in tempeh compared to pork?
Per 100g:
- Tempeh: 19–22g protein (varies by brand/bean type)
- Pork loin (cooked): ~27g
High-protein tempeh (e.g., Better Nature’s) offers up to 44g protein per 200g, making it comparable to lean pork while also offering fiber and no cholesterol.
3. Does tempeh need to be cooked before eating?
Yes. While technically safe if pasteurized, tempeh tastes and digests better when cooked. Light steaming, sautéing, baking, or air frying also enhances its flavor and removes any bitterness.
4. How do I get tempeh to absorb flavor better?
Steam it for 10 minutes before marinating. This opens up the tempeh’s pores, making it more receptive to marinades. Marinate for at least 30 minutes (or overnight) for best results.
5. Can I freeze tempeh meal-prepped dishes?
Absolutely. Cooked tempeh freezes very well. For optimal texture, freeze it in sauce or fully assembled meals (excluding fresh greens). Thaw overnight in the fridge or microwave gently before serving.
6. Is tempeh gluten-free?
Traditional soy-based tempeh is naturally gluten-free, but check the label. Some commercial products may contain grains (like barley) or flavorings with gluten. For strict GF diets, choose certified gluten-free brands.
7. What does tempeh taste like?
Tempeh has a mildly nutty, earthy flavor with a chewy, firm texture. When well-seasoned or marinated, it takes on the taste of whatever sauce you pair it with, making it ideal for BBQ, smoky, spicy, or umami-rich dishes.
8. Is tempeh suitable for people with soy allergies?
Standard tempeh is made from soybeans, so it’s not safe for people with soy allergies. However, newer varieties made from chickpeas, black beans, or peas are emerging as soy-free alternatives.
9. Can I use tempeh to replace pork in traditional recipes?
Yes! Tempeh works well in dishes like pulled pork sandwiches, tacos, stir-fry, meatballs, or even “bacon” strips. Its firm bite makes it a satisfying swap for pork in both texture and protein content.
10. Where can I buy tempeh?
Tempeh is available at most grocery stores in the refrigerated natural foods or tofu section. Popular brands include Lightlife, Tofurky, Better Nature, SoyBoy, and Trader Joe’s. You can also find fresh tempeh at local co-ops or make your own at home.