If you’ve ever struggled to find the perfect morning drink that’s both energizing and nourishing, you’re not alone. Coffee might wake you up fast, but it can also leave you with jitters or a mid-morning crash. That’s why more and more people are turning to matcha smoothie recipes with spinach. They don’t just taste amazing — they deliver steady, focused energy and a serious boost of nutrients in every sip.
The beauty of these smoothies is how flexible they are. Creamy bananas, sweet strawberries, tropical mango, or even a scoop of protein powder can all blend seamlessly with spinach and matcha. The result is a drink that feels indulgent, but is secretly loaded with health benefits. And as science shows, both matcha and spinach bring some powerful advantages to your body and mind.
The Science Behind Matcha + Spinach Smoothies
Before we get into recipes, let’s unpack why this duo is worth adding to your routine. Because while smoothies should taste good, it’s even better when they work hard for your health too.
Matcha: Calm Energy Meets Antioxidant Power
Unlike regular green tea, where the leaves are steeped and removed, matcha is made by whisking whole powdered leaves into water or milk. This means you’re consuming all the nutrients the leaf has to offer. According to Harvard Health, matcha delivers a higher concentration of catechins — powerful plant compounds that act as antioxidants and may help lower blood pressure, protect heart health, and support insulin sensitivity (Harvard Health).
One antioxidant in particular, EGCG (epigallocatechin gallate), has been studied for its role in metabolism and fat oxidation. Research suggests green tea catechins like EGCG may help with weight management, though results are still mixed in humans (PMC study).
What makes matcha especially unique is its combination of caffeine and L-theanine. Together, they deliver steady alertness without the nervous edge of coffee. A review in the Cleveland Clinic notes that this balance can improve focus, memory, and attention while promoting a sense of calm (Cleveland Clinic). It’s why so many people describe matcha energy as “calm focus” rather than a quick buzz.
Spinach: A Green You’ll Actually Enjoy
Spinach may be humble, but it’s a nutritional powerhouse that deserves more credit. Just a handful provides vitamin K for bone strength, iron for healthy blood, folate for cell growth, and magnesium for muscles and nerves. It’s also a good source of vitamin C and plant-based antioxidants, which support immunity and skin health.
What makes spinach so easy to add to smoothies is its taste — or rather, its lack of one. Unlike bitter greens like kale, spinach blends smoothly with fruits and nut milks without overpowering them. The Times of India even calls spinach-based smoothies some of the easiest “green drinks” for people who don’t usually like leafy flavors (Times of India).
Together: Why This Combo Works
When you bring these two ingredients together, you get the best of both worlds: the antioxidants and calm energy of matcha plus the vitamins, minerals, and fiber of spinach. One nutrition site even points out that matcha contains up to 125 times more antioxidants than spinach alone, which makes pairing them a no-brainer (Veganced).
The result? A smoothie that helps your body fight oxidative stress, supports steady energy, aids digestion, and fills nutritional gaps — all while tasting creamy and refreshing. No wonder matcha + spinach smoothies are becoming a go-to choice for people looking to balance wellness with convenience.
- Curious about spinach beyond smoothies? Read MasalaMonk’s deep dive on Spinach Nutrition & Weight-Loss Benefits.
- Interested in stress relief? Learn how tea impacts cortisol in Tea and Stress Management.
- Want to expand your greens? Don’t miss MasalaMonk’s guide to Kale – The Nutritional Powerhouse.
5 Healthy Matcha Smoothie Recipes
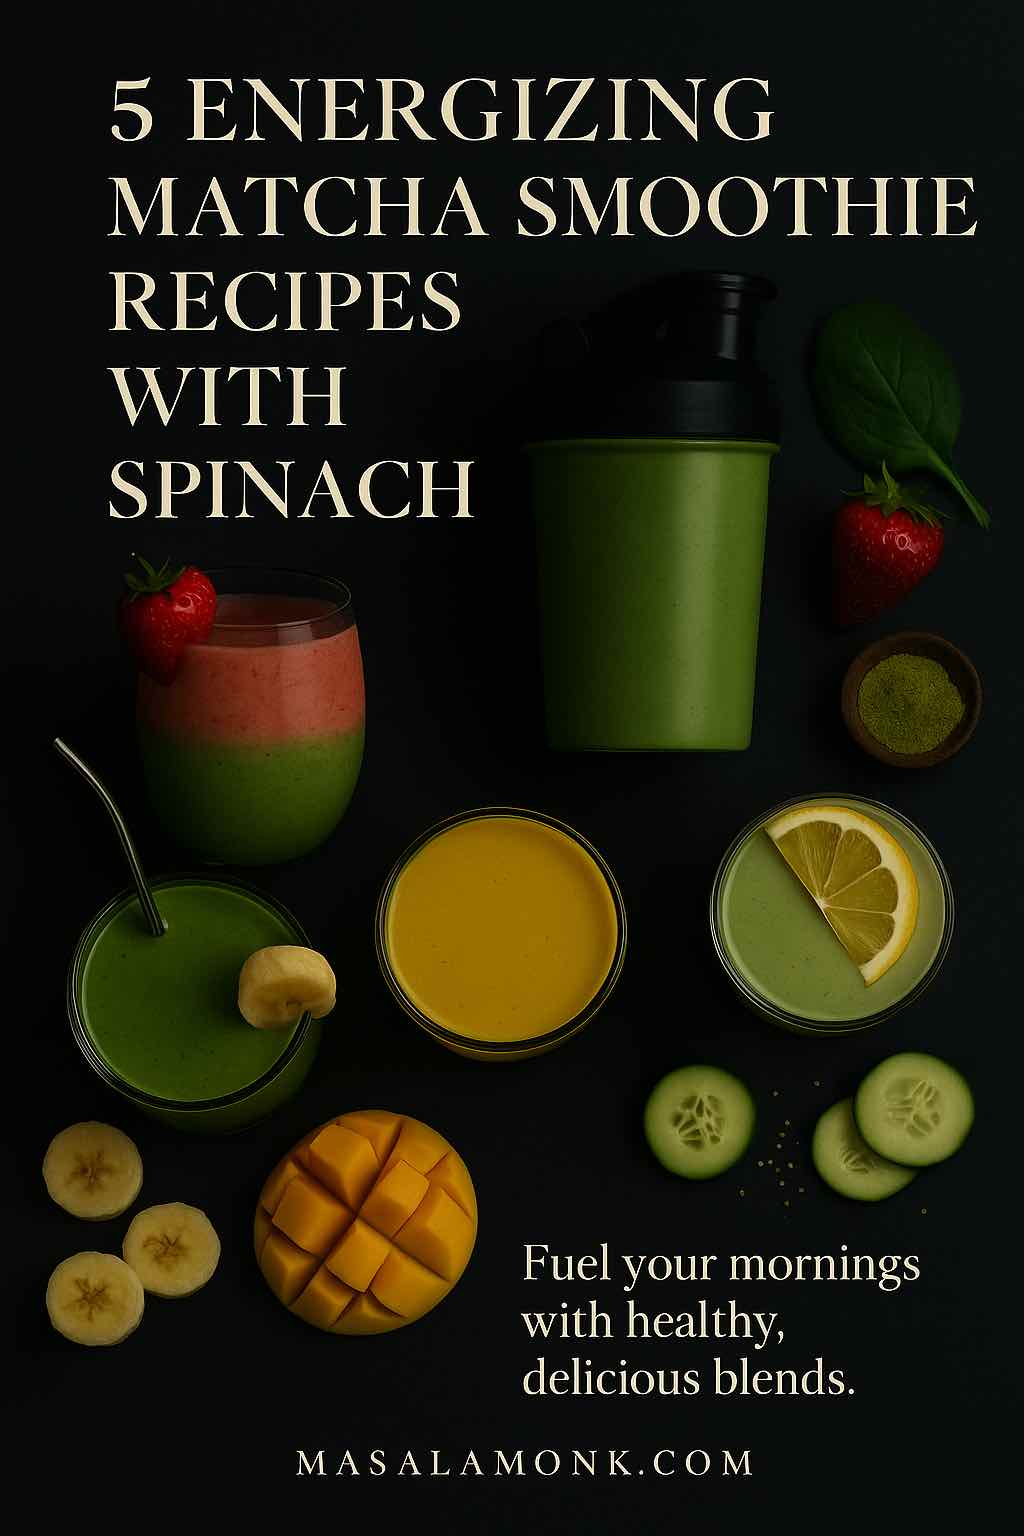
Now that you know the science behind why matcha and spinach make such a powerful pair, it’s time to put that knowledge into practice. These five recipes are simple, versatile, and can be made in just a few minutes. Each one has its own personality — whether you’re in the mood for creamy banana, refreshing berries, tropical mango, a protein-packed boost, or a lighter breakfast blend for weight management.
Think of these as base recipes you can play with. Swap milks, add seeds, toss in extra fruit — the options are endless. The best part? Every sip delivers the calm energy of matcha and the nutritional lift of spinach.
Banana Spinach Matcha Smoothie Recipe
There’s something undeniably comforting about bananas in a smoothie — creamy, naturally sweet, and always satisfying. When you pair banana with vibrant green matcha and a handful of spinach, you get a drink that feels indulgent while being sneakily healthy. The banana masks the “green” taste of spinach, making this a great option if you’re just starting out with green smoothies.
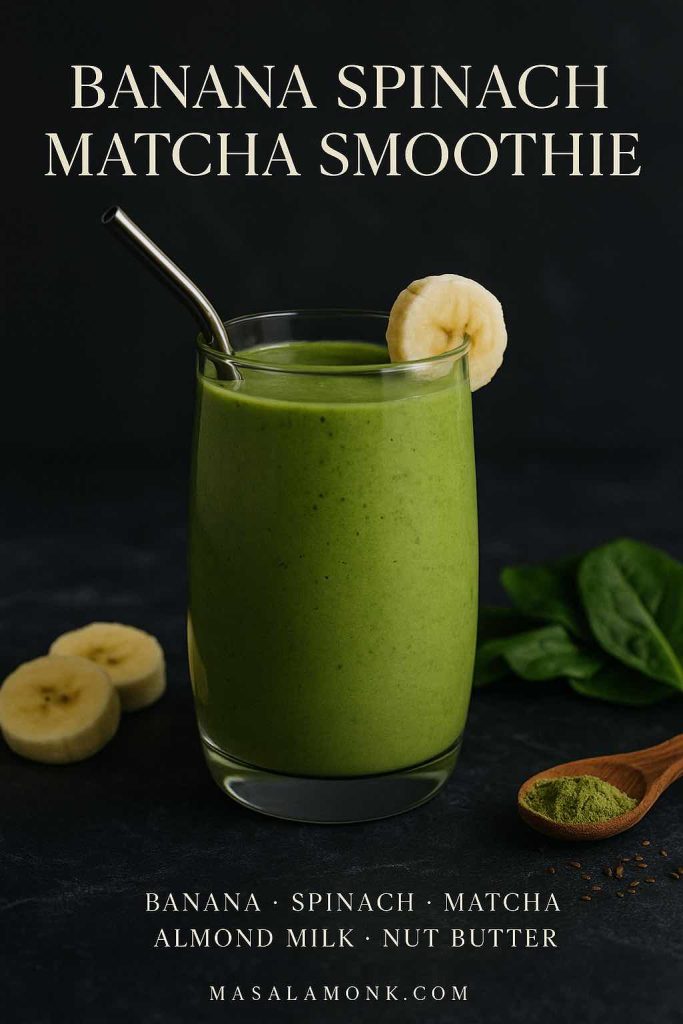
This smoothie is perfect for breakfast on busy mornings because it gives you sustained energy without a sugar crash. Bananas provide quick-release carbs for an instant boost, while matcha’s caffeine and L-theanine combination offers focus and calm energy throughout the morning. Add in spinach for fiber, iron, and vitamins, and you’ve got a simple but powerful smoothie that ticks all the boxes.
Want to play around with flavors? Add a spoonful of cocoa powder for a chocolate banana matcha smoothie, sprinkle in cinnamon for warmth, or swap dairy milk for almond or oat milk if you prefer a vegan version. For an extra protein boost, toss in a spoon of Greek yogurt or nut butter — it turns this into a filling, meal-worthy shake.
Ingredients:
- 1 ripe banana (frozen for extra creaminess)
- 1 teaspoon matcha powder (culinary grade works best in smoothies)
- 1 cup fresh spinach leaves, washed and packed
- 1 cup almond or oat milk (or dairy milk if you prefer)
- 1 tablespoon nut butter (optional, for protein and healthy fats)
- Ice cubes (optional, for texture)
Method:
- Place all ingredients in a blender.
- Blend on high until smooth and creamy.
- Adjust thickness with more milk if needed.
- Serve immediately — garnish with a sprinkle of matcha powder or chia seeds.
Pro Tip: Freeze banana slices ahead of time for a creamier texture and a naturally chilled smoothie without watering it down.
- Want more iron-rich ideas? Explore Masala Monk’s High-Iron Smoothies & Shakes for blends that help boost energy and absorption naturally.
- Pair your smoothie with a wholesome breakfast: Try these Healthy Millet Protein Pancakes for a filling, nutrient-dense start to your day.
Strawberry Spinach Matcha Smoothie (Berry Boost)
Strawberries and matcha may sound like an unusual pairing, but once you try it, you’ll see why it works so well. The sweetness and slight tang of strawberries balance matcha’s earthy notes, while spinach blends in seamlessly, adding nutrients without altering the taste. The result is a refreshing, vibrant pink-green smoothie that feels like a treat but delivers serious nutrition.
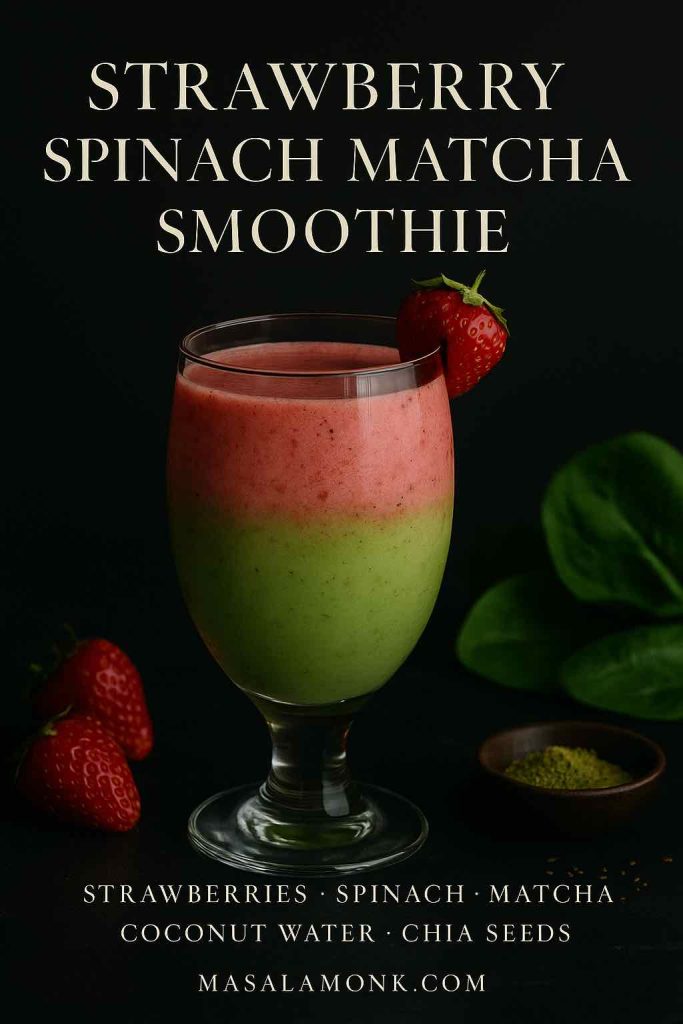
This smoothie is ideal as a mid-morning pick-me-up or an afternoon refresher. Berries are loaded with vitamin C and antioxidants, which not only support your immune system but also help your body absorb the iron from spinach more effectively — a win-win. Together with matcha’s catechins, this drink is a powerhouse of anti-inflammatory compounds.
For variety, try swapping strawberries for blueberries or raspberries to create different versions of a berry matcha smoothie. Adding a spoonful of chia seeds makes it more filling, while coconut water instead of milk gives it a lighter, tropical edge. You can even blend in a few frozen banana slices for extra creaminess.
Ingredients:
- 1 cup strawberries (fresh or frozen)
- 1 teaspoon matcha powder
- 1 cup fresh spinach leaves
- 1 cup coconut water or almond milk
- 1 tablespoon chia seeds (optional, for fiber)
- ½ frozen banana (optional, for creaminess)
Method:
- Blend spinach, liquid base, and matcha first to avoid clumps.
- Add strawberries, chia seeds, and banana if using.
- Blend until smooth, adjusting liquid for consistency.
- Pour into a chilled glass and enjoy immediately.
Pro Tip: Use frozen berries instead of ice cubes — they’ll thicken your smoothie while keeping the flavor concentrated and sweet.
- Love fruit and greens together? Check out these Iron-Enriched Spinach & Apple Smoothies designed to boost nutrition and flavor.
- Looking for another berry treat? MasalaMonk’s Protein-Rich Cherry Pancakes are antioxidant-packed and perfectly complement this smoothie.
Mango Spinach Matcha Smoothie (Tropical Energy)
If you’ve ever wished your breakfast could taste like vacation, this smoothie is for you. Juicy, golden mango pairs beautifully with the grassy notes of matcha, while spinach provides a subtle green boost. The result is a creamy, tropical matcha green smoothie that feels indulgent but is light on calories.
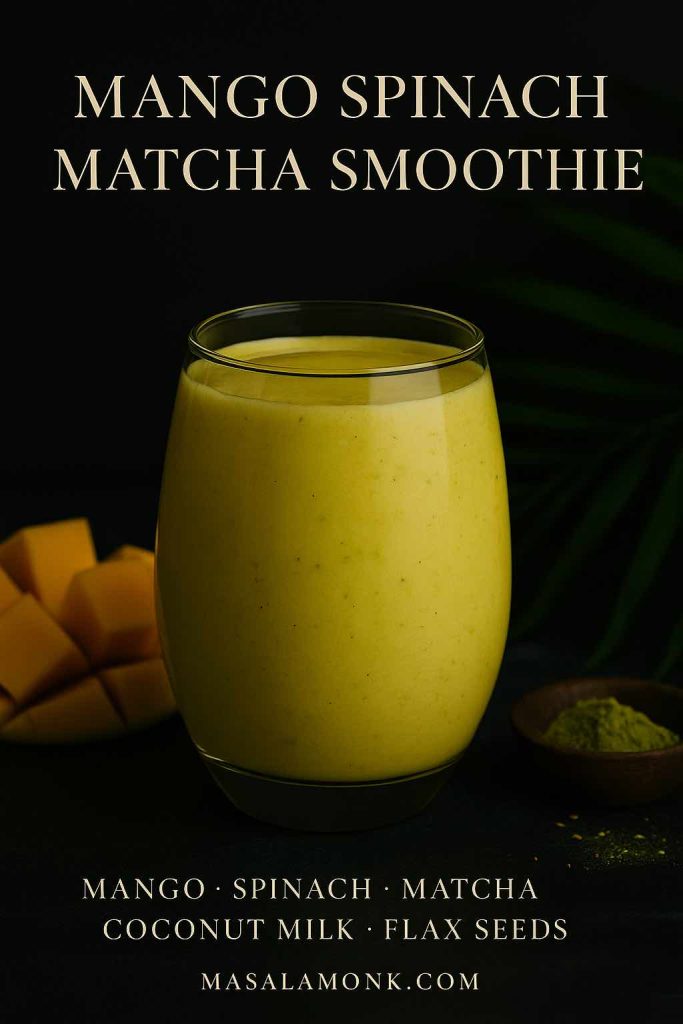
Mango is rich in vitamin A and vitamin C, making this smoothie especially good for skin health and immunity. Paired with matcha’s antioxidants and spinach’s minerals, it becomes a nutrient-dense drink that can replace sugary tropical juices with a much healthier option. It’s also naturally sweet, so you don’t need added sugar.
For an extra twist, add coconut milk or pineapple chunks to create a tropical matcha smoothie. If you’re looking for a more filling version, blend in a scoop of protein powder or flax seeds to turn it into a post-workout recovery drink.
Ingredients:
- 1 cup mango chunks (fresh or frozen)
- 1 teaspoon matcha powder
- 1 cup spinach leaves
- 1 cup coconut milk (or coconut water for lighter option)
- 1 tablespoon flax seeds or hemp seeds (optional, for omega-3s)
- Ice cubes (optional)
Method:
- Blend spinach, liquid, and matcha first.
- Add mango and seeds, then blend until silky smooth.
- Serve chilled, with a sprinkle of shredded coconut on top if desired.
Pro Tip: If your mango isn’t super ripe, add half a banana to balance the flavor and enhance creaminess.
- Want something indulgent yet low-carb? Try these Vegan Keto Macadamia Nut Smoothies for creamy tropical vibes.
- Craving more mango goodness? Don’t miss this Mango & Chia Pudding with Fox Nuts — a fiber-rich breakfast bowl.
Protein-Packed Spinach Matcha Smoothie
Sometimes you need a smoothie that does more than just refresh you — it needs to fill you up. This protein-packed version is exactly that. With a scoop of protein powder or Greek yogurt, it transforms into a balanced meal that keeps you satisfied for hours. Matcha fuels your mind with clean energy, spinach delivers micronutrients, and the protein helps repair muscles and maintain satiety.
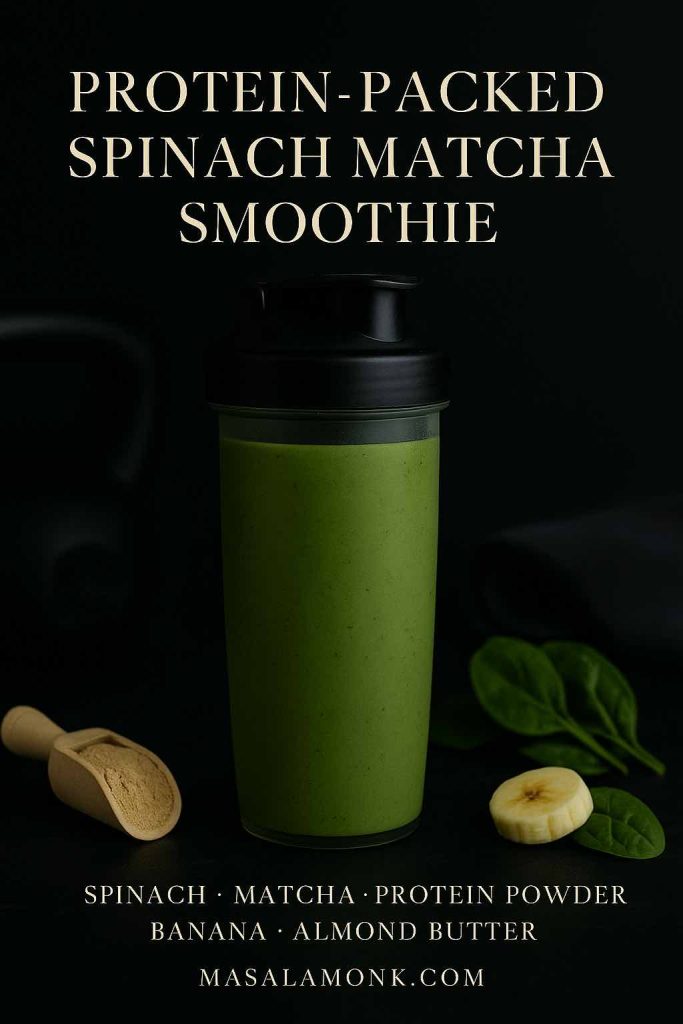
This smoothie works beautifully as a post-workout drink. The combination of carbs from fruit and protein from powders or yogurt is ideal for recovery, while matcha helps sharpen your focus for the rest of the day. Spinach adds magnesium and potassium, which also support muscle function.
The best part? You can adapt it endlessly. Go with vanilla whey for creaminess, collagen for skin and joint support, or plant-based protein for a vegan twist. Blend in banana or avocado for texture, add nut butter for richness, or stir in cacao for a chocolate matcha protein shake.
Ingredients:
- 1 scoop protein powder (whey, plant-based, or collagen)
- 1 teaspoon matcha powder
- 1 cup fresh spinach
- 1 banana or ½ avocado
- 1 tablespoon almond butter (optional)
- 1 cup milk of choice (dairy, oat, or almond)
Method:
- Blend spinach, matcha, and milk first.
- Add protein powder, banana/avocado, and almond butter.
- Blend until smooth and creamy.
- Serve immediately as a satisfying meal replacement.
Pro Tip: For best results, blend the spinach and matcha with liquid first, then add the protein powder — this prevents clumping and ensures a silky finish.
- Need more protein inspiration? Check out these Nut-Infused Smoothies that combine flavor with staying power.
- Looking for savory high-protein options? Try MasalaMonk’s Plant-Based Protein Breakfast Ideas featuring tofu as a smart egg swap.
- Need a quick boost on busy days? Sip on one of these Wellness Shot Recipes for a concentrated nutrient kick.
Weight-Loss Morning Matcha Spinach Smoothie
Light, hydrating, and metabolism-friendly, this is one of those Matcha Smoothie Recipes, that is designed for those mornings when you want something refreshing yet filling enough to keep cravings at bay. Matcha has been studied for its potential role in fat oxidation, while spinach provides fiber to support digestion and satiety. Add chia seeds, which expand in liquid, and you’ve got a smoothie that helps you feel full longer without piling on extra calories.
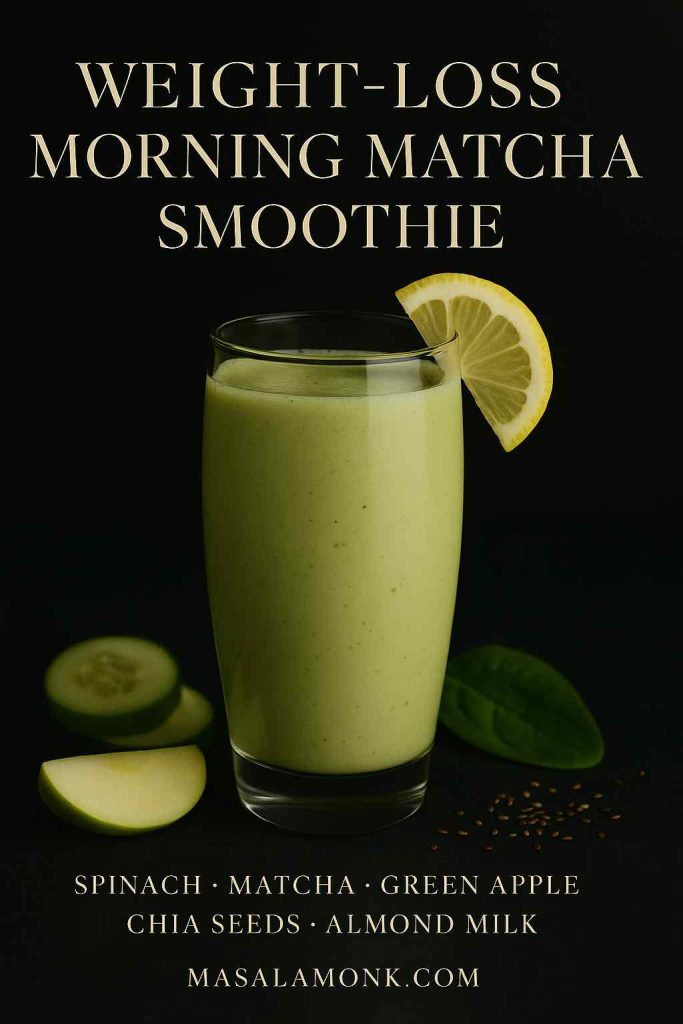
This blend is especially good first thing in the morning, as it hydrates and energizes without being heavy. The crisp flavors of apple or cucumber keep it light and refreshing, while lemon juice adds brightness and helps balance the grassy notes of matcha. It’s also a great option if you’re trying intermittent fasting and need a nutrient-rich but light first meal.
For more staying power, you can add a quarter avocado, a scoop of protein powder, or even some Greek yogurt. These tweaks turn it from a simple snack into a smart, weight-conscious breakfast smoothie that supports your goals.
Ingredients:
- 1 teaspoon matcha powder
- 1 cup fresh spinach
- ½ green apple or cucumber
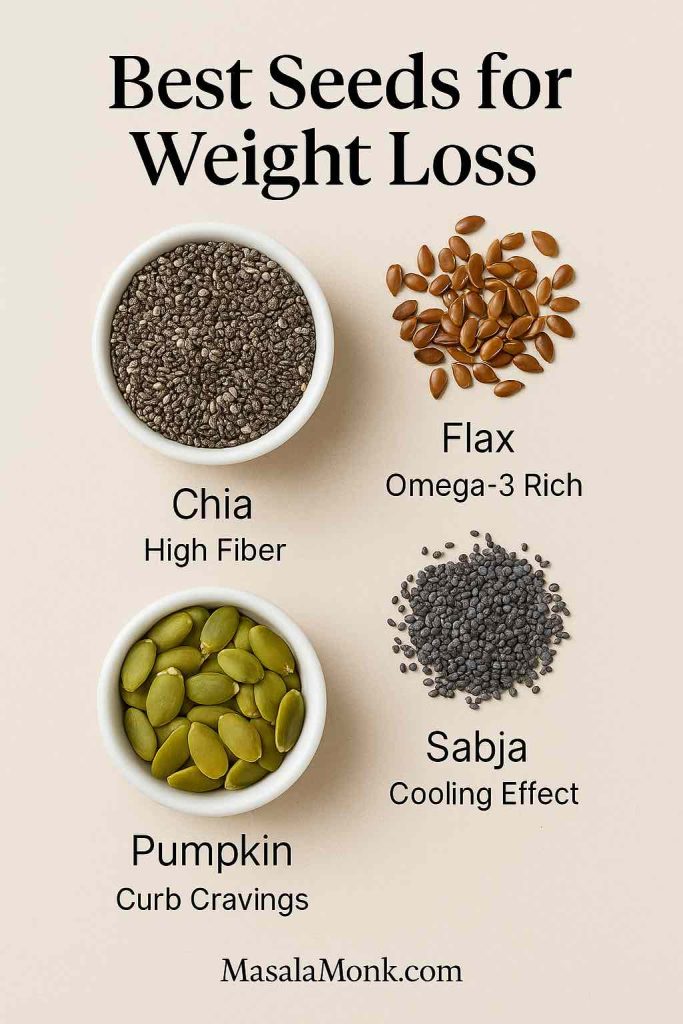
- 1 tablespoon chia seeds (or flax seeds)
- 1 cup unsweetened almond milk
- Juice of ½ lemon (optional, for brightness)
- Ice cubes
Method:
- Blend spinach, almond milk, and matcha first until smooth.
- Add apple/cucumber, chia seeds, and lemon juice.
- Blend again until creamy and light.
- Pour into a tall glass and enjoy immediately.
Pro Tip: Soak the chia seeds in almond milk for 10–15 minutes before blending — it makes the smoothie creamier and more filling.
- Want another metabolism-friendly drink? Try this soothing Clove & Cardamom Green Tea.
- Looking to spice up your mornings? Discover Green Tea & Spice Infusions that blend flavor with weight-loss support.
- Prefer something cozy instead of a smoothie? MasalaMonk’s Anti-Inflammatory Drinks are packed with wellness benefits.
Tips for Making the Best Matcha Smoothies at Home
By now, you’ve seen just how versatile and delicious these matcha smoothie recipes can be. But before you start blending on autopilot, it’s worth taking a moment to think about how to get the most out of your matcha smoothie routine. A few simple choices can make your drinks not only tastier, but also healthier and more satisfying.

First, let’s talk about the matcha itself. Not all matcha powders are created equal. If you’re new to making smoothies, look for a culinary-grade matcha. It’s affordable, blends well, and is made for mixing into recipes. Ceremonial grade is a bit more delicate and often reserved for traditional tea ceremonies, but if that’s what you have, it will still work beautifully. Just remember to sift your matcha before blending to avoid clumps.
Next, consider your base liquid. While regular milk is always an option, plant-based milks like almond, oat, or coconut add unique flavors and textures that can transform a smoothie. Coconut milk, for example, makes your drink richer and tropical, while oat milk adds a natural sweetness and creamy consistency. If you’re keeping calories low, unsweetened almond milk or coconut water are excellent choices.
Add-in and Add-ons for Matcha Smoothie Recipes
Another thing to think about is add-ins. The recipes above are strong on their own, but you can make them even more powerful by including extras like:
- Chia seeds or flax seeds → for fiber and omega-3s.
- Nut butters → for creaminess and healthy fats.
- Protein powders → for satiety and muscle recovery.
- Cacao or cinnamon → for extra flavor and antioxidants.
And finally, don’t forget texture. If you like your smoothies thick and spoonable, use frozen fruit and less liquid. If you prefer them light and drinkable, add more liquid and use fresh fruit. Over time, you’ll figure out the balance that works best for your taste and routine.
When you keep these tips in mind, you’ll find that your matcha smoothie recipes become less of a one-off treat and more of a daily ritual you look forward to.
📚 Further Reading on Health & Wellness
Looking for more ways to nourish your mornings and support your health? Here are a few handpicked posts from MasalaMonk you might enjoy:
- 🍵 Spinach – Nutrition, Benefits, and 5 Practical Ways for Weight Loss – learn why spinach is a true superfood and easy ways to use it daily.
- 🌿 Tea and Cortisol: How Your Favorite Brew Can Help Manage Stress – discover how tea (including matcha!) can help balance stress hormones.
- 🥗 10 Most Popular Mediterranean Breakfasts – get inspired with wholesome breakfast traditions from around the world.
- 🥪 Avocado, Basil & Grilled Tomato Sandwich – a savory and satisfying plant-based breakfast idea.
- 🥣 Creative Chia Pudding Recipes – perfect if you love make-ahead, nutrient-packed breakfasts.
Conclusion – Blending Flavor, Health, and Energy
As you can see, a simple smoothie can be so much more than just a quick drink. By combining spinach with matcha, you’re layering nutrients, antioxidants, and natural energy into something that also tastes genuinely delicious. Whether you reach for the banana version on a busy morning, the berry boost for an afternoon refresh, or the protein-packed blend after a workout, each one of these matcha smoothie recipes has a role to play in your day.
What makes them even better is how customizable they are. With just a few tweaks — switching up your fruit, adding seeds, or trying different plant-based milks — you can create endless variations without ever getting bored. It’s this flexibility, along with the proven health benefits of both matcha and spinach, that makes these smoothies such a smart addition to your lifestyle.
So the next time you’re debating between reaching for a cup of coffee or skipping breakfast altogether, consider giving one of these vibrant green blends a try instead. You’ll get the calm, sustained energy of matcha, the nutritional boost of spinach, and the satisfaction of knowing you’re nourishing your body with every sip. In other words, you’re not just drinking a smoothie — you’re fueling your day the smart, delicious way.
FAQs About Matcha Smoothie Recipes
1. Can you put matcha powder in smoothies?
Absolutely! Adding matcha powder to smoothies is one of the easiest ways to enjoy its benefits. Because matcha is powdered green tea leaves, you’re consuming the whole leaf — which means more antioxidants and nutrients compared to regular steeped tea. Just a teaspoon blended with fruit, spinach, and your favorite milk turns into a vibrant matcha smoothie recipe that’s both energizing and nourishing.
2. What fruit goes best with matcha in smoothies?
Bananas, strawberries, blueberries, and mango are some of the best fruits to pair with matcha in smoothies. Bananas add creaminess and natural sweetness, berries bring antioxidants and tang, and mango creates a tropical twist. These pairings not only balance matcha’s earthy flavor but also make your matcha smoothie recipes taste like a treat.
3. What is the best matcha for smoothies?
For smoothies, culinary-grade matcha is the best choice. It’s more affordable than ceremonial grade and designed to be mixed into foods and drinks. Look for high-quality organic matcha that’s bright green in color, as that usually indicates freshness and good nutrient content. This will make your matcha green tea smoothies both flavorful and effective.
4. Are matcha smoothies good for weight loss?
They can be. Matcha contains catechins like EGCG that may support metabolism and fat oxidation, while spinach and seeds add fiber to keep you full. When combined with low-calorie fruits like cucumber, apple, or berries, these weight-loss matcha smoothie recipes can help control cravings and keep your energy steady throughout the day.
5. Can matcha smoothies replace coffee in the morning?
Yes, many people use matcha smoothies as a coffee alternative. Matcha contains caffeine, but it’s balanced by L-theanine, which promotes calm focus instead of jitters. When blended into a smoothie with spinach, fruit, and protein, it makes a balanced breakfast that powers your morning without the crash that coffee often brings.
6. How often should you drink matcha smoothies?
Most people can enjoy one of the matcha smoothie recipes per day without issues, depending on their caffeine sensitivity. A typical serving (1 teaspoon of matcha powder) contains about 60–70 mg of caffeine, which is less than coffee but enough to boost energy. If you’re sensitive to caffeine, try having your smoothie earlier in the day.

