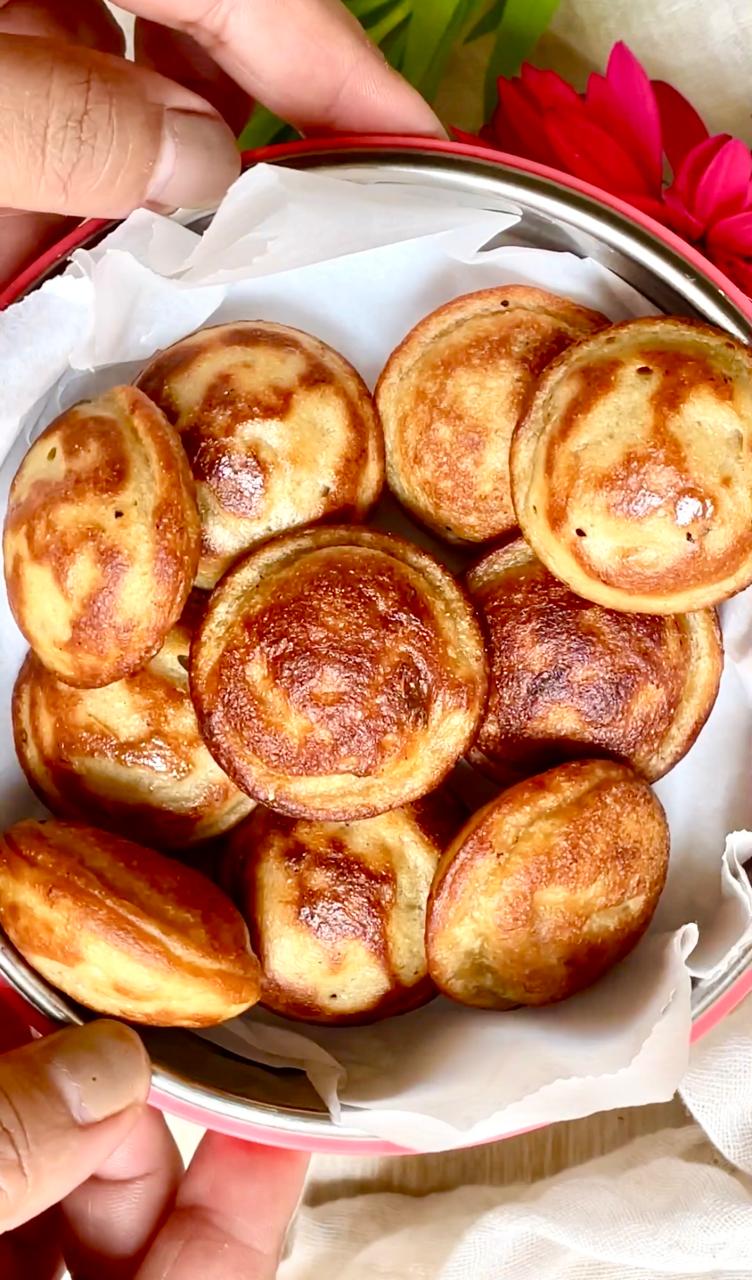
Preparing a lunch box every morning can be tiring but incredibly satisfying, especially when you know you’re giving your kids a healthy meal. Using all-natural ingredients without any artificial flavors or substances is the key. Snacking a healthy lunch box for your kids ensures they get the nutrients they need to stay active and focused throughout the school day. This easy to make sabudana vada/waffle is nutritious and tasty snack which will keep them energized throughout the day.
Ingredients:
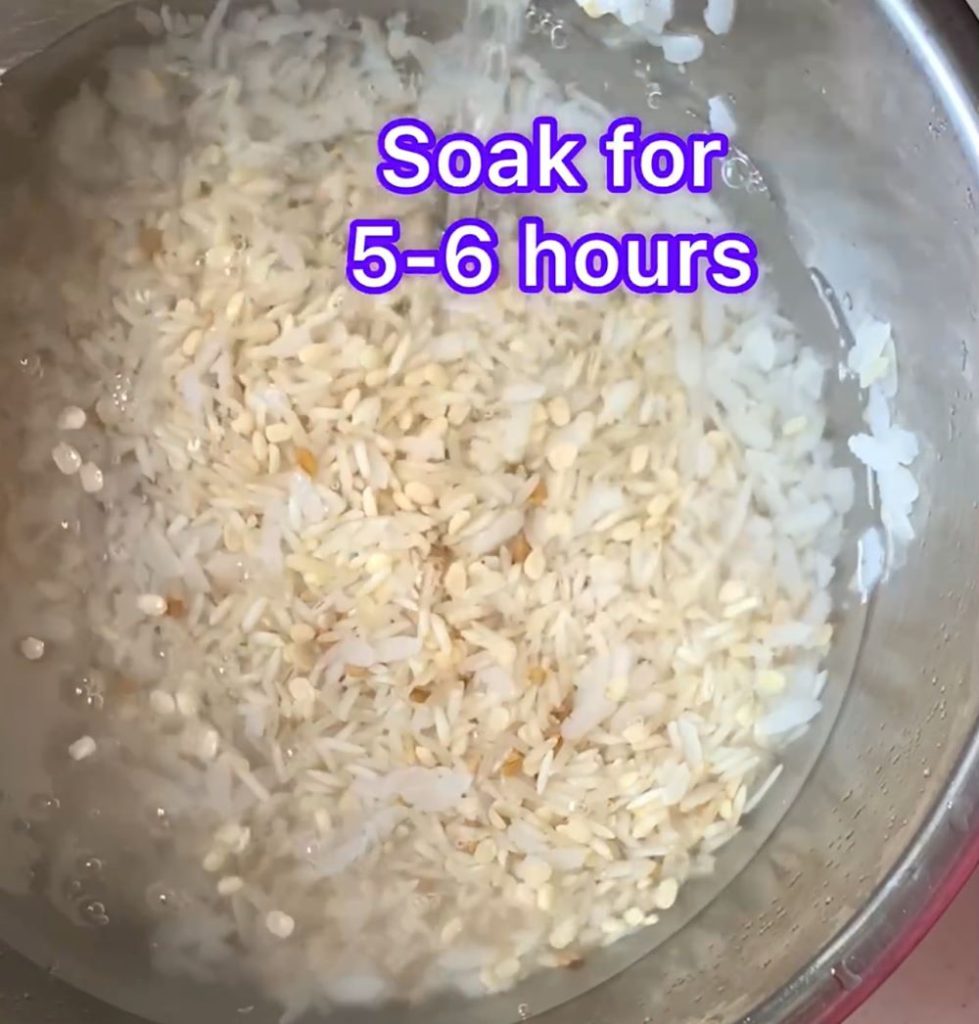
1 cup sabudana (tapioca pearls), soaked overnight
½ cup peanuts, roasted and crushed
2 potatoes, boiled and mashed
1-2 green chilies, finely chopped
1 tbsp fresh coriander leaves, finely chopped
Salt to taste
Oil or ghee for frying
Method:
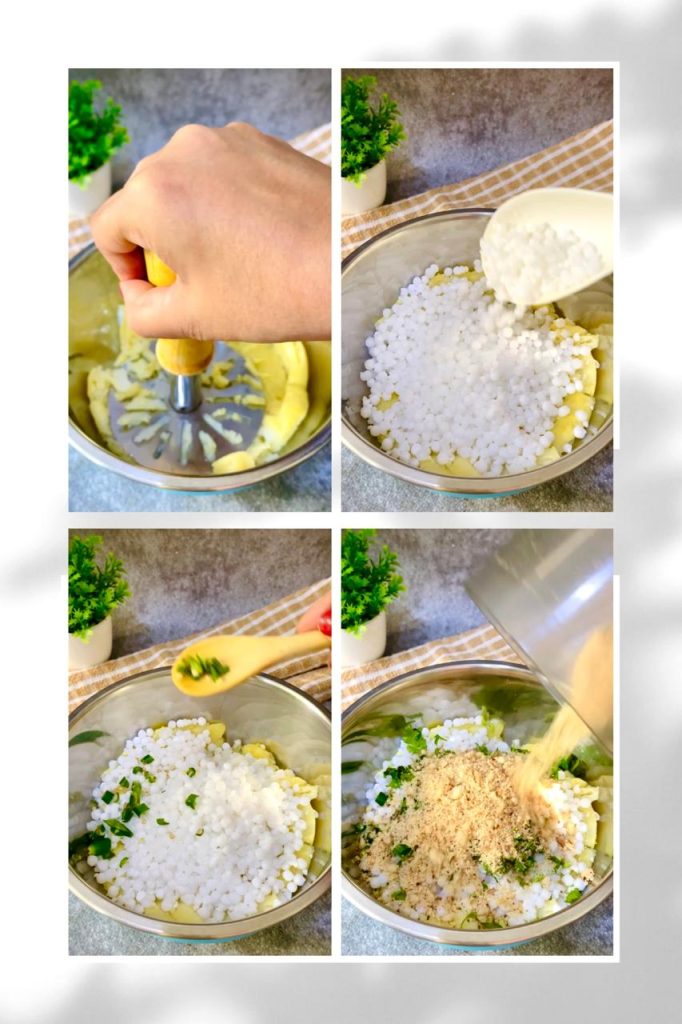
Begin by rinsing the sabudana thoroughly under cold water until the water runs clear. Then, soak the sabudana in enough water to cover it and let it sit overnight.
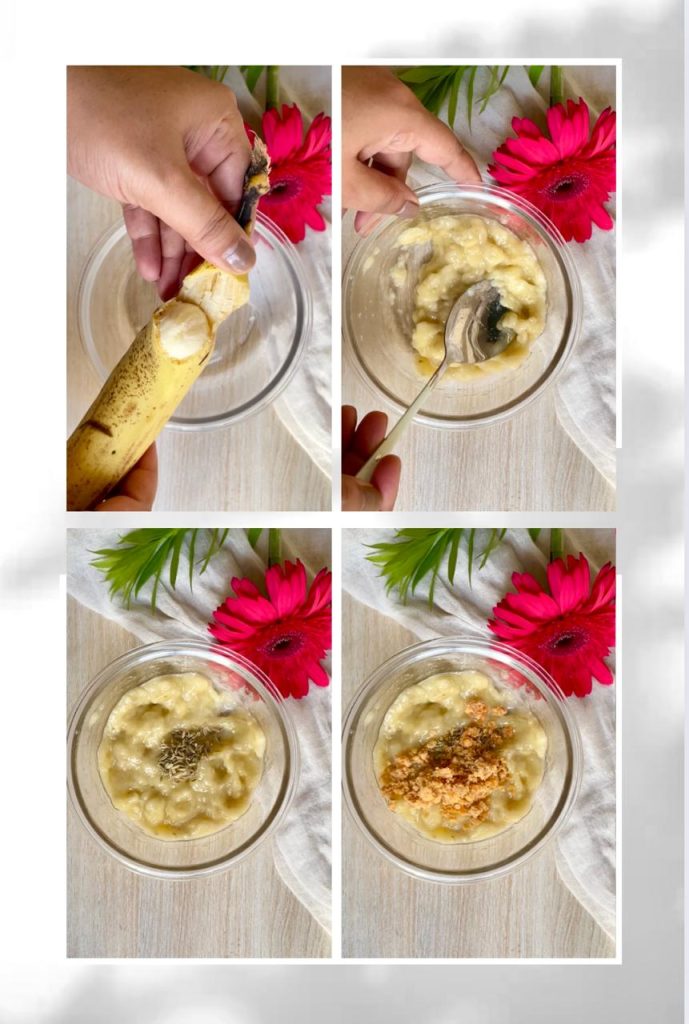
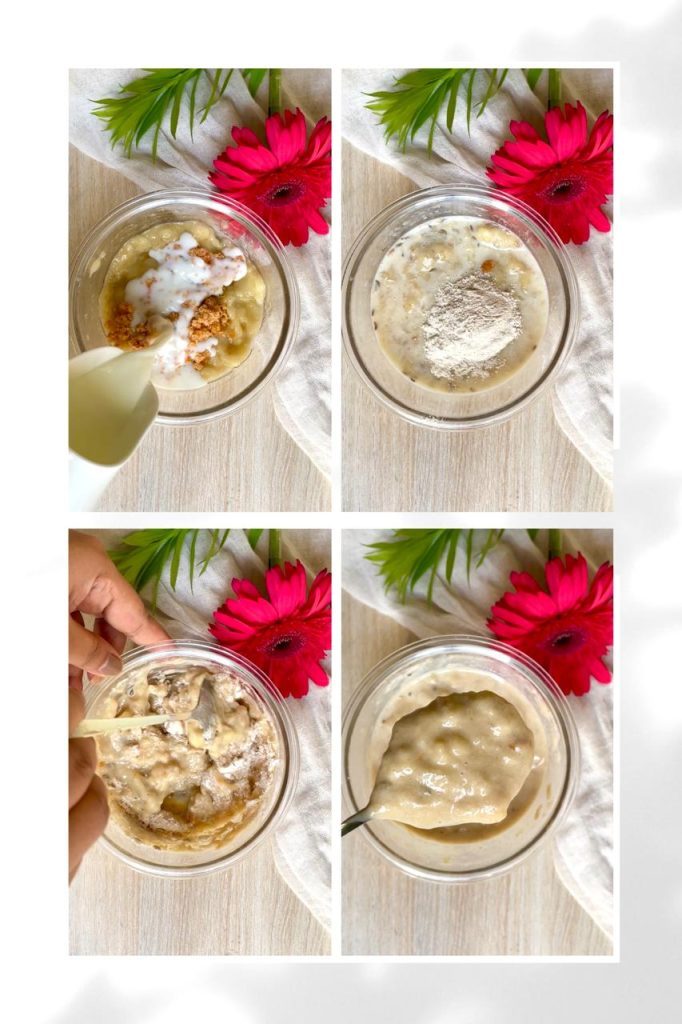
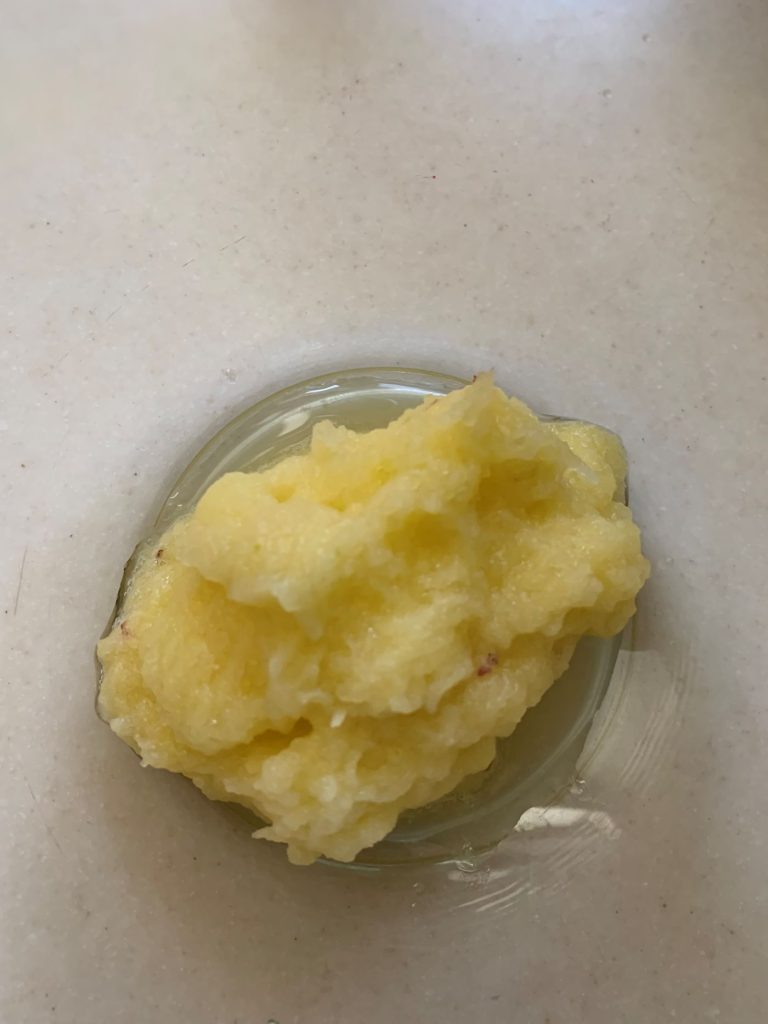
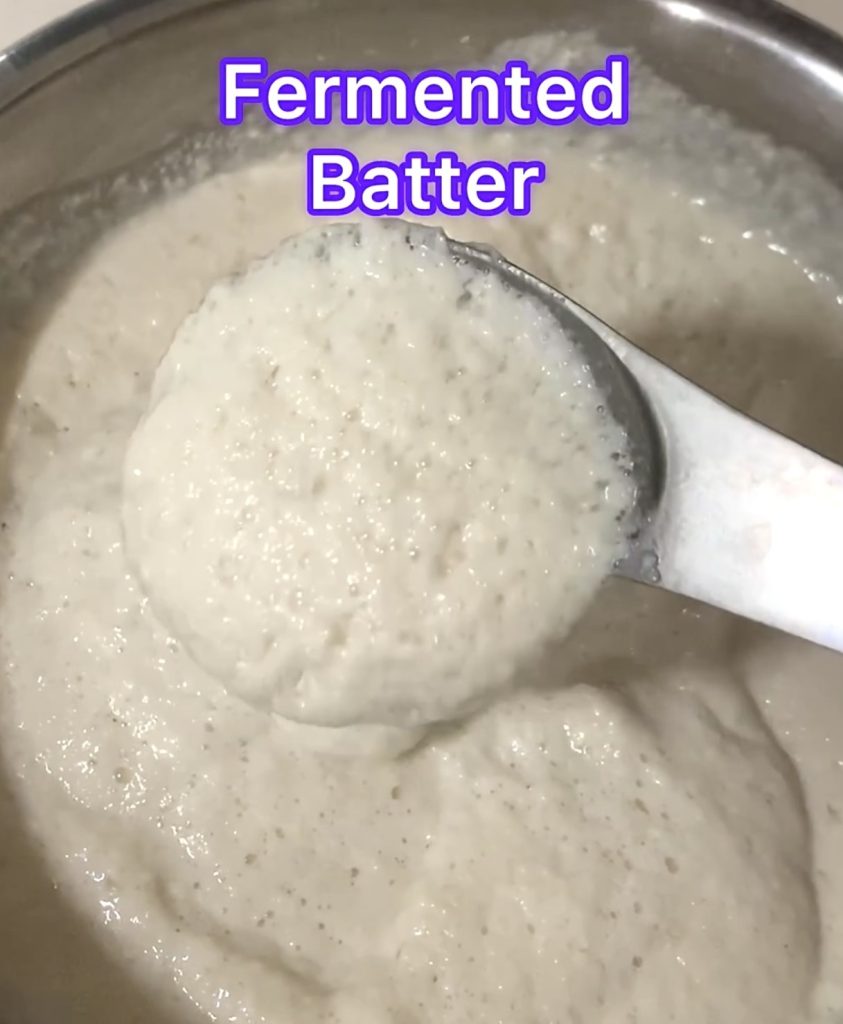
Boil the potatoes until they are soft and can be easily mashed. Once boiled, peel and mash them in a large bowl. Make sure there are no lumps. To the mashed potatoes, add the soaked and drained sabudana, finely chopped green chilies, chopped coriander leaves, crushed peanuts, and salt according to your taste. Mix all the ingredients well to form a uniform mixture.
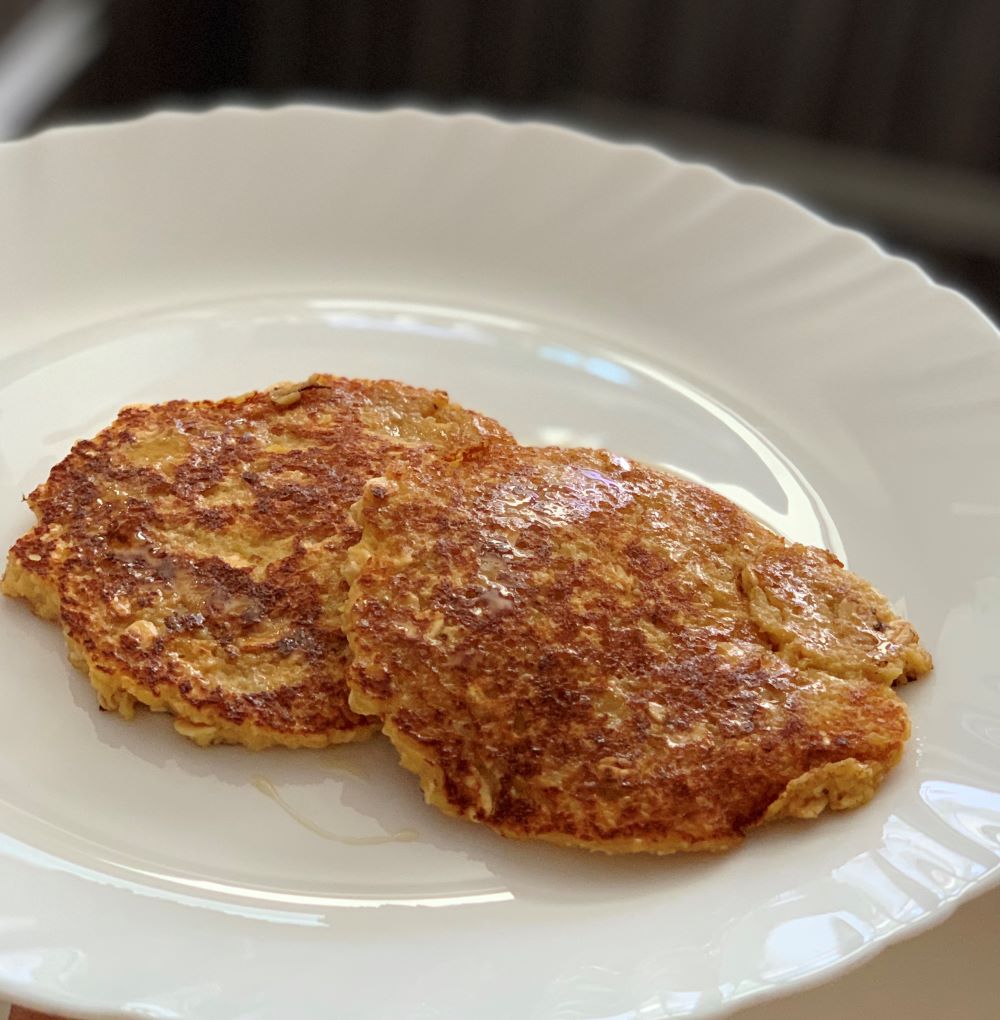
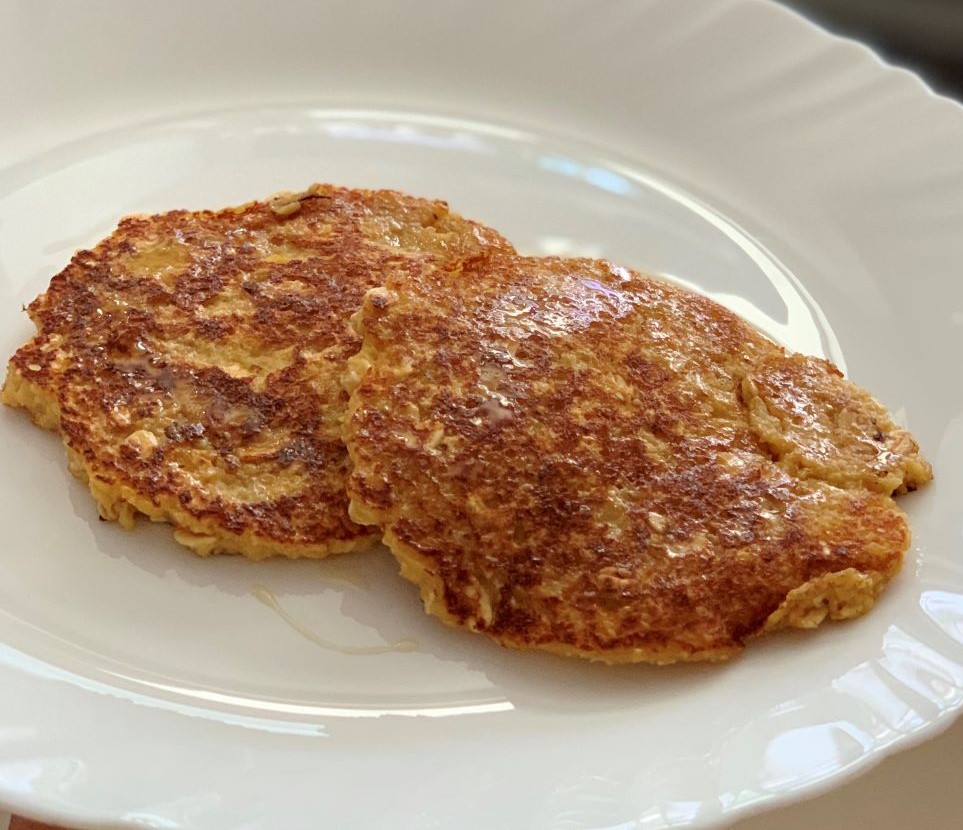
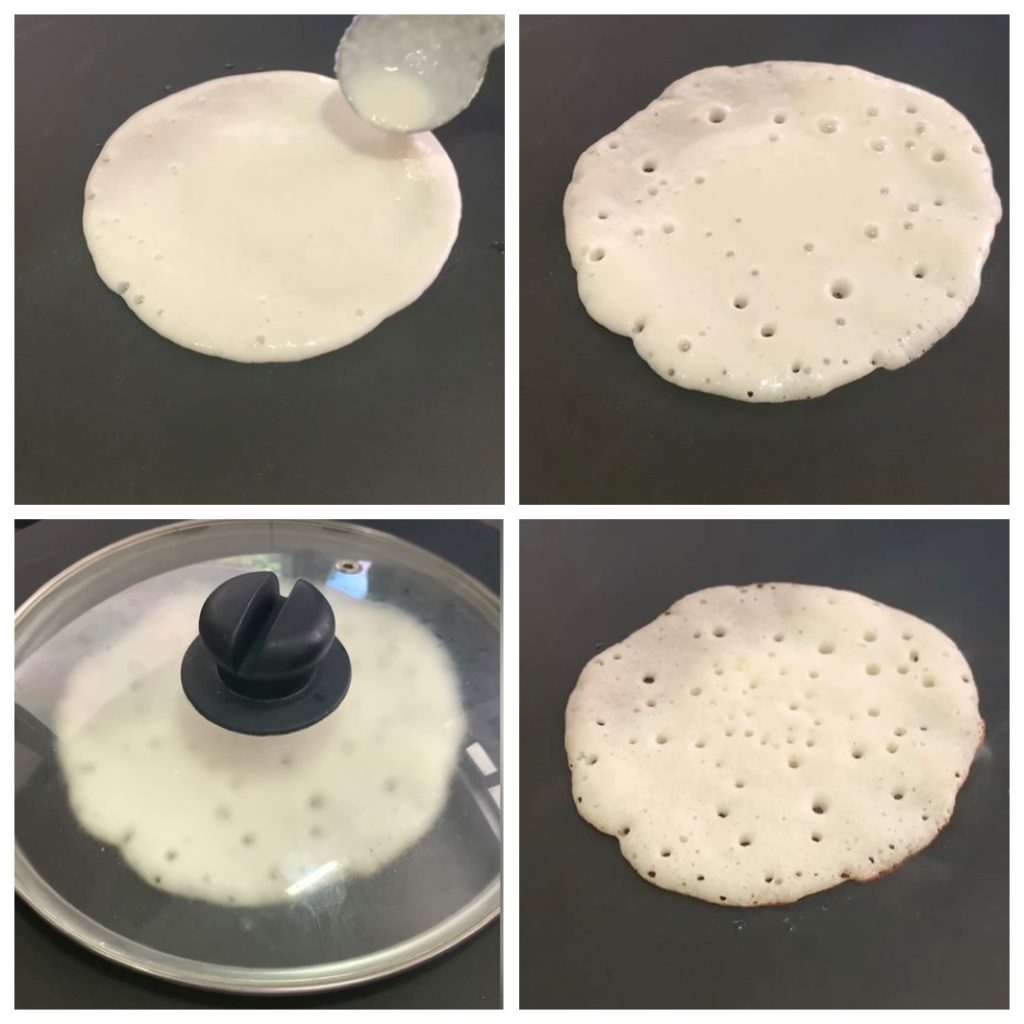
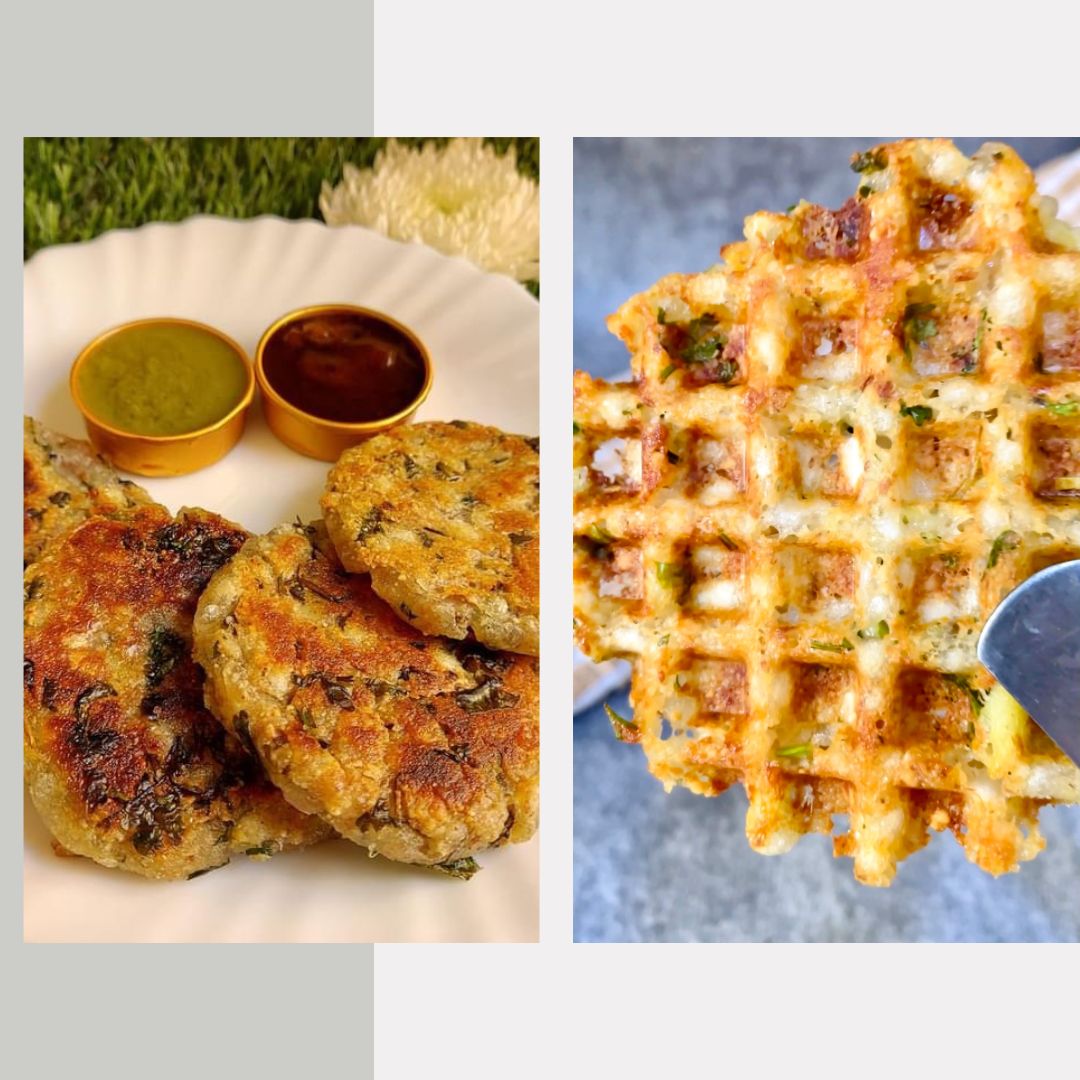
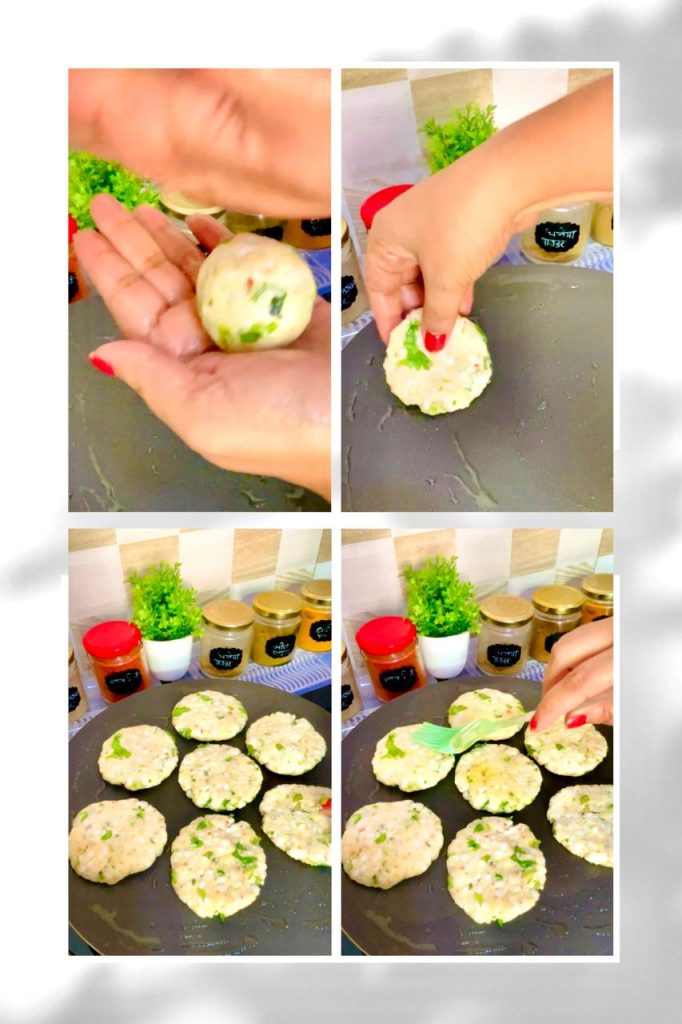
Take a portion of the mixture in your hand and shape it into a flat, round tikki or patty. You can make them as big or as small as you prefer. Repeat this process with the remaining mixture. Heat tawa with enough oil or ghee for shallow frying. Make sure the vadas are crisped from both side.
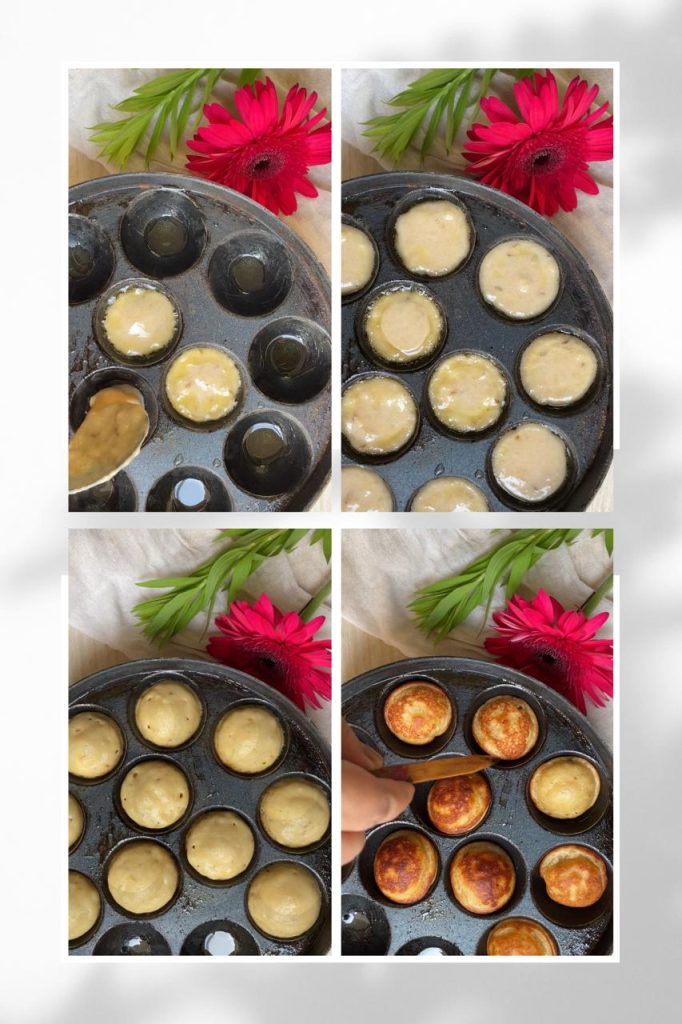
Alternative Method (Waffle Plate):
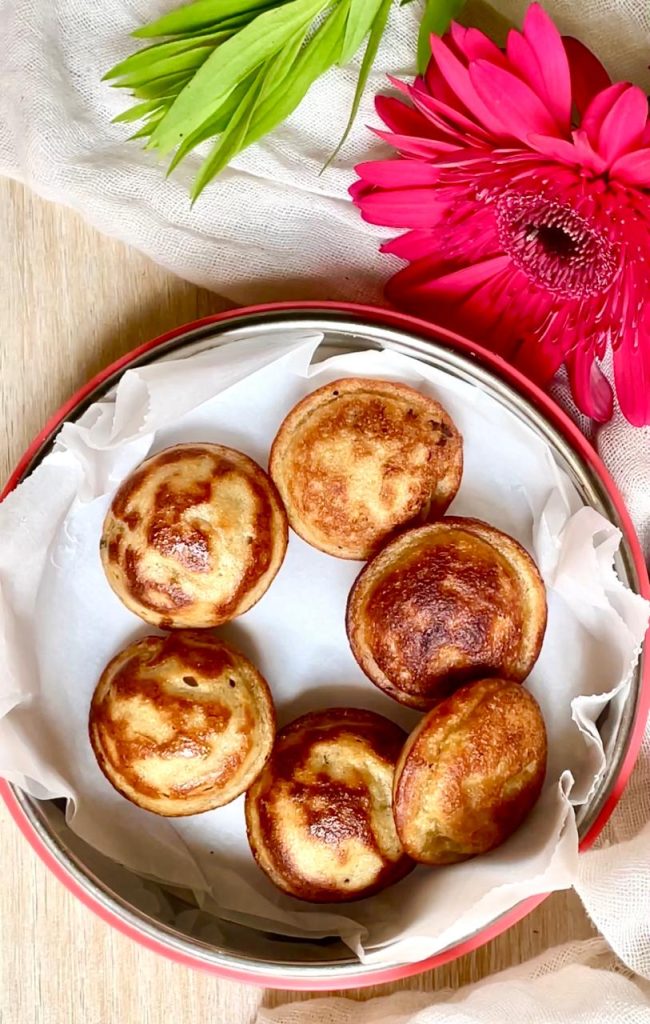
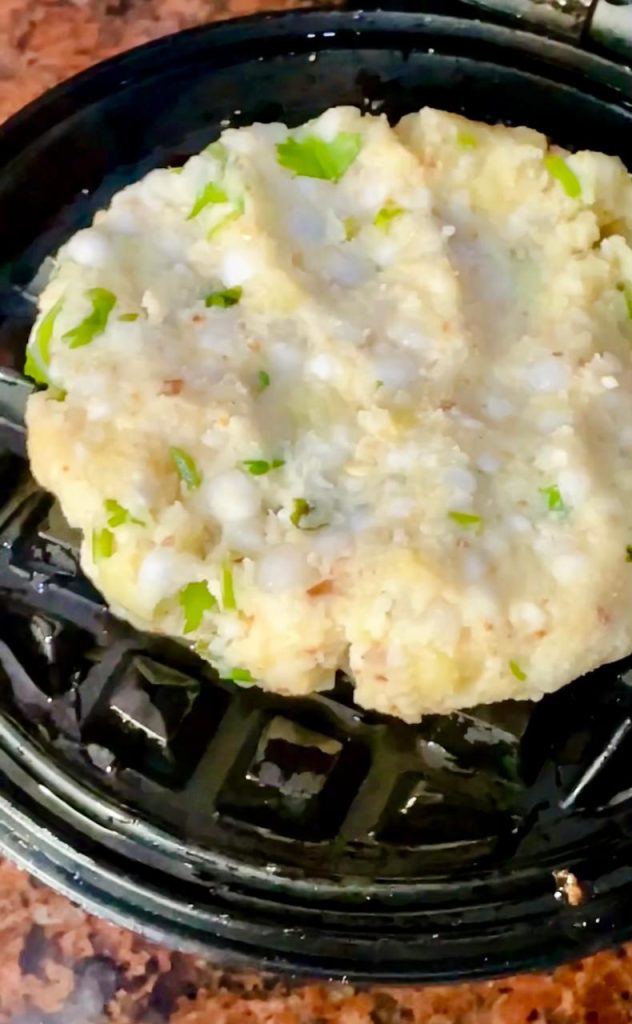
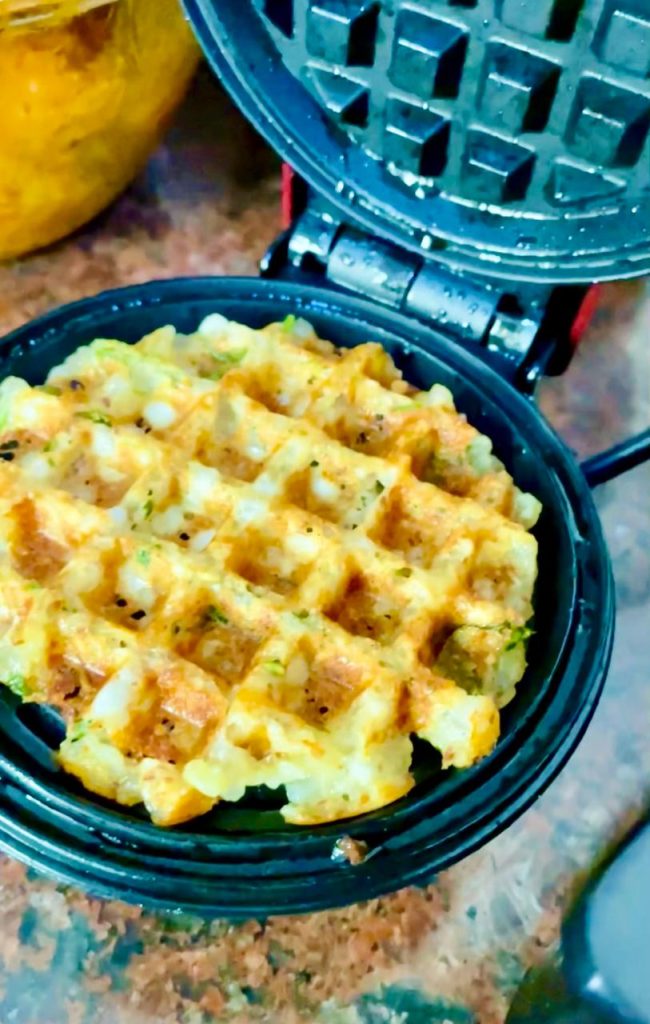
Another way to make crispy sabudana vada is to grease a waffle plate and place a ball of the sabudana mixture in waffle mold. Close the waffle maker and cook until they turn crispy and golden brown.
Close the waffle maker and cook until they turn crispy and golden brown.
I hope you enjoyed reading this recipe. Do give this recipe a shot. I am sure your kids love this crispy tikki/waffle in their lunch box. If you try this recipe, do give us a shout out. Just click a picture and tag us on @masala.monk or use the hashtag #MasalaMonkRecipe and share on Instagram and Facebook. We would love to hear from you.