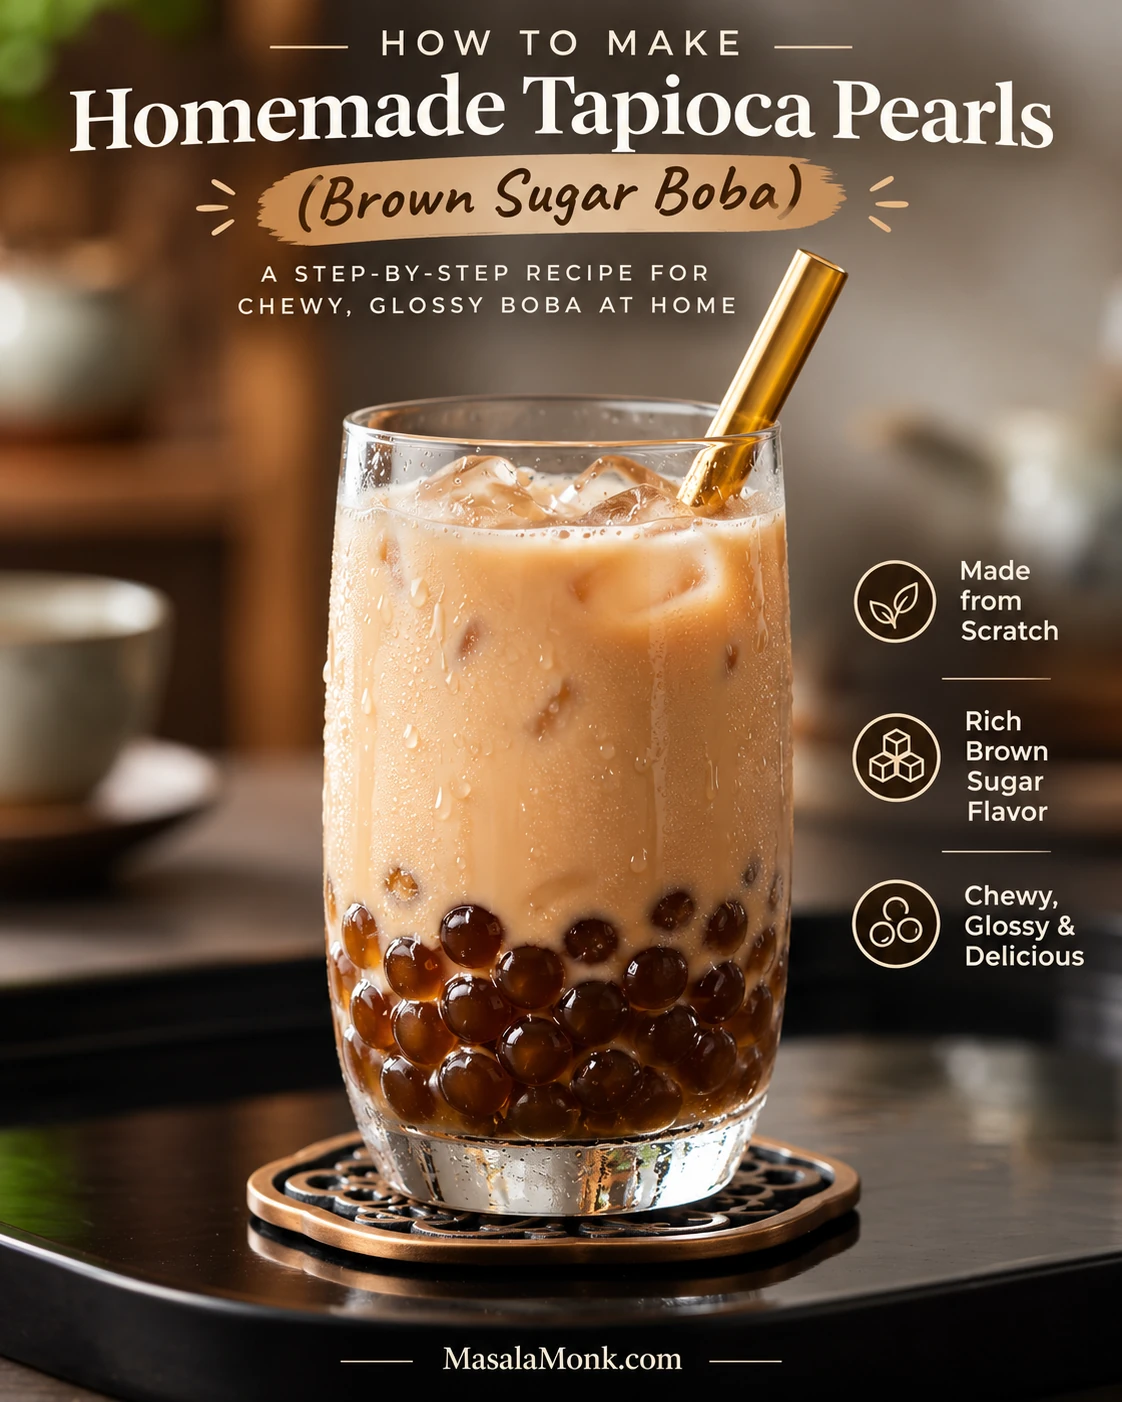
Warm brown sugar boba adds a soft, springy chew and a little caramel sweetness to cold milk tea. To learn how to make tapioca pearls from scratch, start with tapioca starch, dark brown sugar and water. Shaping the tiny pieces takes patience, but you can freeze the uncooked extras for another drink.
The crucial stage is making a hot tapioca starter. Mixed with cold water, tapioca starch can flow like a paste instead of forming dough. A small portion thickened in hot brown sugar water helps the remaining starch become pliable. You will know the dough is ready when it holds its shape rather than spreading across the board.
In This Guide
- How to make tapioca pearls: recipe and method
- Choosing the right tapioca starch
- How to tell when pearls are cooked
- Troubleshooting: dough, boiling and serving
- Brown sugar finishing and pearl colour
- Freezing raw pearls and storing cooked pearls
- Homemade tapioca pearls FAQs
How to Make Tapioca Pearls: The Homemade Recipe
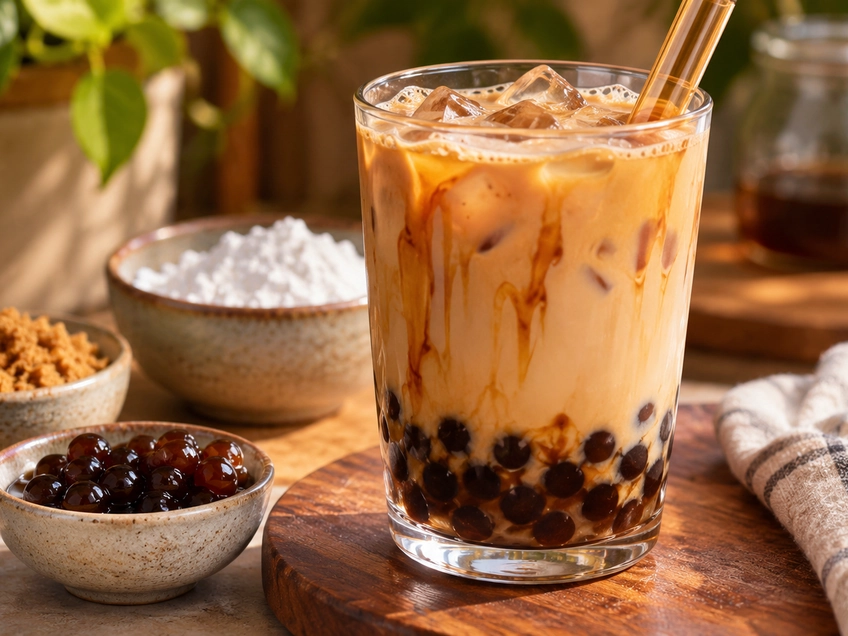
This recipe makes about two generous boba toppings. The exact number depends on the size of the pearls and how much you like in each glass. The formula and cooking schedule are adapted from Hungry Huy’s tapioca pearls recipe.
Quick method: Heat brown sugar and water, thicken a small portion of tapioca starch into a sticky starter, then knead in the rest while warm. Shape small pearls, wait for them to float in boiling water, then simmer about 20 minutes, rest covered for 20 minutes and sweeten before serving. The clock is a guide; the centre must be chewy, not chalky.
| At a glance | What to expect |
|---|---|
| Yield | About 2 generous drink toppings |
| Dough preparation | 10–15 minutes |
| Hand-shaping | About 25–40 minutes; quicker if square-cut |
| Cooking | About 20 minutes simmering after floating + 20 minutes resting |
| Finishing | About 10 minutes |
| Total | About 1½–2 hours for one cooking round; extra rounds take longer |
| Texture | Tender and springy, without a chalky centre |
Ingredients: Dough
| Ingredient | Amount |
|---|---|
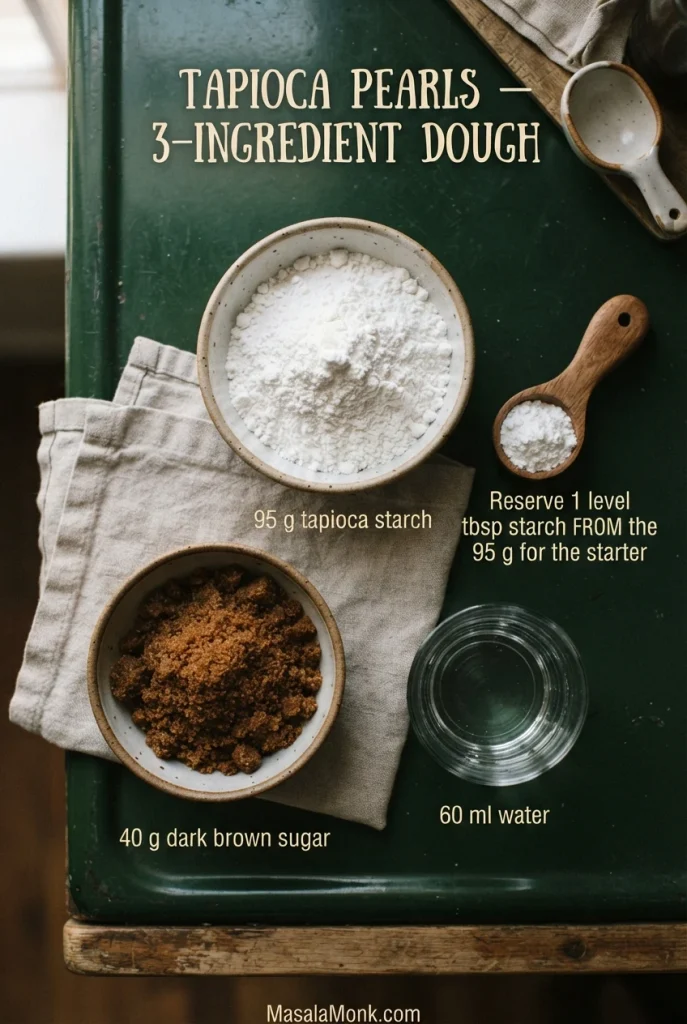
| Tapioca starch (also called tapioca flour) | 95 g (about 3.4 oz by weight); roughly ¾ cup, but weigh if possible |
| Dark brown sugar | 40 g (about 1.4 oz by weight) (about 3 packed tablespoons) |
| Water | 60 ml / ¼ US cup (about 2 US fl oz) |
| Extra tapioca starch for dusting | A little, separate from the 95 g |
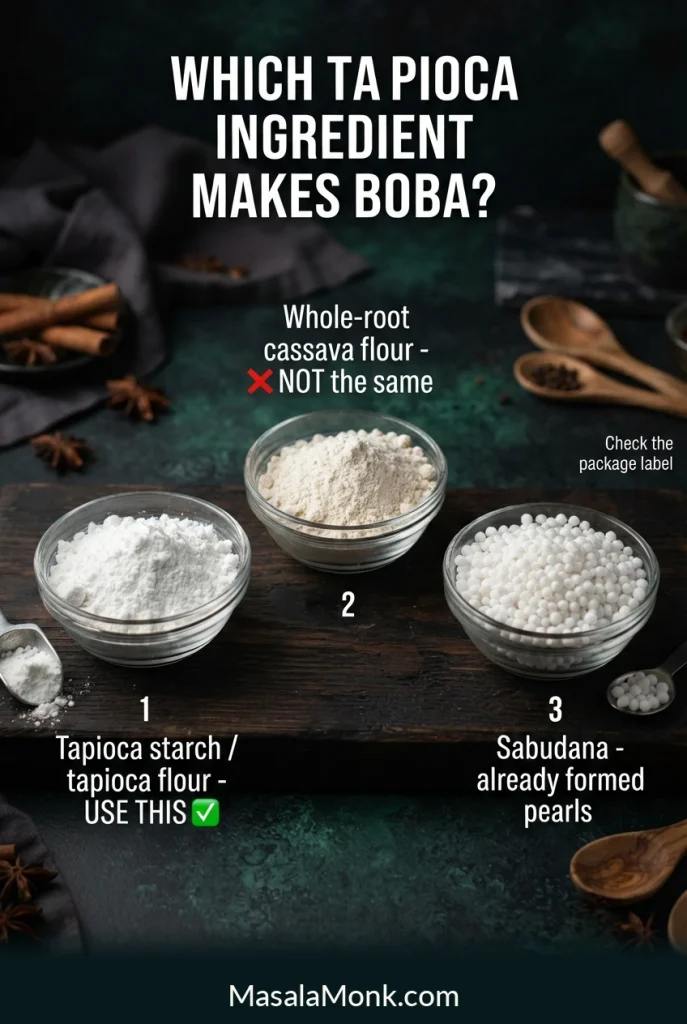
Before you start: Use purified tapioca starch, sometimes labelled tapioca flour—not whole-root cassava flour. The full ingredient explanation is below.
Ingredients: For Cooking and Finishing
- For boiling: use about 2.4 litres / 10 US cups of water for each cooking batch of up to ½ cup raw pearls. This is a cooking-batch measure, not the full dough yield. For a lighter topping, start with 3–4 tablespoons of raw pearls per drink. Cook more in another round only if needed; otherwise freeze the uncooked extras.
- Optional finishing sugar: up to 13 g (about 0.5 oz by weight) for the entire dough recipe, divided among the portions you actually cook. Sweeten each freshly cooked portion while warm; do not wait to combine separate cooking rounds.
- Optional warm water: add a few drops only if the sugar needs help dissolving. For the full recipe, 5–10 ml / 1–2 teaspoons is a guide, not an amount you must use.
Equipment and Setup Before Heating
Gather a kitchen scale, a small saucepan, a heatproof spatula, a board, knife or bench scraper, plastic wrap or a clean, lightly damp kitchen towel for covering the dough, and a large lidded pot and strainer. A small pan is helpful here: just 60 ml water can evaporate quickly from a wide one. Set up your shaping area before heating the sugar water.
Measure 95 g of tapioca starch and set aside about one level tablespoon from that amount for the hot starter. Keep the rest nearby for kneading. Have the board ready too: the dough is easiest to shape while still warm, once it is cool enough to touch safely.
Step 1. Dissolve the Brown Sugar
Put 40 g dark brown sugar and 60 ml water in the small saucepan. Stir over medium-high heat just until the sugar dissolves and the mixture bubbles. Remove the pan from the heat. When the vigorous bubbling stops, immediately add the starter starch in Step 2 while the liquid is still hot.
Don’t let the mixture boil away into a thick syrup. That small amount of water is needed for the dough.
Step 2. Make the Hot Tapioca Starter
Quickly stir in the reserved level tablespoon of tapioca starch. Return the pan to medium-low heat and stir constantly, scraping the bottom. As soon as you see it begin to thicken at the bottom, remove the pan from the heat. Keep stirring off the heat: the whole mixture, not only the first patch at the bottom, needs to become a soft, sticky paste.
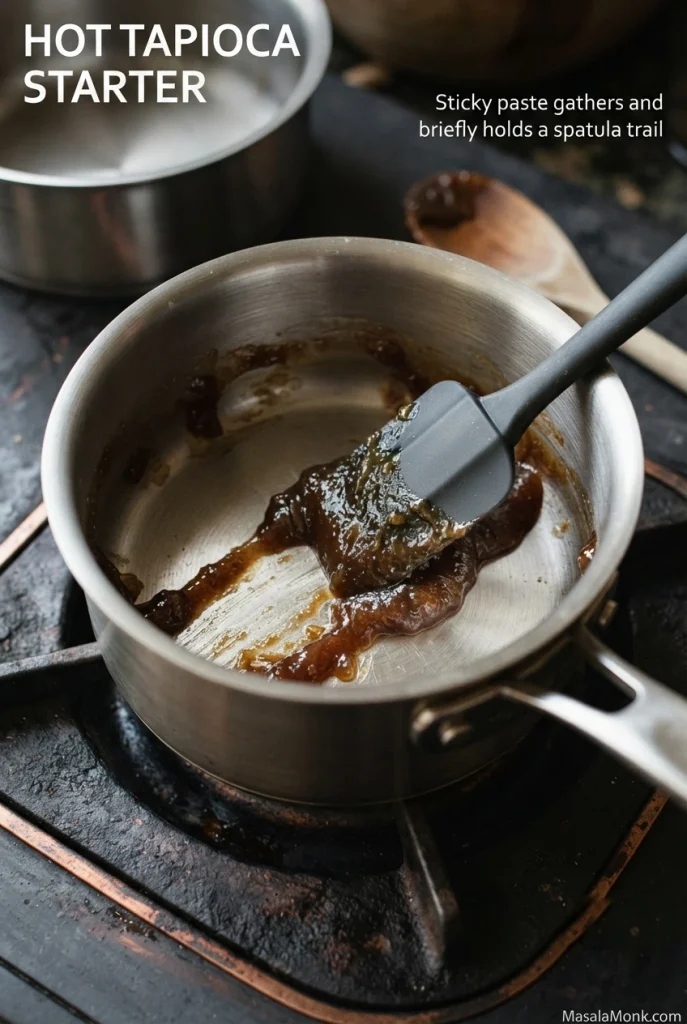
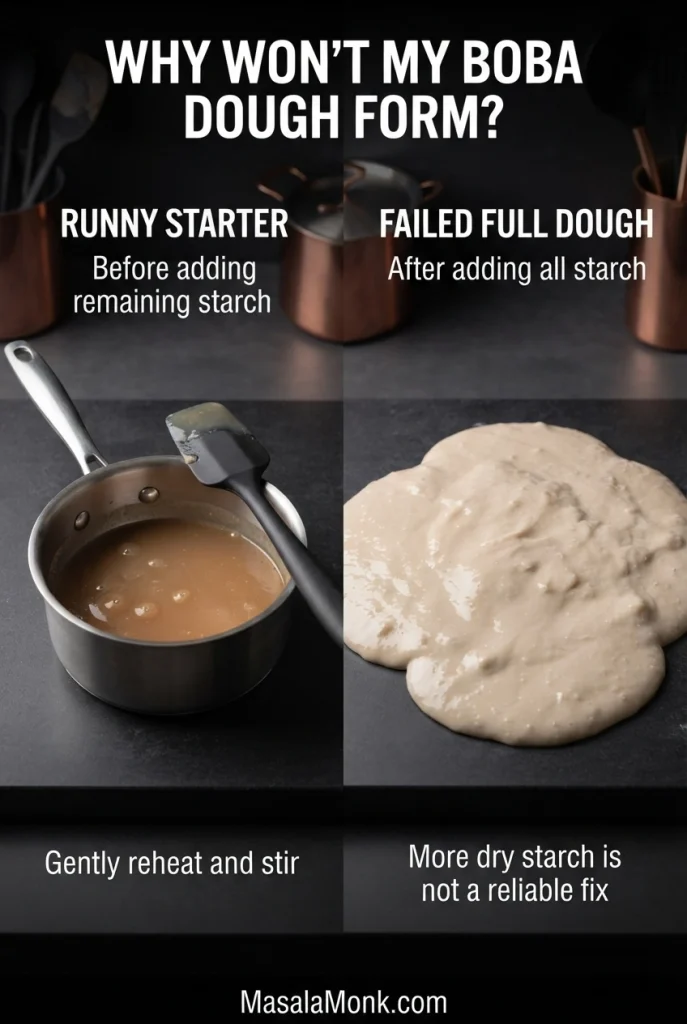
Drag the spatula across the pan. The paste should gather around it and briefly leave a trail rather than run back into a puddle. It will not look like a finished dough yet. If the mixture still runs freely after stirring off the heat, put the pan back over gentle heat for a moment and stir again. If it scorches or dries into a hard lump, remake this small starter before adding the rest of the starch. For a more difficult failure, compare the runny starter and failed dough examples before continuing.
Step 3. Add the Remaining Starch and Knead Warm
Off the heat, stir in the remaining tapioca starch from the original 95 g. Once the paste has gathered most of it, transfer the mixture to a lightly starch-dusted board when safe to handle. Knead while warm until the dough is reasonably smooth and can bend and roll without falling apart. This may take a couple of minutes; follow its texture rather than the clock.
Pinch off a small piece and roll it into a rope. Good dough feels supple, keeps its shape and lifts from the board without leaving a wet smear. A little tackiness is fine. Keep the rest covered while you work.
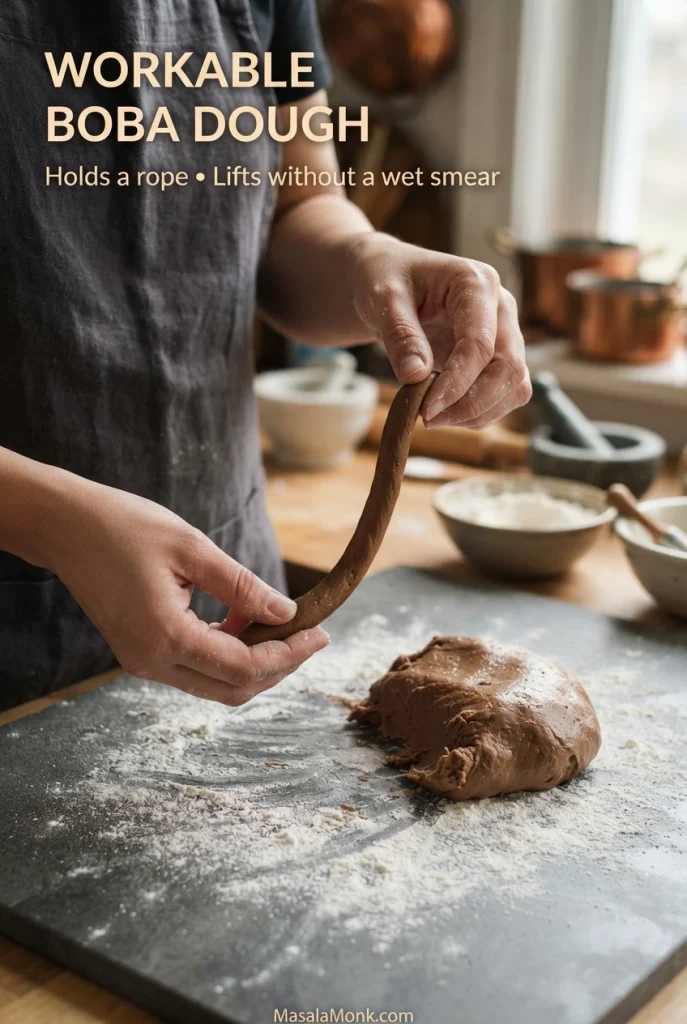
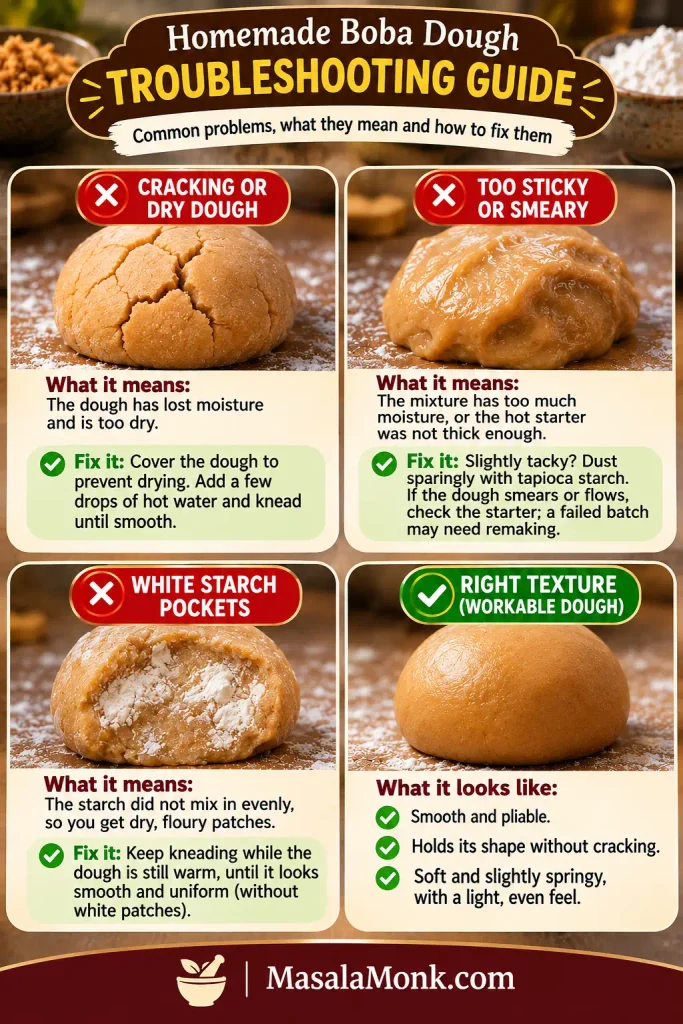
A dry edge may soften with a little more kneading while the dough is warm; if it still cracks, work in a few drops of hot water. For a wet smear, lightly dust the board. A mixture that never became rollable needs a different approach—see the boba dough troubleshooting examples before adding more starch.
Step 4. Roll, Cut and Shape
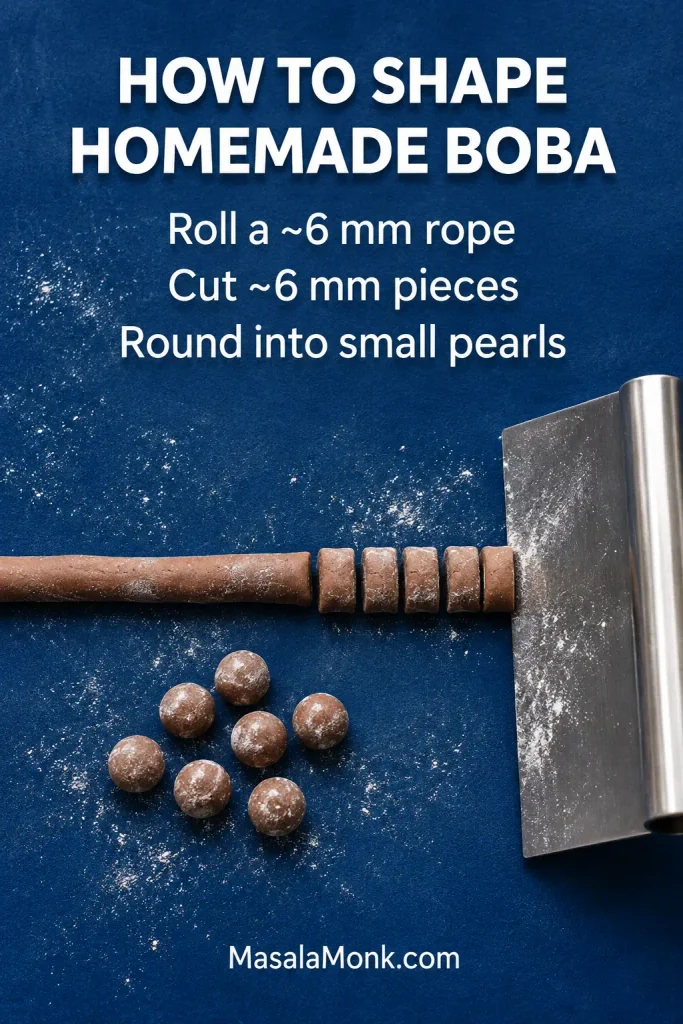
Divide the dough into four pieces and keep three covered. Roll the piece you’re using into a rope about 6 mm / ¼ inch thick, cut it into roughly 6 mm / ¼-inch lengths, then roll each piece between your palms. Keep the raw pearls small—they swell as they cook. Dust them lightly with tapioca starch and spread them apart on a tray.
Rolling takes longer than mixing. Don’t spend ages making every pearl perfectly round; similar sizes matter more. If the dough dries at the edges, cover it while you work with smaller pieces. For a quicker shape, press a sheet about 6 mm thick and cut it into roughly 6 mm squares instead. A tray of similarly sized, lightly dusted pieces is all you need for the pot.
Cooking only some today? Set aside the extras while they are raw and freeze them as described below.
Step 5. Simmer in Plenty of Water
For each round of up to ½ cup of raw pearls, bring 2.4 litres / 10 US cups of water to a rolling boil. Plenty of water lets the pearls move without crowding and helps disperse surface starch. Shake off excess starch before adding them.
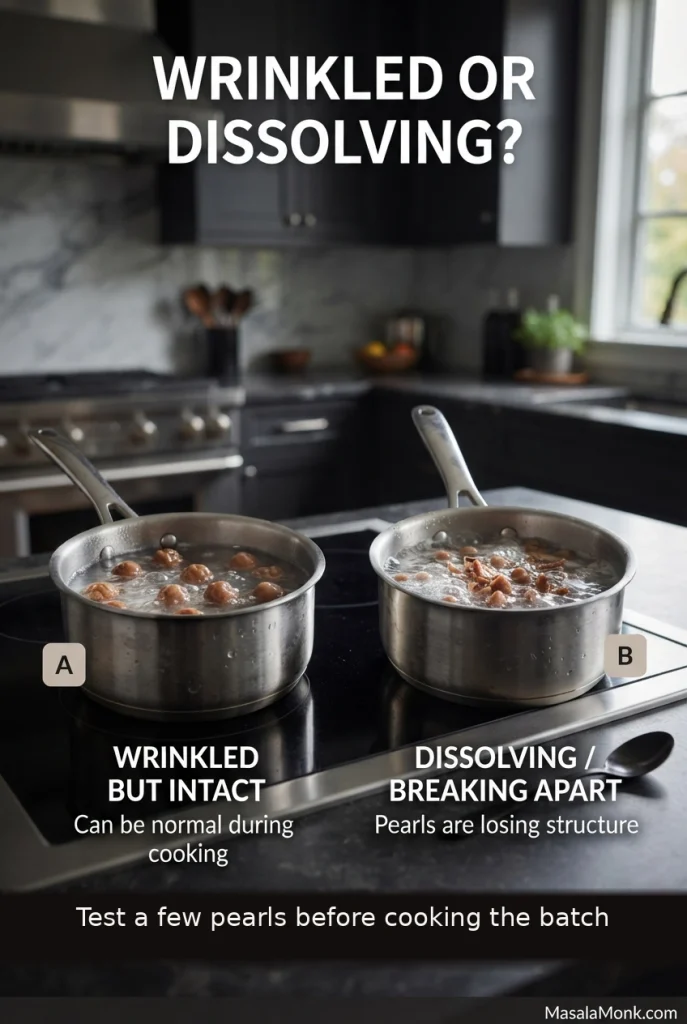
Not sure the dough will hold? Add three or four test pearls first. They should stay intact in boiling water. This checks whether they hold together, not whether their centres are cooked.
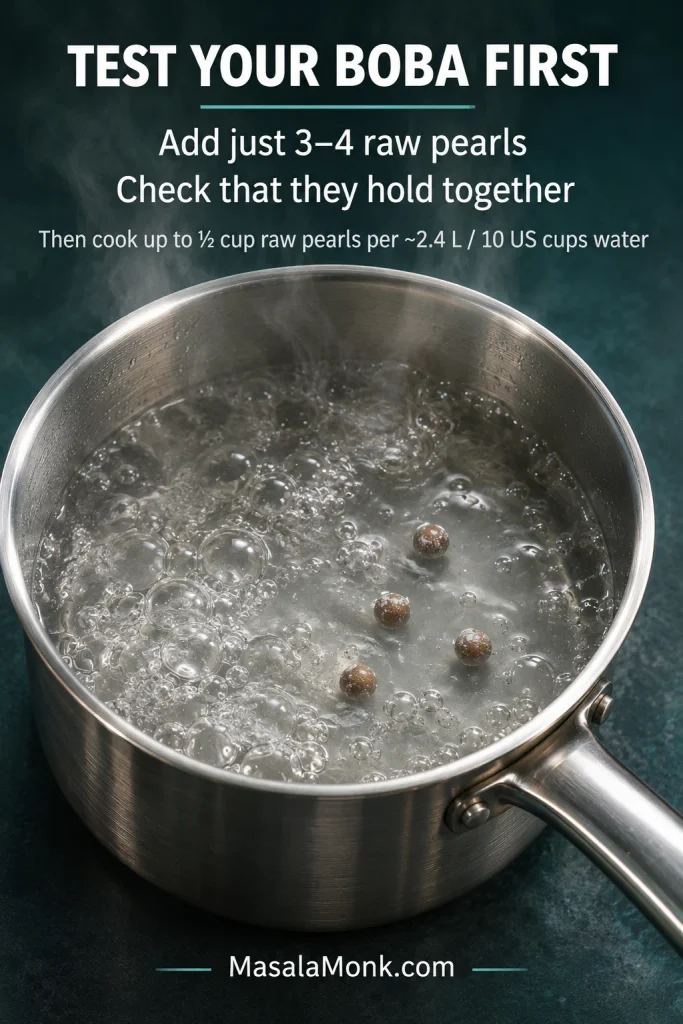
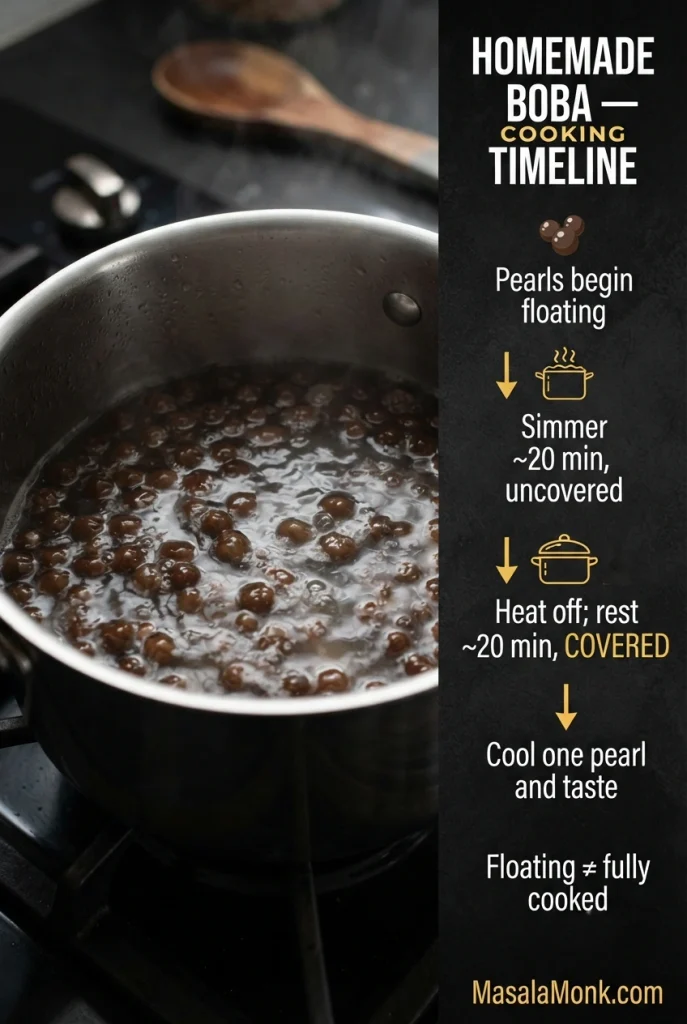
Add up to ½ cup of raw pearls and stir gently so they do not stick. When they begin to float, lower the heat to a steady simmer and cook uncovered for about 20 minutes, stirring occasionally. The time spent waiting for them to float comes before the 20-minute simmer.
The pieces may sink before they rise, swell and darken; a few early wrinkles are normal. If some cling to the bottom, loosen them gently with a spoon. Not every pearl will float at exactly the same moment, and floating is not proof of doneness.
Step 6. Rest Covered and Test the Centre
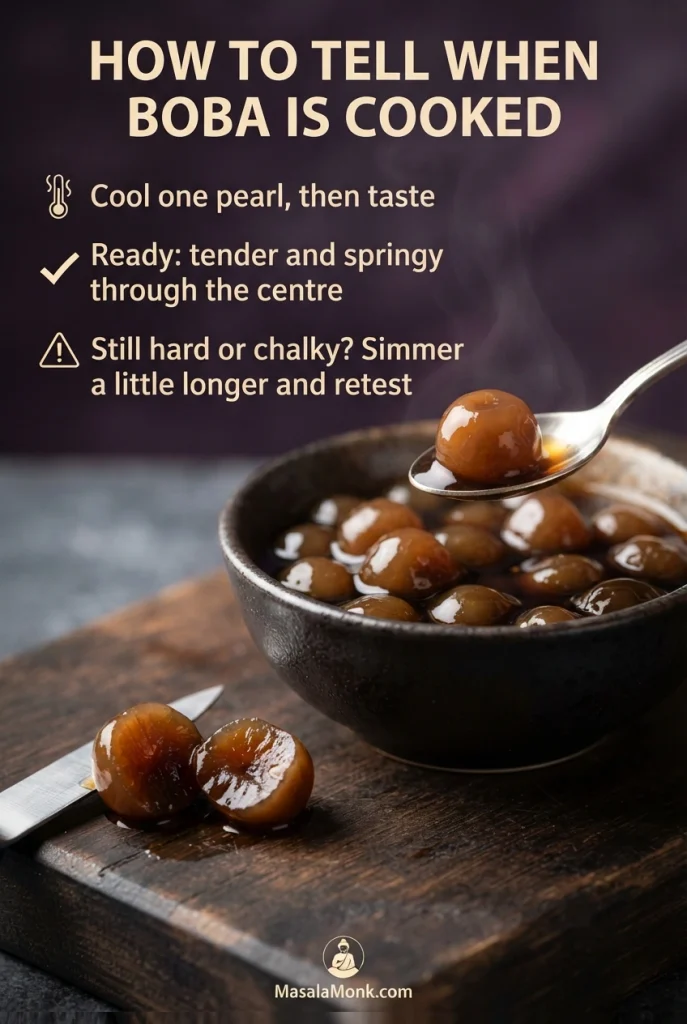
After the simmer, switch off the heat, move the pot off the burner and cover it for about 20 minutes. Lift out a pearl and let it cool enough to taste. A good one has a tender outside and a soft, springy centre, with no powdery or hard spot when you bite through it.
A chalky centre needs a little more time. Bring the water back to a gentle simmer for a few minutes, retrieve another pearl, cool it enough to taste and check again. Stop as soon as the centre is pleasantly chewy like the outside. Pearls already turning mushy won’t improve with further boiling.
Step 7. Drain, Sweeten and Serve
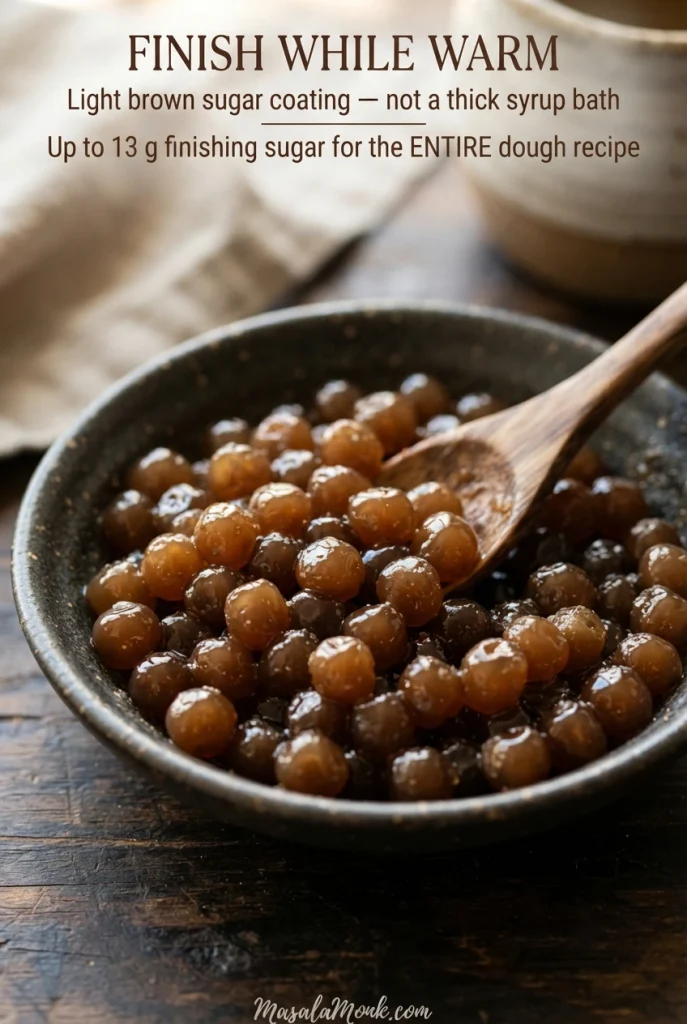
Drain the cooked pearls, rinsing briefly only if they have a heavy starchy film. Coat each cooked portion while it is still warm, rather than waiting for another batch to finish. Use some of the optional brown sugar according to how many pearls you cooked; 13 g is the allowance for the entire dough recipe, not for each potful. Let the coated pearls stand for about 10 minutes, stirring once or twice.
The sugar should dissolve into a light, glossy coating. Still grainy? Stir in a few drops of warm water. For the entire recipe, 5–10 ml / 1–2 teaspoons is a useful guide; smaller portions need less. Loosen any pearls that cling together with a spoon. They should be coated, not swimming in syrup.
Taste a pearl while it is still warm. There should be a little resistance at first, then the same tender chew right through the centre. The small, uneven pieces you rolled have become proper boba.
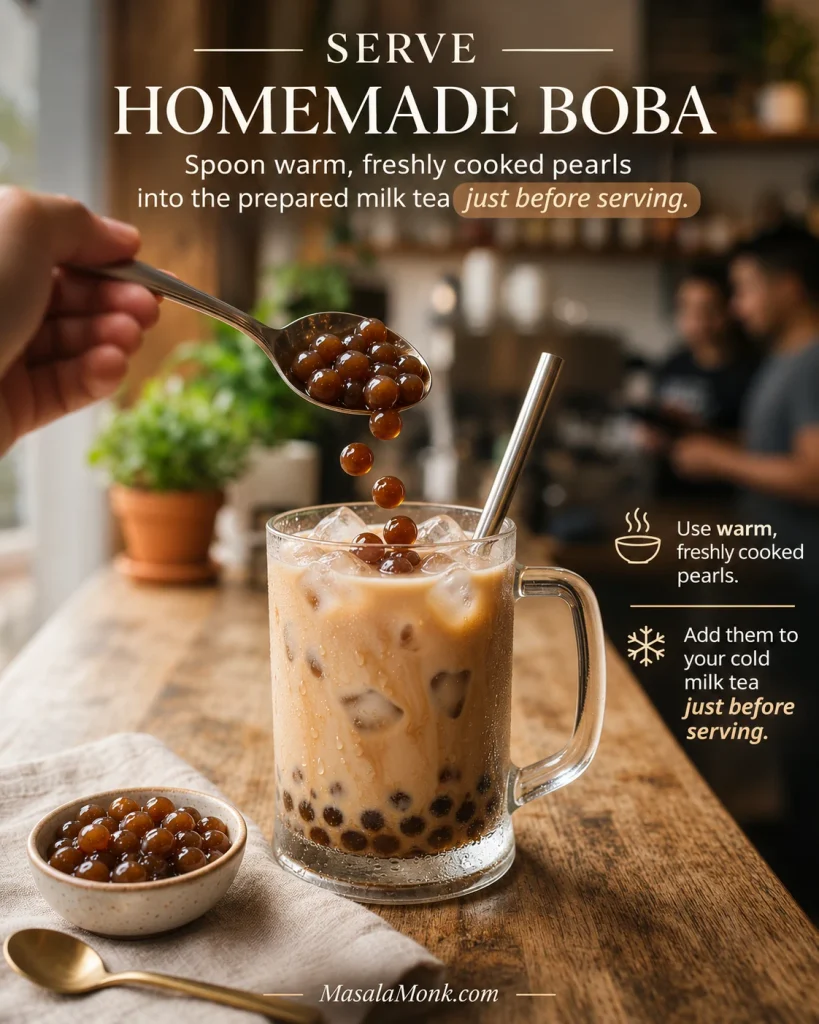
For a simple milk tea, prepare a glass of brewed, chilled tea with milk, ice and sweetness to taste. Spoon in the warm pearls just before serving. For extras, see safe storage for cooked pearls.
Tapioca Starch vs Tapioca Flour: Which Works for Boba?
Tapioca flour and tapioca starch are usually the same purified ingredient. Check the package for tapioca or cassava starch. Whole-root cassava flour is different and cannot replace it here; neither can cornstarch, rice flour or wheat flour in the same quantities.
If you know sabudana from Indian cooking, the distinction is simple: sabudana is already formed into pearls, while this recipe needs loose starch to make a fresh dough. Our sabudana tikki and waffles, for instance, use soaked whole pearls. Prepared sabudana also cooks differently from fresh bubble-tea boba.
For the dough, stick to the listed dark brown sugar. Its flavour and moisture are part of this formula; the optional sweetness added after cooking is easier to adjust.
How to Tell When Tapioca Pearls Are Cooked
Pearls can look cooked and float to the surface while their centres are still firm. After the covered rest, taste one to check the middle. These differences tell you what to do next:
- Correct: a soft but springy bite, with the centre similar in texture to the outside and no chalky or floury middle.
- Undercooked: resistant, hard or powdery centre. Continue simmering or hot resting, then taste again.
- Over-soft: very gummy or falling apart. Consider shortening the cooking next time. If pieces fell apart from the start, investigate the dough separately.
- Uneven: some pearls mushy and others hard. Uneven sizes or a crowded pot can make them cook at different rates; keep the pieces similar in size and the water at a steady simmer.
Even fully cooked pearls gradually firm in an icy drink, including an iced matcha latte. Add them near serving time rather than leaving them in the glass for hours.
Packaged boba is a separate case. Traditional dried pearls, quick-cook versions and white pearls may need quite different times. Follow the manufacturer’s instructions and check the centres by tasting; the 20-minute simmer and 20-minute rest above belong to this fresh homemade recipe.
Tapioca Pearls Troubleshooting: Dough, Shape and Texture
First, identify when the problem appeared. Dough that flows points back to the starter or mixing stage; a pearl with a chalky centre usually needs more cooking. Match your symptom below before changing the recipe.
My starter is watery, or my dough behaves like oobleck
If the starter is still runny before you add the remaining starch, gently reheat it, stirring, until it gathers into a sticky paste. If you have already added all the starch and the whole mixture flows like oobleck, the starter probably did not thicken enough. Adding more dry starch is unlikely to turn it into a dependable, rollable dough; a fresh batch with a properly heated starter is the more reliable route.
My dough is dry, cracking or full of crumbs
Cracking often begins when uncovered dough dries as you shape it. Keep the unused portions covered. A warm dough that has formed properly but feels a little dry can take a few drops of hot water, kneaded in gradually. Loose, powdery crumbs that never join may mean the starter never thickened enough.
My dough is sticky or has white flour pockets
A little tackiness is fine; smearing across the board isn’t. Knead until the dough holds a rope, then dust sparingly if it still sticks. For small white pockets, fold and knead while warm. Adding lots of starch at once can turn a sticky dough into a cracking one.
My pearls flatten, wrinkle or dissolve in boiling water
A few wrinkles are harmless. But pearls that immediately spread into cloudy starch water are falling apart. Stop before adding the rest of the tray. Check whether the dough held a shape before boiling and whether the water was fully boiling. If the starter never formed a proper paste, the batch may need remaking.
My boba has hard, chalky centres—or turns mushy
Still chalky after the normal simmer and rest? Give the pearls another few minutes at a gentle simmer and retest. If the outsides are already disintegrating, more time will not rescue them.
My pearls are chewy warm but hard in iced tea
Pearls that were chewy warm but turned hard in iced tea have probably firmed as they chilled. That is different from a chalky centre straight from the pot. Prepare cold drinks in advance and add the cooked pearls when ready to serve.
Ready to try again? Return to the homemade tapioca pearls recipe.
Brown Sugar Coating and Boba Colour
Brown sugar gives the dough its colour and mild caramel flavour. The optional sugar after cooking produces a light, glossy coating, not the thick syrup used in some commercial brown sugar milk teas. Adjust the drink’s sweetness separately.
Brown sugar alone won’t necessarily make jet-black boba. These homemade pearls are brown; some darker commercial versions use other sugars, cocoa or colouring. The same brown pearls can look much darker when clustered in the bottom of a glass, so colour is not a doneness test.
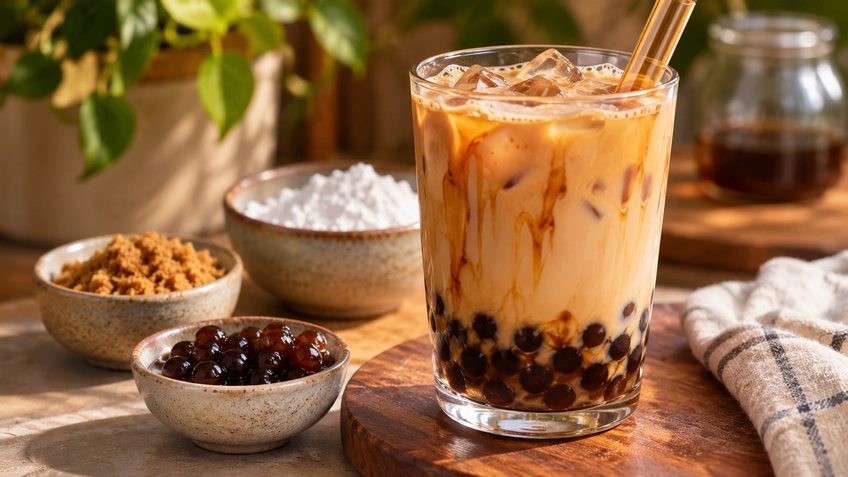
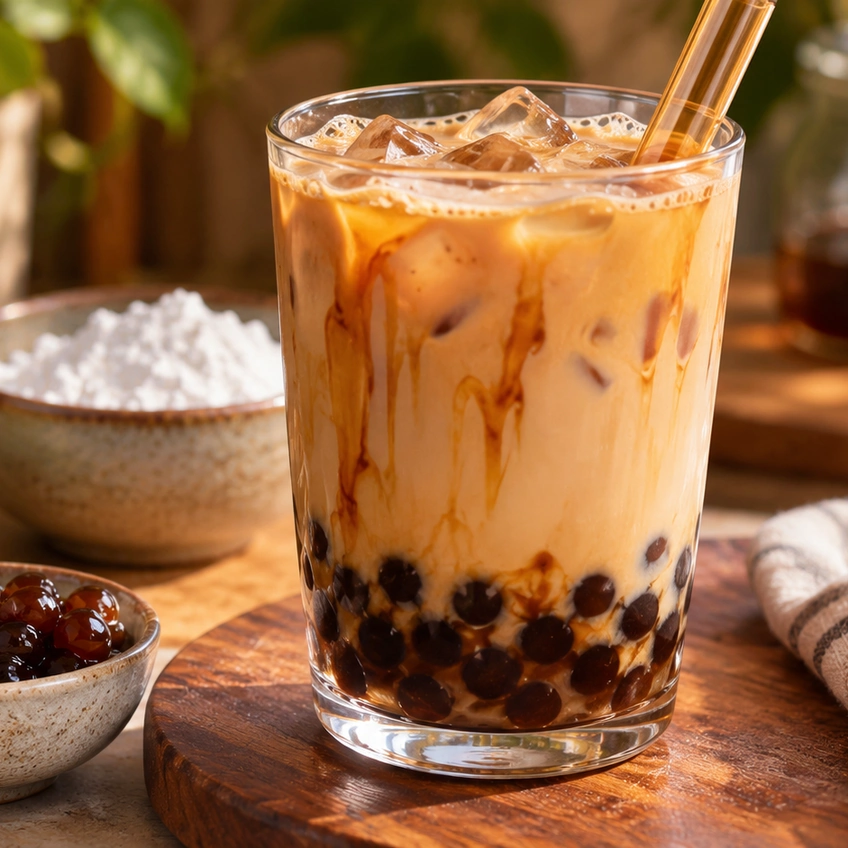
Plain iced milk tea is a natural pairing for homemade brown sugar boba. For a different flavour, try the pearls in a chilled chai latte, a tender coconut shake or a strawberry matcha latte. Use a spoon for thicker drinks.
How to Freeze Uncooked Tapioca Pearls and Store Leftovers
Freeze Shaped Pearls Before Cooking
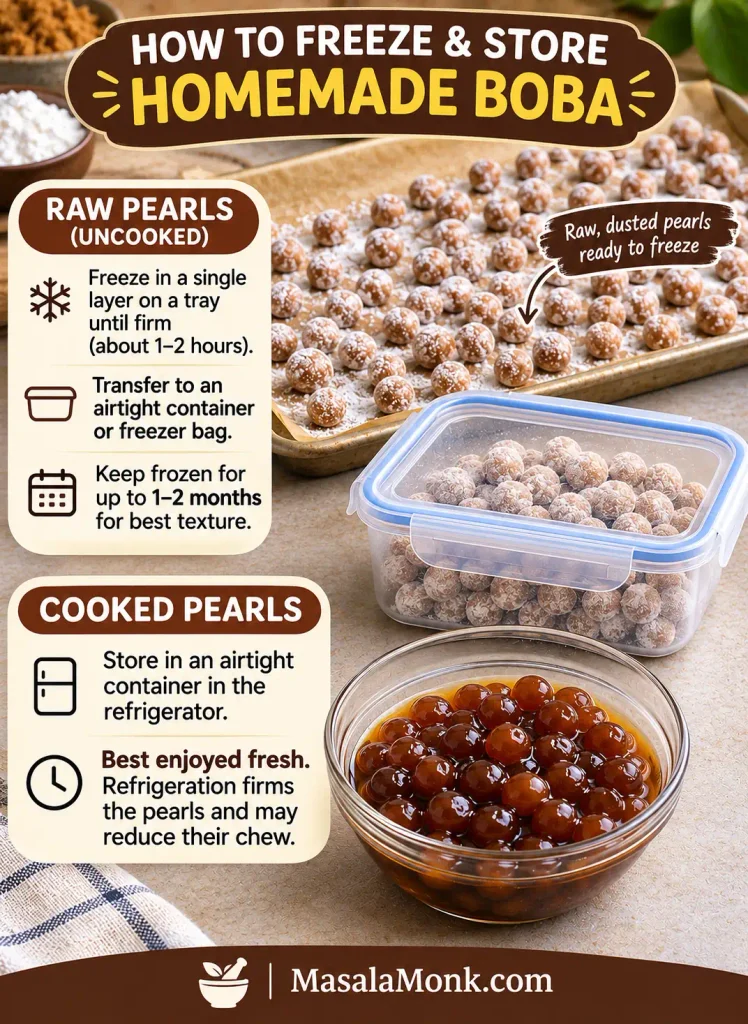
Made more pearls than you need today? Freeze the extras uncooked. Shape and lightly dust them, spread in a single layer on a parchment-lined tray and freeze until firm. Then transfer them to a labelled airtight bag or container. The slow part—rolling all those little pieces—is already done for your next drink.
For the best texture, aim to use frozen raw pearls within 1–2 months. Add them straight from the freezer to boiling water; don’t thaw them on the counter. Give them additional cooking time if needed and taste one before draining.
Cooked Pearls Are Best Fresh
Cooked pearls taste best fresh. Refrigerate leftovers promptly in a shallow, covered container. They may become opaque and firm in the fridge; gently reheating them in hot water can help, but may not restore the original chew.
For food safety, refrigerate cooked leftovers within 2 hours, or within 1 hour when the surroundings are above 32°C / 90°F, consistent with FoodSafety.gov’s safe-chilling guidance. Sugar coating does not make cooked pearls safe for indefinite room-temperature holding. Reheat thoroughly and discard leftovers that were held improperly.
Can You Air-Dry Homemade Pearls for Pantry Storage?
Air-drying homemade pearls does not reliably make them pantry-stable. They may also crack or cook unevenly. Freeze the shaped pearls instead.
Finished with storage? Return to the recipe or back to the guide.
Homemade Tapioca Pearls FAQs
Can I make a double batch?
You can, but the dough cools and dries as you work. Two smaller batches are easier to roll than one large batch, especially on your first attempt.
Can I make pearls without brown sugar?
For this particular formula, keep the brown sugar. Other sweeteners can work in recipes designed around them, but simply leaving the sugar out changes both flavour and moisture balance.
Can I use fruit juice instead of water?
Not as a straight swap in this formula. Juice and fruit purée vary in water, sugar and solids, which can change how the dough thickens. For fruit flavour, make the pearls with water as written and add them to a fruit-based drink at serving time.
Your pearls do not have to look identical. Recognising the sticky starter, workable dough and evenly cooked centre matters far more than making every sphere perfectly round.
Did your dough come together smoothly, or was there a stage that gave you trouble? Tell us what the mixture looked like in the comments. Those details may help another reader work out what happened.