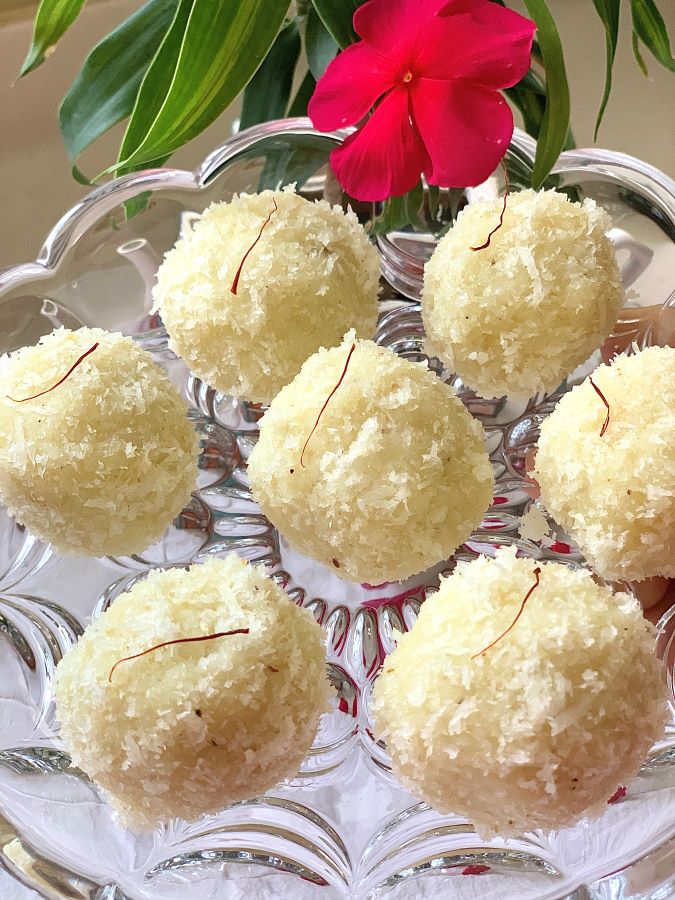
In Indian tradition, Coconut ladoos or Nariyal ladoos are offered to God or deities during Hindu festivals. Eating homemade sweets that are traditionally prepared, especially during festivals, is a way to bring families together. Sweets prepared at home in the traditional way are wholesome and nourishing that are not going to affect your health or weight.
Unlike commercial sweets, homemade sweets give you a complete control over what you are going to add. Celebrity nutritionist Rujuta Diwekar is of the belief that, if you go completely off sugar, then it can increase cravings and make you switch to artificial sweeteners-which come with their share of side effects and health risks.
Thus you can have homemade sweets prepared with natural and quality ingredients, used in right quantity. Portion control and moderation is the key to everything.
Coconut ladoos are traditional sweet balls made primarily with coconut and a sweetener like sugar and jaggery. They are flavoured with cardamom. Some prefer adding nuts like cashews and almonds to it as well. These are traditionally made with milk, ghee and fresh coconut. However, there are other variations that use condensed milk or milk powder to reduce the cooking time and fresh coconut is replaced with store-bought desiccated coconut.
In this recipe, we will be making traditional coconut ladoos with fresh coconut, unprocessed sugar, milk and ghee.
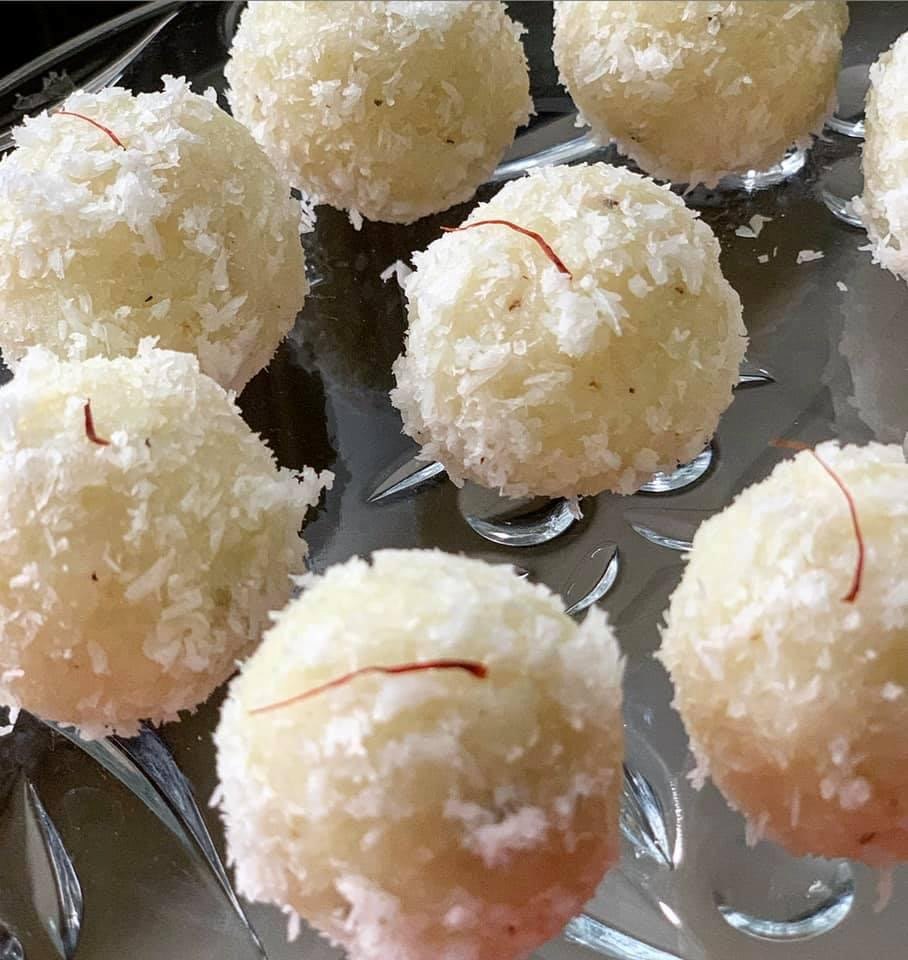
They come out absolutely delicious, juicy and soft and they are so easy to make. These ladoos taste best with freshly prepared desiccated coconut at home instead of store-bought desiccated coconut. Preparing desiccated coconut at home is super easy and will hardly take you 10 minutes to prepare it.
Recipe
| Prep time: 15 minutes | Cook time: 30 minutes |
| Serving: 10 ladoos |
Ingredients: cup measurements 250 ml
- Homemade Desiccated Coconut: 2 cups + 2 tbsps (refer below)
- Full cream milk: 1 1/4th cup
- Sugar: 1/2 cup
- Cardamom powder: 1/4th tsp
- Nuts (optional, I didn’t add any)
- Kesar strands for garnishing
- Ghee: 2 tbsps
Method
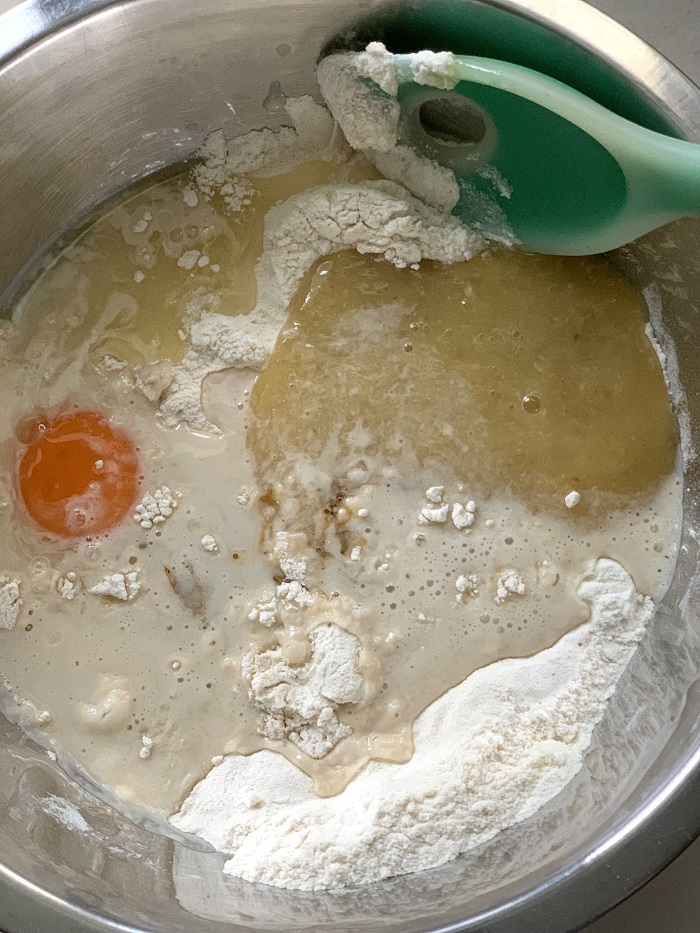
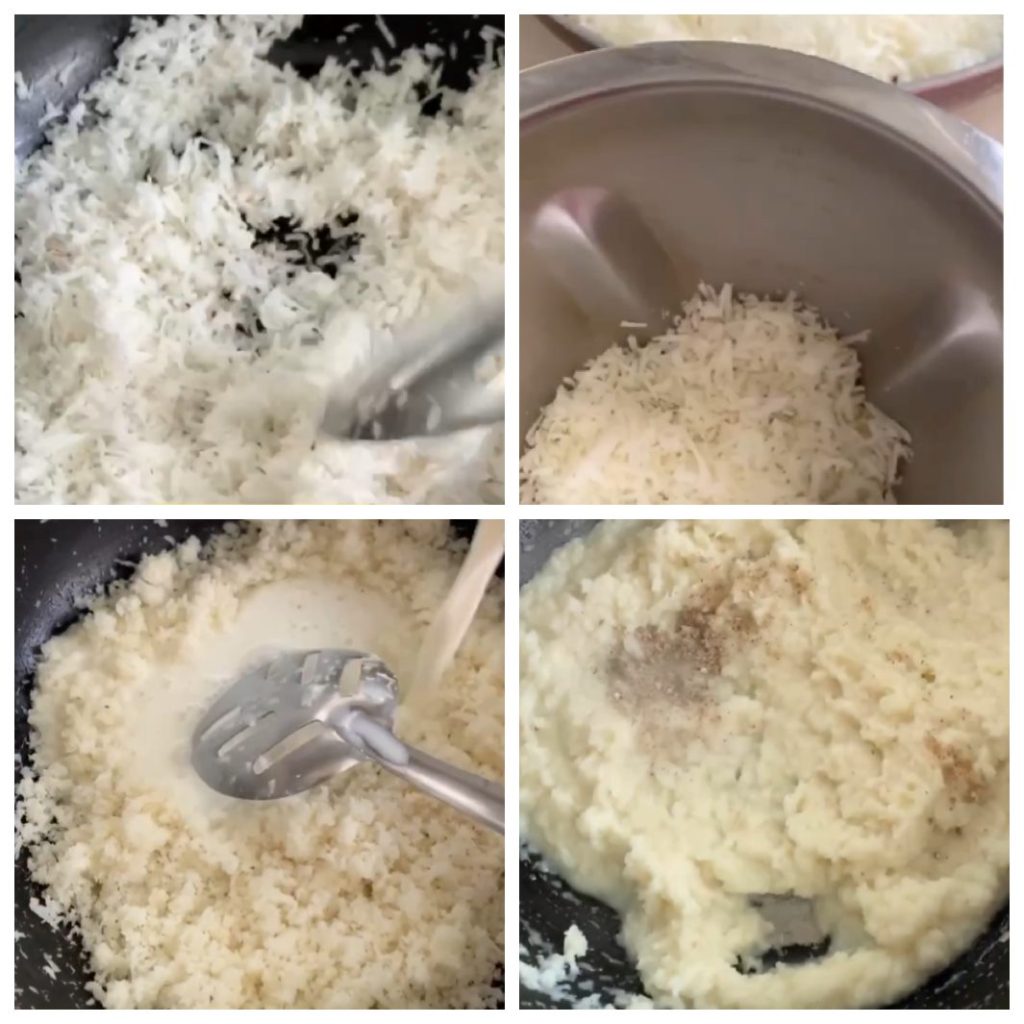
- Heat a heavy bottom wok. Put ghee and coconut in it and roast for a minute. Keep stirring continuously on lowest flame.
- Now add milk and sugar. Mix well. The mixture at this point will be watery. Keep stirring and cook on lowest flame till milk completely evaporates. It’ll take roughly 25 minutes.
- Once the mixture thickens and gets a crumbly texture, add cardamom powder and chopped nuts if using. Mix well.
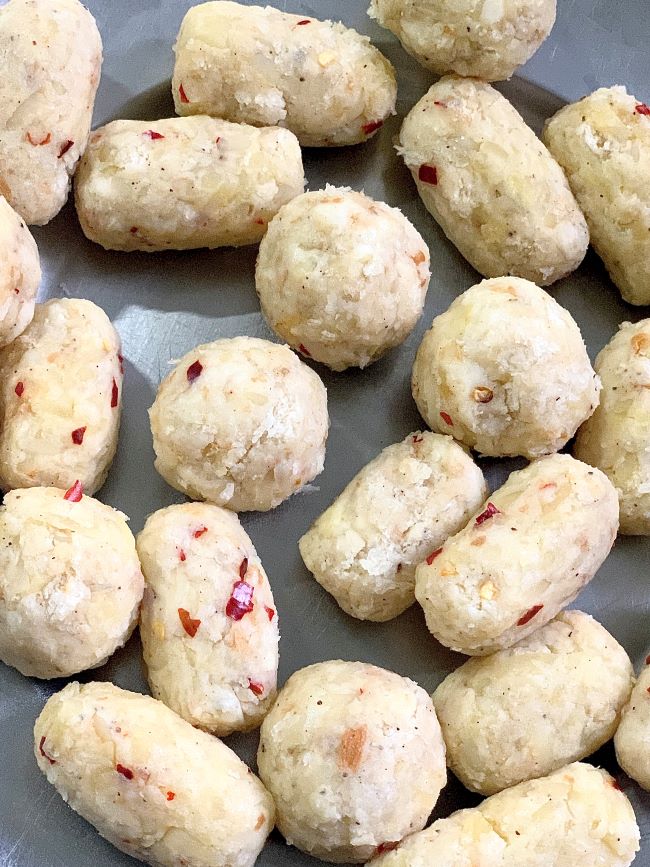
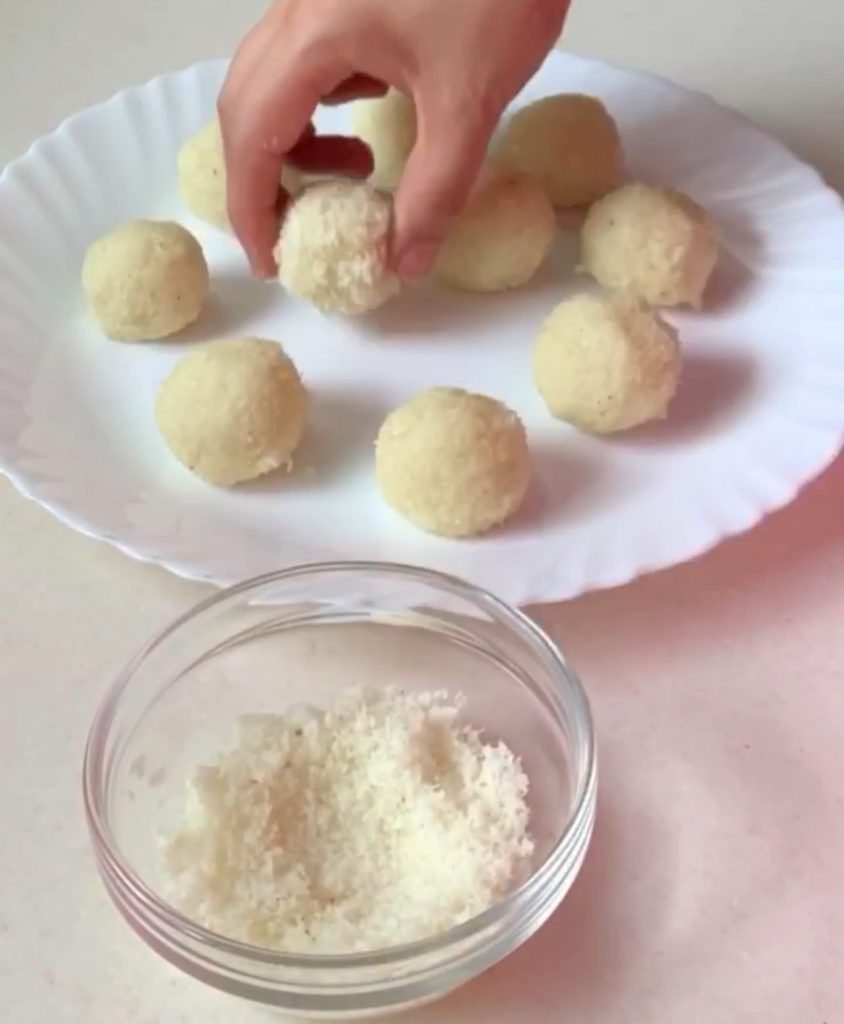
- Allow it to cool for couple of minutes. Now shape them into small balls.
- Put remaining desiccated coconut on a plate. Roll the laddoo over it till it coats well.
- Garnish it with kesar strands.
- Refrigerate it for atleast an hour or overnight to set.
How to make desiccated coconut at home with fresh coconut
- Peel the brown husk from the coconut. Either grate or finely chop it and shred it in a blender. Heat a heavy bottom wok. Put the grated/shredded coconut in it and roast on lowest flame, stirring continuously till moisture from coconut evaporates. It’ll take you anywhere between 7 to 10 minutes.
- It’s done when you will feel that it has really gone light while stirring and separates easily from each other.
Notes:
- Sweetener: You can use a sweetener of your choice. If you can’t find raw unprocessed sugar, you can make this with jaggery as well.
- Flavour: Traditionally cardamom powder is used to flavour coconut ladoos. However, if you don’t want to add it, you can skip it as well. In winter, you can flavour it be adding dry ginger powder or nutmeg.
- Choosing Coconut: Though this recipe tastes best with fresh desiccated coconut but if you can’t find fresh coconut, you can use store-bought desiccated coconut. Make sure the desiccated coconut is raw and not steamed or frozen.
- Vegan Version: For vegan version skip, ghee and milk and instead add coconut oil and coconut milk to this recipe.