Ozempic and other semaglutide-based drugs have revolutionized weight loss and diabetes care. But as millions embark on these medications, a new question looms: What happens when you stop?
Whether you’re considering a break, need to pause for surgery or side effects, or are simply curious about life after GLP-1s, this guide is for you.
This post combines medical evidence, real stories from Reddit and forums, and actionable tips for anyone navigating this transition.
Why Do People Stop Ozempic or Semaglutide?
- Side effects (GI upset, headaches, fatigue, rare vision or kidney issues)
- Reaching weight or A1c goals
- Insurance or cost issues
- Life events (pregnancy, surgery, etc.)
- Supply shortages
- Doctor’s recommendation
Stopping is common—and it’s often more challenging than expected.
What Actually Happens When You Stop?
Let’s break down the most common experiences, based on latest research and thousands of personal accounts:
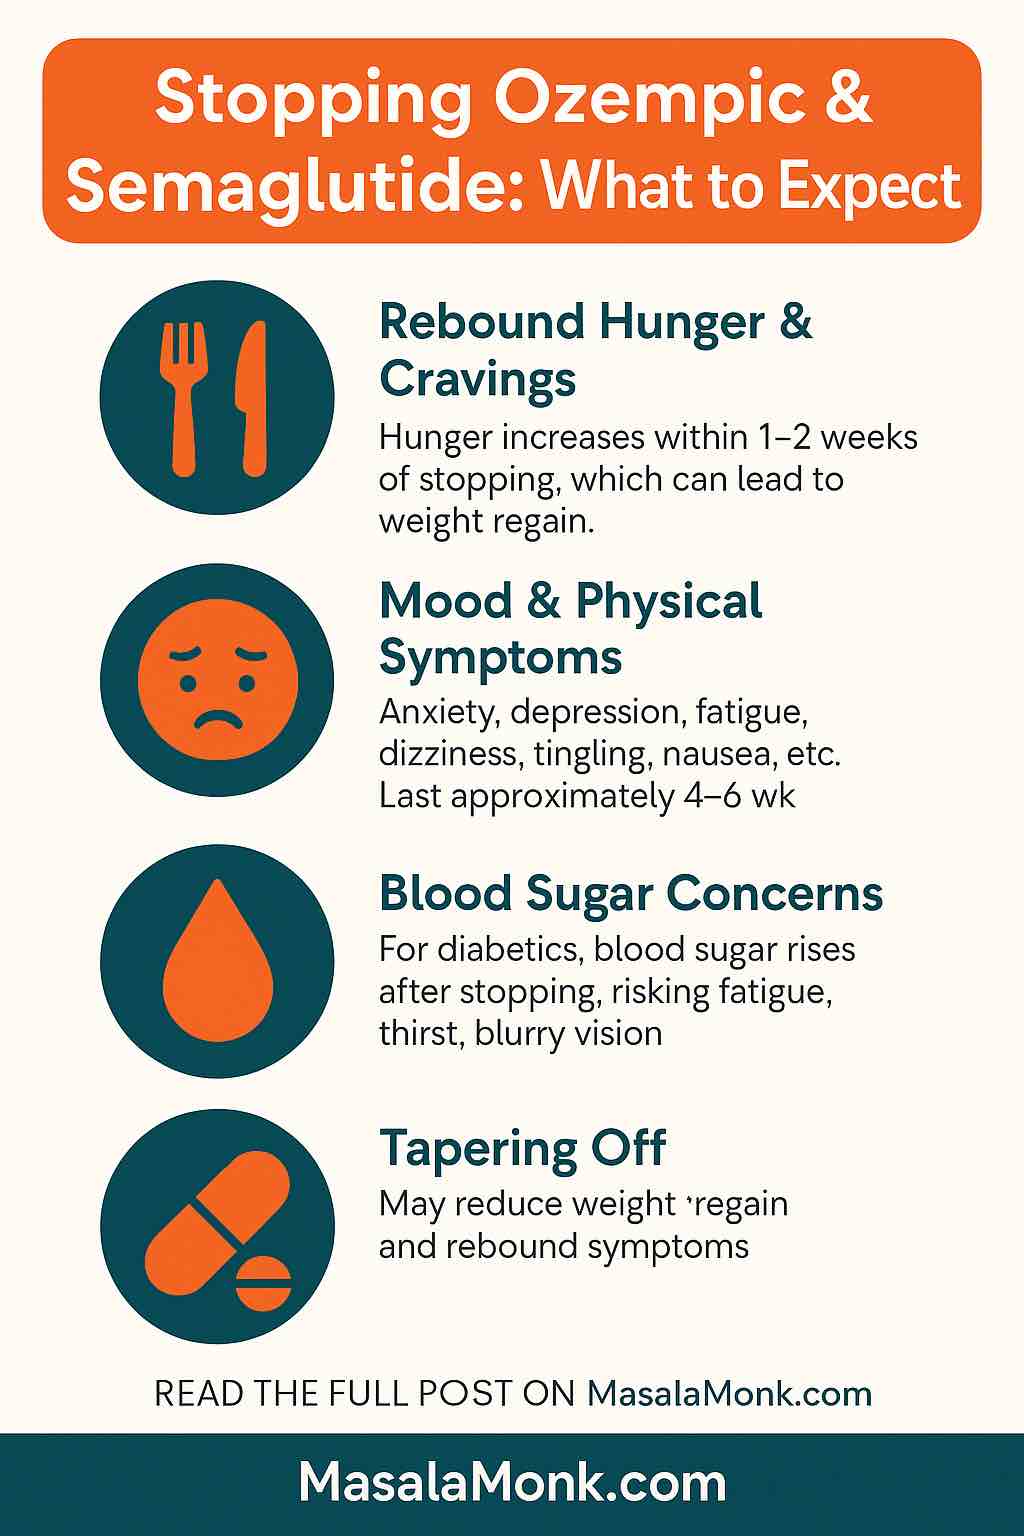
1. Rebound Hunger & Cravings
Semaglutide works by curbing appetite and making you feel full. Within 1–2 weeks after stopping, most people report:
- Intense hunger (“I felt like a bottomless pit” – r/Semaglutide)
- Return of food noise (constant thoughts about eating)
- Increased portion sizes
Clinical studies show up to two-thirds of lost weight can return within a year if lifestyle habits aren’t strengthened during and after treatment.
2. Blood Sugar Changes
For those with type 2 diabetes, the drug’s departure can mean:
- Higher blood sugar
- Symptoms: fatigue, thirst, frequent urination, blurry vision, headaches
Tip: Track blood glucose closely for the first few weeks. Some users found their numbers spiked quickly after their last dose.
3. The “Withdrawal” Debate: Real or Myth?
Doctors don’t officially recognize a withdrawal syndrome like with antidepressants or opioids.
But—real people describe physical and emotional symptoms that sound a lot like withdrawal:
Commonly Reported (Reddit/Forums, 2023–2025):
| Type | Example Symptoms |
|---|---|
| Mental/Emotional | Anxiety, panic, depression, irritability, brain fog |
| Neurological | Tingling, dizziness, restless legs, headaches |
| Physical | Fatigue, muscle weakness, chills, heart palpitations |
| Gastrointestinal | Nausea, indigestion, stomach pain |
| Vision | Blurred vision, rare cases of NAION (see safety below) |
Timeframe: Most symptoms peak in the first 4–6 weeks after stopping, as the drug leaves your system (it has a long half-life—about a week per dose).
Is This All In Your Head?
No!
A 2025 study analyzing thousands of Reddit posts found that many symptoms are underreported in clinical trials but very real for users. Each body is different: some feel fine, some feel terrible, and most fall somewhere in between.
Risks & Safety Warnings: What’s New in 2025?
- Vision risks: Rare cases of non-arteritic anterior ischemic optic neuropathy (NAION)—sudden vision loss—prompted new EMA and FDA warnings. If you notice vision changes, see a doctor immediately.
- Pancreatitis & kidney issues: GLP-1 drugs may increase risk. Severe stomach pain or sudden swelling needs prompt medical attention.
- Mood swings & suicidality: These are rare but reported. If you feel depressed or hopeless, don’t wait to get support.
The Role of Tapering: Does It Help?
Recent real-world studies and forum polls show that tapering off semaglutide—gradually lowering your dose over weeks or months—may:
- Reduce the “crash” feeling
- Lessen rebound hunger
- Help you adjust habits before the full effect wears off
Ask your provider about a tapering plan rather than stopping suddenly, especially if you’ve been on a high dose.
Real User Voices: What the Forums Say
- “I stopped cold turkey and felt horrible—dizzy, anxious, could barely get out of bed. Took about five weeks before I felt better.”
- “Appetite came roaring back. I gained 10 pounds in a month, even though I tried to eat healthy.”
- “I had no withdrawal at all—just a bit hungrier. But I was ready, and my habits were strong.”
- “The mood swings were rough. My anxiety got really bad. Talking to my doctor helped.”
- “My blood sugars shot up fast. I’m glad I monitored them or I’d have missed it.”
These are just a sample—everyone’s story is different.
How to Make the Transition Easier: A Practical Survival Guide
1. Prepare Mentally
- Expect cravings and hunger. They are normal.
- Remind yourself: This is temporary. I am learning to trust my body again.
2. Tweak Your Food Environment
- Stock up on protein, fiber, and filling veggies.
- Avoid bringing trigger foods home for the first month.
- Use smaller plates and pre-portion snacks.
3. Double Down on Habits
- Keep a routine: regular meals, no skipping breakfast, schedule snacks.
- Move daily: even a short walk helps.
- Hydrate well—dehydration can worsen cravings and fatigue.
4. Monitor and Track
- Blood sugar: If diabetic, check more frequently.
- Weight: Consider weekly weigh-ins, not daily, to avoid stress.
- Mood: Journal or use a mental health app.
5. Enlist Support
- Tell friends/family you’re in a transition. Ask for encouragement.
- Join a support group (online or local).
- Stay in touch with your provider—especially if symptoms are severe.
6. Consider Extra Help
- Some people benefit from temporary nutrition counseling, therapy, or even medication for mood or sleep, especially if withdrawal feels severe.
- If vision changes, severe pain, or mood crises arise, call your doctor or go to urgent care.
FAQ: Quick Answers
1. How quickly will I notice changes after stopping Ozempic or semaglutide?
Most people start noticing changes in appetite and mood within 1–2 weeks of their last dose, but some report symptoms sooner, especially if on a higher dose. Physical symptoms like hunger and fatigue often peak within the first month.
2. Will I regain all the weight I lost after stopping?
Not necessarily, but studies show that without active lifestyle changes, up to two-thirds of lost weight may return within a year. Consistent habits and support can reduce the risk of significant regain.
3. What are the most common symptoms people experience when stopping?
The most frequently reported symptoms are increased hunger, cravings, fatigue, brain fog, mood swings, anxiety, and occasional dizziness or headaches. These usually improve within 4–6 weeks.
4. Is it safe to stop Ozempic suddenly, or should I taper off?
It’s generally safe for most people to stop suddenly, but tapering (gradually reducing your dose) may help minimize rebound hunger and other symptoms. Diabetics should work with their provider to avoid dangerous blood sugar spikes.
5. Can stopping Ozempic affect my blood sugar if I have diabetes?
Yes. Blood sugar levels can rise quickly after stopping, especially in those with type 2 diabetes. Monitor your blood glucose closely and talk to your provider about adjusting other medications if needed.
6. Are there any dangerous withdrawal symptoms I should watch for?
Serious side effects are rare but can include vision changes, severe abdominal pain, persistent vomiting, or signs of severe depression. If you experience any of these, contact your healthcare provider immediately.
7. How can I manage increased hunger and cravings?
Focus on protein, fiber, and healthy fats at every meal. Plan snacks in advance, use smaller plates, and try to avoid highly processed or high-sugar foods. Keeping a food journal can also help with awareness.
8. What can I do about mood swings or anxiety after stopping?
These symptoms are common and usually temporary. Regular exercise, staying connected with friends, and talking to a mental health professional if needed can be very helpful during this period.
9. How long do the symptoms last after stopping?
Most people feel the worst effects in the first 2–6 weeks. Appetite may remain elevated for longer, but energy and mood usually improve as your body adjusts.
10. Is there support available if I’m struggling after stopping?
Yes! Online forums, local support groups, registered dietitians, therapists, and your healthcare provider can all offer guidance and encouragement. Don’t hesitate to reach out.
Final Thoughts: You Are Not Alone
Stopping Ozempic or semaglutide is a big step. The medical world is only just catching up to what real people experience. If you feel discouraged or out of control, know that this is common—and it passes.
With planning, support, and patience, you can reclaim your health and stability—whatever your next chapter looks like.
Have you stopped Ozempic or are thinking about it?
Share your experience or questions below—let’s help each other get through it, one day at a time.