Posted on 1 Comment

Oat Bars: The Perfect Snack or Breakfast, Tastier than Candy, No Sugar, No Baking, Ready in 5 Minutes!

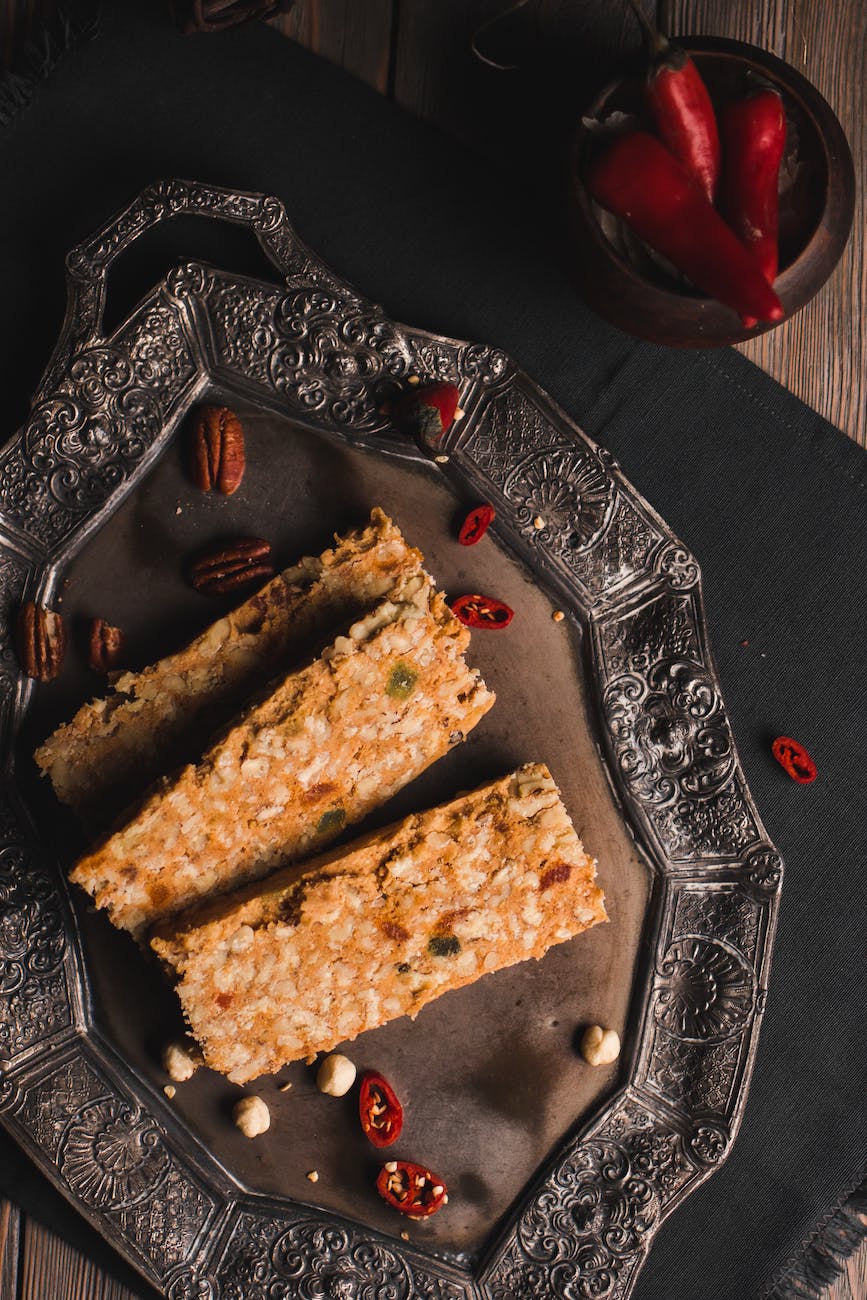
oat bars on a tray

Hello, health-conscious foodies! 🥗💪 Today, we’re diving into the world of quick, easy, and nutritious snacks. We’re talking about Oat Bars that are not only healthier than your average candy bar but also incredibly delicious. These bars require no baking, contain no sugar, and can be prepared in just 5 minutes! This fantastic recipe comes from the YouTube channel Felu – Fit by Cooking, a treasure trove of quick and easy recipes that don’t compromise on taste.

🌟 The Magic of Oat Bars 🌟

Oat bars have become a staple snack among fitness enthusiasts and health-conscious individuals. They’re packed with oats, a source of complex carbohydrates that provide sustained energy. Plus, they’re incredibly convenient, making them a perfect on-the-go snack for those busy days when sitting down for a full meal isn’t an option. The Oat Bars from Felu – Fit by cooking are a prime example of a snack that’s not only nutritious but also tantalizingly tasty!

🥜 The Star Ingredient: Peanut Paste 🥜

Peanut paste takes center stage in these oat bars, providing a rich and creamy base that’s packed with protein. In this recipe, 50 grams of creamy peanut butter is used, which not only imparts a delicious nutty flavor but also significantly contributes to the high protein content of the bars. Peanut paste is a versatile ingredient that’s not only great in oat bars but also in a variety of other dishes, from savory sauces to delicious desserts.

🍫 The Cocoa Touch 🍫

To elevate these oat bars to the next level, 30 grams of cocoa powder is added to the mix. This adds a sweet and indulgent touch to the bars, making them feel more like a decadent treat than a healthy snack. The cocoa powder not only adds flavor but also provides a dose of antioxidants, making these bars even more nutritious.

🍽️ Making the Oat Bars 🍽️

The process of making these oat bars is incredibly straightforward and quick, making it a perfect recipe for those with a busy schedule. After mixing the peanut paste with 150 grams of oats, 30 grams of cocoa powder, 60 grams of casein vanilla protein powder, and a pinch of salt, the mixture is combined with 150 grams of skimmed milk and some water to form a thick, fudgy mixture. The mixture is then pressed into a mold and refrigerated for 2-3 hours until they’re set. In just a few simple steps, you have a batch of delicious and healthy oat bars ready to enjoy!

🎉 Join the Food Lovers Community 🎉

If you’re a food enthusiast who loves experimenting with new recipes and sharing your culinary creations, consider joining the Vibrant Engaging Food Lovers community on Facebook. It’s a place where food lovers from around the world can share their favorite recipes, cooking tips, and foodie adventures. Whether you’re a seasoned chef or a beginner in the kitchen, you’re sure to find inspiration and camaraderie in this vibrant community.

🙏 Credits 🙏

A big thank you to Felu – Fit by cooking for sharing this fantastic Oat Bar recipe. Their commitment to creating quick, easy, and delicious recipes is truly inspiring. Be sure to check out their YouTube channel for more culinary inspiration.

Posted on Leave a comment

Protein Bars: Tastier than Snickers, No Sugar, No Baking, Ready in 5 Minutes!

happy woman with rolling pin cooking at home

Greetings, health-conscious foodies! 🥗💪 Today, we’re delving into the world of quick, easy, and nutritious snacks. We’re talking about Protein Bars that are not only healthier than your average Snickers bar but also incredibly delicious. These bars require no baking, contain no sugar, and can be prepared in just 5 minutes! This fantastic recipe comes from the YouTube channel Schnelle Rezepte, a treasure trove of quick and easy recipes that don’t compromise on taste.

🌟 The Magic of Protein Bars 🌟

Protein bars have become a staple snack among fitness enthusiasts and health-conscious individuals. They’re packed with protein, an essential nutrient that supports muscle growth and recovery. Plus, they’re incredibly convenient, making them a perfect on-the-go snack for those busy days when sitting down for a full meal isn’t an option. The Protein Bars from Schnelle Rezepte are a prime example of a snack that’s not only nutritious but also tantalizingly tasty!

🥜 The Star Ingredient: Peanut Paste 🥜

Peanut paste takes center stage in these protein bars, providing a rich and creamy base that’s packed with protein. In this recipe, 250 grams of peanut paste is used, which not only imparts a delicious nutty flavor but also significantly contributes to the high protein content of the bars. Peanut paste is a versatile ingredient that’s not only great in protein bars but also in a variety of other dishes, from savory sauces to delicious desserts.

🍫 The Chocolate Coating 🍫

To elevate these protein bars to the next level, they’re coated with a layer of sugar-free chocolate. This adds a sweet and indulgent touch to the bars, making them feel more like a decadent treat than a healthy snack. The chocolate coating is made with 120 grams of sugar-free chocolate and a tablespoon of coconut oil. The coconut oil gives the chocolate a smooth and glossy finish, making these bars look as good as they taste.

🍽️ Making the Protein Bars 🍽️

The process of making these protein bars is incredibly straightforward and quick, making it a perfect recipe for those with a busy schedule. After mixing the peanut paste with 100-120 grams of almond flour and 50 grams of sweetener, the mixture is pressed into a mold to form the bars. The bars are then coated with the melted chocolate mixture and refrigerated for 2-3 hours until they’re set. In just a few simple steps, you have a batch of delicious and healthy protein bars ready to enjoy!

🎉 Join the Food Lovers Community 🎉

If you’re a food enthusiast who loves experimenting with new recipes and sharing your culinary creations, consider joining the Vibrant Engaging Food Lovers community on Facebook. It’s a place where food lovers from around the world can share their favorite recipes, cooking tips, and foodie adventures. Whether you’re a seasoned chef or a beginner in the kitchen, you’re sure to find inspiration and camaraderie in this vibrant community.

🙏 Credits 🙏

A big thank you to Schnelle Rezepte for sharing this fantastic Protein Bar recipe. Their commitment to creating quick, easy, and delicious recipes is truly inspiring. Be sure to check out their YouTube channel for more culinary inspiration.

Posted on Leave a comment

Tempeh: A Plant-Based Protein Powerhouse

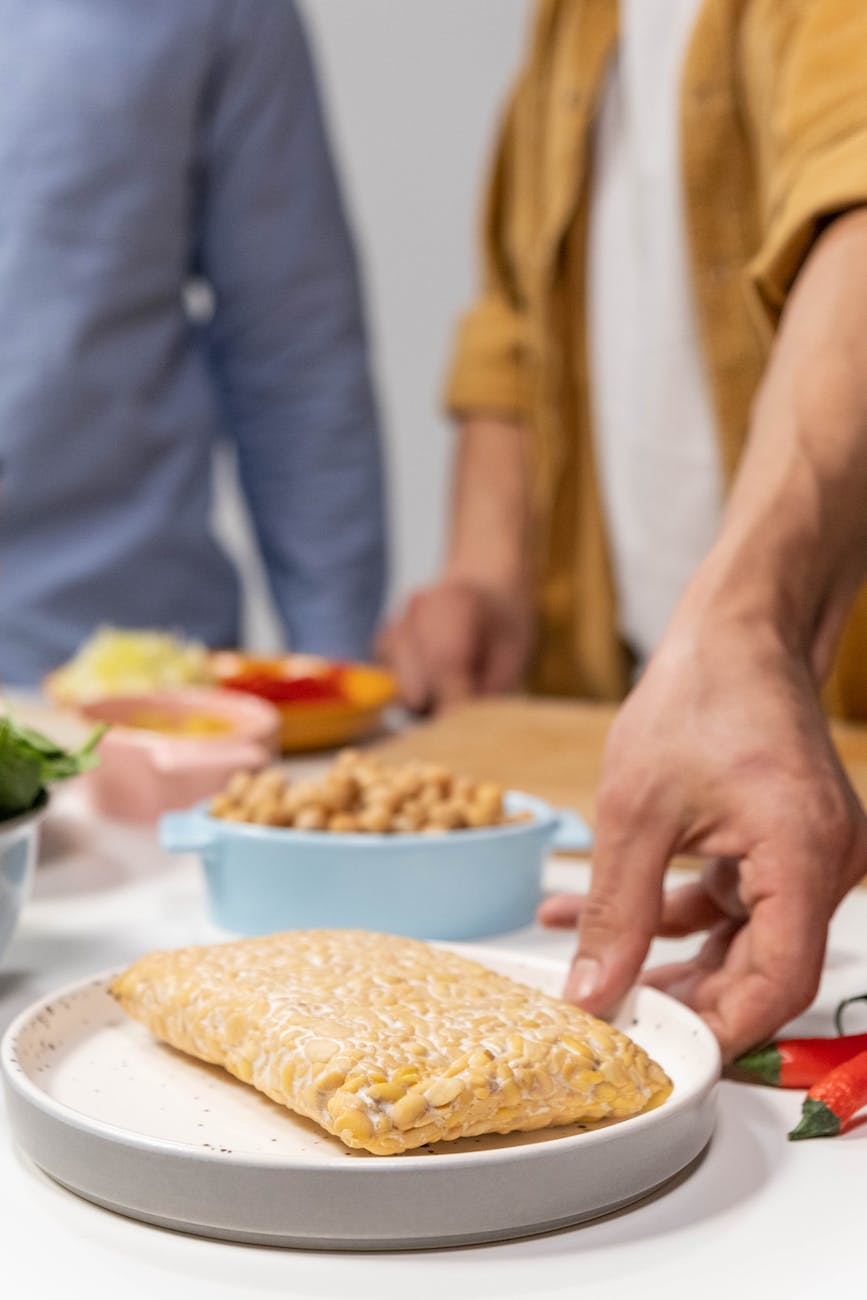
tempeh on a plate

Hello, Health Enthusiasts! 👋

Are you looking for a nutritious and versatile plant-based protein source? Look no further than tempeh! This Indonesian culinary gem has gained popularity worldwide as a nutritious and delicious alternative to meat. Today, we’re diving into the world of tempeh to discover what it is and how you can make it right in the comfort of your home in India. Get ready to embrace the power of plant-based protein! 🌱🇮🇳

What is Tempeh?

Tempeh is a fermented soybean product that originated in Indonesia. It is made by fermenting cooked soybeans with a tempeh starter culture, usually a specific strain of Rhizopus mold. The fermentation process binds the soybeans together, creating a firm and cake-like texture with a rich, nutty flavor. Tempeh is highly regarded for its nutritional profile, as it is an excellent source of protein, fiber, and essential nutrients.

Why Choose Tempeh?

Tempeh offers a range of health benefits that make it a popular choice among those following a plant-based diet or looking to incorporate more plant-based proteins into their meals. Here are some reasons why you should consider adding tempeh to your culinary repertoire:

  1. High in Protein: Tempeh is a fantastic source of plant-based protein, containing all the essential amino acids your body needs. It provides around 15-20 grams of protein per 100 grams, making it an excellent protein option for vegans, vegetarians, or anyone looking to reduce their meat consumption.
  2. Rich in Fiber: Tempeh is also a great source of dietary fiber, which aids digestion, helps regulate blood sugar levels, and promotes a healthy gut. Its fiber content helps you feel fuller for longer, making it a satisfying addition to your meals.
  3. Packed with Nutrients: Tempeh is a good source of various essential nutrients, including iron, calcium, magnesium, and vitamin B12. It also contains antioxidants and phytochemicals that support overall health and well-being.
  4. Versatile and Delicious: Tempeh’s firm texture and nutty flavor make it incredibly versatile in the kitchen. It can be marinated, sautéed, grilled, baked, or crumbled into various dishes, adding a delightful umami flavor and meaty texture.

Now, let’s explore how you can make tempeh at home in India:

How to Make Tempeh at Home:

Making tempeh at home requires a few simple steps and ingredients. Here’s a general guide to help you get started:

Ingredients:

  • 2 cups of soybeans
  • 1 tablespoon of tempeh starter culture (available online or at specialty health stores)
  • 1 teaspoon of white vinegar or lime juice (optional)

Instructions:

  1. Soybean Preparation: Start by soaking the soybeans in water overnight or for at least 8-10 hours. After soaking, drain and rinse the soybeans thoroughly.
  2. Cooking the Soybeans: Transfer the soaked and rinsed soybeans to a large pot and cover them with fresh water. Bring the water to a boil and cook the soybeans for about 40-50 minutes or until they are tender but not mushy. Stir occasionally and skim off any foam that forms on the surface.
  3. Cooling and Draining: Once the soybeans are cooked, drain them and rinse them under cold water to cool them down. Gently rub the soybeans between your hands or with a clean cloth to remove the outer skins. Removing the skins is optional but recommended for a smoother texture.
  4. Inoculation: Place the cooked and drained soybeans in a large mixing bowl and sprinkle the tempeh starter culture over them. If desired, add a teaspoon of white vinegar or lime juice to create an acidic environment for fermentation. Mix well to ensure the soybeans are evenly coated with the starter culture.
  5. Fermentation: Transfer the soybeans to a clean, shallow container or tray. Spread them out in an even layer, ensuring good air circulation. Cover the container with a clean cloth or plastic wrap with small holes to allow for airflow.
  6. Incubation: Place the container in a warm and dark place with a temperature between 28-32°C (82-90°F). Maintain the temperature consistently throughout the fermentation process, as temperature fluctuations can affect the quality of the tempeh. Incubation usually takes around 24-48 hours, depending on the temperature and desired fermentation level.
  7. Checking for Fermentation: After the incubation period, check the tempeh for a dense white mycelium (the network of mold). It should bind the soybeans together. A slightly nutty aroma is also a good sign of successful fermentation.
  8. Storing and Using: Once the tempeh is fully fermented, remove it from the incubator and let it cool to room temperature. Cut it into desired shapes or sizes and store it in an airtight container in the refrigerator for up to one week. Use it in various recipes, such as stir-fries, curries, salads, or even grilled as meat substitute.

Remember, the process of making tempeh may require some experimentation and adjustments based on your climate, as temperature and humidity can affect fermentation. But with practice, you’ll master the art of homemade tempeh and enjoy its wholesome goodness.

As you embark on your tempeh-making journey, don’t forget to share your experiences and culinary creations with us and our community of food lovers at EatLo. Let’s celebrate the power of plant-based proteins and inspire each other with our healthy and delicious tempeh creations!

Embrace the wonders of tempeh, a nutritious and versatile plant-based protein, and enjoy the benefits of this delightful Indonesian creation right in your own kitchen in India. Happy tempeh-making and bon appétit! 😜👊

Posted on 2 Comments

The Forgotten Grains: A Tale of India’s Traditional Wheat Varieties

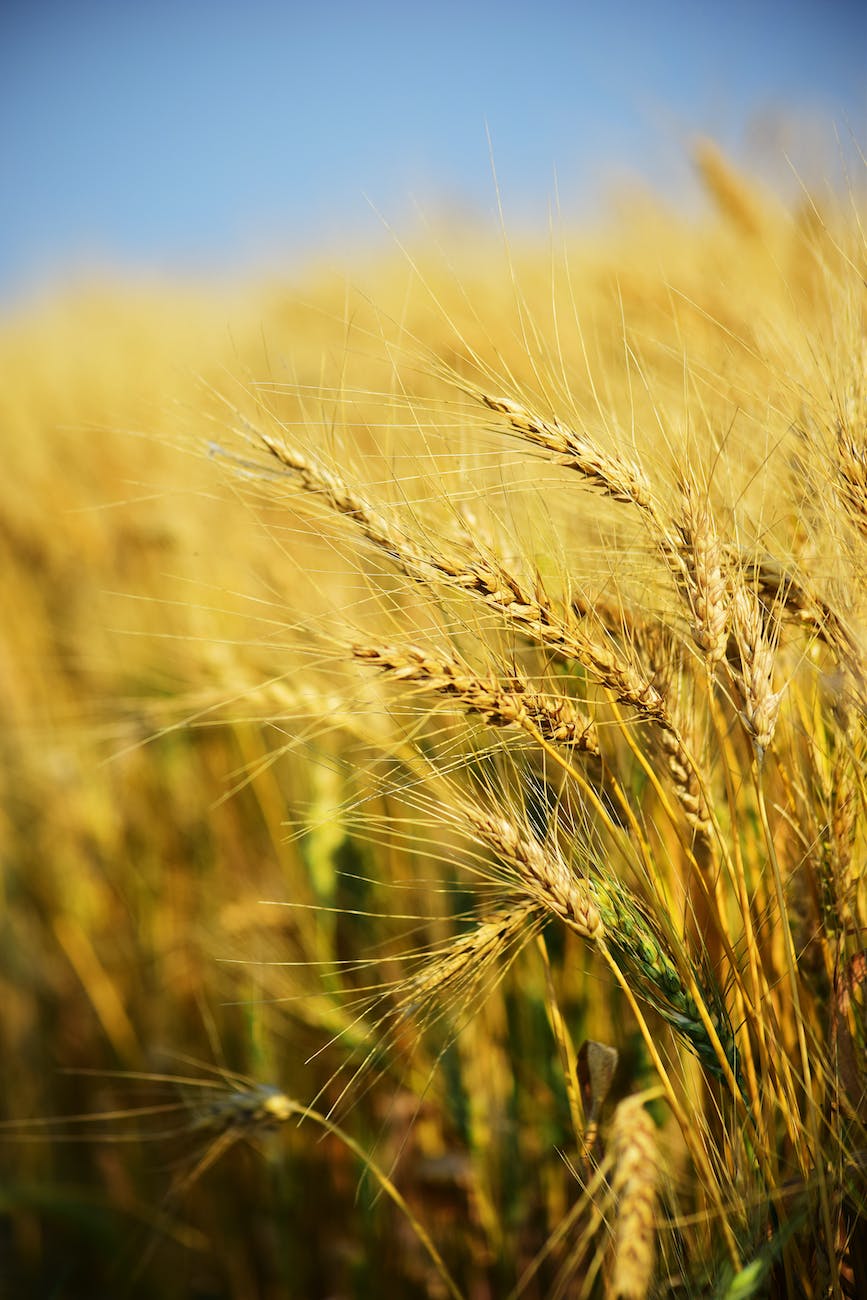
closeup photography of rice grains

India, with its rich agrarian heritage, has been a treasure trove of diverse crop varieties, including numerous traditional wheat 🌾 varieties. However, the landscape of Indian agriculture underwent a significant transformation in the 1960s with the advent of the Green Revolution. This period marked a shift towards high-yielding varieties of wheat, aimed at increasing food production to meet the demands of a growing population.

The Green Revolution introduced hybrid seeds that promised higher yields and better resistance to diseases. These hybrid varieties, developed through modern breeding techniques, quickly gained popularity among farmers due to their potential for increased productivity. Consequently, traditional wheat varieties like Khapli, Bansi, Kathia, Lokwan, and Sona Moti, which were once widely cultivated across the country, began to fade into obscurity.

While the Green Revolution succeeded in enhancing India’s food security, it also led to a gradual erosion of the country’s agrobiodiversity. The widespread adoption of hybrid wheat varieties resulted in the neglect of traditional varieties, many of which are nutritionally superior and better adapted to local climatic conditions. Moreover, these traditional varieties are often more flavorful and have unique textures, making them a preferred choice for many traditional Indian dishes.

However, the tide is slowly turning. With increasing awareness about the health benefits of traditional grains and the importance of preserving agrobiodiversity, there is a growing interest in reviving these forgotten wheat varieties. These traditional varieties are not just packed with nutrients but also carry with them a piece of our heritage. They remind us of the importance of sustainable farming practices and the need to preserve our biodiversity.

In the following sections, we delve deeper into these traditional wheat varieties, exploring their unique characteristics, health benefits, and where they are grown. So the next time you buy wheat flour, consider choosing these traditional varieties. Not only will you be making a healthier choice, but you will also be supporting small farmers and sustainable agriculture.

Khapli 🌾: The Ancient Grain

Also known as Emmer wheat, Khapli is an ancient variety of wheat that has been cultivated since the time of the Indus Valley Civilization. It is rich in fiber and has a low glycemic index, making it a great choice for those managing diabetes. Khapli wheat is also known for its high protein content and is easier to digest compared to modern wheat varieties. Its rich, nutty flavor makes it a favorite among health-conscious individuals. Khapli wheat is primarily grown in the states of Maharashtra and Karnataka. It can be found in organic stores or online platforms that sell organic products.

Bansi 🌾: The Flavorful Wheat

Bansi wheat is a traditional variety that is known for its rich taste and aroma. It is also high in nutritional value, boasting a good amount of protein, fiber, and essential minerals. Bansi wheat is often stone-ground to retain its nutrients and is used to make wholesome rotis and other Indian breads. Bansi wheat is predominantly grown in the northern states of India. It can be purchased from local grocery stores or online platforms that sell traditional Indian grains.

Kathia 🌾: The Sustainable Choice

Kathia wheat is a local variety that is grown using traditional farming methods. It is known for its high nutritional content and is often used to make rotis. Kathia wheat is resistant to pests and diseases, making it a sustainable choice for farmers. Its unique flavor and texture make it a popular choice for traditional Indian dishes. Kathia wheat is mainly grown in the states of Haryana and Punjab. It can be found in local markets or online platforms that promote sustainable farming practices.

Lokwan 🌾: The Popular Variety

Lokwan is a popular variety of wheat in India. It is known for its good quality and high nutritional value. Lokwan wheat is rich in protein and fiber, making it a healthy choice for everyday meals. It is also known for its robust flavor and is used to make a variety of dishes, from rotis to sweets. Lokwan wheat is widely grown across India and can be easily found in local grocery stores or online platforms.

Sona Moti 🌾: The Nutritious Wheat

Sona Moti is a traditional variety of wheat that is known for its rich taste and high nutritional content. It is often used to make chapatis and other Indian breads. Sona Moti wheat is grown using traditional farming methods, ensuring that the flour is free from harmful pesticides and chemicals. Sona Moti wheat is primarily grown in the states of Madhya Pradesh and Rajasthan. It can be found in organic stores or online platforms that sell organic products.

These traditional wheat varieties are not just packed with nutrients but also carry with them a piece of our heritage. They remind us of the importance of sustainable farming practices and the need to preserve our biodiversity. So the next time you buy wheat flour, consider choosing these traditional varieties. Not only will you be making a healthier choice, but you will also be supporting small farmers and sustainable agriculture.

And if you’re interested in sharing your food experiments or want to discover more amazing things, feel free to join the Facebook group of Vibrant and Engaging Food Lovers.

Remember, the food we consume directly impacts our health and well-being. So, let’s make informed choices and strive for a healthier lifestyle.

Stay fit, stay healthy! 🌾🍞🌿

Posted on Leave a comment

5 Expert Tips to Effectively Lose Belly Fat

a person holding his belly fat

Belly fat, the bane of many fitness enthusiasts and health-conscious individuals, is notoriously stubborn to lose. But fret not, because science comes to our rescue! In this blog post, we delve into the insights shared by Jeremy Ethier, a well-known fitness expert, in his video “How to ACTUALLY Lose Belly Fat (Based on Science)”. This video is a treasure trove of scientifically-backed information, featuring insights from five of the world’s most qualified fat loss scientists. So, let’s dive in and unravel the mystery of losing belly fat! 🕵️‍♀️

Understanding Belly Fat: More Than Just a Cosmetic Concern 🍔🍟

First things first, it’s important to understand that belly fat is more than just a cosmetic concern. It’s a health issue. There are two types of belly fat: subcutaneous fat, which is the fat that you can pinch, and visceral fat, which is stored deep within your abdomen, surrounding your organs. While subcutaneous fat may be annoying, it’s the visceral fat that poses serious health risks, including heart disease, type 2 diabetes, and certain types of cancer. Both types can be stubborn, but with the right approach, they can be effectively reduced.

The Key to Losing Belly Fat: Caloric Deficit 🍽️

According to Layne Norton, a scientific researcher and champion powerlifter, the key to losing belly fat lies in maintaining a consistent caloric deficit. This means consuming fewer calories than your body burns. While specific exercises can reduce visceral fat, they won’t necessarily target belly fat. So, the focus should be on achieving a caloric deficit through diet modifications. It’s not about starving yourself, but about making smarter food choices and portion control.

Crafting a Nutrition Plan for Belly Fat Loss 🥦🥕

Alan Aragon, a top nutrition researcher, suggests creating a list of your 20 favorite foods across six food groups — high protein, fat, fibrous vegetables, starch, milk, and fruits. This approach ensures you enjoy what you eat while maintaining a balanced diet. He also emphasizes the importance of adequate protein intake during dieting to preserve muscle mass. Protein also has a high thermic effect, meaning your body burns more calories digesting protein compared to fats and carbs.

Exercise Plan for Belly Fat Loss 🏋️‍♀️🚴‍♀️

Eric Trexler, a pro natural bodybuilder and published scientist, highlights the benefits of resistance training for fat loss. It helps reduce muscle loss during weight loss, leading to better muscle definition and appetite regulation. Cardio can also be beneficial in maintaining energy expenditure when non-exercise activity decreases during a fat loss phase. The key is to find a balance between resistance and cardio training that works for you.

The Role of Sleep in Belly Fat Loss 😴

Bill Campbell, an Exercise Science professor, explains the link between sleep restriction and overeating, which can lead to belly fat gain. He suggests aiming for about seven hours of sleep per night to avoid this. Lack of sleep can disrupt your body’s hunger hormones, leading to increased appetite and cravings for high-calorie foods.

The Importance of Patience and Consistency 🐢

Finally, Laurin Conlin, a master coach and exercise scientist, emphasizes the need for patience and consistency. She notes that belly fat is often the last area where fat loss is noticeable, and progress should be measured in multiple ways, not just by the scale. It’s about making sustainable lifestyle changes and sticking to them.

All credit for this comprehensive guide goes to Jeremy Ethier. Be sure to check out his video, “How to ACTUALLY Lose Belly Fat (Based on Science)”, for more details and inspiration. 📺

Remember, the journey to a healthier lifestyle starts with a single step. Start incorporating these tips into your lifestyle today and embrace the transformation that awaits you! 🌈