
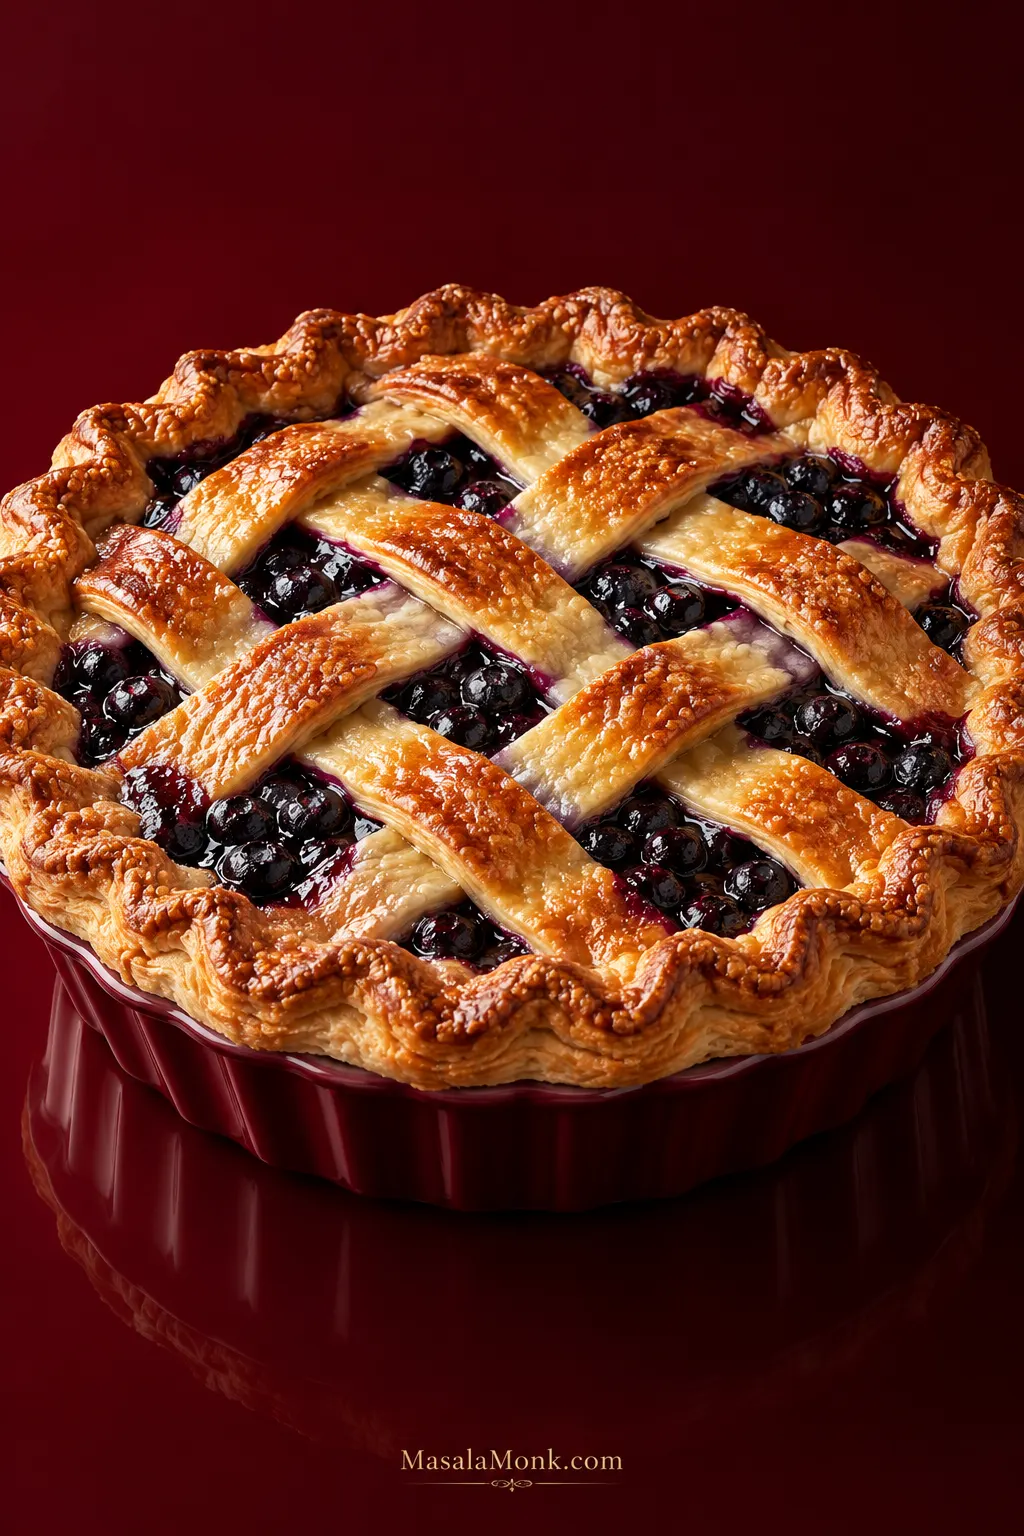
The best blueberry pie has a buttery, crisp crust, soft berries you can still recognize, and dark, glossy juices that stay tucked around the fruit when you lift a slice.
Getting there is a balancing act. Blueberries release plenty of juice as they cook, so the center can stay loose even after the crust begins to brown. Too much thickener solves that problem at the expense of the fruit, turning those juices stiff and pasty.
This blueberry pie recipe handles the fruit in two stages. Half the blueberries are cooked first to build a concentrated base; the rest are folded in afterward, leaving plenty of berries plump and recognizable in the finished pie.
Fresh blueberries are the simplest choice, although frozen berries work too with slightly different handling. Either way, the goal is the same: plenty of recognizable fruit held together by blueberry juices that stay with the slice.
In This Recipe
Why Half the Blueberries Are Cooked
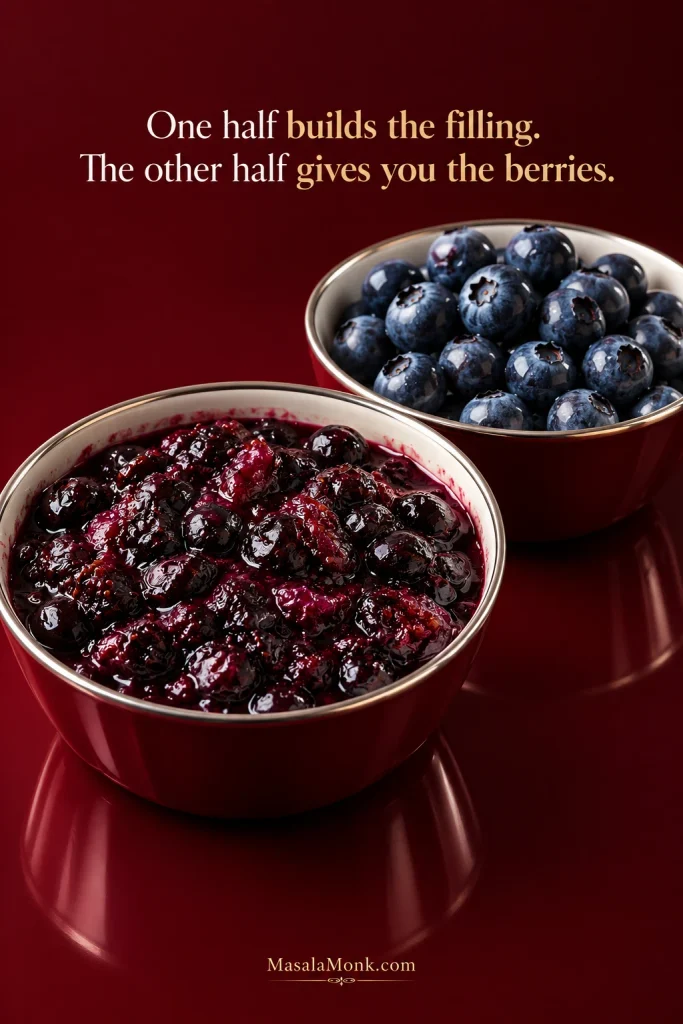
One half builds the filling. The other half gives you the berries.
First, one portion softens in a saucepan and releases its juice, which becomes the base for the pie once the cornstarch thickens it. The reserved portion goes in afterward, keeping much more of its shape.
Cooking part of the fruit also gives you a chance to taste the blueberries before they reach the crust. Some batches are naturally sweeter than others, while especially tart fruit may need a little extra sugar.
The finished texture should still belong to the berries. Their juices need enough body to cling around the fruit and hold a wedge together. They should still be soft; this is blueberry pie, not fruit gel.
Can You Make Blueberry Pie with Frozen Blueberries?
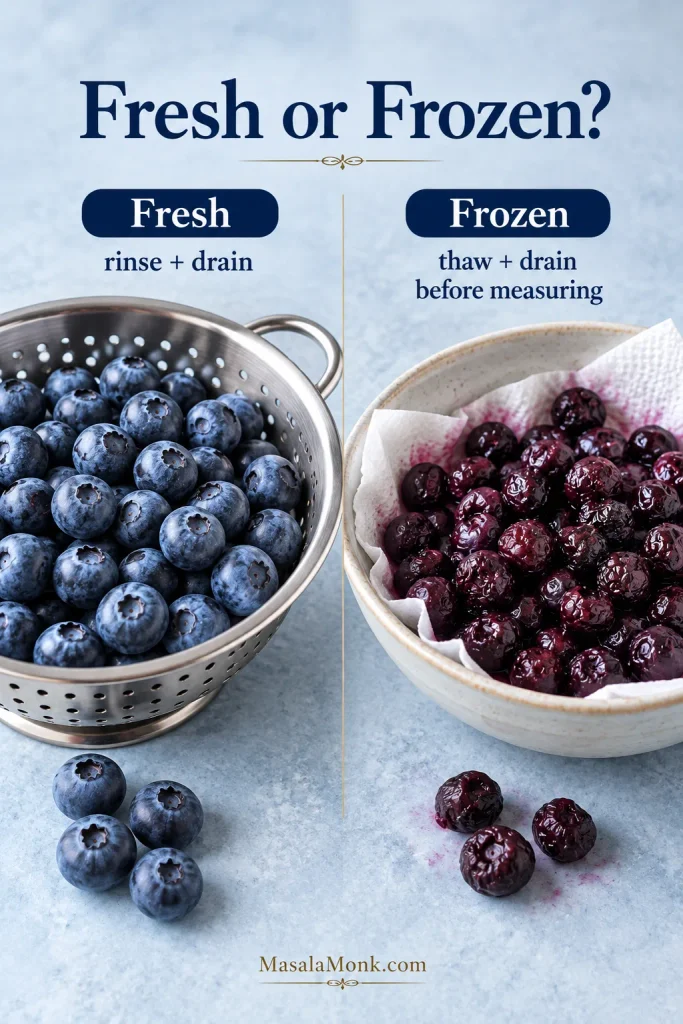
Yes. Fresh berries need little more than a gentle rinse and a thorough drain. Frozen blueberries are thawed and drained before measuring in this version because they release additional liquid as they thaw.
For this pie, the important checkpoint comes in the saucepan: the cooked portion needs enough body to support the berries folded in afterward.
The same principle—adjusting the preparation to the fruit you’re starting with—also matters in our peach cobbler with fresh, frozen or canned peaches.
Blueberry Pie Recipe
A deep-dish blueberry pie with a flaky all-butter crust, juicy berries and enough structure to cut into generous wedges without making the fruit stiff.
Equipment
- 9-inch deep-dish pie plate
- Rimmed baking sheet
- Medium saucepan
- Large heatproof bowl
- Rolling pin
- Pastry cutter or fingertips
- Pastry brush
- Sharp knife or pastry wheel
- Cooling rack
- Pie shield or aluminum foil, optional
Ingredients
All-Butter Crust
- 2¾ cups / 330 g all-purpose flour, plus more for rolling
- 1 tablespoon / 12 g granulated sugar
- 1¼ teaspoons fine salt
- 1 cup / 226 g unsalted butter, very cold and cut into ½-inch / 1.25 cm pieces
- 6 tablespoons / 90 ml ice water, plus up to 2 tablespoons / 30 ml more if needed
Blueberry Filling
- 7 cups (about 36 oz / 1,020 g) blueberries, divided; if using frozen berries, thaw and drain as directed before measuring
- ¾ cup / 150 g granulated sugar, plus a little more if the berries are especially tart
- 6 tablespoons / 42 g cornstarch
- ½ teaspoon fine salt
- ¼ teaspoon ground cinnamon, optional
- 2 tablespoons / 30 ml water, for fresh blueberries only
- 1 tablespoon / 14 g unsalted butter
- 1–2 teaspoons finely grated lemon zest
- 1 tablespoon / 15 ml fresh lemon juice
For Finishing
- 1 large egg
- 1 tablespoon / 15 ml water or milk
- 1–2 tablespoons coarse sparkling, turbinado or demerara sugar, optional
Method
1. Make and Chill the Dough
Whisk the flour, sugar and salt together. Add the cold butter and work it into the flour until you have a mixture of pea-sized pieces and thinner flakes.
Drizzle in 6 tablespoons / 90 ml ice water while tossing with a fork. Squeeze a handful of dough. When it holds together without feeling wet, there’s enough water. Add more ice water a tablespoon at a time only if it still falls apart.
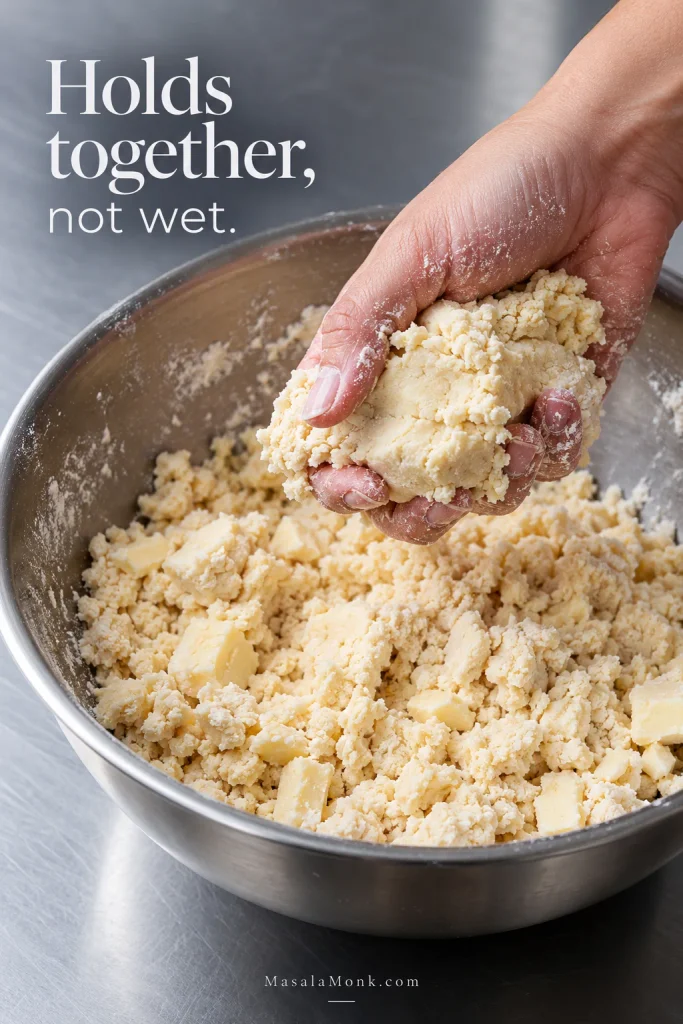
Bring the dough together without kneading. Divide it into two disks, making the bottom-crust disk slightly larger. Wrap and refrigerate for at least 30 minutes.
If pie pastry is the part you find trickiest, our easy homemade pie crust guide goes deeper into butter temperature, hydration, rolling and chilling.
2. Prepare and Divide the Blueberries
Rinse fresh berries gently and drain them well. For frozen blueberries, thaw completely and drain before measuring, leaving the collected thawing liquid out of the filling.
Divide the prepared fruit into two equal portions: 3½ cups (about 510 g) for the cooked base and 3½ cups (about 510 g) to fold in later.
3. Cook the First Half
Put the first portion of blueberries in a medium saucepan over medium heat. Add the 2 tablespoons / 30 ml water only for fresh fruit.
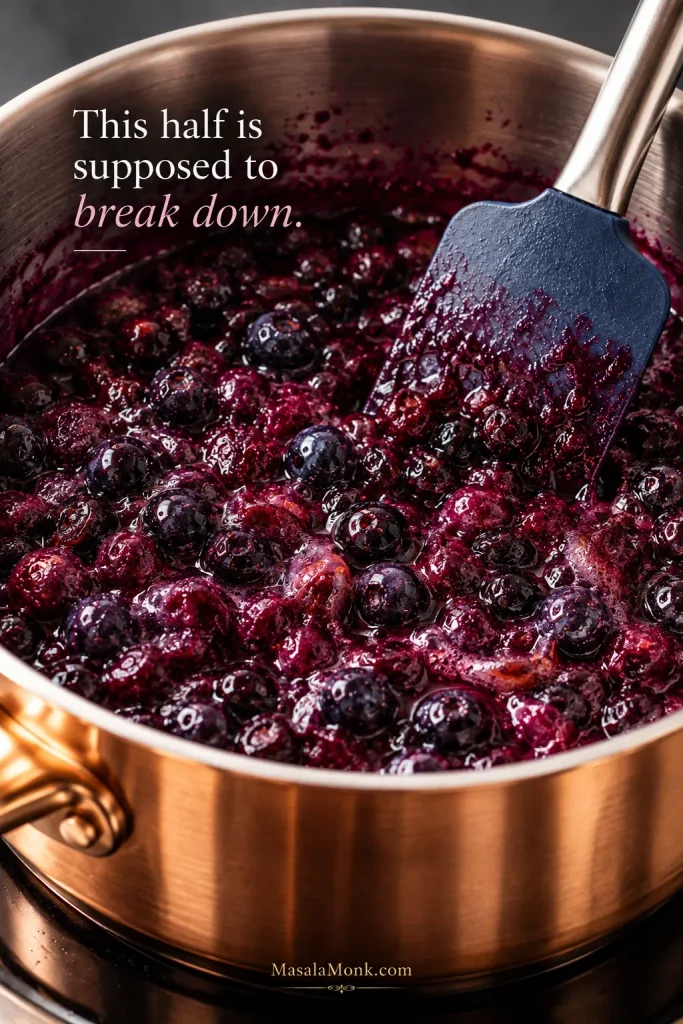
Cook for about 5–7 minutes, stirring occasionally. The berries will soften and begin to collapse as their purple juices come to a gentle simmer. That’s what you want from this half; these berries are building the base.
4. Thicken the Blueberry Base
Whisk the sugar, cornstarch, salt and optional cinnamon together, then stir them into the simmering berries.
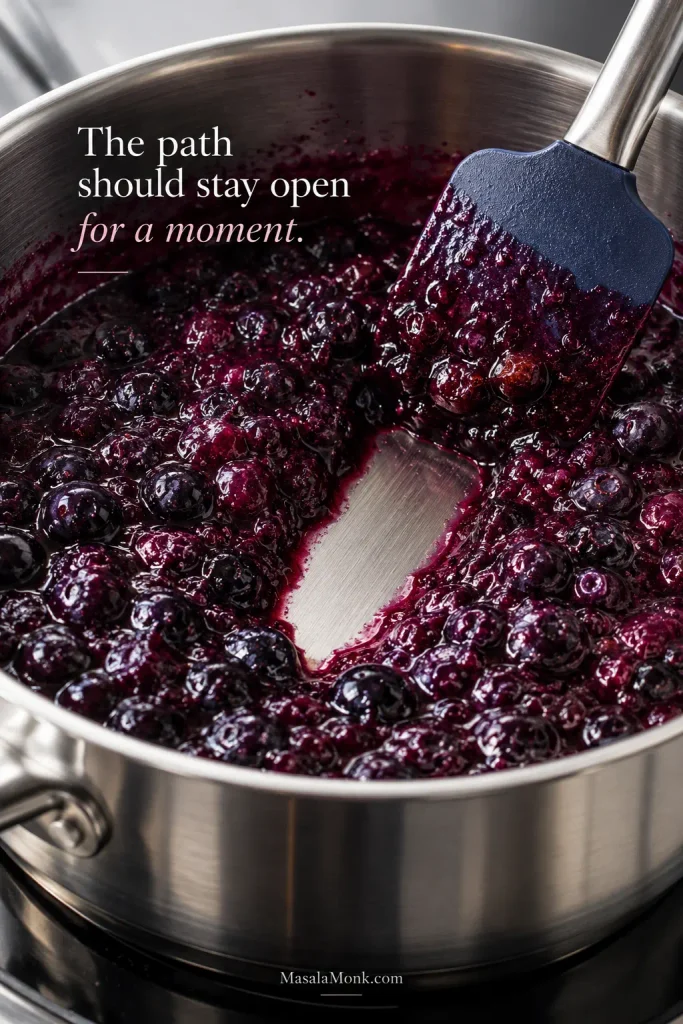
Keep stirring over medium heat as the mixture thickens and returns to a gentle bubble. Drag a spatula across the bottom of the saucepan. It should leave a clear path for a moment before the fruit closes over it again.
5. Add the Lemon and Butter
Remove the saucepan from the heat and stir in the butter, lemon zest and lemon juice.
Let a small spoonful cool before tasting. Especially tart berries may need a little more sugar; stir it in while the mixture is still warm enough to dissolve. The lemon should brighten the blueberries without making the pie taste distinctly lemony.
6. Fold in the Remaining Blueberries
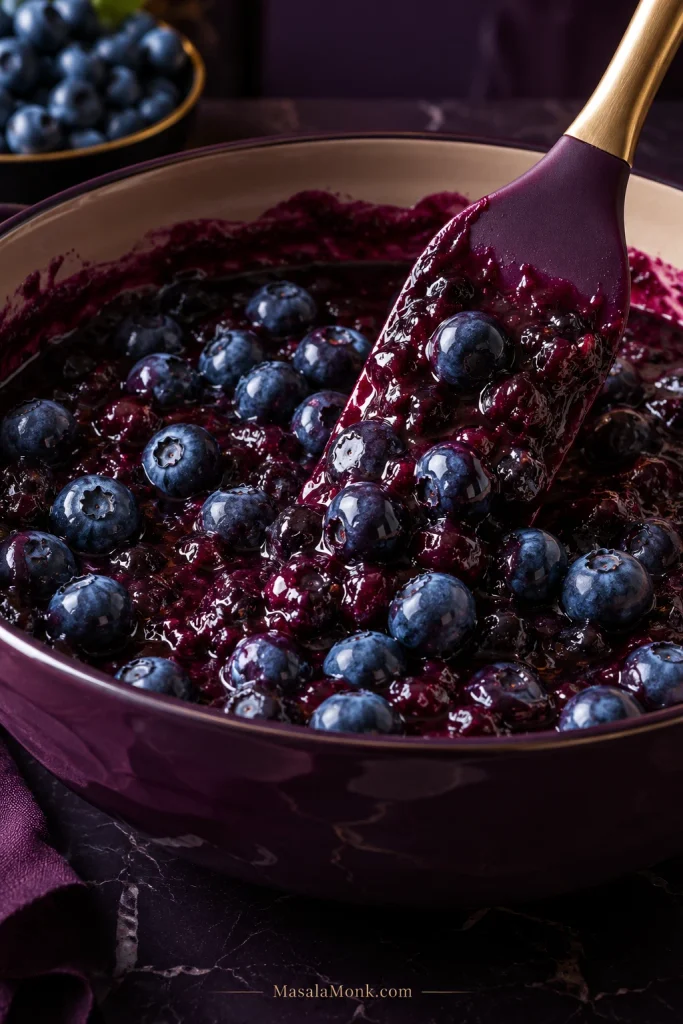
Put the reserved berries in a large heatproof bowl. Pour the cooked blueberry base over them and fold gently until the berries are evenly coated.
Now you can see why the fruit was divided: the cooked berries have become the sauce around a second batch that still looks like blueberries.
Set the mixture aside while you roll the crust.
7. Roll the Bottom Crust
Roll the larger dough disk into roughly a 13-inch / 33 cm circle, about ⅛ inch / 3 mm thick. Lower it gently into the pie plate and let the pastry settle into the corners without stretching it.
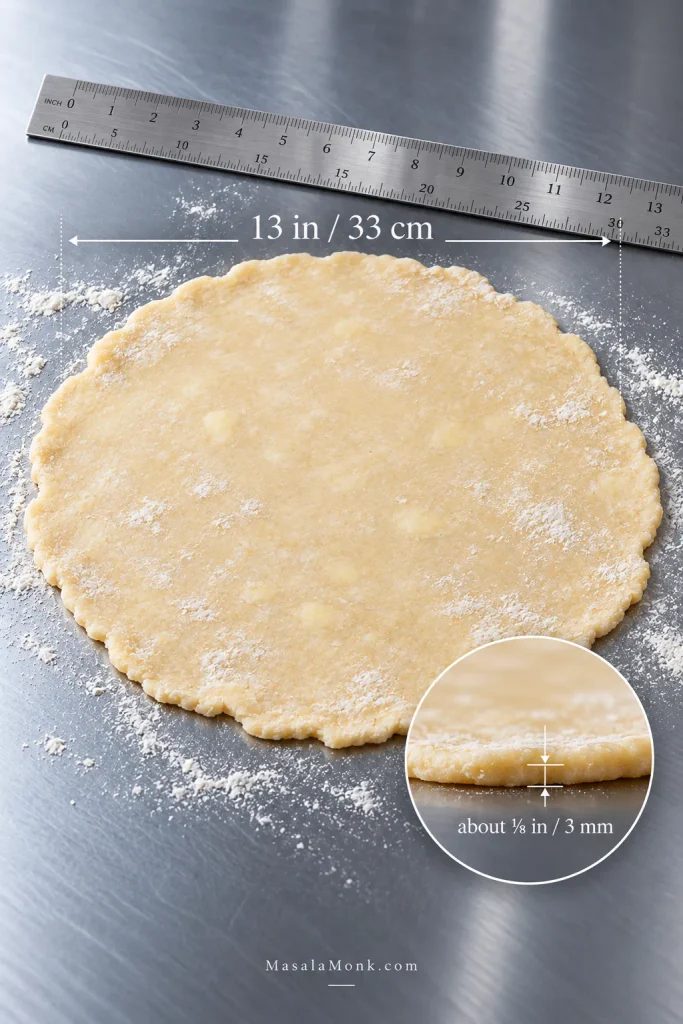
Dough that starts feeling soft or greasy needs another short chill before you continue.
8. Fill and Top the Pie
Spoon the blueberry mixture into the crust and spread it evenly, keeping the filling below the top edge of the pie plate. In a 9-inch deep-dish pan, that headroom gives the bubbling fruit somewhere to expand without crowding the crust.
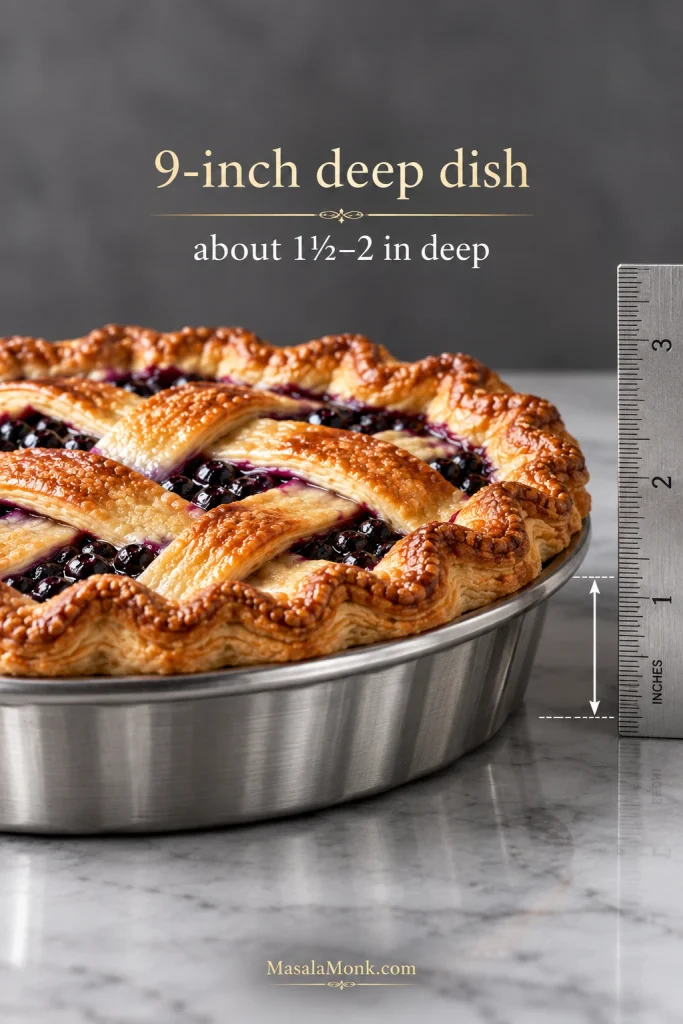
Roll the second dough disk to about ⅛ inch / 3 mm. Cut it into strips for a lattice, or lay it over the pie whole and cut several generous steam vents. Trim the excess pastry, fold the edges together and crimp firmly.
Beat the egg with the water or milk. Brush the top lightly and sprinkle with coarse sugar if using.
For a shortcut, a refrigerated store-bought double crust can replace the homemade pastry. Keep it cold and make sure there’s enough dough for a 9-inch deep-dish pie.
9. Chill While the Oven Heats
Refrigerate the assembled pie while the oven heats to 425°F / 220°C. Put a rimmed baking sheet in the oven as it preheats and position a rack in the lower third.
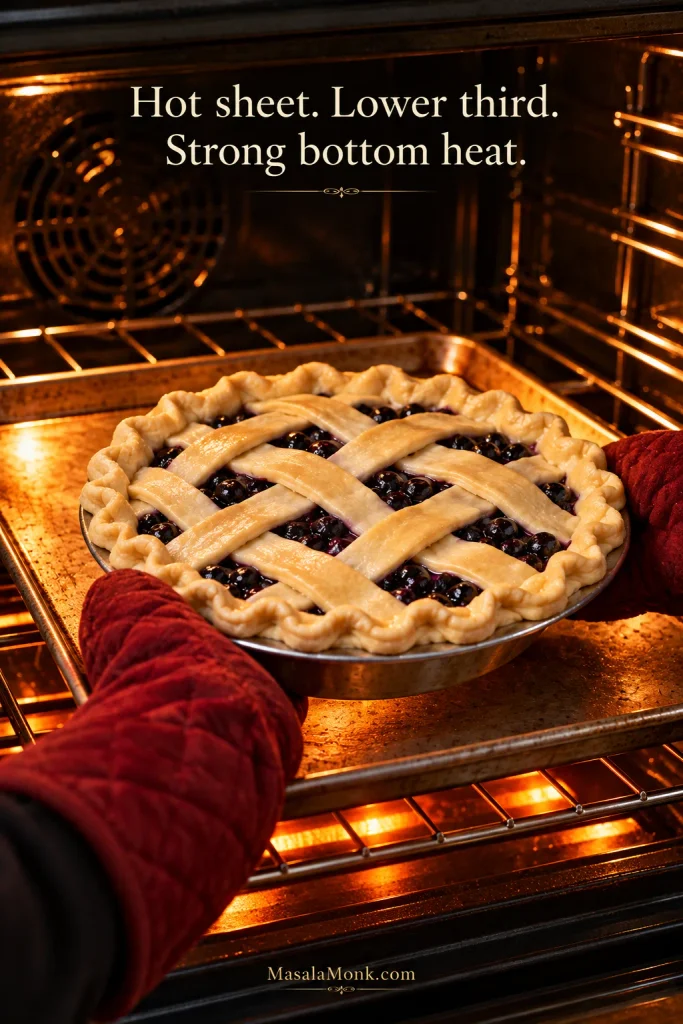
The pastry should feel cold and firm before it goes into the oven. Leave it in the refrigerator a little longer if assembly has softened it noticeably.
10. Bake
Set the chilled pie on the hot baking sheet and bake for 15 minutes at 425°F / 220°C.
Reduce the oven to 350°F / 175°C and continue baking for about 40–55 minutes. The rim can darken well before the middle is finished. Once the pastry has enough color, cover the edge loosely with foil or a pie shield.
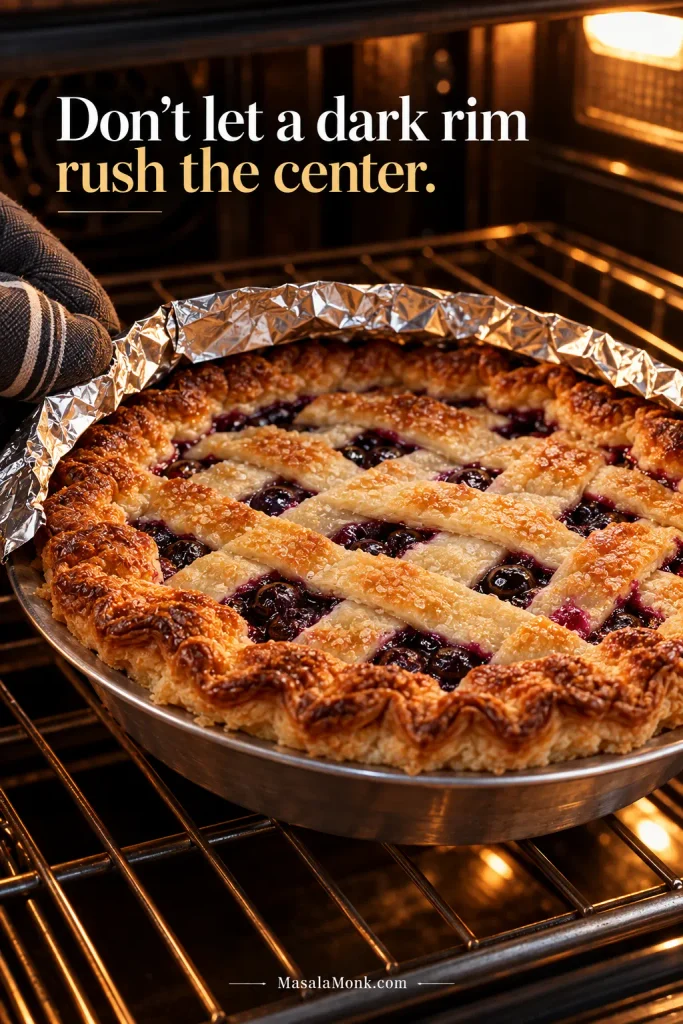
Don’t let a darkening rim rush the center.
11. Wait for the Center to Bubble
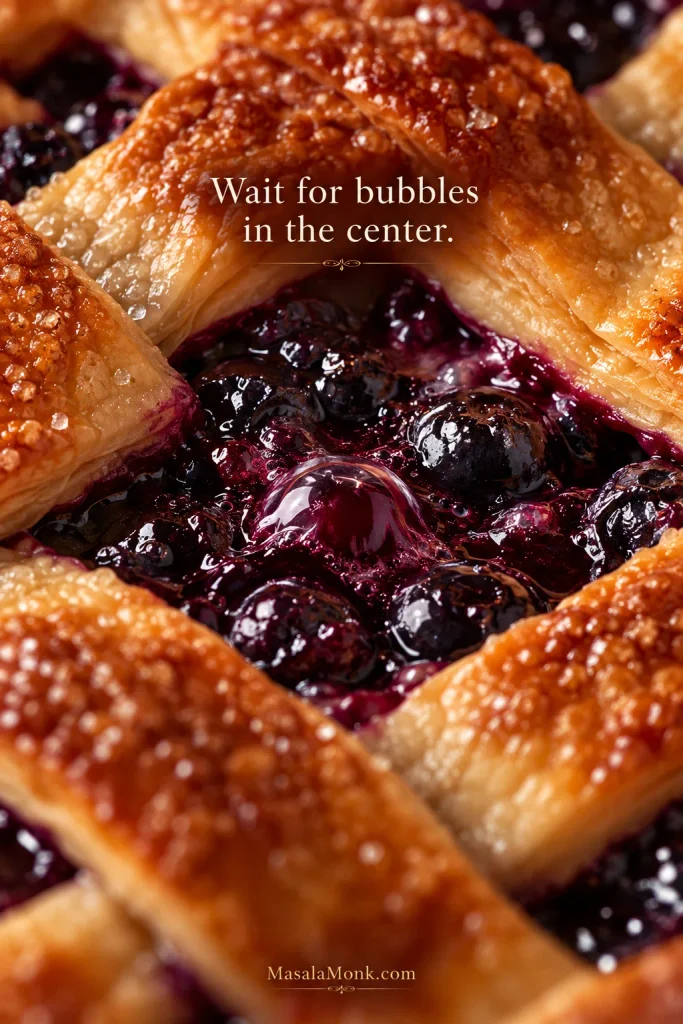
Watch through the lattice or steam vents. The pie is ready to come out when the crust is deeply golden and blueberry juice is actively bubbling through the center, not only around the edge.
12. Cool Before Cutting
Transfer the pie to a cooling rack and leave it undisturbed for at least 3 hours before slicing. A longer rest gives the juices more time to settle and makes the wedges easier to cut cleanly.
Help the Bottom Crust Stay Crisp
The preheated baking sheet puts strong heat beneath the cold pie as soon as it enters the oven. A metal pie plate gives especially direct bottom heat and is the most straightforward choice for this method.
No separate blind bake is used here. The chilled assembled pie starts at high heat on the preheated sheet, giving the bottom crust a head start while the fruit cooks above it.
For a deeper look at bottom-crust browning and heat, see King Arthur Baking’s guide to preventing soggy pie bottoms.
The bottom crust is easiest to judge on a lifted slice, where you can see whether the base browned along with the top instead of staying pale and damp.
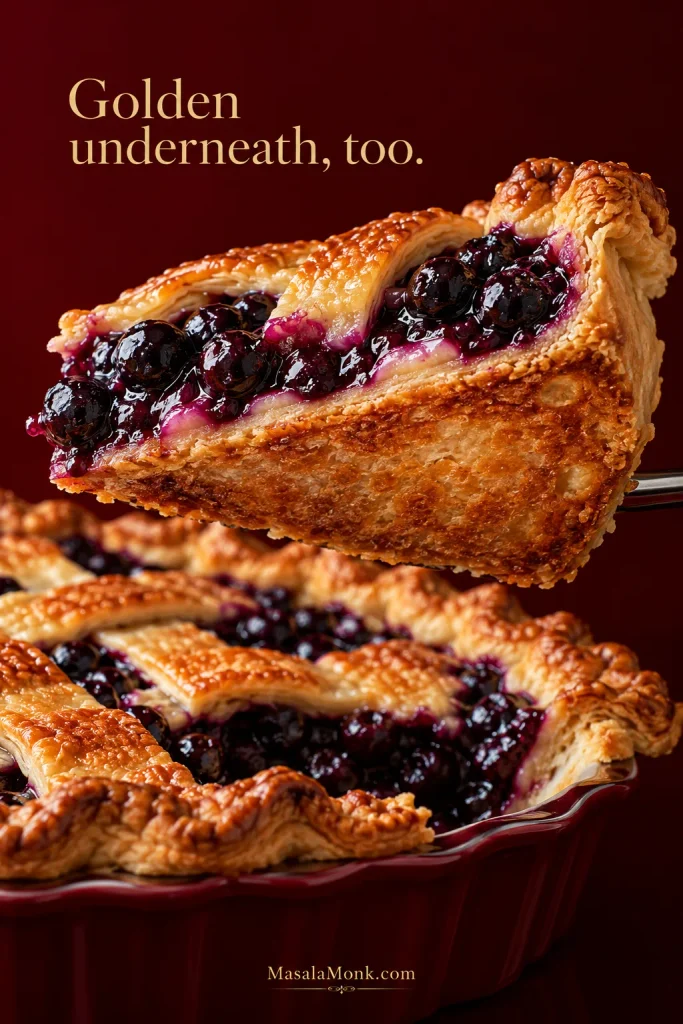
A well-browned crust matters, but color alone doesn’t tell you whether the fruit in the middle is finished.
How Do You Know When Blueberry Pie Is Done?
The outside of a blueberry pie can look finished surprisingly early. Around the rim, browning and bubbling begin before the middle catches up. That’s why the center matters.
Once the edge has enough color, shield it and keep baking. Wait for visible bubbling through the openings near the middle as well.
The clock gets you into the right window, but the pie in front of you gets the final say. Berry temperature, pan material and individual ovens can all shift the exact baking time.
Once the center is bubbling and the pastry is baked through, the oven has finished its job. Even then, the fruit still needs time to settle.
Let the Pie Set Before You Slice It
The filling smells ready long before it is ready to slice.
Straight from the oven, the blueberry juices are still loose. As the pie cools, the thickened liquid settles around the fruit and the whole filling becomes easier to cut cleanly. A slice taken too early doesn’t show you what the finished pie will be like.
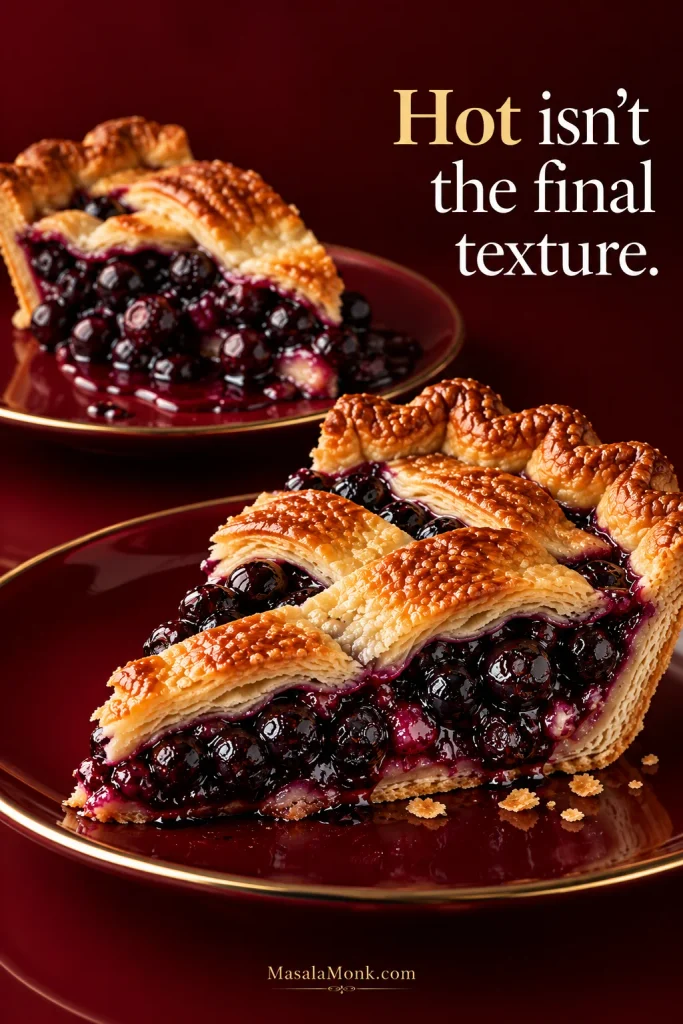
That’s a long wait when the pie is sitting right there. It pays off. For a warm dessert, let the whole pie set first and gently reheat individual slices later.
What Your Slice Is Telling You
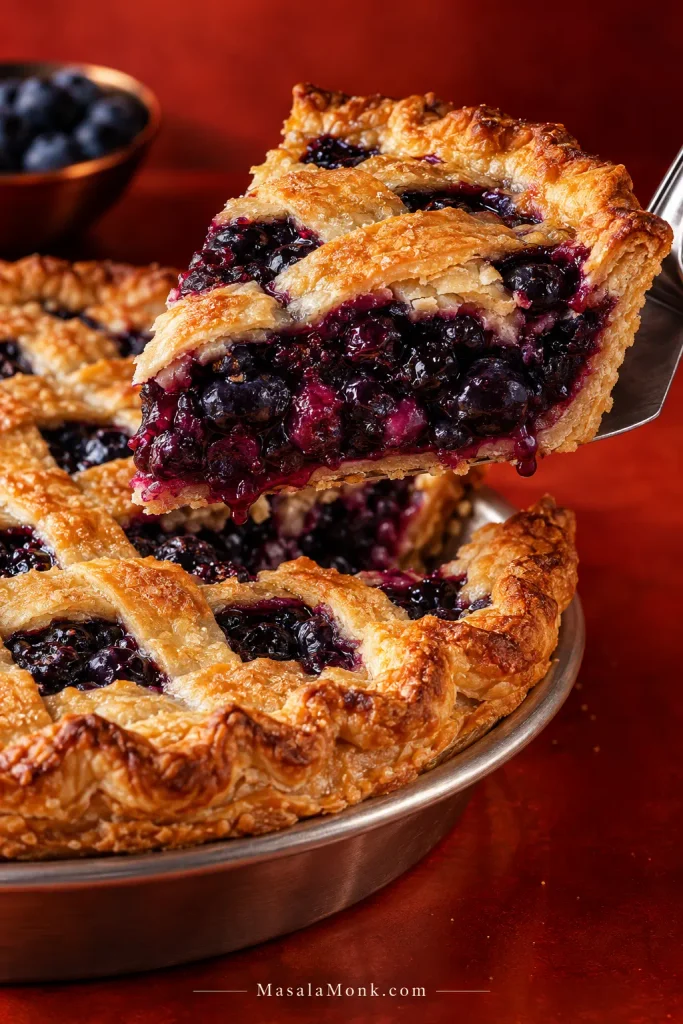
Once the pie has cooled, the first slice tells you quite a lot. The knife should meet a little crisp resistance from the crust before moving into soft berries and thickened blueberry juices.
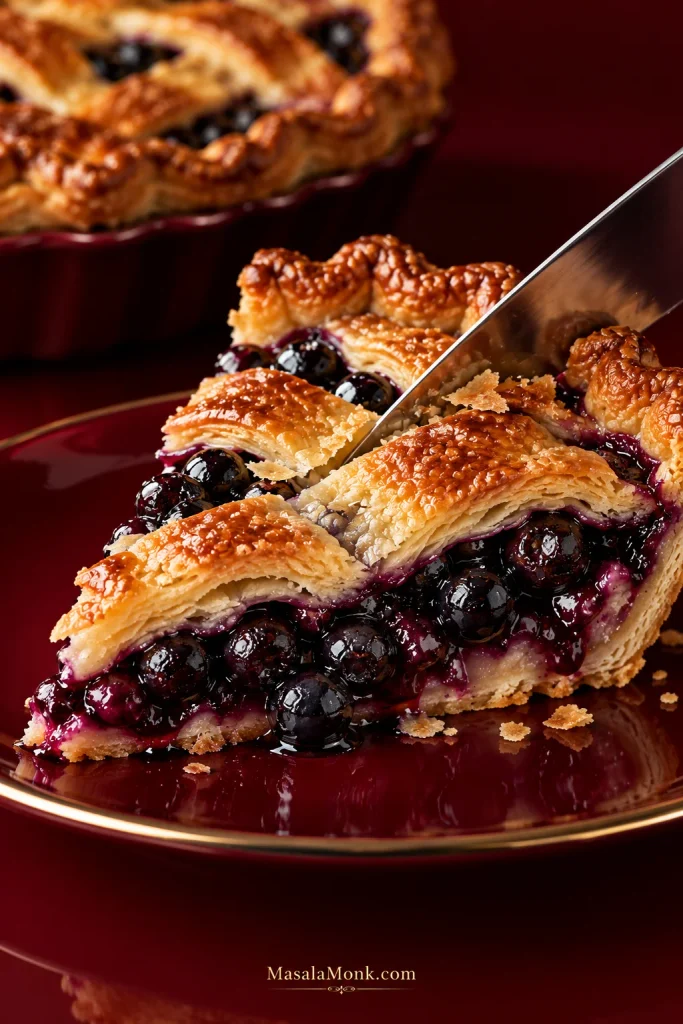
A good wedge holds its shape without looking stiff. You can still see individual blueberries, with purple juice settled around them. A little juice on the plate is welcome; blueberry pie should still feel like fruit.
Thin liquid running freely from a fully cooled slice points toward excess fruit moisture or a berry base that didn’t cook long enough. A dense, pasty slice points in the opposite direction: the base may have cooked down too far, or the fruit may have more thickener than it needs.
Runny filling can come from several different places. Extra starch solves only one of them. Judge the filling only after it has cooled, then compare how freely the juice moves around the berries.
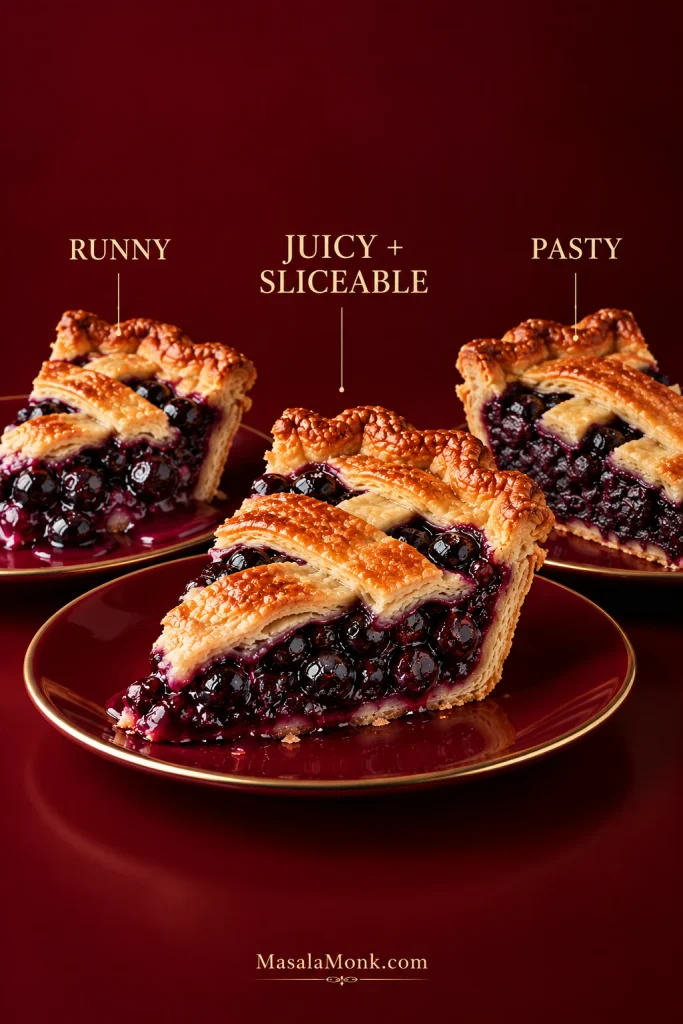
When the fruit looks right but the underside is soft, leave the cornstarch alone. That’s a crust-and-heat problem.
If your slice doesn’t look like that, the pattern usually gives you a clue about what happened.
Blueberry Pie Troubleshooting
| Problem | What to check first |
|---|---|
| Pie is runny but still warm | Let it cool completely before judging the final texture. Hot berry filling is naturally much looser than cooled filling. |
| Dark crust, quiet center | Shield the rim and continue baking until the middle is visibly bubbling. |
| Watery pie after using frozen berries | Check whether the thawed fruit was drained before measuring and whether the berry base cooked until properly thickened. |
| Stovetop base stayed thin | It needed more cooking before the second half of the berries went in. |
| Filling is gummy or pasty | The base may have cooked down too far, or the fruit may have more thickener than it needs. |
| Bottom crust is soft | Check pastry temperature, bottom heat and overall baking time before changing the filling. |
| Pie overflowed | Check the depth of the pie dish and keep the fruit below the rim during assembly. |
| Berries taste too tart | Taste the cooked base before assembly and adjust the sweetness while it’s still warm enough for additional sugar to dissolve. |
Storage & Make-Ahead
Let the pie cool completely before covering it. The USDA Food Safety and Inspection Service guidance for pie storage says fruit pies can be kept at room temperature for 1–2 days or refrigerated for up to 7 days.
For eating quality, sooner is better. The crust is at its crispest on baking day; refrigeration buys more holding time, but the pastry gradually softens as it sits against the fruit filling.
Can You Make Blueberry Pie Ahead?
Yes. The dough can be made 2–3 days ahead, wrapped well and refrigerated. You can also bake the whole pie the day before serving; cool it completely before covering so trapped steam does not soften the crust.
Can You Freeze Blueberry Pie?
Yes. Cool the baked pie completely, freeze it until firm, then wrap it well. For best quality, use it within about 3 months. Thaw the wrapped pie in the refrigerator.
If you want it warm, reheat the thawed pie at about 350°F / 175°C until heated through; a whole pie may take around 30 minutes. For only one or two servings, warming individual slices is quicker and protects the rest of the crust from another full heating cycle.
Serving Blueberry Pie
Serve the pie as it is, or add something cool and creamy alongside. A scoop of homemade vanilla ice cream gives you the classic creamy contrast, while softly whipped cream is lighter and lets the blueberries stay in front.
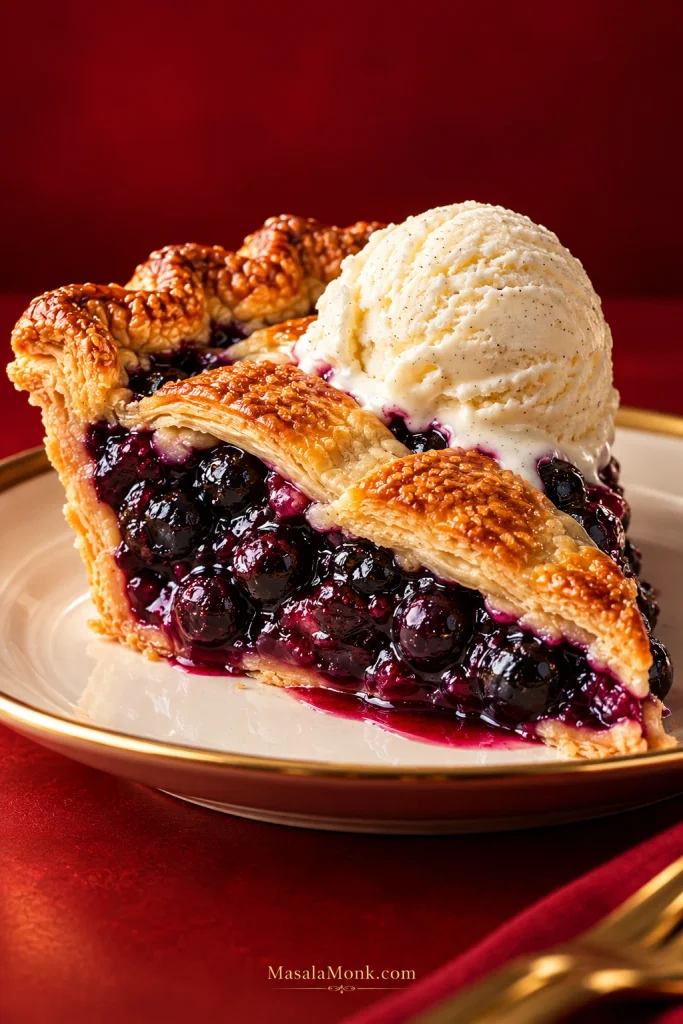
Then comes the reward for waiting: the knife gives a little through the golden crust, the blueberries stay tucked into the dark filling, and a small amount of purple juice settles around the slice instead of running away from it.








