Medical experts have mixed opinions about jaggery for diabetes, as a healthier alternative to sugar. Weighing both opinions, let’s find out if jaggery is good for diabetes?
In the race towards healthier lifestyle choices, we often seek natural alternatives in our diets. One such alternative is jaggery, a traditional, unrefined sugar consumed widely across the world. While jaggery is well-known for its distinctive taste and potential health benefits, its appropriateness for diabetics and pre-diabetics often comes under scrutiny. Let’s explore this topic in-depth to answer your pressing questions.
1. What is Jaggery? An Introduction
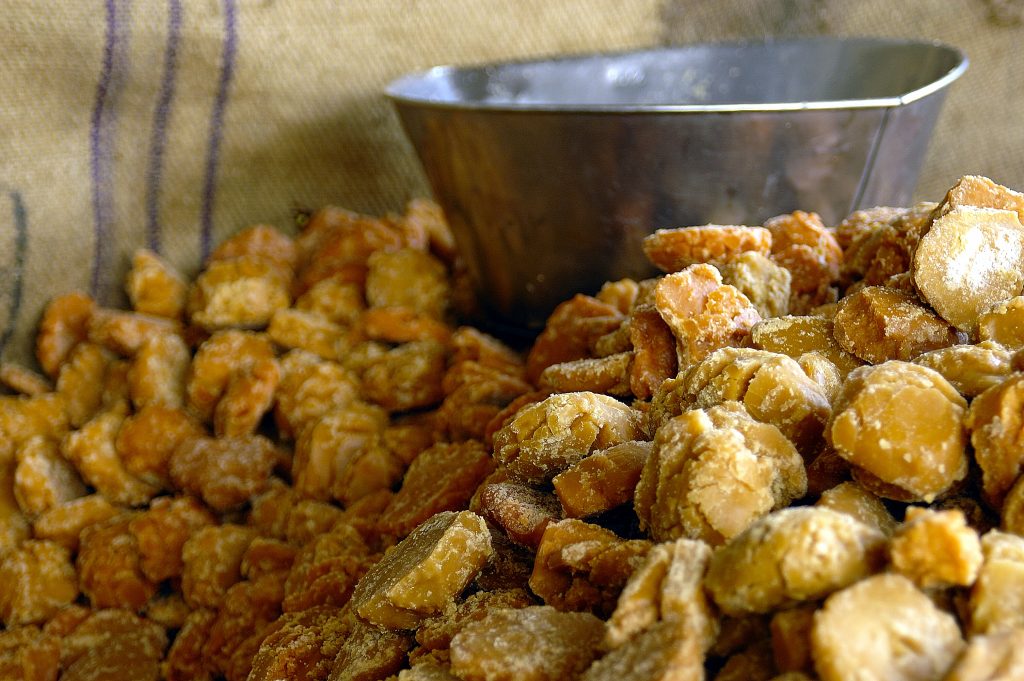
Jaggery, often referred to as ‘gur’ or ‘gud,’ is a type of unrefined sugar primarily derived from sugarcane or palm sap. It is a staple in Asian and African cuisines due to its unique, rich taste. Because it undergoes less refining than white sugar, jaggery retains more natural minerals and vitamins, which seemingly makes it a healthier choice.
2. Jaggery and Diabetes: Is It a Safe Bet?
One of the most frequently asked questions revolves around whether jaggery is good for diabetes. While it is less processed and nutrient-rich compared to white sugar, jaggery is still high in sucrose. This can significantly affect blood sugar levels, presenting potential risks to diabetics and pre-diabetics.
2.1. The Glycemic Index of Jaggery Explained
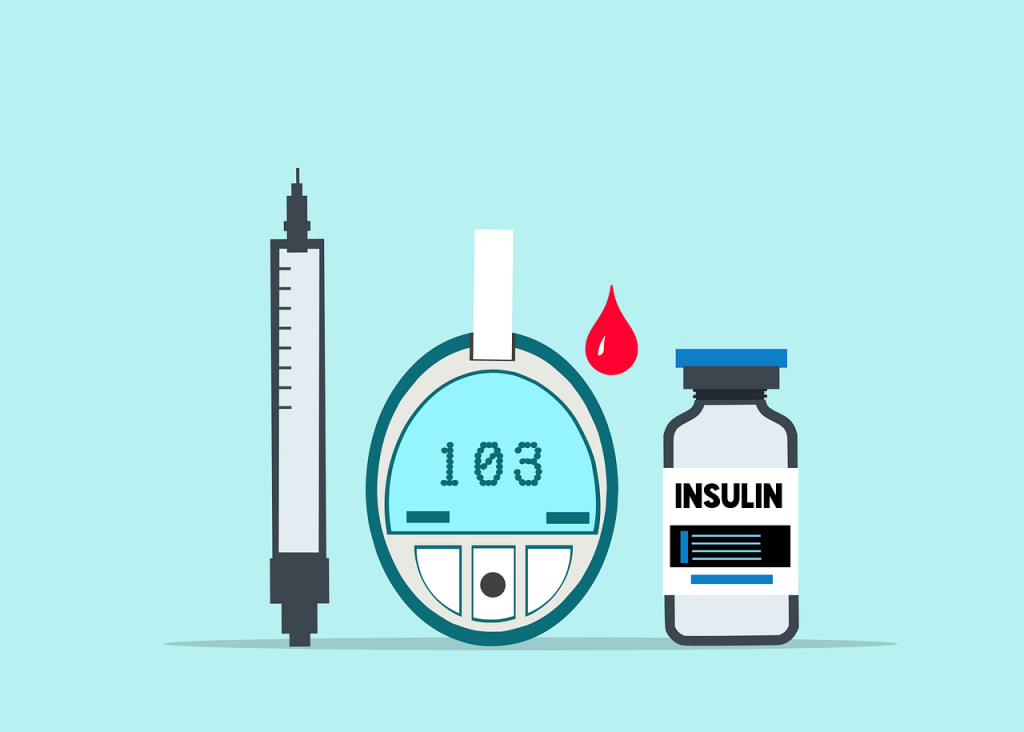
The Glycemic Index (GI) is a ranking system for carbohydrates, scaling from 0 to 100. It measures how different foods affect blood sugar levels after consumption. Foods with a high GI cause a considerable increase in blood sugar. Jaggery’s GI falls within the medium to high range, which suggests that it can significantly boost blood glucose levels.
2.2. Can Diabetics, Prediabetics, and Sugar Patients Consume Jaggery?
The idea of replacing refined white sugar with jaggery, although seemingly healthier, can lead to misunderstandings. Given jaggery’s potential to spike blood sugar levels, individuals with diabetes or prediabetes should exercise caution when consuming it. It’s essential not to regard it as a completely safe sugar substitute.
3. Jaggery Varieties: Is One Type Better for Diabetes?
Jaggery is available in various forms, including black jaggery and palm jaggery, each having slightly different nutritional properties. However, regardless of the type, all variants of jaggery are high in sugar and can similarly impact blood glucose levels.
4. Key Takeaways: Jaggery and Diabetes Management
Despite jaggery’s increased nutrient content compared to white sugar, it’s critical to remember that it remains a sweetener high in sugar. So, for those with diabetes, prediabetes, or those trying to manage their blood sugar levels, jaggery should be consumed sparingly and with caution.
5. Replacing Sugar with Jaggery: Is It a Healthy Choice?
For those not wrestling with blood sugar management, replacing white sugar with jaggery might be an effective way to add more minerals and vitamins to their diet. However, as with any sweetener, moderation is the mantra. Overconsumption of jaggery can lead to weight gain and other health concerns linked to high sugar intake.
As a final note, it’s always advisable for those dealing with diabetes or prediabetes to discuss any major dietary changes with their healthcare provider.
Disclaimer: This information is intended for general informational purposes only and is not a substitute for professional medical advice, diagnosis, or treatment. Always seek the advice of your healthcare provider with any questions you may have regarding a medical condition.