
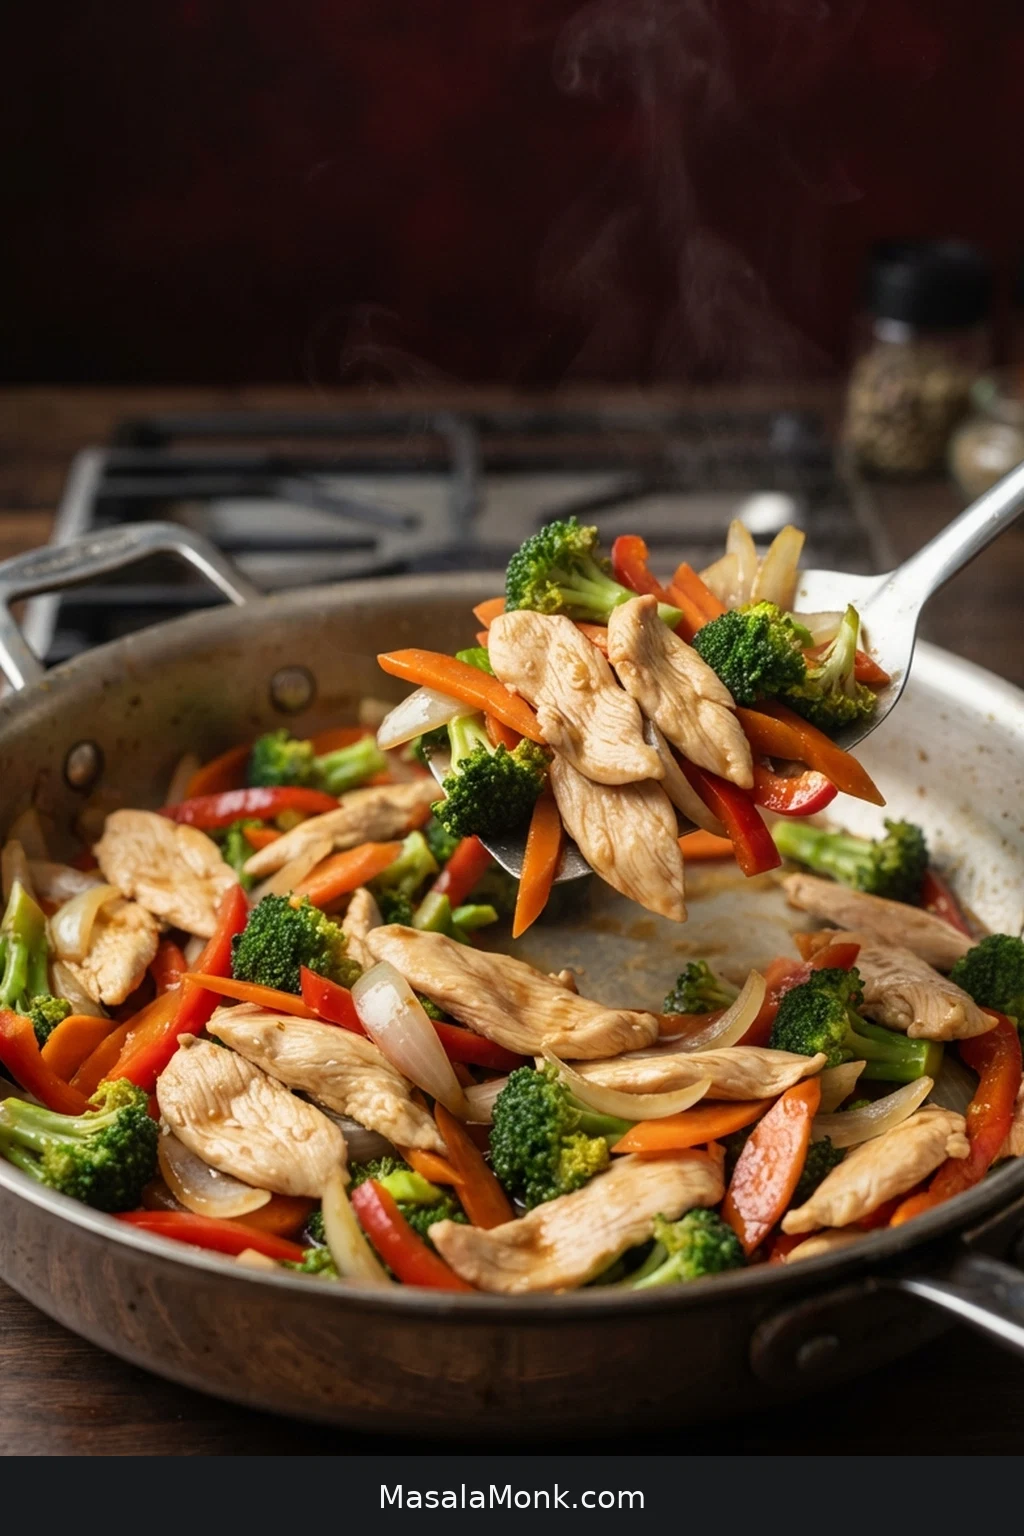
A good chicken stir fry moves fast once the pan is hot: thin pieces of tender chicken, vegetables that retain some bite, and glossy savory sauce clinging to both instead of collecting underneath.
What usually ruins it is the order. Too much chicken cools the skillet and starts steaming. Firm vegetables and quick-cooking ones get added together even though they need very different amounts of time. Then the sauce arrives while the vegetables are giving off water, so everything keeps cooking while you wait for the pan to sort itself out.
This version separates those jobs. The chicken gets a short cornstarch marinade and cooks separately from the vegetables; the sauce waits until excess moisture is under control. A separate slurry means you thicken only as much as the pan actually needs.
Plan on about 35–40 minutes from start to finish, with most of that time spent slicing, chopping and mixing before the fast cook begins. A roomy 12-inch / 30 cm skillet is the default here; use a wok if that is the pan you already cook confidently with.
The Stir-Fry Order
The exact minutes will shift with your stove and pan. What matters more is the sequence.
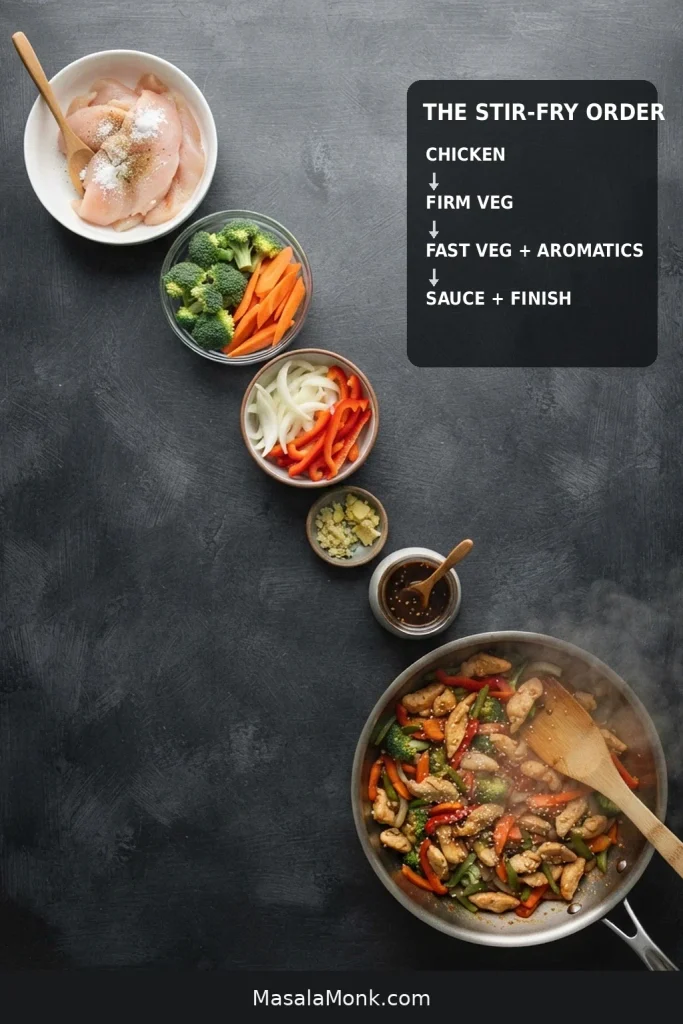
| Stage | What Happens |
|---|---|
| 1. Chicken | Sear thin slices quickly, then take them out before the final cook. |
| 2. Firm vegetables | Broccoli and carrot get the head start. |
| 3. Faster vegetables + aromatics | Onion and pepper follow; garlic and ginger need only a brief turn in the hot pan. |
| 4. Sauce | Add it once excess vegetable moisture is under control, thicken lightly, then return the chicken and finish. |
Chicken, vegetables and sauce all need the same hot skillet. They just do better when they do not all ask for it at once.
Chicken Stir Fry Recipe
This chicken stir fry pairs thin chicken breast with crisp-tender vegetables and a savory homemade sauce sized for a regular home skillet. Once everything is chopped and mixed, the stovetop cooking moves quickly.
Equipment
- 12-inch / 30 cm skillet or large wok
- Sharp knife and cutting board
- A few prep bowls or measuring containers
- 1 clean plate or bowl for the chicken, plus a second clean dish if vegetables finish early
- Spatula or wok spatula
- Instant-read thermometer
Prep before the heat goes on. Cut the vegetables and aromatics first. Slice the raw chicken on a separate cutting board if possible; otherwise wash the board, knife and work surface thoroughly with hot soapy water before they touch anything else. Have the sauce, slurry and remaining ingredients ready before you start stir-frying.
Chicken
- 1 lb / 16 oz / 454 g boneless skinless chicken breast
- 1 tablespoon / 15 ml water
- 2 teaspoons / 10 ml low-sodium soy sauce
- 2 teaspoons / about 5 g cornstarch
- 1 teaspoon / 5 ml neutral high-heat oil
- ¼ teaspoon white pepper, optional
There is no extra salt in the chicken marinade. The soy sauce seasons the chicken, and the finishing sauce brings more soy, oyster sauce and plenty of savory seasoning.
Vegetables
- Broccoli: 2 cups / about 180–200 g florets, roughly 1–1¼ inches / 2.5–3.2 cm across
- Carrot: 1 medium / about 80 g, sliced about ⅛ inch / 3 mm thick on the diagonal
- Bell pepper: 1 large / about 150 g, cut into roughly ½-inch / 1.25 cm strips
- Yellow or white onion: 1 small / about 120 g, cut into roughly ½-inch / 1.25 cm wedges
Stir-Fry Sauce
- ½ cup / 120 ml unsalted or low-sodium chicken stock, or water
- 2 tablespoons / 30 ml low-sodium soy sauce
- 2 tablespoons / 30 ml oyster sauce
- 1 tablespoon / 15 ml Shaoxing wine or dry sherry, or 1 tablespoon / 15 ml additional stock or water
- 2 teaspoons / about 8 g brown sugar
- 1 teaspoon / 5 ml toasted sesame oil
Aromatics
- 3 garlic cloves / about 9 g, finely minced
- 2 teaspoons / about 4–5 g finely grated or minced fresh ginger
For Cooking and Thickening
- 2 tablespoons / 30 ml neutral high-heat oil, such as canola, peanut, avocado or vegetable oil, divided, plus a small splash if another batch or the aromatics need it
- 1 tablespoon / about 8 g cornstarch
- 1 tablespoon / 15 ml cold water
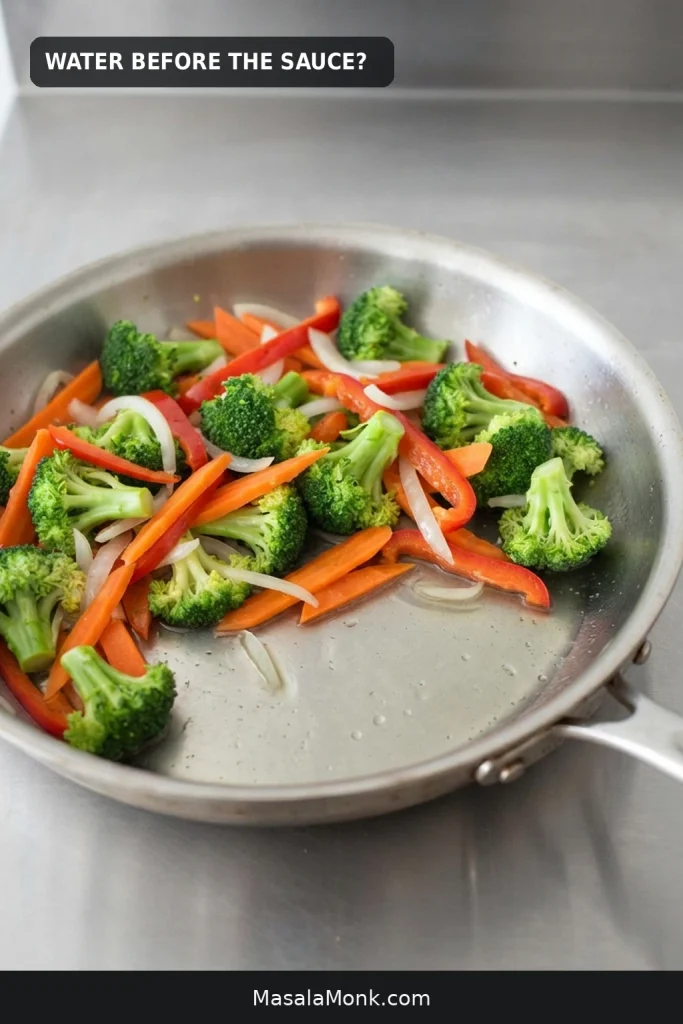
Watch the food more than the timer. After its first trip through the pan, most chicken surfaces should be opaque while the thickest pieces still need a little cooking. Before the sauce goes in, there should not be a puddle under the vegetables. At the end, you want a thin glossy coating, not gravy.
Method
Prep and Sear
- Slice and season the chicken. Cut the breast across the grain into slices about ¼ inch / 6 mm thick, or slightly thinner. Mix with the water, soy sauce and optional white pepper until the liquid is absorbed. Add the cornstarch, then the teaspoon of oil. Rest for 10–15 minutes. The chicken should look glossy and slightly tacky, not wet.
- Finish the prep. Whisk together the sauce ingredients. Taste it now, while it is completely separate from the raw chicken. It should be savory first and lightly sweet; dilute with 1–2 tablespoons / 15–30 ml unsalted stock or water if it already tastes aggressively salty. Mix the cornstarch and cold water for the slurry in a separate bowl.
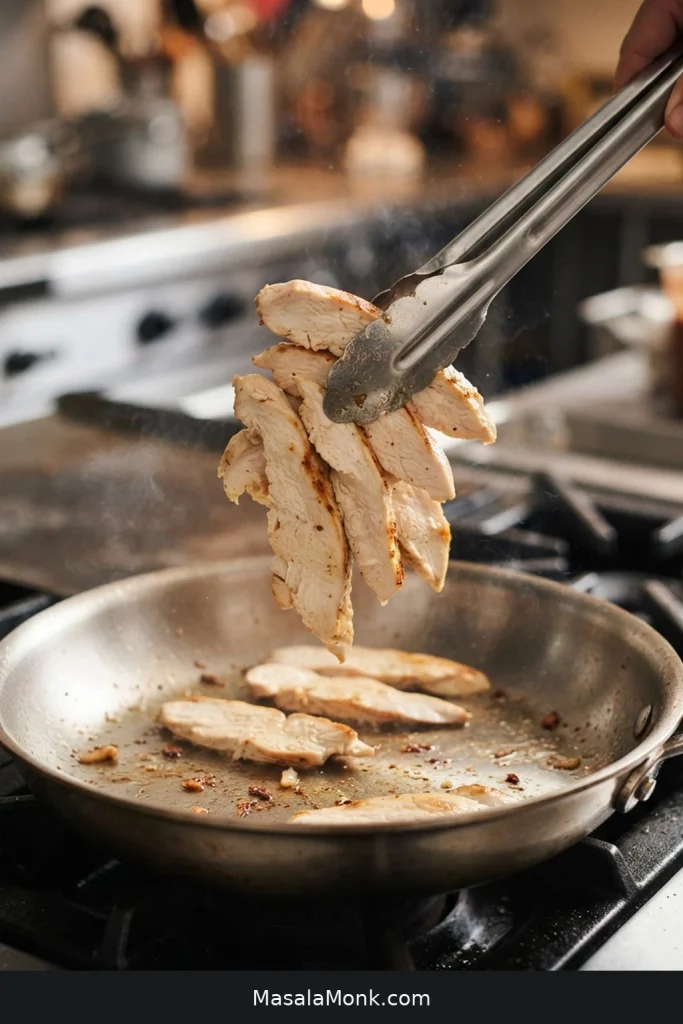
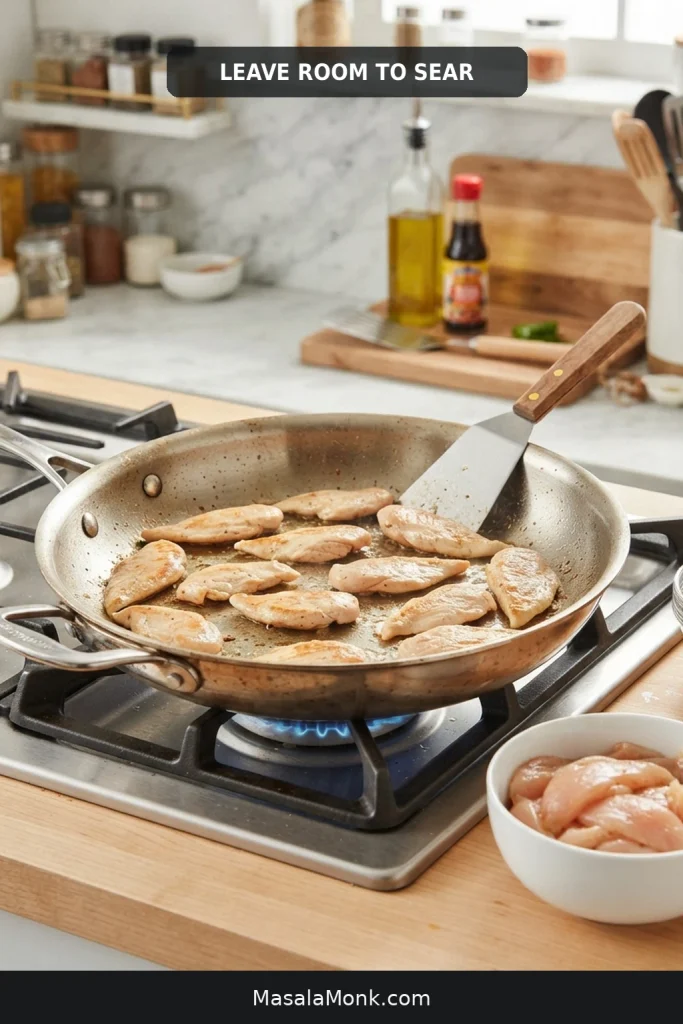
- Sear the chicken. Heat a stainless steel or carbon-steel skillet or wok over medium-high to high heat and add about 1 tablespoon / 15 ml cooking oil. For nonstick, stay at medium-high and within the pan manufacturer’s heat guidance. Add the chicken in an uncrowded layer; if you cannot see bare pan between the pieces, use two batches. Leave the first side alone for about 30–45 seconds, then stir-fry until mostly opaque with browned edges beginning to appear. Transfer to a clean dish while the thickest pieces still need a little final cooking.
Cook the Vegetables and Finish
- Start with broccoli and carrot. Add the remaining oil as needed. Stir-fry until the broccoli turns vivid green with a few lightly browned spots and the carrot begins to soften but feels firm at the center, usually around 1½–2 minutes.
- Add the onion and bell pepper. Cook until the onion loses its raw stiffness and the pepper is hot, juicy and keeps a little snap, usually another 1½–2 minutes.
- Check the bottom of the skillet. Let any obvious puddle of vegetable water cook away before adding the sauce. If the vegetables are already where you want them, move them to the second clean dish. Add a teaspoon or small splash of oil if the skillet looks dry, then add the garlic and ginger and stir just until fragrant, about 15–30 seconds.
- Add the sauce. Pour it in and bring it to a lively simmer. Stir the slurry again, drizzle in roughly half and let the sauce bubble for several seconds. Add more only if needed. Stop when the sauce remains fluid but lightly coats a spatula and any vegetables left in the skillet.
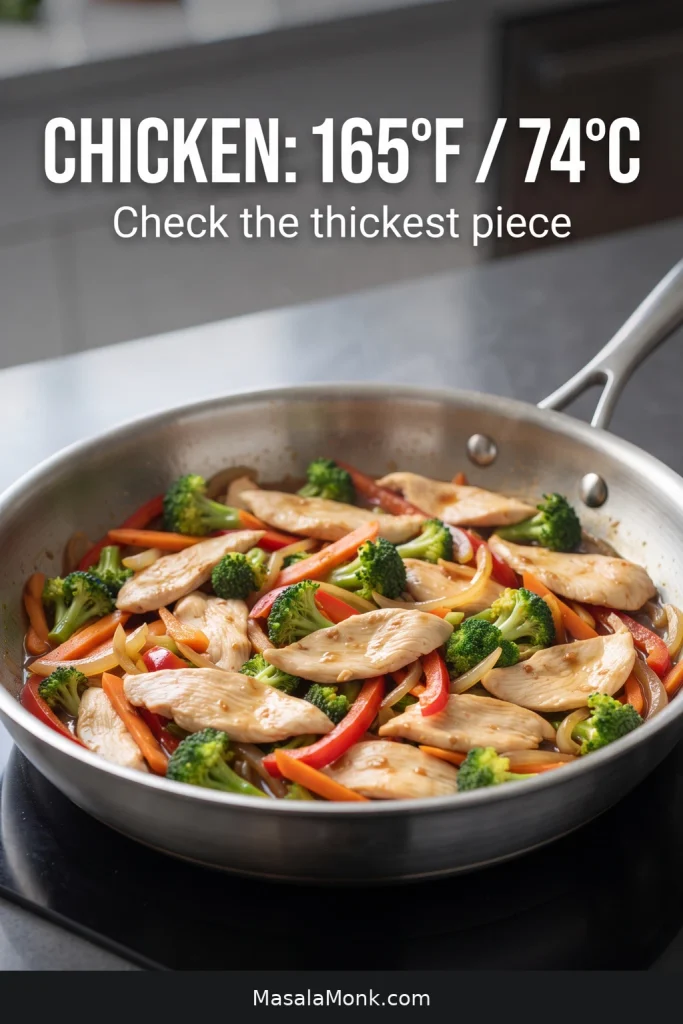
- Finish the stir fry. Return the chicken, any accumulated juices and any vegetables you removed. Toss until everything is hot and evenly coated, generally another 1–2 minutes; the browned chicken edges should remain visible through the sauce. Slide an instant-read thermometer into one of the thickest chicken pieces from the side so the sensing tip reaches the center. It should register at least 165°F / 74°C. See FoodSafety.gov poultry guidance.
Recipe Notes
- Chicken thighs: use the same 1 lb / 454 g weight. They are naturally juicier and more forgiving if the timing runs slightly long.
- Doubling: double the ingredients, but keep roughly the same amount of food in each cooking batch.
- Frozen vegetables: they work, but expect a softer texture and more released moisture than with fresh vegetables.
- Thin sauce: deal with excess vegetable water first. Add more freshly stirred slurry only if the sauce itself needs body.
- Thick sauce: loosen it with unsalted stock or water 1 tablespoon / 15 ml at a time.
Recipe note: This is a research-led recipe built from established stir-fry techniques and recurring home-cook problems; MasalaMonk has not independently kitchen-tested this exact formula.
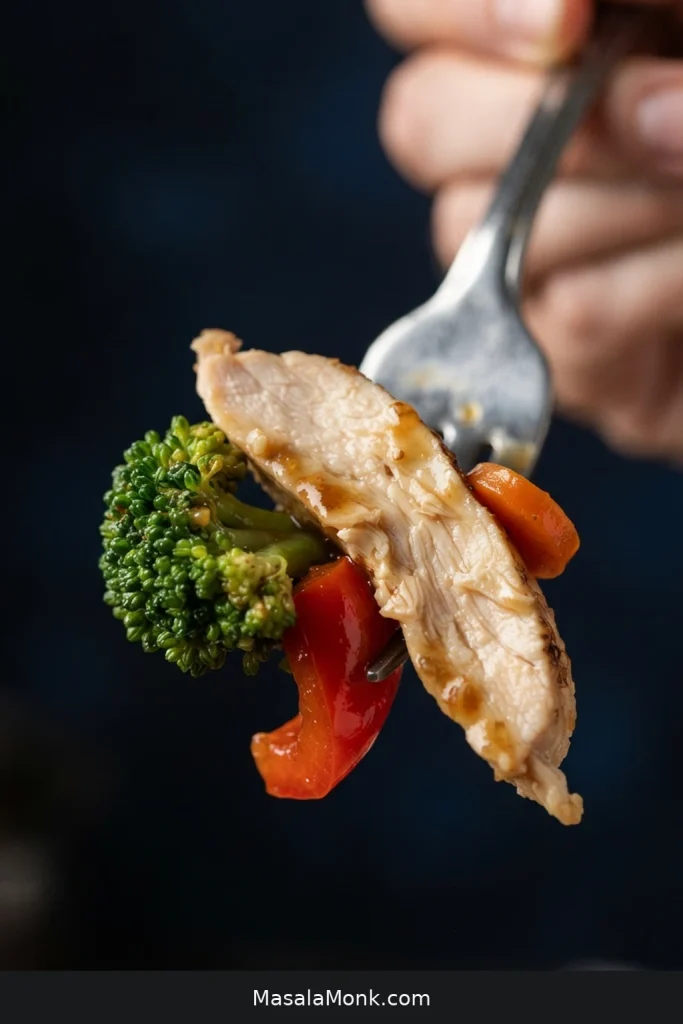
One useful final check is visual: the sauce should connect the chicken and vegetables without hiding them. That balance is what the technique sections below are designed to protect.
What Makes Chicken Stir Fry Work
Tender Chicken
Hot Pan, Crisp Vegetables
Sauce, Fixes & Serving
How to Keep Chicken Stir Fry Tender
Chicken breast dries out when thick pieces spend too long in the pan. Crowding creates a different problem: the skillet cools, moisture builds up and the chicken struggles to brown. Thin slicing, a short cornstarch marinade and a quick first cook give you more room for error before the chicken finishes in the sauce.
Slice Chicken Thinly Across the Grain
About ¼ inch / 6 mm gives the chicken enough thickness to stay juicy while cooking quickly. Cutting across the long muscle fibers also makes each bite easier to chew.
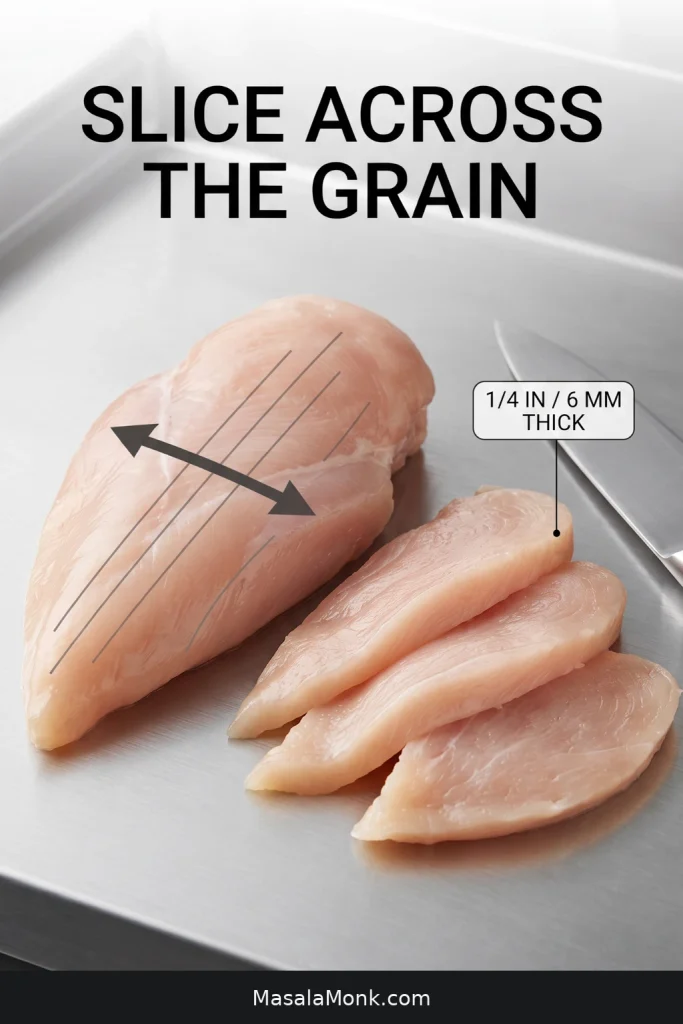
A very soft chicken breast is easier to slice after 15–20 minutes in the freezer. It will firm up without freezing solid.
Breast or thigh? Breast is leaner and cooks quickly; thigh meat has a richer flavor and gives you a little more leeway if the timing runs long.
Why the Short Cornstarch Marinade Helps
The water gives lean chicken a little help retaining moisture, cornstarch leaves a light protective coating, and the final teaspoon of oil helps the slices separate in the pan. This is a short treatment, not an overnight marinade.
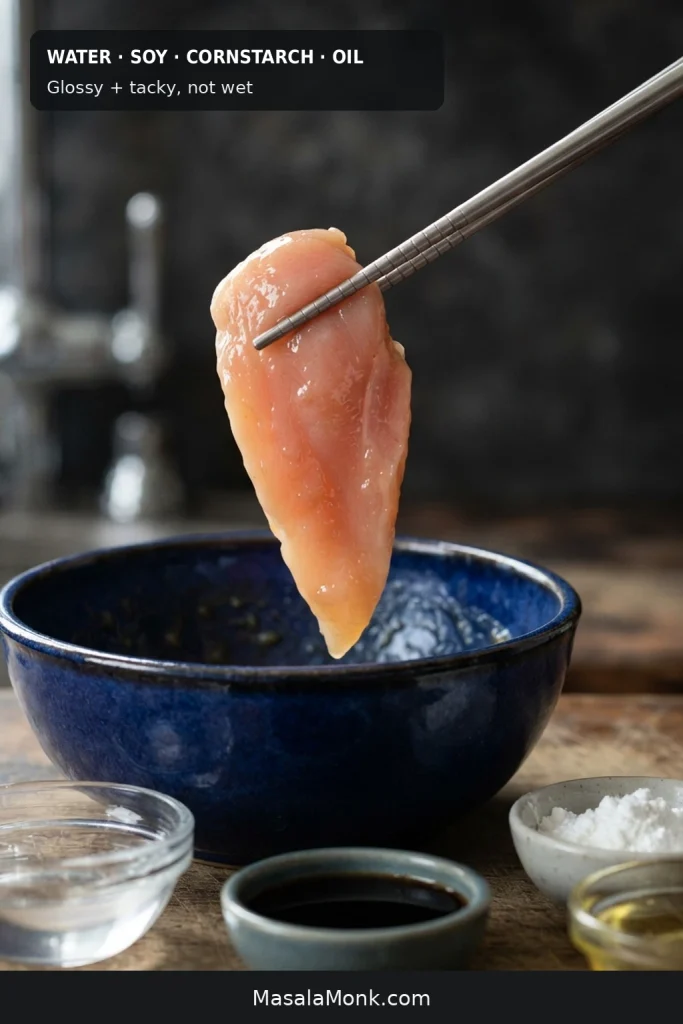
Do You Need Baking Soda for Velveting?
No. The marinade here is a simplified cornstarch velveting method without baking soda. Baking soda can soften chicken further, but too much or too long a contact time can leave the texture oddly soft or the flavor alkaline.
This version also needs no rinsing.
Even tender chicken stir fry depends on a hot skillet; once the pan cools, everything starts steaming.
Keep the Pan Hot and the Vegetables Crisp
Pan Size and Batch Size Matter More Than Owning a Wok
A 12-inch / 30 cm skillet works well for this amount of chicken stir fry. The important part is leaving enough exposed hot surface for the chicken to fry instead of sitting in its own liquid.
When the chicken hits the pan, you want an immediate sizzle around the edges. A growing pool of liquid tells you the batch is cooling the skillet faster than the burner can recover.
Bare patches of pan should remain visible after the chicken is spread out. When the surface is tiled edge-to-edge with meat, split the batch.
Cook Vegetables by Speed, Not All at Once
A thick broccoli floret and a slice of zucchini rarely need the same amount of pan time.
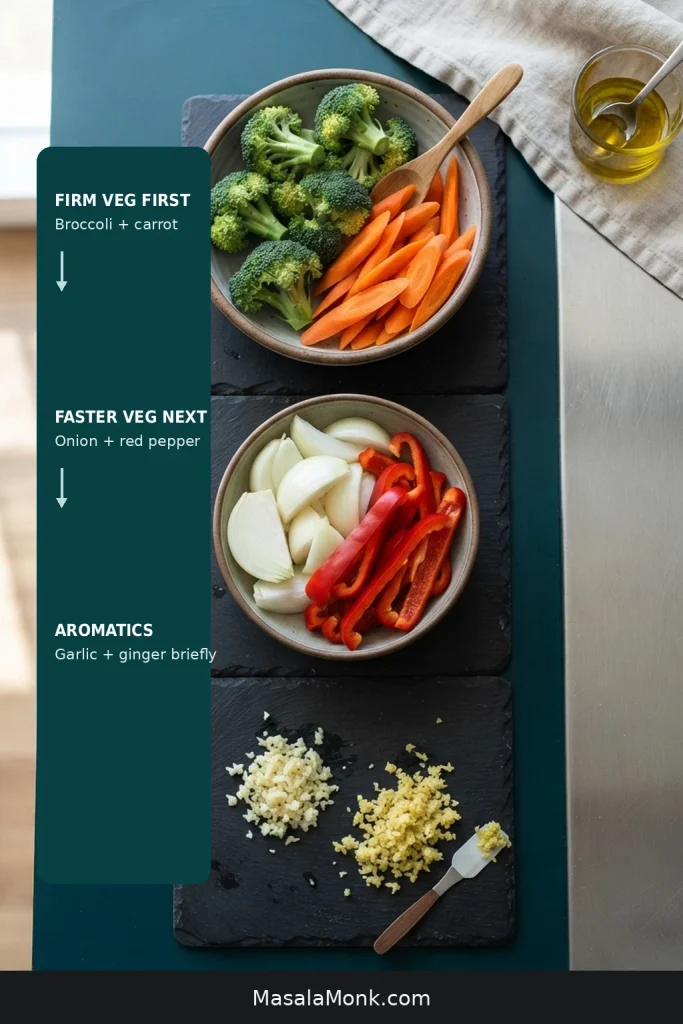
| Start Early | Add Next | Add Late |
|---|---|---|
| Broccoli, carrots, green beans, thick asparagus | Onion, bell pepper, mushrooms if the pan still has room | Zucchini, snap peas, bean sprouts, bok choy leaves, tender greens |
Cut size changes the timing too. A paper-thin carrot needs far less time than a thick coin, and large broccoli florets take longer than small ones. A large batch of mushrooms may need its own turn in the skillet because of the liquid it releases. Use the table as a starting order, then let texture decide when the next ingredient goes in.
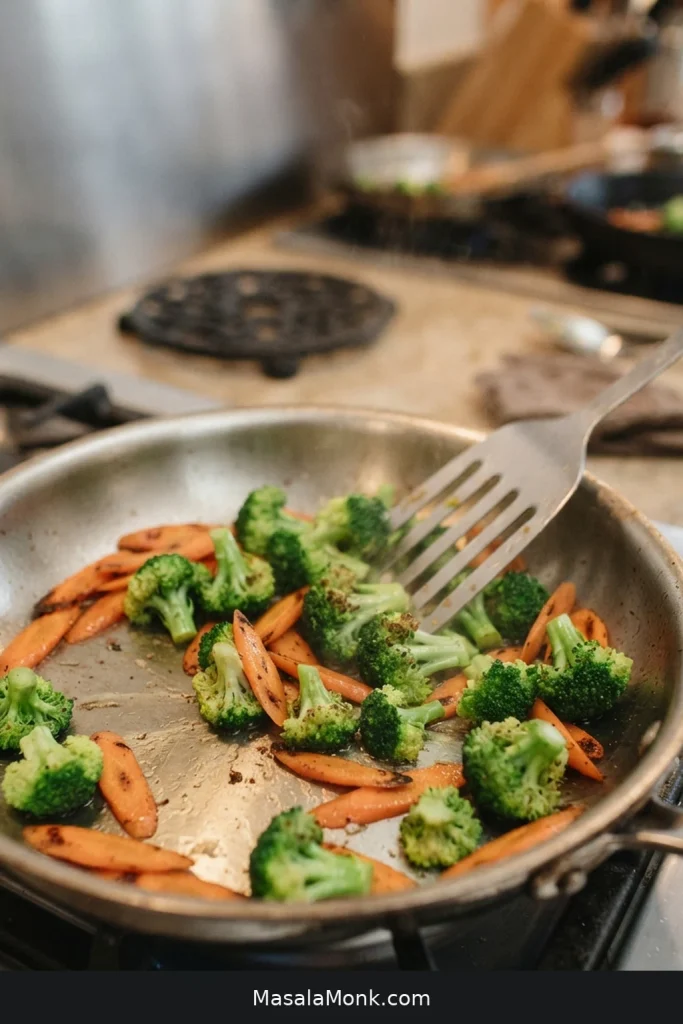
Frozen Vegetables Without Flooding the Pan
Yes, frozen vegetables can work in chicken stir fry. On nights when chopping is the part standing between you and dinner, they can be exactly the right choice. Fresh vegetables will usually finish crisper.
Frozen vegetables that bury the skillet so completely that you can barely see hot surface between them need more room: split the batch or partially thaw and drain them first. On a weaker stove, microwave them only until they are no longer rock-hard or heavily iced, then drain thoroughly before stir-frying.
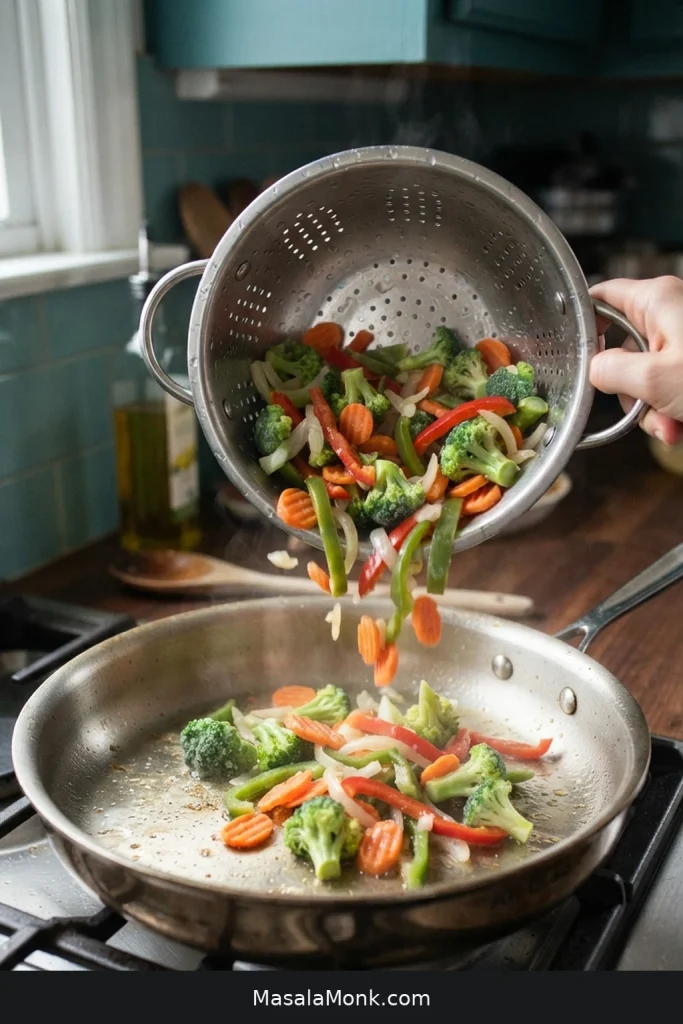
Mixed bags can contain thick broccoli and carrot alongside much faster peppers or snap peas. When practical, let the sturdier pieces start first.
Chicken Stir-Fry Sauce: Make It Cling, Not Pool
This is a savory, glossy stir-fry sauce rather than a sticky-sweet glaze. It should catch on the browned chicken edges while leaving the vegetables tasting fresh.
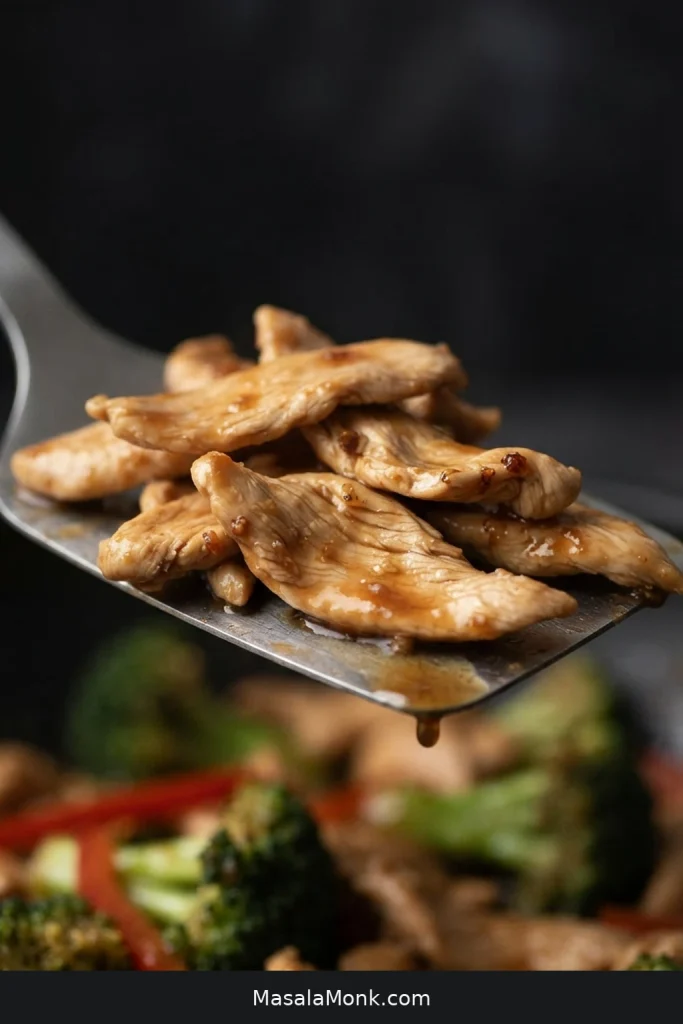
The sauce is built around low-sodium soy and oyster sauce, loosened with stock and rounded with a little brown sugar. Toasted sesame oil goes in for aroma.
Use soy sauce labeled low-sodium or reduced-sodium; “light soy sauce” is a style, not a promise of less salt. Shaoxing wine adds savory depth, but dry sherry or another tablespoon / 15 ml of stock works too. No oyster sauce? Vegetarian mushroom stir-fry sauce is the closest easy swap.
For a deliberately sweeter soy glaze, the Teriyaki Sauce Recipe is the better direction.
Add the Sauce Late, Keep the Slurry Separate
Mushrooms, zucchini and frozen vegetables can release far more water than broccoli or carrot. Water sitting in the skillet when the sauce goes in immediately dilutes what you just mixed. Pause before pouring: the pan should look ready for a glaze, not as though the vegetables are sitting in broth.
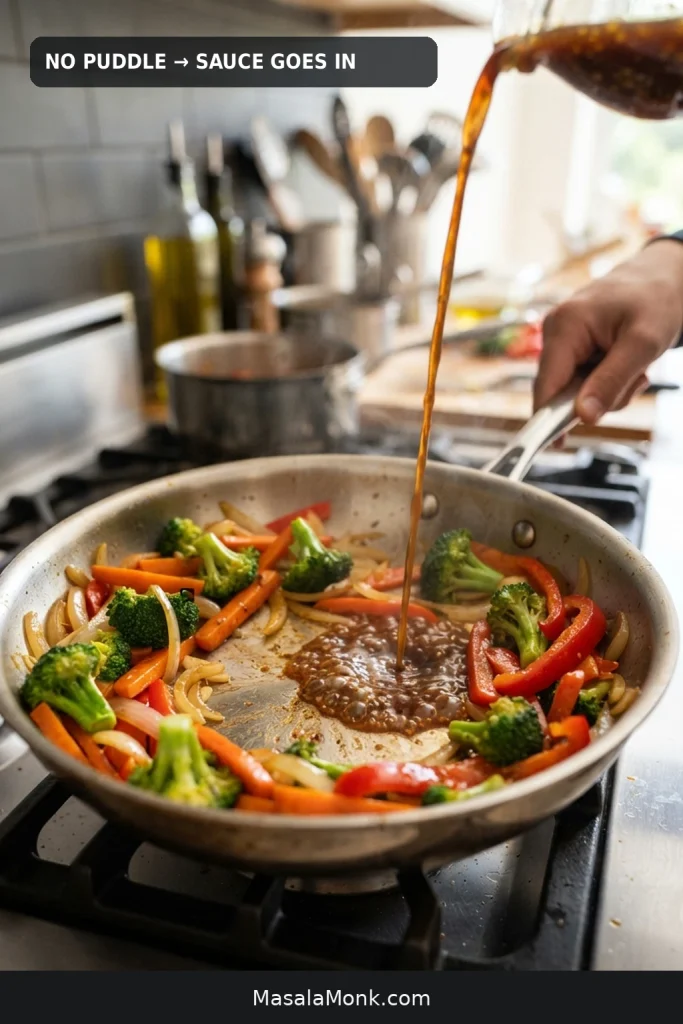
Keep the slurry separate so you can respond to the liquid that is actually in the pan. Stir it again just before using, drizzle some into actively bubbling sauce and wait a few seconds before adding more. Stop when the sauce moves easily but leaves a thin shine behind.
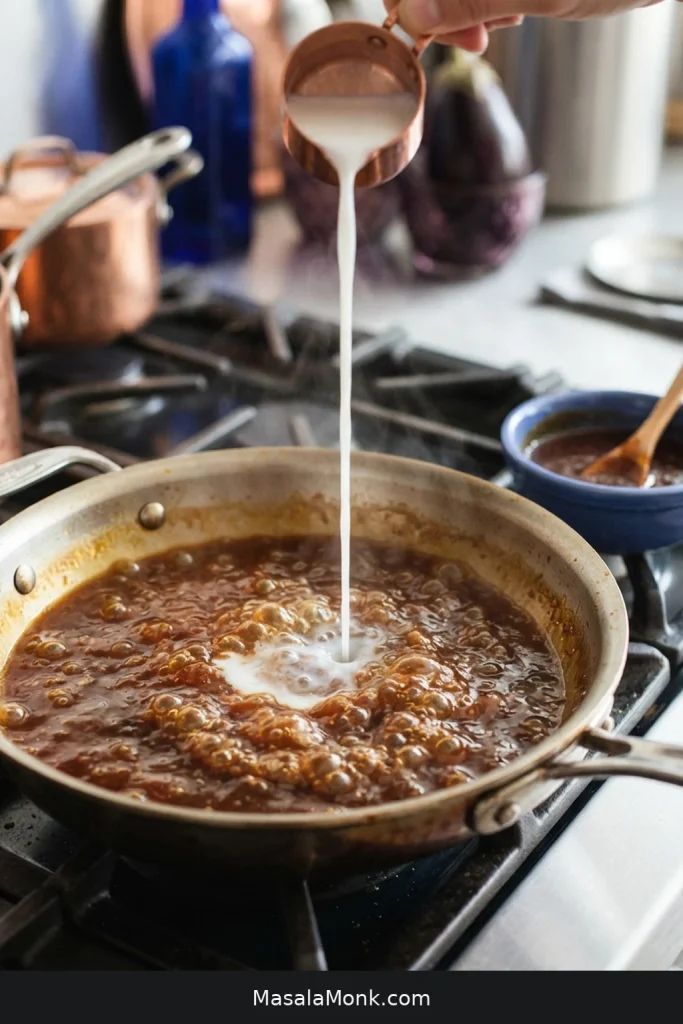
For other proteins, vegetables or noodles, the Stir Fry Sauce Recipe goes deeper into the ratios.
If Your Chicken Stir Fry Turns Watery
Chicken stir fry usually turns watery when the skillet is too crowded or too cool to evaporate the moisture the vegetables release. More cornstarch is not always the answer.
Water Appeared Before the Sauce
That is usually liquid released by the vegetables. Move vegetables that are already crisp-tender to a clean dish if necessary, then let the excess water evaporate from the hot skillet.
Vegetables already done? Take them out while you fix the pan. There is no reason to turn crisp vegetables soft while solving a different problem.
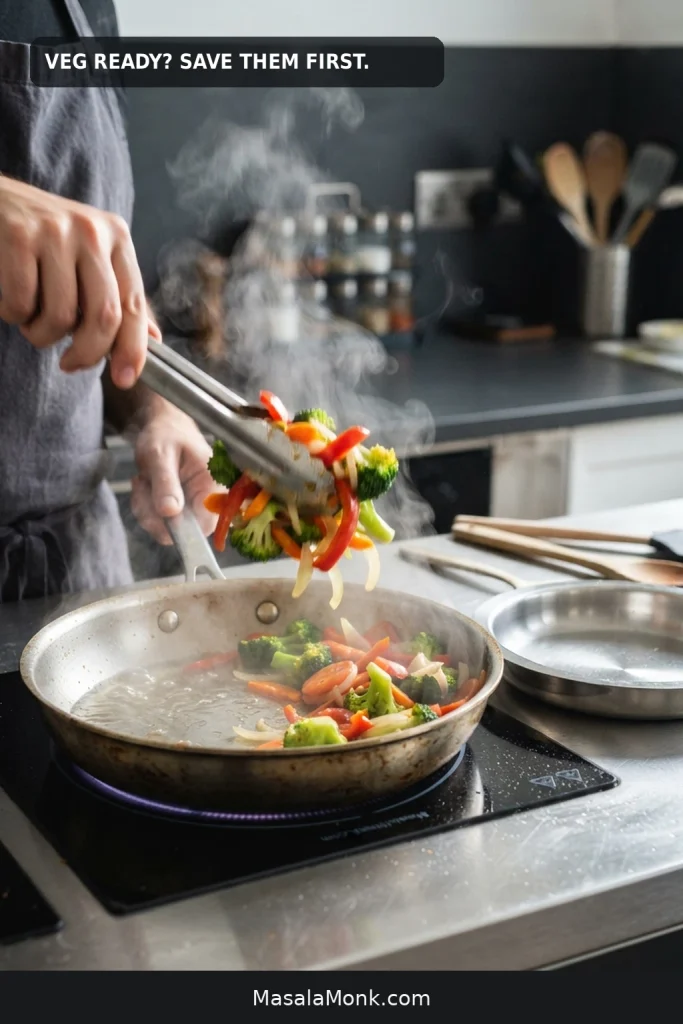
Did this happen after doubling? The batch was probably too large. Double the ingredients without increasing the number of batches, and the cold food can cool the skillet faster than the burner recovers.
The Sauce Is Bubbling but Thin
Now the slurry is useful. Stir it again, add a little more and give the sauce several seconds of active bubbling before judging the result. Once the excess vegetable water is gone, the sauce can coat the food instead of washing over it.
Other Chicken Stir Fry Problems
| What You See | Likely Cause | What to Do |
|---|---|---|
| Grey chicken with liquid around it | The skillet cooled down or is overcrowded | Remove some chicken and let the pan recover |
| Dry or rubbery chicken | Pieces are too thick or were fully cooked during both stages | Slice thinner and take the chicken out earlier on the first pass |
| Soft vegetables | Everything went in together or stayed in too long | Cook vegetables in stages and remove them once ready |
| Gluey sauce | Too much slurry | Loosen with unsalted stock or water 1 tbsp / 15 ml at a time |
| Overly salty sauce | Strong soy/oyster sauce, salty cooking wine or extra salt | Dilute with unsalted stock or water |
Rice or Noodles?
For rice, make the chicken stir fry as written and spoon it over steamed jasmine, long-grain white or brown rice. The sauce should work its way into the top layer of grains without leaving the vegetables swimming.
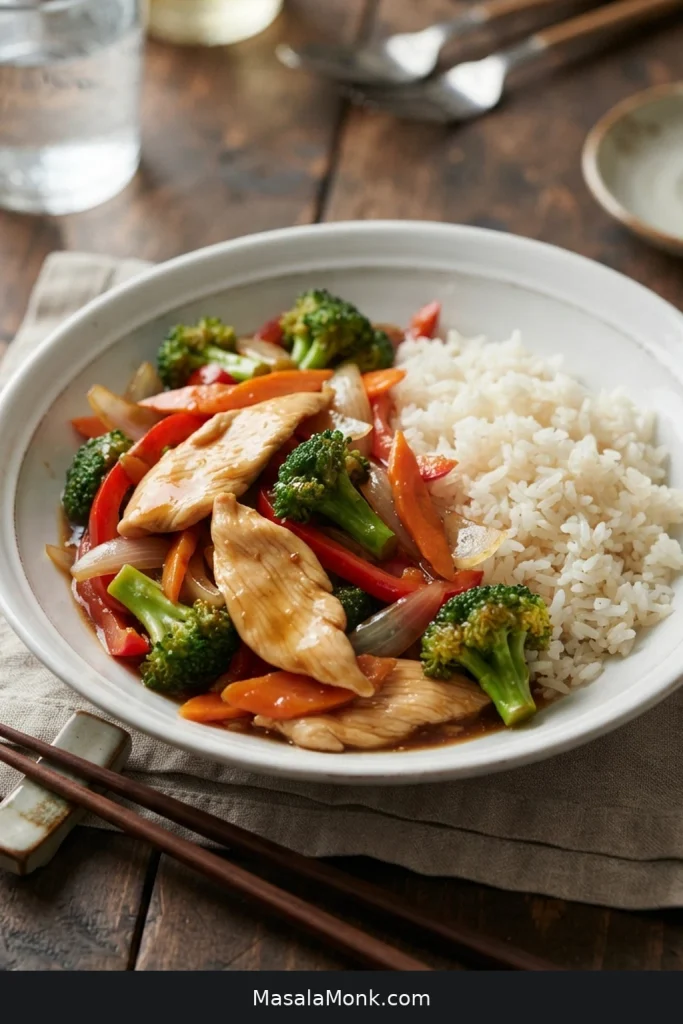
If you like enough glossy sauce to work down into the hot rice underneath, make 1½ times the sauce base. Mix 1½ tablespoons / about 12 g cornstarch with 1½ tablespoons / about 22 ml cold water so you have extra slurry available, but keep it separate and add it gradually. You may not need all of it. More sauce does not automatically mean more starch in the pan.
Cold cooked rice deserves a different method entirely; Chicken Fried Rice is built to fry the grains rather than use them as the base for a saucy stir fry.
For noodles, cook them separately, drain well and toss them in near the end. They absorb sauce more aggressively than rice, so the larger sauce option can be useful. For a noodle-first dinner, Chicken Chow Mein and Chicken Lo Mein build the whole dish around them.
A cool Cucumber Salad works well on the side whether you serve the stir fry with rice or noodles, especially if you want something crisp and fresh against the hot savory sauce.
Small Ways to Change Chicken Stir Fry
Making It Mostly Chicken and Broccoli
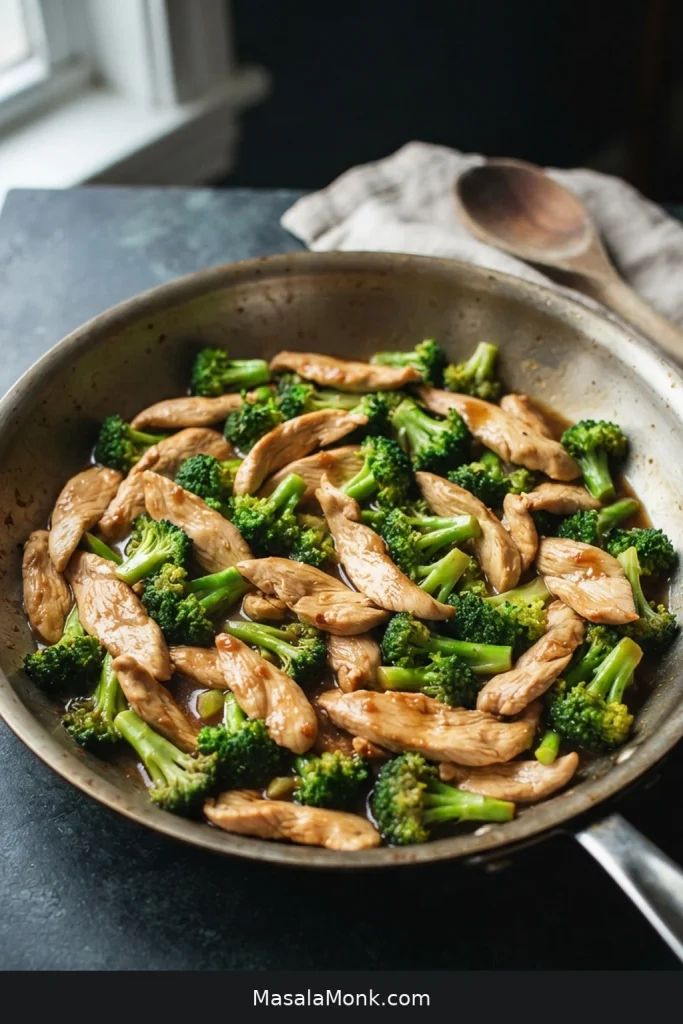
Replace most or all of the mixed vegetables with about 4 cups of small broccoli florets for a chicken-and-broccoli version.
Small florets can cook directly in the skillet. Very thick ones may benefit from a quick steam or blanch first. Drain pre-cooked broccoli thoroughly; water trapped around the florets can undo a carefully balanced sauce in seconds.
- More ginger and garlic: increase the ginger to about 1 tablespoon / roughly 6–8 g and the garlic to 4–5 cloves for a more aromatic version.
- Make it spicy: add fresh sliced chile or chile flakes with the garlic and ginger. Stir sambal oelek or another chile sauce into the sauce mixture instead. Start small if the chile sauce also brings salt, sweetness or acidity.
- Add cashews: toss in about ½ cup / 70 g roasted unsalted cashews at the very end so they keep their crunch.
- Give it a brighter finish: add ½–1 teaspoon unseasoned rice vinegar after the sauce has thickened. It should brighten the sauce without making it taste sour.
For crisp chicken with a sticky sesame glaze, go with Sesame Chicken.
Prep Ahead, Storage and Reheating
Prep Ahead
The sauce base can be mixed a day ahead, and sturdy vegetables such as broccoli, carrot, onion and pepper can be cut and refrigerated separately. Chicken can also be sliced ahead, kept covered and refrigerated. Keep the cornstarch marinade as the short 10–15 minute step before cooking, and mix the slurry shortly before you need it.
Storing Leftovers
Refrigerate leftovers in a shallow covered container within 2 hours, or within 1 hour if they have been sitting above 90°F / 32°C. Keep the refrigerator at 40°F / 4°C or below. FoodSafety.gov lists cooked meat and poultry leftovers at 3–4 days under refrigeration. See the current cold-storage guidance.
In stored chicken stir fry, the vegetables will soften somewhat and the sauce may loosen as they release more moisture. For deliberate meal prep, take the vegetables off the heat a little earlier than you would for immediate serving.
Reheating
For chicken stir fry leftovers, a hot skillet gives you the best chance of retaining some texture. Toss only until heated through. Add a small splash of water or unsalted stock if the sauce has tightened too much in the refrigerator.
Reheated poultry leftovers should reach 165°F / 74°C. Heat only as long as needed to get there so the chicken and vegetables do not spend unnecessary extra time in the pan.
Spoon the chicken stir fry over hot rice while the sauce is shiny and the broccoli and peppers push back a little when you bite. Once you’ve cooked it this way, the exact vegetable mix matters much less. Slice the chicken thin, give firm vegetables the head start, add the sauce near the end—and dinner gets much easier to improvise.








