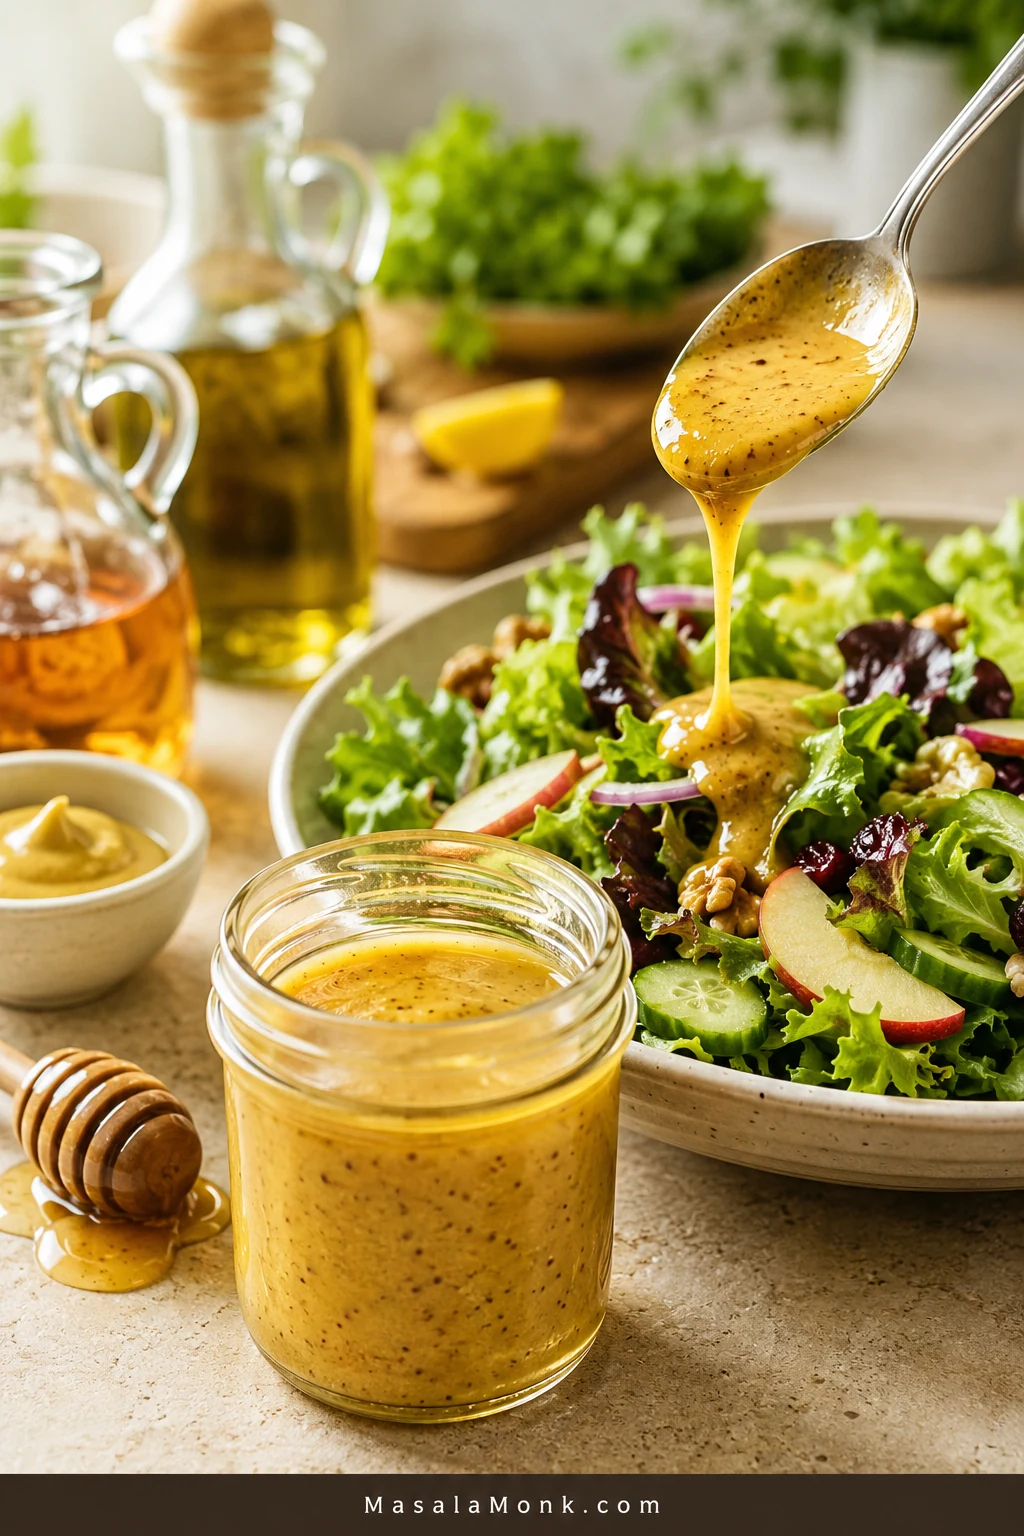
A good honey mustard dressing should taste bright before it tastes sweet. It should cling lightly to salad leaves, drizzle smoothly over grain bowls, and still have enough punch for chicken, roasted vegetables, salmon, ham, wraps, or sandwiches. Too much honey makes it taste like bottled yellow sugar; too much vinegar leaves it sharp and thin. The best batch tastes lively, not sugary.
This honey mustard dressing recipe starts with a simple no-mayo Dijon base: mustard, honey, apple cider vinegar, olive oil, salt, and pepper. It takes about five minutes, uses pantry ingredients, and gives you a clean dressing you can turn into a creamy sauce, a thicker dip, or a lighter vinaigrette.
The little trick is knowing what your plate actually needs, because the dressing you want for greens is not always the one you want for fries. For salads, start with the no-mayo dressing. When chicken tenders, fries, nuggets, burgers, or sandwiches are involved, make the creamy mayo sauce.
It is the kind of quick jar that rescues plain greens, leftover chicken, roasted vegetables, and rushed lunches without making anything feel heavy.
Quick Answer: How Do You Make Honey Mustard Dressing?
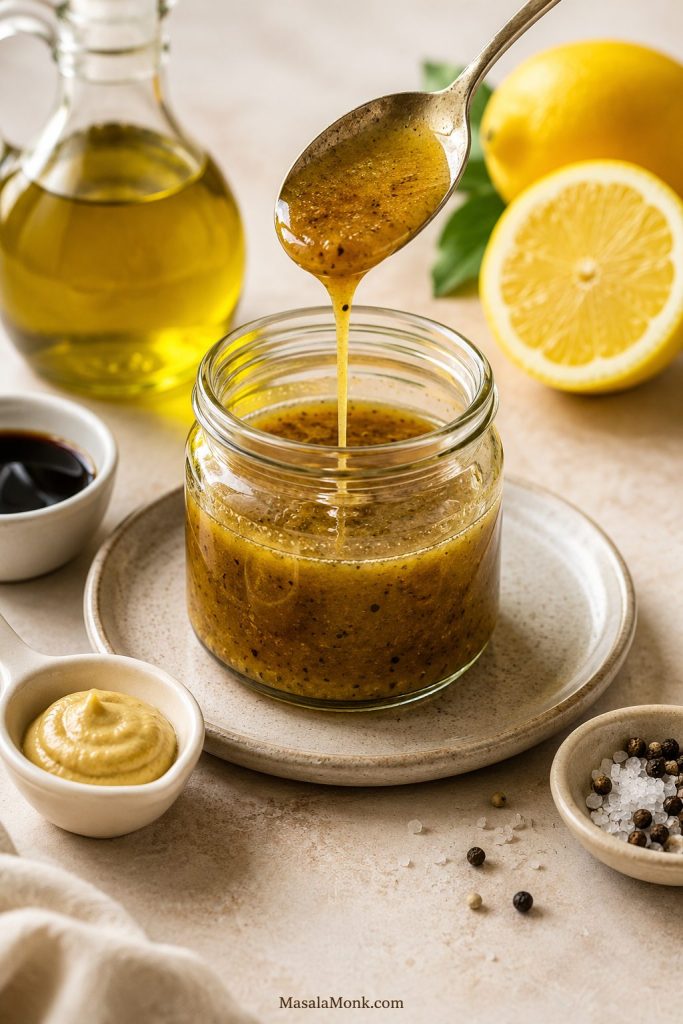
To make honey mustard dressing, whisk Dijon mustard, honey, apple cider vinegar or lemon juice, olive oil, salt, and black pepper until smooth. For the main 1-cup batch, use ¼ cup Dijon mustard, 3 tablespoons honey, 3 tablespoons vinegar or lemon juice, and ¼ cup olive oil. Add 1–2 tablespoons water at the end only if the dressing needs loosening.
Best honey mustard dressing ratio: 4 parts Dijon mustard, 3 parts honey, 3 parts vinegar or lemon juice, and 4 parts oil. For a sweeter, bolder dressing, use equal parts mustard, honey, vinegar, and oil.
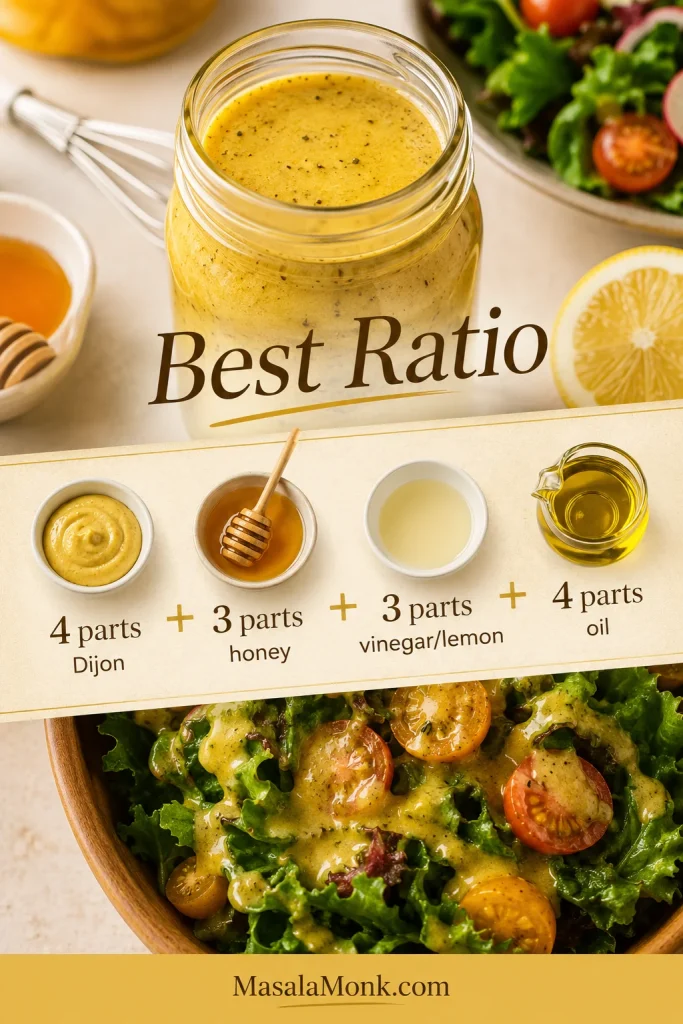
The flavor should be tangy first, lightly sweet second, with a clean Dijon bite and enough body to coat greens without feeling heavy. Taste before serving; a tiny splash or pinch is usually enough.
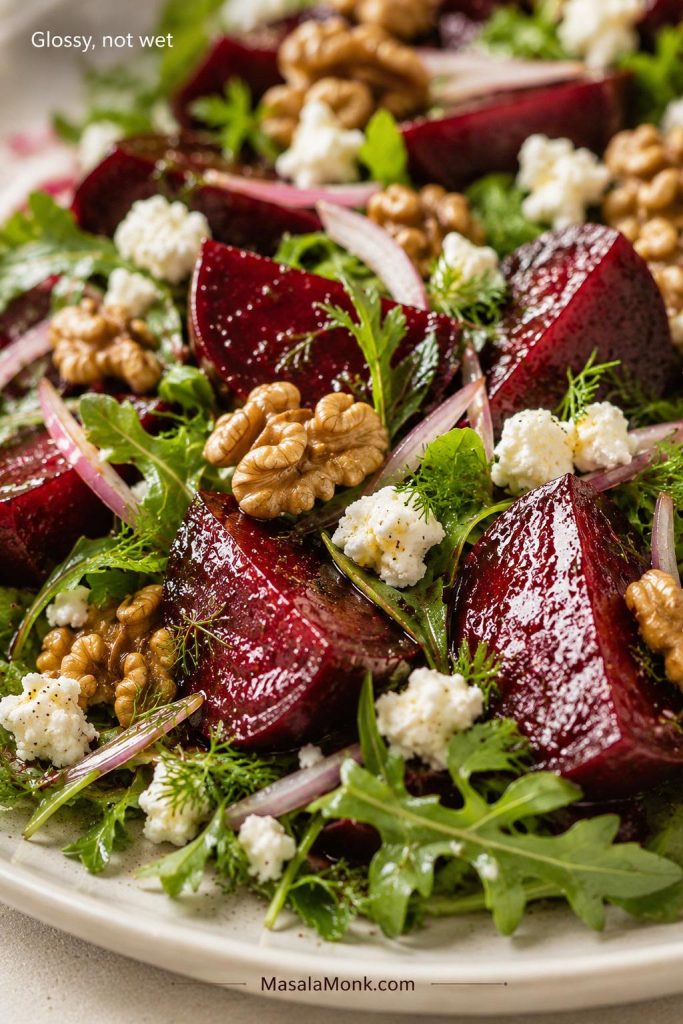
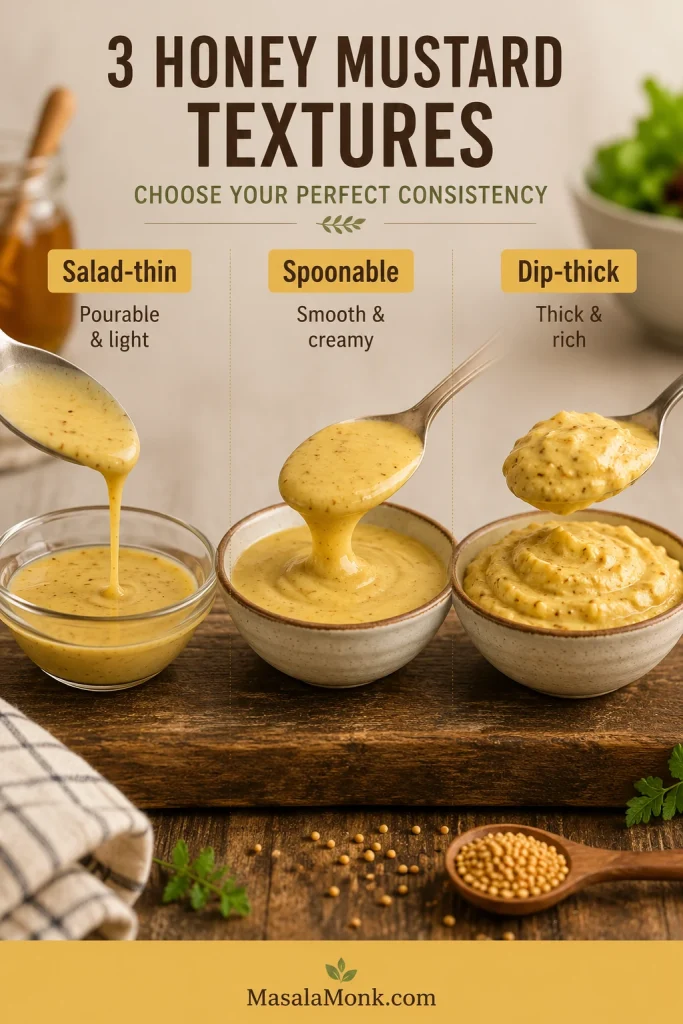
Texture cue: The finished dressing should fall in a glossy ribbon, not sit like a thick dip.

5-Minute Honey Mustard Dressing Recipe
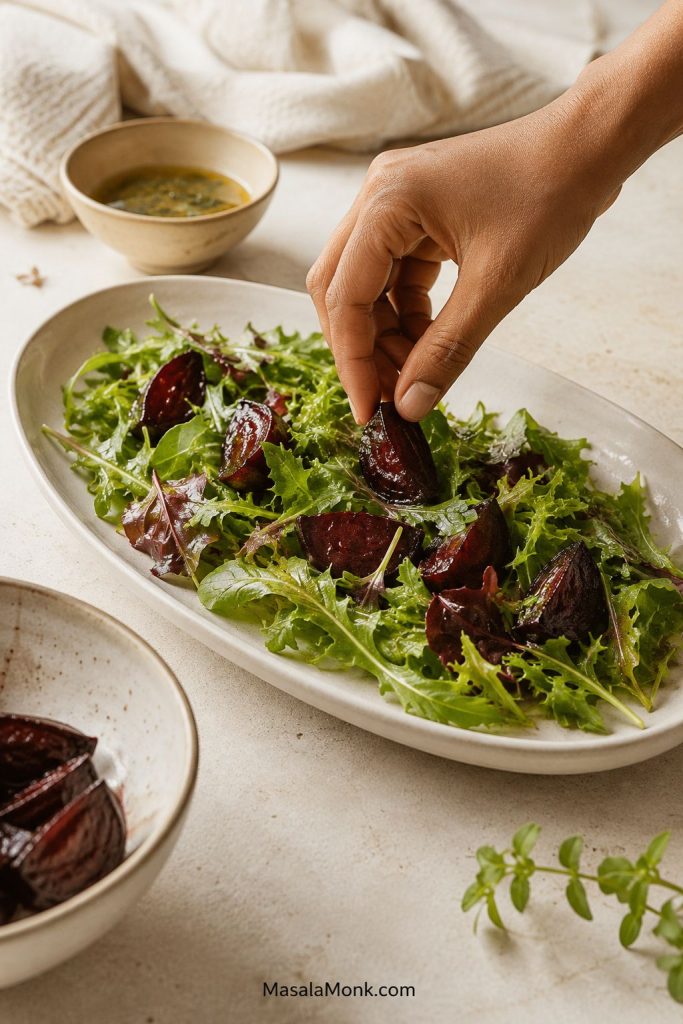
This is the main no-mayo dressing: glossy, zippy, lightly sweet, and loose enough to drizzle. Use it on salads, roasted vegetables, grain bowls, chicken, salmon, ham, wraps, or any meal-prep bowl that needs a quick sweet-tangy finish.
Prep Time
5 minutes
Cook Time
0 minutes
Total Time
5 minutes
Yield
About 1 cup / 240 ml
Servings
7–8 servings
Serving Size
About 2 tbsp / 30 ml
Equipment
- Small bowl or clean jar with lid
- Small whisk or fork
- Measuring spoons and cups
- Optional: small blender or immersion blender for a more blended dressing
Ingredients
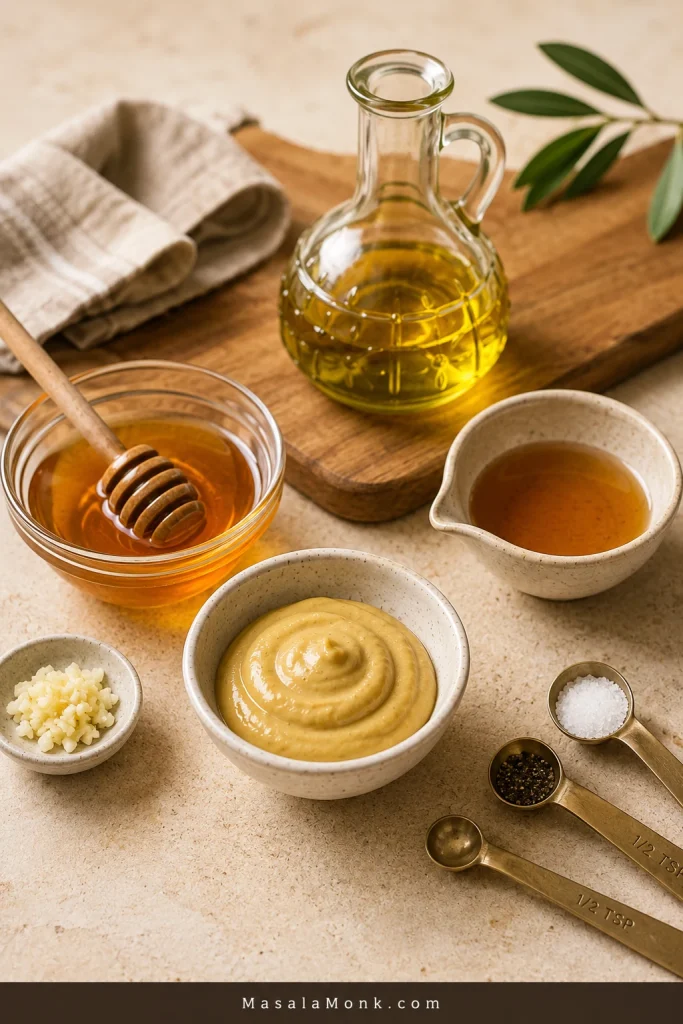
- ¼ cup Dijon mustard, about 60 ml / 60–65 g
- 3 tablespoons honey, about 45 ml / 60–65 g
- 3 tablespoons apple cider vinegar, or 2 tablespoons apple cider vinegar plus 1 tablespoon fresh lemon juice, about 45 ml total
- ¼ cup extra-virgin olive oil, about 60 ml
- 1–2 tablespoons cool water, only as needed to loosen
- ¼ teaspoon fine salt, plus more to taste
- ¼ teaspoon black pepper
- Optional: 1 small grated garlic clove or ¼ teaspoon garlic powder
Instructions
- Add the Dijon mustard, honey, vinegar or vinegar-lemon mix, salt, pepper, and garlic to a small bowl or jar.
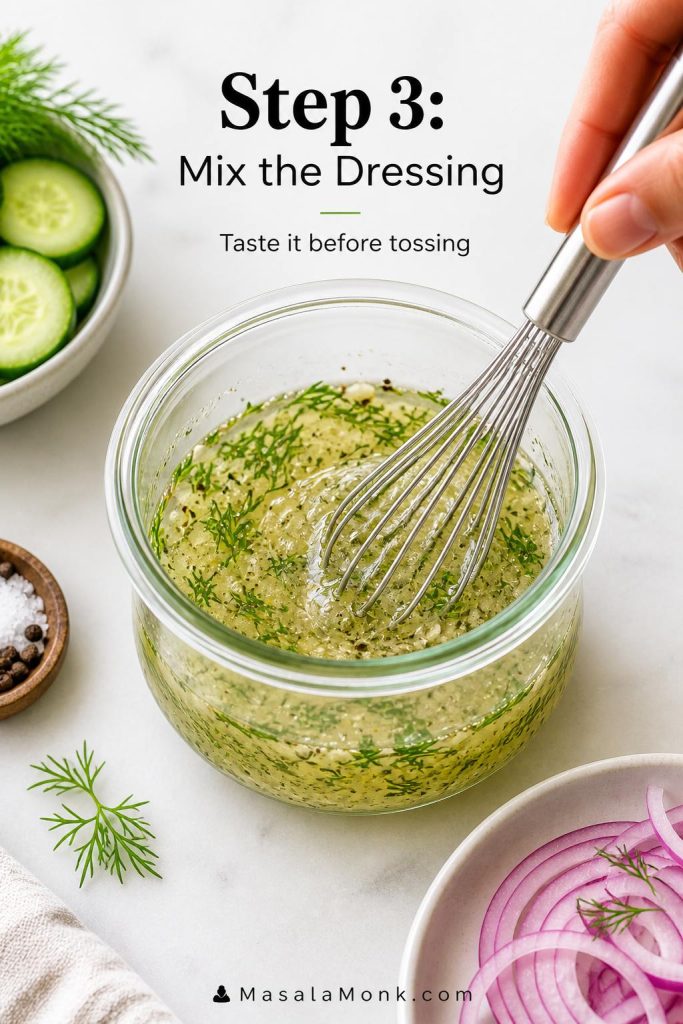
- Whisk until the mustard and honey look smooth and evenly mixed.
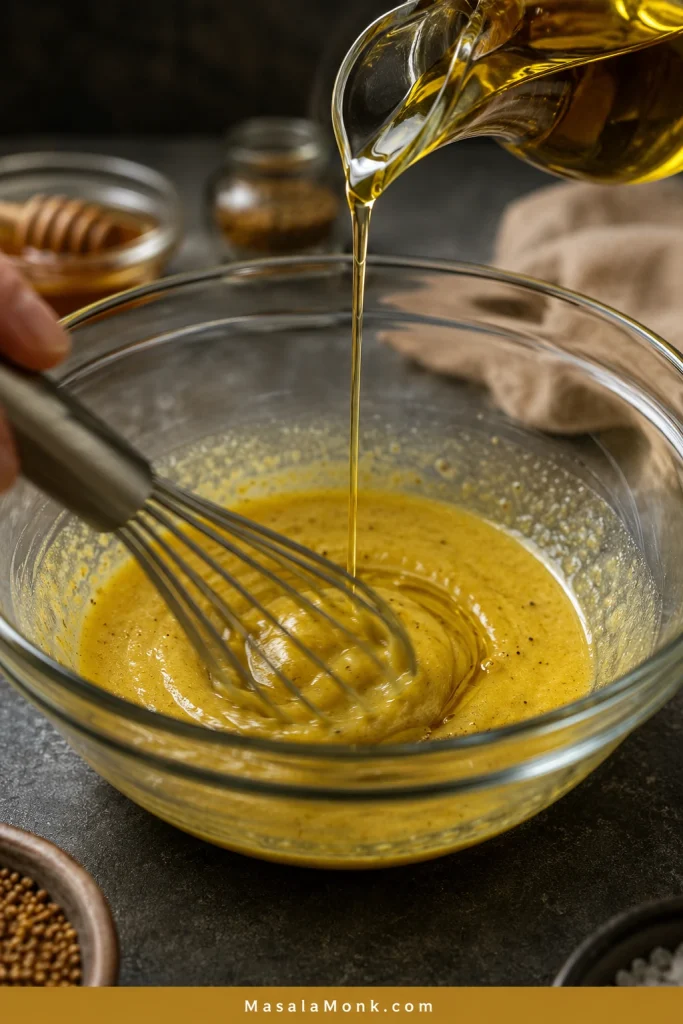
- Slowly whisk in the olive oil until the dressing turns glossy and pourable. For the jar method, add the oil with everything else, close the lid tightly, and shake hard for 15–20 seconds.
- Taste the dressing. Add more honey for sweetness, more vinegar or lemon juice for zip, or a small pinch of salt when the flavor tastes flat.
- If the dressing feels too thick, loosen it with 1–2 tablespoons water.
- Use right away or refrigerate in an airtight jar. Shake or whisk again before serving.
Recipe Notes
- Use 2 tablespoons honey for a sharper salad dressing.
- Use up to 4 tablespoons honey for a sweeter sauce-style dressing.
- Strong olive oil can dominate the dressing. Light olive oil, avocado oil, or a neutral oil gives a milder result.
- For meal prep, garlic powder keeps the flavor smoother and more predictable than fresh garlic.
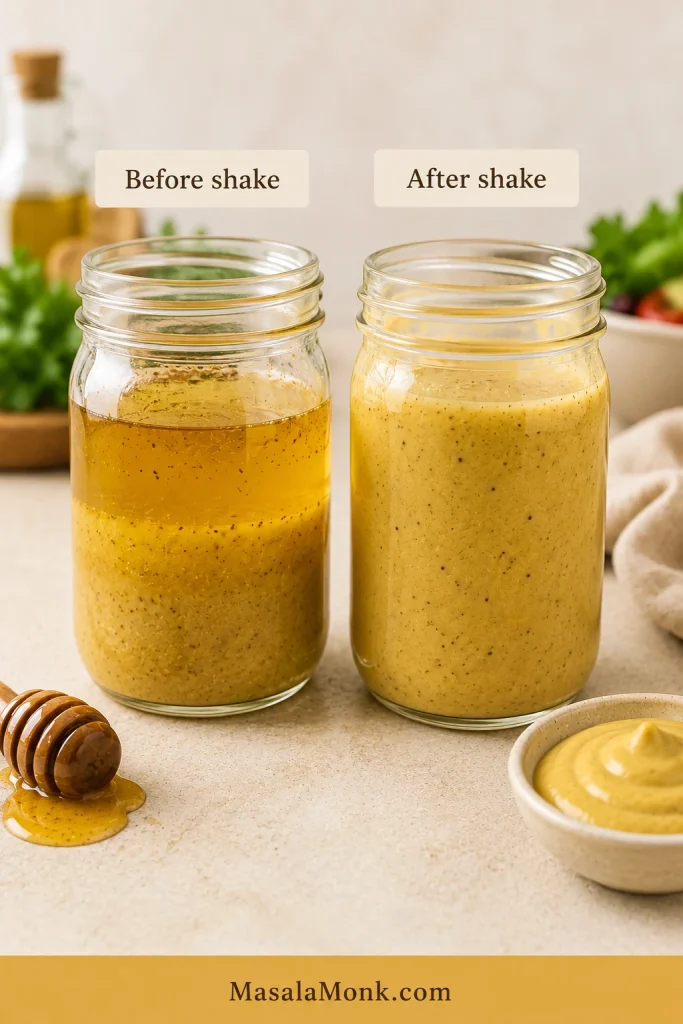
- Separation after chilling is normal. Shake the jar hard before using.
Need a thicker sauce or dip? Go to the style guide, jump to the creamy version, or return to the top ↑
4-Ingredient Honey Mustard Dressing
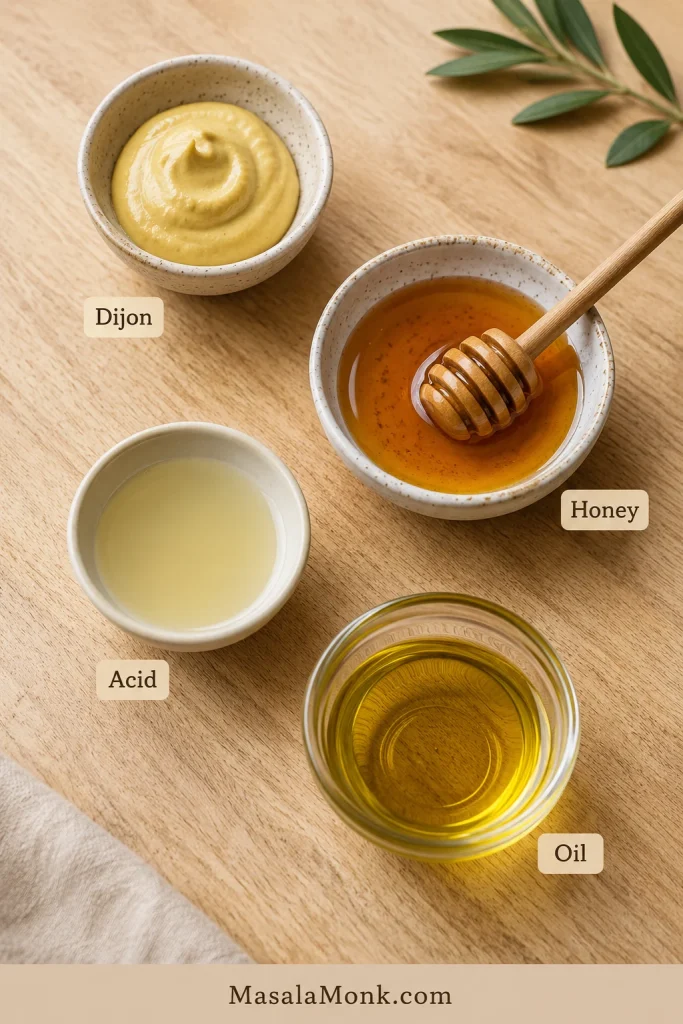
Strip it down and honey mustard dressing is just four things: mustard for bite, honey for roundness, acid for brightness, and oil for body. Salt and pepper are the difference between “fine” and “finished,” but the core flavor comes from those four ingredients.
- Dijon mustard: use it for the cleanest salad-style flavor.
- Honey: use more for dipping sauce and less for sharper greens.
- Apple cider vinegar or lemon juice: use it to keep the dressing bright.
- Olive oil: use enough to help the dressing cling instead of running off.
For a quick small batch, whisk 2 tablespoons Dijon mustard, 1 tablespoon honey, 2 tablespoons apple cider vinegar or lemon juice, and 2 tablespoons olive oil. Add salt and pepper to taste. This makes enough for one large salad or two smaller side salads.
Honey Mustard Dressing Ratio
Once you know the ratio, the recipe becomes less of a rule and more of a dial. You can make the same jar sweeter, sharper, thicker, thinner, creamier, or lighter without starting over.
| Style | Easy Ratio | Use It For |
|---|---|---|
| Everyday dressing | 4 parts mustard : 3 parts honey : 3 parts vinegar : 4 parts oil | Everyday salads and bowls |
| Equal-parts dressing | 1 part mustard : 1 part honey : 1 part vinegar : 1 part oil | Sweeter, bolder dressing |
| Sharper salad dressing | More vinegar or lemon, less honey | Greens, slaws, roasted vegetables |
| Creamy sauce | Mayo or yogurt base + mustard + honey + acid | Chicken, fries, sandwiches |
| Vinaigrette | More oil and vinegar, no creamy base | Spinach, kale, cabbage, grain bowls |
Texture cue: Salad dressing should drizzle, sauce should spoon, and dip should hold onto crispy food.
Easy memory trick: too sweet needs acid, too punchy needs honey, and flat almost always needs salt before anything else.
Not sure whether the batch should be thin, spoonable, or dip-thick? Go to the style guide.
Should You Make Dressing, Sauce, Dip, or Vinaigrette?
This is where honey mustard changes personality. Thin it and it belongs on greens. Make it creamy and suddenly it is the sauce everyone reaches for beside fries or chicken.
Do not force a salad dressing to behave like a dip. If fries, nuggets, or chicken tenders are involved, give the bowl a creamy base.
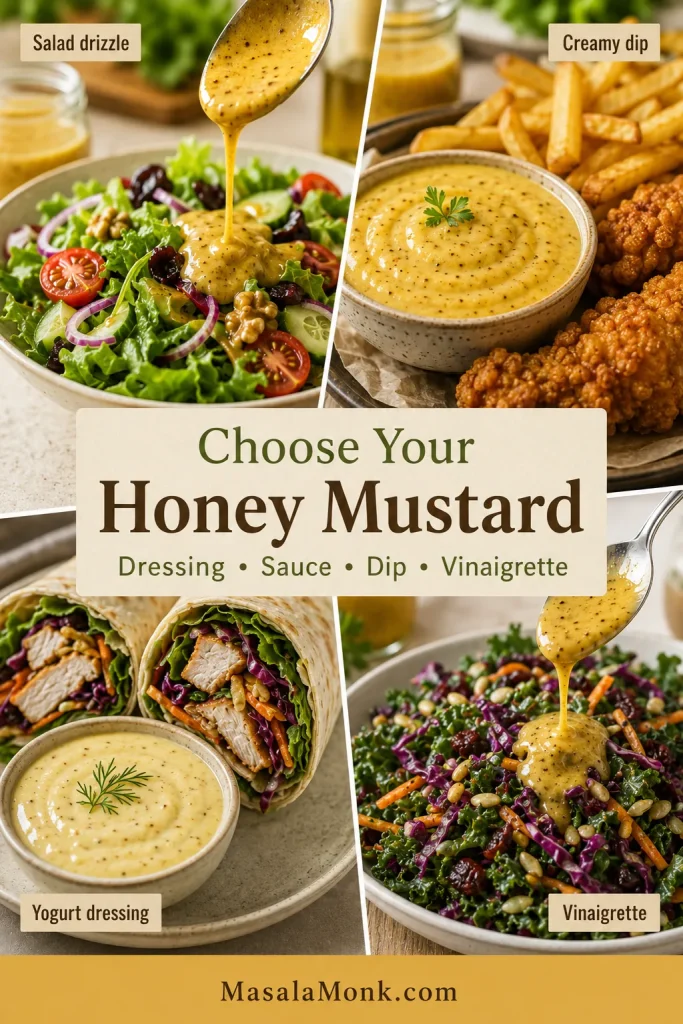
| The Plate Needs… | Make This | Texture | Best For |
|---|---|---|---|
| A clean salad dressing | No-mayo Dijon dressing | Pourable | Green salads, bowls, roasted vegetables |
| A classic dip | Creamy mayo sauce | Thick and smooth | Chicken tenders, fries, nuggets, pretzels |
| A lighter creamy dressing | Greek yogurt dressing | Creamy and tangy | Wraps, lunch bowls, chicken salads |
| A sharper vinaigrette | Oil-vinegar dressing | Light and glossy | Slaws, spinach, kale, grain bowls |
| A sandwich sauce | Dijon + yellow mustard + mayo | Medium-thick | Ham, turkey, burgers, wraps |
Good rule: salads need a dressing that drizzles; fries and chicken need a sauce that stays put.
Make the no-mayo dressing first when you are unsure. Once you taste that base, it is easy to make the next batch richer, sharper, sweeter, or thick enough for dipping without guesswork.
Ingredients and Substitutions
Because the ingredient list is short, the jar changes fast. A bold mustard can make it bite, a floral honey can push it sweeter, and a strong olive oil can take over if you are not expecting it. Taste the base before adding more salt, honey, or vinegar.
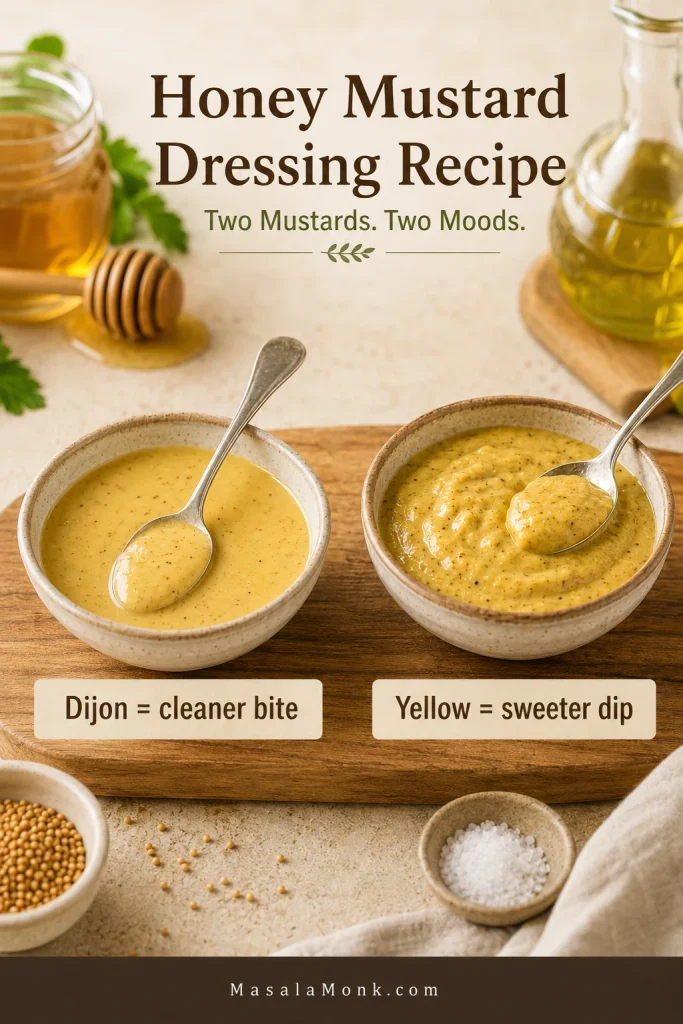
Dijon mustard is the safest starting point because it blends easily and gives the dressing a clean mustard bite without turning harsh. Yellow mustard works too, but it tastes brighter and sweeter, so it is better in creamy dips and sandwich-style sauces.
Honey softens the mustard and vinegar so the dressing tastes rounded instead of biting. Use 2 tablespoons for a sharper salad dressing, 3 for the balanced batch, and 4 when you want it sweeter and more sauce-like.
Apple cider vinegar gives the dressing a rounder tang. Lemon juice makes it brighter and more awake. Use either one, or mix them when you want both depth and freshness.
Olive oil gives the dressing enough body to cling to leaves instead of running straight to the bottom of the bowl. Extra-virgin olive oil adds flavor; light olive oil, avocado oil, or a neutral oil keeps the dressing milder.
Salt, pepper, and garlic finish the jar. When the dressing tastes dull, salt is usually the quiet fix. Garlic is optional, but garlic powder is easier for meal prep because it stays smoother and gentler after a day or two in the fridge.
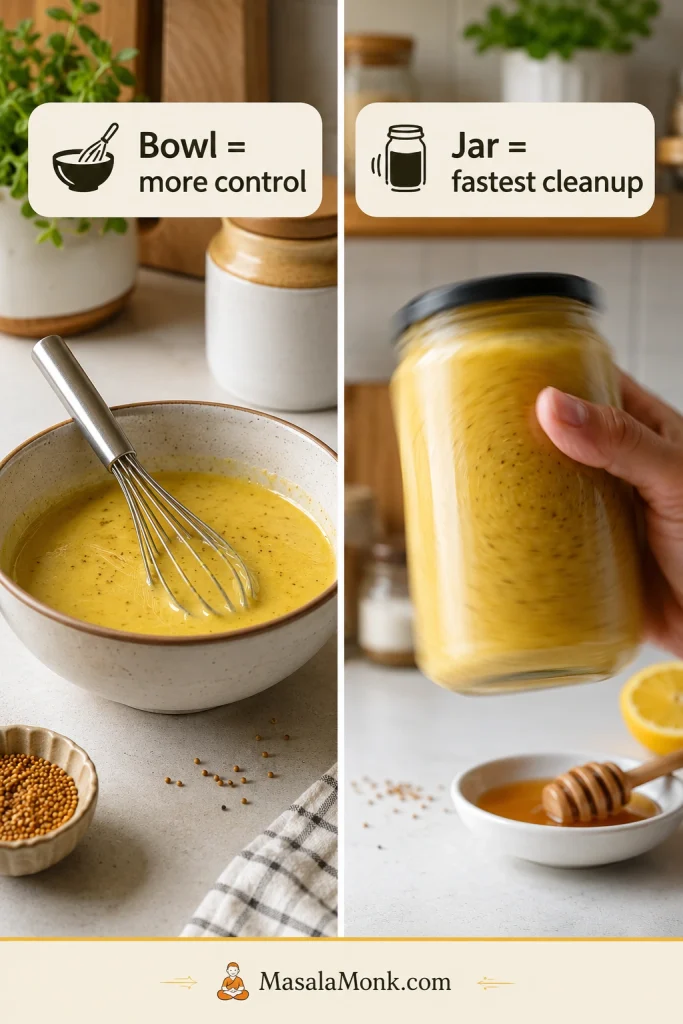
Bowl Method vs Jar Method
The order matters more than the effort. Mix the mustard, honey, vinegar, salt, and pepper first, then add the oil. This gives the dressing a smoother texture and makes it easier to adjust before serving.
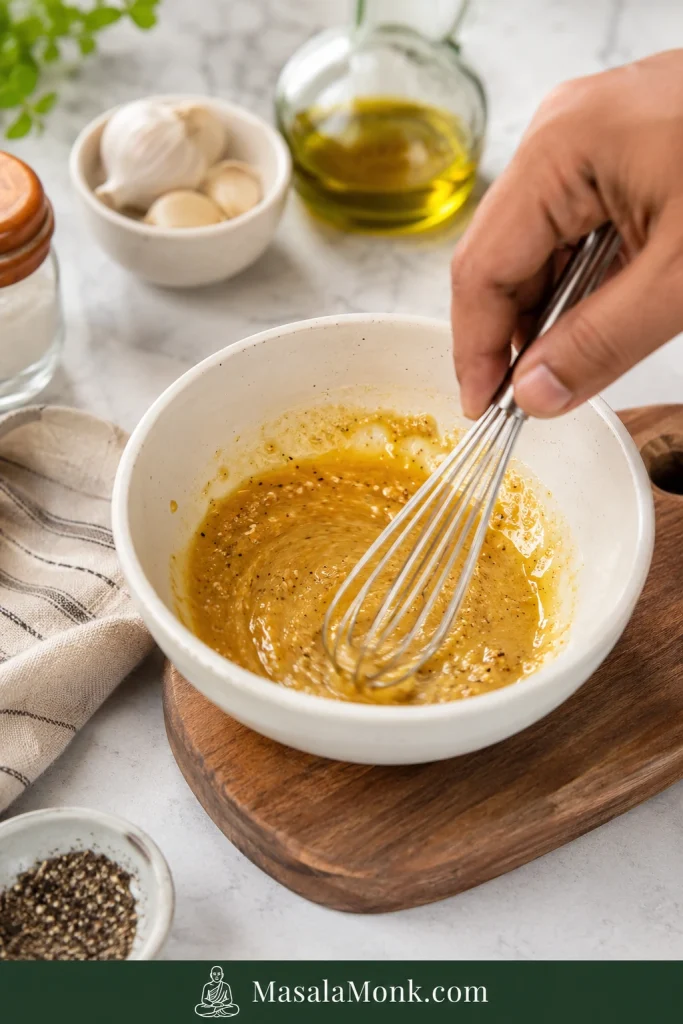
Bowl Method
- Whisk the Dijon mustard, honey, vinegar or vinegar-lemon mix, salt, pepper, and garlic together first.
- Drizzle in the olive oil slowly while whisking.
- Keep whisking until the dressing looks smooth and lightly thickened.
- Taste before serving and adjust one thing at a time.
Method cue: Mix the flavor base before adding oil.
Emulsion cue: Add oil slowly for a smoother dressing.
Jar Method
- Add all ingredients to a clean jar.
- Close the lid tightly.
- Shake hard for 15–20 seconds, until the dressing looks glossy and combined.
- Refrigerate in the same jar and shake again before using.
Why mustard helps: Dijon helps the oil and vinegar hold together long enough to coat greens evenly. If the dressing separates later, nothing is wrong; just shake it again.
If the dressing tastes too sweet, too sharp, too thick, or separated, jump to the quick fix table.
Honey Mustard Dressing Without Mayo
You do not need mayo for a good honey mustard dressing. The oil-vinegar base is usually better for salads because it stays lighter, brighter, and easier to drizzle.
Use the small-batch formula below when you want just enough for one salad, one wrap night, or a quick bowl.
Small-Batch No-Mayo Formula
- 2 tablespoons Dijon mustard / 30 ml
- 1 tablespoon honey / 15 ml / about 20 g
- 2 tablespoons apple cider vinegar or lemon juice / 30 ml
- 2 tablespoons olive oil / 30 ml
- Salt and black pepper, to taste
This makes enough for one large salad or two smaller side salads. Taste it with a lettuce leaf, cucumber slice, or piece of chicken before adjusting; a spoonful can taste stronger than it will taste on food.
Creamy Honey Mustard Dressing
Use the creamy version when honey mustard needs to sit beside crispy food, not disappear into greens. Mayo gives it the thicker, smoother body you want for chicken tenders, fries, nuggets, burgers, wraps, and sandwiches. Thin it slightly when you want a spoonable salad dressing.

Creamy Mayo Honey Mustard
- ½ cup mayonnaise / 120 ml / about 110–115 g
- 2 tablespoons Dijon mustard / 30 ml
- 1 tablespoon yellow mustard / 15 ml
- 2–3 tablespoons honey / 30–45 ml / about 40–60 g
- 1–2 teaspoons lemon juice or apple cider vinegar / 5–10 ml
- Salt and pepper, to taste
Whisk everything together until silky. Two tablespoons honey keeps it tangier; three makes it sweeter and more dip-like. Add a teaspoon or two of water only when you want it loose enough to drizzle instead of scoop.
Already making homemade mayo? This is one of the easiest ways to turn it into a quick dipping sauce.
Keep it thick for crispy homemade French fries, chicken tenders, nuggets, or pretzels. For the same mustardy idea with a fruitier edge, try this mango mustard sauce.
Greek Yogurt Honey Mustard Dressing
Use Greek yogurt when you want the creamy feel of a dip but still want something fresh enough for lunch bowls, wraps, and chicken salads. It is the one to make when mayo feels too heavy but the no-mayo dressing feels too thin.
- ½ cup Greek yogurt / 120 ml / about 125 g
- 2 tablespoons Dijon mustard / 30 ml
- 2–3 tablespoons honey / 30–45 ml / about 40–60 g
- 1 tablespoon lemon juice or apple cider vinegar / 15 ml
- 1 tablespoon olive oil / 15 ml, optional for a smoother texture
- Salt and pepper, to taste
Yogurt dressing is naturally tangier than mayo-based sauce, so taste before adding extra vinegar. Thin a thick batch with water, lemon juice, or a little olive oil.
This tangy, creamy dressing also works well in a chicken salad sandwich, especially when the filling needs creaminess without feeling too heavy.
Honey Mustard Vinaigrette
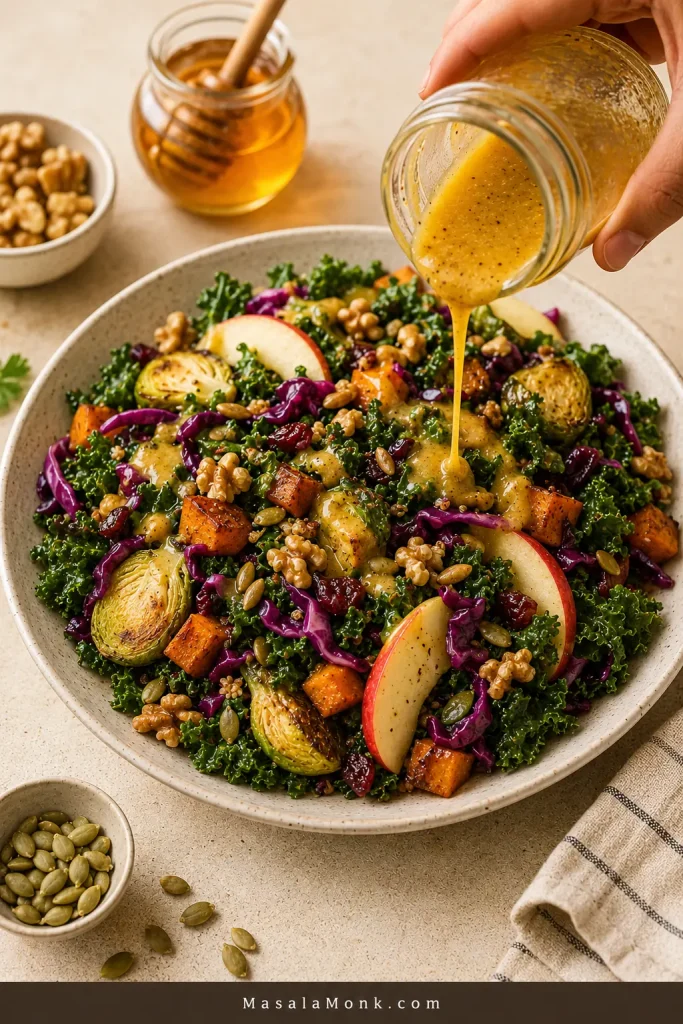
Make the vinaigrette when the salad needs brightness more than richness. It is especially good with sturdy greens, cabbage, apples, nuts, roasted vegetables, and grain bowls because it cuts through heavier ingredients instead of coating them like a dip.
- ⅓ cup to ½ cup olive oil / 80–120 ml
- 3 tablespoons apple cider vinegar, white wine vinegar, or white balsamic vinegar / 45 ml
- 2 tablespoons Dijon mustard / 30 ml
- 2–3 tablespoons honey / 30–45 ml / about 40–60 g
- Salt and black pepper, to taste
Shake everything in a jar until combined. Vinaigrettes naturally separate as they sit, so give the jar another hard shake before pouring. If the olive oil firms up in the fridge, let the jar sit at room temperature for 10–15 minutes, then shake again.
This lighter dressing is especially good when the salad has cabbage, apples, nuts, roasted vegetables, or anything that needs a sweet-tangy spark. Use it on a crunchy chickpea salad, cabbage slaw, kale salad, or roasted vegetable bowl. It can also replace the creamier dressing in a coleslaw recipe when the bowl needs more tang and less richness.
Want the base batch again? Back to the 5-minute recipe card.
What Mustard Is Best for Honey Mustard Dressing?
For the main dressing, Dijon is the best all-purpose choice because it blends smoothly, tastes clean, and has enough bite to stand up to honey without turning harsh.
- Dijon mustard: best for the main dressing and vinaigrette.
- Yellow mustard: brighter, sweeter, and more classic for creamy dip or sandwich sauce.
- Whole grain mustard: rustic and textured, especially good with roasted vegetables or grain bowls.
- Spicy brown mustard: bolder and better for pork, ham, and sandwiches.
- Half Dijon + half yellow: a good middle path for creamy honey mustard sauce.
Only yellow mustard in the fridge? Start with less honey and taste as you go, because yellow mustard already has a sweeter, brighter flavor than Dijon.
Healthy and Dietary Options
Begin with the no-mayo dressing when you want something lighter, then adjust from there. The same basic jar can become dairy-free, egg-free, lower-sugar, lower-oil, or creamy with Greek yogurt.
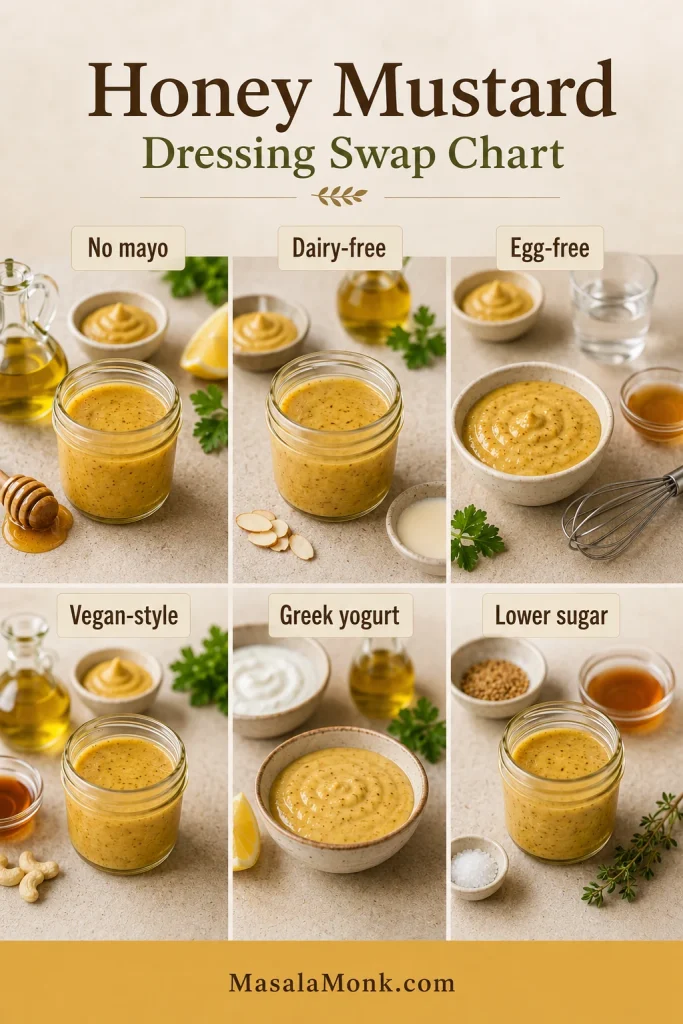
- No mayo: use the Dijon, honey, vinegar, and oil base.
- Dairy-free: the main no-mayo dressing is dairy-free as written.
- Lighter creamy dressing: use Greek yogurt instead of mayo.
- Egg-free: avoid regular mayo or use eggless mayonnaise.
- Vegan-style: honey is not vegan, so use maple syrup or agave instead.
- Lightened-up: reduce some oil and honey, then loosen the dressing with vinegar, lemon juice, or water so it still drizzles well.
- Lower sugar: use less honey, then add a little extra mustard and acid so the dressing still tastes complete.
Do not remove all the sweetness unless you are replacing it with something else. Mustard and vinegar need a little sweetness to taste rounded instead of harsh.
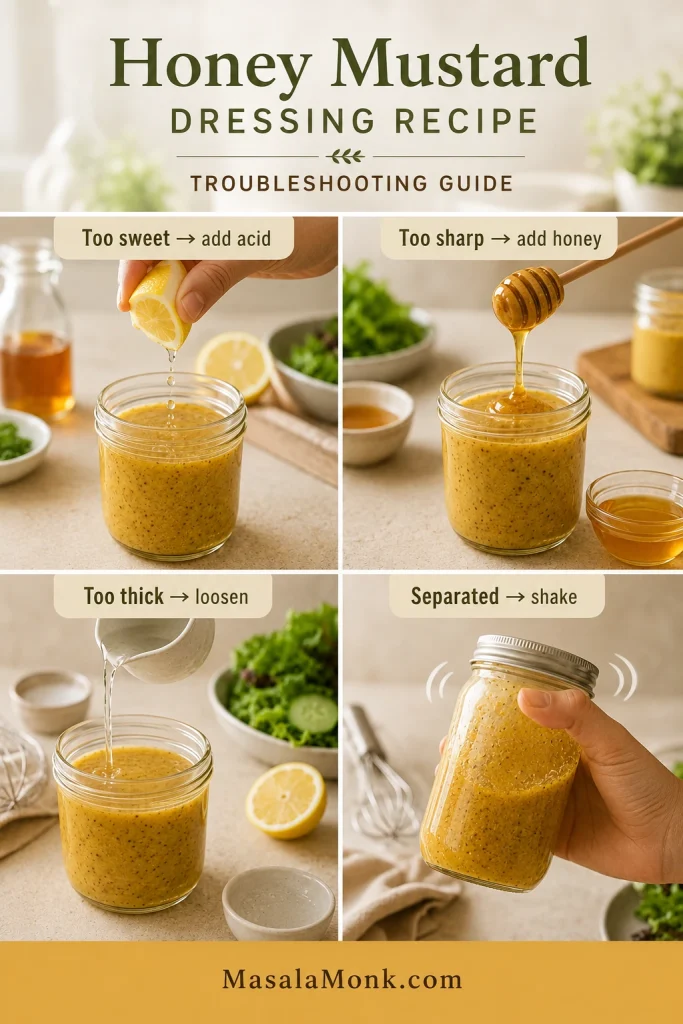
How to Fix Honey Mustard Dressing
This dressing is easy to fix because nothing is cooked. Taste it, change one thing, then taste again. Most batches need one small adjustment, not a fresh start.
| Problem | What to Do |
|---|---|
| Overly sweet | Add vinegar or lemon juice, 1 teaspoon at a time. |
| Sharp or sour | Add honey, mayo, or Greek yogurt. |
| Too thick | Add water, vinegar, lemon juice, or oil, 1 teaspoon at a time. |
| Runny or thin | Add Dijon mustard, mayo, Greek yogurt, or a little more honey. |
| Mustard-heavy | Add honey or a creamy base. |
| Oily-tasting | Add more Dijon and a splash of vinegar or lemon juice. |
| Flat flavor | Add a pinch of salt first, then adjust acid if needed. |
| Separated dressing | Shake hard in a jar or whisk again. |
| Firm olive oil | Let the jar sit for 10–15 minutes, then shake. |
Unsure what is missing? Add salt first. A tiny pinch often makes the honey, mustard, and vinegar taste like one dressing instead of three separate ingredients.
Once the flavor is balanced, see what to serve it with or how to store it.
What to Serve with Honey Mustard Dressing
Think of this as the jar you pull out when dinner is already cooked but the plate still needs a little lift. The salad-style dressing is bright and pourable, while the creamy sauce works better as a dip.
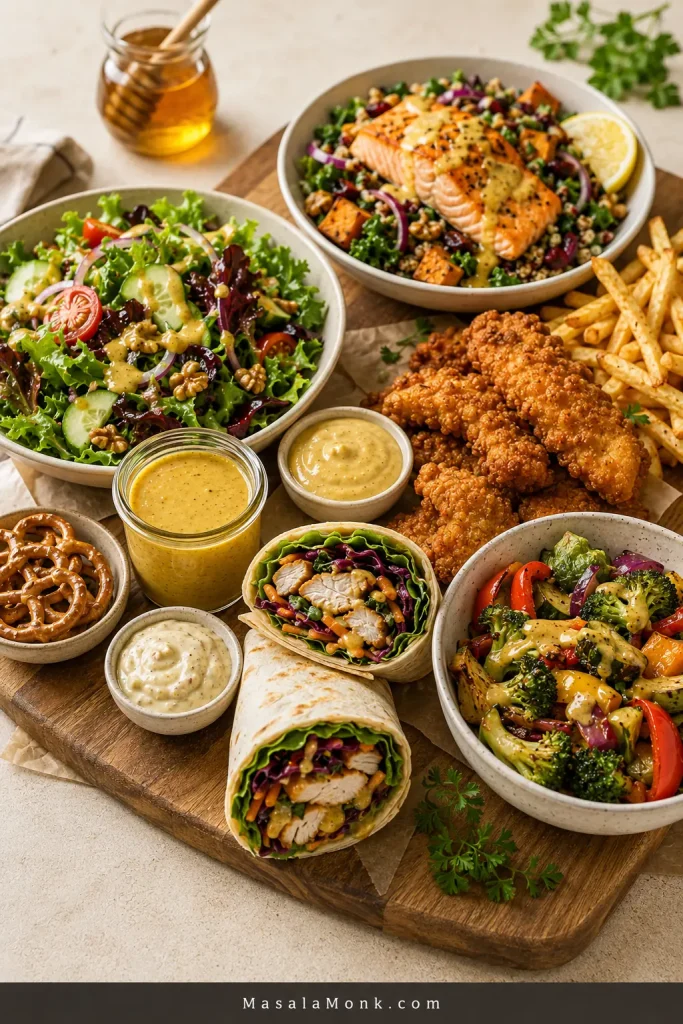
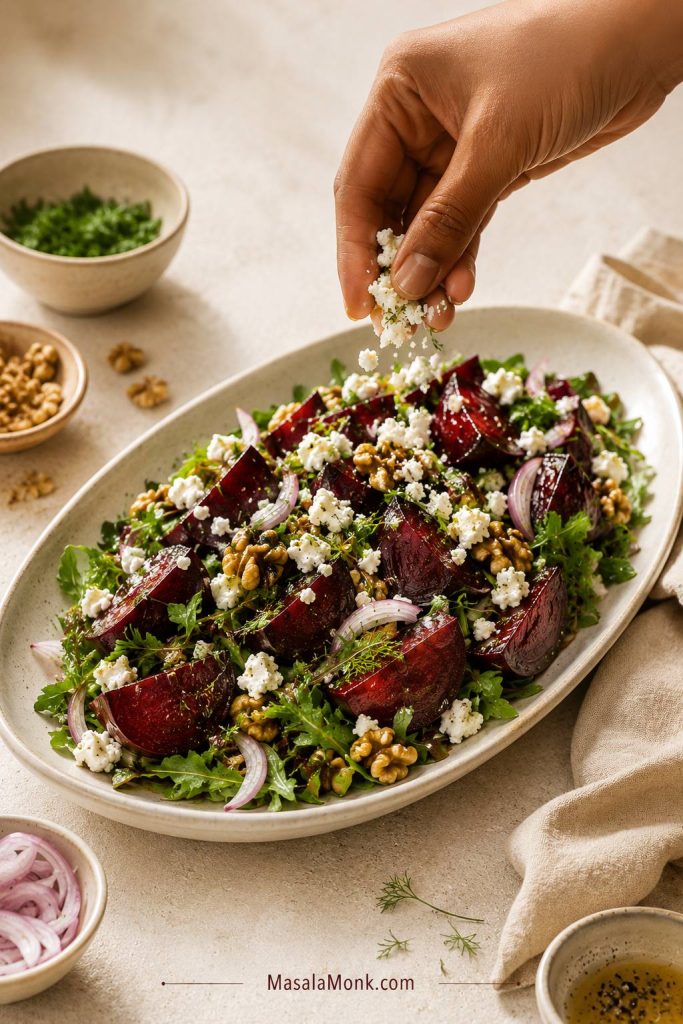
- Green salads with lettuce, spinach, arugula, kale, or cabbage
- Grain bowls with rice, quinoa, roasted vegetables, or grilled chicken
- Chicken tenders, nuggets, grilled chicken, or chicken wraps
- Salmon, shrimp, or simple seafood bowls
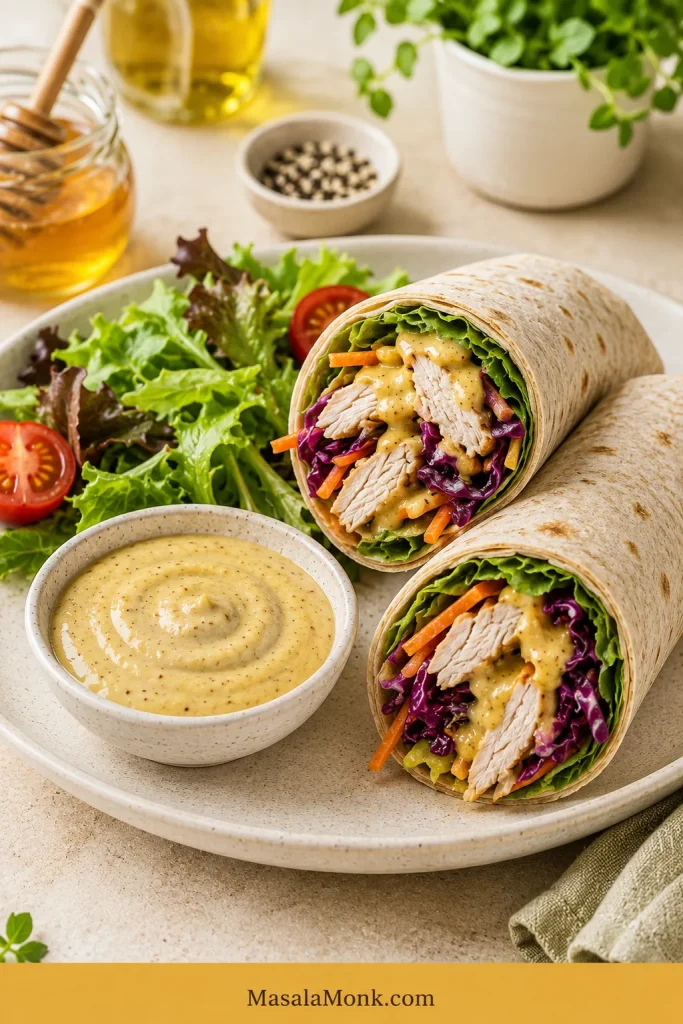
- Ham, turkey sandwiches, burgers, and wraps
- Roasted potatoes, carrots, broccoli, Brussels sprouts, or sweet potatoes
- Fries, pretzels, and snack plates when you make the creamy dip
- Slaws and pasta salads when you want something sweet and tangy
At dinner, spoon it over sliced baked chicken breast when the plate needs a quick lift. The creamy sauce belongs in wraps, burgers, and chicken sandwich recipes, where a loose vinaigrette would disappear.
In bowls, drizzle it over rice, greens, cucumbers, roasted vegetables, or a simple salmon bowl. Delicate greens work best with the no-mayo dressing. Hearty salads with cabbage, kale, apples, nuts, or roasted vegetables are especially good with the vinaigrette.
How to Store Homemade Honey Mustard Dressing
Keep the dressing in a clean airtight jar in the fridge. It may look a little separated the next day. That is normal; it just needs a shake.
Storage cue: If the dressing separates after chilling, it is usually normal oil-and-vinegar separation, not a failed batch.
| Style | Best Storage Time | Notes |
|---|---|---|
| No-mayo dressing | 7–10 days | Shake before using. |
| Creamy mayo sauce | 5–7 days | Keep refrigerated and use a clean spoon. |
| Greek yogurt dressing | 5–7 days or by yogurt expiry | May thicken as it sits. |
| Vinaigrette | About 1 week | Olive oil may firm up in the fridge. |
Do not freeze creamy honey mustard dressing. Mayo and yogurt can split after thawing. The no-mayo dressing is so quick that it is better to make a fresh batch when you need it.
FAQs About Honey Mustard Dressing
Does honey mustard dressing have mayo?
Not always. Salad-style honey mustard dressing is often made without mayo using mustard, honey, vinegar or lemon juice, and oil. Creamy honey mustard sauce usually adds mayo or Greek yogurt.
How do I make honey mustard dressing without mayo?
Use Dijon mustard, honey, vinegar or lemon juice, olive oil, salt, and pepper. It will be lighter and more pourable than a mayo-based sauce, which makes it better for salads, slaws, roasted vegetables, and grain bowls.
What is honey mustard dressing made of?
Honey mustard dressing is usually made with mustard, honey, vinegar or lemon juice, oil, salt, and pepper. Creamy sauces add mayonnaise or Greek yogurt. A simple 4-ingredient batch uses Dijon mustard, honey, vinegar or lemon juice, and olive oil.
Is honey mustard dressing dairy-free?
The main no-mayo dressing is dairy-free as written because it uses mustard, honey, vinegar or lemon juice, and oil. Greek yogurt dressing is not dairy-free unless you use a dairy-free yogurt.
Can I use maple syrup instead of honey?
Yes. Maple syrup or agave can replace honey if you want a vegan-style mustard dressing. Start with the same amount, then taste and adjust because maple syrup tastes different from honey.
Is honey mustard dressing the same as honey mustard sauce?
They overlap, but texture is the difference. Dressing is usually thinner and pourable for salads. Sauce is thicker and often contains mayo or yogurt, so it works better as a dip or sandwich spread.
Dijon or yellow mustard: which one works better?
Dijon gives a cleaner, more balanced dressing. Yellow mustard tastes brighter and sweeter, which is why it works well in creamy dipping sauces. A mix of Dijon and yellow mustard is a good choice for sandwich-style honey mustard.
What can I use instead of vinegar?
Lemon juice is the easiest substitute. It gives the dressing a fresh, lifted flavor. Apple cider vinegar gives it a deeper tang, and a mix of both works well.
How long does homemade honey mustard dressing last?
The no-mayo dressing is best within 7–10 days in the fridge. Mayo and Greek yogurt sauces are best within 5–7 days. Store everything in a clean airtight jar and shake before using.
Why did my dressing separate?
Oil and vinegar naturally separate over time. Shake the dressing hard in a jar or whisk it again before serving. For a smoother texture, whisk the oil in slowly or blend the dressing briefly.
How do I make it creamy?
Whisk in mayonnaise for a classic dipping sauce, or Greek yogurt for a tangier, lighter version. Thin with lemon juice, vinegar, or water when you want it pourable.
Can honey mustard dressing be used as a marinade?
Yes, the no-mayo dressing can work as a quick marinade for chicken, salmon, pork, or vegetables. Avoid mayo or yogurt sauces for marinating. Do not reuse marinade that has touched raw meat unless it has been boiled thoroughly. Cook poultry to a safe minimum internal temperature of 165°F / 74°C. For dipping, make a separate fresh batch.
A Five-Minute Dressing You Can Use All Week
Once you make this once, you stop needing the bottle. The base is simple enough for a weekday salad, but flexible enough to become a dip, sauce, or vinaigrette depending on what is on the plate.
Keep it pourable for greens, make it creamy for dipping, or add a little extra acid when a bowl needs lift. After a batch or two, you will know when it needs more honey, more vinegar, a pinch of salt, or just a good shake.