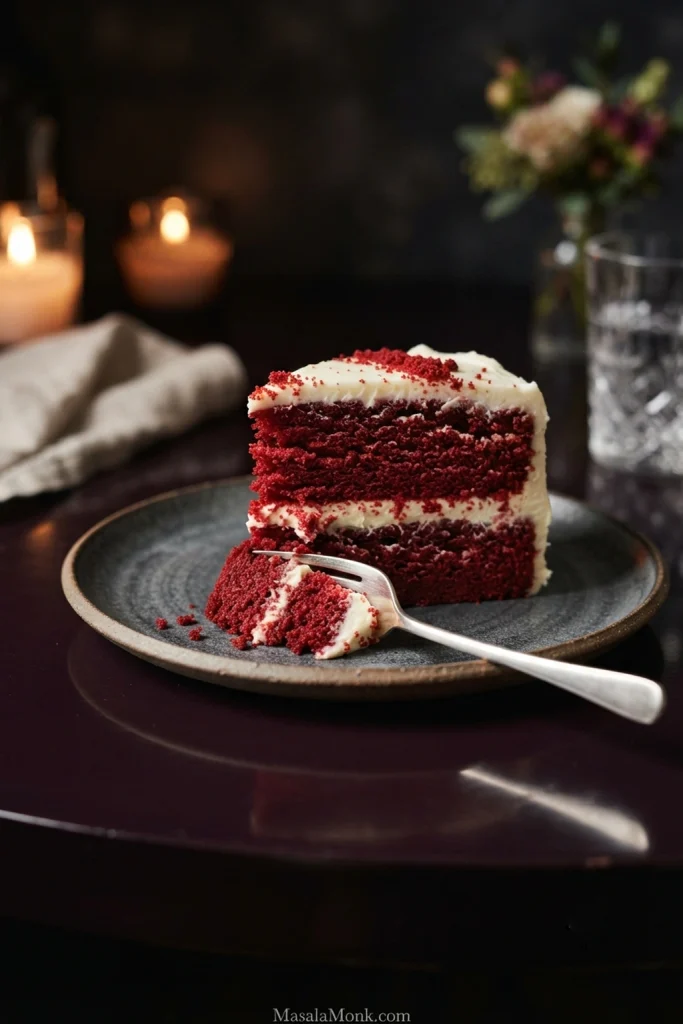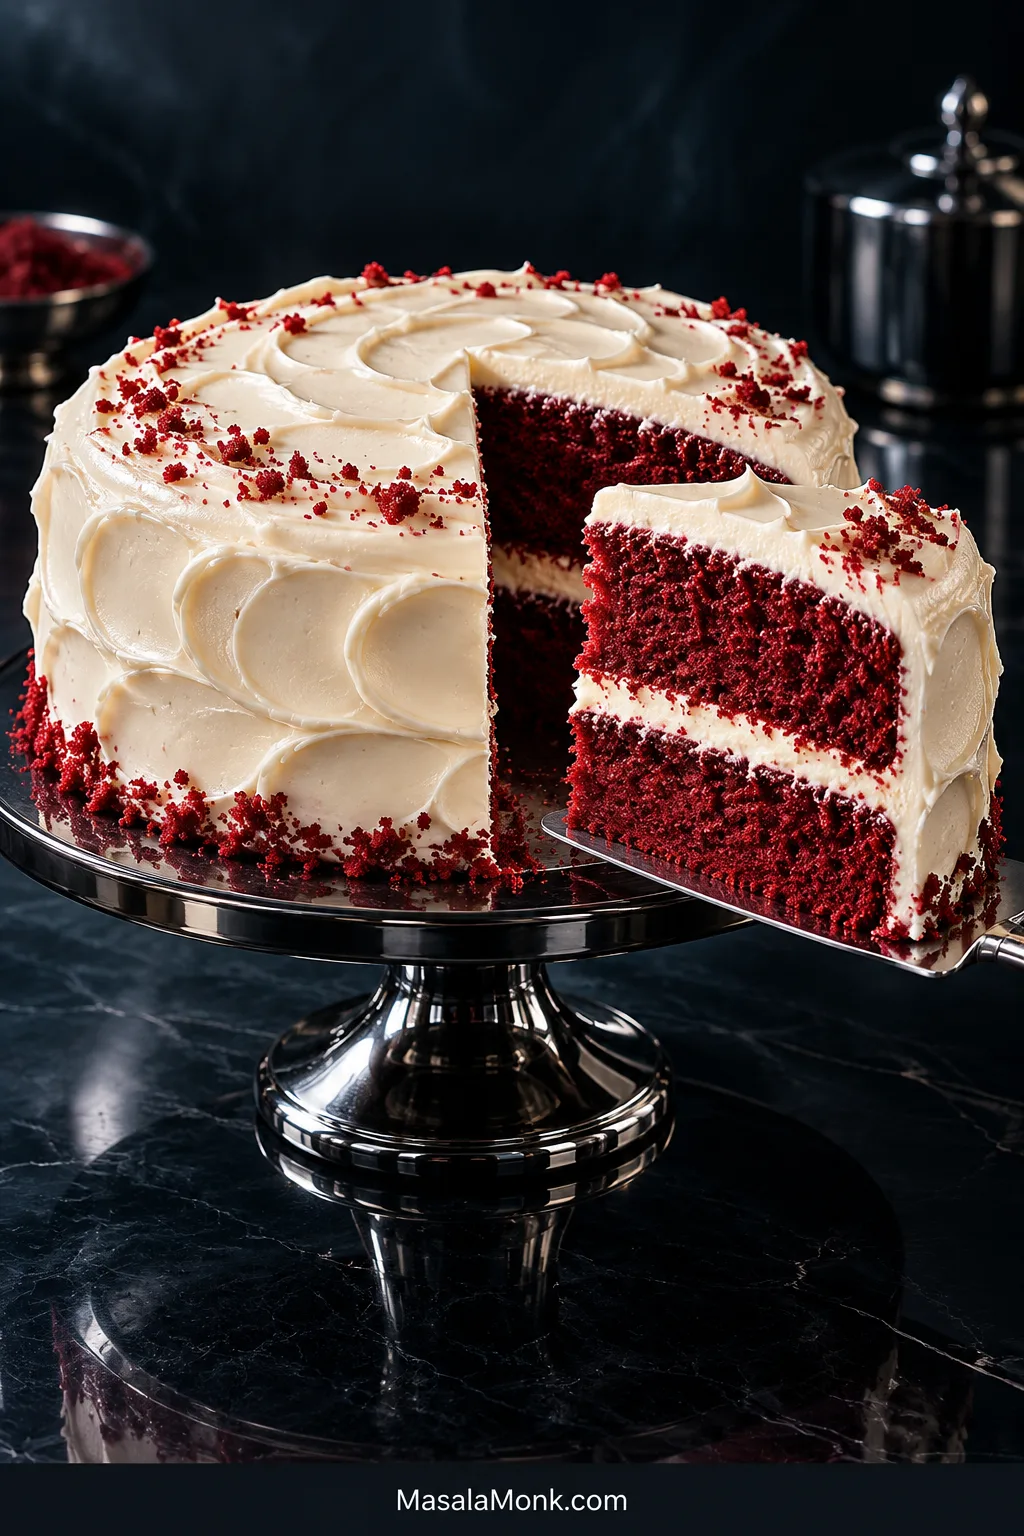
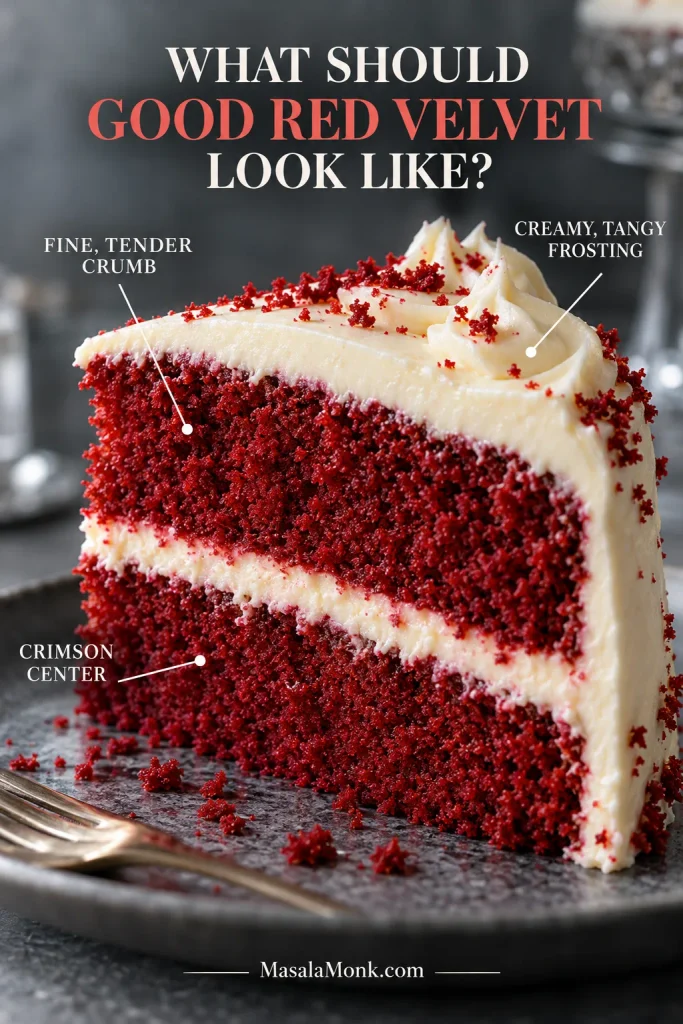
The first cut tells you almost everything about a good red velvet cake. A knife should pass through creamy white frosting into a deep crimson cake with a fine, tender crumb. Once plated, the slice should stand neatly while the cake itself stays soft under the fork.
This red velvet cake recipe gets there without turning a from-scratch layer cake into a project. There are no separately whipped egg whites, and the decoration can be as simple as soft frosting swirls. Butter brings the richness, while a little neutral oil keeps the crumb soft after chilling. Cultured buttermilk supplies the familiar tang, and the cocoa stays deliberately mild so vanilla and buttermilk remain just as important to the flavor.
The cream cheese frosting is tangy and creamy, with plenty for filling and finishing the cake. Keep the cream cheese cool and add it late in the mixing. Kept cool—and briefly chilled if needed—it has enough body to stay between the layers and give you clean slices.
What you are looking for
- Crumb: fine, tender and moist, with no glossy or gummy middle.
- Color: crimson to burgundy inside; the exposed crust may look considerably darker.
- Flavor: butter and vanilla first, mild cocoa underneath, followed by a gentle cultured tang.
- Frosting: creamy and distinctly tangy, with enough body when cool to stay between the layers.
Red Velvet Cake with Cream Cheese Frosting
A moist two-layer red velvet cake with mild cocoa, cultured-buttermilk tang and a generous cream cheese frosting.
Equipment
- Two light-colored 9 × 2-inch (23 × 5-cm) round metal cake pans
- Parchment-paper rounds
- Large and medium mixing bowls
- Electric hand mixer or stand mixer
- Whisk and silicone spatula
- Wire cooling racks
- Digital kitchen scale, strongly recommended
- Offset spatula for frosting
Ingredients
For the red velvet cake
- 2½ cups (300 g) all-purpose flour, spooned and leveled if not weighing
- 2 tablespoons (12 g) natural unsweetened cocoa powder
- 1 teaspoon baking soda (about 5–6 g)
- ½ teaspoon (about 2 g) baking powder
- 1 teaspoon (about 5 g) fine salt
- ½ cup / 1 stick (4 oz / 113 g) unsalted butter, softened but not greasy
- 1¾ cups (350 g) granulated sugar
- ½ cup (120 ml) neutral oil, such as canola, vegetable or grapeseed oil
- 2 large eggs, room temperature
- 1 large egg yolk, room temperature
- 1 cup (240 ml) cultured buttermilk, room temperature
- 2 teaspoons (10 ml) pure vanilla extract
- 1 teaspoon (5 ml) white distilled vinegar
- 1 teaspoon (5 ml) concentrated red gel food coloring, plus more as needed, up to 2 teaspoons (10 ml) depending on brand strength
For the cream cheese frosting — about 5 cups
- 1 cup / 2 sticks (8 oz / 226 g) unsalted butter, softened but still cool
- 4½ cups (500 g) powdered sugar, sifted if lumpy
- 2 teaspoons (10 ml) pure vanilla extract
- ¼ teaspoon fine salt
- 16 oz (454 g) full-fat brick-style cream cheese, kept refrigerated until frosting time
Before you start, bring the butter for the cake, eggs and buttermilk toward cool room temperature. Keep the cream cheese refrigerated while the cake cools. When you begin the frosting, cut it into pieces and let it lose just enough refrigerator chill to become firm but pliable while you beat the butter and sugar.
For tiny amounts such as baking soda and baking powder, use the spoon measure as the practical reference unless your scale reads very small weights accurately.
Why this cake uses baking soda, baking powder and vinegar: Baking soda reacts with the acidic buttermilk and vinegar. The small amount of baking powder adds extra lift without relying on more baking soda, which would also shift the batter’s alkalinity. At this amount, the vinegar should not be noticeable in the finished cake.
Make the red velvet batter
- Prepare the oven and pans. Heat the oven to 350°F / 175°C with a rack in the center. Lightly grease two light-colored 9 × 2-inch (23 × 5-cm) metal cake pans, line the bottoms with parchment rounds, then lightly grease the parchment.
- Combine the dry ingredients. Whisk the flour, natural cocoa, baking soda, baking powder and salt until the cocoa is evenly dispersed and no obvious lumps remain.
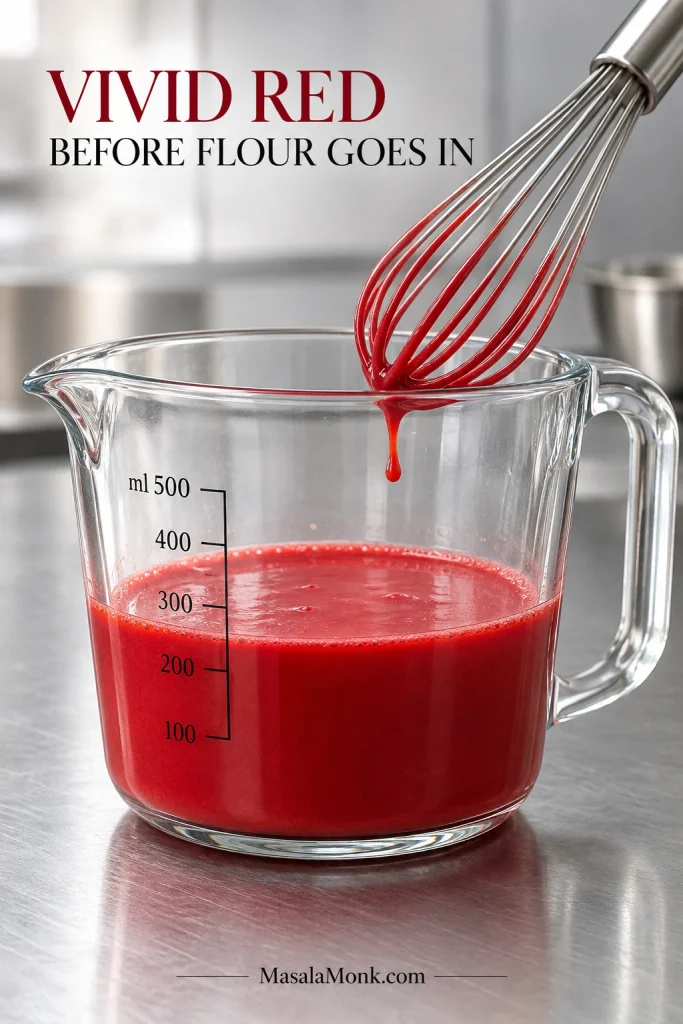
- Mix the buttermilk and color. Whisk together the cultured buttermilk, vanilla, vinegar and 1 teaspoon red gel coloring. Look for an even, vivid red with no dark streaks. If your gel is weaker and the mixture still looks muted, add a little more, up to 2 teaspoons total.
Color checkpoint before the flour
- Build the butter base. Beat the butter and sugar on medium-high for 2–3 minutes, scraping down the bowl once or twice, until the mixture looks noticeably paler and fluffier. Slowly mix in the oil. Add the eggs one at a time, followed by the yolk, stopping once each has disappeared into the mixture.
- Finish the batter. Turn the mixer to low. Add about one-third of the dry ingredients, then half of the red buttermilk. Repeat, then finish with the remaining dry ingredients. Stop when the final flour streaks disappear. One or two folds with a spatula are enough to catch anything hiding at the bottom of the bowl.
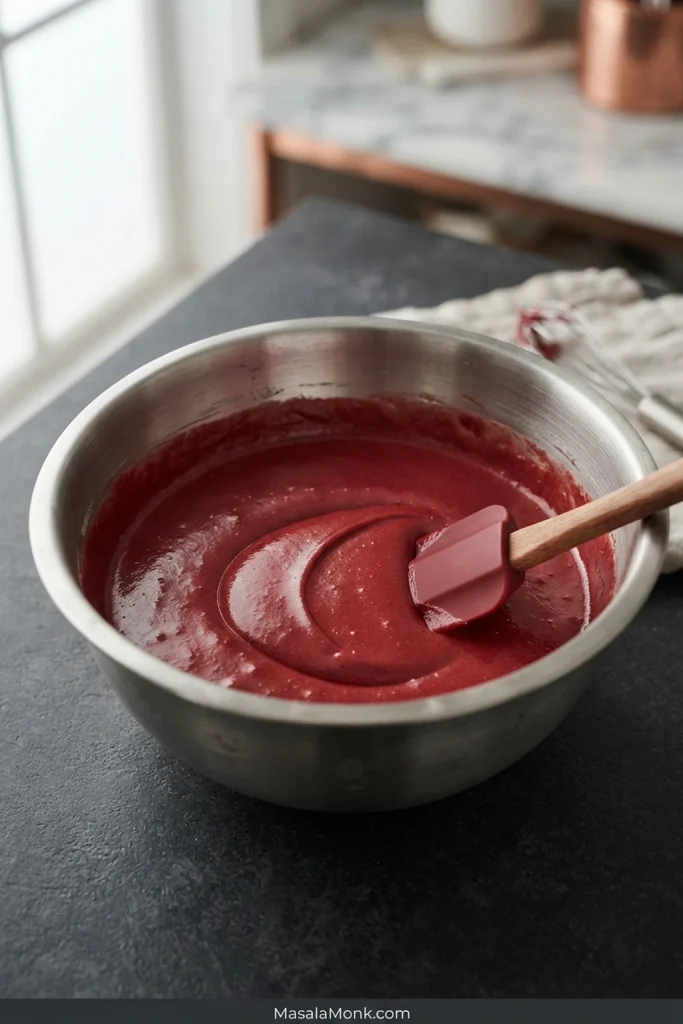
The finished batter should be smooth, moderately thick and evenly crimson.
Bake and cool the layers
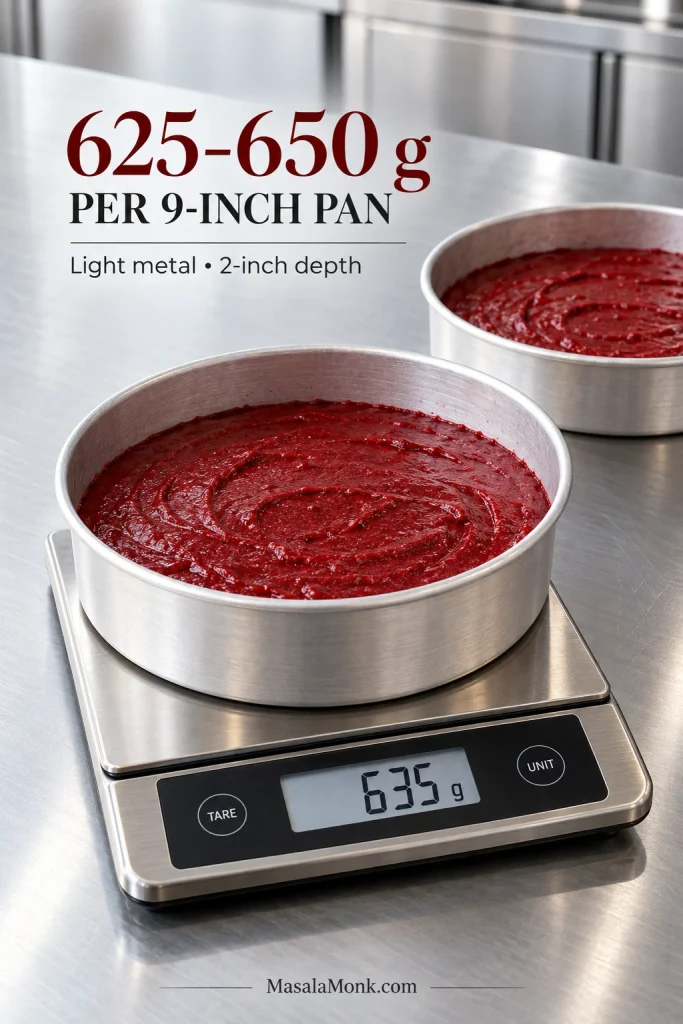
- Divide the batter. Expect 1,250–1,300 g total, or 625–650 g per pan. If your cake layers never seem to come out the same height, weighing the batter removes the guesswork.
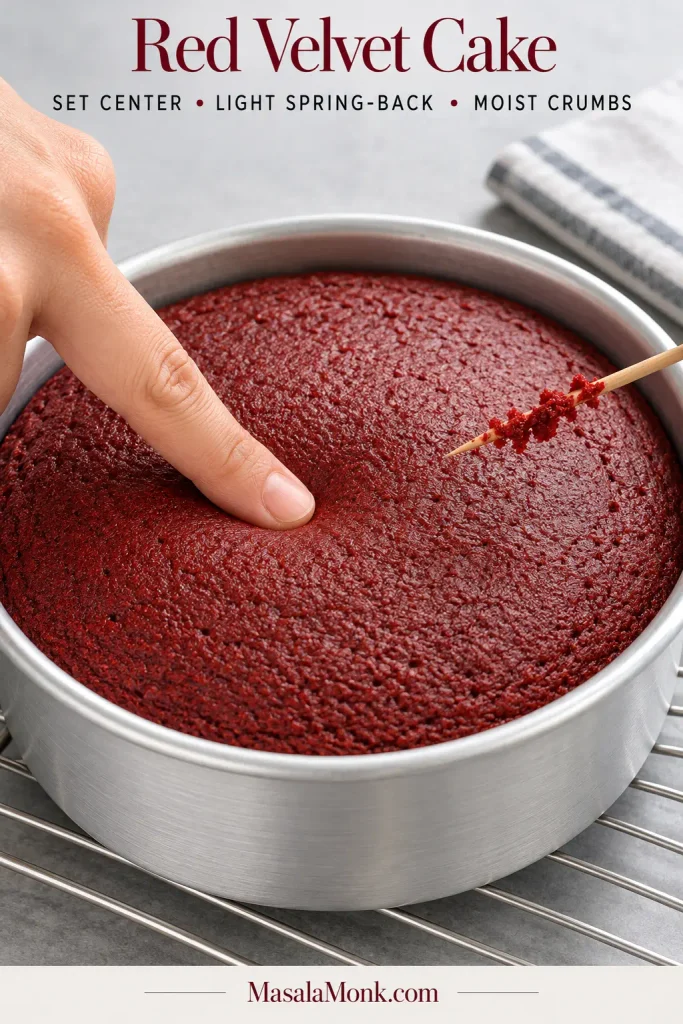
- Bake for 27–31 minutes. Start checking at 27 minutes. As the layers near done, the kitchen should smell more buttery and vanilla-rich than intensely chocolatey. The centers should look set and spring back lightly under a fingertip. A toothpick should carry a few moist crumbs, with no liquid batter. A bone-dry tester is not the goal.
- Cool for 15 minutes in the pans, then turn the layers onto wire racks and peel away the parchment. Run a thin knife around the edge first only if the cake needs help releasing.
- Let the layers cool all the way through. Warm cake softens cream cheese frosting surprisingly quickly, even when the outside already feels cool.
Make the cream cheese frosting
- Start with the butter. Take the cream cheese from the refrigerator, cut it into pieces and set it aside. Beat the butter on medium for about 1 minute until creamy. It should dent easily under a fingertip without looking shiny or greasy.
- Add the powdered sugar. Work in three additions, beginning on low speed each time. Once incorporated, beat for about 2 minutes, then mix in the vanilla and salt.
- Add the cream cheese last. It should now feel firm but pliable rather than refrigerator-hard. With the mixer on low, add it a few pieces at a time. Stop as soon as the frosting is smooth and uniform. Scrape the bowl once and mix again only if you find an unmixed patch.
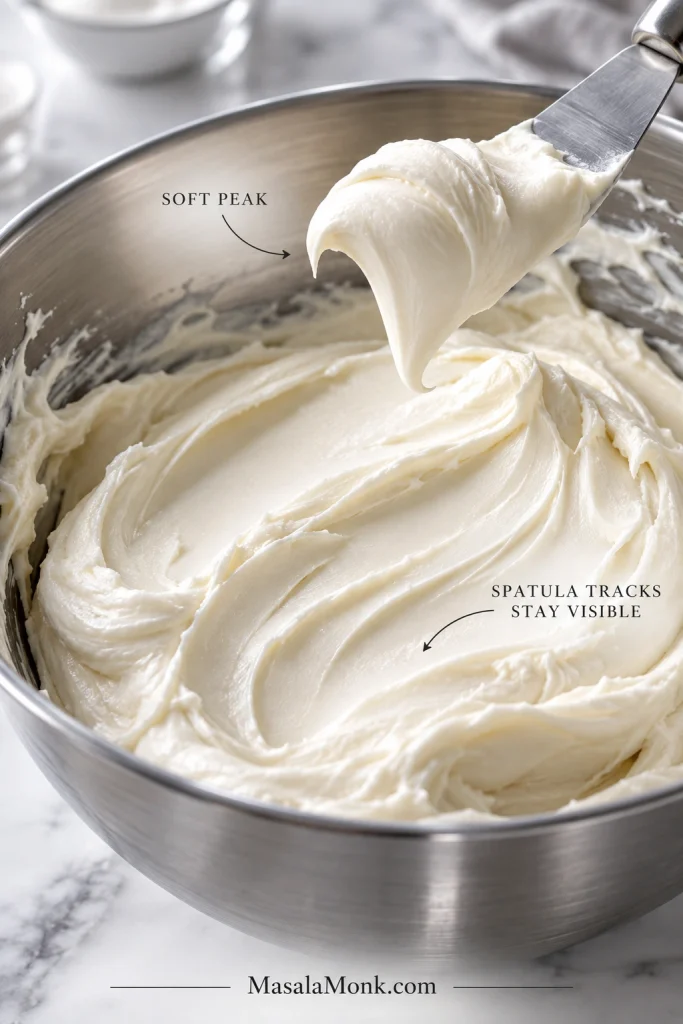
Drag a spatula through the bowl. The trail should remain visible, and a lifted spoonful should make a soft peak. Frosting that quickly levels itself needs chilling before it goes onto the cake.
Fill, crumb-coat and finish
- Level only if needed. A slight dome is fine. Trim only enough to give the second layer a stable seat.
- Add the filling. Spread roughly 1 to 1¼ cups frosting over the first layer, then set the second layer on top.
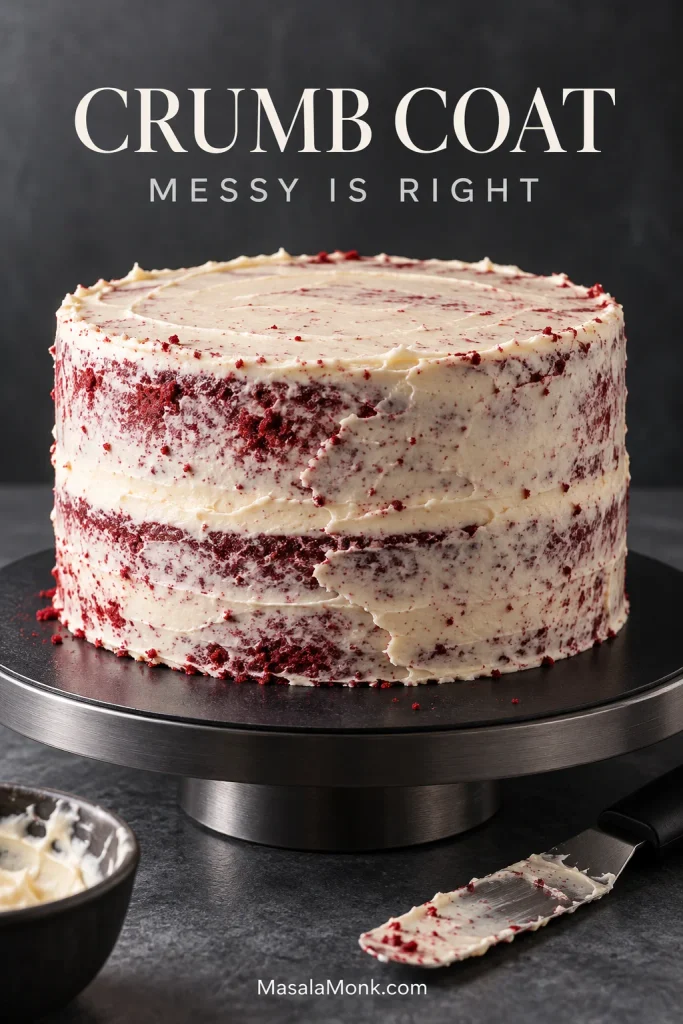
- Crumb-coat and chill. Cover the cake with a very thin layer of frosting to catch the red crumbs. It will probably look messy. That’s exactly what this coat is for. Refrigerate for 20–30 minutes, until the surface feels firm rather than tacky.
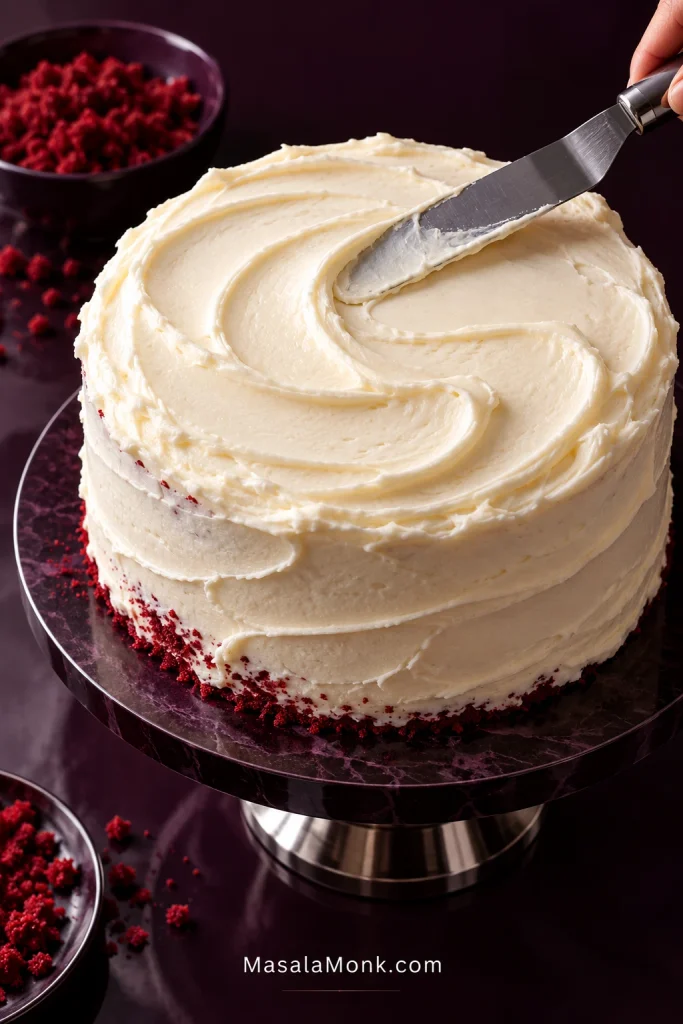
- Finish with the remaining frosting. Once the clean white layer goes on, the cake suddenly looks finished. Soft swirls suit red velvet beautifully, although you can smooth the sides with an offset spatula if you prefer. Cake trimmings can be crumbled over the top for the familiar red-and-white finish.
Red velvet cake guide
Once the cake is chilled and cut, the slice gives you one last set of clues. The crumb, color and frosting should all tell the same story. If something looks wetter, darker or softer than expected, the guide below will help you work out why.
Read the Slice: what good red velvet should tell you
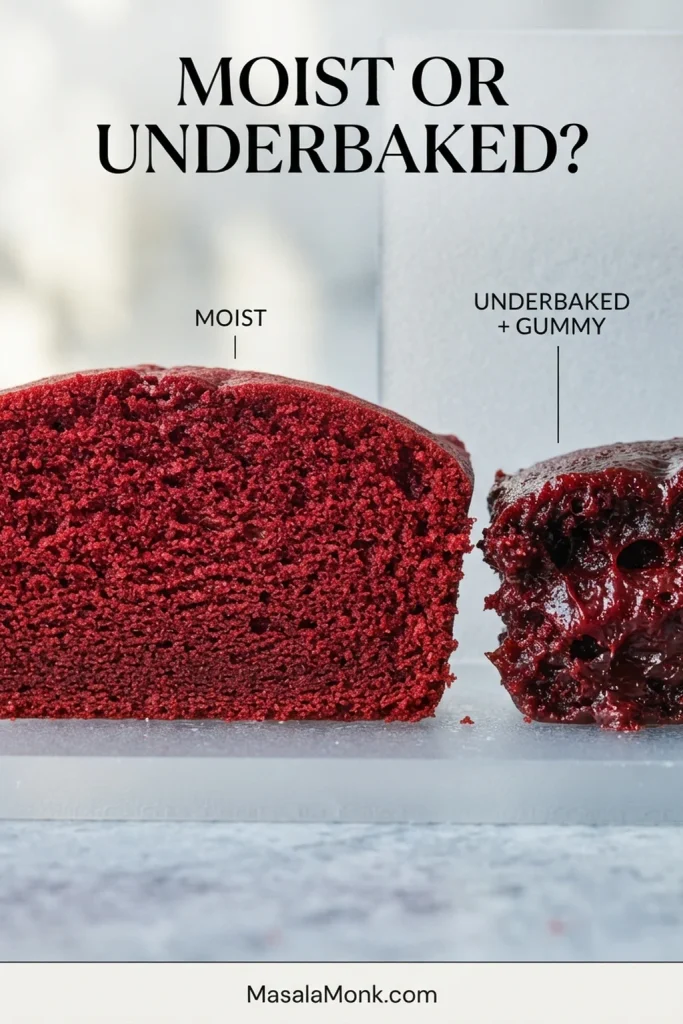
A cut slice often tells you more than the timer did. Start with the middle. A well-baked crumb is fine and tender, with enough moisture that it feels soft under the fork and still breaks into recognizable cake crumbs.
A glossy center is different. So is a compressed wet band through the middle or batter smearing onto the knife. Those signs usually mean the cake needed longer in the oven. Softness is welcome; a gummy center is not.
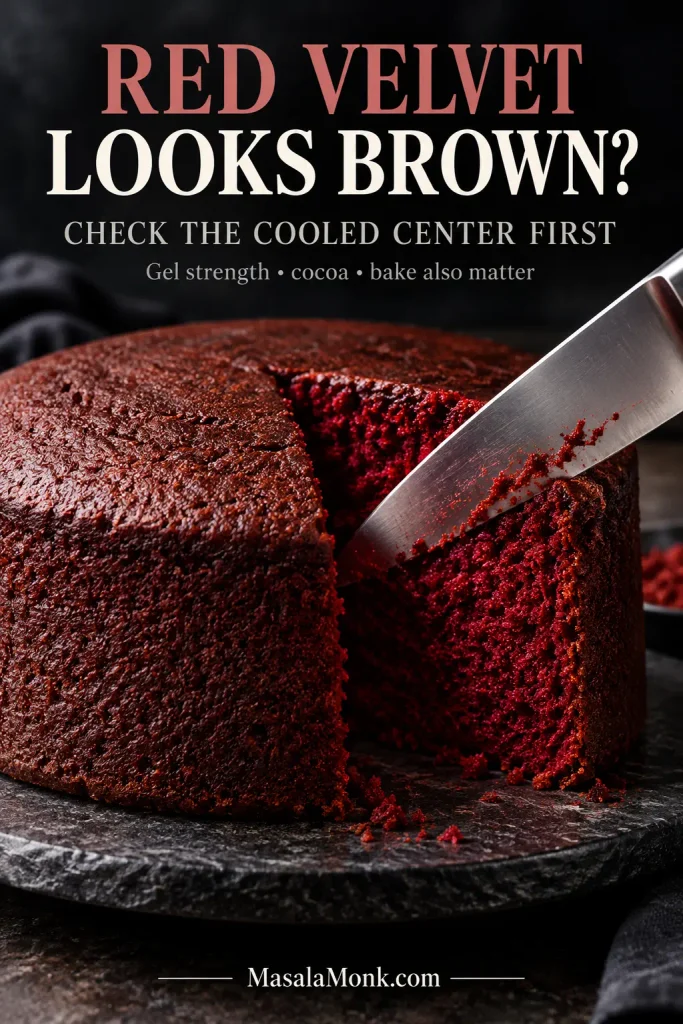
The outside may surprise you too. Red velvet darkens where the batter gets the most oven heat, so the top and edges can look reddish-brown while the cut center remains crimson or burgundy. Let the layer cool before deciding that the color failed.
What does red velvet cake taste like?
Red velvet cake tastes buttery and vanilla-forward, with mild cocoa, a gentle buttermilk tang and sweet-tangy cream cheese frosting. The cocoa sits underneath rather than dominating, and food coloring should not have a detectable taste.
Red velvet is not simply chocolate cake colored red. It contains much less cocoa than a chocolate cake, so vanilla, cultured buttermilk and the tangy frosting remain just as important to the finished flavor. The “velvet” matters as much as the red: the crumb should be fine, soft and tender rather than coarse. The cocoa stays restrained too, giving the cake depth without making chocolate the dominant flavor.
For a stronger chocolate finish, increasing the cocoa in the layers changes more than flavor. A chocolate cream cheese frosting is an easier way to push the finished cake toward chocolate while leaving the red velvet crumb alone.
Getting red velvet red without chasing the dye bottle
Seeing brown in red velvet can make it tempting to keep squeezing in more color. Before you do, look at the cocoa, the strength of the gel and which part of the cake you are judging.
Why did my red velvet cake turn brown?
- Coloring: weak gel or too little pigment can leave the baked crumb muted.
- Cocoa: darker cocoa pushes the batter and finished cake further toward brown.
- Bake: excess heat or too much oven time darkens the cake, especially around the edges.
- Check before changing anything: cut a cooled layer. The exposed crust naturally looks darker than the center.
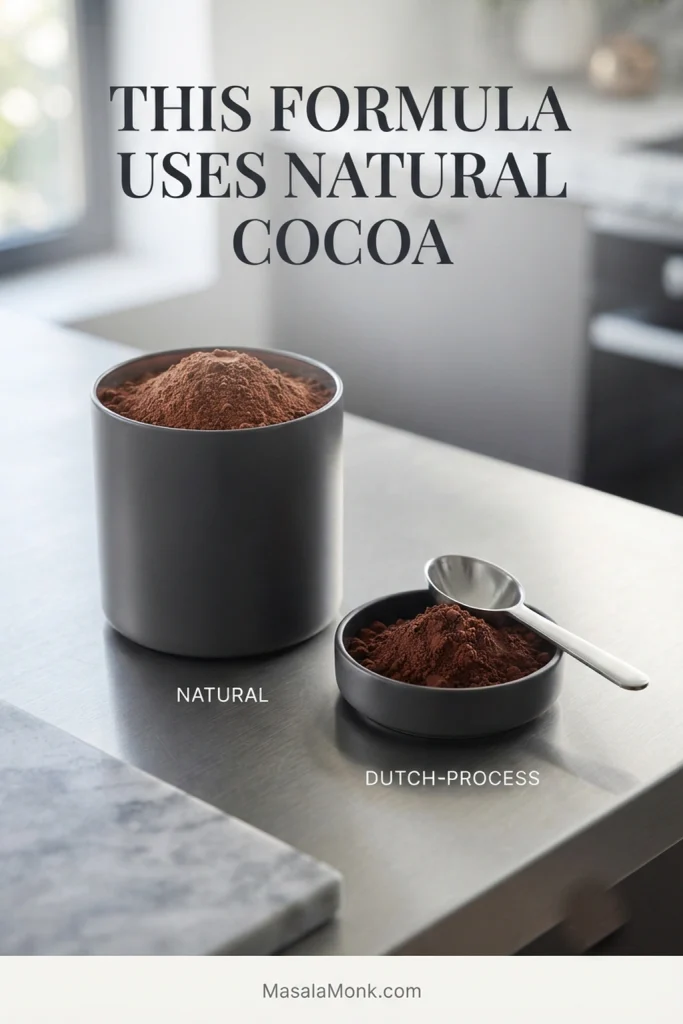
Natural and Dutch-process cocoa differ in acidity and color. Other red velvet cakes can be formulated with Dutch cocoa, but these layers use natural unsweetened cocoa. Its lighter color also makes it easier to get a vivid red crumb without piling in unnecessary coloring.
Concentrated gel is useful because a small amount gives strong color without adding much extra liquid. Brand strength varies, so start with 1 teaspoon. Once whisked into the buttermilk, the mixture should look evenly and unmistakably red. Add a little more at that stage if your particular gel is weak.
Can I leave out the food coloring?
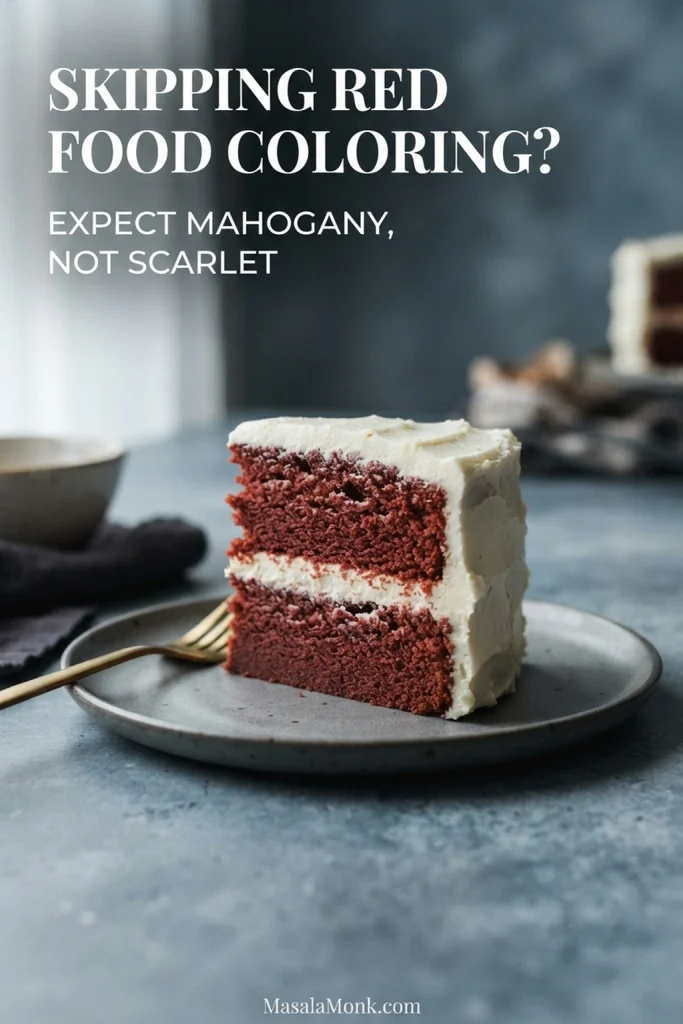
Yes. The vanilla, cocoa and buttermilk flavor will still be there. Without added color, expect a muted mahogany or cocoa-red cake instead of modern scarlet.
Beet puree and large quantities of beet powder are a different project. They bring their own moisture, flavor and acidity, so they need a cake balanced around them rather than a straight swap for gel.
Why this red velvet cake stays moist and tender
Butter carries much of the flavor, while neutral oil stays fluid when chilled and helps the crumb remain soft. Cultured buttermilk adds moisture and acidity, and the restrained amount of cocoa gives the cake its mild chocolate character without taking over the batter.
Mixing matters just as much. Once the flour goes in, beat only until the batter comes together. Continued mixing develops more gluten and works against the fine, tender crumb you want in the finished layers.
Together, those choices help a chilled slice soften back under the fork instead of staying firm and crumbly.
Cream cheese frosting that stays put between the layers
This frosting has a pronounced cream-cheese tang and a soft finish. Chilling gives it the body needed for a two-layer cake, but it is not meant to behave like stiff piping buttercream.
Use firm full-fat cream cheese
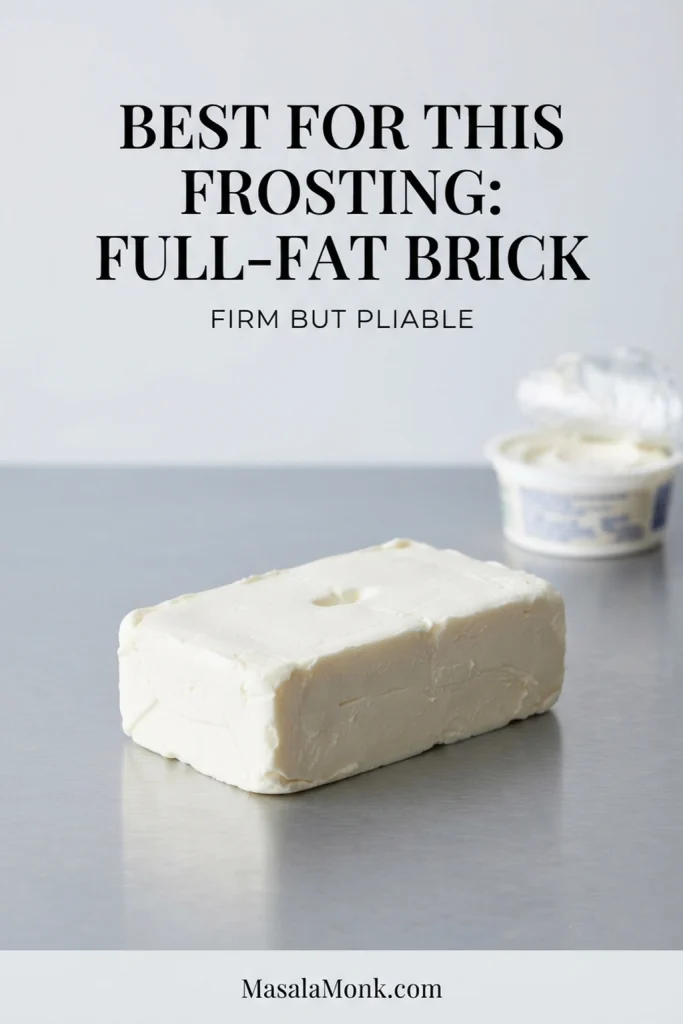
Brick-style cream cheese is the most reliable choice here. Whipped and spreadable tub products usually carry more moisture, which becomes a problem once sugar is mixed in.
Cream cheese texture varies by country and package style too. A product that is loose and easily spreadable while refrigerator-cold will usually produce a softer frosting.
Keep it smooth without making it loose
The butter should dent easily without looking greasy. The cream cheese should remain cooler—firm enough to hold its shape, but pliable enough to blend without prolonged beating.
Beat the butter and powdered sugar first, then bring in the cream cheese near the end. Cream cheese contains considerably more water than butter, and prolonged mixing—especially once sugar is involved—can loosen the frosting. Stop as soon as it is smooth.
How to fix cream cheese frosting that’s too soft
- Ready: a soft peak stands up and spatula tracks remain visible.
- Too soft: the surface quickly levels itself or the frosting slides from the spatula.
- Too cold: it drags over the cake and lifts crumbs.
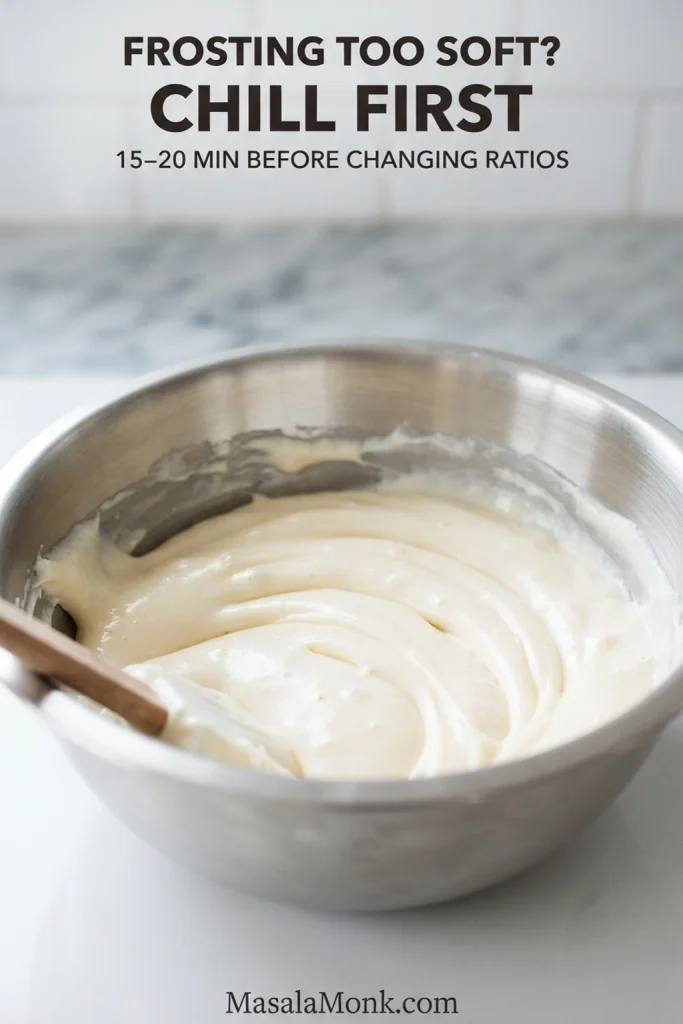
Frosting that is too soft should go into the refrigerator for 15–20 minutes before you change the recipe. Check it again once cold. Chilling is a better first move than adding cup after cup of powdered sugar and burying the cream-cheese tang.
If it is still almost pourable after chilling and you started with tub-style cream cheese, more sugar probably will not turn it into the frosting described here. Use it as a softer finish, or start again with firmer block cream cheese.
Cream cheese or ermine frosting?
Cream cheese frosting is the modern pairing most people expect with red velvet, but it is not the cake’s only traditional partner. Ermine frosting has longstanding ties to mahogany cake, an early version of red velvet.
Ermine starts with cooked milk and flour, then gets whipped with butter and sugar into a lighter, less tangy frosting. It makes sense if you want something soft and not overly sweet. For sharper piping and firmer decorative details, a classic buttercream frosting is easier to control.
Return to the cream cheese frosting method · Back to Recipe
Same batter, different pan? Watch the depth
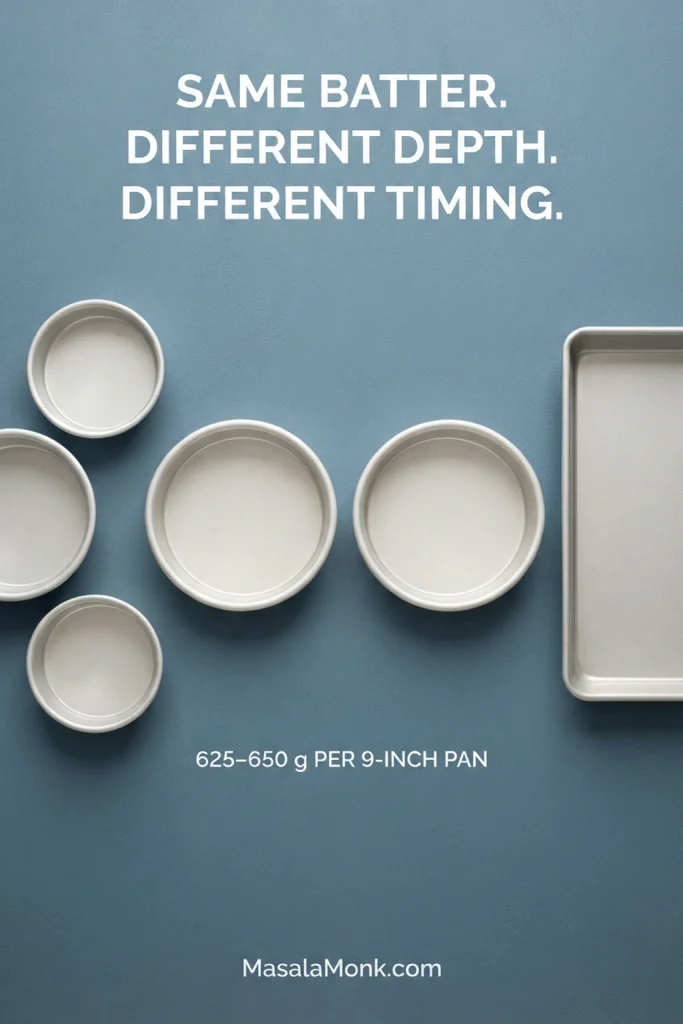
Diameter isn’t the whole story: pan depth and material matter too. For the most predictable result here, use two light-colored 9 × 2-inch (23 × 5-cm) metal round pans. A pan that’s too shallow can overflow, while a deeper batter fill needs longer to set through the middle.
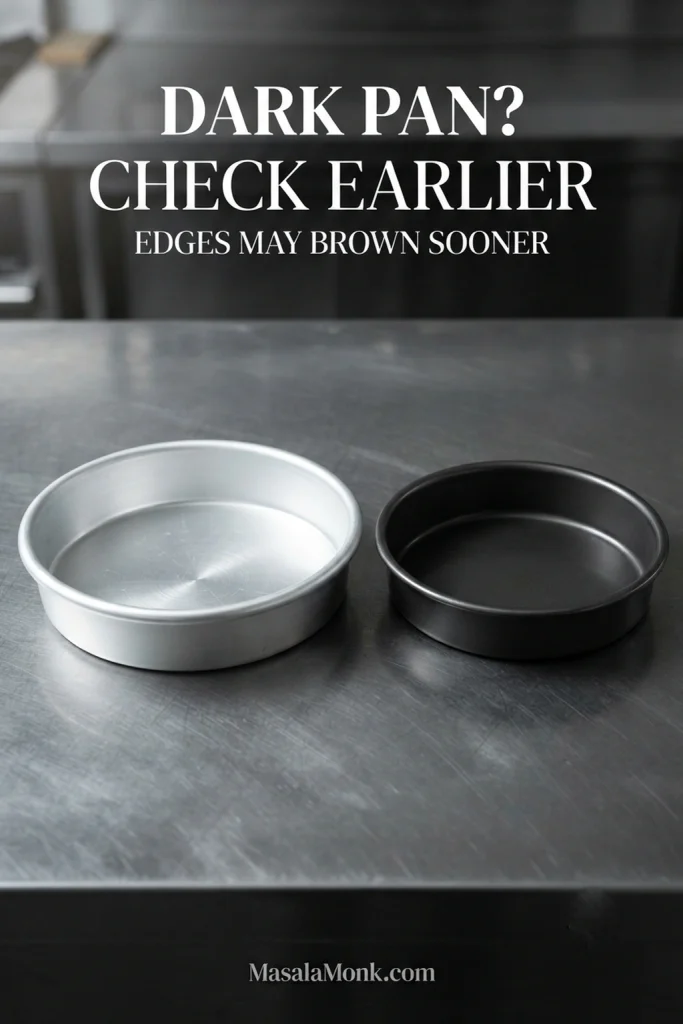
The times below assume light-colored metal. Dark pans absorb heat more aggressively, so the crust and edges may brown sooner; begin checking several minutes early if yours are very dark.
| Pan | Batter + first check |
|---|---|
| Two 9 × 2-inch (23 × 5-cm) rounds | 625–650 g per pan; begin checking at 27 minutes. |
| Three 8 × 2-inch (20 × 5-cm) rounds | 415–430 g per pan; begin checking around 20 minutes. |
| One 9 × 13-inch (23 × 33-cm) pan | Use all the batter; begin checking around 30 minutes. |
The alternate times are first-check estimates. Your oven and pan still decide the real finish. Check the middle, not just the clock.
Cupcakes and Bundt cakes deserve their own baking directions. Their depth and exposed surface area change enough that this table should not be treated as a shortcut for either one.
Red velvet cake troubleshooting
Start with what you can actually see. Treat the crumb, color and frosting as separate clues.
| Problem | Likely cause + what to do |
|---|---|
| Dry crumb | Too much flour, overbaking or a hot oven. Weigh the flour, begin checking early and stop when moist crumbs remain but wet batter is gone. |
| Dense cake | Overmixing after the flour, measurement error or weak leavener. Mix only until the flour disappears and measure the baking soda and powder carefully. |
| Wet or gummy middle | The center was underbaked. If you notice a glossy, unset middle while the cake is still baking, give it more time. If you discover it after cooling, use the cue to adjust the next bake. |
| Sunken center | The center may not have fully set, the pan may be overfilled or the pan depth may differ. Use the stated pan size and wait for the center to spring back lightly before removing it. |
| Brown-looking cake | The crust may have darkened normally, the coloring may be weak, the cocoa may be darker, the pan may be dark or the cake may be overbaked. Check the cut interior first. |
| Hard or very dark edges | The oven may be running hot or the pan may be dark and transferring heat aggressively. Use light-colored metal pans for the stated timing and check the oven with an independent thermometer if the problem continues. |
| Runny frosting | Spreadable cream cheese, warm ingredients, prolonged mixing or wetter cream cheese are common causes. Use block cream cheese, keep it cool and chill the frosting before changing the ratios. |
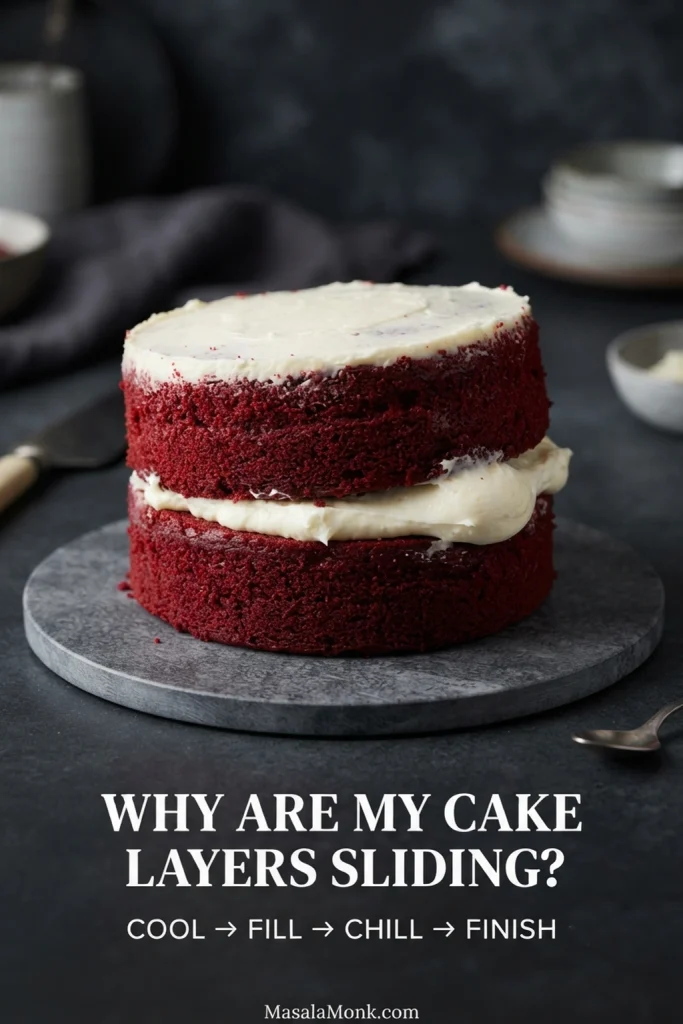
| Layers sliding | The cake may still be warm, the frosting too soft, the filling layer too deep or the crumb-coat chill too short. Cool the layers completely, use a controlled amount of filling and chill before the final coat. |
Why red velvet cake layers slide
If the upper layer starts shifting as soon as you set it down, pause before adding the outer coat. Warm cake, a generous filling layer or soft frosting can make the stack move; remove excess filling if needed and chill the assembled cake until it is stable.
↑ Back to Recipe · Cream Cheese Frosting
Useful substitutions—and the ones best left alone
No cultured buttermilk?
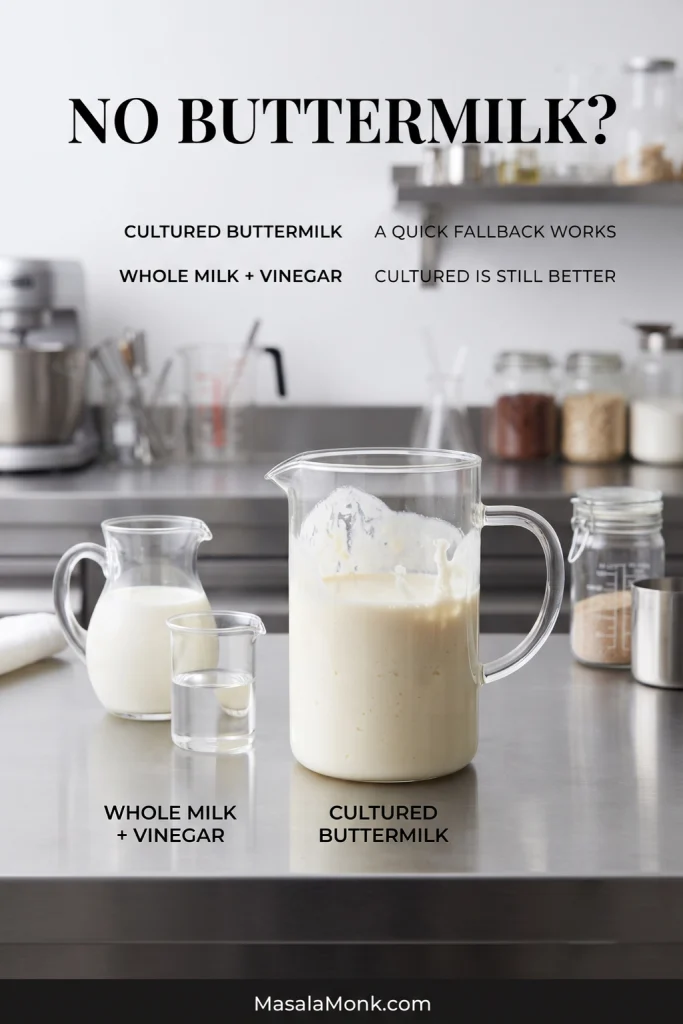
In a pinch, add 1 tablespoon (15 ml) white vinegar or lemon juice to a measuring cup, then add enough whole milk to reach 1 cup (240 ml). Stir and leave it for 5–10 minutes before using.
This substitutes for the cultured buttermilk only; still add the separate 1 teaspoon (5 ml) white vinegar listed in the cake ingredients. Cultured buttermilk is still the better choice when you have it: it is thicker and gives the cake a fuller cultured flavor.
Can I use Dutch-process cocoa?
Not in this formula. Use natural unsweetened cocoa; this formula’s acidity, color and leavening are balanced around it.
Red food coloring: Liquid coloring made for baking can work, but concentrated gel is easier to control because it delivers more pigment with less extra liquid.
Neutral oil: Canola, vegetable and grapeseed oil all work well. Choose something mild enough to disappear behind the butter, vanilla and cocoa.
Eggless, vegan or gluten-free: these changes affect the cake’s structure, so a purpose-built formula is more reliable than treating them as one-for-one substitutions.
Make ahead, store, freeze and transport
Make the cake a day ahead
You can bake the layers, make the frosting, or assemble the entire cake 1 day ahead. Cool baked layers completely before wrapping them tightly and refrigerating them. A fully frosted cake can also be covered and refrigerated overnight.
If you make the frosting ahead, keep it covered in the refrigerator overnight. Let it soften only until spreadable, then stir it or mix on the lowest speed just long enough to restore an even texture.
Refrigerator storage
Store the finished cake covered in the refrigerator for up to 3 days for best quality. This cream cheese frosting has not been formulated or tested as a shelf-stable frosting, so keep it chilled. Kansas State’s food-safety guidance for frostings and fillings explains why room-temperature safety depends on the specific formulation rather than on the frosting’s name alone.
Straight from the refrigerator, the crumb and frosting will both taste firmer. Give an individual slice 15–20 minutes at a cool room temperature. The crumb relaxes, and the butter, vanilla and cocoa come through much more clearly.
Freezing red velvet cake
Well-wrapped unfrosted layers can be frozen for up to 2 months for best quality. Thaw them while still wrapped so most condensation collects on the wrapping rather than directly on the cake.
Individual frosted slices can also be frozen in airtight containers. Thaw them in the refrigerator first, then let the serving piece soften briefly before eating.
Transport red velvet cake
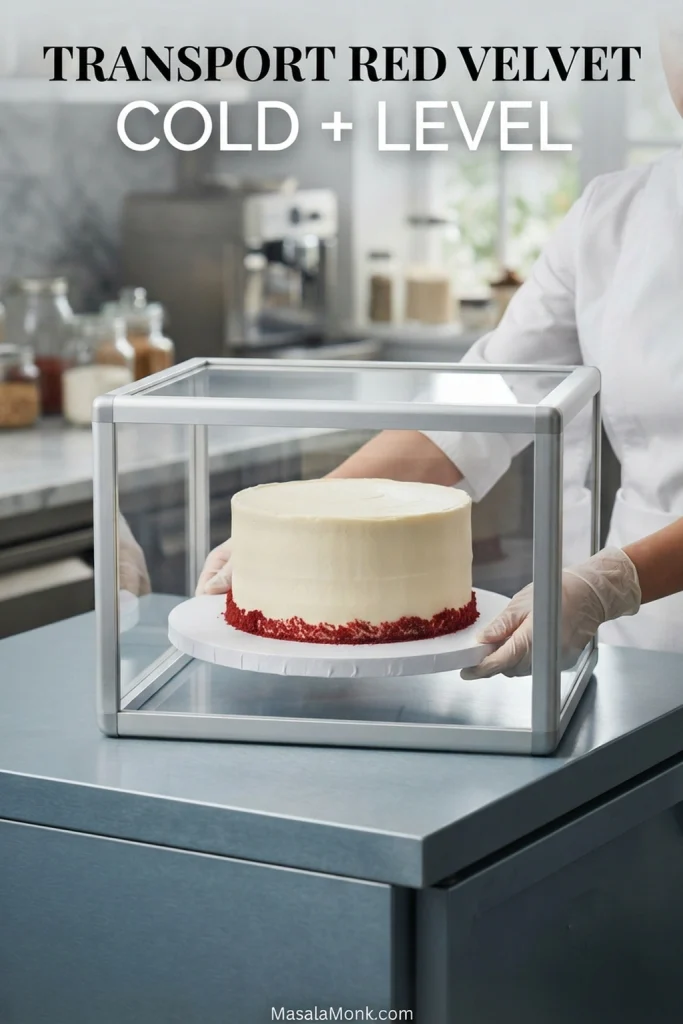
For transport, chill the assembled cake until the frosting feels firm, keep it level and keep it cool. Cream cheese frosting is not a good match for hours in strong summer heat or direct sun.
Cut and serve red velvet cake
For clean red-and-white layers, use a sharp knife and wipe the blade between slices. Let each serving sit on the plate for a few minutes so the refrigerator chill begins to lift and the crumb softens.