Posted on Leave a comment

5 Protein-Packed Smoothies for Pregnancy with Peanut Butter and Chia Seeds

Introduction

Pregnancy is a time when your body’s nutritional needs are heightened. Protein is especially important as it plays a crucial role in the growth and development of your baby. In this post, we’re featuring five delicious smoothies that are not only packed with protein but also enriched with the goodness of peanut butter and chia seeds, ensuring that you get a tasty, nutritious boost any time of the day.

The Benefits of Peanut Butter and Chia Seeds

Before we dive into the recipes, let’s understand why peanut butter and chia seeds are so beneficial during pregnancy. Peanut butter is an excellent source of protein and healthy fats, providing sustained energy and aiding in fetal development. Chia seeds, on the other hand, are a superfood, rich in omega-3 fatty acids, fiber, and calcium – all essential for your growing baby.

1. Classic Peanut Butter Chia Smoothie

  • Ingredients: 2 tablespoons natural peanut butter, 1 tablespoon chia seeds, 1 banana, 1 cup almond milk, 1 teaspoon honey.
  • Preparation: Soak chia seeds in a small bowl with 3 tablespoons of water for 10 minutes. Blend the peanut butter, banana, and almond milk until smooth. Stir in the chia seeds after blending.
  • Benefits: This smoothie offers a perfect blend of protein, healthy fats, and fiber, making it ideal for sustained energy throughout the day.

2. Berry Nutty Chia Delight

  • Ingredients: 1 cup mixed berries (strawberries, blueberries, raspberries), 2 tablespoons peanut butter, 1 tablespoon chia seeds, 1 cup Greek yogurt, ½ cup water or milk.
  • Preparation: Soak the chia seeds as before. Blend the berries, peanut butter, and yogurt. Add the chia seeds last and blend briefly.
  • Benefits: Berries add antioxidants and vitamin C, while Greek yogurt provides additional protein and calcium.

3. Chocolate Peanut Butter Dream

  • Ingredients: 2 tablespoons peanut butter, 1 tablespoon chia seeds, 1 tablespoon cocoa powder, 1 banana, 1 cup milk (any variety).
  • Preparation: After soaking the chia seeds, blend them with the peanut butter, cocoa powder, banana, and milk for a rich and indulgent smoothie.
  • Benefits: Cocoa adds flavonoids for heart health, and the combination with peanut butter makes it a tasty treat.

4. Green Protein Machine

  • Ingredients: 1 cup spinach, 2 tablespoons peanut butter, 1 tablespoon chia seeds, 1 apple, 1 cup water or coconut water.
  • Preparation: Blend spinach, apple, and peanut butter together. Add soaked chia seeds and blend until smooth.
  • Benefits: Spinach adds iron and folate, essential for pregnancy, while apple provides a natural sweetness and fiber.

5. Tropical Peanut Paradise

  • Ingredients: ½ cup mango chunks, ½ cup pineapple chunks, 2 tablespoons peanut butter, 1 tablespoon chia seeds, 1 cup coconut milk.
  • Preparation: Blend the mango, pineapple, and peanut butter. Add the pre-soaked chia seeds and coconut milk for a tropical flavor.
  • Benefits: The tropical fruits offer vitamins and a refreshing taste, while coconut milk adds healthy fats.

Conclusion

These five protein-packed smoothies are perfect for pregnant women looking to boost their nutrient intake in a delicious way. Peanut butter and chia seeds provide essential proteins and fats, while the other ingredients add flavor and additional health benefits. Enjoy these smoothies as a nutritious snack or a quick breakfast option during your pregnancy journey!

10 FAQs for “5 Protein-Packed Smoothies for Pregnancy with Peanut Butter and Chia Seeds”

  1. Is it safe to consume peanut butter during pregnancy? Yes, peanut butter is safe and beneficial during pregnancy unless you have a specific allergy to peanuts. It’s a great source of protein and healthy fats.
  2. Can I use any type of milk in these smoothies? Absolutely! You can use any milk you prefer, such as almond, soy, cow’s milk, or even oat milk, based on your dietary needs and preferences.
  3. How do chia seeds benefit pregnancy? Chia seeds are rich in omega-3 fatty acids, which are essential for the baby’s brain development. They also provide fiber, which can help with pregnancy-related constipation.
  4. Can these smoothies be used as meal replacements? While these smoothies are nutrient-rich, they are best used as a supplement to your diet, not a replacement for whole meals, which provide a broader range of nutrients.
  5. Are these smoothies suitable for women with gestational diabetes? These smoothies can be adapted for gestational diabetes by monitoring the fruit content and avoiding added sweeteners. It’s important to consult with your healthcare provider for personalized dietary advice.
  6. Can I prepare these smoothies ahead of time? Yes, you can prepare these smoothies in advance. They can be stored in the refrigerator for up to 24 hours. Just give them a good stir or shake before consuming.
  7. Is it okay to add additional supplements or protein powders to these smoothies? Yes, you can add supplements like protein powder, but choose ones that are safe for pregnancy and free from artificial additives. Consult with a healthcare provider before adding new supplements to your diet.
  8. Can I make these smoothies if I’m lactose intolerant? Certainly! Just use lactose-free milk alternatives like almond milk, soy milk, or lactose-free cow’s milk.
  9. Are these smoothies high in calories? These smoothies are moderately caloric, focusing more on nutrient density. If you’re concerned about calorie intake, you can adjust the portion sizes and ingredients.
  10. How can I ensure the smoothies are not too thick? If your smoothie is too thick, you can thin it by adding more liquid, such as milk or water, until you reach your desired consistency.

Blog Tags

Pregnancy Nutrition, Protein Smoothies, Peanut Butter Recipes, Chia Seeds, Healthy Pregnancy Diet, Easy Smoothie Recipes, Prenatal Nutrition, Dairy-Free Options, Nutrient-Rich Snacks

Posted on Leave a comment

Peanut Butter Bars: A No-Bake Treat That’s Impossible to Resist

happy woman with rolling pin cooking at home

Hello, dessert lovers! 🍨 Today, we’re diving into the world of no-bake treats with a recipe that’s perfect for peanut butter and chocolate enthusiasts. We’ve found a delightful video by Preppy Kitchen that guides you through the process of making delicious peanut butter bars. This video has been viewed over 1 million times, making it a popular guide for homemade dessert enthusiasts.🥜🍫

Preppy Kitchen demonstrates how to make homemade peanut butter bars that are rich, creamy, and topped with a thick layer of chocolate. The best part? No oven is required! These bars are super easy to whip up and are made with just a few simple ingredients.
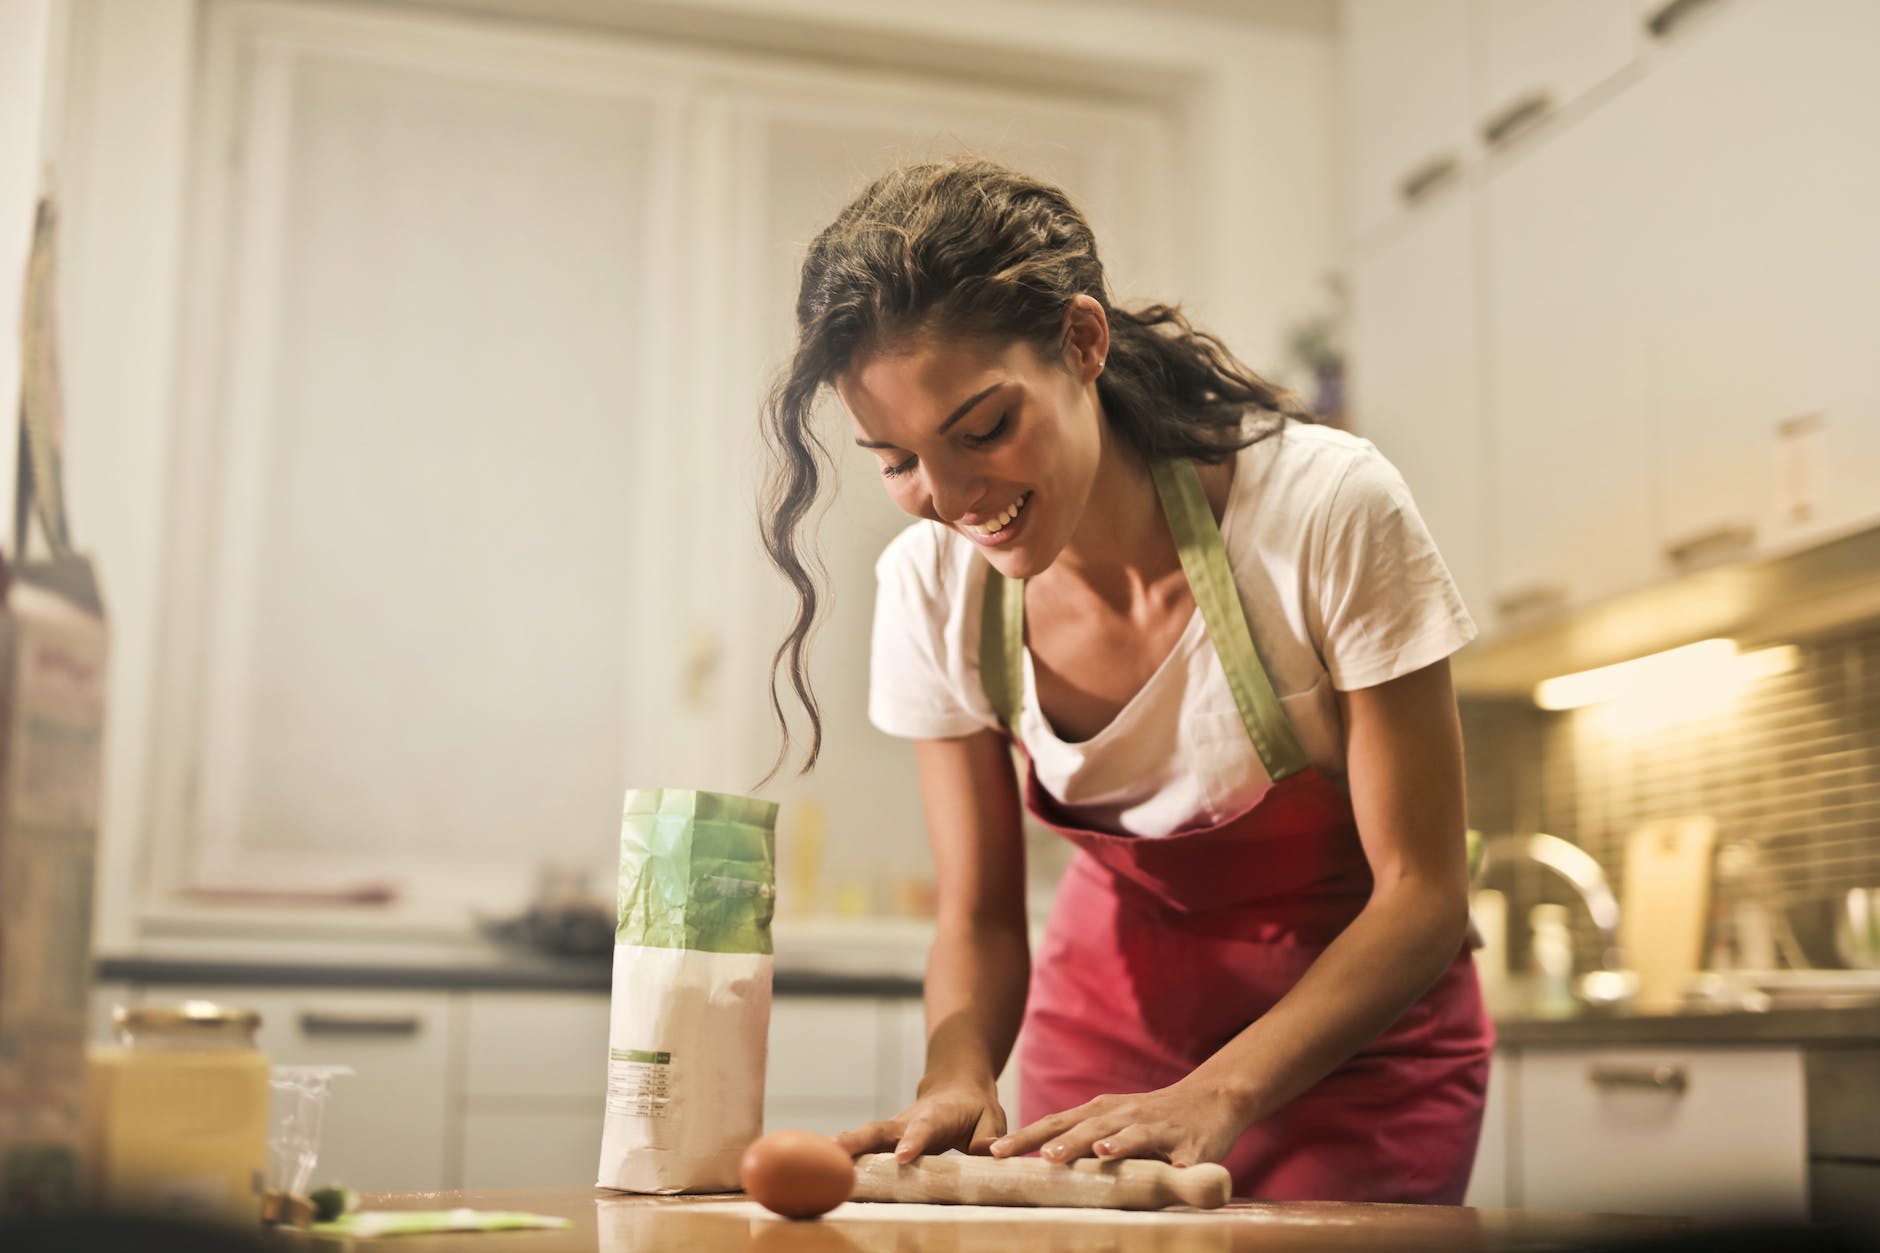
The Ingredients 🥣

To start, you’ll need a few basic ingredients:

  • 280 g (2 cups + 3 tbsp flour) All-purpose flour
  • 40 g (3 tbsp) Sugar
  • ½ tsp Salt
  • ¼ tsp Nutmeg
  • 1 Egg
  • 120 g (½ cup) Whole milk
  • 40 g (⅓ stick) Melted butter
  • 7 g (1 packet) Dried yeast

For the glaze for donuts:

  • 250 g (2 cups) Powdered sugar
  • 75 g (⅔ stick) Butter
  • 3 or 4 tbsp Milk, depending how thin you like your glaze
  • 1 tsp Vanilla extract

The Process 🍩

Once you’ve gathered your ingredients, the process is straightforward:

  1. Combine the dry ingredients in a mixing bowl.
  2. In a separate jug, combine milk, melted butter, one egg, and the yeast.
  3. Mix the dough on high for about three minutes.
  4. Grease your bowl and allow the dough to rise for two hours.
  5. Roll out the dough to about an inch thickness and cut out your donuts.
  6. Place your donuts onto a baking sheet with some parchment paper.
  7. Brush the donuts with some melted butter and allow these to rise for another 45 minutes.
  8. Preheat your air fryer to 180 degrees Celsius or 350 Fahrenheit.
  9. Brush the basket with some oil and gently place four donuts into the basket.
  10. Cook these for exactly three minutes.
  11. Glaze the donuts and allow the glaze to set for 10 minutes.

The Result 🎉

The result is a batch of fresh, homemade donuts that are soft, melt in your mouth, and have that beautifully crackly top. They’re everything you want in a donut. Emma promises that you will be amazed at how amazing these are.

For a step-by-step guide and to see the process in action, check out the full video by Preppy Kitchen. Don’t forget to like and subscribe to their channel for more sweet and crafty ideas!

We invite you to join our vibrant community on Facebook where we share our love for food, cooking, and everything in between. Let’s continue learning and growing together in our culinary journey. 🍽️👩‍🍳