
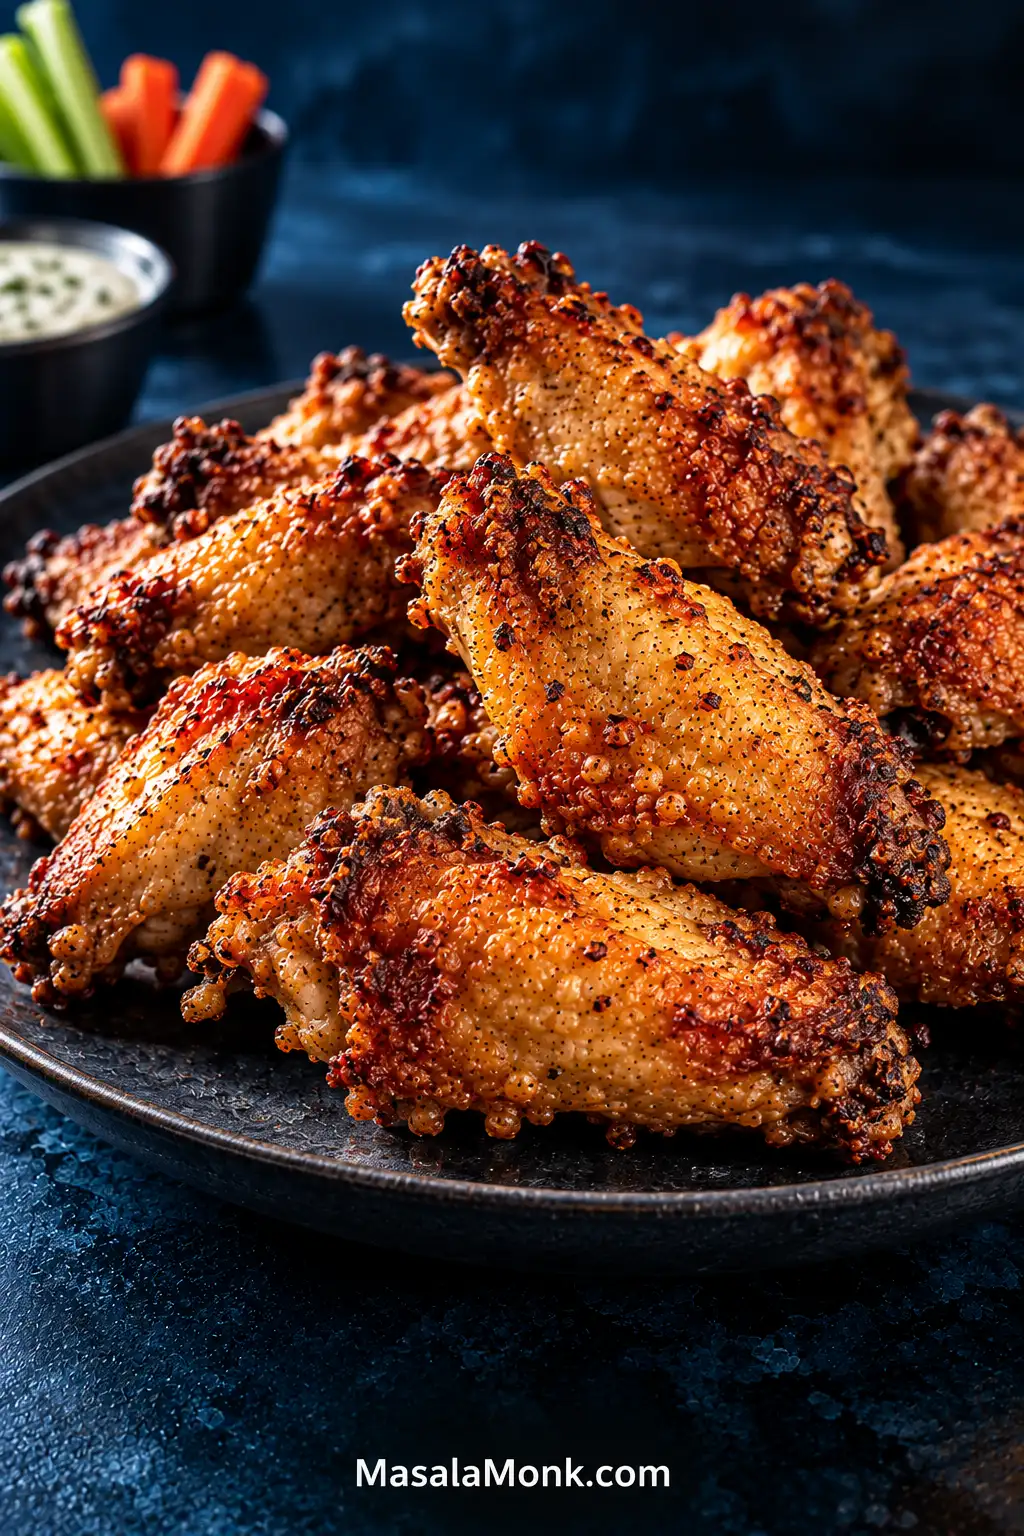
Good baked wings should crackle when you bite through the skin, then give way to juicy meat underneath. Look for tiny blisters, crisp edges and deeply golden skin. The frustrating part is that chicken can be perfectly cooked while the skin is still pale, soft or greasy underneath.
This crispy baked chicken wings recipe uses a hot 425°F / 220°C oven and a light baking-powder coating to get there without deep-frying or breading.
Dry the wings, dust lightly, give them room, bake hot and sauce them at the end.
The Quick Answer: Crispy Oven Wings Without Frying
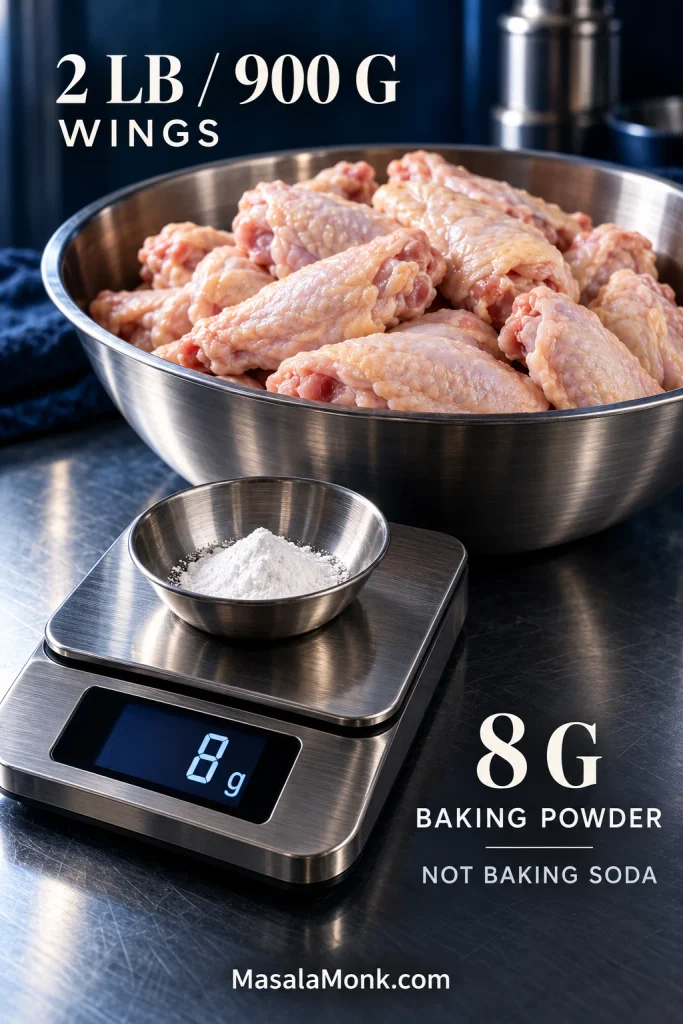
Bake 2 lb / 900 g thawed split chicken wings at 425°F / 220°C for 40–50 minutes. Pat them very dry, toss with 8 g / about 2 tsp baking powder and the seasoning, arrange them on a rack with space between the pieces, and turn them after 25 minutes.
Start checking at 40 minutes. The wings are ready when the skin is deeply golden and blistered and the thickest pieces have reached at least 165°F / 74°C.
Crispy Baked Chicken Wings Recipe
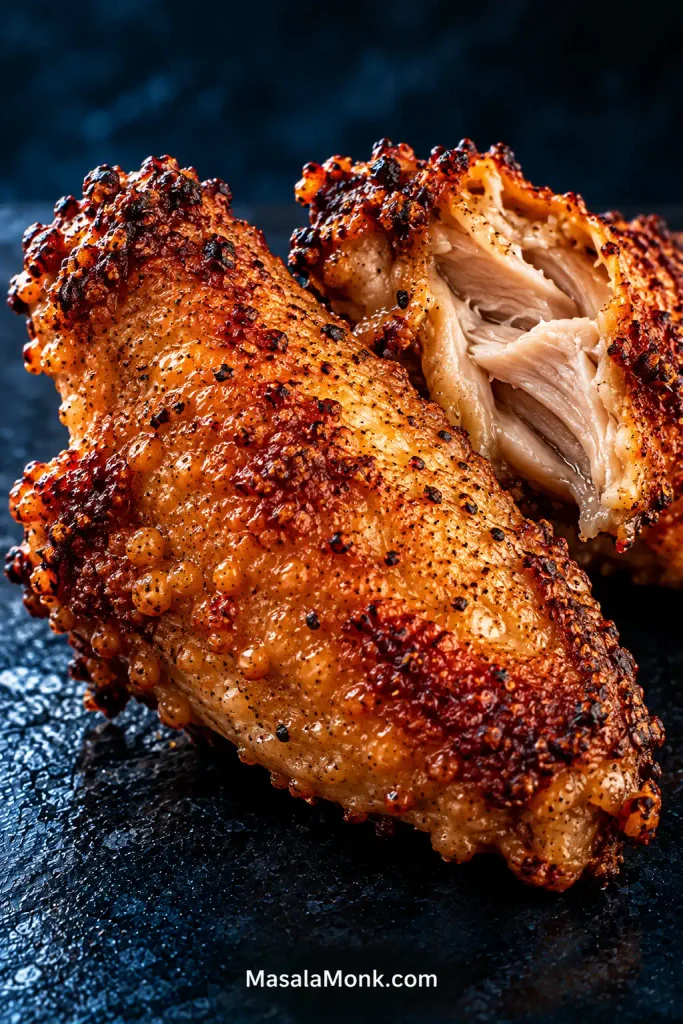
Thin, blistered chicken skin with a crackly bite and juicy meat underneath. No breading, no fryer.
Equipment
- Rimmed half-sheet pan, about 13 × 18 in / 33 × 46 cm
- Oven-safe wire rack that fits inside the pan
- Large mixing bowl
- Tongs
- Instant-read thermometer
- Kitchen scale, especially useful for the baking powder and salt
Ingredients
- 2 lb / 32 oz / about 900 g chicken wings, fully thawed and split into flats and drumettes
- 8 g / about 2 tsp baking powder, preferably aluminum-free — not baking soda
- 6 g fine sea salt, about 1 tsp
- 3 g garlic powder, about 1 tsp
- 1 g freshly ground black pepper, about ½ tsp
- 1 tsp / 5 ml neutral oil, or a light cooking spray, for the rack
- Optional dry seasoning or wet sauce, added after baking
Using a salty sauce? Reduce the fine sea salt to about 4–5 g / ¾ tsp.
Method
Prep and Dry the Wings
- Heat the oven. Set a rack in the middle of the oven and preheat to 425°F / 220°C. Put the wire rack inside the rimmed pan. Line underneath with foil for easier cleanup, then lightly grease the rack.
- Dry the wings. Blot the thawed chicken thoroughly with paper towels, including around the joints. The skin should feel dry or lightly tacky, with no wet shine. Skip rinsing; USDA advises against washing raw chicken because splashing can spread bacteria around the kitchen.
Season and Arrange
- Mix the seasoning. Stir the baking powder, salt, garlic powder and black pepper together first so the small amount of baking powder distributes evenly.
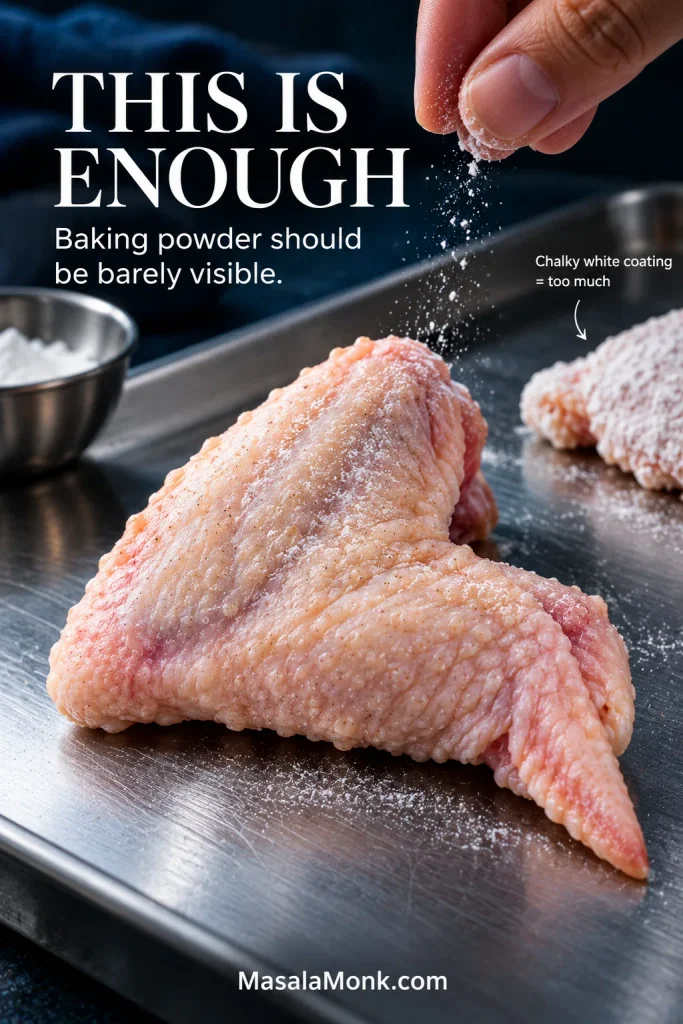
- Dust the wings lightly. Scatter the mixture over the chicken and toss well. The coating should look almost too light. That’s what you want. You should still clearly see the skin underneath.
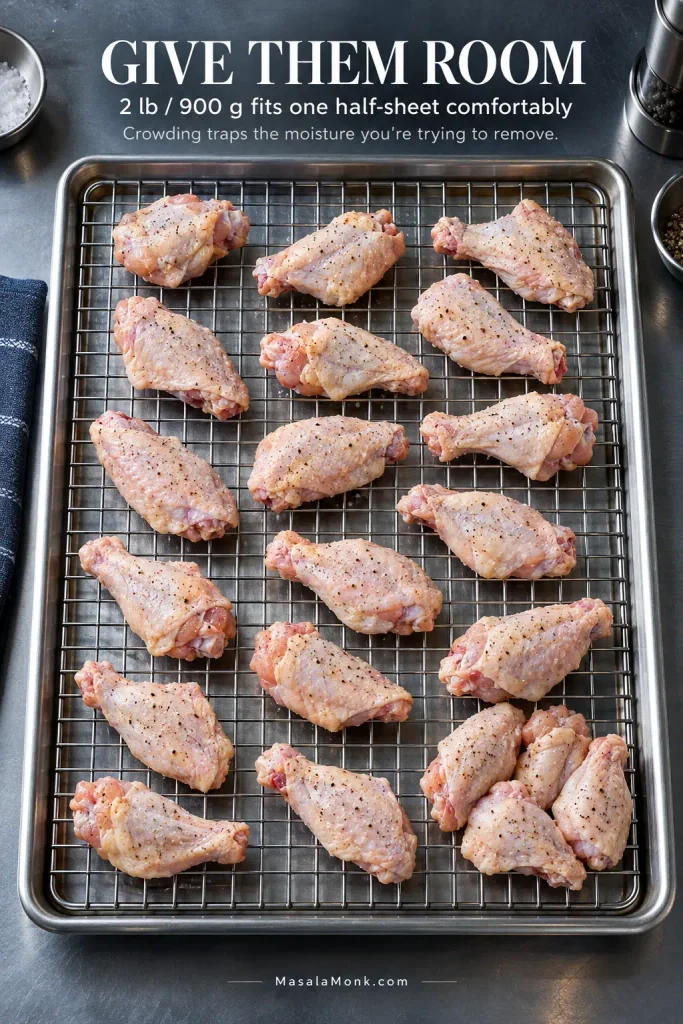
- Give them room. Arrange the wings in one layer with a little space between each piece. Two pounds is a comfortable one-tray batch. Four pounds belongs on two trays.
Bake, Turn and Check
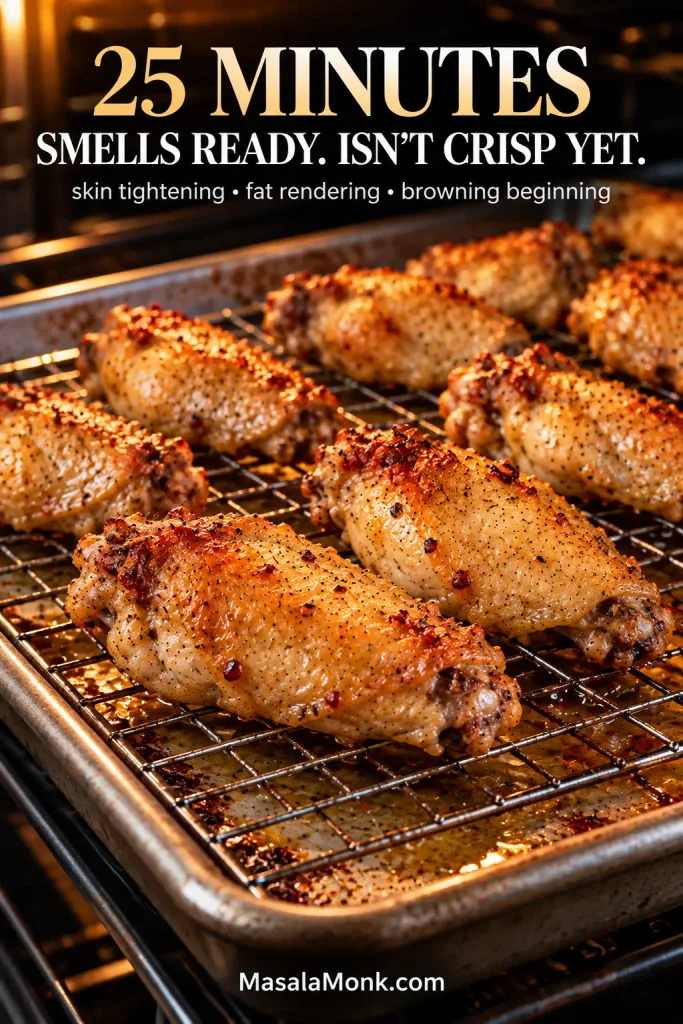
- Bake for 25 minutes. The wings will tighten and shrink a little while fat collects underneath. They may smell fantastic already, but they are not ready yet.
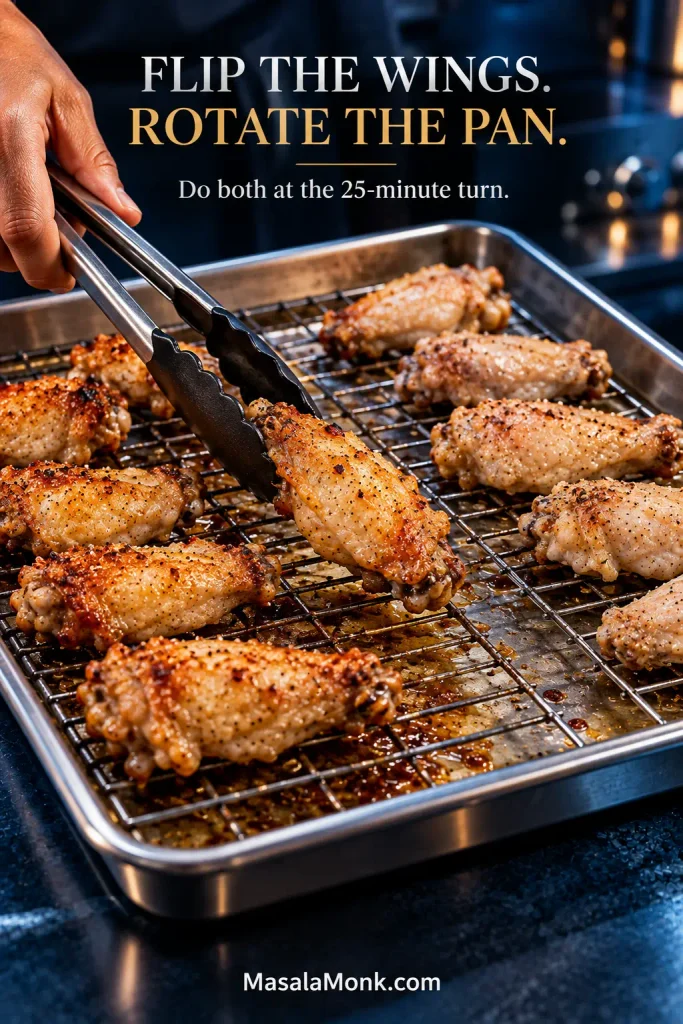
- Turn and rotate. Flip the wings with tongs and rotate the pan front to back. Bake for another 15 minutes.
- Start checking at 40 minutes. Most average party wings finish in 40–50 minutes. Take out smaller pieces as they become crisp and let larger drumettes continue.
- Check the thickest pieces. Insert an instant-read thermometer into the meatiest section without touching bone. Chicken must reach at least 165°F / 74°C. If the temperature is there but the skin still looks soft or pale, give it a little longer.
- Finish and serve. Eat the wings dry, add a final seasoning, or toss a serving-size batch with sauce immediately before it goes to the table.
Convection / Fan Oven
Use 400°F / 205°C convection and begin checking about 5–10 minutes earlier. Fan strength varies between ovens, so watch the skin and check the thickest pieces with a thermometer.
No Wire Rack?
Bake directly on a lightly greased rimmed sheet pan. Leave room between the pieces, turn them during cooking and drain excess fat if it starts pooling. The underside may not crisp quite as evenly.
Baking Two Trays?
Use two pans rather than crowding one. When you turn the wings, swap the pans from top to bottom and rotate each pan front to back. Start checking at the usual time, but expect the batches to finish a little differently because two loaded pans change the oven’s airflow.
Want to Prep Ahead?
For this 425°F method, spread the plain thawed wings on a rack in the refrigerator, uncovered, for several hours or overnight. Add the baking powder and seasoning shortly before baking. An overnight seasoned dry-brine is a different technique.
Once the tray is in the oven, the useful skill is knowing what those wings should look like as they cook.
The Crispy Wing Test: How to Tell When Wings Are Done
Don’t wait for the timer to give you permission. Watch the wings.
| Stage | What you should notice |
|---|---|
| Before seasoning | Dry or lightly tacky skin with no glossy wet spots. |
| After seasoning | A faint haze of seasoning. You can still clearly see the chicken skin. |
| After 25 minutes | The wings have tightened and shrunk a little. Fat is collecting below and early browning is appearing. |
| Around 40 minutes | The surface looks taut, golden areas deepen, tiny blisters catch the light and the edges lose their wet look. |
| Ready | Deeply golden, blistered, crisp-looking skin with the thickest pieces safely cooked through. |
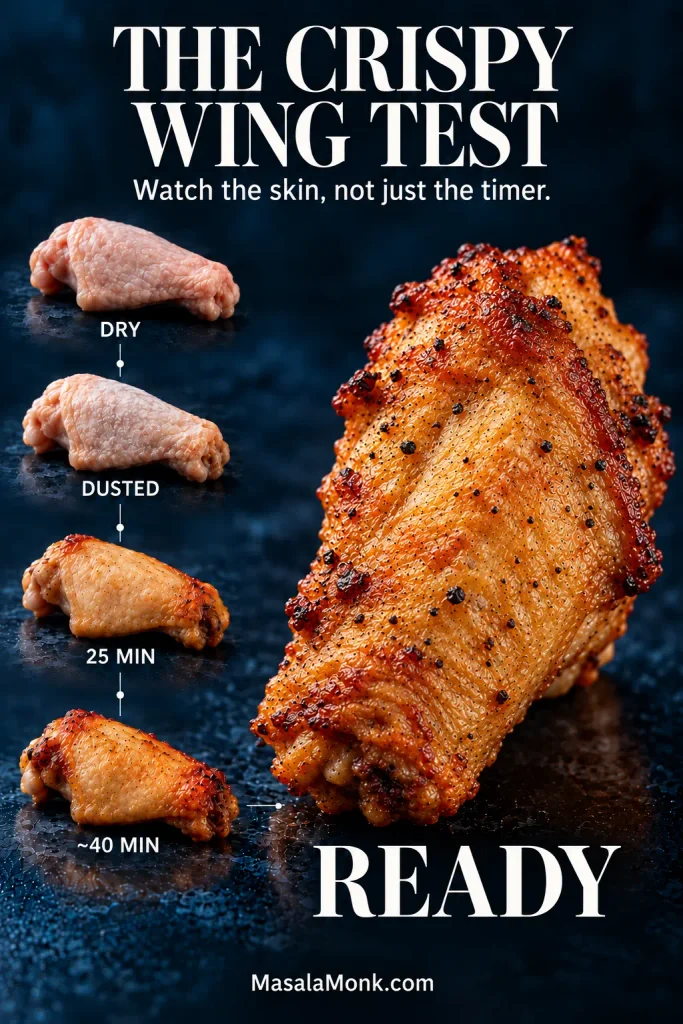
If one small flat looks perfect at 43 minutes, take it out and let the larger drumettes keep cooking.
How Long to Bake Chicken Wings at 425°F
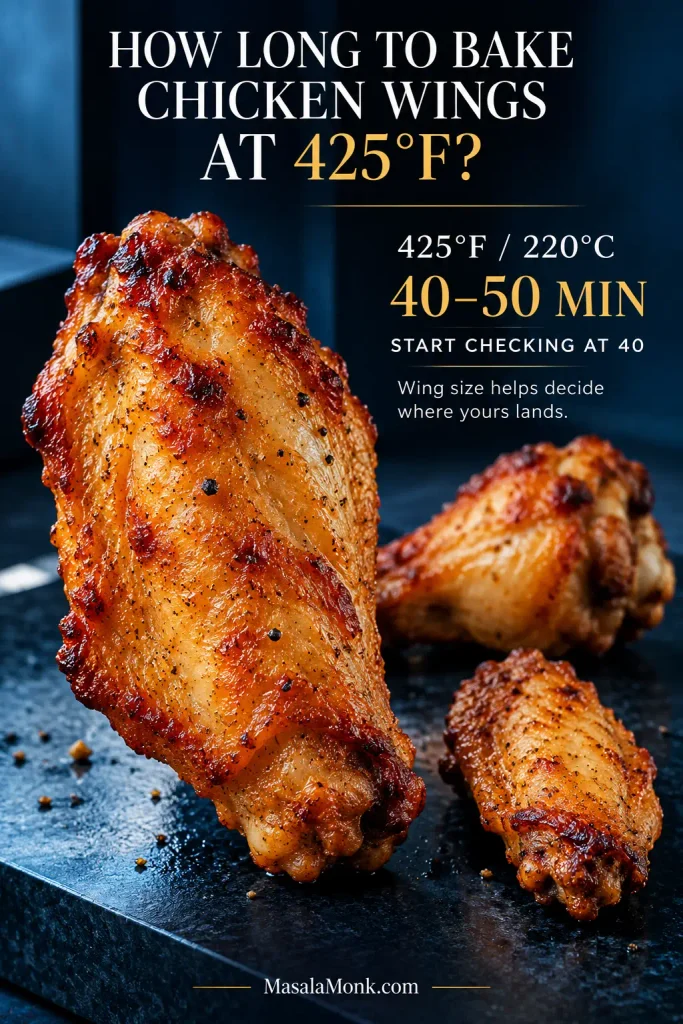
Plan on 40–50 minutes at 425°F / 220°C for average-size split chicken wings. Start watching closely at 40 minutes. Large pieces may need longer.
Wing size and oven performance can shift these ranges, so use them as checkpoints rather than promises.
| Oven temperature | General checking range | Trade-off |
|---|---|---|
| 400°F / 205°C | About 45–55 min | More gradual browning and a longer cook. |
| 425°F / 220°C | About 40–50 min | The method used here. |
| 450°F / 230°C | About 30–40 min | Faster browning with less margin before the skin gets too dark. |
Two ovens set to 425°F can finish the same wings at different times. Treat 40 minutes as the first checkpoint, not the finish line.
When should you pull the wings?
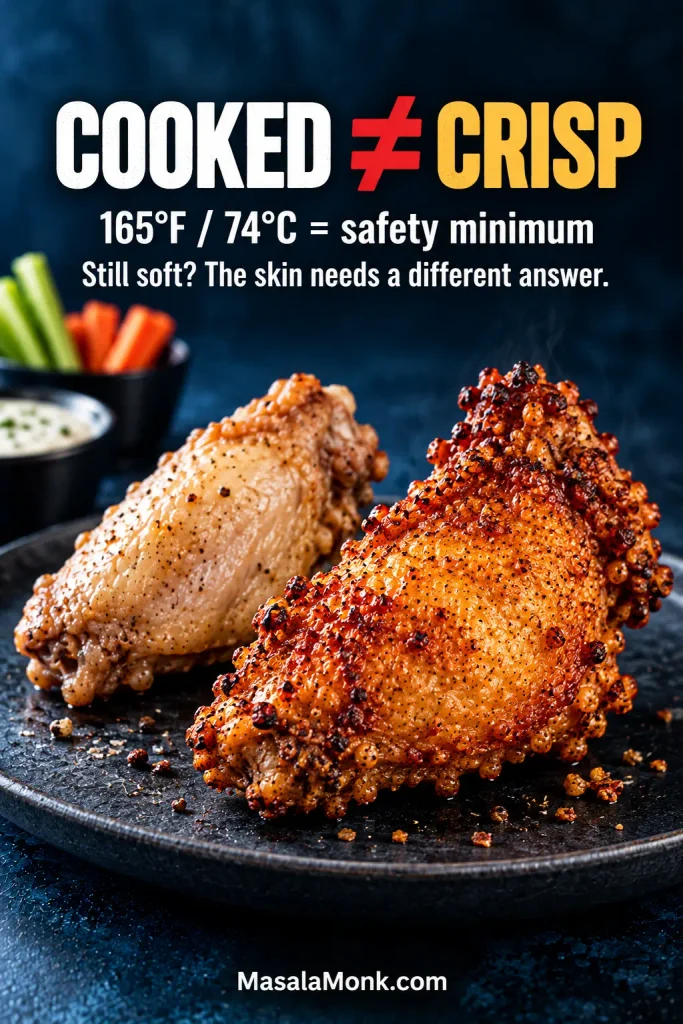
165°F / 74°C answers the safety question. The skin answers the texture question. Once a wing has reached the safe minimum, let the skin and texture—not the thermometer alone—tell you whether it needs more time.
Why do some baked-wing recipes take much longer?
Some wing methods start low and finish hot. The extra time gives the skin longer to dry and the fat underneath longer to cook out before the final crisping stage. Here, the oven stays at 425°F / 220°C throughout.
Time isn’t the only variable. The coating matters too.
How Much Baking Powder to Use for Crispy Wings
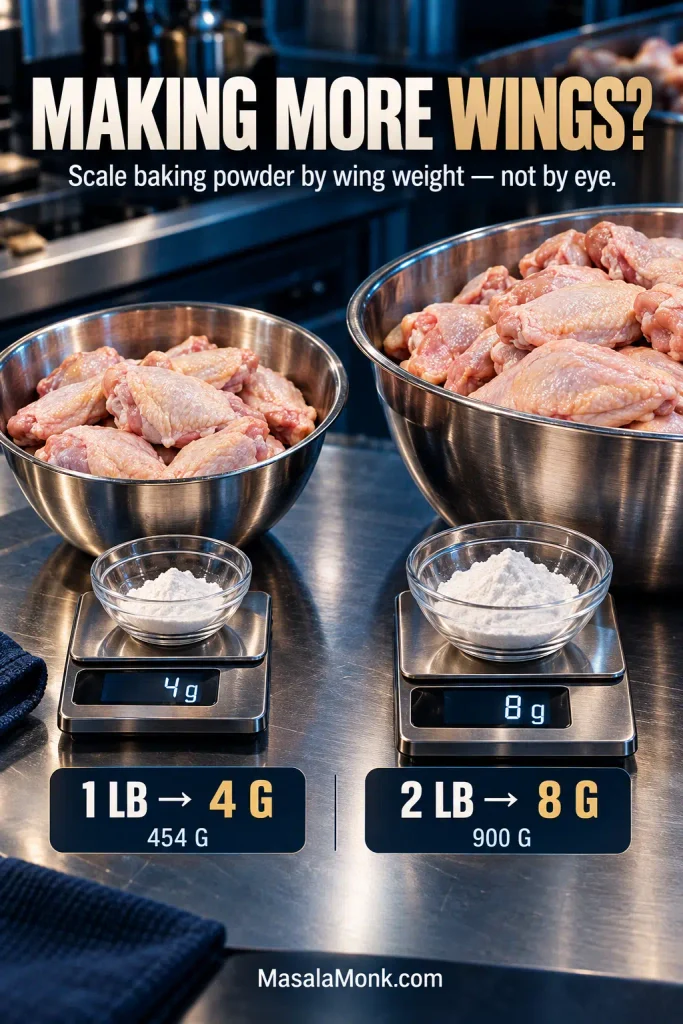
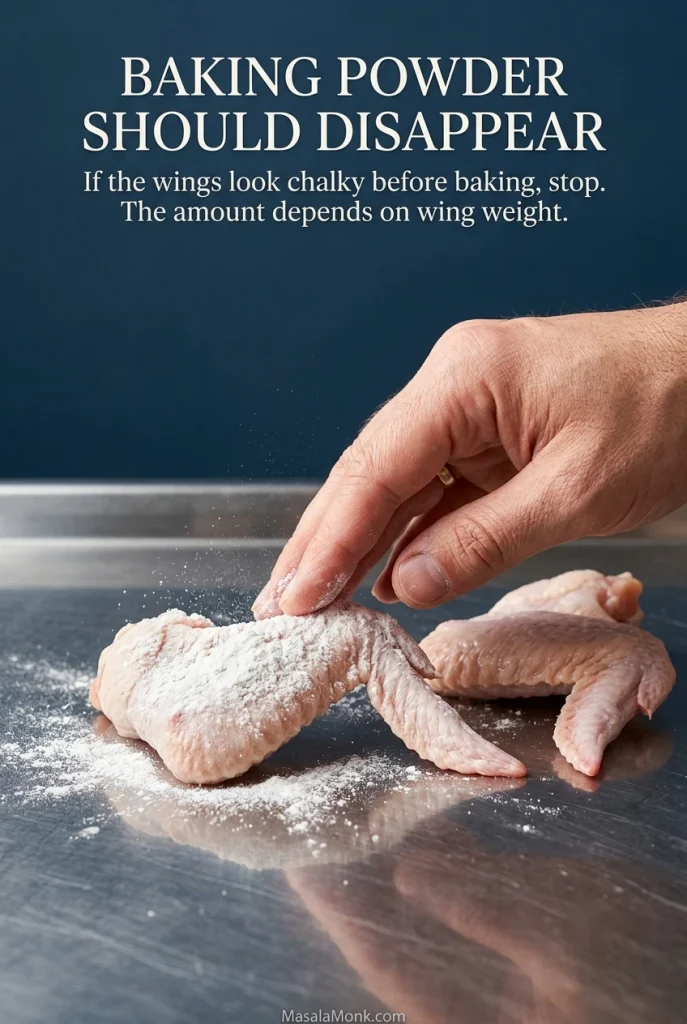
For this method, use about 4 g baking powder per 1 lb / 454 g wings—8 g for a 2 lb / 900 g batch. Once tossed, the coating should be barely visible; if the wings look chalky, you’ve used more than the skin needs.
Baking powder helps the surface brown and blister without creating a breaded crust. Serious Eats has a deeper explanation of how baking powder and surface drying affect wing skin.
| Wing weight | Baking powder |
|---|---|
| 1 lb / 454 g | 4 g / about 1 tsp |
| 2 lb / about 900 g | 8 g / about 2 tsp |
| 3 lb / about 1.36 kg | 12 g / about 3 tsp |
| 4 lb / about 1.8 kg | 16 g / about 4 tsp |
You should not taste the baking powder. If the wings taste bitter, metallic or chalky, first make sure you used baking powder—not baking soda, then check the amount against the weight of the chicken. Baking soda is much more alkaline and is not a one-for-one substitute.
What about cornstarch or flour?
Cornstarch gives the surface a drier, more coated crunch; flour moves the wings toward a lightly breaded, oven-fried crust. You can also skip a coating entirely if that is the texture you prefer.
If you want crisp wings without baking powder, our air fryer chicken wings use concentrated airflow instead.
Wingettes, Drumettes and Whole Wings
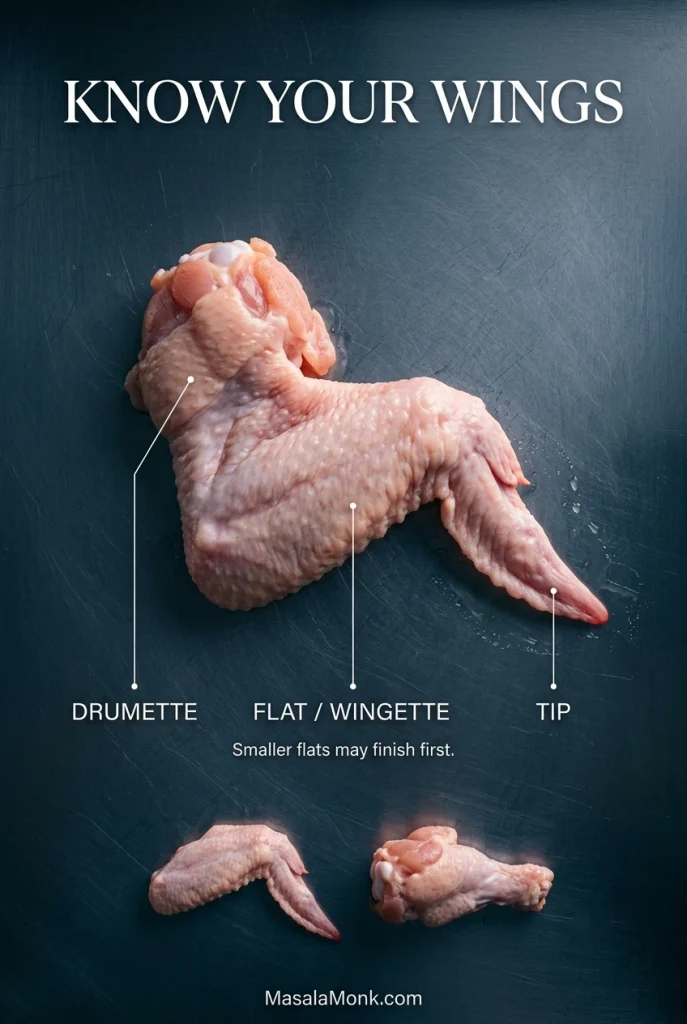
Most packages sold as party wings contain separated flats—also called wingettes—and drumettes. Whole wings keep those sections and the tip attached; separate them through the flexible joints rather than trying to cut through bone. Flats are usually smaller, so some may be ready before the biggest drumettes.
Starting with frozen wings?
Use thawed wings for this method. Frozen chicken releases extra water as it heats and is harder to dry before baking. For a frozen-first route, see our frozen chicken wings in the air fryer.
Sauce the Wings When You’re Ready to Eat
Crispness is something you spend when you add sauce. Spend it as late as possible. Wet sauce starts softening the skin on contact, so toss only the amount you’re about to serve.
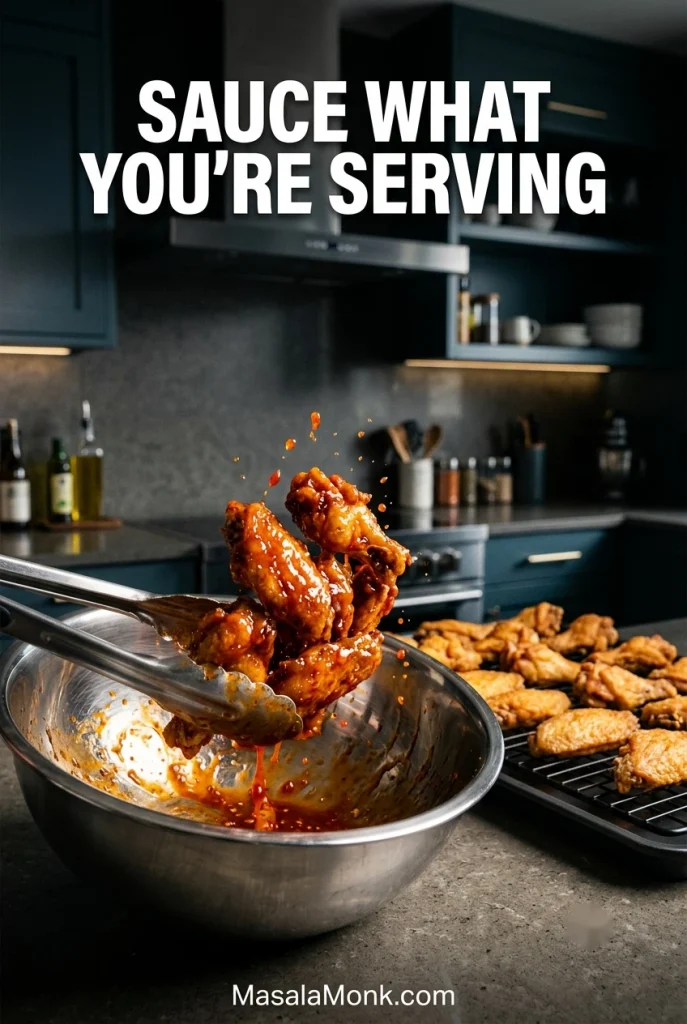
For a sweet-hot finish, try hot honey sauce. Briefly broiling sauced wings gives the glaze a more baked-on finish, while saucing after baking preserves more of the exposed skin’s crunch.
For a dry citrus-pepper direction instead, our lemon pepper chicken wings build that flavor directly into the wings.
Why Baked Wings Fail—and How to Fix Them
When a tray goes wrong, the skin usually tells you why.
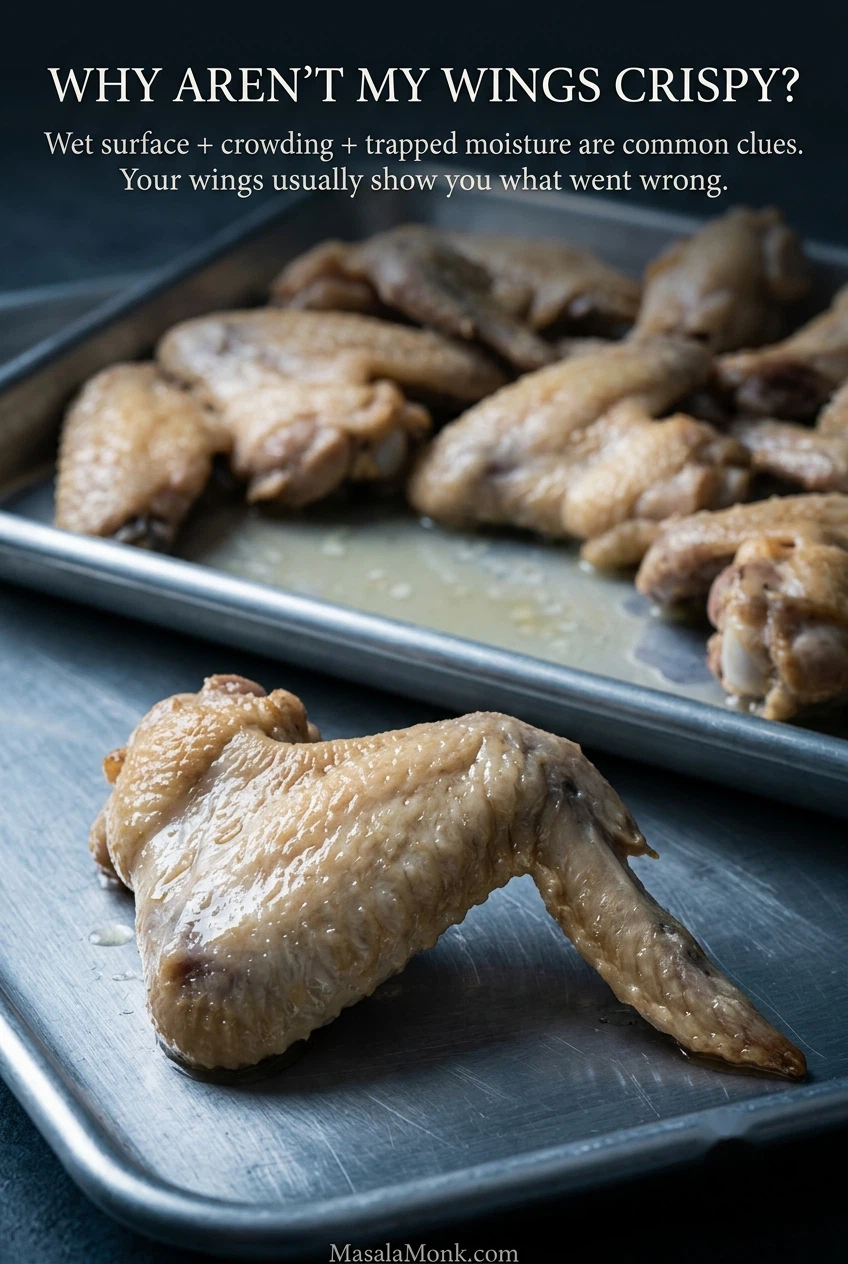
Match the Symptom to the Cause
| Problem | Likely cause | Next batch |
|---|---|---|
| Soft or soggy skin | Wet surface, crowding or too little airflow. | Dry the wings thoroughly and leave more room between pieces. |
| Greasy, soft underside | The wings sat in too much fat. | Use a rack, or drain excess fat when baking directly on the pan. |
| Bitter or metallic taste | Baking soda, too much baking powder or an unpleasant-tasting powder. | Confirm the product, weigh it accurately and keep the coating light. |
| White patches | Too much coating or uneven distribution. | Mix the dry ingredients first and toss until only a faint haze remains. |
| Leathery skin | Low or uneven heat, poor fat rendering, or overcooking after the surface dried. | Check oven heat and airflow before simply extending the bake. |
| Dry meat | The wings stayed in the oven while the exterior struggled to crisp. | Fix moisture and airflow rather than relying on extra cooking time. |
| Outside darkens too quickly | Very hot oven, strong convection or unusually small pieces. | Check earlier and lower the heat slightly if needed. |
| Uneven doneness | Different wing sizes or oven hot spots. | Rotate the pan and remove smaller pieces as they become ready. |
| Smoking oven | Fat is burning, overflowing or hitting old oven grease. | Use a properly rimmed pan and keep the drippings contained. |
| Wings stick to the rack | The rack was not lightly greased or the skin was moved too soon. | Grease the rack lightly and let the surface set before turning. |
| Crisp until sauced | Wet sauce softened the skin. | Toss smaller batches immediately before serving. |
If the Coating Looks Chalky
White patches or a chalky taste are a reason to inspect the coating before changing the oven temperature or extending the bake.
When More Oven Time Won’t Help
If the chicken is safely cooked but the skin is disappointing, don’t automatically add another 15 minutes. More oven time cannot fix every crisping problem.
Game-Day Wings: Prep Ahead, Hold and Reheat
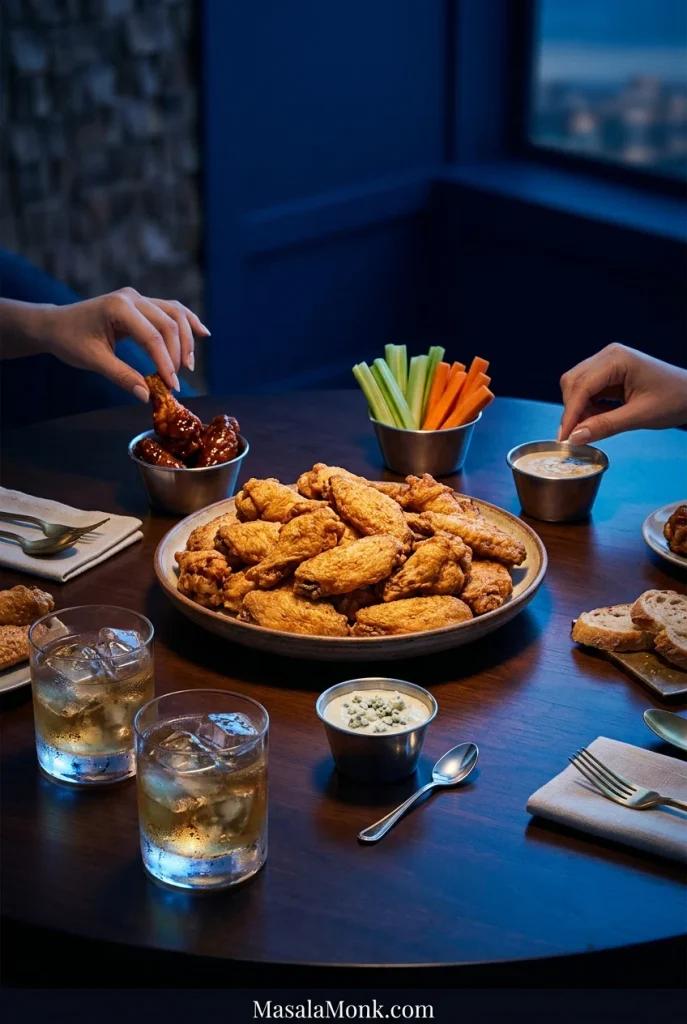
One tray is easy. Feeding a crowd is where wings get interesting. Tray two is still cooking, somebody wants sauce, somebody else wants them dry, and the first batch is losing its crispness on the counter.
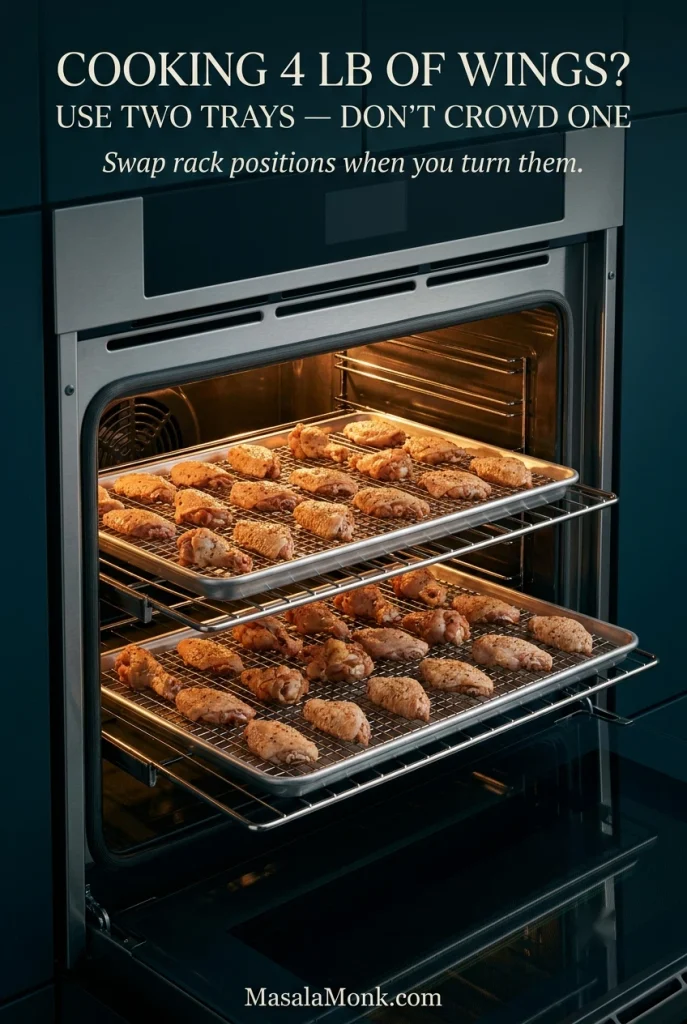
Prep the wings ahead, bake them in batches and keep them unsauced until people are ready to eat. A cold side such as creamy coleslaw can be made earlier, leaving the oven to the chicken.
Holding a cooked batch
If one batch needs to stay hot while the next tray finishes, spread the unsauced wings on racks or sheet pans in a low oven around 200–225°F / 95–110°C. Keep the food itself at or above 140°F / 60°C while hot-holding. A covered container or slow cooker traps steam and quickly softens the skin.
Reheating leftover wings
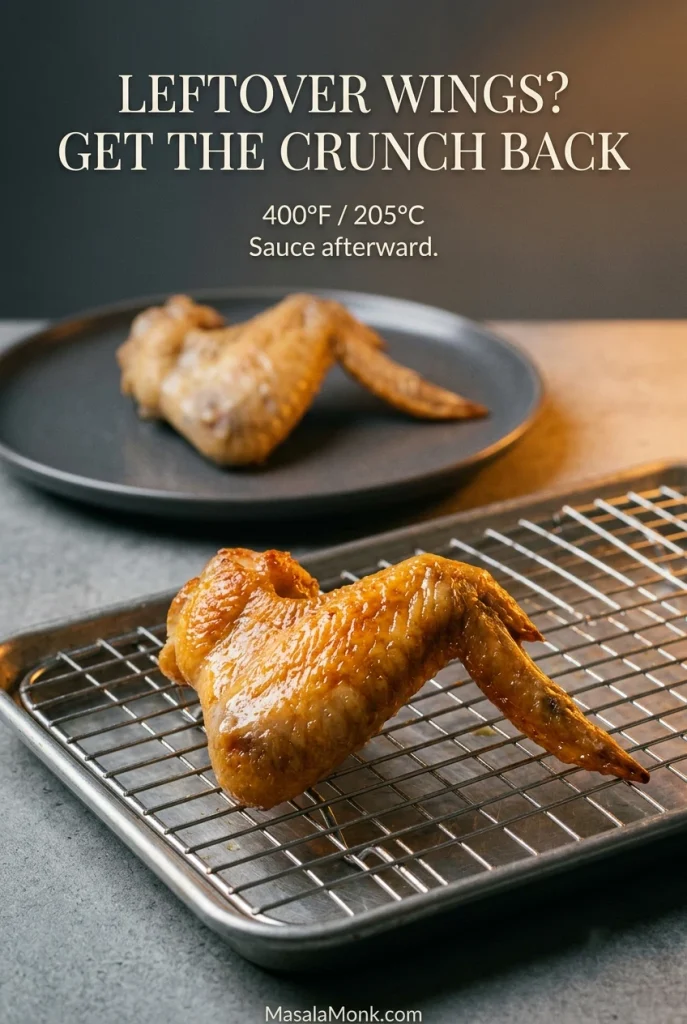
Spread refrigerated wings in one layer and reheat at about 400°F / 205°C for 5–10 minutes, until the skin is crisp again and the thickest pieces reach 165°F / 74°C. Add sauce afterward.
An air fryer works especially well for a small leftover batch. A microwave warms the meat quickly, but the skin loses most of its crunch.
Storage
Refrigerate cooked wings promptly and use them within 3–4 days.
What to Serve with Crispy Oven Wings
Celery and carrot sticks bring fresh crunch beside hot wings, while ranch or blue cheese gives you the classic cool contrast.
For a fuller meal, macaroni and cheese gives you something soft and creamy beside the crisp chicken.
One plain tray can also become several flavors: divide the hot wings between bowls, toss each portion separately and leave some dry.
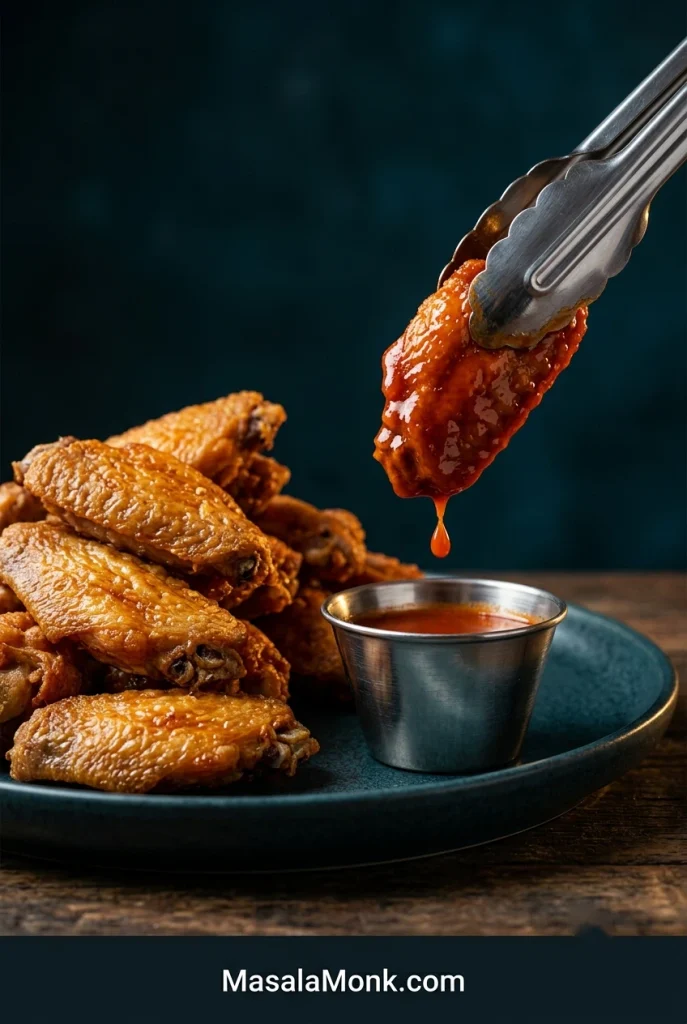
By the second tray, you shouldn’t need to stare at the timer. You’ll know the signs: taut skin, deepening color, little blisters and edges that have finally lost their softness.
Sauce the wings you’re ready to serve, leave the rest crisp and dry, and get them onto the table while they’re hot.








