🌟 Introduction: The Golden Elixir – Ghee
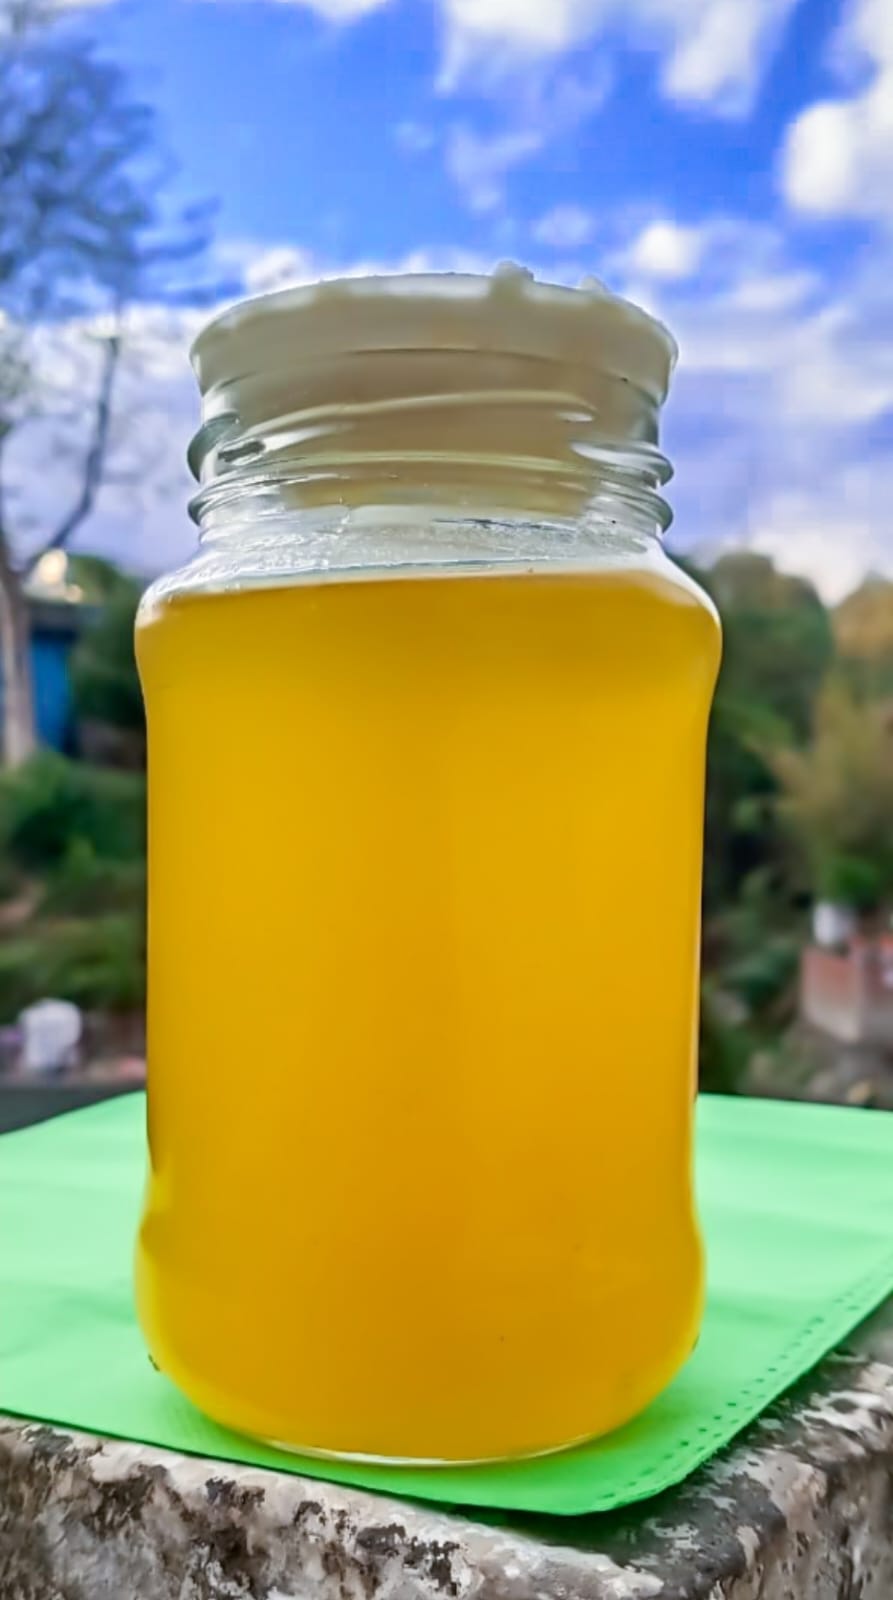
Ghee, often referred to as the golden elixir, holds a place of honor in Indian cuisine and culture. This clarified butter, simmered until it reaches a nutty, caramelized flavor, is a staple in every Indian kitchen. Revered not only for its enriching taste but also for its numerous health benefits, ghee is an integral part of the Indian culinary tradition. 🍛
But in today’s market, with a plethora of brands available, choosing the right ghee can be a daunting task. Which one offers the best taste? Which one is the most authentic? Which one provides the best value for money? 🤔
To answer these questions, we turned to the most reliable source we know – our community of food enthusiasts. We wanted to understand their preferences, their trust in brands, and their reasons for choosing a particular brand of ghee over others.
In the next sections, we’ll delve into the insights we gathered from this survey, shedding light on the preferred ghee brands and the reasons behind these preferences. So, whether you’re a ghee connoisseur or a curious foodie, read on to discover the world of ghee through the eyes of our community. 🌍👀
🍽️ Eatlo: A Foodie’s Paradise
Welcome to Eatlo, a vibrant Facebook community where food enthusiasts from all walks of life come together to share their culinary adventures, favorite recipes, and food recommendations. Our members are passionate about food, and their collective wisdom is a treasure trove of insights and experiences. 🥘
Why is their opinion important, you ask? Well, our community members are not just casual foodies; they are influencers, heavy consumers, and discerning critics. Their preferences and choices can shed light on broader trends and patterns in the food industry. Their feedback can help brands understand what works and what doesn’t. And their recommendations can guide other community members in making informed choices. 📊
We believe that every voice matters, and every opinion counts. That’s why we conducted a survey to understand our community’s preferences when it comes to ghee. We wanted to tap into their collective wisdom and gain insights that could benefit everyone in the community. 🗣️
If you’re a food enthusiast who loves to share your culinary experiences and learn from others, we invite you to join our Eatlo community. Together, we can explore the fascinating world of food and make our culinary journeys more enriching and enjoyable. 🎉🍽️
📊 The Great Ghee Survey
To understand our community’s preferences when it comes to ghee, we conducted a survey. We wanted to tap into the collective wisdom of our community, and what better way than to ask them directly? 📝
We asked our members three questions:
- Which is your preferred make or brand of ghee and why? This question aimed to understand the brand preferences of our members and the reasons behind their choices. 🏷️
- Do you use the same type of ghee for all purposes? Ghee is versatile and can be used in various ways – from cooking and baking to medicinal and cosmetic uses. We wanted to know if our members use the same ghee for all purposes or if they prefer different types for different uses. 🔄
- When you have to buy ghee from outside, which is your preferred make or brand? Sometimes, making ghee at home is not an option. In such cases, which brand do our members trust the most? 🛍️
The response was overwhelming! Our members responded enthusiastically, sharing their preferred ghee brands and the reasons behind their choices. Their responses provide a wealth of insights into the world of ghee, and we can’t wait to share these insights with you in the next section. Stay tuned! 📢
🗣️ Member Responses: Straight from the Horse’s Mouth
Our members, the heart and soul of our community, responded enthusiastically to our survey, sharing their preferred ghee brands and the reasons behind their choices. Their responses, filled with personal experiences and heartfelt recommendations, provide a wealth of insights into the world of ghee. 🌍🥄
Let’s dive into some of these responses:
- Anuj Kalra is a fan of Govardhan or Patanjali cow ghee. He appreciates the quality and taste of these brands, showing that good ghee doesn’t have to be complicated. 🐄👍
- Richa Gaur Talwar swears by Country Delight without any second thought. Her unwavering loyalty to this brand speaks volumes about its consistency and quality. 🏞️💖
- Himani Sharma and Debasish Roy are fans of the classic Amul ghee. They love its great taste and affordability, proving that sometimes, the old ways are the best ways. 🧈💰
- Gagandeep Singh Uppal has a discerning palate. He has tried and tested many brands, but finds Anveshan to be the best. His quest for the perfect ghee is a testament to his passion for good food. 🕵️♂️🏆
- Sweetie Singh uses Gowardhan Ghee for all purposes. She loves its quality, grainy texture, and perfect color. It’s clear that for Sweetie, ghee is more than just a cooking ingredient; it’s an experience. 🌾🎨
- Shikha Gupta prefers Pathmeda, an A2 cow ghee from gaushala. Her choice reflects a deep respect for tradition and a commitment to purity. 🐮🙏
- Smriti Baliga has a soft spot for the brand Himalaya Natives, while Kopal Trivedi is a fan of Amore earth. Their choices show that ghee is a global affair, with brands from different regions offering unique flavors and experiences. 🌏💫
- Neerja Sharma, who lives in Canada, prefers Brar Ghee. Her choice shows that no matter where we are in the world, the taste of home is irreplaceable. 🍁🏠
- Kunal Thapar buys his ghee from Costco. His choice shows that good ghee can be found in the most unexpected places. 🛒🎁
- Harshita Sharma prefers making ghee at home, as she finds it hard to trust any brand these days. Her response is a reminder that sometimes, the best things are the ones we make ourselves. 🏡👩🍳
- Shahab Syed used to buy Nandini butter and make ghee from it when he was in Bangalore. His DIY approach to ghee is a testament to his culinary creativity. 🧈🔥
- Kunal Relan uses homemade ghee from Gir Cow Milk, but if they buy, it’s from NDRI, Karnal. His choice reflects a commitment to quality and authenticity. 🐄🥇
- Renu D Gambhir prefers local Dairy fresh ghee. Her choice is a reminder that sometimes, the best products are the ones that come from our own backyard. 🏞️🥄
- Mohit Burman recommends trying ghee from the ISKCON temple, which is pure cow ghee. His recommendation shows that good ghee can also be a spiritual experience. 🏛️🙏
- Elen Preann prefers Tons Valley Shop ghee or a homemade one. Her choice shows that for her, ghee is about more than just taste; it’s about the experience of making or choosing it. 🏞️👩🍳
- Sagar Gupta recommends Shuddham Organics, which he finds to be pure and of high quality. His recommendation is a testament to his commitment to organic, healthy food. 🌱💪
These responses reflect the diverse preferences of our community members when it comes to ghee. In the next section, we will analyze these responses to identify the most preferred ghee brands and understand why our members prefer them. Stay tuned! 📊🔍
📈 Analysis: The Battle of the Brands
In our survey, we observed a diverse range of ghee brand preferences among our community members. The frequency of brand mentions served as a proxy for popularity, with Country Delight, Patanjali, and Amul emerging as the most frequently mentioned brands.
However, the analysis goes beyond mere frequency. The sentiment behind these mentions – the reasons for preference or dissatisfaction – provides a deeper understanding of consumer behavior. Quality, taste, and affordability were common factors driving positive sentiment, while concerns about quality consistency, potential adulteration, and price hikes contributed to negative sentiment.
In essence, brand preference in the ghee market is a dynamic interplay of various factors – product quality, price, consumer trust, and sentiment. Brands that can consistently deliver on these fronts are likely to maintain or enhance their market position.
🔍 Concerns: Quality, Authenticity, and More
While our members shared their preferred ghee brands, they also expressed some concerns and observations about buying ghee. Let’s take a closer look at these. 🧐🔍
1. Quality and Consistency 🏆
Quality is a major concern for our members when it comes to buying ghee. They want their ghee to be pure and of high quality. Consistency is also important, with members expecting the same quality every time they purchase their preferred brand. Brands that can deliver consistent quality tend to win the trust of our members.
2. Price and Value for Money 💰
Price is another important factor for our members. While they are willing to pay for quality, they also want their ghee to be reasonably priced. Brands that can offer high-quality ghee at a fair price are preferred by our members.
3. Trust and Reputation 🤝
Trust plays a crucial role in the choice of ghee. Our members prefer brands that they can trust. This trust is often built over time, based on their personal experiences and the reputation of the brand. Brands that have earned the trust of our members are more likely to be their preferred choice.
4. Taste and Aroma 👅👃
The taste and aroma of ghee are also important to our members. They want their ghee to have a rich taste and a pleasant aroma. Brands that can deliver on these aspects tend to be favored by our members.
5. Health Benefits 💪
Our members are aware of the health benefits of ghee and want their ghee to be healthy. They prefer ghee that is made from cow’s milk and is rich in nutrients. Brands that can offer such ghee are more likely to be chosen by our members.
In the next section, we will discuss the top 5 ghee brands in India, based on our survey and additional research. Stay tuned! 📊🔍
🏆 Top 5 Ghee Brands in India
Based on our survey, we’ve identified the top 5 ghee brands in India as preferred by the members of our community. Each of these brands has its unique characteristics that make it a favorite among our members. Let’s take a more detailed look at each of them, in reverse order, for a suspenseful countdown. 🏆🔍
5. Anveshan 🏅
Starting our countdown at number five, we have Anveshan. While not as frequently mentioned as the others, Anveshan was praised by our members for its quality. Anveshan aims to bring traditional Indian wisdom back into modern lifestyles, and their ghee is a testament to this mission. Made using the traditional ‘bilona’ method, Anveshan’s ghee is rich in aroma and taste. The members who prefer Anveshan believe that no other brand comes close to its quality, making it a worthy mention in our top 5 list. 🌅🥄
4. Govardhan 🏅
At number four, we have Govardhan ghee. With its quality, grainy texture, and perfect color, Govardhan ghee has managed to capture the essence of traditional ghee. The ghee is made from the milk of grass-fed cows, which gives it a unique flavor and aroma. It is also rich in essential nutrients, making it a healthy choice. For those who appreciate the traditional taste and texture of ghee, Govardhan is a favorite. 🌾🥇
3. Amul 🥉
Coming in at number three is Amul, often referred to as the ‘taste of India’. Known for its wide range of dairy products, Amul’s ghee is appreciated for its great taste and affordability. Amul’s ghee is made from fresh cream and it has a typical rich aroma and granular texture. This makes it an ideal choice for a variety of culinary applications, from making sweets to serving as a topping on hot, fluffy rotis. The brand’s long-standing reputation for quality and taste makes it a go-to choice for many households. 🍛🧈
2. Patanjali 🥈
The runner-up in our countdown is Patanjali. This brand has made a name for itself in the Indian market with its wide range of Ayurvedic and natural products. Their cow ghee is no exception. Many of our members appreciate Patanjali’s cow ghee for its quality and the fact that it is made from cow’s milk. The brand’s commitment to promoting health and wellness through natural and Ayurvedic products resonates with our members, making Patanjali a preferred choice for ghee. 🌿🐮
1. Country Delight 🥇
And the top spot in our countdown goes to Country Delight! Known for its commitment to delivering farm-fresh products directly to consumers, Country Delight’s ghee stands out for its consistent quality and purity. The brand prides itself on maintaining a close relationship with farmers and controlling every step of the production process, from milk collection to ghee preparation. This attention to detail and commitment to quality is clearly reflected in their ghee, making it the number one choice among our members. 🐄🌾
These brands, with their unique qualities and commitment to delivering high-quality ghee, have managed to win the trust and preference of our community members. In the next section, we will discuss how to make ghee at home, a method preferred by many of our members. Stay tuned! 🏠🔍
How to Make Ghee at Home 🏠🥣
If you’re a fan of DIY and love the idea of making your own ghee at home, you’re in luck! MasalaMonk has a detailed guide on how to make ghee at home. This guide is perfect for those who want to ensure the purity of their ghee and prefer a homemade touch.
Making ghee at home is a simple process that involves simmering butter until all the water evaporates, and the milk solids settle at the bottom. The resulting golden liquid is then strained to remove the milk solids, leaving behind pure, fragrant ghee.
The process of making ghee at home allows you to control the quality of the ingredients and the process. It’s a great way to ensure that you’re consuming pure ghee without any additives or preservatives. Plus, homemade ghee is often more flavorful and aromatic than store-bought versions!
For a step-by-step guide on how to make ghee at home, check out this blog post on MasalaMonk. It’s a comprehensive guide that will walk you through the entire process, from choosing the right kind of butter to storing your homemade ghee.
Remember, making ghee at home is not just about the end product. It’s about the process, the love, and the care that goes into making it. So why not give it a try? You might just find that homemade ghee is your new favorite thing! 🥰👩🍳👨🍳
👉 Do you have any tips or tricks for making ghee at home?
👉 Have you tried making ghee at home before? If so, how was your experience?
👉 What do you think sets homemade ghee apart from store-bought versions?
Feel free to share your thoughts and experiences in the comments section below!
🎯 Conclusion: The Ghee Connoisseur’s Guide 🎯
Ghee, a staple in Indian kitchens, holds a special place in our culinary traditions and practices. Its rich flavor and numerous health benefits make it an essential part of our diet. However, with the plethora of brands available in the market, choosing the right ghee can be a daunting task.
Our survey among the passionate food lovers of the Eatlo community has shed light on the preferred ghee brands and the reasons behind their choices. Brands like Country Delight, Patanjali, Amul, Govardhan, and Anveshan have emerged as favorites due to their consistent quality, taste, and perceived purity.
However, concerns about quality consistency, potential adulteration, price hikes, and trust issues highlight the challenges consumers face when buying ghee. These concerns underscore the importance of transparency, consistency, and fair pricing on the part of the brands.
For those who prefer the homemade touch or have concerns about the purity of store-bought ghee, making ghee at home is a great option. It not only ensures the purity of the ghee but also allows you to enjoy the process of making it.
In the end, the choice of ghee comes down to personal preferences, trust in the brand, and the value you place on quality, taste, and health benefits. Whether you prefer a popular brand, a local dairy’s offering, or homemade ghee, the most important thing is that it adds flavor to your meals and joy to your culinary experiences.
We hope this discussion has provided valuable insights and will help you in your quest for the perfect ghee. Happy cooking! 🍳🥘🍲
Do you have any other insights or experiences to share about ghee? Feel free to share in the comments below! We’d love to hear from you. 😊👇

