Posted on Leave a comment

How to turn Leftover Rice into Gourmet Arancini Balls

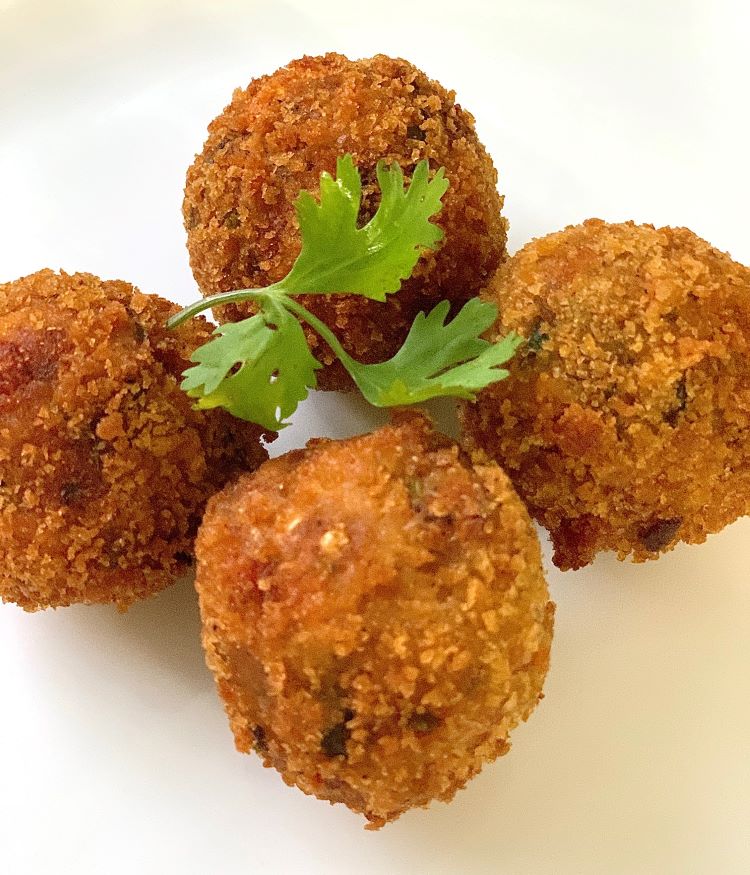
Arancini balls are Italian rice balls that are stuffed, coated with breadcrumbs and deep fried. These are gooey, cheesy rice balls with crispy golden crust. Need I say more! The Italians are a genius! Arancini balls are a Sicilian street food made of risotto and are absolutely delicious. It’s crispy on the outside and creamy on the inside. But they do take some effort to prepare. First you have to make risotto and allow it to cool. Then you have to make the balls and fry them. This sounds like quite a lengthy process. If you have the time, they are definitely worth the effort.

But if you don’t want to go that extra mile and still want to make delicious Arancini Balls, we have your back. I’ll show you how you can transform your leftover rice to these delightful little balls of pleasure that are truly pleasurable to nibble. They are perfect without any filling and are also a good way to use up other leftovers. These were gobbled in no time at my house. It took me just 10 minutes to prepare it and even less time for us to finish it. Even my 10 year old loves them. Italian herbs and cheeses make them taste like a cheesy pizza. Even if you don’t like fried food, I insist you give this one a try. Alternatively, you can bake these in the oven or can air fry them.
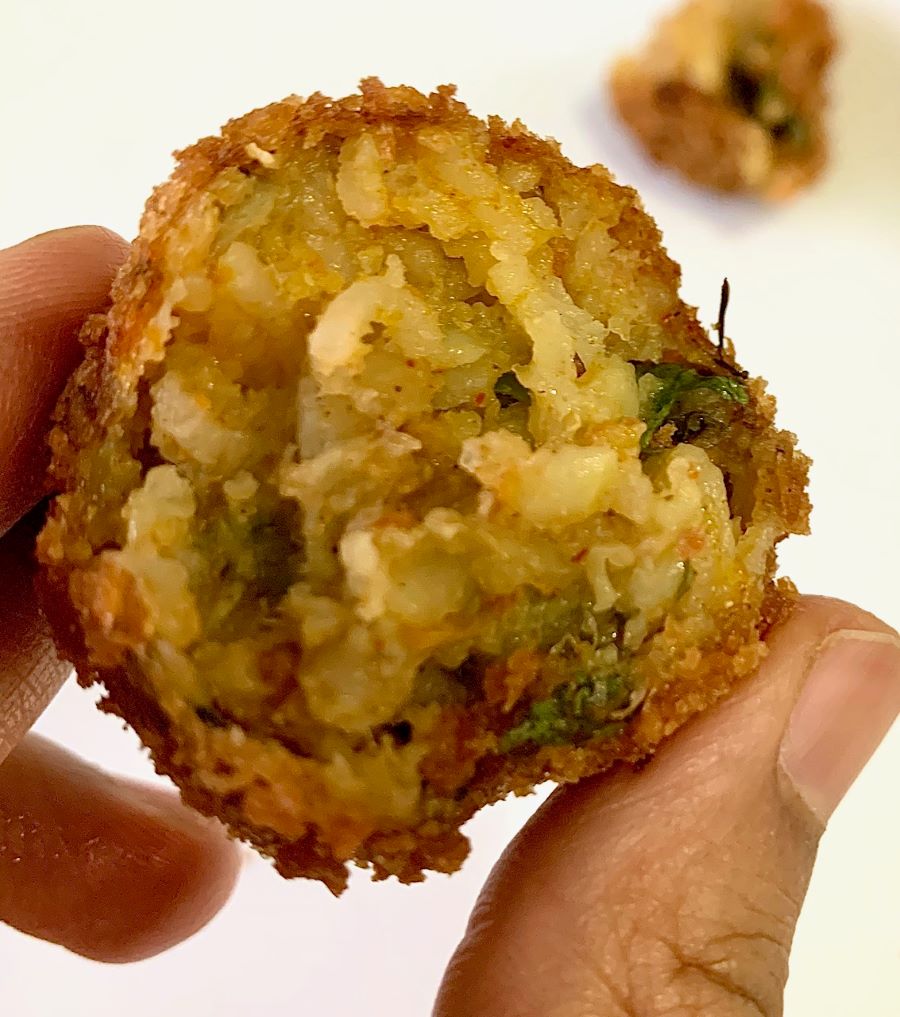
Recipe: Makes approx 12-14 balls

Ingredients 

  1. Leftover Rice or Pulao: 2 cups; cold is better
  2. Egg: 1 large; lightly beaten
  3. Mozzarella Cheese: 1/2 cup
  4. Fresh Basil Leaves: A handful
  5. Minced Garlic: 1 tsp
  6. Minced Ginger: 1 tsp
  7. Dried Oregano or Italian Seasoning: 1/2 tsp
  8. Chilli Flakes: 1/2 tsp or as required 
  9. Salt and Pepper to taste
  10. Breadcrumbs: 1/3 cup
  11. Oil for frying

Instructions 

  • In a bowl or a plate mash leftover rice or pulao. I have used leftover vegetable pulao here. Add basil leaves, mozzarella cheese, ginger-garlic, oregano, chilli flakes, salt, pepper and egg. Mix them all until well combined.
  • Form 12-14 balls equal sized balls and roll them in bread crumbs. 
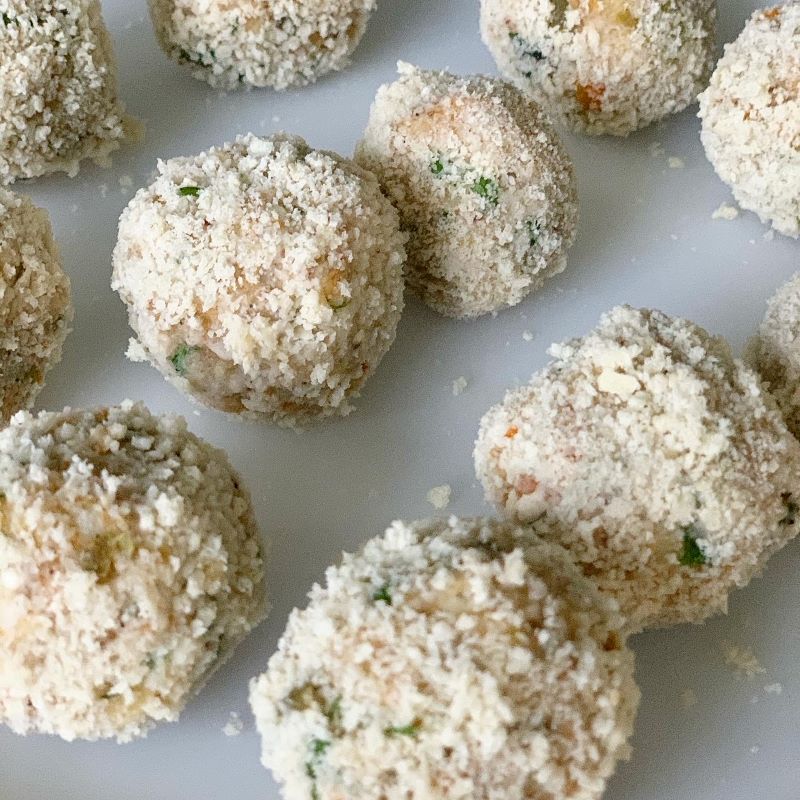
  • Add frying pan to a wok or to a deep pan. Preheat the oil to medium high heat. 
  • Fry the arancini in batches until golden brown. Use a slotted spoon to remove the arancini from the hot oil and place them on a paper towel to drain the excess oil.
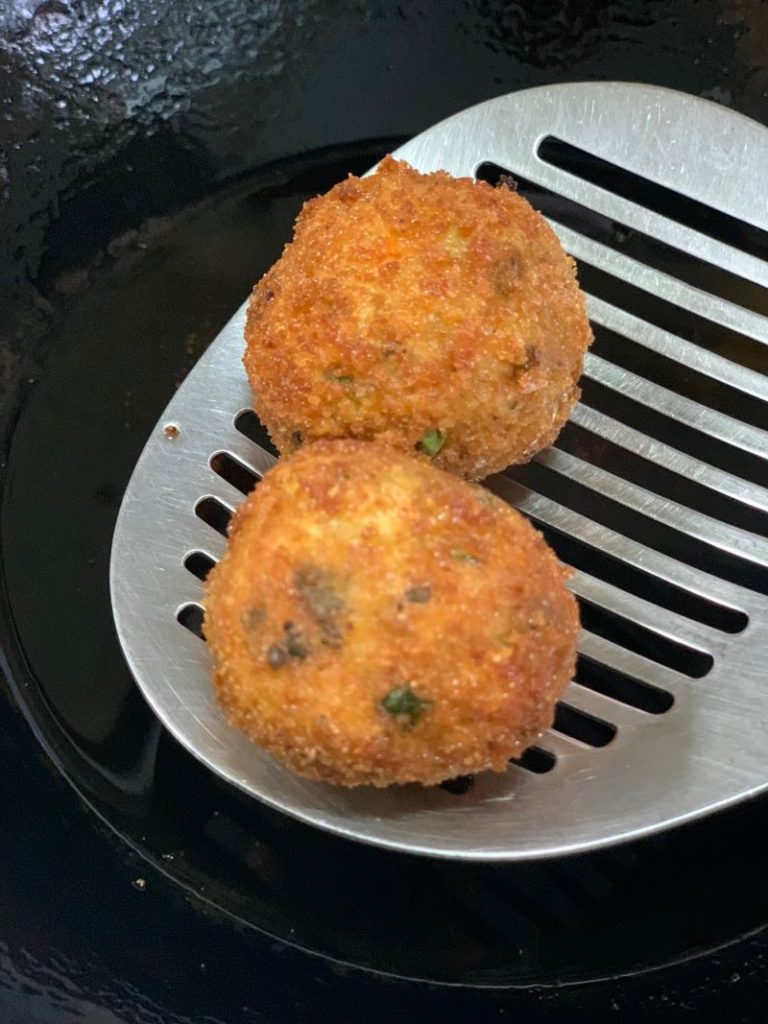
  • Serve hot with ketchup or marinara sauce

Variations: Any type of cheese can be used like cheddar, parmesan, and you can alternate the spices as well. Chopped veggies, such as mushrooms, zucchini, carrots or bell peppers can also be added.

Notes: 

  1. Always use cooked rice
  2. Use rice that is cold
  3. Add more breadcrumbs if the mixture is runny, it should be the consistency of a meatball mixture.

Do give this recipe a shot. It’s a perfect and a delicious way to upscale your leftovers. If you try this recipe, do give us a shout out. Just click a picture and tag us on @masala.monk or use the hashtag #MasalaMonkRecipe and share on Instagram and Facebook. We would love to hear from you. 🙂

Posted on Leave a comment

Green Peas, Corn and Mint Parantha for Toddlers

This recipe came into being when my then 4 year old suddenly one day decided that he hates green peas. Toddlers and their tantrums! But seeing the nutritional profile of peas, I wanted to make him feed peas in some form. I know, all mothers have gone down that lane atleast once where we are finding ways to hide such nutritious vegetables into our child’s meal.

I finally found this perfect way to make him have peas. He absolutely loves this parantha. But now that he is 10, the difference is that he now knows that this is Peas Parantha and sometimes requests for it too. He still hates peas in its whole form though. 🙂

This Parantha tastes extremely good and is perfect for toddlers. Your little one will enjoy the mild soothing flavour derived from apt spices and easily chewable texture. The natural sweetness from peas and corn is very well balanced with mint and spices. 

Peas I think are quite under-rated. It is not actually a vegetable but a small, edible legume and belong to the same family. They are rich in fibre and one of the best plant sources of protein. Always remember when it comes to nutrients, quality over quantity will always win. They are also a useful vegan source of iron. Just 80 grams of green peas can give almost 6 grams of superb quality protein and 1.2 mg of iron.

The combination of sweet corn kernels with peas is quite different and delectable. Sweet corn gives its own creaminess and milky sweet taste to this parantha and mint leaves not only adds that much needed freshness but also is an absolute MUST in summers to keep the digestive system cool.

Let’s see how we can make these parantha for our little picky eaters 🙂

Recipe: makes 3 Paranthas

Ingredients: 

  1. Green Peas: 1/2 cup, boiled or steamed
  2. Sweet Corn Kernels: 1/4th cup, boiled or steamed
  3. Whole wheat flour: 1 cup
  4. Mint leaves: 1/4th cup
  5. Ginger: 1/2 inch
  6. Roasted Cumin Powder: 1/4th tsp
  7. Black pepper: as per taste
  8. Salt: as per taste
  9. Coriander Powder: 1/4th tsp
  10. Garam Masala: a pinch (optional)
  11. Caraway seeds/Ajwain: a generous pinch
  12. Ghee for cooking and dough

Instructions:

  • In a large plate or bowl take wholewheat flour. Add salt, blackpepper, roasted cumin powder, coriander powder, garam masala, ajwain and 1 tbsp desi ghee. 
  • In a blender, add boiled/steamed peas, corn, mint leaves and ginger. Blend to a smooth purée. Use a little water to get a smooth purée.
  • Add the purée to the flour and knead the flour using the purée. Make a soft dough. 
  • Cover the dough and let the dough rest for 10 mins. Then make small balls and roll it with a rolling pin to the shape and size you want. 
  • Heat a tawa and place rolled parantha over it. Drizzle oil or ghee after it gets half cooked and cook both sides using ghee till golden brown. 
  • Serve with dollop of homemade butter and loads of love.  ❤️

Always serve homemade butter to your child and never store-bought one. Know why you should not give store-bought butter to your child and how to make homemade butter here- Is Homemade Butter really Worth the Effort?

Notes: 

  1. If you are boiling peas and corn then do that in minimal water and use the water to make the purée. Do not let the nutrients get washed away down the drain.
  2. Do not cook parantha on low flame for a long time. It will make harder or crisp paratha which kids don’t like.
  3. You can use frozen peas for this recipe but remember fresh will always taste better. 
  4. Do not skip adding caraway seeds or ajwain in your child’s parantha. They are excellent for digestion.

Do try out this recipe for your child. I am absolutely sure your child will enjoy it. More than your child I am sure you will enjoy watching your child gobbling down such healthy stuff. 🙂 Do let me know in the comments if you do. Would love to know how your child liked it. 

Happy Feeding! 

Posted on Leave a comment

Instant Masala Bread Idli- Easy Breakfast Recipe

Instant Masala Bread idli is delicious protein rich breakfast. They are air light, super easy to make and above all healthy. I can bet you can’t stop at one. This is one of my favourite breakfast recipes. Easy, simple with no fancy ingredients required!

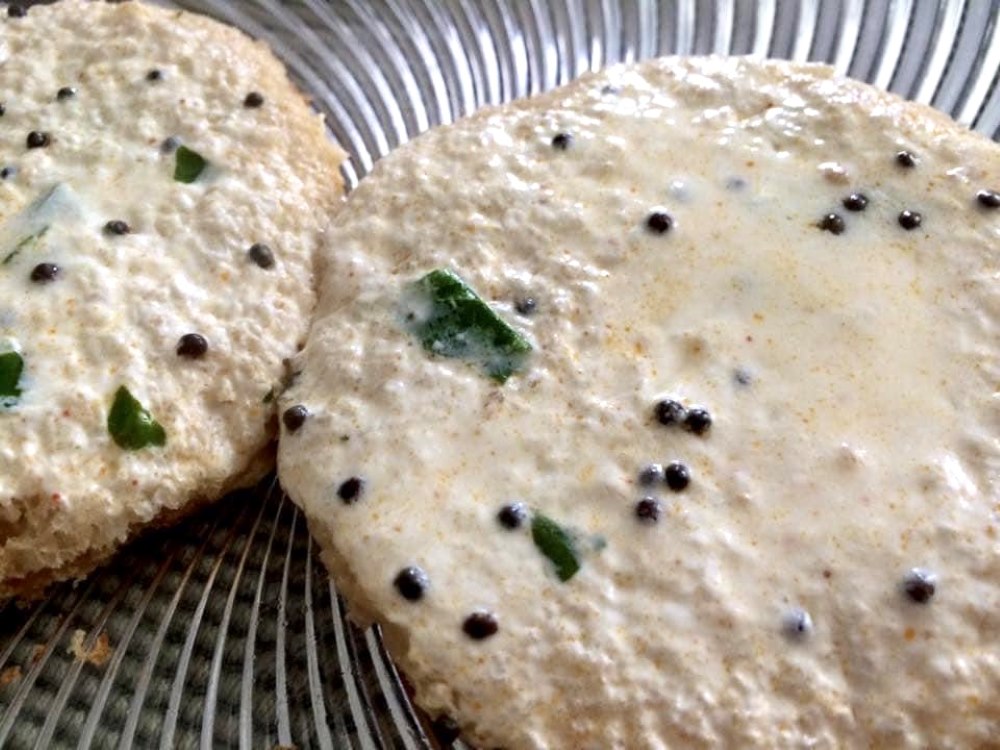
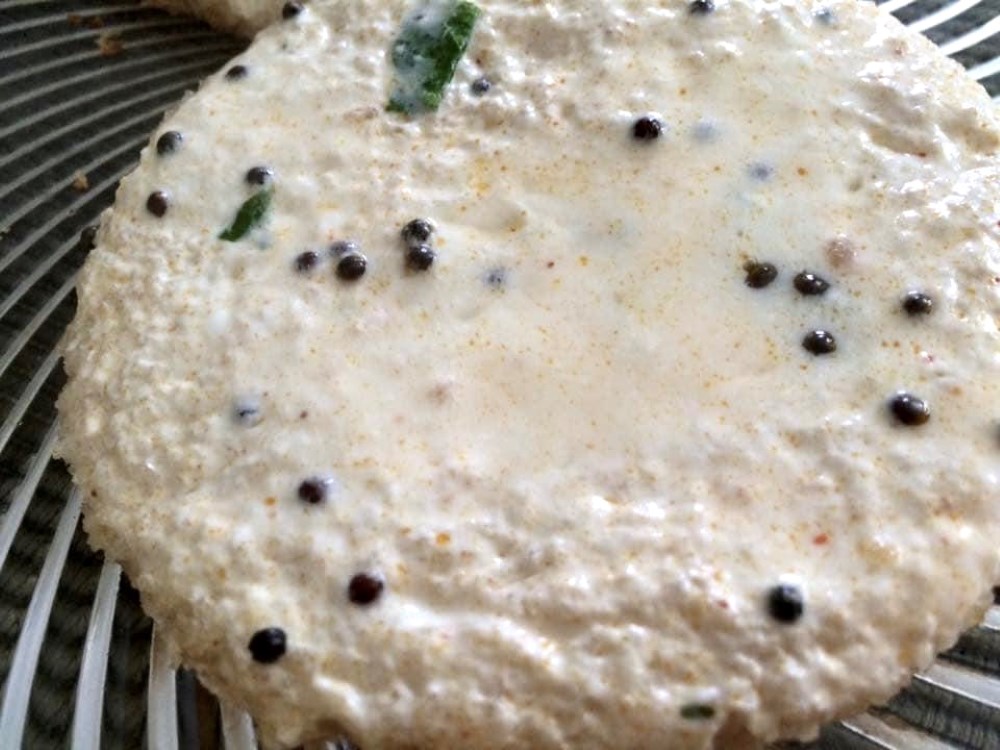
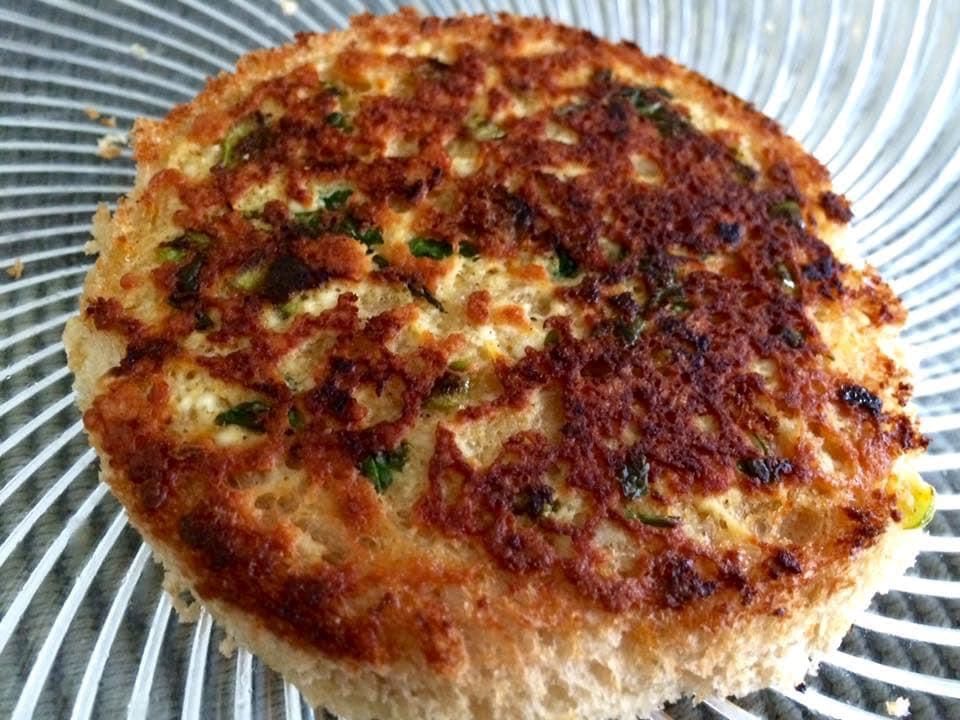
It is like a slice of bread with a filling of your choice on one side and steamed tempered yogurt on the other side, adding different textures to this simple yet delicious dish. It’s creamy, soft and crispy- all of that in one slice of bread. 

I had these bread idlis for the first time some 17-18 years back at my Aunt’s house and instantly fell in love with it. Years later when I got married, I remembered those instant bread idlis and wanted to make it for my husband and child. Just like me, my family too totally loved it.

You need very basic ingredients for this recipe- bread slices, either brown or white bread, thick yogurt or homemade curd and Indian cottage cheese (Paneer) or potatoes.

I shared this recipe in one of the food community groups on facebook, Eatlo and it was such a huge hit. I was amazed to see that hundreds of people tried this recipe and the feedback was just fantastic. If you talk about food just as much as you eat, you should definitely join this community. It’s a safe space where you can share your cooking adventures, know more about different cultural and regional foods, ask for recipes, get health tips and interact with food enthusiasts all over the world.

Now without further delay let’s see how you can make this delicious recipe

Recipe: serves 3

Ingredients: 

  • Bread slices: 8
  • Oil/Ghee for Cooking

For Tempered Yogurt/Curd

  • Thick Yogurt/Curd: 1.5 cup
  • Mustard seeds: 1/2 tsp
  • Curry leaves: 1 sprig
  • Asafoetida/hing: a pinch
  • Oil: 1 tbsp
  • Red chilli powder: 1/4th tsp
  • Salt to taste

For Paneer Filling

  • Paneer: 150 grams
  • Coriander Leaves: handful 
  • Capsicum: 1/4th cup; finely chopped
  • Salt to taste
  • Minced Garlic: 1/4th tsp
  • Red Chilli Powder: 1/4th tsp or to taste
  • Garam masala: 1/4th tsp
  • Roasted Cumin Powder: 1/2 tsp
  • Raw Mango Powder: 1/4th tsp
  • Green Chilies: 1; finely chopped (optional)

Method:

  • Whisk thick yogurt/curd to get a smooth consistency. 
  • Now heat oil in a small pan. Add mustard seeds and hing. Let it splutter. Switch off the flame and add curry leaves, salt and red chilli powder. Let it sit in hot oil for 15 seconds and then add this tempering to yogurt and mix well. Keep aside.
  • Cut bread slices in roundels using a bowl or a round cutter and keep aside.
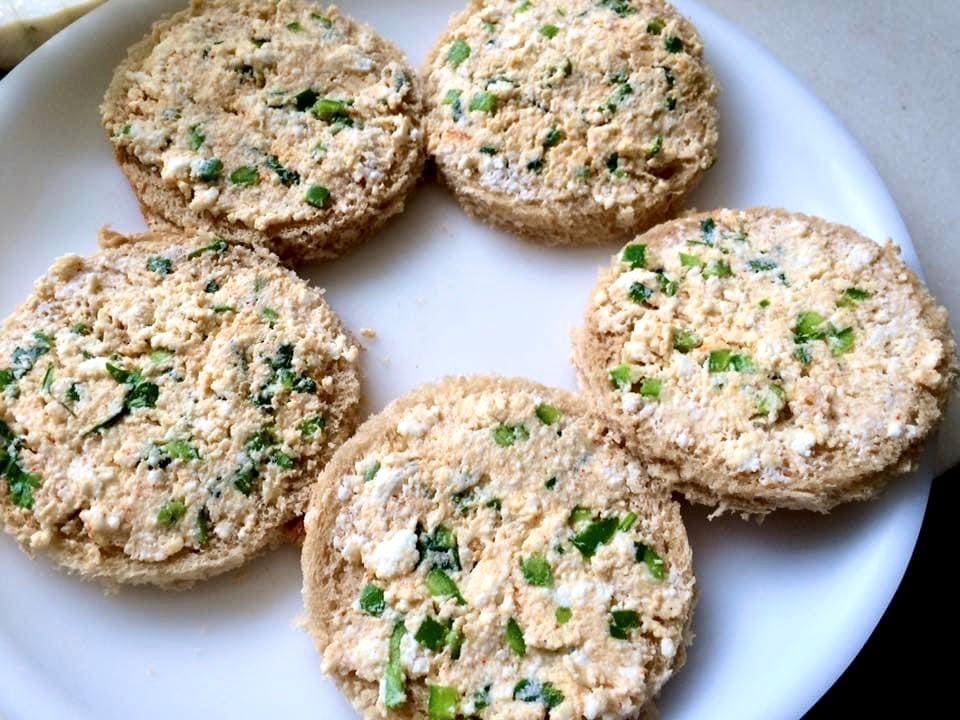
  • Crumble paneer in a plate. Add finely chopped capsicum, coriander leaves, minced garlic, salt, red chilli powder, garam masala, cumin powder and raw mango powder. Mix well. Check for seasoning and your filling is ready.
  • Now take the bread slice and spread the prepared filling on one side. Do not make a very thick layer. 
  • Heat a non stick pan to a medium heat. Brush it with some oil or ghee. 
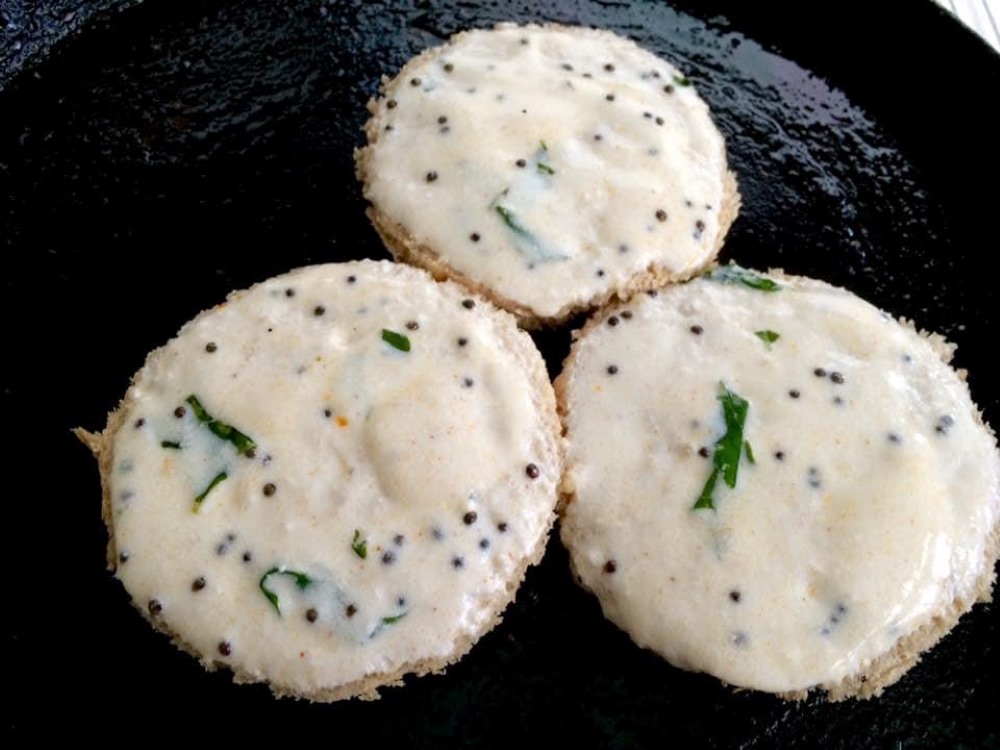
  • Now put the filling side down. Reduce the flame to the lowest. On the top, apply the prepared tempered yogurt. Do not overload it with curd but put a generous amount so that the bread is coated well. 
  • Cover the slice with a large bowl. The idea is to steam the yogurt side and make the filling side crisp. This should take about 3-4 minutes to cook. Keep the flame low.
  • Cook till bottom side becomes golden brown. 
  • Serve hot with chutney of your choice.

Notes: 

  1. You can choose the filling of your choice. I also make this with potatoes. Just replace paneer with potatoes. 
  2. Always cook bread idli on low flame. Otherwise the bottom side will be cooked and yogurt side will not get time to get set. 
  3. Serve it immediately or the bread will become soggy.
  4. For leftover bread sides, you can toast them in the oven and turn into bread crumbs.
  5. If the yogurt or curd you have is watery, simply line a colander with muslin cloth. Add yogurt/curd and keep it refrigerated for an hour. This will drain the excess whey.

For more quick yogurt recipes you can try out my quick and absolutely delicious Hung Curd Spinach Cheese Sandwiches

Do try out this recipe. I promise you will not be disappointed. Let me know in the comments if you do try. Would love to have your feedback. Happy Cooking! 😊

Posted on 1 Comment

Wholewheat Jaggery Banana Tea Cake aka Healthy Banana Bread

I am a mother of a ten year old. Now, all the mothers out here will agree with me that when it comes to kids, we always try to find healthy ways to feed them their favourites.

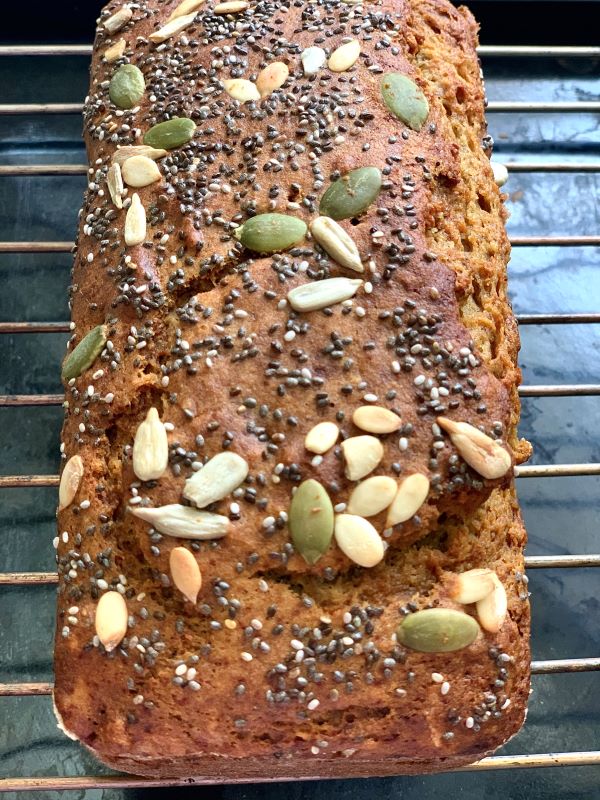
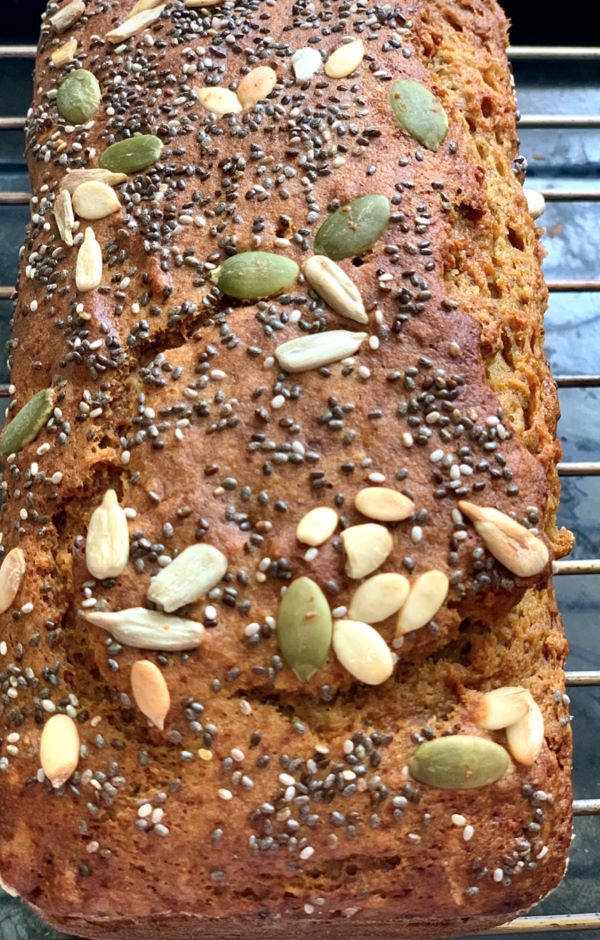
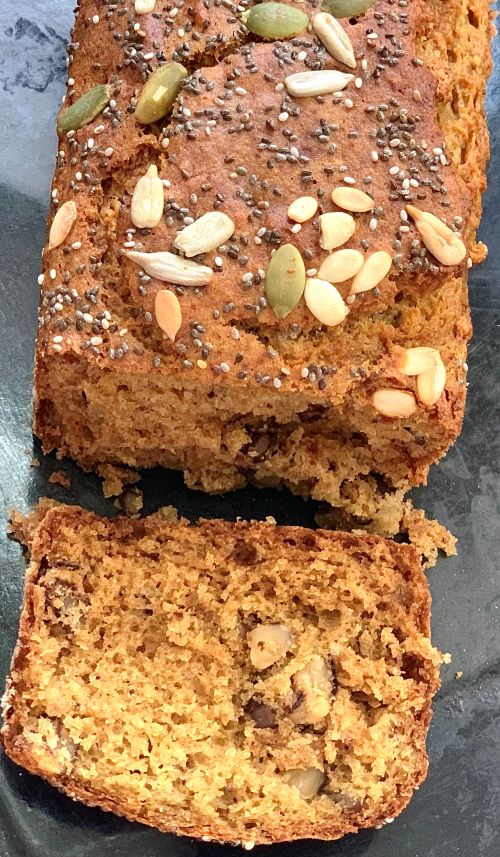
I absolutely love Banana Bread. I think the true existence of bananas were to become over ripe and transform into banana bread. This Banana Cake comes out insanely delicious and is so much more healthier for you. It is dairy free with goodness of wholewheat flour, jaggery and walnuts. Bananas add such a brilliant taste to baked goods that it amazes me every time. The gooeyness of bananas combined with nuttiness of wholewheat flour and earthiness of jaggery makes this banana cake irresistible. This gets polished off at my house before I even know it. I barely get to eat a slice.

Ingredients used that make this Cake Healthy and their Substitutes

Wholewheat Flour: Whole wheat flour is a whole grain that provides more fiber and other nutrients naturally than refined enriched flours. It can be used in place of all-purpose flour in baking and cooking. However, if you don’t have wholewheat flour, you can try this recipe with combination of other flour like rolled oats flour, finger millet or gluten free flour.

Jaggery Powder: It gives banana bread its rich caramel flavour. It is so much more healthier than refined white sugar. Jaggery has cleansing properties that help clear the lungs and respiratory tract. Other health benefits of jaggery include improved immunity, anaemia prevention and improved digestive health. If you do not have it on hand, the you can use coconut sugar, unrefined palm sugar or any other unrefined sugar.

Egg: Apart from nutrition, egg adds structure and texture to banana bread. If you want to make this cake eggless, you use 1/4th cup of yogurt or milk of your choice as a substitute of 1 egg. This will yield similar results.

Cinnamon: With its warm, sweet and slightly spicy flavour cinnamon adds a lot of depth to baked goods. However, if you don’t want to use it, you can omit it.

Walnuts: Walnuts provide great flavour, texture, and a beautiful crunch to banana bread. They have a mild and creamy taste which makes them perfect for cakes. You can skip them if you don’t like or add chocolate chunks or chips or toasted almonds in this recipe. You can also add dried fruits like raisins, dried cranberries, dried blueberries etc.

This recipe is absolutely fuss free and easy peasy. It requires no endless whipping and whisking. Just throw everything in the blender and then mix dry ingredients with wet ingredients. That’s pretty much it. With little effort required, this Banana Bread will fill your house with the beautiful aroma that feels like a warm hug. If you want more of such fuss free healthy cake recipes, you can try my Wholewheat Carrot Orange Tea Cake recipe too.

Recipe

Ingredients

  • 1 cup Wholewheat Flour
  • 2 medium size over ripe Bananas
  • 1/3rd cup Jaggery Powder
  • 1 large Egg
  • 1/4th cup Coconut oil/Olive oil/Non-fragrant Oil
  • 1/2 tsp Baking Powder
  • 1/2 tsp Baking Soda
  • 1/4th tsp Cinnamon Powder
  • 1/4th tsp Salt
  • 1 tsp Vanilla Extract
  • 1/2 cup chopped Walnuts
  • 1/4th cup mixed Seeds of your choice (optional)

Instructions

  • Preheat oven at 180 C ten minutes prior to baking.
  • Line a 6 by 3 inch rectangular pan with a parchment paper or alternatively grease baking tin with oil and dust it with some flour.
  • In a blender or food processor, add bananas, oil, jaggery powder, vanilla extract and egg and blend till everything combines well.
  • In a large bowl, sieve wholewheat flour 3-4 times. This will add more air and will ensure that the cake doesn’t get a dense texture.
  • In the same bowl, sieve baking powder, baking soda, salt and cinnamon powder. Add chopped walnuts to dry ingredients. Mix everything well and keep aside.
  • Now, add wet ingredients in the blender to dry ingredients in 2 or 3 batches. Cut and fold gently each time. Do not over mix the batter.
  • Add the prepared batter to the cake tin. Top it with mixed seeds. Tap the pan on the shelf 2-3 times to clear out all the air bubbles.
  • Bake for 35 minutes or till toothpick inserted at the centre comes out clean. Allow it to cool for 15 minutes in the pan. To remove the cake from the pan, simply run a blunt knife around the edges and invert on the wire rack. Tap the pan 2 or 3 times and the cake will slide out.

Pro Tips

  1. Use the yellowest of bananas. Actually, the blacker the better. Over ripe bananas are the sweetest and are perfect for baking.
  2. Ensure the jaggery powder is smooth and fine to avoid grainy batter. You can sieve the powder to get rid of grainy bits.
  3. This cake will be a little more moist than your usual cakes because of the use of jaggery and bananas, so let it cool completely before trying to turn it out or you will end up breaking it.
  4. This recipe can also be used to make muffins. It will give 8 to 9 muffins.


Posted on 1 Comment

Homemade Almond and Rose Sharbat Concentrate- Healthy Summer Delight

Summer is here and so is the need for delicious healthy summer coolers to quench our thirst. Drinking homemade sharbats is one of the natural ways to beat the heat and stay hydrated. Sharbat is usually a syrup made from fruit, flower extracts, and/or herbs. The syrup is then diluted with sugar, water and ice.
I have been a sucker for Badam (Almond) Sharbat all my growing years. I remember my mother used to make badam concentrate in summers. I would open the refrigerator and make myself a glass one after the other and before my siblings could lay a hand on it, the bottle of concentrate would have halved. That’s how much I loved it then and I still do.

It’s fairly simple to make a drink with concentrate. Just add few tablespoons of concentrate in a glass, add water and ice cubes. Mix well and enjoy. No need to add any sugar and stir endlessly. Every child can make it.

Before I share the recipe, here’s an interesting insight on sharbat. Did you know that, in India, sharbat was introduced by the Mughals in the 16th century, which was popularized by Babur in the Indian subcontinent who had sent for frequent loads of ice from the Himalayas to make this chilling beverage.

Almond sharbat also known as sherbet originated from Persia, which was flavoured with cardamom and kewra water. Since then, there have been many different versions of it. We will make one flavored with rose petals and musk melon seeds. Badam Sharbat is valued for its exceptional health benefits.

  • Almonds are enriched with vitamin E, fibre, magnesium and omega 3 fatty acids. It is a natural brain tonic for memory enhancement. It’s also cools and calms your body.
  • Rose petals on the other hand, are linked with stress reduction and relaxation. They are loaded with antioxidants. It’s a natural summer cooler. It improves digestion by calming your system. 
  • Muskmelon seeds are not only rich in vitamins and minerals like vitamin A, K, E, niacin, zinc & magnesium but did you know that musk melon seeds are excellent to prevent seasonal flu. Keep the summer cold at bay by eating muskmelon seeds. They get rid of extra mucus in the body and help clear up congestion.

How to make this Concentrate?

Ingredients

  • Raw Almonds- 1 cup (250 ml measuring cup)
  • Filtered Water- 2 cups
  • Raw unprocessed Sugar- 1 1/4 cup (depends how sweet you prefer. I don’t like it overly sweet)
  • Black pepper peppercorn- 9-10
  • Cardamom- 4 to 5 pods, slightly crushed 
  • Musk Melon seeds- 3 tbsps
  • Rose Petals- 1/2 cup
  • Fennel seeds- 1 tsp

Instructions

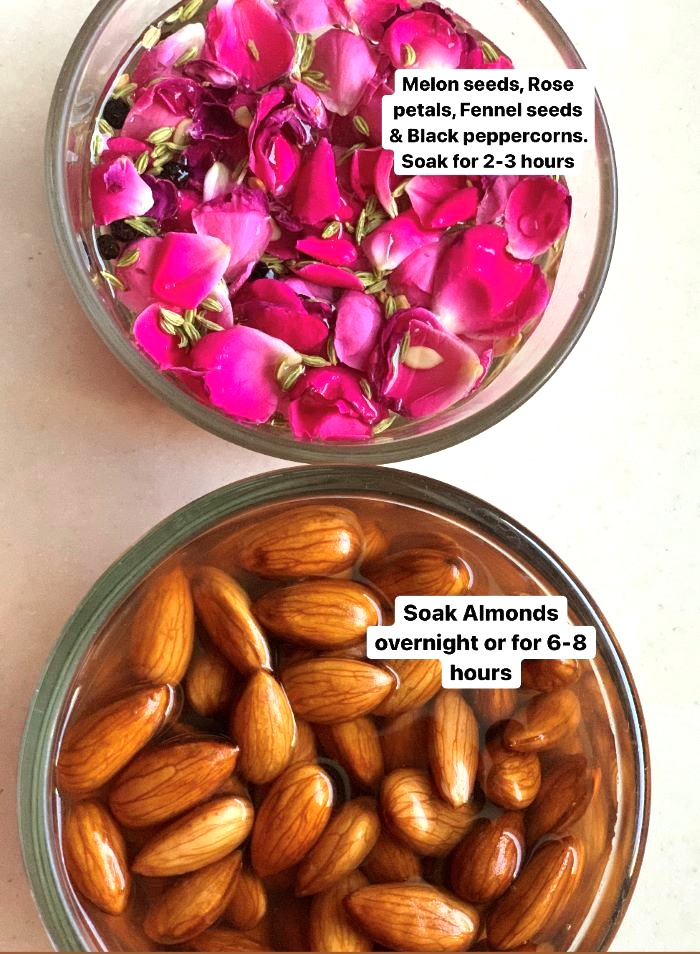
  • Rinse almonds and soak overnight or for 6-8 hours. 
  • In another bowl soak melon seeds, rose petals, peppercorns & fennel seeds for 2-3 hours
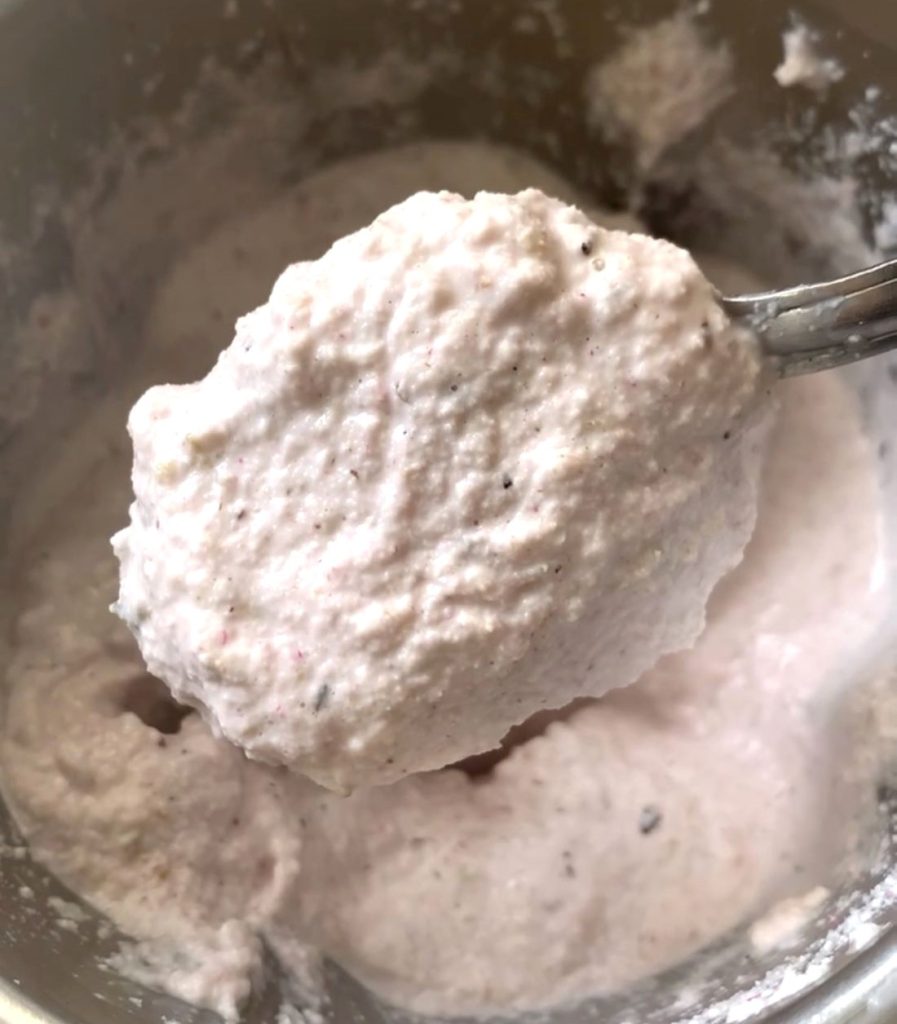
  • Drain the water. Peel the almonds. Now, grind almonds, melon seeds, rose petals, fennel seeds & peppercorns into a fine paste. Use water to get a smooth thick paste. 
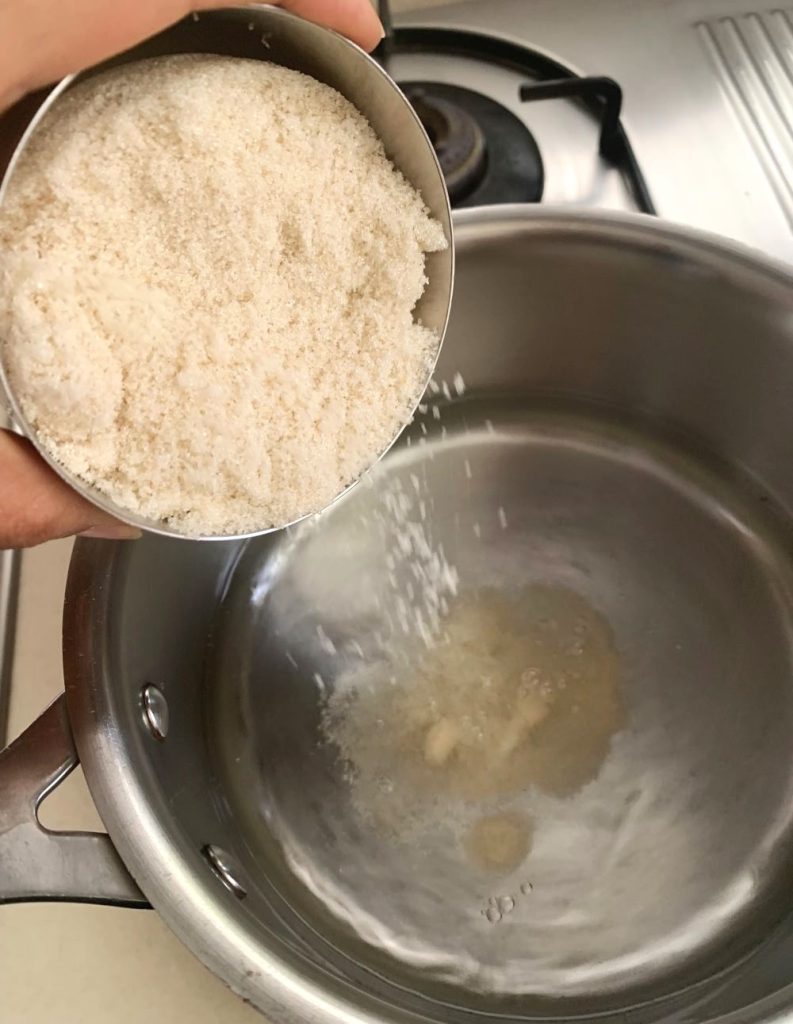
  • In a pan add water and sugar. Bring it to boil. Add crushed cardamom and simmer the syrup for 4-5 minutes. 
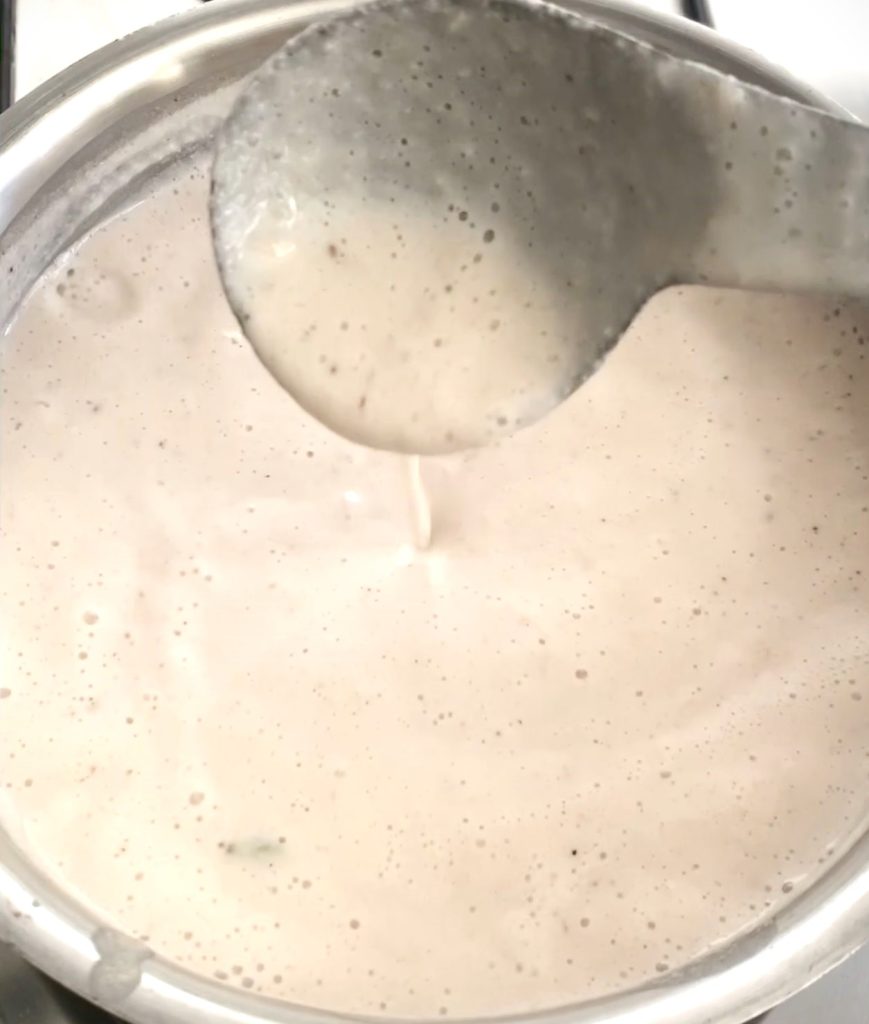
  • Now add the prepared almond paste and cook for 15 minutes on low flame or till the syrup thickens and reduces to almost half. 
  • Please remember that the syrup will also thicken on cooling. 
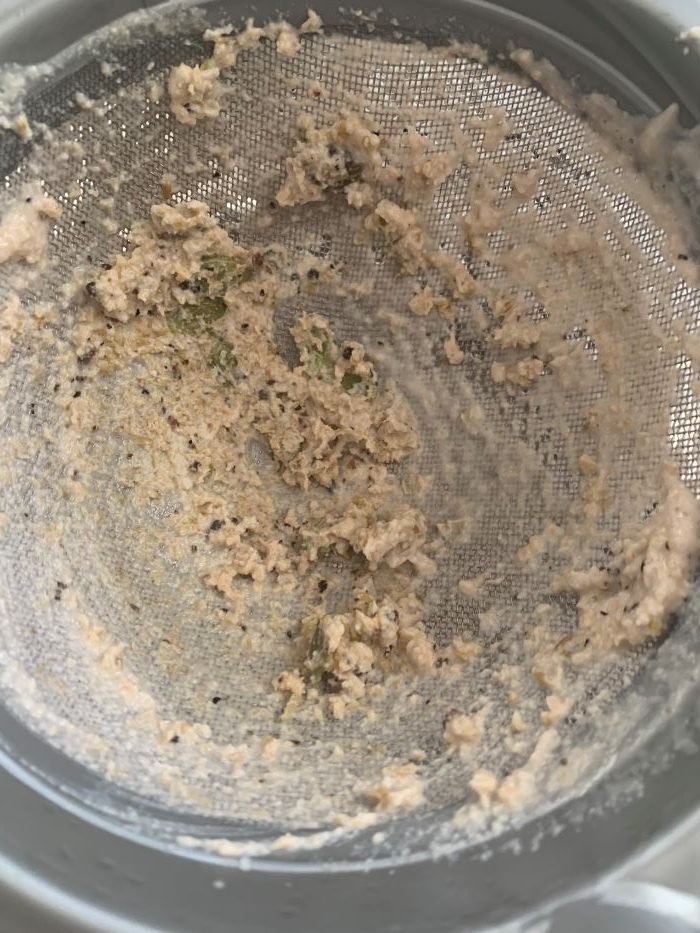
  • Once cooled, sieve the syrup with a soup strainer to get a smooth concentrate. 
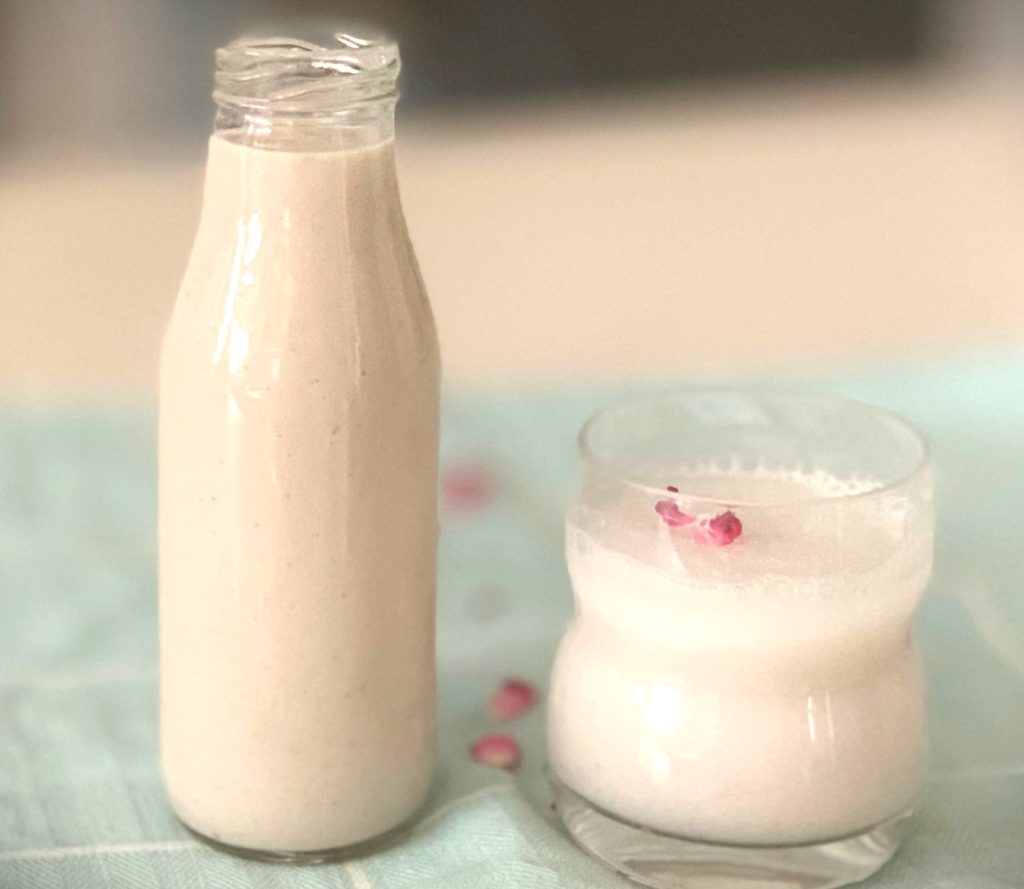
  • Once it cools down, pour it into clean sterilized glass bottles.

How to prepare the Sharbat?

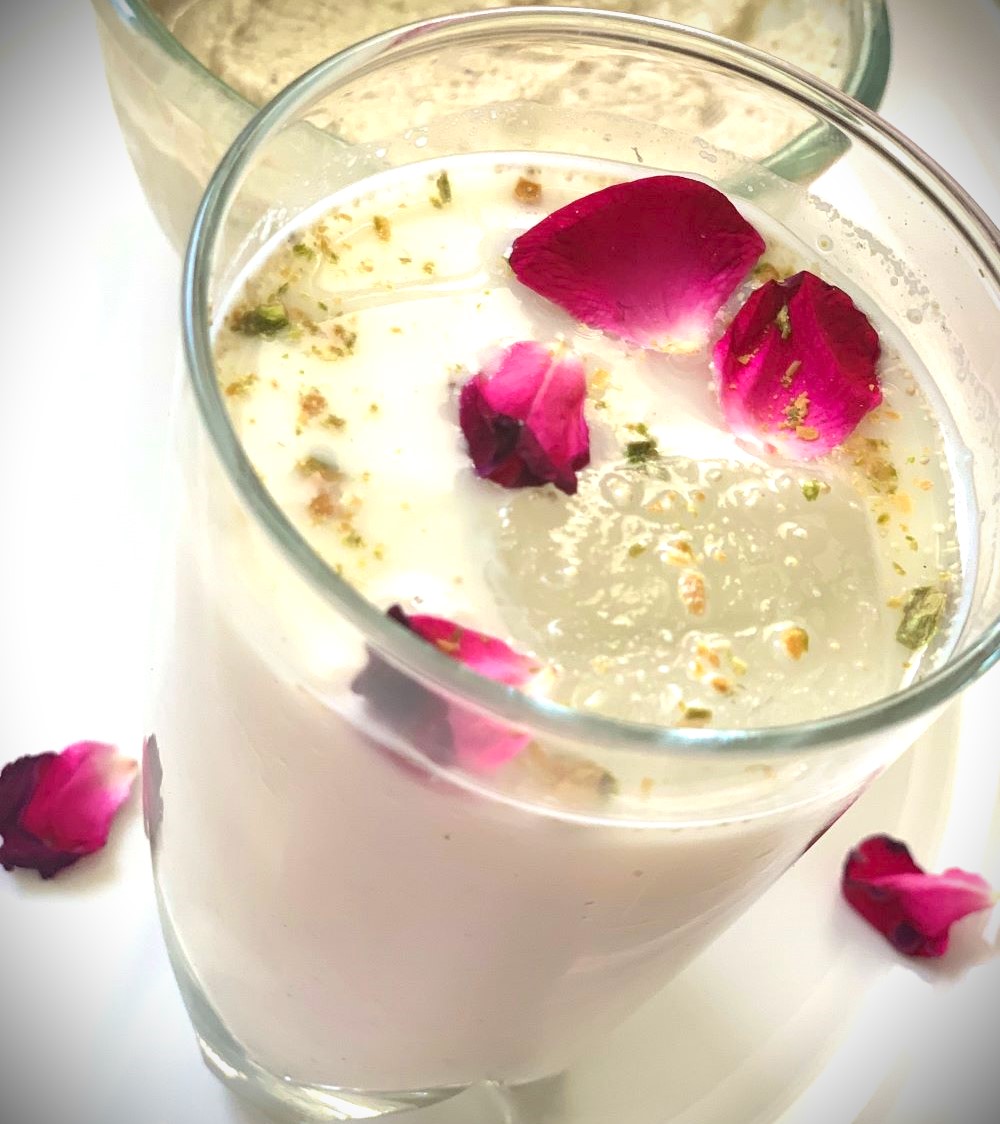
  • To prepare a glass of sharbat, pour 2 tablespoons of concentrate in a glass and top it with cold water. Stir well. Check for taste. If you want you can add more concentrate. Once ok, add ice cubes if you like. Cheers to good health!
  • You can also add this concentrate to cold milk and give it to your kids in summers.

Notes:

  1. Use indigenous variety of pink rose petals and not the ones used by florists. Damask roses are a powerfully fragrant variety and has a distinct flavor. You can use garden rose as well.
  2. I have used unprocessed raw cane sugar here.
  3. Store the Badam Rose Sharbat concentrate in the refrigerator for upto a month. Shake well before use.
  4. If you like to have more of rose flavor in the concentrate then, you can add couple of drops of rose essence or a tbsp of rose water.