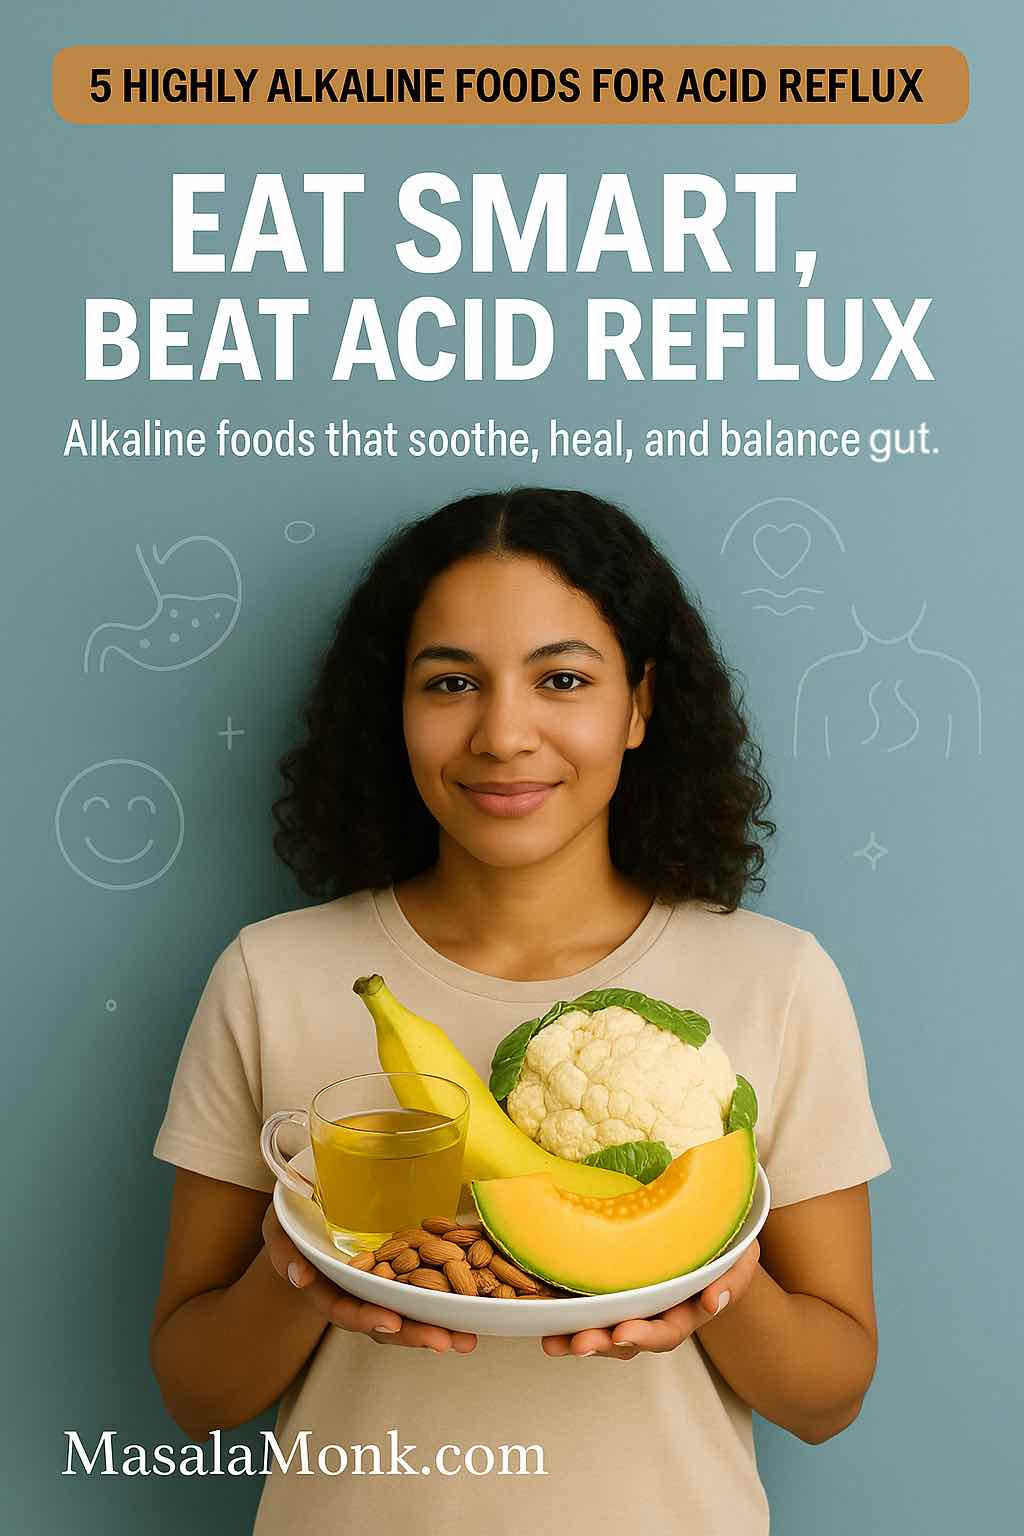
If you’ve ever felt a burning sensation in your chest or throat after eating, you know the discomfort of acid reflux. Also called GERD (Gastroesophageal Reflux Disease) or sometimes silent reflux, this condition affects millions worldwide.
While medications can help, research shows that your diet plays a crucial role in reducing reflux. One of the most powerful natural approaches is eating more alkaline foods. These foods help neutralize excess stomach acid, reduce irritation, and support smoother digestion.
In this guide, you’ll discover:
- ✅ What alkaline foods are and how they help acid reflux
- ✅ The top 5 alkaline foods that soothe GERD, heartburn, and silent reflux
- ✅ Lifestyle tips and FAQs about the alkaline diet for reflux relief
Whether you’re searching for alkaline snacks for GERD, quick foods that reduce acidity, or a diet plan to calm heartburn naturally, this post will walk you through everything you need.
Also read: 21 Remedies for Acid Reflux, Heartburn, and GERD: Natural and Ayurvedic Solutions
What Is Acid Reflux & Why Alkaline Foods Help
🌡️ What Is Acid Reflux, and How Does the Alkaline Diet Help?
Acid reflux happens when stomach acid escapes upward into the esophagus. This can cause:
- Burning in the chest (heartburn)
- Sour or bitter taste in the mouth
- Bloating and gas
- Nausea
- Difficulty swallowing
The root issue is often a weak or relaxed lower esophageal sphincter (LES) — the muscle that normally keeps acid from rising. When the LES doesn’t close properly, acid moves up and causes irritation.
Why Alkaline Foods Matter for GERD & Silent Reflux
Many people ask: “Do alkaline foods help with acid reflux?” The answer is yes — they can make a noticeable difference.
- Neutralize stomach acid: Alkaline foods help reduce acidity in the stomach and esophagus.
- Reduce inflammation: They are often rich in fiber and antioxidants, calming the digestive tract.
- Support LES function: Nutrient-dense alkaline foods (like almonds with magnesium) can help keep the LES working better.
- Gentle on digestion: Compared to acidic foods (tomatoes, citrus, spicy dishes), alkaline foods are less likely to trigger reflux.
This is why an alkaline diet for GERD, silent reflux, and acidity is recommended by many nutrition experts. While it may not “cure” reflux, it can dramatically reduce symptoms naturally.
Do Read: What to Drink for Acid Reflux and Heartburn Relief: Soothing Solutions That Work
Quick Reference – Alkaline Foods That Help Acid Reflux
🧪 Quick Reference: Alkaline Foods That Reduce Acid Reflux & GERD
Here’s a shortlist of alkaline foods that research and traditional remedies highlight for acid reflux, GERD, and even silent reflux relief:
| Food | pH Level | Why It Helps Reflux | How to Eat It |
|---|---|---|---|
| Bananas | ~5.6 (alkaline effect) | Coats the stomach lining, aids digestion | In oatmeal, smoothies, or plain |
| Melons (cantaloupe, honeydew, watermelon) | 6.1–6.7 | Hydrating, dilutes stomach acid | Fruit salad, blended drinks |
| Cauliflower | ~7.0 | Neutralizes acid, anti-inflammatory | Roasted, mashed, or in soups |
| Fennel | Slightly alkaline | Relaxes digestive tract, reduces gas/bloating | Fresh in salads, fennel tea |
| Almonds | 7.0–8.0 | Alkaline snack, rich in magnesium for LES health | Raw, or as almond butter |
✅ These are not just “alkaline” on paper — they’re practical, reflux-friendly foods you can add to daily meals or snacks.
💡 Tip: If you’re looking for quick relief, try raw almonds or fennel tea as simple alkaline snacks for GERD.
Also Read: Foods that Worsen Acid Reflux and Heartburn
The 5 Best Alkaline Foods for Acid Reflux Relief
🥇 1. Bananas – Nature’s Digestive Soother
Are bananas alkaline? Yes — while their pH is around 5.6, bananas have a slightly alkaline effect in the body.
Why bananas help with reflux:
- Coats and protects the esophageal lining
- High in pectin (soluble fiber) → helps food move smoothly through digestion
- Provides potassium and gentle natural sweetness without triggering acid
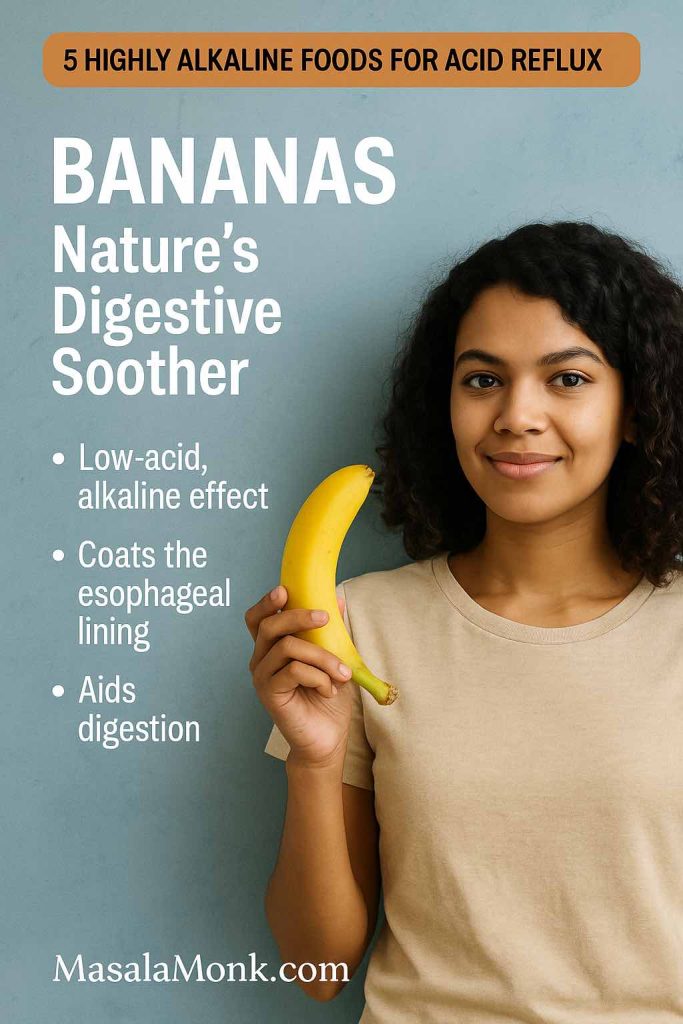
👉 How to eat: Add sliced banana to oatmeal with almond milk, blend into a smoothie, or enjoy as a quick reflux-friendly snack.
Do read: Bananas Good or Bad for Heartburn and Acid Reflux
🥈 2. Melons – Hydration Meets Alkalinity
Alkaline fruits for acid reflux include melons like cantaloupe, honeydew, and watermelon. With a pH of 6.1–6.7, they’re among the most soothing fruits for heartburn.
Why melons help:
- High water content → naturally dilutes stomach acid
- Cooling effect on the digestive tract
- Gentle on sensitive stomachs compared to acidic fruits like oranges or pineapple
👉 How to eat: Enjoy a melon fruit salad, or blend melon with spinach and coconut water for a hydrating alkaline smoothie.
🥉 3. Cauliflower – The Alkaline Superfood
Is cauliflower alkaline? Yes — it has a near-neutral pH (~7.0) and is a top alkaline vegetable for reflux sufferers.
Why cauliflower helps:
- Neutralizes excess stomach acid
- Rich in fiber to promote healthy digestion
- Contains anti-inflammatory compounds that calm irritation in the gut
👉 How to eat: Roast cauliflower with turmeric and olive oil, or mash it as a reflux-safe replacement for potatoes.
🏅 4. Fennel – The Gut-Friendly Herb
Fennel has a slightly alkaline pH and has been used for centuries to ease indigestion and bloating. Its natural compound anethole relaxes the digestive tract.
Why fennel helps:
- Relieves bloating and gas
- Improves food movement through the stomach
- May strengthen the LES, reducing reflux episodes
👉 How to eat: Slice raw fennel into salads, sauté it with vegetables, or brew fennel seeds into a soothing tea.
Read more about Fennel Seeds for Digestion, Freshness, and Calm
🎖️ 5. Almonds – Crunchy, Alkaline & Satisfying
Almonds are one of the few alkaline nuts with a pH of 7.0–8.0. They make an excellent alkaline snack for GERD.
Why almonds help:
- Don’t overstimulate stomach acid
- High in magnesium → supports proper LES function
- Provide healthy fats and protein for stable energy
👉 How to eat: Snack on raw almonds between meals, or make almond butter to spread on whole-grain toast.
✅ Together, these 5 alkaline foods form a natural, reflux-friendly foundation for reducing acid reflux, GERD, and even silent reflux symptoms.
Science + Lifestyle Tips for Reflux Relief
🔬 Do Alkaline Foods Really Help with Acid Reflux?
A common question is: “Does the alkaline diet help acid reflux?” Research suggests it can.
- A 2017 study in JAMA Otolaryngology found that a plant-based Mediterranean diet plus alkaline water was just as effective as proton pump inhibitor (PPI) medication for reducing reflux symptoms.
- Dr. Jamie Koufman, a reflux specialist, notes that alkaline water with a pH of 8.8 can deactivate pepsin, the enzyme that damages the esophagus during reflux.
👉 While the idea of fully “alkalizing the body” is debated, studies consistently show that alkaline-forming, plant-rich diets improve GERD and silent reflux symptoms.
Also Read: Acidity? Burning Sensation in Stomach? Here is a Natural Food Guide
✅ Lifestyle Tips to Support an Alkaline, Reflux-Friendly Diet
Food choices matter — but habits amplify results. If you’re adopting an alkaline diet for GERD or silent reflux, pair it with these daily practices:
- Stay upright after meals: Wait at least 2–3 hours before lying down.
- Eat slowly and chew well: Helps kickstart digestion and reduces pressure on the stomach.
- Avoid overeating: Large meals stretch the stomach, increasing reflux risk.
- Hydrate smartly: Drink mineral or alkaline water to help neutralize acidity.
- Limit reflux triggers: Coffee, chocolate, alcohol, spicy foods, onions, and tomatoes often worsen symptoms.
- Choose alkaline snacks: Raw almonds, bananas, and melon slices are excellent GERD-friendly snacks between meals.
💡 Looking for quick fixes? Foods like oatmeal, ginger, and green vegetables are also known to neutralize stomach acid immediately and can be added to your daily diet.
📌 FAQs: Alkaline Diet, GERD & Silent Reflux
1. Is alkaline food good for acid reflux?
Yes. Alkaline foods like bananas, melons, cauliflower, fennel, and almonds help neutralize stomach acid and reduce irritation in the esophagus. They are gentle, fiber-rich, and less likely to trigger reflux compared to acidic foods.
2. Do alkaline foods help with acid reflux?
Yes. Eating alkaline foods consistently can reduce symptoms of acid reflux, GERD, and silent reflux by balancing acidity, soothing inflammation, and supporting digestion.
3. Do alkaline foods reduce acidity in the stomach?
Yes. Alkaline foods and beverages — especially water-rich fruits and vegetables — can dilute and neutralize stomach acid, helping relieve heartburn and bloating.
4. What alkaline foods help acid reflux the most?
Some of the best alkaline foods for acid reflux are bananas, melons, cauliflower, fennel, and almonds. Leafy greens, ginger, and oatmeal are also effective at calming acid quickly.
5. Is the alkaline diet effective for GERD?
Yes. Studies show that a plant-based, alkaline-rich diet can be as effective as medication for some GERD patients. It reduces acid exposure and improves esophageal health.
6. Does the alkaline diet help with silent reflux?
Yes. Since silent reflux often irritates the throat and vocal cords, alkaline foods and alkaline water can deactivate pepsin and reduce throat damage, offering natural relief.
7. Are bananas alkaline?
Bananas have a pH of ~5.6 but act as a low-acid, alkaline-forming fruit in the body. They coat the stomach lining, making them one of the best fruits for reflux.
8. Is cauliflower alkaline?
Yes. Cauliflower has a near-neutral pH (~7.0) and is a top alkaline vegetable that supports digestion, reduces inflammation, and helps neutralize excess acid.
9. What alkaline snacks are good for GERD?
Great alkaline snacks for reflux include raw almonds, banana slices, melon cubes, cucumber sticks, and fennel tea. They’re filling, soothing, and reflux-safe.
10. How quickly do alkaline foods help with reflux?
Some foods like bananas, ginger, or oatmeal may provide immediate relief within minutes to hours. For long-term results, a consistent alkaline-based diet may take a few weeks to reduce symptoms significantly.
Final Thoughts + Internal Links
🧠 Final Thoughts: Alkaline Foods as Your First Line of Defense
Medications can provide quick relief for heartburn, GERD, and silent reflux — but alkaline foods and diet changes offer a sustainable, natural solution.
From potassium-packed bananas to magnesium-rich almonds, soothing fennel tea, and water-filled melons, your kitchen can be your first line of defense against reflux. By choosing alkaline foods to reduce stomach acid, you can calm irritation, improve digestion, and enjoy meals without the burn.
Remember:
- Everyone’s reflux triggers are unique → keep a food journal.
- Pair diet changes with smart lifestyle habits like smaller meals, staying upright after eating, and mindful hydration.
- If symptoms persist, always consult a healthcare provider.
🔗 More on Acid Reflux & Diet from MasalaMonk
Want to dive deeper into reflux-friendly foods and drinks? Check out these guides:
- 🥣 Foods That Help with Acid Reflux and Heartburn – discover gentle staples like oatmeal, green veggies, and lean proteins.
- ☕ What to Drink for Acid Reflux and Heartburn Relief – soothing beverages like fennel water, almond milk, and aloe vera juice.
- 🌶️ Foods That Worsen Acid Reflux and Heartburn – learn what to avoid: spicy dishes, acidic fruits, caffeine, and more.
- ⚡ What Foods Neutralize Stomach Acid Immediately – quick-relief foods for calming acidity fast.
- 🍌 Bananas: Good or Bad for Heartburn and Acid Reflux? – a deeper dive into one of the most debated reflux-friendly fruits.
💬 Over to You
👉 Did you find this guide useful?
- Share it with a friend who struggles with reflux.
- Comment below with your favorite alkaline snack for GERD.
- And if you’ve tried the alkaline diet for acid reflux, tell us what worked for you!
Your insights may help someone else finally find relief.