In health and wellness circles, oxalates have been both demonized and misunderstood. They’re found in some of the world’s healthiest foods—but also blamed for kidney stones and other issues. In 2025, the science is changing fast, with new breakthroughs in microbiome research, engineered probiotics, and innovative therapies.
This post will unravel what oxalates really are, how they work in your body, and what the latest research means for your daily life—plus, how to enjoy your favorite foods with confidence.
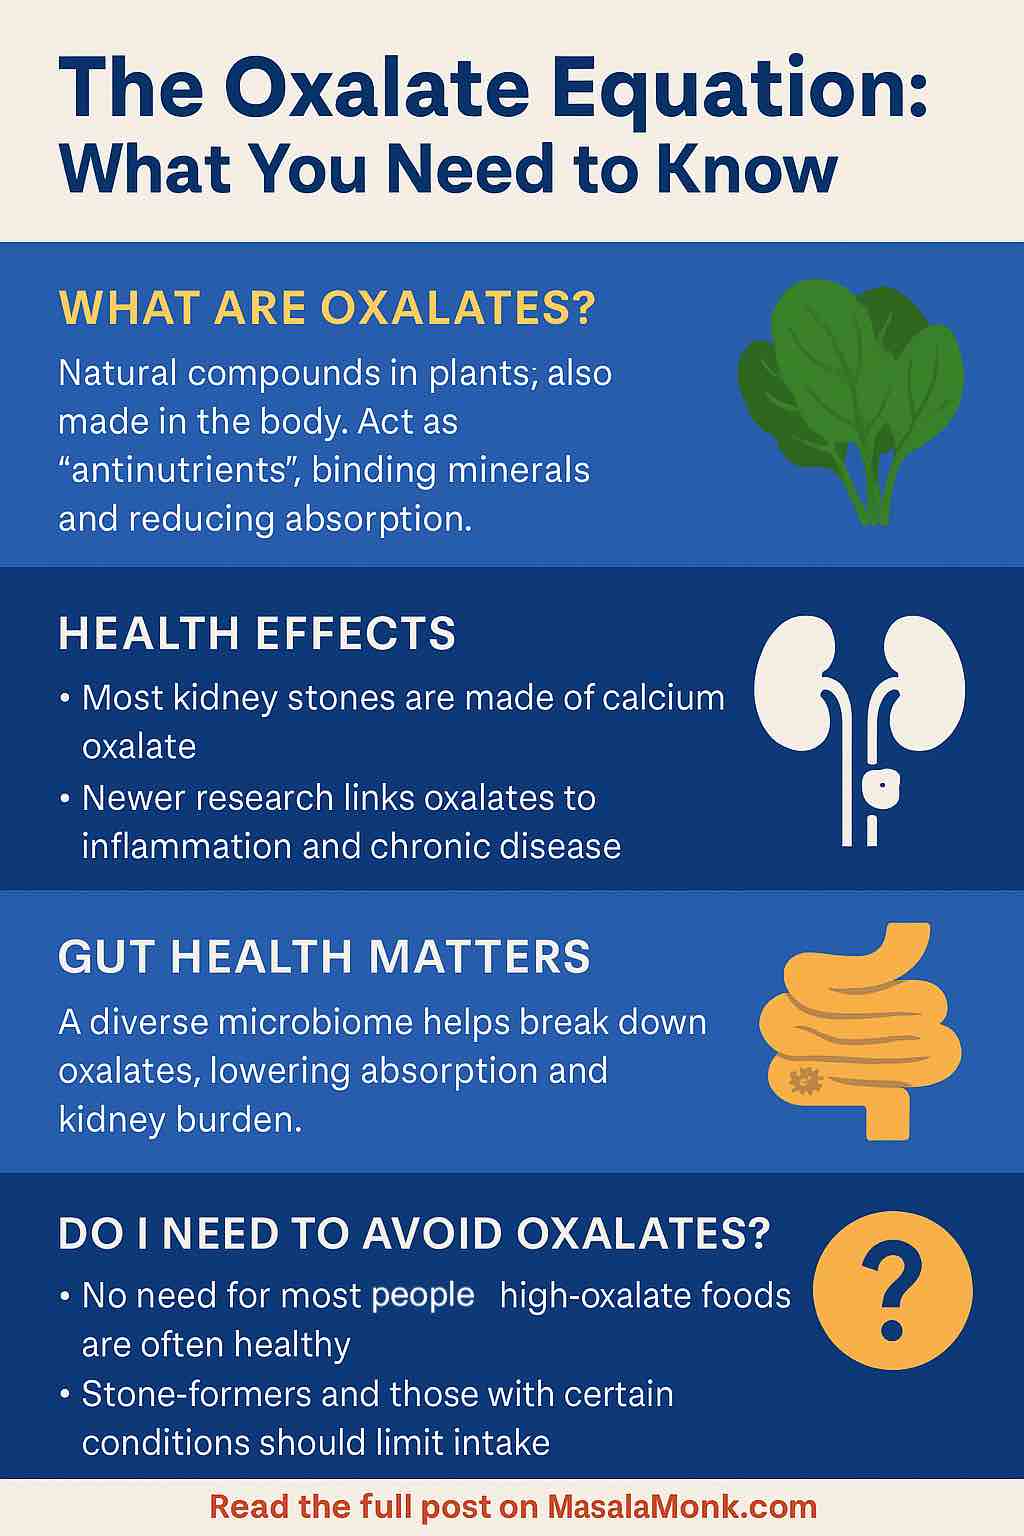
What Are Oxalates, Really?
Oxalates are natural compounds found in plants. Chemically, they’re known as oxalic acid and its salts. They don’t serve any vital function in your body; rather, they’re often viewed as “antinutrients” because they can bind minerals (like calcium and iron), making them less available for absorption.
Common Foods High in Oxalates
- Spinach
- Beets and beet greens
- Sweet potatoes
- Nuts (especially almonds)
- Chocolate and cocoa
- Rhubarb
- Black tea
Not Just from Food
Your liver also produces oxalates as a byproduct of metabolism—sometimes more than you take in from your diet.
Why Should You Care? The Health Side of Oxalates
1. Kidney Stones: The Big Connection
- Around 80% of all kidney stones are made of calcium oxalate.
- For most people, a balanced diet isn’t a problem. But for stone-formers, people with gut issues (like IBD or after bariatric surgery), or rare genetic conditions (like primary hyperoxaluria), oxalate becomes a real concern.
2. Beyond the Kidneys: Systemic Effects
- Recent studies show oxalates might do more than build stones. There’s evidence linking high oxalate exposure to inflammation, chronic kidney disease progression, and even higher cardiovascular risk—especially in those with compromised gut or kidney function.
Busting Myths: Are Oxalates Really That Bad?
Myth 1: “Everyone should avoid oxalate-rich foods.”
- Truth: For the vast majority, the health benefits of vegetables, nuts, and whole grains far outweigh the risks from oxalates.
- Cutting out these foods can mean losing fiber, antioxidants, and vitamins.
Myth 2: “Oxalates cause toxicity in healthy people.”
- Truth: Genuine dietary oxalate toxicity is extremely rare. Most people clear oxalates just fine.
Myth 3: “A low-oxalate diet is the only answer for stone-formers.”
- Truth: It’s more nuanced. Proper hydration, pairing oxalate-rich foods with calcium sources, and supporting your gut microbiome can all help.
The Microbiome Revolution: Your Gut, Your Oxalate Shield
2025 Breakthrough:
Recent research highlights the gut’s critical role in managing oxalate. It’s not just about one “magic” bacteria (like Oxalobacter formigenes). Rather, a diverse, resilient gut microbiome can break down oxalates before they’re absorbed, reducing the burden on your kidneys.
Latest Insights:
- Studies show that over 50% of gut bacteria species possess oxalate-degrading genes.
- Mice with robust, multi-species gut communities were better protected against oxalate damage than those given single-species probiotics.
Practical Tip:
Eat a fiber-rich, varied diet to feed a diverse microbiome. Fermented foods, whole grains, and a rainbow of plants support oxalate-degrading bacteria.
Engineered Probiotics: The Future is Now
In a world-first, scientists have engineered a gut bacterium (Phocaeicola vulgatus) to degrade oxalate more efficiently, using a specific prebiotic (porphyran) as its “on switch.” Early clinical trials showed this approach can lower urinary oxalate by 27–47%, potentially offering new hope to people at high risk for stones.
But… This is still early science. Gene stability, colonization, and regulatory questions remain. Don’t rush out for engineered probiotics just yet—but watch this space!
Medical Therapies: Blocking Oxalate at the Source
Several new drugs and gene therapies are targeting oxalate production in the liver.
- CHK-336: A pill that blocks a key enzyme in oxalate synthesis is in early trials.
- Gene therapies are showing up to 70% sustained reduction in urinary oxalate in rare, severe genetic cases.
Smart Strategies for a Balanced Diet
For most people, oxalates aren’t the enemy. But if you’re at risk—stone-former, gut issues, or rare genetics—these steps matter:
1. Don’t Overdo High-Oxalate Foods
Enjoy spinach, beets, and nuts, but don’t binge. Mix them up with lower-oxalate choices (like kale, cabbage, cauliflower, and most fruits).
2. Pair Oxalate Foods with Calcium
Eating calcium (milk, cheese, yogurt, fortified plant milk) with oxalate-rich foods binds the oxalate in your gut, making it less likely to be absorbed and sent to your kidneys.
3. Stay Hydrated
Water dilutes urine and reduces stone risk. Aim for at least 2–2.5 liters per day, unless your doctor says otherwise.
4. Mind Your Gut Health
- Include prebiotic fibers (oats, onions, garlic, bananas)
- Add fermented foods (yogurt, kefir, kimchi, sauerkraut)
- Avoid unnecessary antibiotics
5. Cook Smart
Boiling leafy greens (and discarding the water) can lower oxalate content by up to 50%.
Practical Meal Ideas
- Breakfast: Oatmeal with blueberries and Greek yogurt (low oxalate, calcium-rich)
- Lunch: Quinoa bowl with roasted veggies (rotate in low-oxalate greens)
- Snack: Cheese with apple slices, or low-oxalate nuts (macadamia, pecan)
- Dinner: Grilled chicken or tofu with steamed broccoli and rice
Who Should Really Worry?
- History of calcium oxalate kidney stones
- Chronic kidney disease
- GI malabsorption (IBD, celiac, bariatric surgery)
- Diagnosed primary hyperoxaluria (very rare)
If you’re not in these groups, relax and enjoy your greens!
The Bottom Line
Oxalates are more complicated—and less scary—than most online myths suggest. Thanks to exciting research in 2025, we know the solution isn’t to fear healthy foods, but to support your gut health, hydration, and balanced intake. If you’re in a high-risk group, ask your doctor about newer tests and personalized therapies—including the promising advances in engineered probiotics and gene therapy.
Eat smart, feed your gut, and don’t let oxalate anxiety steal your love for plants!
What questions do you have about oxalates, or is there a topic you’d like a deep dive on? Comment below!
FAQs
1. What are oxalates and where do they come from?
Oxalates are natural compounds found in many plant foods (like spinach, beets, nuts, and tea). Your body also makes oxalates as a byproduct of normal metabolism.
2. Do oxalates affect everyone the same way?
No. Most people can eat oxalate-rich foods without any problems. Only those with kidney stone risk, certain gut disorders, or rare genetic conditions need to be especially mindful.
3. Which foods are highest in oxalates?
Spinach, rhubarb, beets (and beet greens), almonds, chocolate, and black tea are among the highest. Many common fruits and vegetables are lower in oxalates.
4. Should I avoid oxalate-rich foods if I’m healthy?
No. Most people benefit from including these foods in a balanced diet. Only avoid or limit them if your doctor advises you to, such as if you have kidney stones.
5. How can I reduce oxalate absorption from my food?
Pair high-oxalate foods with calcium-rich foods during the same meal. Calcium binds oxalate in your gut and helps your body excrete it safely.
6. What’s the connection between oxalates and kidney stones?
Calcium oxalate stones are the most common type of kidney stone. High urinary oxalate increases risk, especially if you have low calcium intake, dehydration, or gut issues.
7. How does gut health influence oxalate metabolism?
A diverse, healthy gut microbiome helps break down oxalates before they can reach your kidneys. Diet, fiber, and avoiding unnecessary antibiotics support this balance.
8. Are there new treatments for high oxalate problems?
Yes. Engineered probiotics, new drugs, and even gene therapies are being developed to help reduce oxalate levels—especially in people with severe or genetic oxalate disorders.
9. Does cooking affect oxalate levels in foods?
Yes. Boiling high-oxalate vegetables and discarding the water can lower their oxalate content by up to 50%.
10. How can I tell if I need to watch my oxalate intake?
If you have a history of kidney stones, chronic kidney disease, certain gut conditions, or a rare diagnosis like primary hyperoxaluria, you should talk to your healthcare provider about monitoring oxalate intake and possibly testing your urine oxalate.