
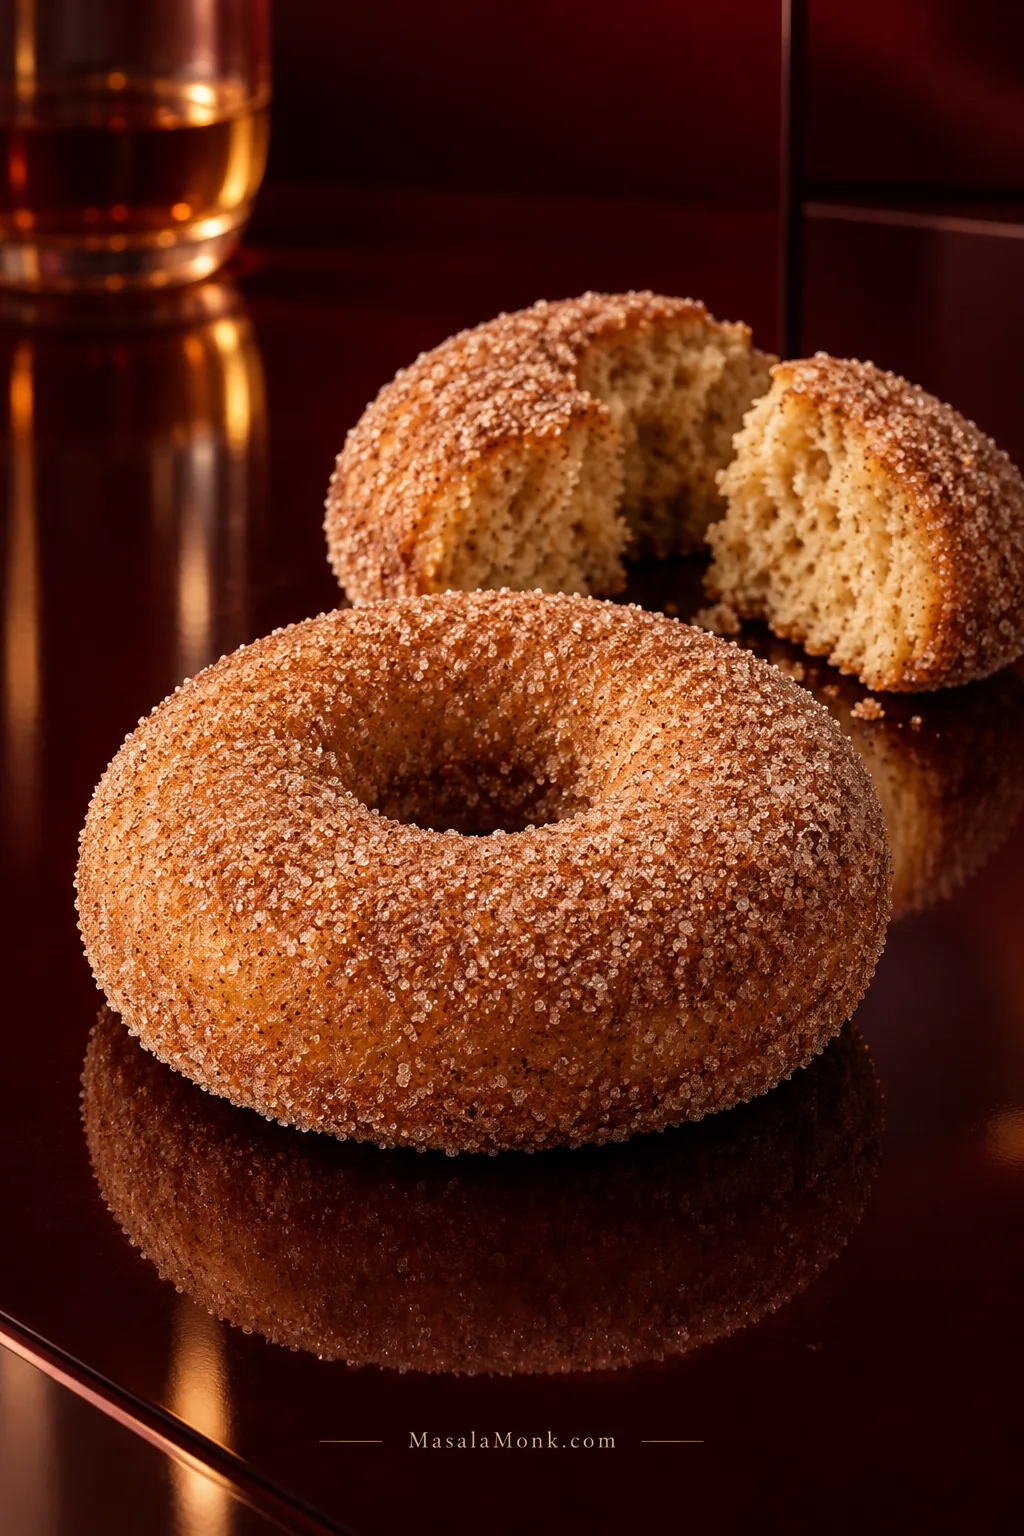
Warm apple cider, cinnamon sugar on your fingers, and a soft cake-donut crumb with enough body to feel like a real donut: going gluten-free should not mean missing the best part of cider-donut season.
If fall usually means passing up the cider donuts at the orchard or bakery, getting the texture right matters just as much as making them gluten-free. The aim here is a good cider donut first, with the gluten-free flour doing its job quietly in the background.
These gluten free apple cider donuts are baked, tender and cider-forward, with a fine cake-donut crumb and a dry cinnamon-sugar finish. Reducing the cider first keeps the apple flavor clear instead of letting the spice do all the talking.
Because they’re baked, you get the familiar cider-donut shape and cinnamon-sugar finish without setting up a fryer or pot of hot oil. If you don’t need the gluten-free formula and want the traditional fried version instead, use our classic apple cider donuts recipe. This baked recipe makes about 12 donuts in roughly 50–60 minutes with two pans, with most of the flavor coming from concentrated cider rather than extra spice.
The batter is thick enough to pipe but loose enough to settle into the pan. Once baked, the donuts stay soft through the middle, lightly firm around the edges and sturdy enough to hold their cinnamon sugar.
Quick answer: These are baked, no-fry cider donuts that make about 12. Reduce 1½ cups (12 fl oz / 360 ml) apple cider to about 7 tablespoons (3½ fl oz / 105 ml) and let it cool. Mix with 250 g gluten-free 1:1 baking flour, two eggs, milk, oil and spices. Pipe into a greased donut pan and bake at 350°F / 175°C for about 10–14 minutes, until the tops spring back and the centers are set. Brush the warm donuts lightly with melted butter and coat with cinnamon sugar.
Make Them Now: Gluten-Free Apple Cider Donuts
You can make the full recipe from this section alone. The rest explains the texture cues, substitutions, troubleshooting and storage.
Before You Mix
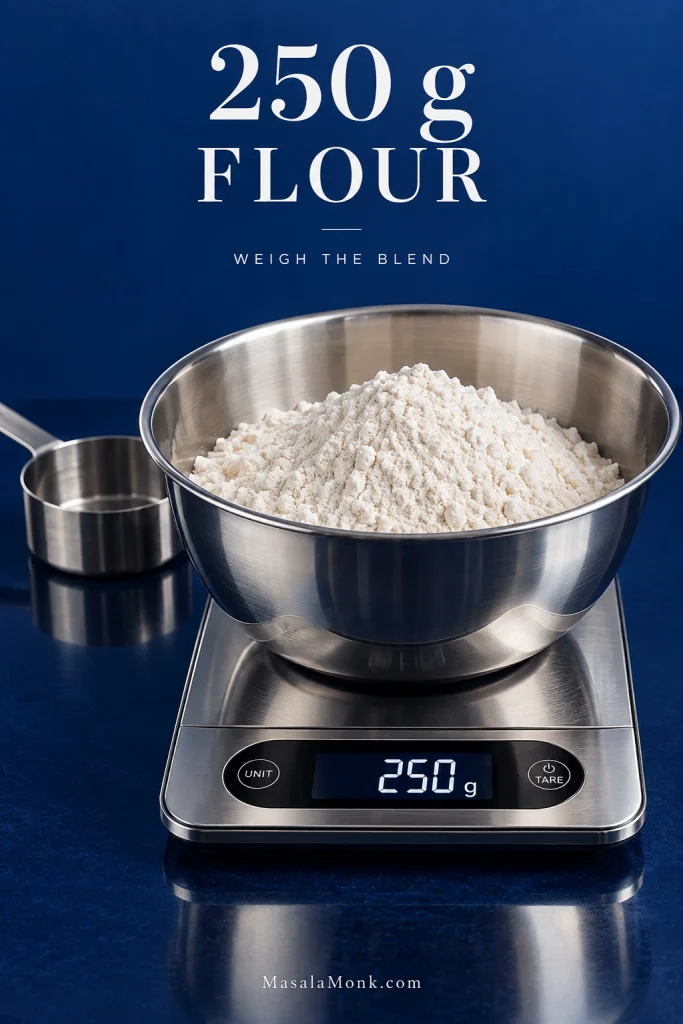
Use the 1:1 gluten-free baking blend you already trust for cakes or muffins, provided it contains xanthan gum or another suitable binder. Weigh 250 g for the most consistent result; cup volume varies between blends.
Reduce the cider first and let it cool to room temperature or until barely warm before it meets the eggs. Pouring the measured reduction into a small heatproof jug while you gather the other ingredients helps it cool faster.
Grease the donut pan well, including the center posts. Get the cider and batter right before filling the pan; both are easy to correct at that stage and much harder to rescue later.
Ingredients
For the Donuts
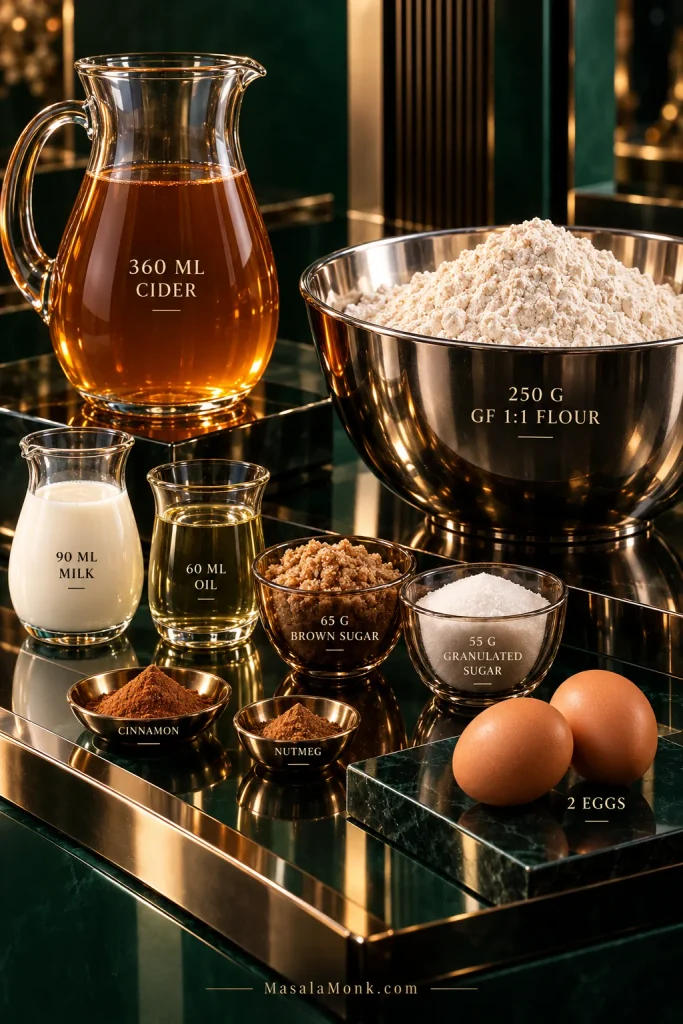
- 1½ cups (12 fl oz / 360 ml) nonalcoholic apple cider, meaning the cloudy pressed apple drink, not vinegar; reduce to about 7 tablespoons (3½ fl oz / 105 ml)
- 250 g gluten-free 1:1 baking flour containing xanthan gum or another binder
- 2 teaspoons (about 8 g) baking powder
- 1 teaspoon ground cinnamon
- ¼ teaspoon ground nutmeg
- ½ teaspoon fine salt
- 2 large eggs
- 65 g light brown sugar, about ⅓ cup packed
- 55 g granulated sugar, about ¼ cup
- ¼ cup (2 fl oz / 60 ml) neutral oil
- 6 tablespoons (3 fl oz / 90 ml) milk
- 1½ teaspoons vanilla extract
For the Cinnamon Sugar
- ¾ cup (150 g) granulated sugar
- 2½ teaspoons ground cinnamon
- 3 tablespoons (42 g) unsalted butter, melted; you may not need all of it
Method
- Reduce the cider. Pour 1½ cups / 360 ml apple cider into a saucepan and bring it to a steady, lively simmer. Reduce to about 7 tablespoons / 105 ml; depending on the pan and heat, this often takes around 15–25 minutes. Start measuring early rather than waiting for the clock. Pour the finished reduction into a small heatproof jug and let it cool to room temperature or until barely warm.
- Heat the oven and grease the pans. Heat the oven to 350°F / 175°C with a rack near the center. Grease about 12 standard donut cavities thoroughly, especially around the center posts.
- Mix the dry ingredients. Whisk together the gluten-free flour, baking powder, cinnamon, nutmeg and salt.
- Mix the wet ingredients. In a larger bowl, whisk the eggs with the brown sugar and granulated sugar. Add the oil, milk, vanilla and cooled cider and whisk again.
- Combine. Stir the dry ingredients into the wet mixture until no dry pockets remain. There is no need to keep mixing once the batter is even.
- Let the flour hydrate. Leave the batter for 5–10 minutes. It will usually thicken as it sits.
Finish the Batter, Bake & Coat
- Check the consistency. The batter should fall in a heavy ribbon and pipe cleanly. If it is genuinely too stiff after resting, add milk 1 tablespoon / 15 ml at a time.
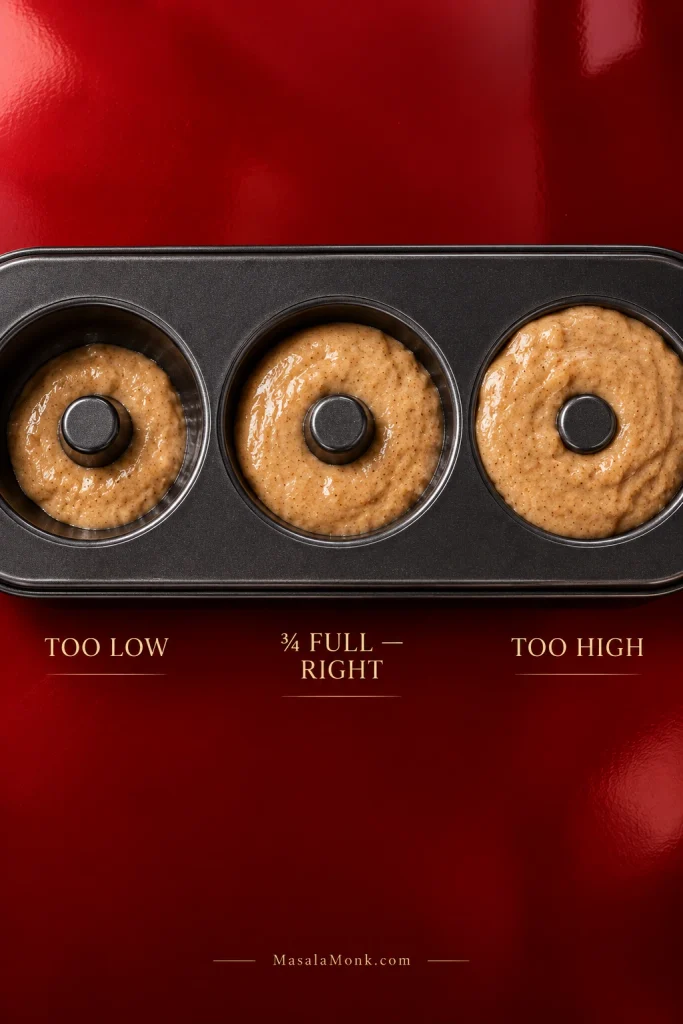
- Fill the pan. Transfer the batter to a piping bag or large zip-top bag and snip off a corner. Fill each cavity about three-quarters full, keeping the center post exposed. The rings do not need to look perfectly neat before they bake.
- Bake. Start looking at them around 10 minutes. Most standard donuts take roughly 10–14 minutes. The tops lose their wet shine and spring back when pressed lightly. A toothpick through the thickest part should come out without raw batter.
- Rest briefly. Leave the donuts in the pan for 3–5 minutes, then loosen them gently and move them to a rack.
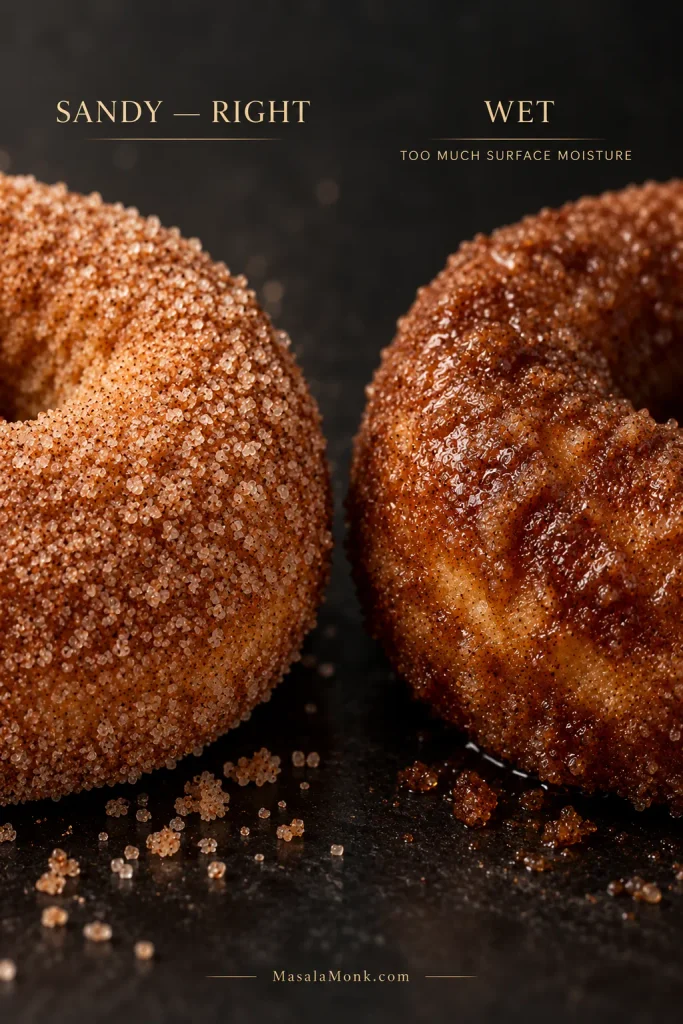
- Brush and coat. Mix the sugar and cinnamon in a shallow bowl. Brush each warm donut with a thin film of melted butter, then turn it in the cinnamon sugar. The coating should stay sandy rather than glossy. For a lighter finish, coat only the top and outer edge.
Give the sugar a minute to cling, then eat the first one while the center is still warm.
If you remember only three things: Concentrate the cider. Read the batter. Brush, don’t dunk.
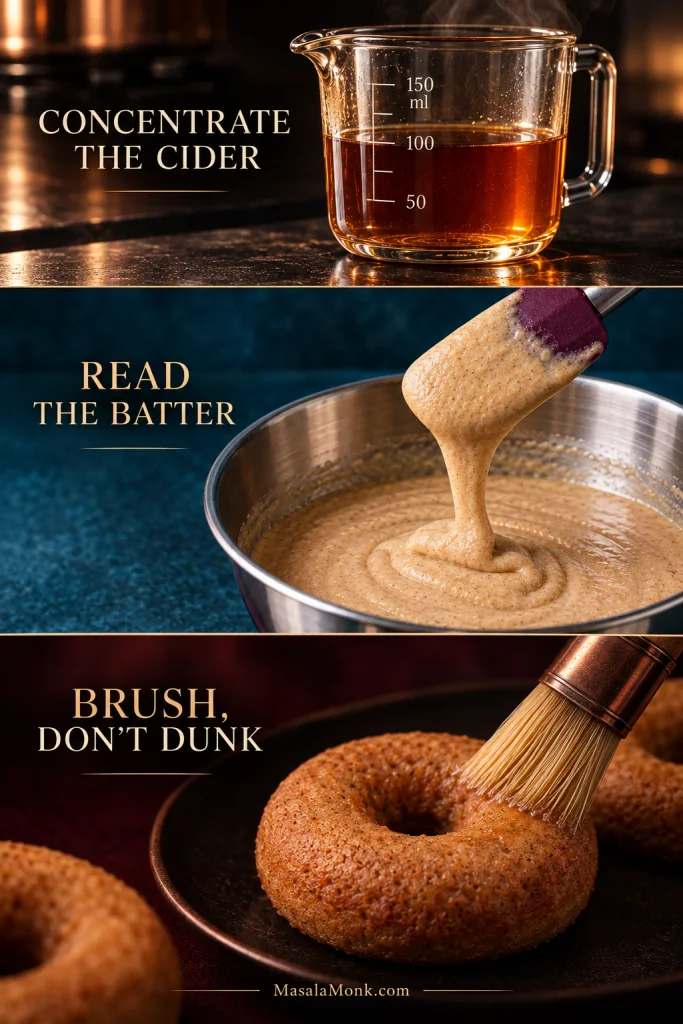
Need help with the result? Check the batter · Check doneness · Troubleshoot a problem
What the Finished Donuts Should Be Like
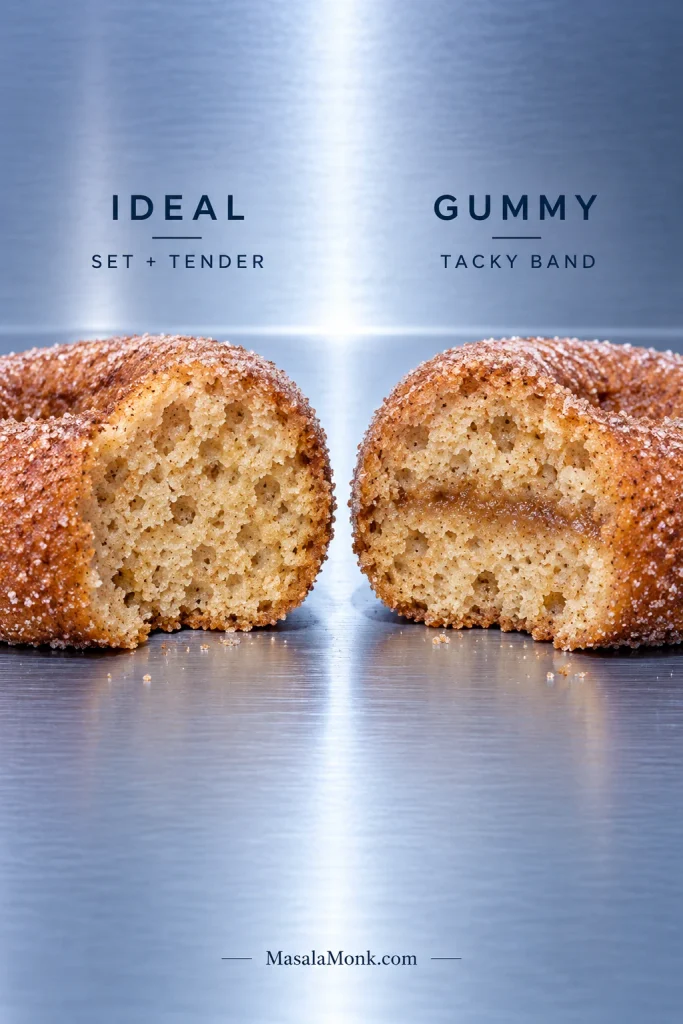
A good baked cider donut is soft but not fragile, cake-like without slipping into cupcake territory, and moist without feeling gummy. The crumb has fine, fairly even pores and holds together cleanly when you bite into it.
Break one open. The center should look evenly baked, without a wet or glossy streak through the middle. The outside will be slightly firmer than the center, especially from a metal pan.
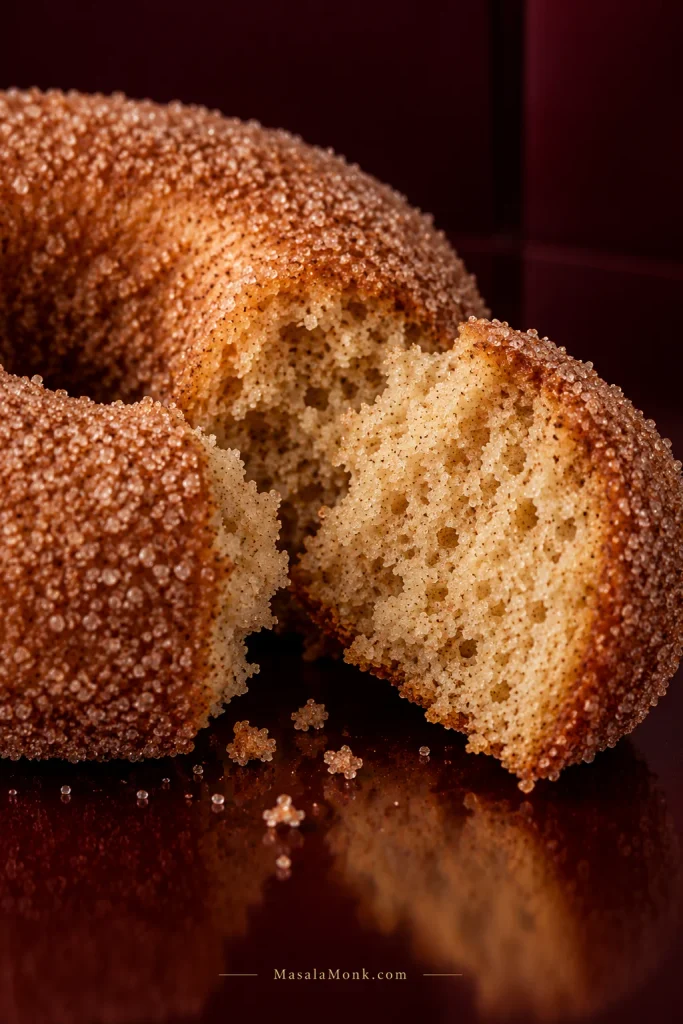
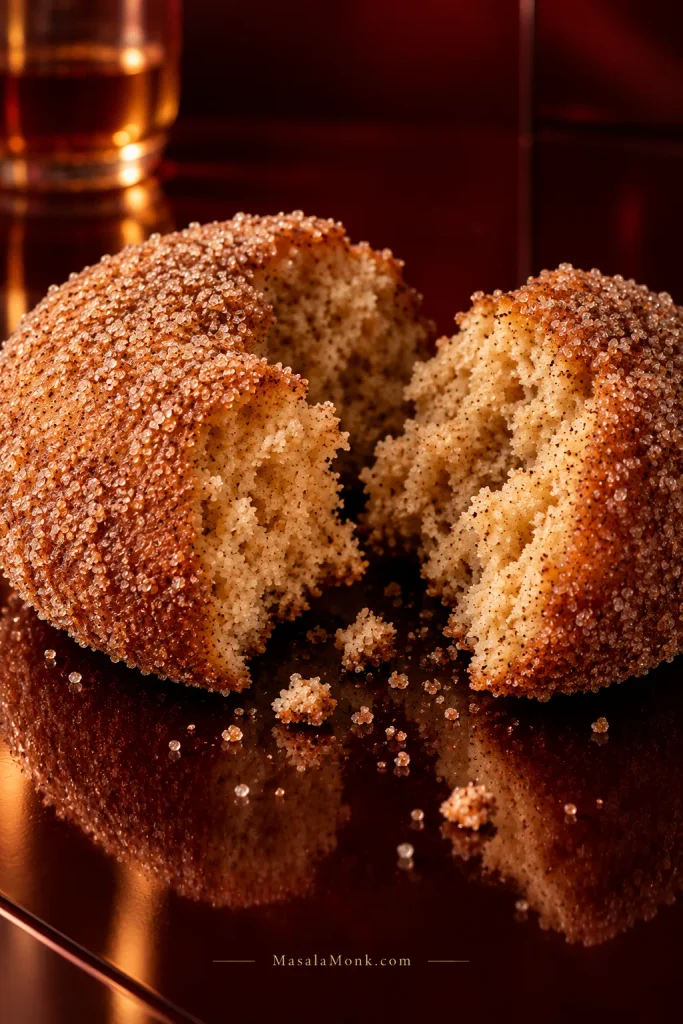
The coating should stay dry enough for a faint sandy crunch before the soft crumb gives way. Underneath the cinnamon, the apple should still be there.
Reduce the Cider to About 105 ml
Start with 1½ cups / 360 ml cider and simmer until about 7 tablespoons / 105 ml remain. That’s the target; the clock is not.
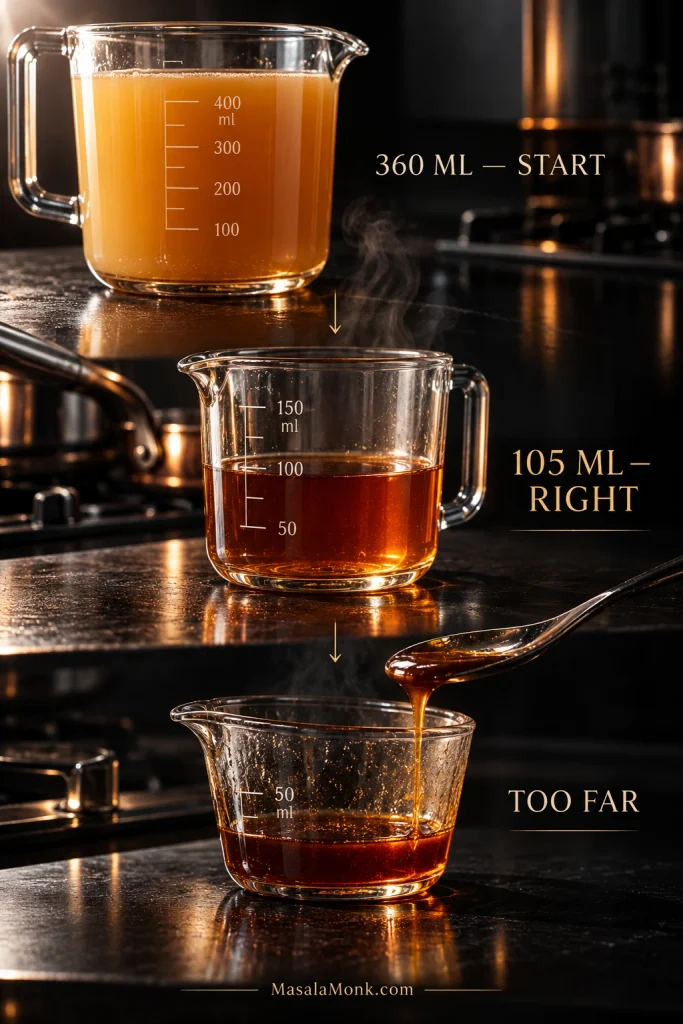
Pan width and burner strength change the timing. Near the end, the cider darkens, smells intensely of apples and still pours easily. Honey-thick means it has gone farther than this batter needs.
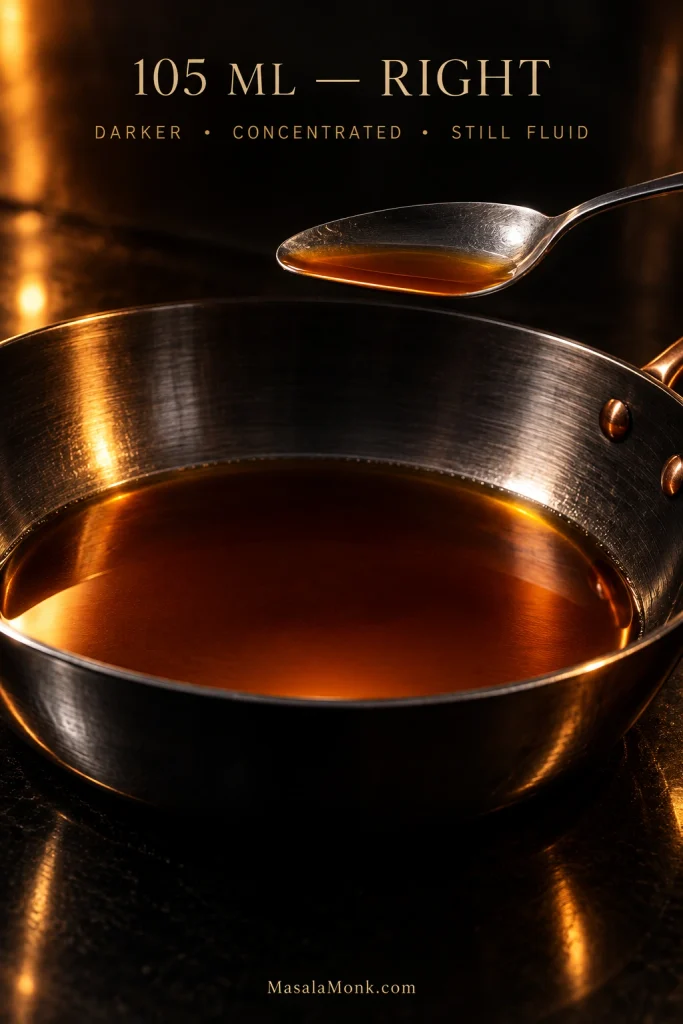
Reduced it too far? Add enough fresh cider to bring the amount back near 105 ml.
Commercial boiled cider is different. It is reduced much further and can become thick like honey, so it should not replace this homemade reduction measure-for-measure. King Arthur’s boiled-cider guide shows how concentrated it can become.
Choose the Right Gluten-Free Flour
Use a 1:1 blend intended for general baking and already containing xanthan gum or another suitable binder. The blend you already trust for cakes or muffins is a good place to start.
What Different Blends Can Do
Finely milled rice-and-starch blends tend to work well here. Coarse rice flour can leave the crumb gritty, very starch-heavy blends may bake up tackier, and strongly bean-based blends can bring an earthy flavor. If your blend already contains xanthan, don’t add more.
A slightly thicker or softer batter is not automatically a problem; let it rest, then judge how it pipes.
Check Your Batter Before You Pipe It
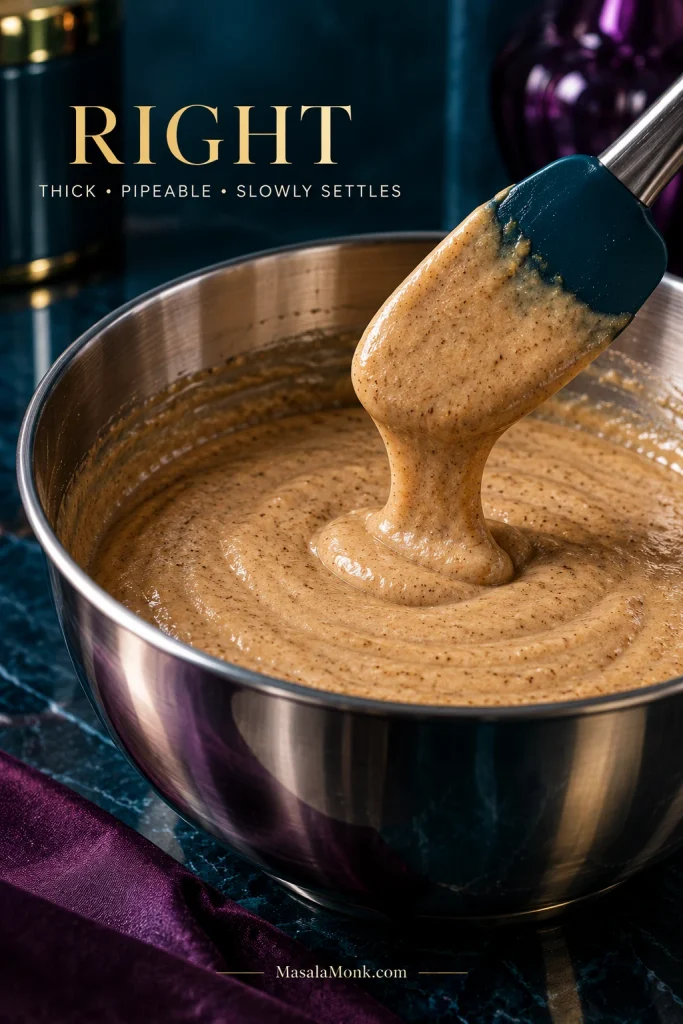
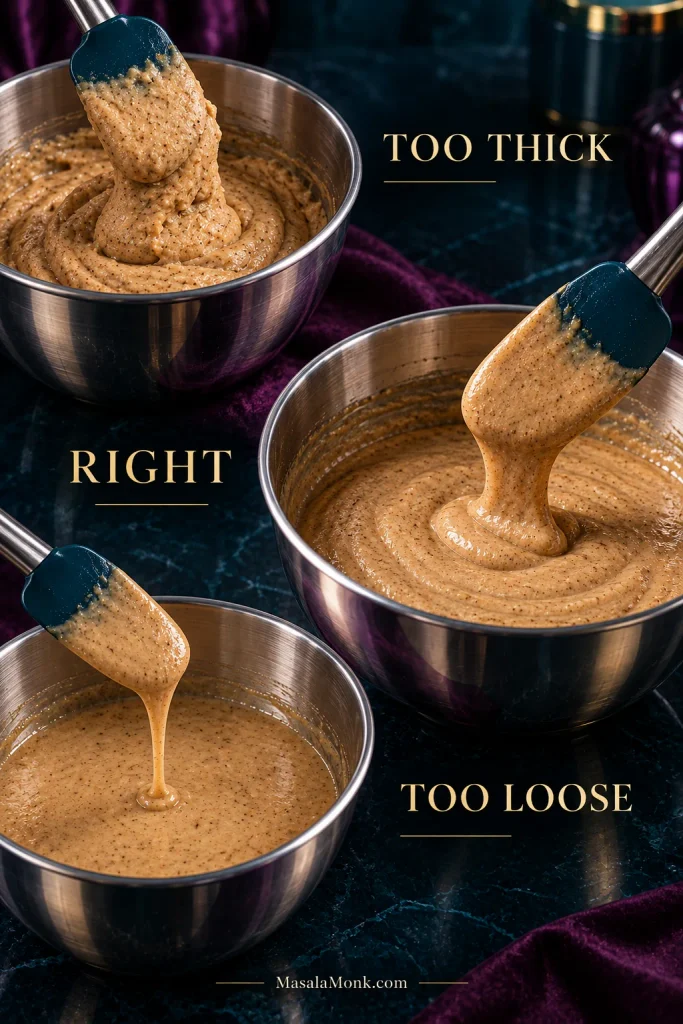
After the 5–10 minute rest, the batter should be thick, smooth and pipeable. Lift some with a spatula: it should fall in a heavy ribbon and leave a ridge that slowly softens. You’re looking for batter that holds its shape long enough to pipe, then gradually settles into the ring.
Batter Too Thick
If it is still too stiff to pipe after the full rest, add milk 1 tablespoon / 15 ml at a time. Stop as soon as it moves easily through the bag.
Batter Too Loose
If it still pours freely after resting, make sure the cider reached 105 ml. Only add flour after you have checked the cider reduction.
Gritty Batter
A short rest can smooth out fine rice flour. If the finished donut still feels gritty, the blend itself is the likely culprit.
Don’t panic over a slightly sticky batter. If it pipes cleanly, you’re in the right neighborhood. Sticky batter, a gummy center and wet cinnamon sugar are three different problems.
Pipe and Fill the Pan
Once the batter is rested and pipeable, transfer it to a piping bag and work around each ring without covering the center post.
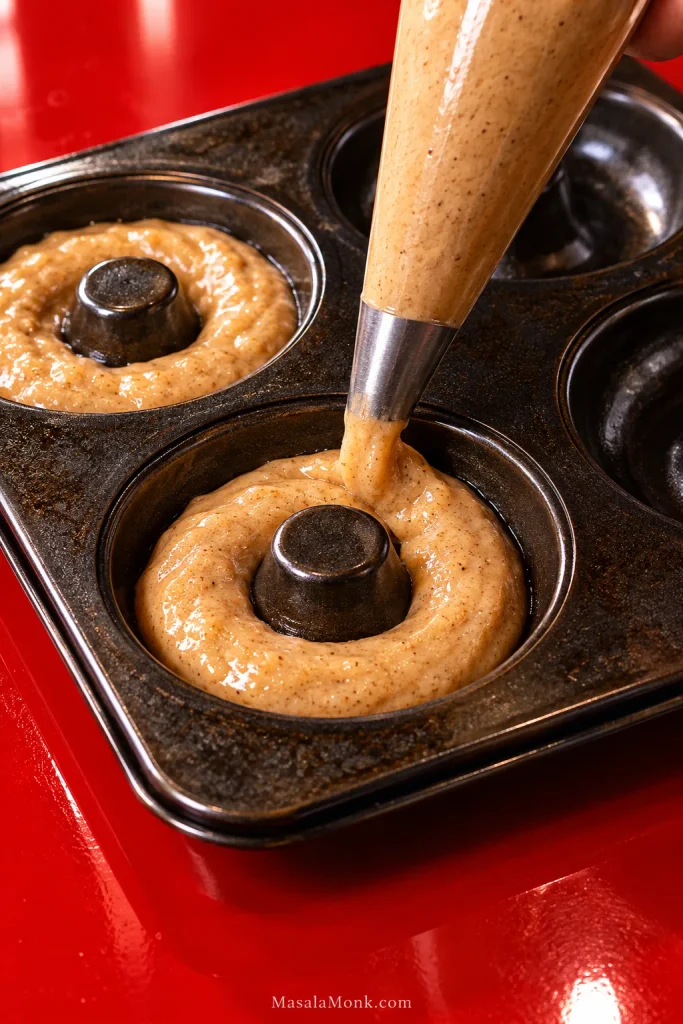
Before the pan goes into the oven, compare the batter height with the center post. About three-quarters full leaves enough room for the ring to rise without crowding the middle.
How to Know When They’re Done
Start looking at the donuts around 10 minutes. Color is the least useful cue here.
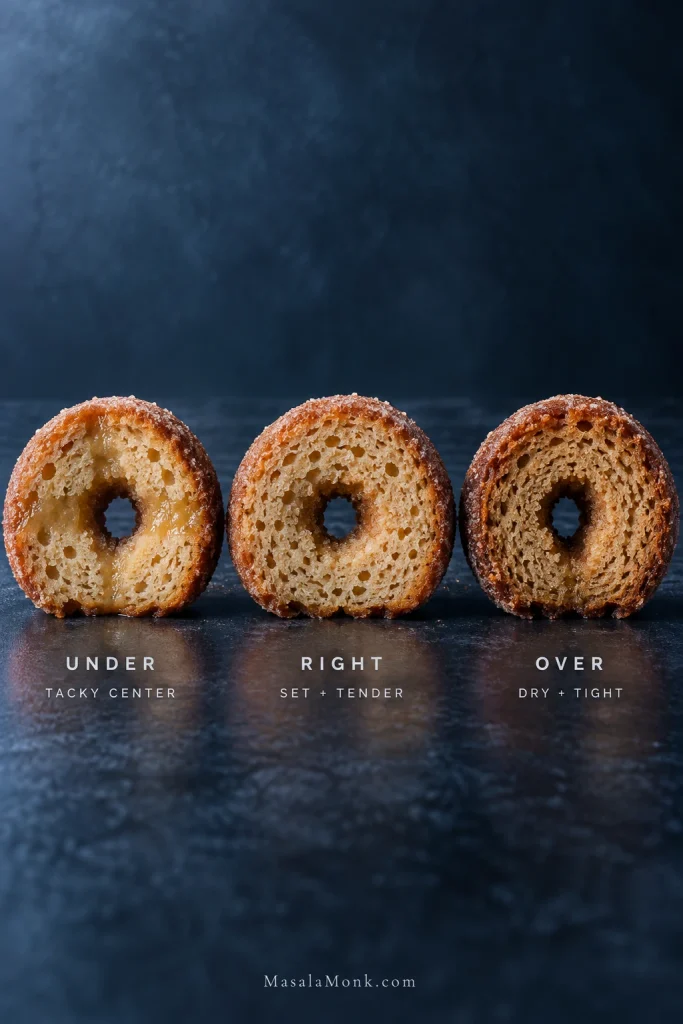
- The top has lost its wet shine.
- A gentle press springs back.
- The edge may begin to release from the pan.
- A toothpick through a thick section comes out without raw batter.
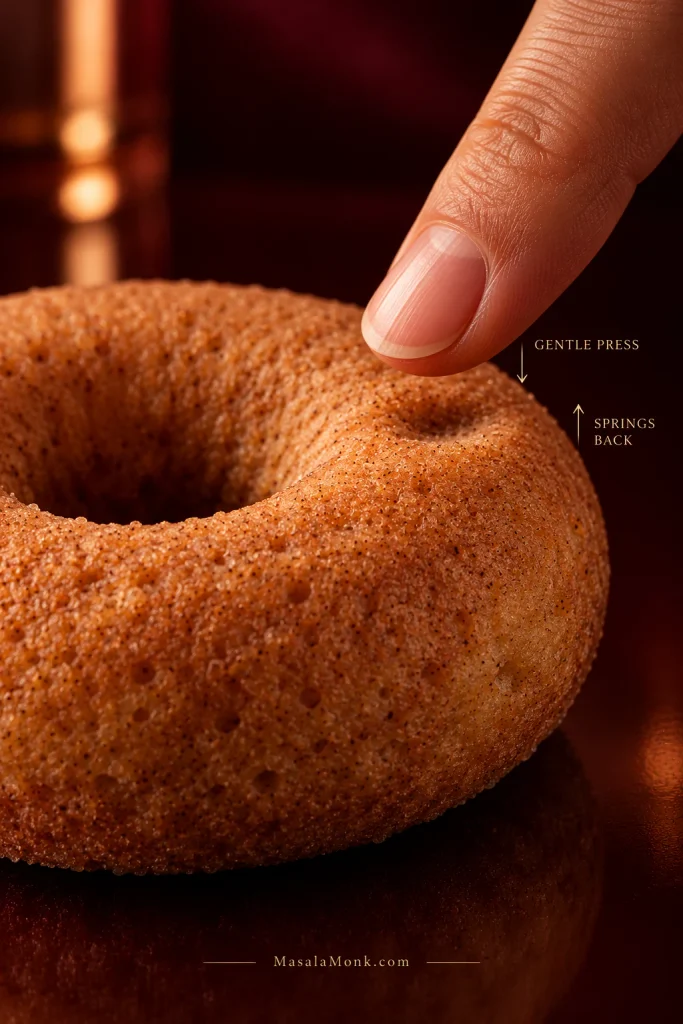
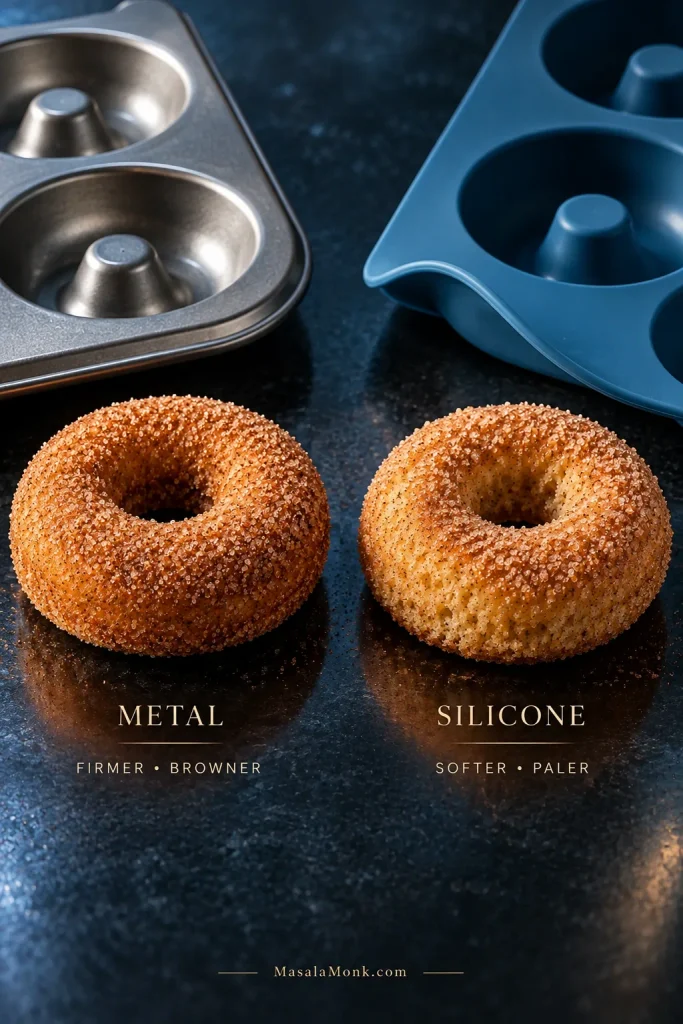
Silicone pans can stay pale even when the center is ready. A hot oven can do the opposite and brown the outside before the middle is fully set.
If the center springs back and the toothpick shows no raw batter, pull the pan. Don’t wait for extra color just because another oven needed more time.
No Donut Pan? Use Another Small Pan
The batter also works in mini donut and muffin pans. The flavor stays the same; the shape obviously doesn’t. Deeper cavities simply take longer.
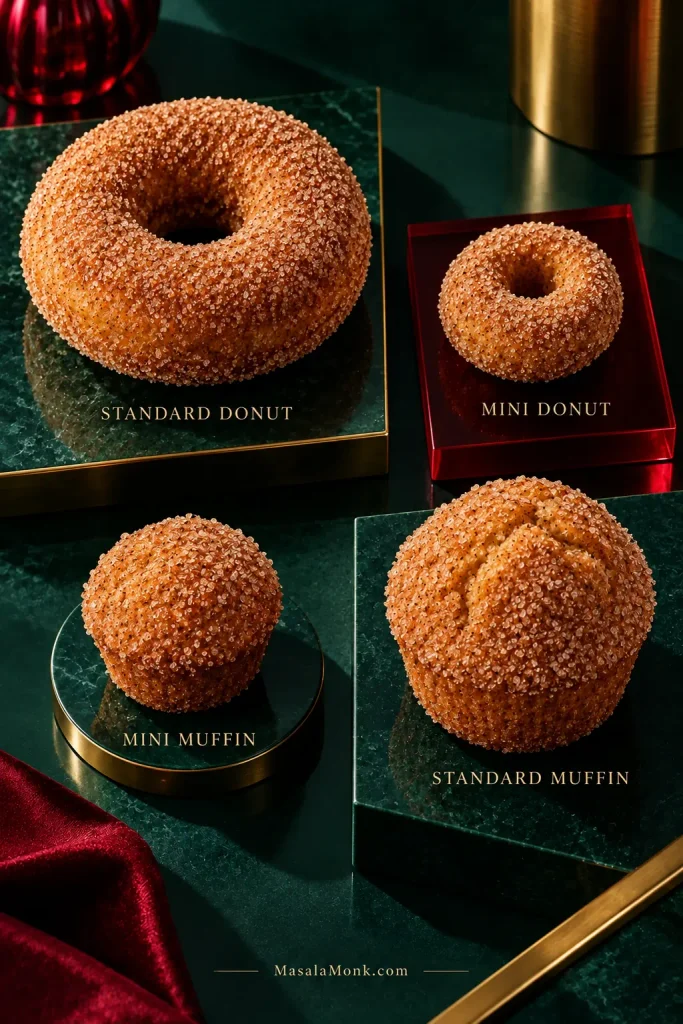
| Pan | How Full | First Check Around |
|---|---|---|
| Standard donut pan | About ¾ full | 10 minutes |
| Mini donut pan | Keep the center post exposed | 7 minutes |
| Mini muffin pan | About ⅔–¾ full | 8 minutes |
| Standard muffin pan | About ⅔ full | 14–15 minutes; deeper muffins may need closer to 18 |
Mini muffins make a handy bite-size option once coated. Treat the times above as checkpoints, not promises; the center still decides when they’re done.
Only One Six-Cavity Pan?
That’s fine. Bake the first six, let the pan cool until it is comfortable to handle, then grease it again before piping the second round. Keep the remaining batter covered at room temperature while the first batch bakes.
Metal or Silicone?
Metal gives the nicest crust here. Silicone molds usually leave the sides paler and softer and may need longer.
Brush, Don’t Dunk
Brush the butter on; don’t dunk the donut in it. The butter is there to make the cinnamon sugar stick. That’s all it needs to do.
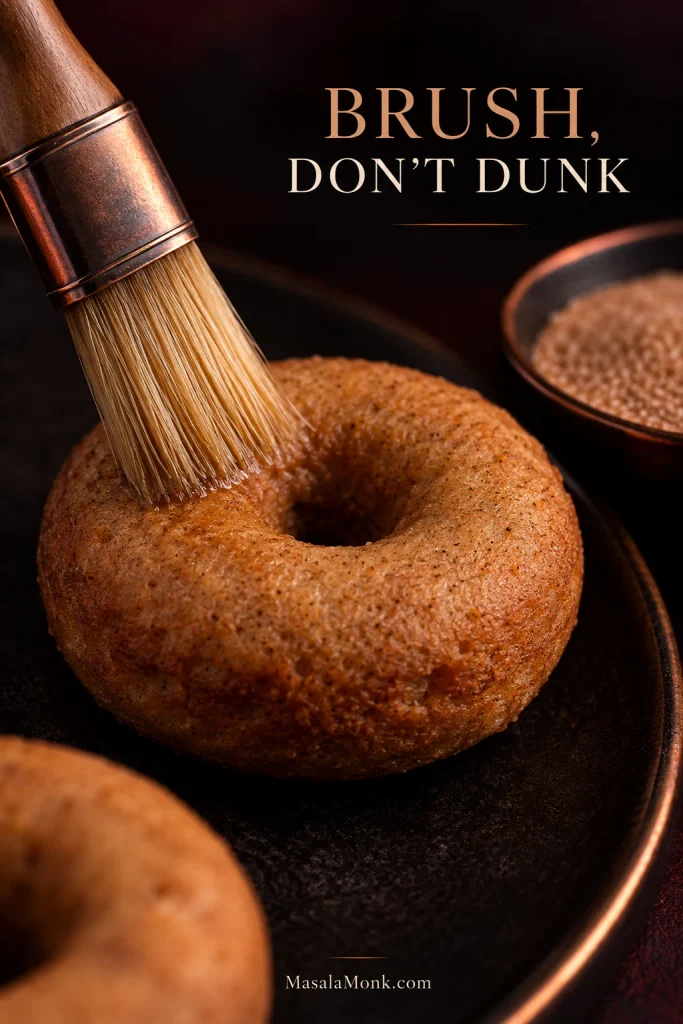
A thin film is enough. Too much butter disappears into the cake and leaves the sugar wet instead of sandy.
You should still be able to see and feel individual grains of sugar. That little crunch against the soft center is part of what makes the donut work.
For a Lighter Coating
Coat only the top and outer edge. You still get the cinnamon aroma and texture without a thick layer of sugar around the whole donut.
If the Sugar Turns Sticky
Humidity, too much butter and sealing the donuts before they are completely cool can soften the coating. Saving some for tomorrow? Leave those plain and coat them after reheating.
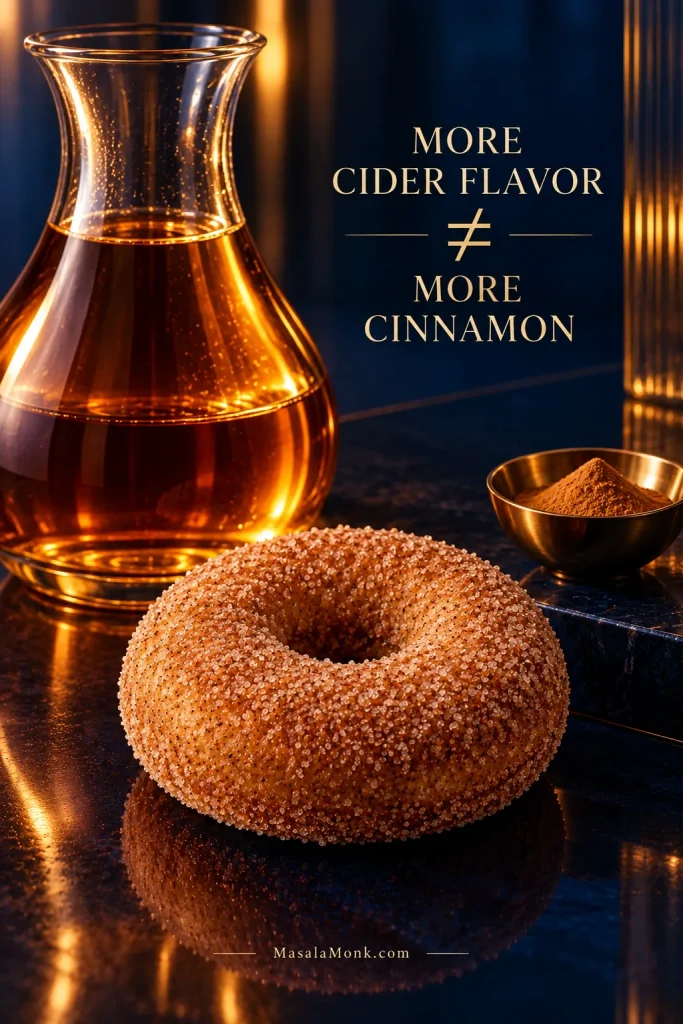
For More Cider Flavor, Start With the Cider
A donut can be intensely spiced and still barely taste of cider.
Use a flavorful cider and reduce it properly. Brown sugar brings some caramel depth, while cinnamon and nutmeg should sit behind the apple rather than bury it. A cider donut shouldn’t need a blast of cinnamon to taste like fall.
For a more layered spice profile, replace part of the cinnamon and nutmeg with a little homemade apple pie spice. Go easy with clove and allspice; both can take over quickly.
What You Can Substitute
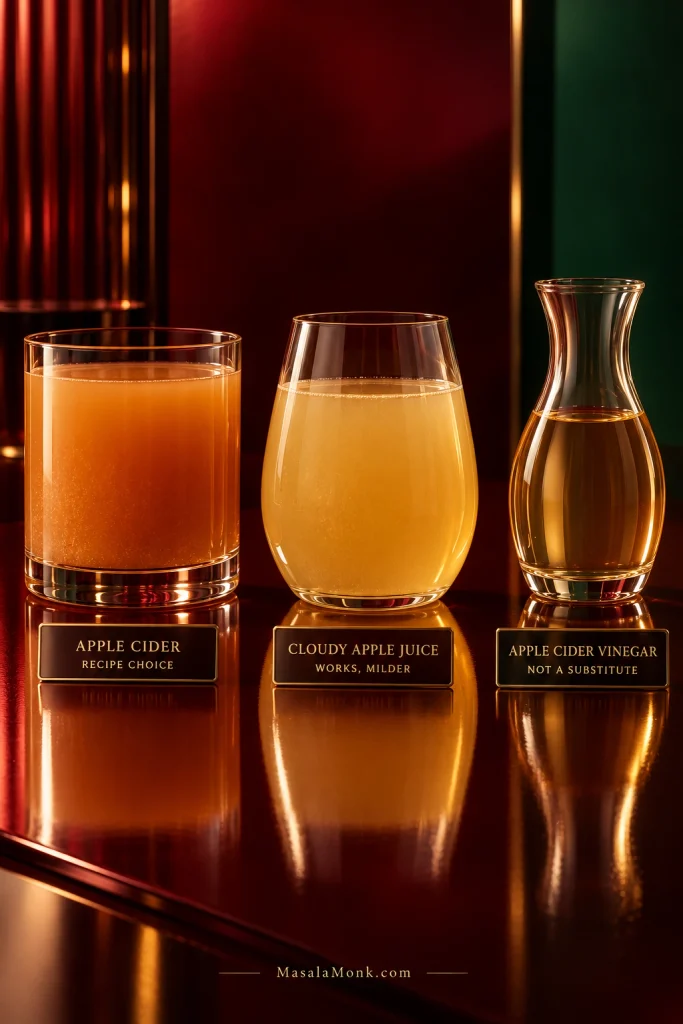
Start with the apple liquid: cider, cloudy apple juice and apple cider vinegar sound related, but they do not play the same role in this recipe.
| Ingredient | What to Do |
|---|---|
| Dairy milk | Use the same amount of unsweetened neutral plant milk. |
| Butter for coating | Use dairy-free butter if needed. |
| Apple cider | Unsweetened cloudy apple juice can be reduced to the same amount; the flavor will be milder. |
| Commercial boiled cider | Use a recipe or conversion designed for it because it is much more concentrated. |
| Almond flour | Do not swap it gram-for-gram for the 1:1 blend; it needs a different formula. |
| Eggs | There is no simple direct swap that gives the same texture. |
| Apple cider vinegar | Do not use it in place of apple cider. |
Don’t turn this into a flour experiment. Oat flour, coconut flour and other single flours behave differently enough that they need formulas built around them.
Vegan or Egg-Free
The eggs help the donuts rise and hold together. Applesauce, flax mixtures and commercial egg replacers all change the texture differently. For a reliable egg-free donut, start with a formula designed without eggs. If egg-free is the non-negotiable part and the donut shape is not, this apple crisp recipe keeps the apple-cinnamon direction and also includes gluten-free and dairy-free guidance.
Troubleshooting the Bake & Finished Donuts
As They Come Out of the Oven
| What You See | What It Usually Means | What to Do |
|---|---|---|
| Center hole has closed | The cavity was filled too high | Fill the next round lower. |
| Pale, soft sides | Often a silicone-pan effect | Judge the center before adding more time. |
| Donut tears when lifted | It may be too hot, underbaked or stuck | Give it the 3–5 minute pan rest and grease more thoroughly next time. |
| Center still looks wet | It needs more oven time | Return it to the oven and look again after 1–2 minutes. |
After the First Bite
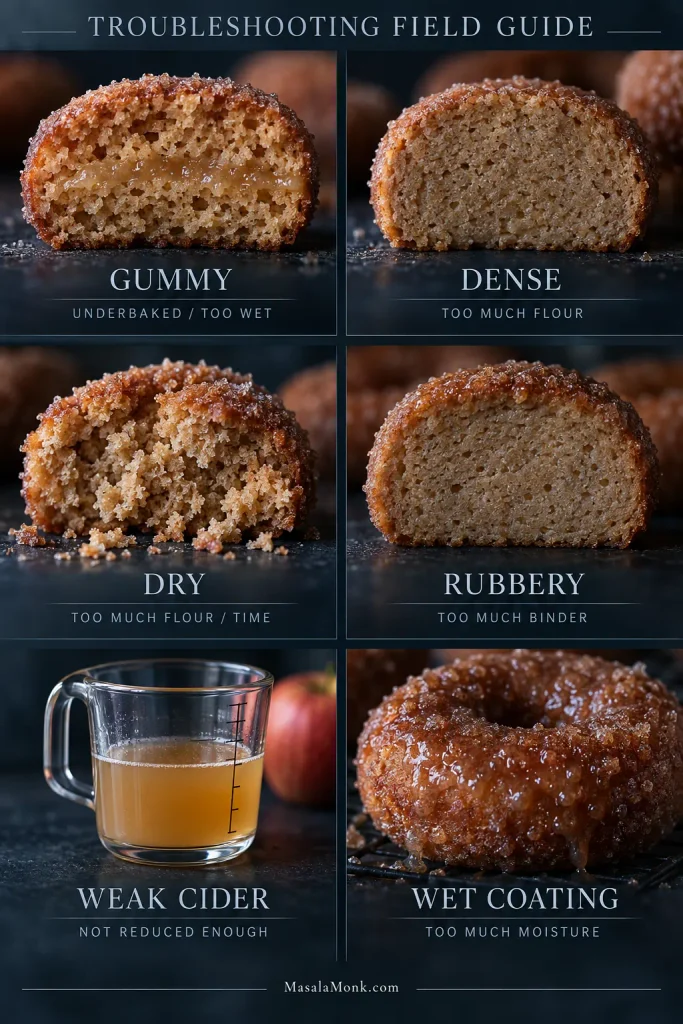
Gummy Center
Let a very hot donut cool for a few minutes before judging it. Moist is welcome; a wet, tacky streak through the middle is not. If it stays gummy, start with the bake, then the cider amount and flour blend.
Dense Crumb
Too much flour is the first place I’d look. A packed measuring cup can add considerably more than intended, which is why 250 g is the safer measure. An especially absorbent blend or old, inactive baking powder can also leave the crumb heavy.
Dry Donuts
Too much flour or too much oven time usually causes it. Look at the donuts around 10 minutes rather than treating 14 as the target.
Rubbery Crumb
The flour label is worth checking. A blend that already contains xanthan usually does not need more. Too much binder can make the crumb unusually elastic.
Weak Cider Flavor
Before adding more spice, go back to the cider. Mild cider gives a milder donut, and reducing it properly matters more than another spoonful of cinnamon.
Bitter or Odd Flavor
- Bitter or metallic: the baking-powder quantity may be off, or it may not have been mixed evenly.
- Earthy or bean-like: the flour blend may be contributing a strong flavor.
- Perfumy or overly intense: pull back on strong spices such as clove, allspice or nutmeg.
The Next Day
Sticky cinnamon sugar usually means surface moisture, not a failed donut. Too much butter, humid air or sealing the donuts before they were cool can soften the coating.
If a donut feels dry the next morning, warm it briefly. That’s often all it needs.
Solved the problem? Back to the recipe · Storage & reheating · Back to top
Storage, Make-Ahead & Reheating
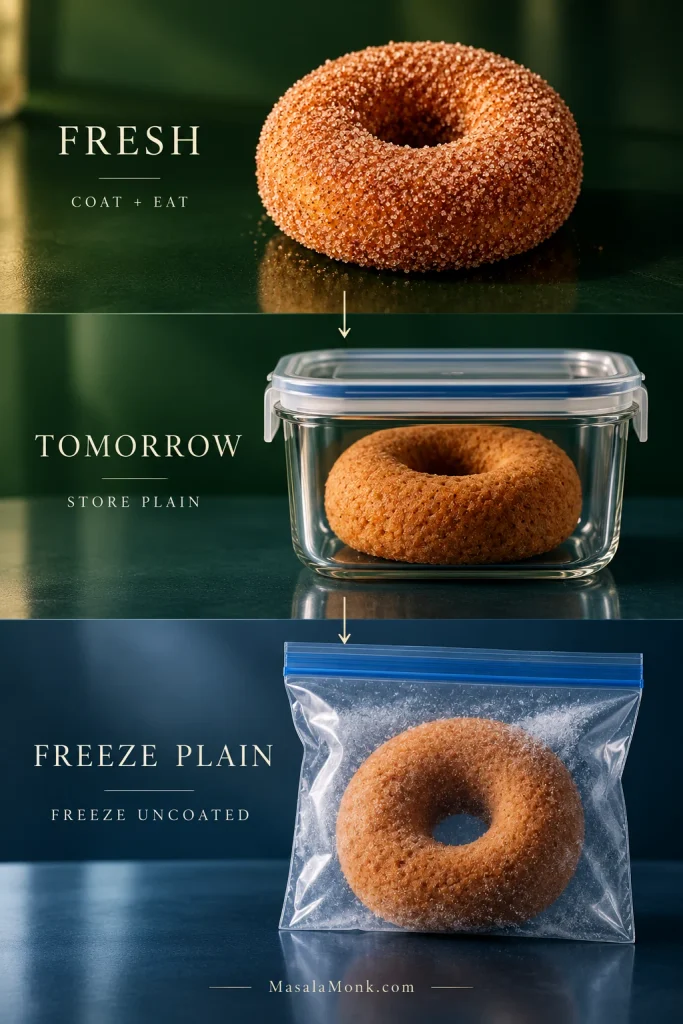
These donuts are best on day one, when the crumb is soft and the cinnamon sugar is dry and granular. For the best texture, let them cool completely, store them airtight at room temperature and use them within 2 days. Coated donuts will keep, but the sugar softens; for planned leftovers, store them plain and coat after reheating.
Make Ahead
The reduced cider and dry ingredients can both be prepared up to 2 days ahead. Keep the cider refrigerated and the dry mix airtight at room temperature. Let the chilled cider reduction lose its chill before mixing, and make the complete batter shortly before baking.
If you are choosing a bake specifically because it needs to hold well until tomorrow, a moist applesauce cake is more forgiving overnight than a freshly coated cider donut.
Reheat One
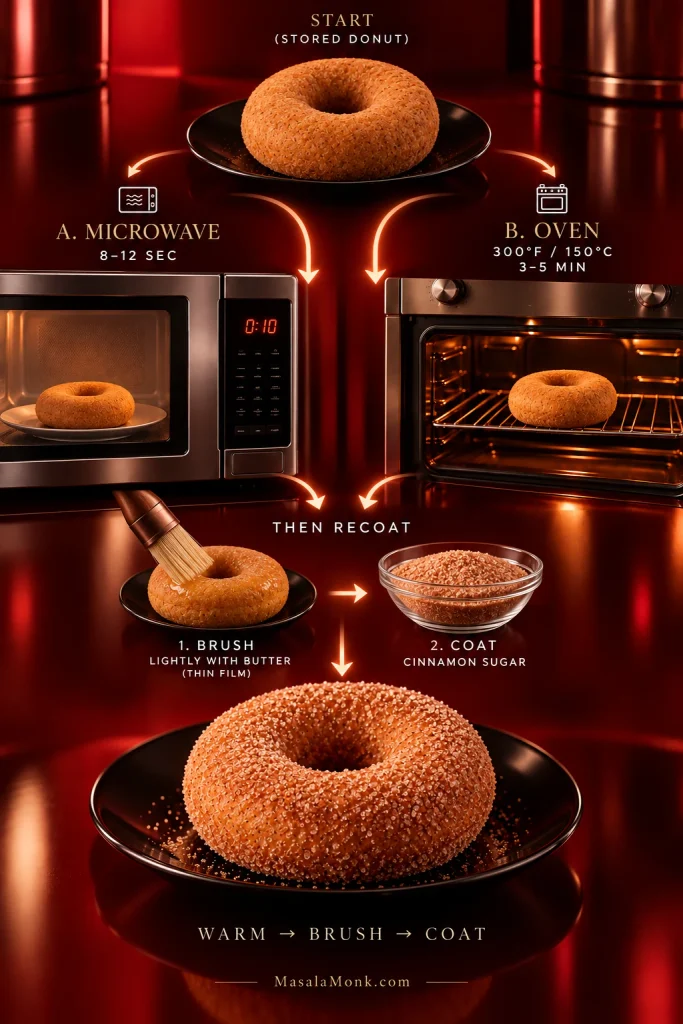
Microwave briefly—about 8–12 seconds in many microwaves—just until slightly warm, or use a 300°F / 150°C oven for 3–5 minutes for a firmer exterior. If the donut was stored plain, coat it after reheating.
Freezing
They freeze well enough for leftovers, although the crumb is best fresh. Freeze uncoated for up to about 2 months for best quality, thaw at room temperature, warm briefly, then add the butter and cinnamon sugar.
Questions About Gluten-Free Apple Cider Donuts
1. Are apple cider donuts normally gluten-free?
No. Traditional cider donuts are usually made with wheat flour unless they are specifically made or sold as gluten-free.
2. What does “apple cider” mean here?
The sweet, nonalcoholic cloudy apple drink commonly sold as cider in North America. In places where “cider” usually means alcohol, look for cloudy pressed apple juice.
3. Is apple cider gluten-free?
Plain apple cider is naturally gluten-free, but packaged products can have their own labeling or cross-contact considerations. In the U.S., the FDA explains what a “gluten-free” label is required to mean.
4. Can I use apple cider vinegar?
No. Apple cider vinegar is vinegar and cannot replace the apple drink used in this recipe.
5. Can I use apple juice?
Yes. Reduce unsweetened cloudy apple juice to the same amount. The finished flavor will usually be milder.
6. Why are my gluten-free apple cider donuts gummy?
Gummy centers usually come from underbaking, excess moisture or a flour blend that behaves differently. Let the donuts cool briefly before judging them, then start with the bake, cider reduction and flour quantity.
7. Can I fry these instead of baking them?
Not with this batter. Fried cider donuts need a different dough and cooking method; this recipe is specifically for baking. If you don’t need a gluten-free formula and want a donut method that avoids deep-frying, these air fryer donuts are built for the air-fryer basket instead.
8. Can I make them vegan?
There is no simple egg swap that gives the same texture. For a reliable vegan version, start with a recipe formulated without eggs.
Eat the First One Warm
Coat the donuts while they are still a little warm and eat one before the sugar has had time to soften. That is when they are at their best.
Still in an apple-baking mood? For fresh apple pieces and a no-mixer cake, try this easy fresh apple cake.








