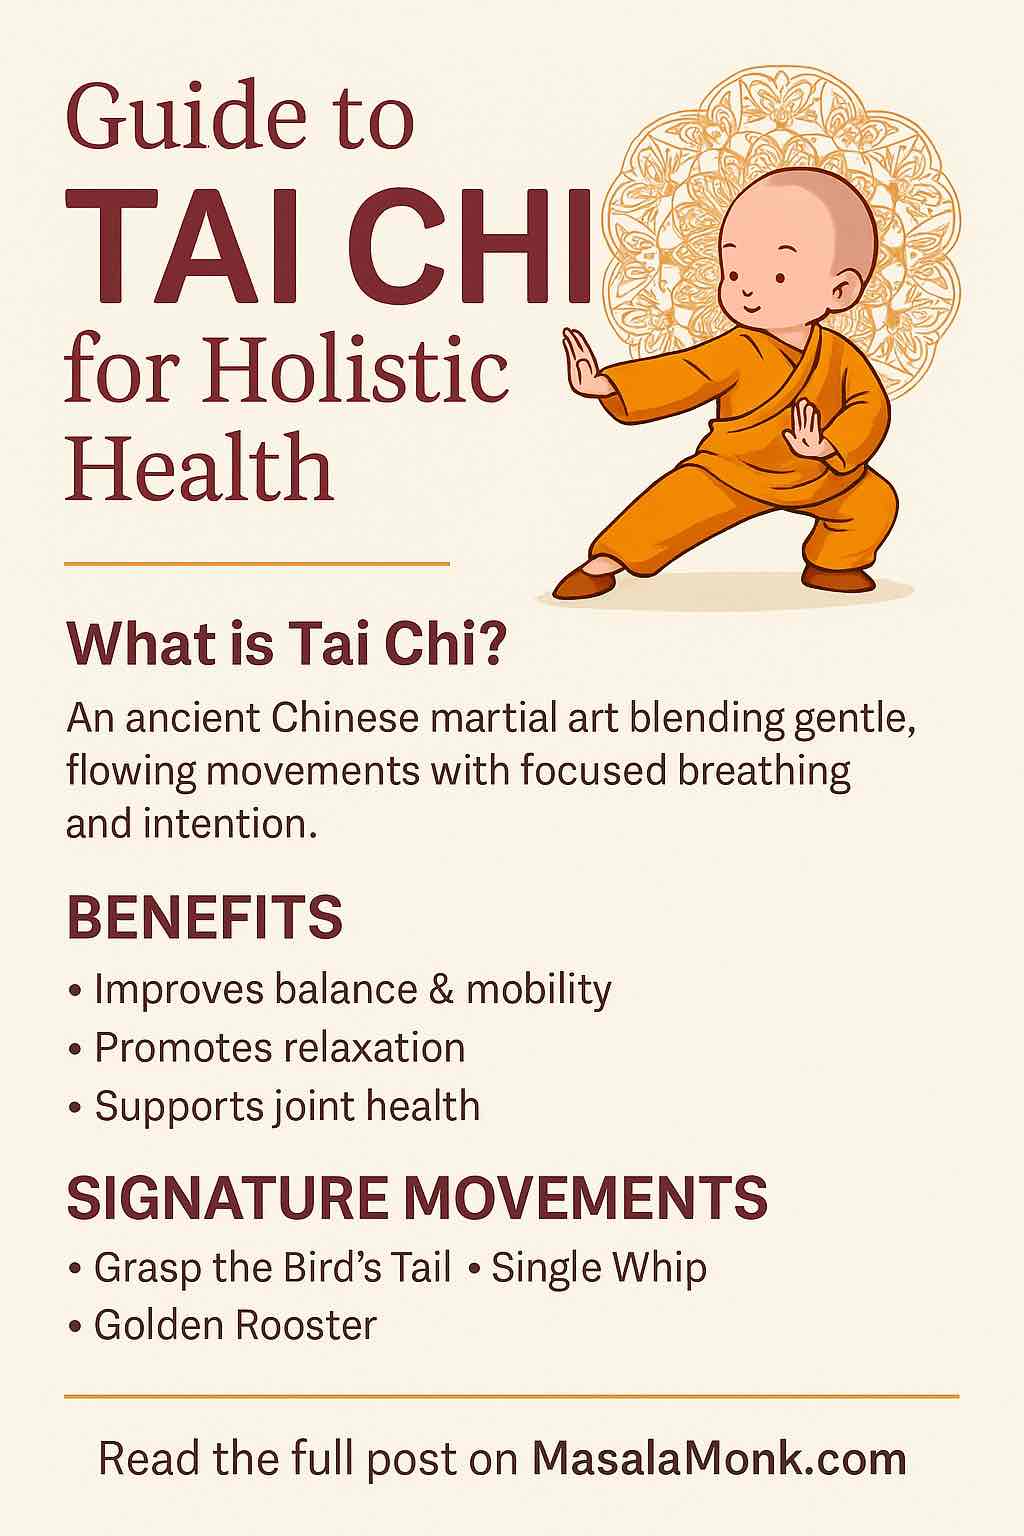
Tai Chi, often referred to as “meditation in motion,” is a centuries-old Chinese practice rooted in martial arts and traditional medicine. Characterized by slow, flowing movements and deep, mindful breathing, Tai Chi is much more than a gentle exercise—it’s a powerful path to cultivating holistic health. From enhancing physical stability to nurturing inner peace, Tai Chi offers a comprehensive approach to wellness for people of all ages and fitness levels.
Whether you’re seeking to reduce stress, improve mobility, or simply reconnect with your body and breath, Tai Chi is an accessible, transformative practice. At Masala Monk, we believe in making ancient wisdom approachable and enjoyable. That’s why we created a beautifully illustrated 9-step Tai Chi sequence to guide you through your journey, posture by posture.
🌿 Why Practice Tai Chi?
The benefits of Tai Chi extend far beyond the mat. Here’s why you might want to embrace this timeless discipline:
1. Stress Reduction & Mindfulness
The slow, deliberate pace of Tai Chi helps calm the nervous system, reduce cortisol levels, and bring attention to the present moment.
2. Improved Balance & Strength
Each posture requires controlled weight shifting and intentional core engagement, making Tai Chi excellent for leg strength, stability, and fall prevention.
3. Joint Mobility & Flexibility
Unlike high-impact workouts, Tai Chi gently moves every joint through its full range of motion, improving circulation and reducing stiffness.
4. Enhanced Respiratory Function
Deep, diaphragmatic breathing improves lung capacity, supports cardiovascular health, and promotes relaxation.
5. Energy Flow (Qi)
Tai Chi is rooted in the concept of Qi (life force energy). Its movements are designed to open meridian lines, allowing energy to circulate more freely.
6. Cognitive Clarity & Emotional Balance
Regular practice helps sharpen focus, improve memory, and reduce anxiety or depressive symptoms.
🌀 The 9 Essential Tai Chi Postures
We’ve designed a sequence of 9 postures that are easy to follow and effective for cultivating holistic well-being. Each illustration features our signature cartoon monk and includes detailed explanations of each movement’s purpose and benefit.
1. Commencement (Opening Posture)
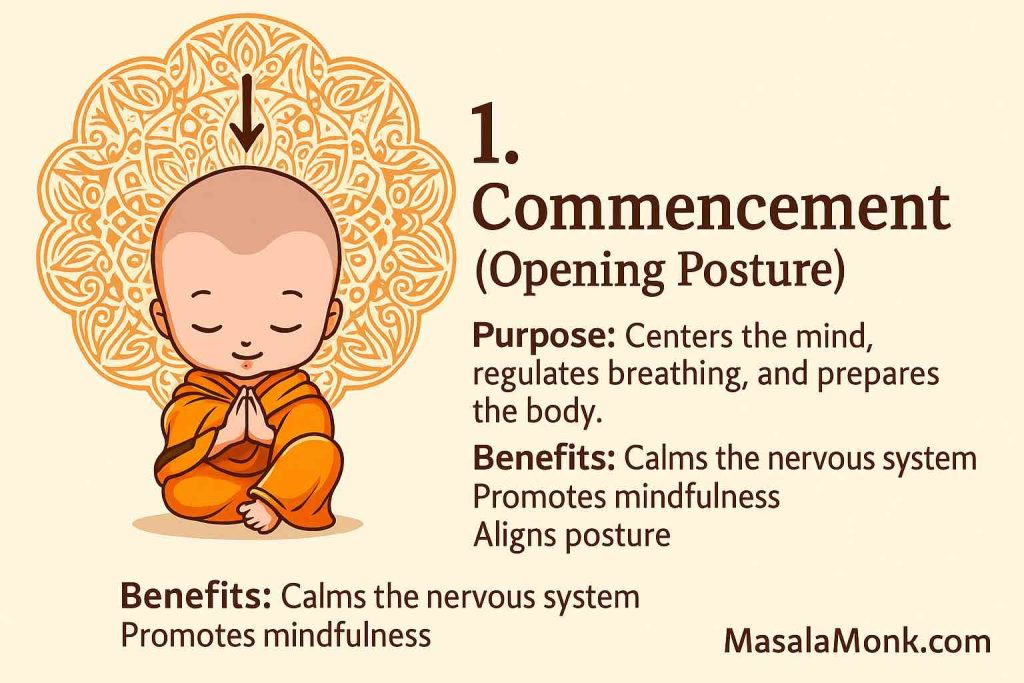
Purpose:
To ground and center the body, align posture, and regulate breath. This is the meditative “starting point” for your Tai Chi journey.
Benefits:
- Calms the mind and nervous system
- Enhances body awareness and mindfulness
- Sets a steady breathing rhythm
- Prepares the body for movement
2. Grasp the Bird’s Tail
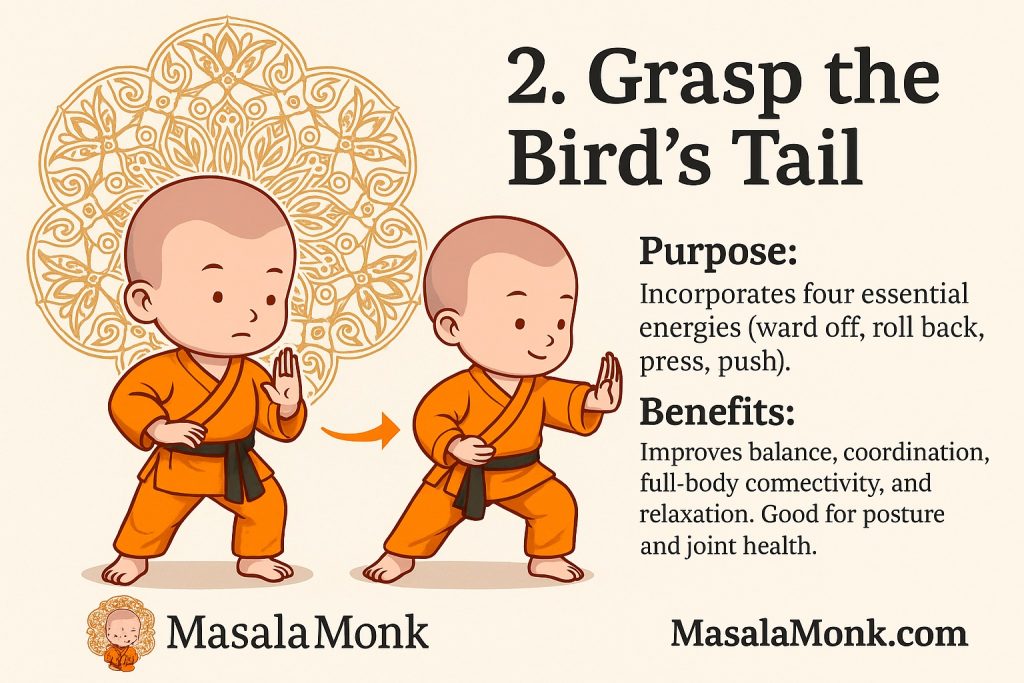
Purpose:
A signature movement in Tai Chi, this posture embodies four essential energies: ward off, roll back, press, and push.
Benefits:
- Develops sensitivity and flow
- Strengthens internal energy pathways
- Improves spinal alignment and shoulder flexibility
- Encourages grace and rhythm in motion
3. Wave Hands Like Clouds
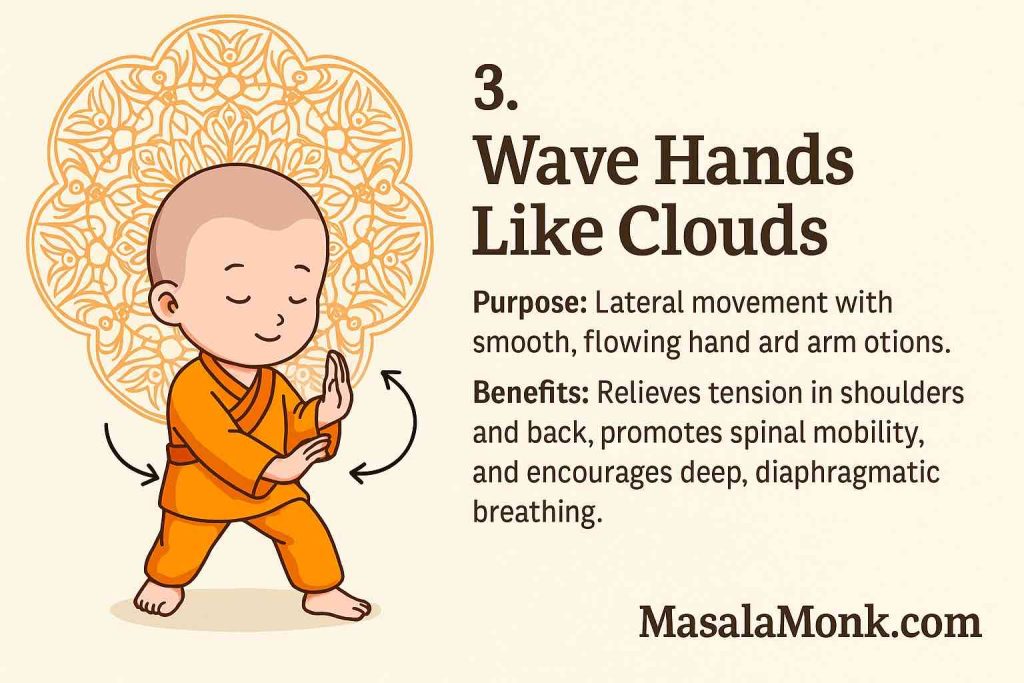
Purpose:
Lateral movement combining hip shifting and coordinated arm sways that mimic cloud movements.
Benefits:
- Encourages fluidity in motion
- Loosens shoulder and back tension
- Improves coordination between upper and lower body
- Aids in breathing and mental clarity
4. Single Whip
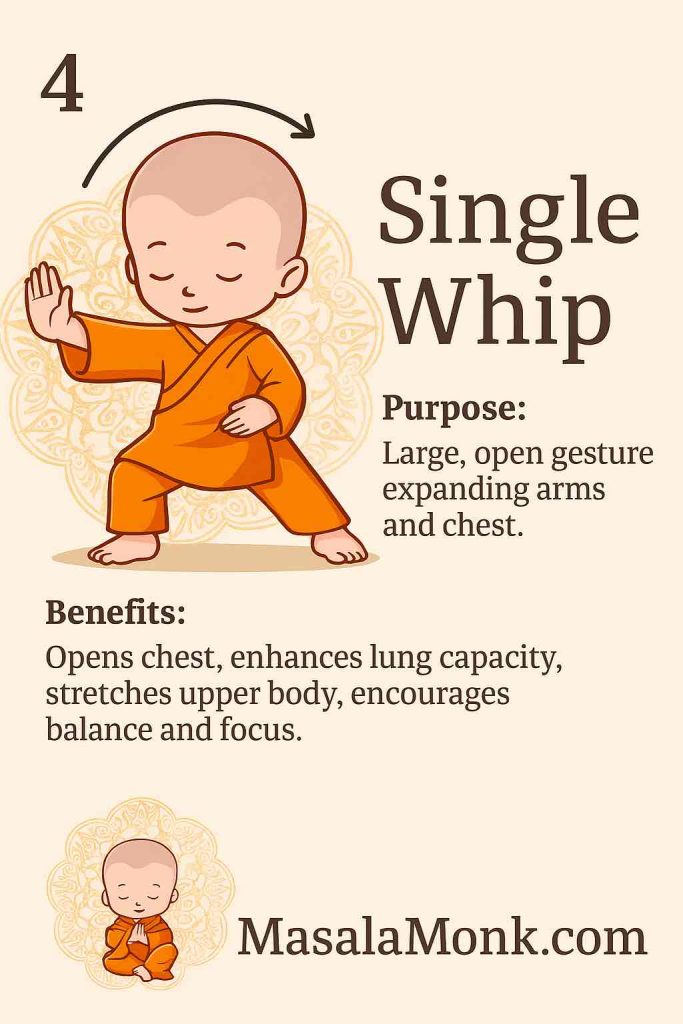
Purpose:
A wide, expansive gesture that opens the chest, engages both arms, and deepens the breath.
Benefits:
- Enhances lung capacity
- Improves shoulder, chest, and spine flexibility
- Boosts posture and poise
- Refines focus and single-mindedness
5. Golden Rooster Stands on One Leg
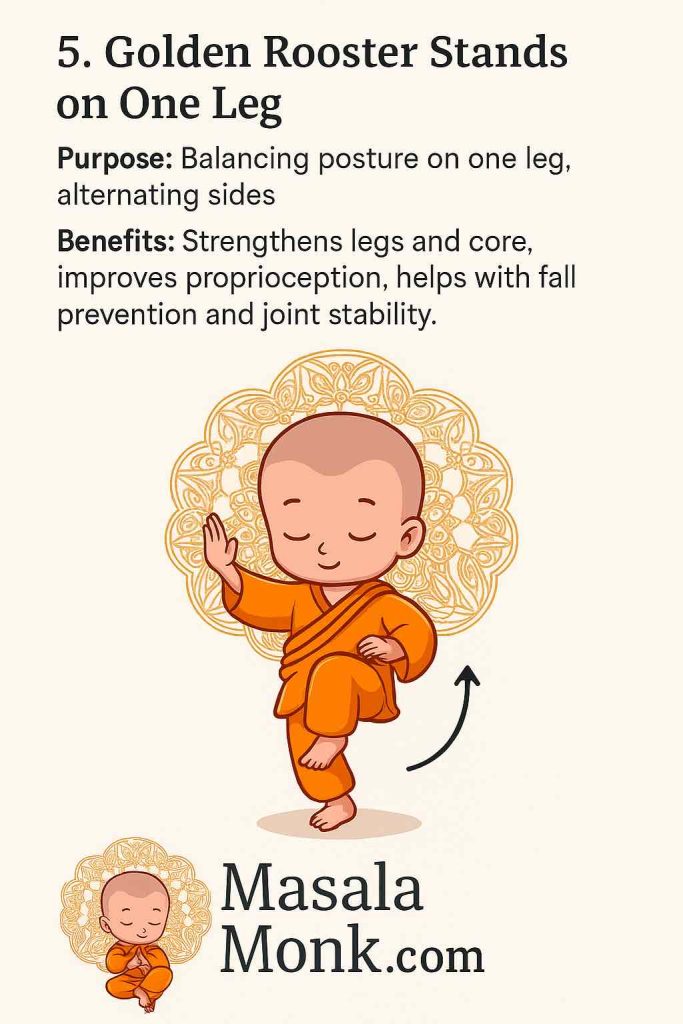
Purpose:
A balancing exercise that involves raising one leg and aligning arms in a defensive posture.
Benefits:
- Builds lower body strength and core stability
- Improves proprioception (body awareness)
- Helps with balance and fall prevention
- Trains the mind to stay centered
6. Repulse Monkey
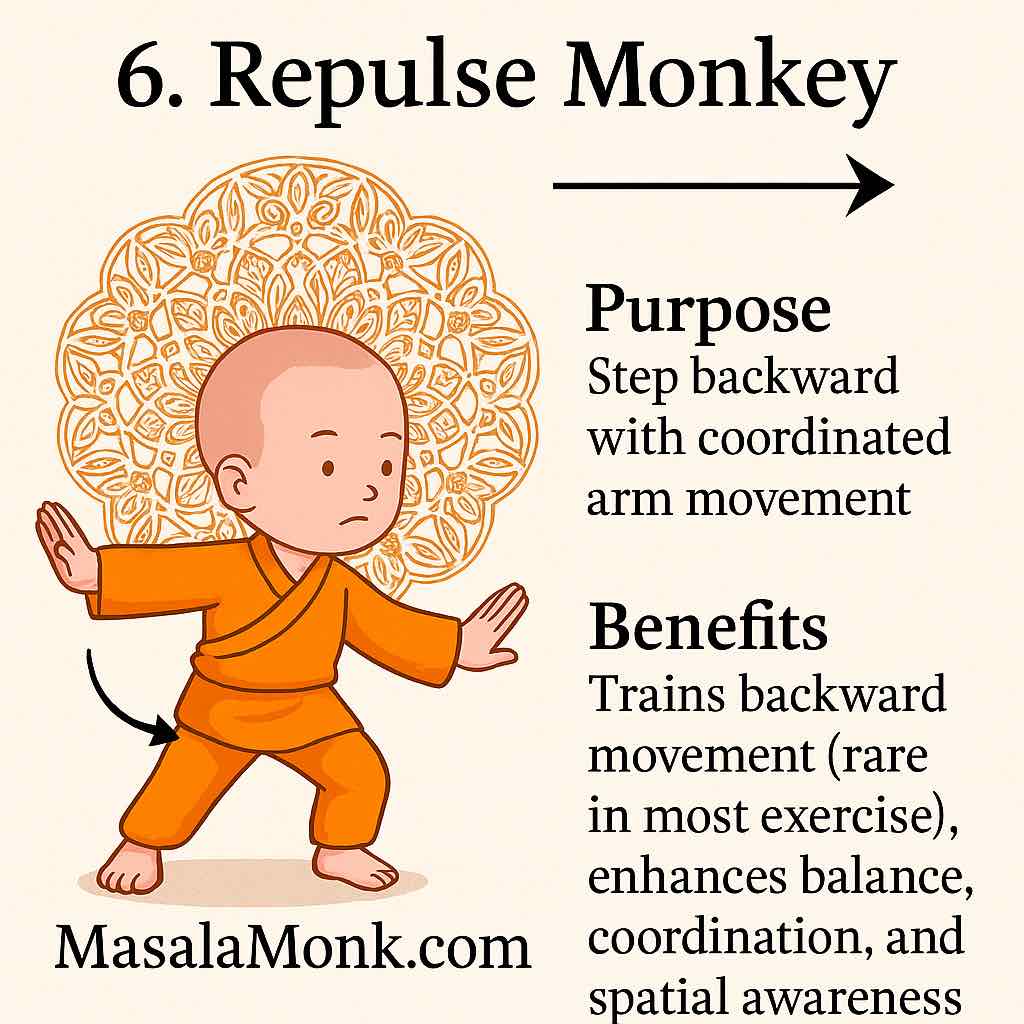
Purpose: Backward stepping posture with alternating arm motions, mimicking pushing away.
Benefits:
- Reinforces backward movement rarely used in daily life
- Sharpens spatial awareness and reaction time
- Increases coordination between hands and feet
- Improves confidence in changing directions
7. Brush Knee and Twist Step
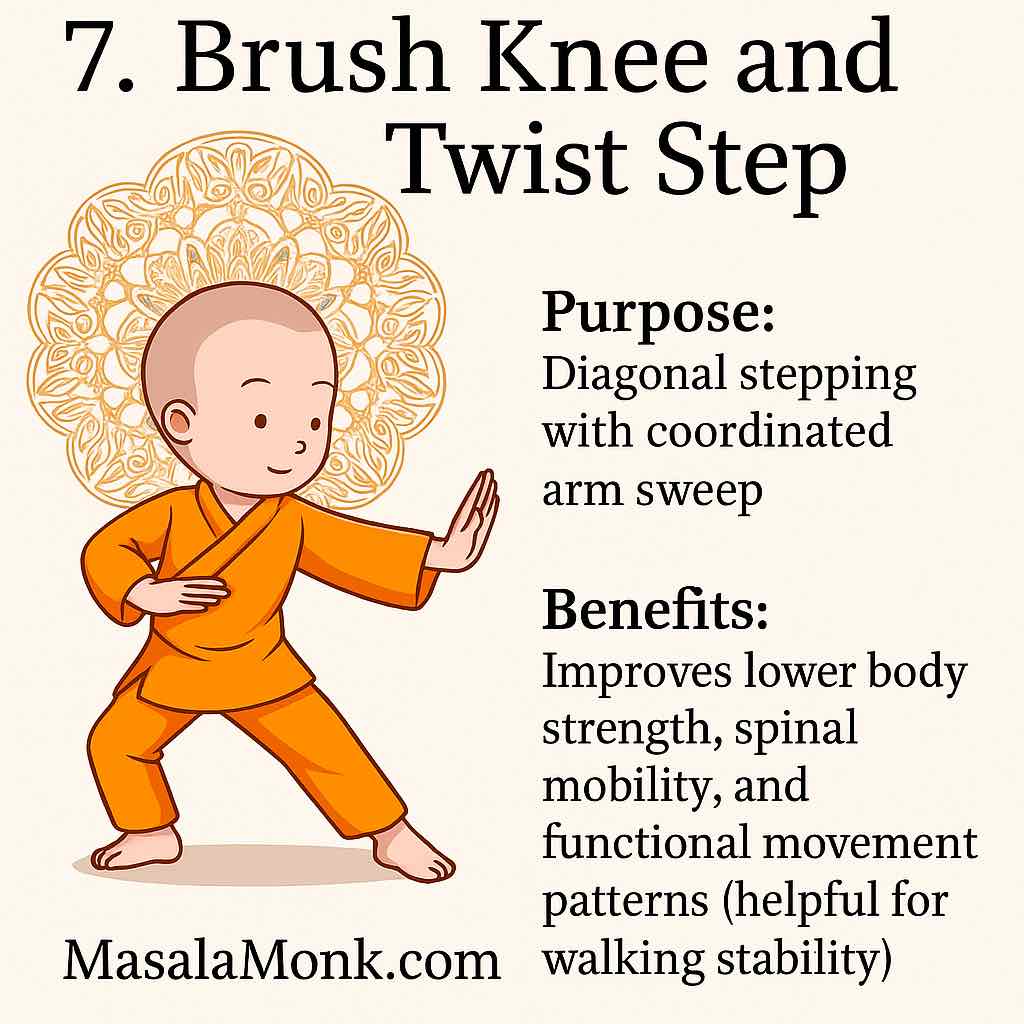
Purpose: Diagonal movement combining a sweeping arm motion with a forward step.
Benefits:
- Strengthens legs and hips
- Supports spinal rotation and elasticity
- Enhances gait and functional walking patterns
- Trains multitasking (arms and legs working independently)
8. Snake Creeps Down
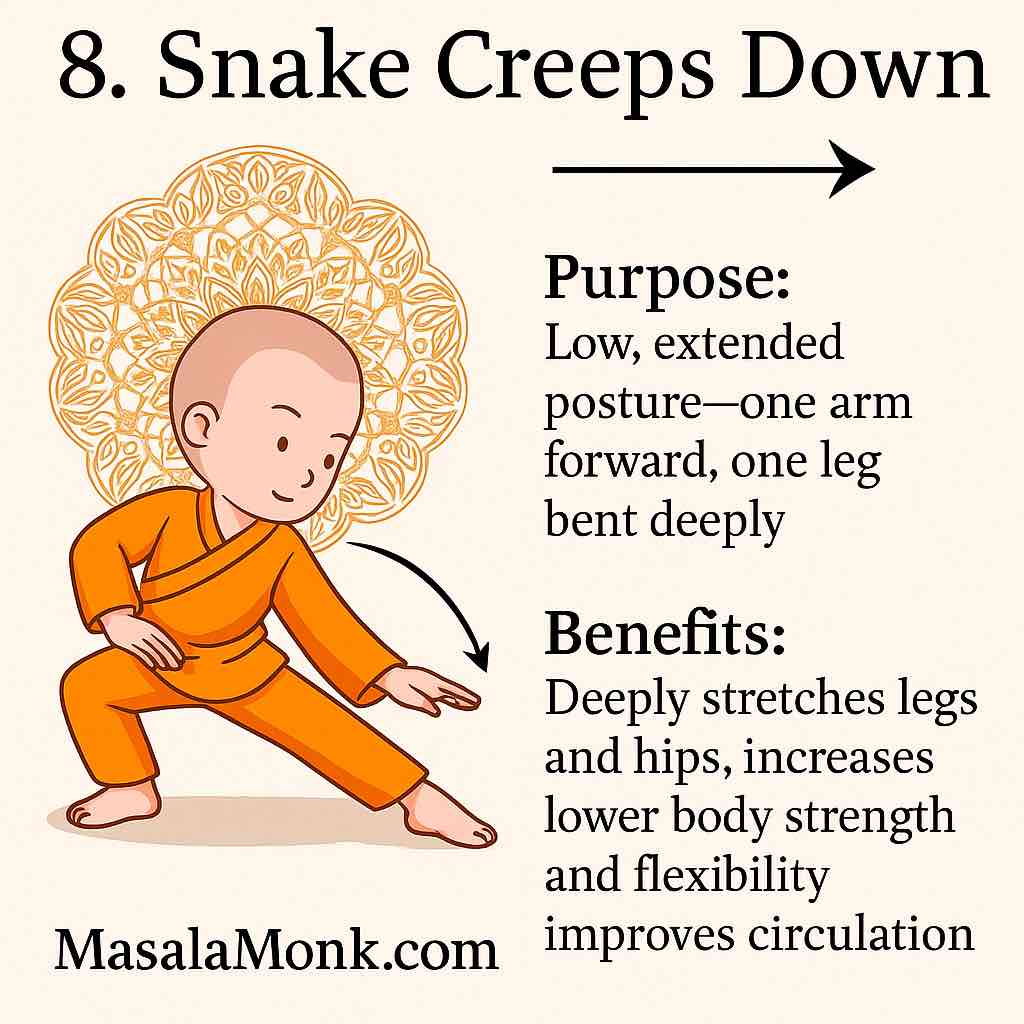
Purpose: A low, grounded movement that stretches one leg while extending one arm forward.
Benefits:
- Deepens lower body flexibility
- Strengthens knees, thighs, and ankles
- Opens hips and promotes joint health
- Improves blood flow and energy flow in the legs
9. Closing Posture
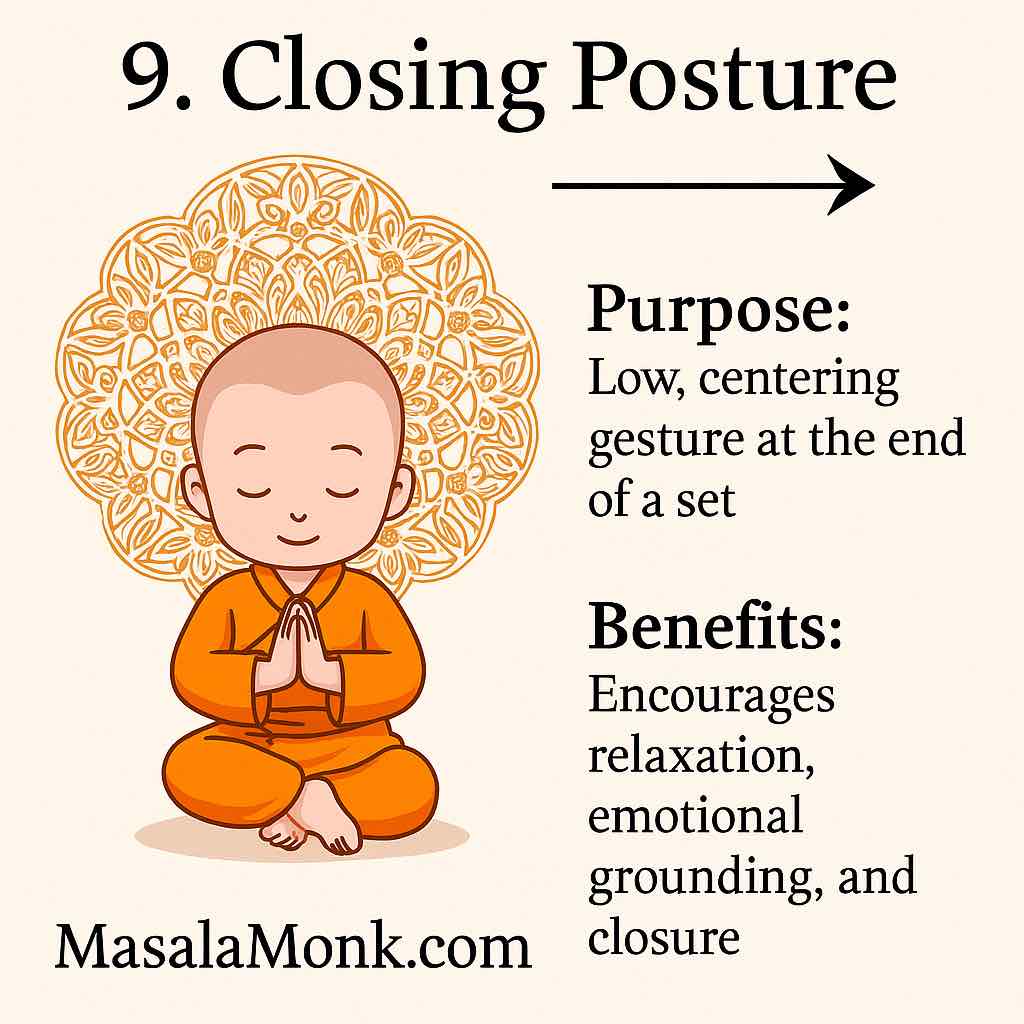
Purpose: A gentle return to stillness, sealing the practice with mindfulness and calm.
Benefits:
- Grounds emotional energy
- Encourages integration of the practice
- Offers a moment of reflection and gratitude
- Prepares the body for rest or next activity
🧘♂️ How to Practice This Flow
- Environment: Choose a quiet, open space with minimal distractions.
- Frequency: Begin with 10–20 minutes a day. Progress at your own pace.
- Mindset: Focus on breath, body awareness, and intentional movement.
- Footwear: Practice barefoot or in soft, flexible shoes.
- Progression: Repeat the sequence slowly 2–3 times for deeper benefit.
🌺 Final Thoughts from Masala Monk
Tai Chi is not about perfection. It’s about presence. With consistent practice, these gentle yet powerful movements will infuse your day with clarity, balance, and inner peace. From strengthening your body to calming your mind, the benefits are cumulative and life-enhancing.
We invite you to take this 9-step journey daily and notice how it transforms not just your health but your relationship with yourself.
Move gently. Breathe deeply. Live mindfully.
With love and light,
The Masala Monk Team
MasalaMonk.com
📌 Frequently Asked Questions (FAQs)
1. What is Tai Chi and where does it come from?
Answer: Tai Chi is a Chinese internal martial art that dates back centuries. Originally developed for self-defense, it has evolved into a mind-body practice combining slow movements, breath work, and meditation for health, longevity, and balance.
2. Do I need any equipment to start Tai Chi?
Answer: No special equipment is required. You just need comfortable clothing, flat-soled shoes (or bare feet), and enough space to move freely. A quiet environment is ideal for focus and relaxation.
3. Can beginners practice this 9-step Tai Chi sequence?
Answer: Absolutely. The 9-posture flow curated by Masala Monk is beginner-friendly and designed to build body awareness, coordination, and calmness progressively.
4. How often should I practice Tai Chi to see benefits?
Answer: Practicing for 15–30 minutes a day, 3–5 times per week can yield noticeable benefits in balance, flexibility, and mental clarity. Consistency matters more than intensity.
5. Is Tai Chi a good form of exercise for seniors or people with limited mobility?
Answer: Yes! Tai Chi is often recommended for seniors and individuals recovering from injury because of its low-impact, joint-friendly movements that improve stability and circulation.
6. How is Tai Chi different from yoga or meditation?
Answer: While yoga emphasizes stretching and static poses, Tai Chi focuses on continuous, flowing motion. Unlike seated meditation, Tai Chi is a form of moving meditation that combines breath with motion.
7. Can Tai Chi help with anxiety or stress?
Answer: Yes. Tai Chi encourages slow breathing and rhythmic movement, which activate the parasympathetic nervous system, helping reduce stress hormones and improve mood and mental focus.
8. Do I need a teacher or can I learn Tai Chi online?
Answer: While a teacher can help with alignment and flow, many people successfully learn Tai Chi through illustrated guides, videos, and structured flows like the one provided by Masala Monk. Always move at your own pace.
9. Is Tai Chi considered a spiritual practice?
Answer: While Tai Chi has philosophical roots in Taoism and Chinese medicine, it is not inherently religious. Many practice it purely for physical and mental health benefits, while others incorporate it into spiritual routines.
10. Can I combine Tai Chi with other forms of exercise or wellness practices?
Answer: Absolutely. Tai Chi complements activities like yoga, walking, strength training, and breathwork. It can be a gentle warm-up, cool-down, or standalone mindfulness practice.