
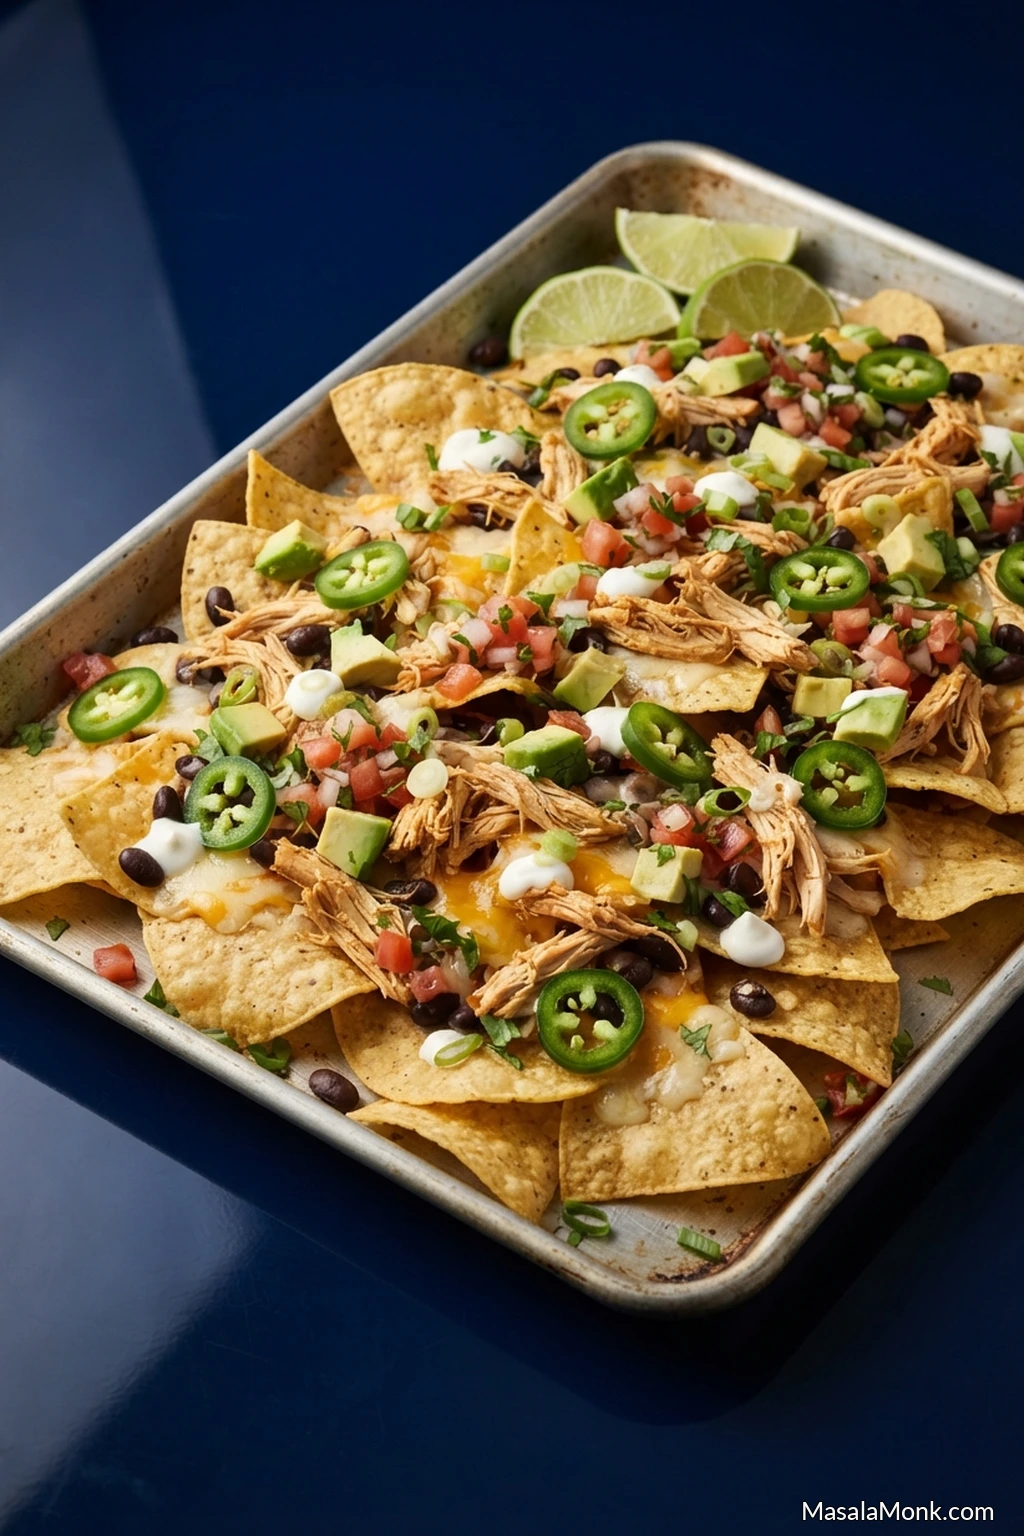
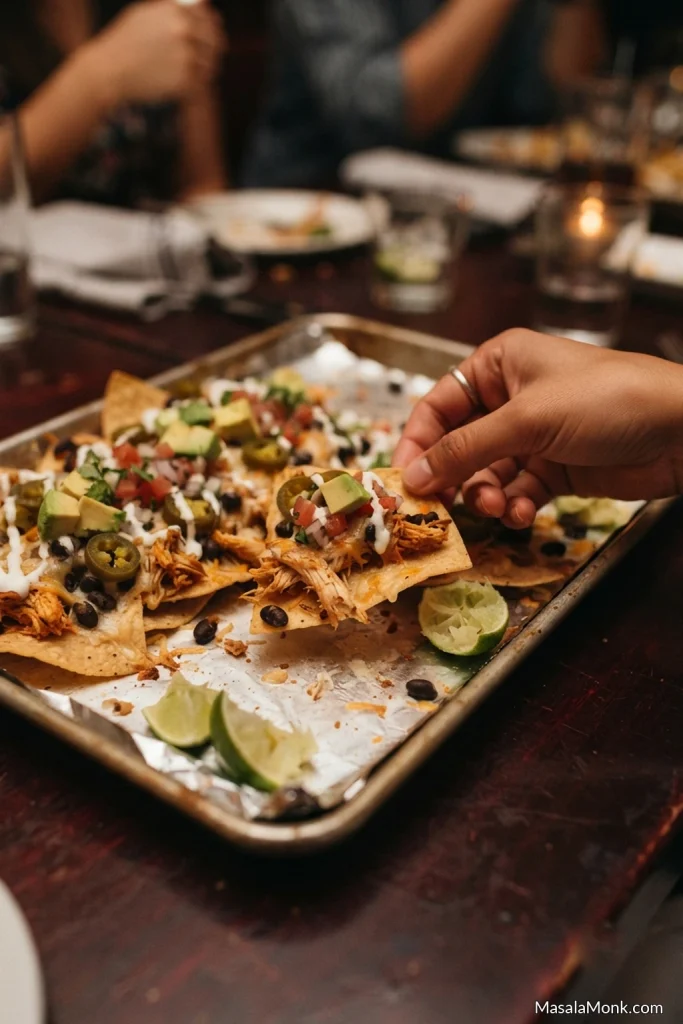
Great chicken nachos have a short but glorious window: the cheese is molten, the chicken is juicy and well seasoned, the fresh toppings are still cool, and the tortilla chips are crisp enough to carry everything from the tray to your mouth without folding underneath it.
The easiest way to miss that window is to pile too much onto too little space. Wet chicken and deep layers soften the chips, while a blanket of cheese across the top can leave plenty underneath almost bare. Then salsa, sour cream or queso can finish the job if they go on too early.
The fix is mostly in how the tray is built.
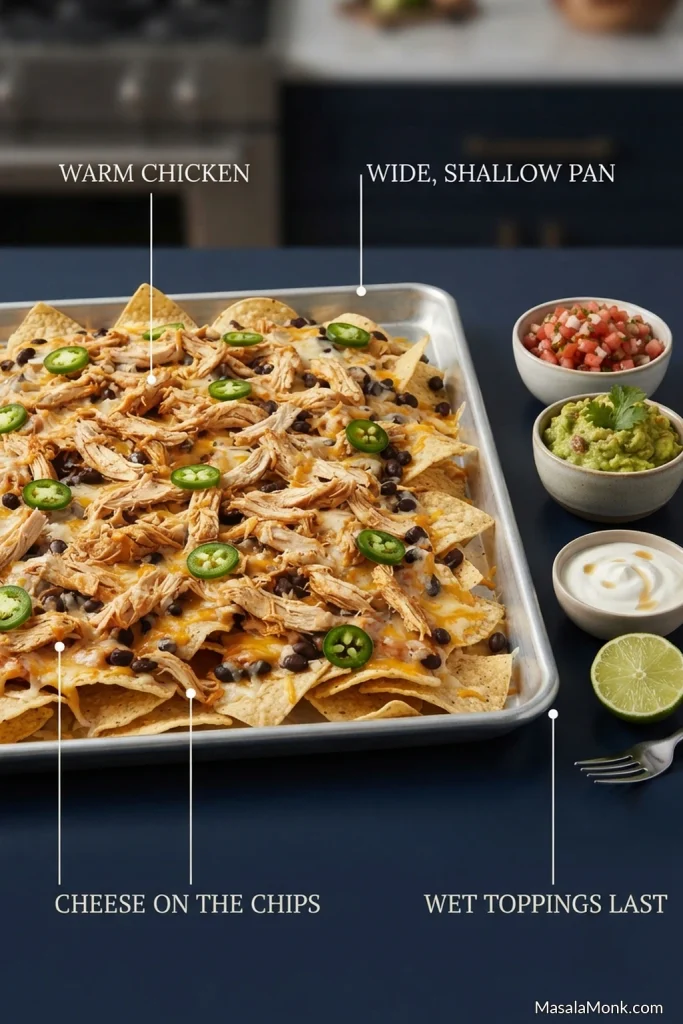
Warm Chicken. Wide Pan. Cheese on the Chips. Wet Toppings Last.
- Warm the chicken so the short bake can focus on melting the cheese rather than heating cold meat.
- Give the chips room instead of burying them in a deep, steamy pile.
- Put some cheese directly on the chips so the chicken has something to cling to as the cheese melts.
- Keep wet toppings for later so pico, guacamole, sour cream and queso stay fresh without soaking the tray in the oven.
Sheet Pan Chicken Nachos Recipe
Crisp tortilla chips, juicy seasoned chicken and a Monterey Jack-cheddar melt come together on one wide sheet pan, with cool fresh toppings added right at the end.
This makes one generous half-sheet pan. Serve it to about four people as a casual main, or six to eight as part of a snack table.
Fastest route: use rotisserie chicken and a bagged cheddar-Jack or Mexican-style shredded cheese blend. Warm the chicken with the spices first and the whole tray comes together quickly.
| With cooked chicken | About 25 minutes |
|---|---|
| Starting with raw chicken | About 35–40 minutes |
| Nacho bake | About 6–8 minutes |
| Serves | 4 as a casual main or 6–8 as an appetizer |
| Oven | 400°F / 205°C |
| Pan | 13 × 18-inch / 33 × 46-cm rimmed half-sheet pan |
Equipment
- 13 × 18-inch / 33 × 46-cm rimmed half-sheet pan
- Large skillet if cooking or warming the chicken
- Box grater if grating cheese from a block
- Instant-read thermometer if starting with raw chicken
Chicken Nacho Seasoning
This mild, smoky seasoning is enough for about 1 lb / 454 g raw chicken or 12 oz / 340 g already-cooked chicken.
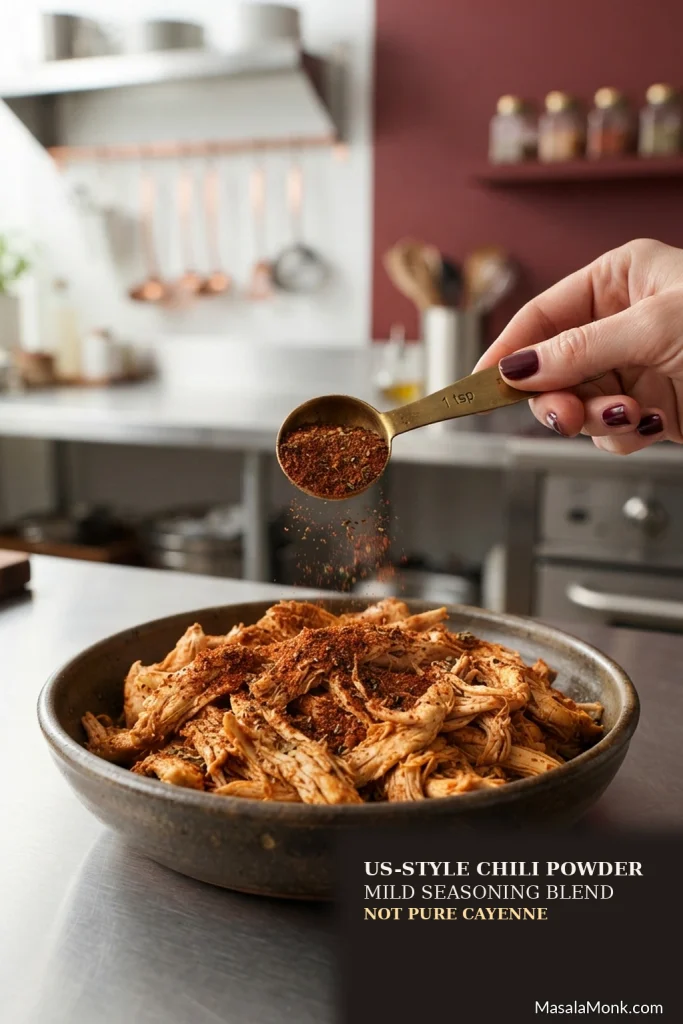
- 1 teaspoon US-style chili powder — a mild chili seasoning blend, not pure ground chile or cayenne
- 1 teaspoon ground cumin
- 1/2 teaspoon smoked paprika
- 1/2 teaspoon garlic powder
- 1/2 teaspoon onion powder
- 1/2 teaspoon dried oregano
- 1/2 teaspoon fine salt for raw chicken; for cooked or rotisserie chicken, add salt only after tasting
- 1/4 teaspoon black pepper
- Pinch of cayenne or chipotle powder, optional
For the Chicken
- 12 oz / 340 g cooked shredded chicken, or about 1 lb / 454 g raw boneless chicken breast or thighs
- Chicken nacho seasoning above
- 1 tablespoon / 15 ml neutral oil if cooking raw chicken
- 1–2 tablespoons / 15–30 ml chicken stock or water if cooked chicken needs a little moisture
For the Nachos
- 12 oz / 340 g thick, sturdy corn tortilla chips
- 6 oz / 170 g Monterey Jack, grated
- 6 oz / 170 g sharp cheddar, grated
- 1 cup / about 170 g black beans, rinsed and very well drained, optional
- 1 small fresh jalapeño, thinly sliced, or about 1/4 cup pickled jalapeño slices, well drained, optional
For Finishing
These are suggested amounts, not quotas. Use what sounds good to you.
- 1/2–1 cup well-drained pico de gallo
- 1 medium avocado, diced, or about 1/2–3/4 cup guacamole
- 1/3–1/2 cup sour cream or crema
- 2 scallions, thinly sliced
- About 1/4 cup loosely packed cilantro leaves, optional
- 1 lime, cut into wedges
- Hot sauce, to taste
- 1/4–1/2 cup warm queso, optional
Method
Get the Oven and Ingredients Ready
- Heat the oven and get the tray ingredients ready. Heat the oven to 400°F / 205°C with a rack near the middle. Grate the cheese if needed. Rinse and thoroughly drain the black beans, and drain pickled jalapeños if using them. Keep the chips nearby.
Cook or Warm the Chicken
- Choose your chicken route.
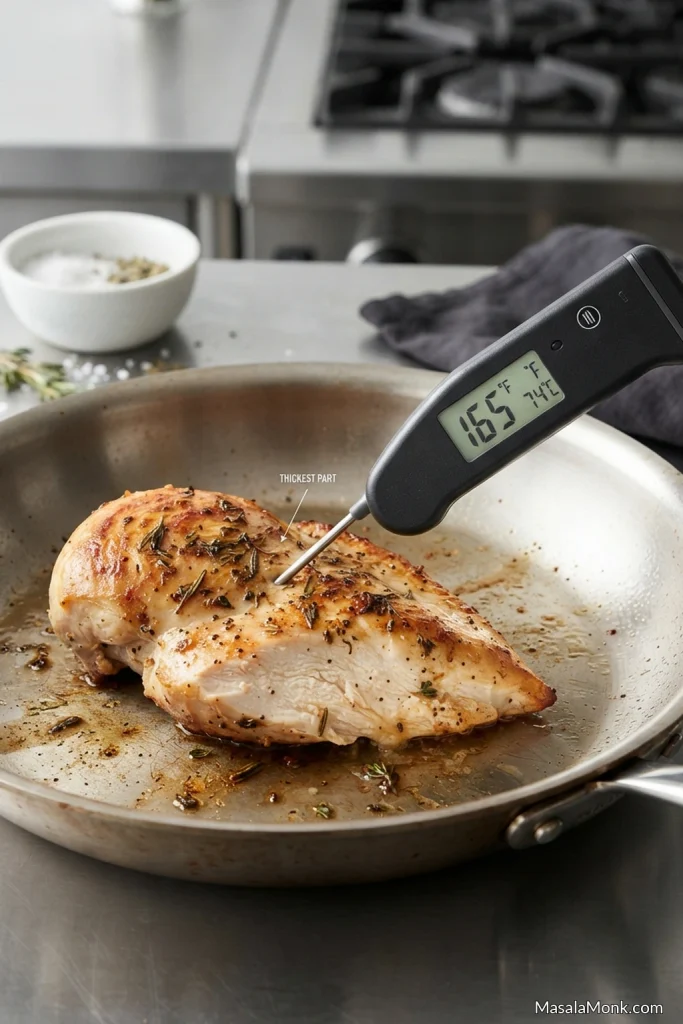
- Starting with raw chicken: Butterfly or gently pound thick chicken breasts to roughly 1/2–3/4 inch / 1.3–2 cm. Boneless thighs usually do not need pounding; just open them out so they are not folded over. Season with the chili powder, cumin, paprika, garlic powder, onion powder, oregano, black pepper and 1/2 teaspoon salt. Heat the oil in a skillet over medium-high heat and cook, turning as needed, until browned and the thickest part reaches 165°F / 74°C, the safe minimum internal temperature for poultry. Start checking around the 8-minute mark, but trust the thermometer rather than the clock.
Rest for 5 minutes, then shred or chop. Toss with a little of the resting juice if the meat needs it; if liquid is pooling, return the chicken to the skillet briefly until the meat looks juicy with no loose liquid underneath. The nacho bake is for melting cheese, not finishing raw chicken. - Starting with cooked or rotisserie chicken: Put 12 oz / 340 g shredded chicken in a skillet over medium heat with the chili powder, cumin, paprika, garlic powder, onion powder, oregano and black pepper. Add 1–2 tablespoons / 15–30 ml stock or water only if the meat seems dry. Toss until hot and glossy. Taste, then add salt only if needed. The chicken is ready when it still looks juicy but loose liquid is no longer gathering at the bottom of the skillet.
- Starting with raw chicken: Butterfly or gently pound thick chicken breasts to roughly 1/2–3/4 inch / 1.3–2 cm. Boneless thighs usually do not need pounding; just open them out so they are not folded over. Season with the chili powder, cumin, paprika, garlic powder, onion powder, oregano, black pepper and 1/2 teaspoon salt. Heat the oil in a skillet over medium-high heat and cook, turning as needed, until browned and the thickest part reaches 165°F / 74°C, the safe minimum internal temperature for poultry. Start checking around the 8-minute mark, but trust the thermometer rather than the clock.
Prepare the Toppings and Build the Tray
- Prepare the fresh toppings. While the raw chicken rests or the oven finishes heating, chop the scallions and cilantro, cut the lime and get the sour cream or crema ready. When your pico de gallo is especially juicy, use a slotted spoon or briefly drain the portion going onto the nachos. Cut the avocado or uncover the guacamole close to serving so it stays fresh.
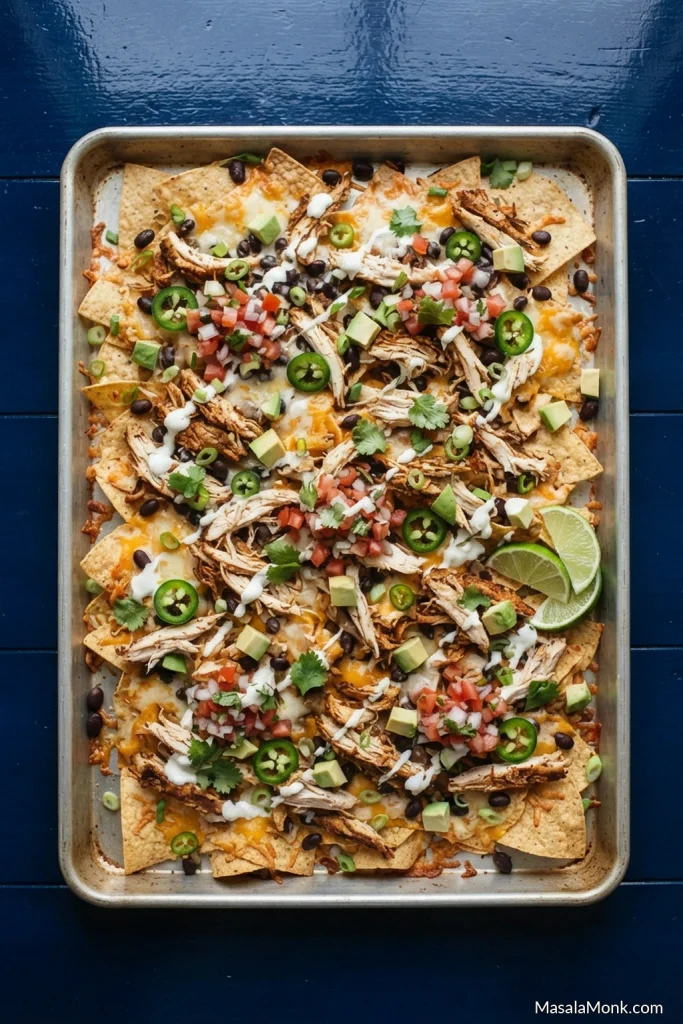
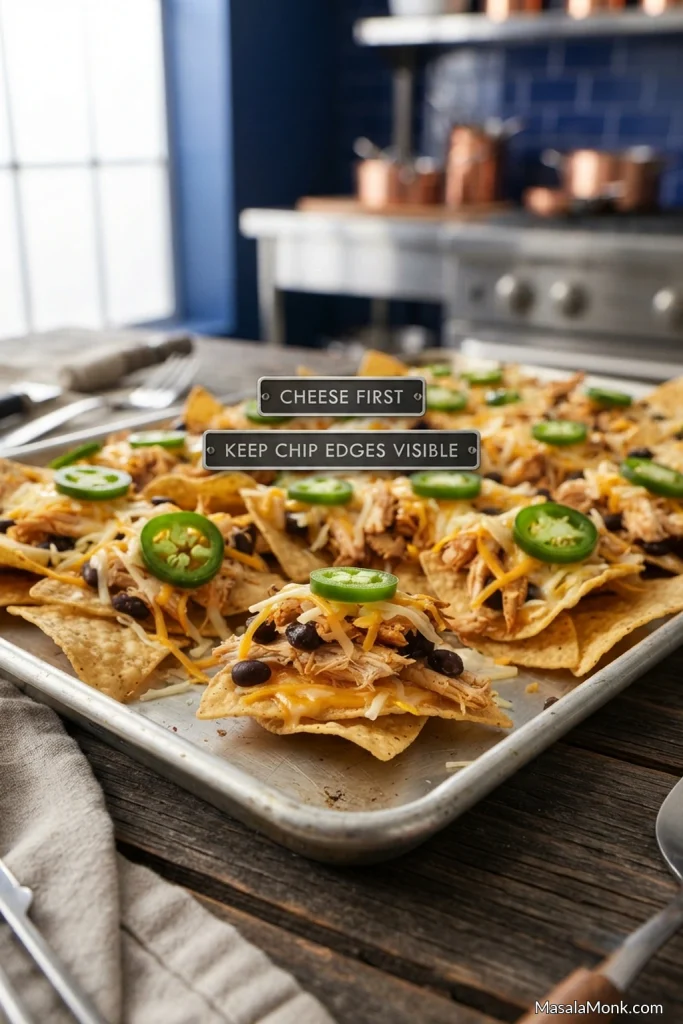
- Build the tray. Spread the chips across the half-sheet pan in one generous shallow layer. Some overlap is fine; the tray does not need to look perfectly arranged. Scatter about half of the cheese directly over the chips, then add the warm chicken and optional beans. Finish with the remaining cheese and the fresh or well-drained pickled jalapeños. Before baking, you should still be able to see plenty of chip edges.
Bake, Finish and Serve
- Bake for about 6–8 minutes. Take the tray out when the cheese has melted into the gaps between the chips, the chicken is hot and a few exposed chip edges look lightly toasted. The cheese does not need deep browning to be ready.
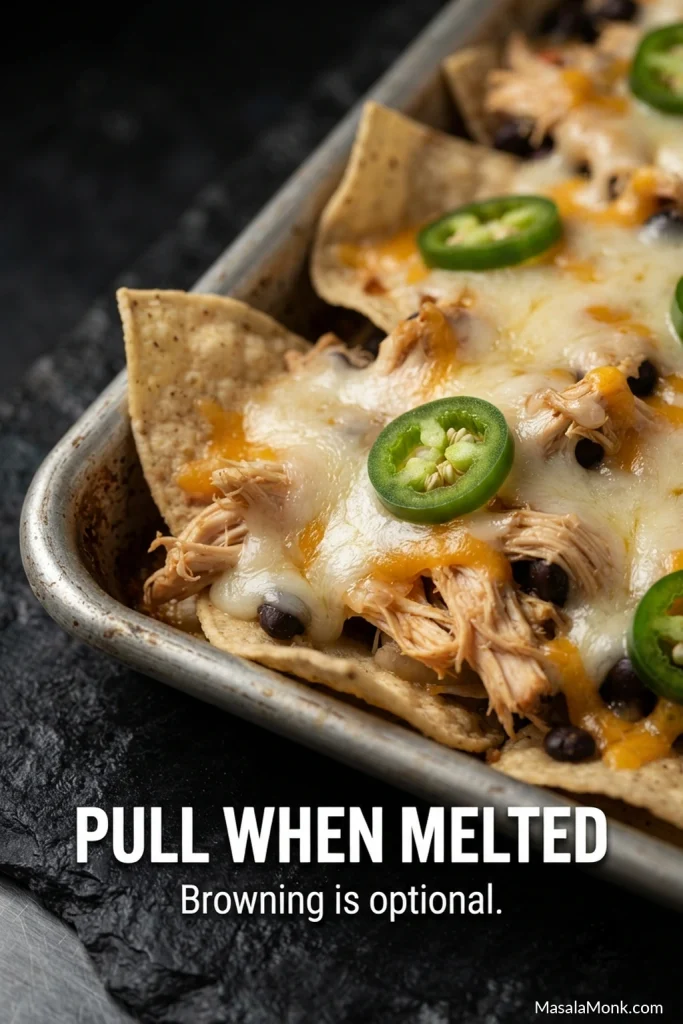
- Broil only if you want a little more color. About 30–60 seconds can be enough. Stay with the oven; exposed chip tips can go from toasted to burnt remarkably quickly.
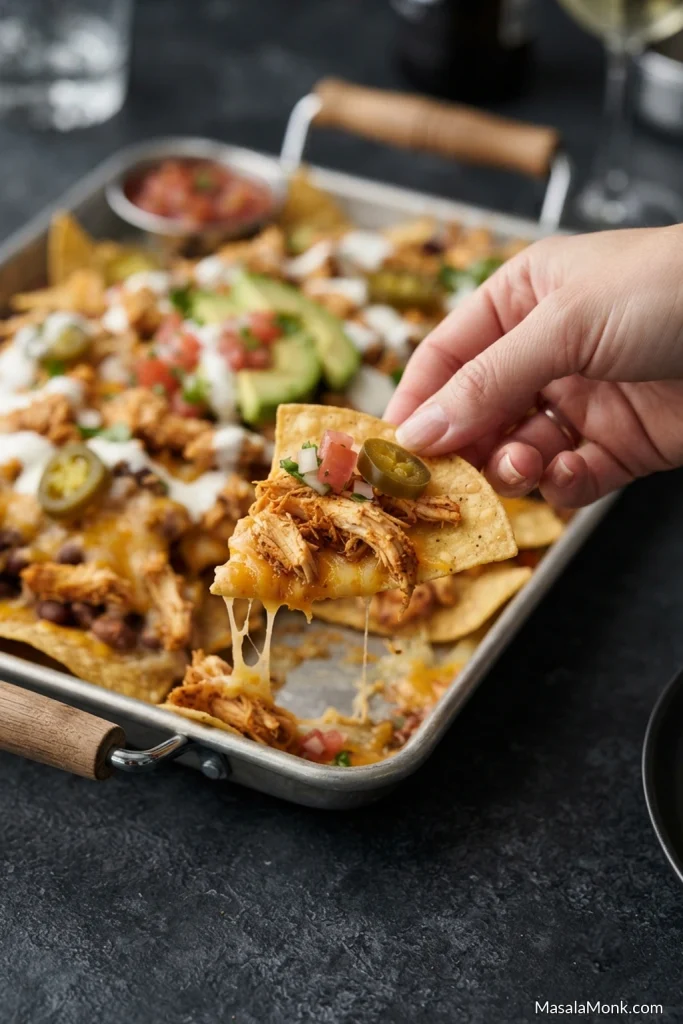
- Finish and eat. Add pico, avocado or guacamole, sour cream, scallions, cilantro, lime and hot sauce to taste. Drizzle queso lightly over part of the tray if using it. The best bite has a little of everything—hot chicken and cheese, something cool and creamy, a squeeze of lime and a crisp chip underneath. Put the pan down while the cheese is soft and let everyone start grabbing.
Choose Chips That Can Handle the Job
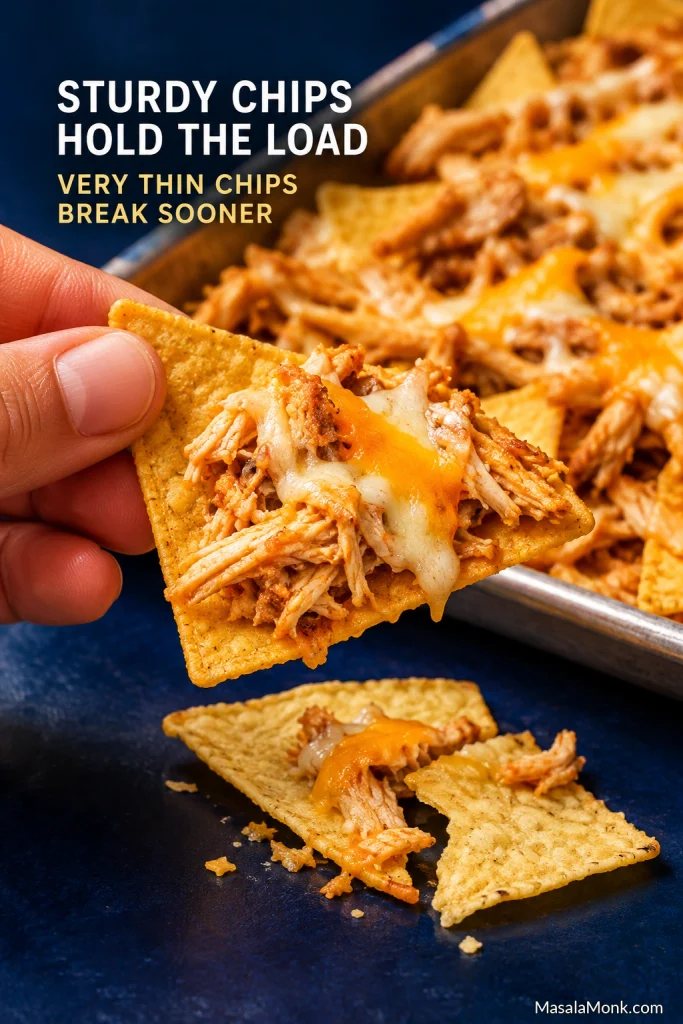
The best chips for loaded chicken nachos are thick, sturdy corn tortilla chips, preferably lightly salted.
Chicken nachos ask more of a tortilla chip than a bowl of salsa does. The chip has to carry hot chicken, melted cheese and fresh toppings without snapping before it reaches your mouth. Very thin chips can taste wonderfully crisp on their own and still collapse once the tray is loaded.
Lightly salted chips give you more room to season because the cheese, chicken, canned beans and pickled jalapeños may all bring salt of their own. The ideal chip is crisp but not glassy-brittle. If it shatters under almost no pressure, it probably will not survive a loaded tray.
The Chicken Should Be Juicy, Not Saucy
The chicken should taste good enough to eat before it ever reaches the chips. Once cheddar, Jack, avocado and salsa arrive, plain shredded chicken gets lost very quickly.
The spice blend above gives the chicken cumin, garlic, smoke and mild chile flavor without making the whole recipe aggressively hot. Breast and thigh both work. Thighs naturally stay juicier. Breast is leaner and benefits more from being cooked to an even thickness.
Prefer cooking it separately in the oven? Our baked chicken breast method is an easy make-ahead route.
Ground chicken works as well. Brown it with the same seasoning and leave it in the skillet until the liquid it releases has cooked away. Smaller pieces or coarse shreds spread much more evenly across the tray than large chunks.
Check the Bottom of the Skillet
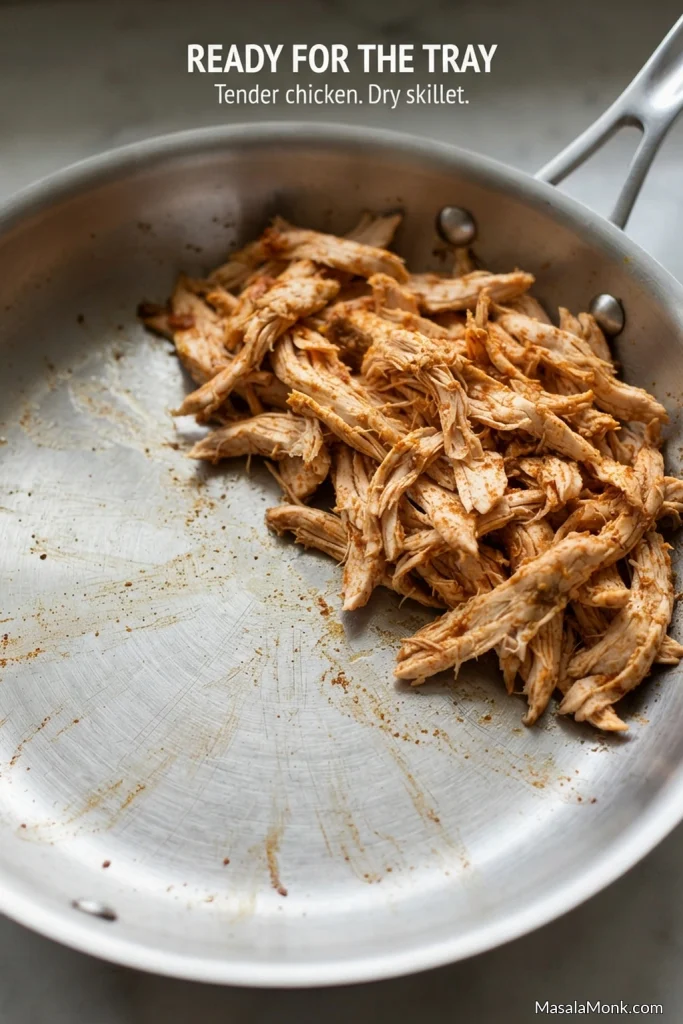
When cooked chicken needs a splash of stock or water to loosen it, the amount in the measuring spoon matters less than what you see in the pan.
Push the chicken to one side. If liquid runs into the empty part of the skillet, give it another minute. Once the chicken looks glossy but the bottom of the pan is almost dry, it is ready.
You want juicy chicken on the chip, not chicken liquid underneath it.
Using Rotisserie Chicken
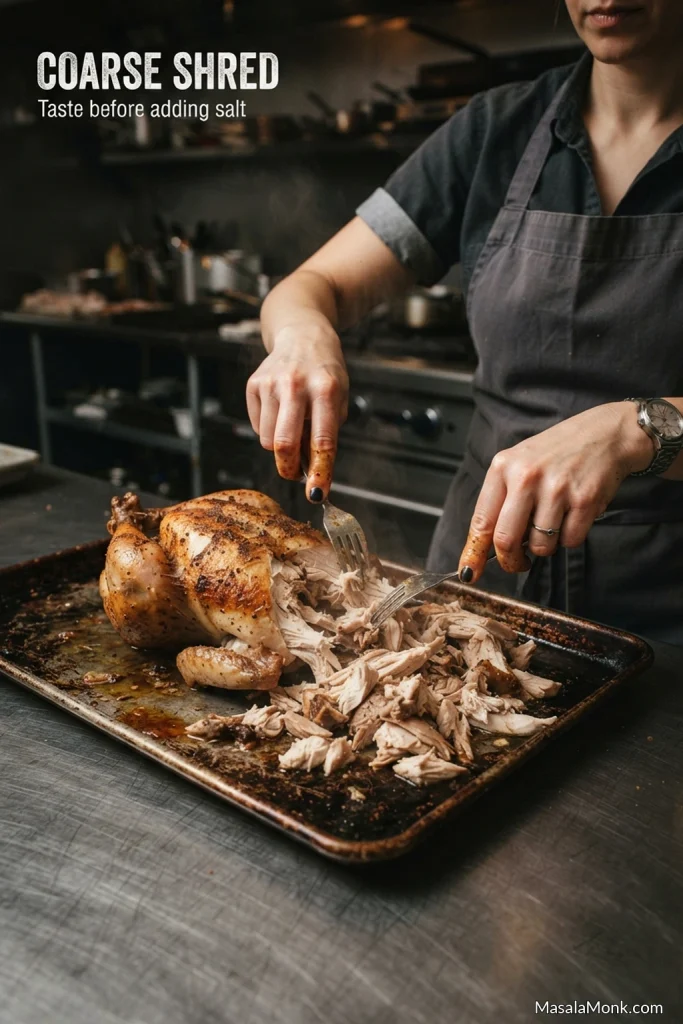
White meat, dark meat or a mixture all work. Remove very soft pieces of skin unless you want them mixed through the nachos, and taste the chicken before adding salt because rotisserie birds vary enormously in seasoning. Shred it fairly coarsely so the chicken stays noticeable but still spreads easily across the tray.
Best Cheese for Chicken Nachos
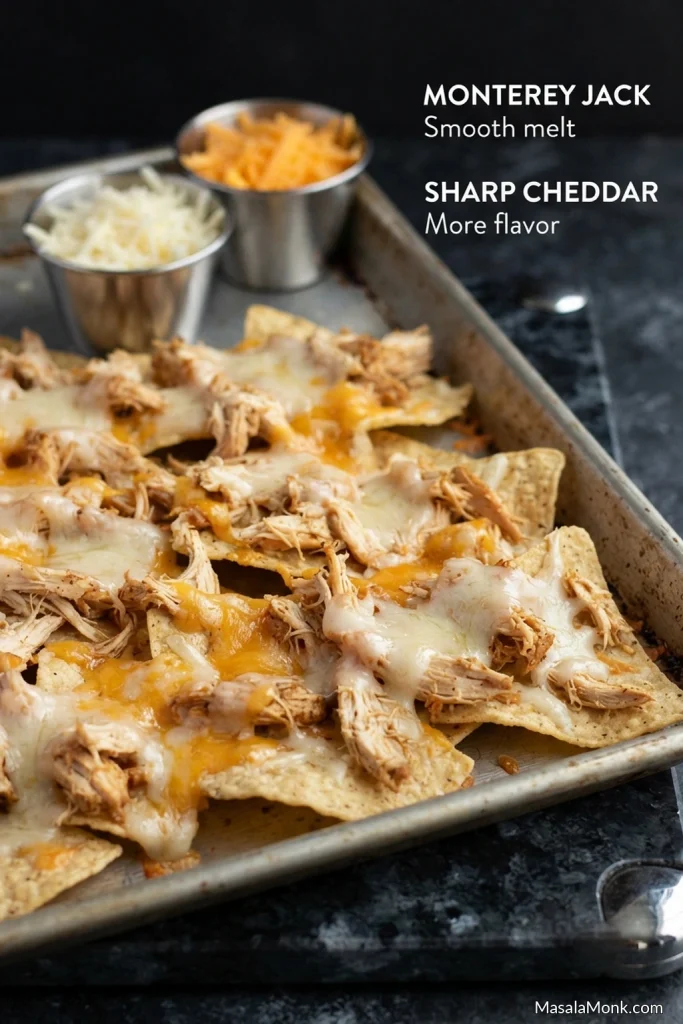
Monterey Jack and sharp cheddar are an excellent combination: Jack melts smoothly while cheddar brings more flavor. This recipe uses 12 oz / 340 g cheese for 12 oz / 340 g chips, split evenly between the two.
Pepper Jack adds more heat. Colby Jack makes a milder tray. Freshly grated cheese usually melts a little more smoothly, but bagged shredded cheese is completely reasonable when dinner is already running late. Nachos should remain easy food.
That first layer of cheese does more than add coverage. As it melts, it helps anchor the chicken to the chips so more of the good stuff comes away with each one.
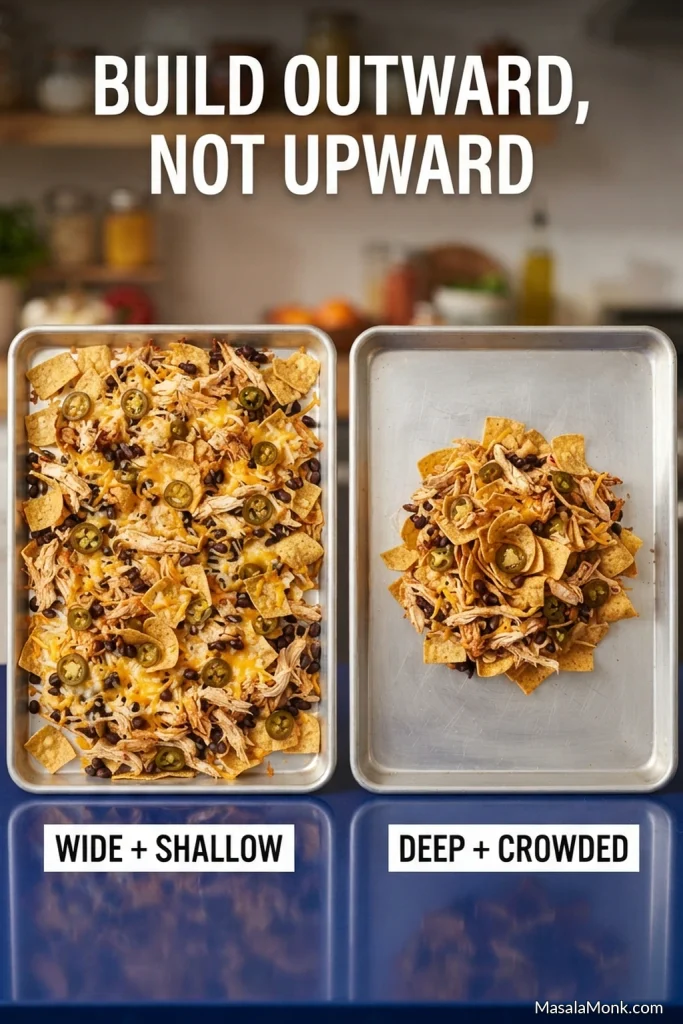
Build the Tray Wide
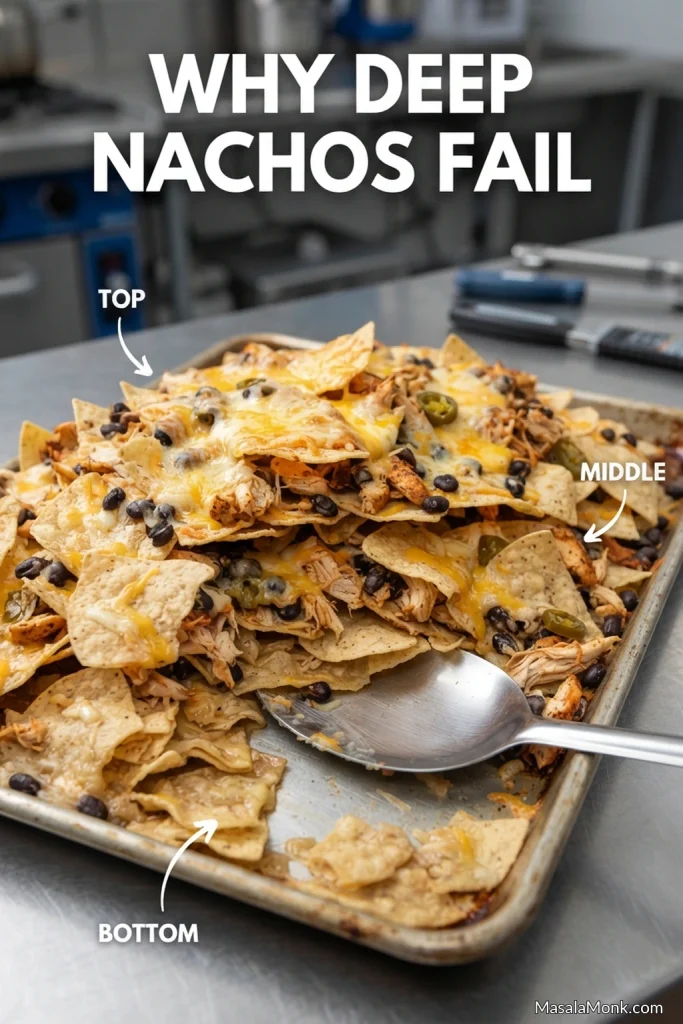
For the crispest nachos, use one shallow layer. Two shallow layers are workable when you need more food from the same tray, but divide both the chicken and cheese between them so the lower chips are not left plain.
Everyone knows the disappointing chip from the bottom of a tall nacho pile: warm, slightly soft and somehow carrying almost no cheese at all. The middle of the pile usually tells the same story—the top is already browning while the chips underneath are still steaming around half-melted cheese.
Build outward, not upward.
Scatter the chicken and cheese in several passes rather than dropping everything into a few big piles. No one needs to arrange every chip individually. A few bare corners are fine; a buried middle is the bigger problem.
What Goes On Before and After the Oven
Bake With the Nachos
- Cooked chicken
- Shredded cheese
- Well-drained black beans
- Fresh or well-drained pickled jalapeños
Add After Baking
- Pico de gallo or salsa
- Guacamole or avocado
- Sour cream or crema
- Cilantro and scallions
- Fresh lime
- Hot sauce
- Queso
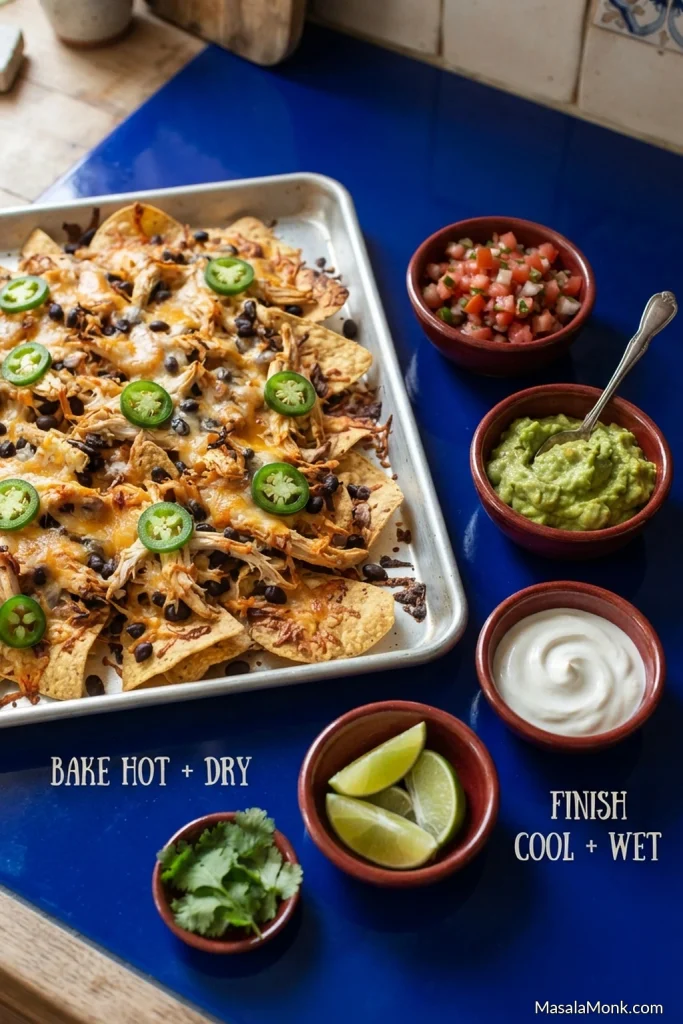
Hot cheese against cool sour cream, sharp lime and fresh salsa bring the finished tray together.
If everyone at the table likes their nachos differently, leave some salsa, sour cream and jalapeños on the side and let people finish their own portion.
Want beans without scattering them over the whole tray? Small spoonfuls of refried beans work well. Keep the dollops modest rather than spreading a heavy layer across the chips.
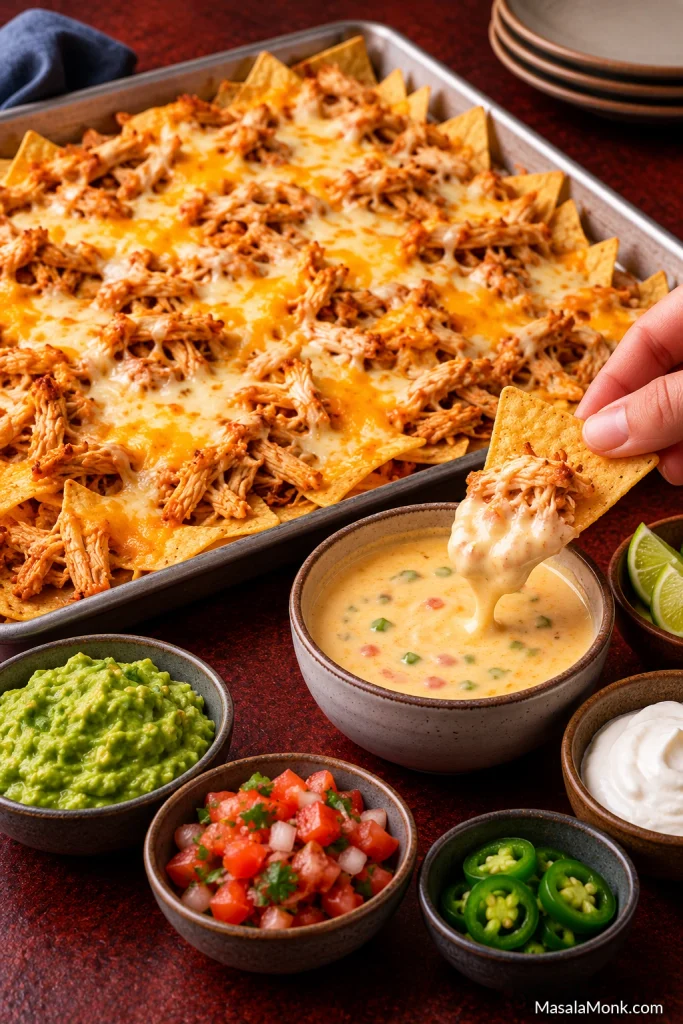
How to Add Queso Without Soaking the Chips
A few warm ribbons of queso give you creamy pockets of cheese without soaking every chip. You can also keep the queso in a bowl alongside for dipping; our easy cheese sauce works either thick for dipping or slightly looser for drizzling.
For Two, for Dinner, or for a Crowd
Serving the nachos as dinner? Mexican rice makes an easy side and means you do not have to turn the nacho tray into a mountain just to make the meal feel substantial.
Small Batch for Two
Serves: 2 as a main
Chips: 6 oz / 170 g
Chicken: 6 oz / 170 g cooked
Cheese: 6 oz / 170 g
Pan: quarter-sheet pan or similar small tray
Standard Tray
Serves: about 4 as a main or 6–8 as an appetizer
Chips: 12 oz / 340 g
Chicken: 12 oz / 340 g cooked
Cheese: 12 oz / 340 g
Pan: one half-sheet pan
Game Day or a Crowd
Serves: about 8 as a main or 12–16 as part of a snack spread
Chips: 24 oz / 680 g
Chicken: 24 oz / 680 g cooked
Cheese: 24 oz / 680 g
Pans: two half-sheet pans
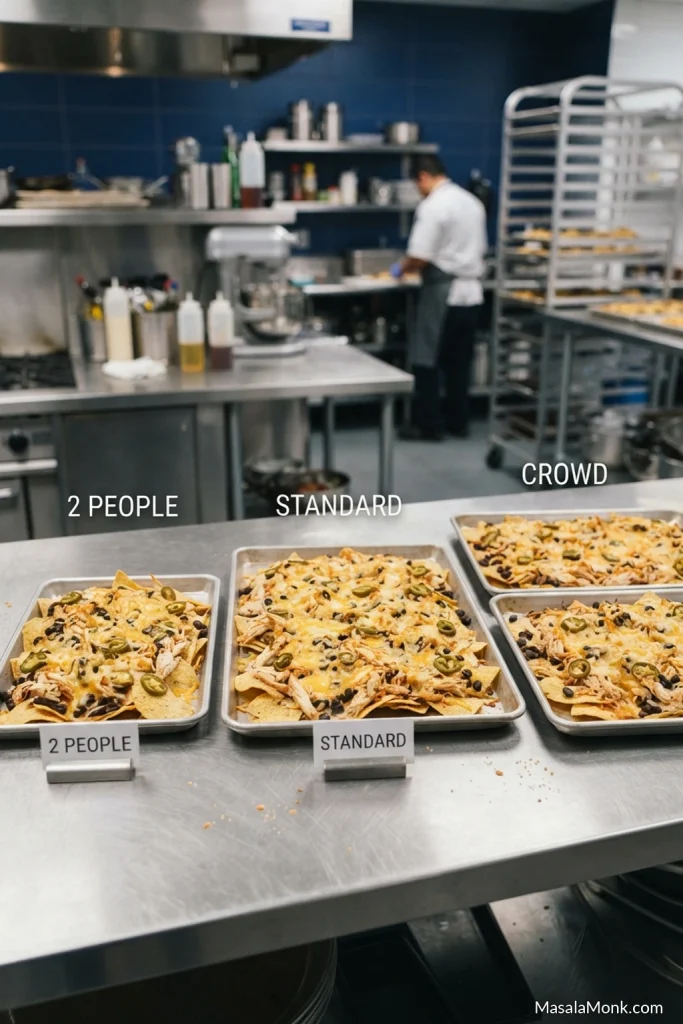
A smaller tray usually works better for two people than making a full pan and watching half of it soften. When feeding a crowd, prepare two full trays and stagger them. Put the first one out, let people start eating, and slide the second into the oven while the first is disappearing.
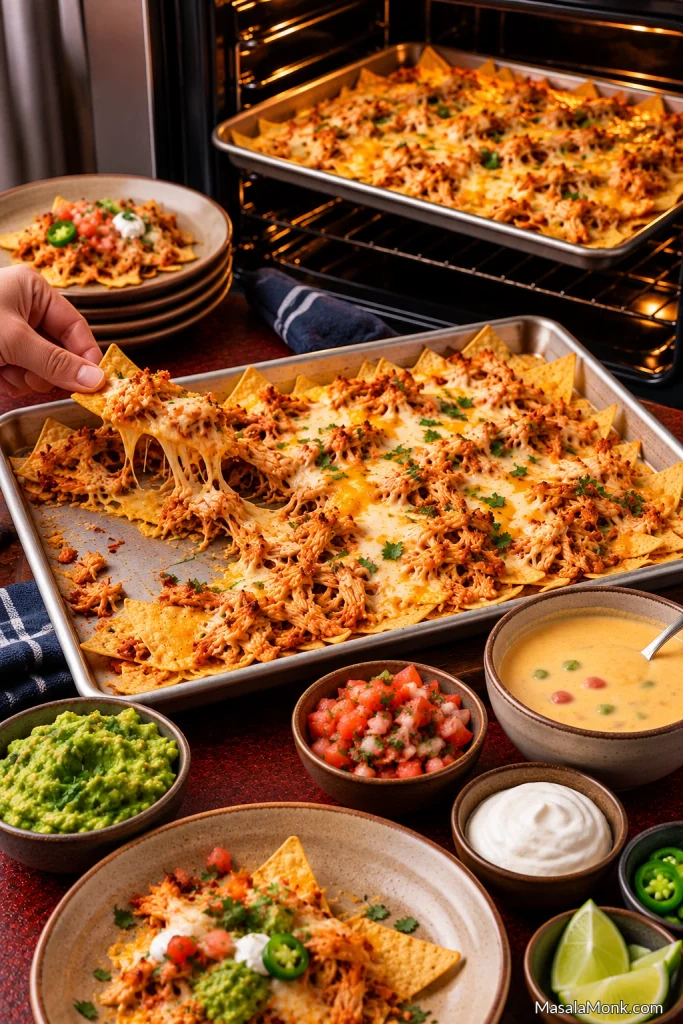
For a larger snack spread, a chilled 7-layer dip gives everyone something to scoop while the next pan of nachos is getting hot.
← Back to recipe · ↑ Back to top
Chicken Nachos Troubleshooting
The Bottom Chips Are Already Soft
Once a loaded chip has soaked through, there is not much that restores the original crunch. Serve the tray promptly rather than letting it sit longer. Next time, look first at loose chicken liquid and tray depth; those are the two most common places the extra moisture comes from.
The Top Is Browning but the Middle Is Barely Melted
Stop broiling if you are using the broiler and let the tray finish with ordinary oven heat. A very deep tray is harder to rescue evenly; on the next batch, spread the food across a second pan rather than adding another layer.
The Cheese Looks Greasy
Pull the tray from the heat. Once cheese has separated, there is not much benefit in cooking it longer. Next time, take the nachos out as soon as the cheese is fully melted rather than waiting for heavy browning. The baking cues above are more useful than chasing a darker top.
The Whole Tray Tastes Too Salty
Cool, unsalted toppings can soften the impact: add more avocado, sour cream or crema and a squeeze of lime. On the next tray, remember that chips, cheddar, seasoned chicken, canned beans and pickled jalapeños can all contribute salt, especially when rotisserie chicken is involved.
Make Ahead, Leftovers and Reheating
Make-Ahead Chicken Nachos
The finished tray is not good make-ahead food, but the components are. You can cook the chicken, grate the cheese and drain the beans a day ahead. Keep everything chilled separately and assemble the nachos only when the oven is hot and you’re nearly ready to eat.
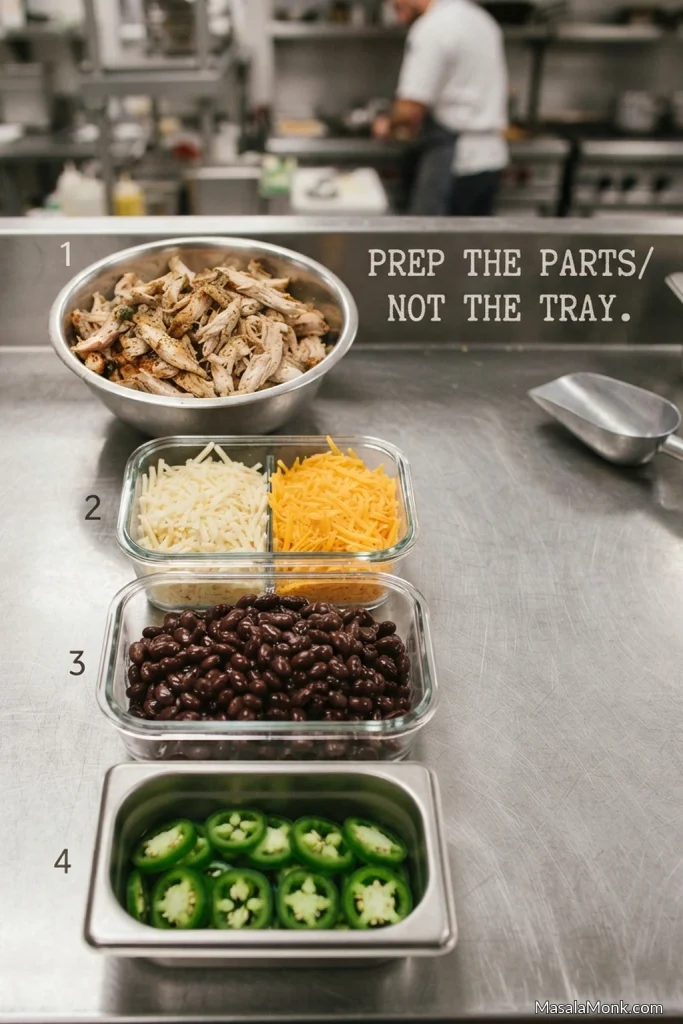
Expecting leftovers? Add pico, guacamole, sour cream and other wet toppings to individual portions instead of covering the whole pan.
Extra seasoned chicken keeps much better than assembled nachos. Use it for chicken quesadillas, tacos, burrito bowls or a smaller tray the next day.
Reheating Chicken Nachos
Remove any cold toppings you reasonably can before reheating. For food safety, USDA guidance recommends reheating cooked leftovers to 165°F / 74°C.
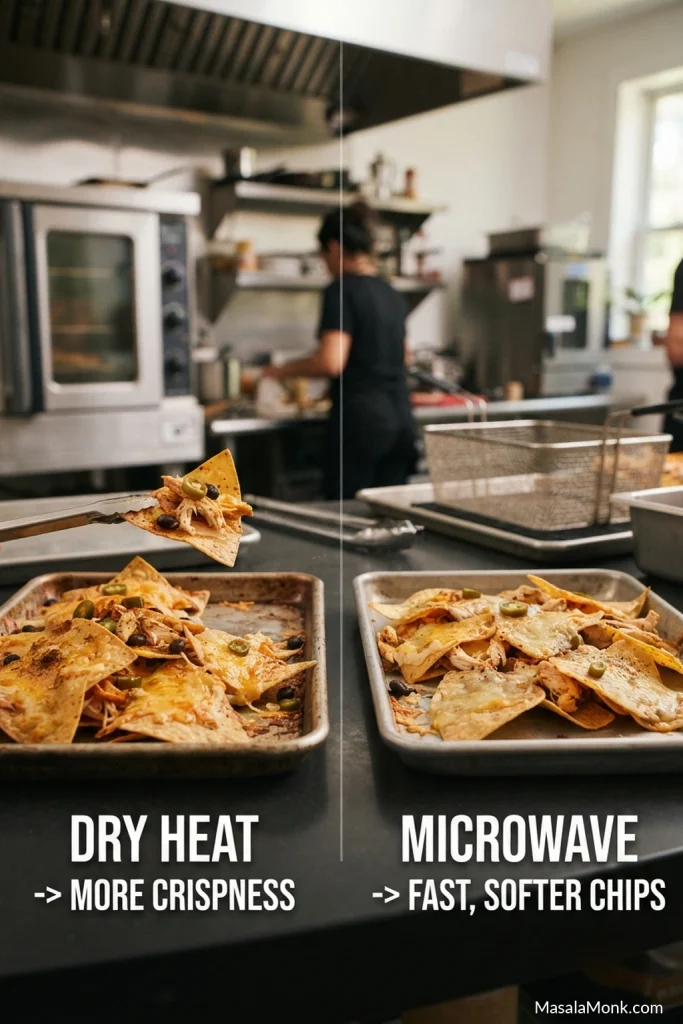
Texture is a separate question: dry heat gives the chips the best chance of bringing some crispness back.
- Air fryer: heat at about 350°F / 175°C and start checking after 2–3 minutes. Thin chips can brown quickly.
- Oven or toaster oven: reheat around 350°F / 175°C and start checking after about 5 minutes.
- Microwave: fastest, but expect softer chips. Use it when getting the food hot matters more than restoring crispness.
The best chicken nachos are still the ones eaten straight from the pan: cheese soft, chips crisp, lime just squeezed over the top. Put the tray in the middle of the table and start while that short, glorious window is still open.
Made them? Tell us what went on your tray—and what disappeared first.








