
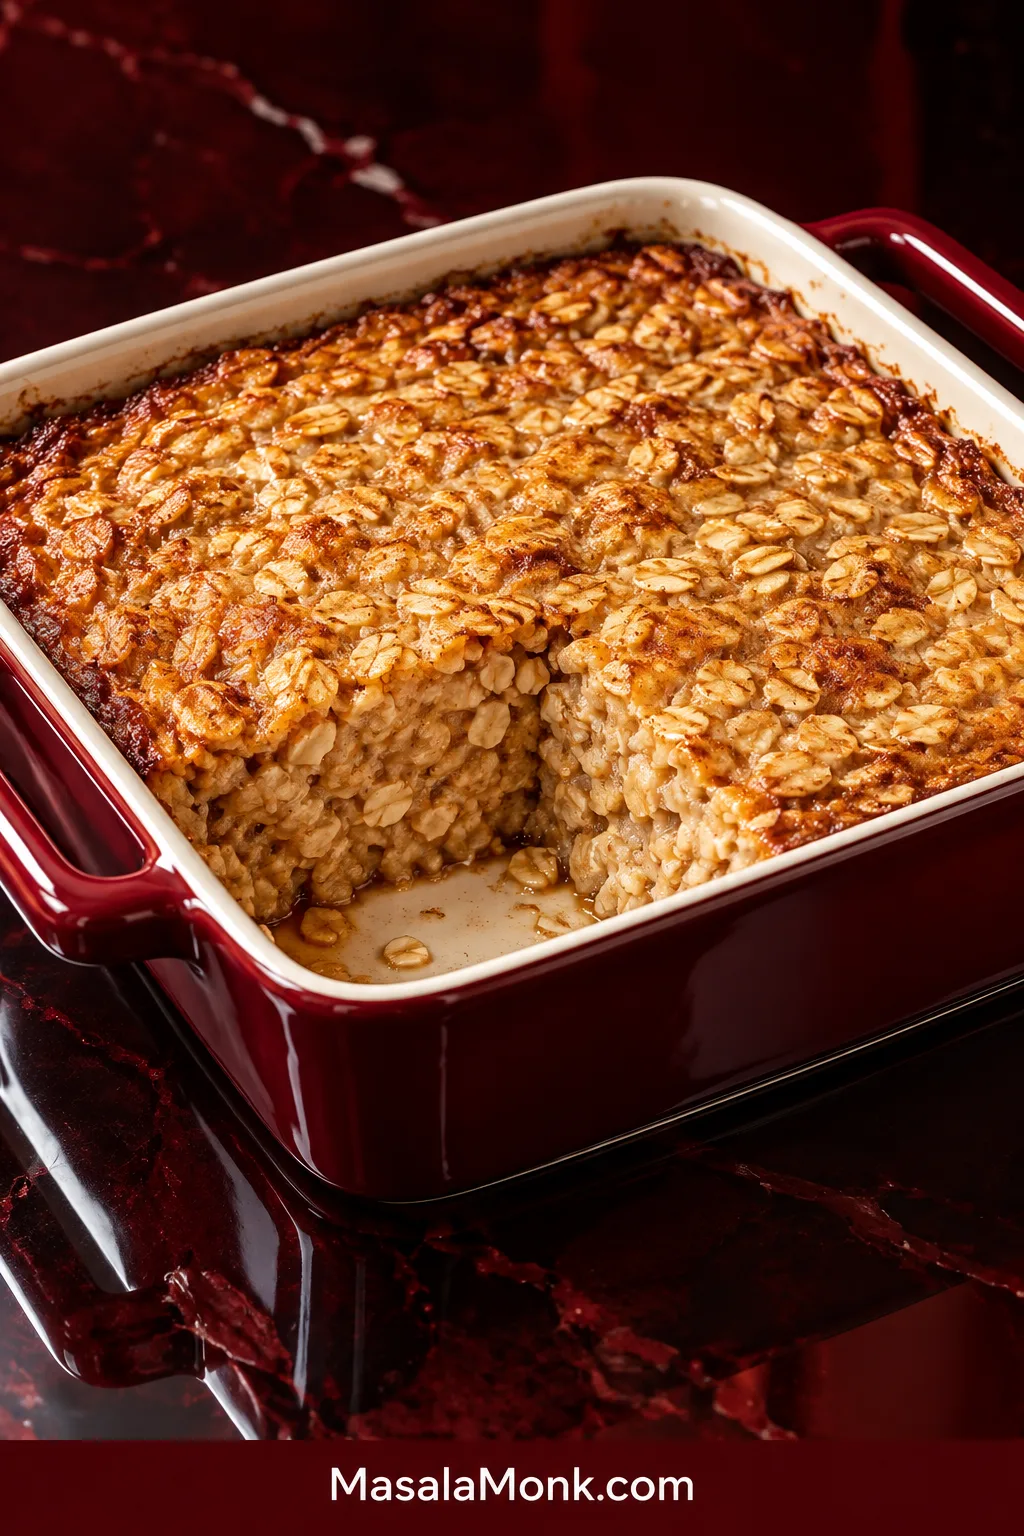
Baked oatmeal should still feel like oatmeal. The oats should keep some shape, the center should stay tender and moist, and the edges should turn lightly golden with a little chew.
This baked oatmeal recipe uses old-fashioned rolled oats, milk, eggs, maple syrup, cinnamon and vanilla for a lightly sweet breakfast that comes together in one bowl. Mashed banana is not required, so you can add berries, apples or peaches when you want fruit—or bake the base plain and add toppings at the table.
It also works well for meal prep: bake one pan and you have breakfast ready to portion and reheat over the next few days.
Tender Baked Oatmeal Recipe
Mix rolled oats, milk, eggs, maple syrup and cinnamon in one bowl, spread the mixture in a baking dish, and bake. Serve it warm with milk or yogurt, or cool the pan and portion it for breakfast later in the week.
Ingredients
- 2 cups old-fashioned rolled oats
- 1¾ cups (420 ml) dairy milk or plain, preferably unsweetened, nondairy milk
- 2 large eggs
- ⅓ cup pure maple syrup (80 ml)
- 2 tablespoons unsalted butter, melted and slightly cooled (28 g), or 2 tablespoons neutral oil (30 ml)
- 1 teaspoon vanilla extract (5 ml)
- 1½ teaspoons ground cinnamon
- 1 teaspoon baking powder
- ½ teaspoon fine salt
- 1 cup blueberries, mixed berries or small-diced apple, optional
Instructions
Mix and Fill the Pan
- Heat the oven. Preheat to 350°F (180°C). Lightly grease an 8-inch (20-cm) square baking dish.
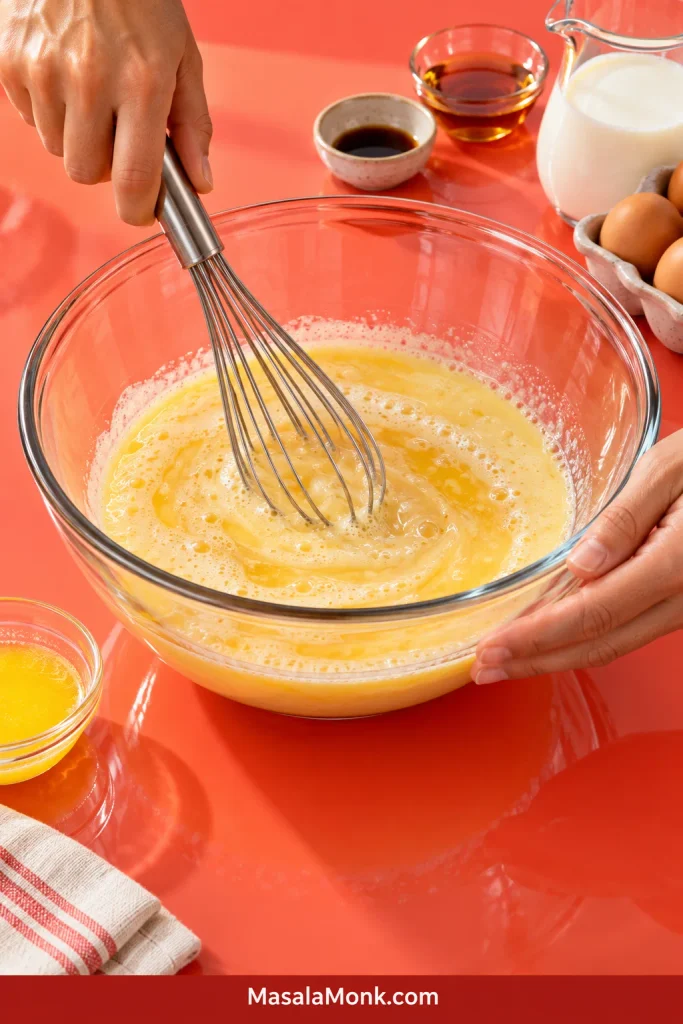
- Mix the wet ingredients. In a large bowl, whisk the milk, eggs, maple syrup, melted butter or oil, and vanilla until the eggs are evenly blended into the mixture.
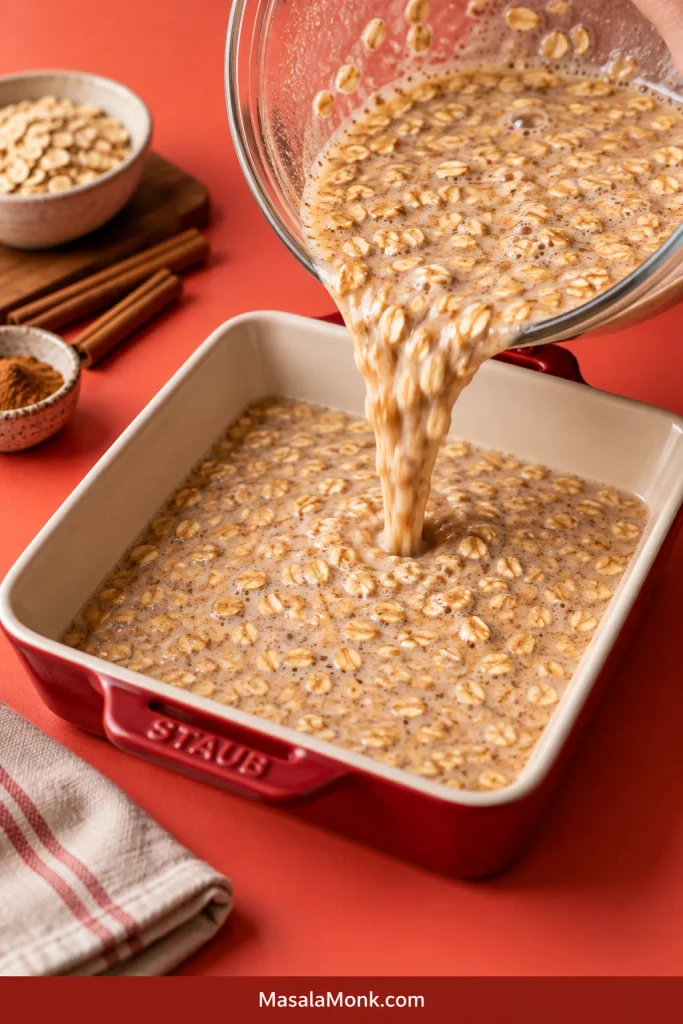
- Add the oats. Stir in the oats, cinnamon, baking powder and salt until the dry ingredients are distributed throughout the mixture.
- Add fruit, if using. Fold in fresh fruit or frozen berries. Frozen berries can go in straight from the freezer.
- Fill the pan. Pour the mixture into the prepared dish and spread the oats and fruit evenly. It may look wetter than you expect. That is normal; the oats need that liquid to soften in the oven.
Bake and Rest
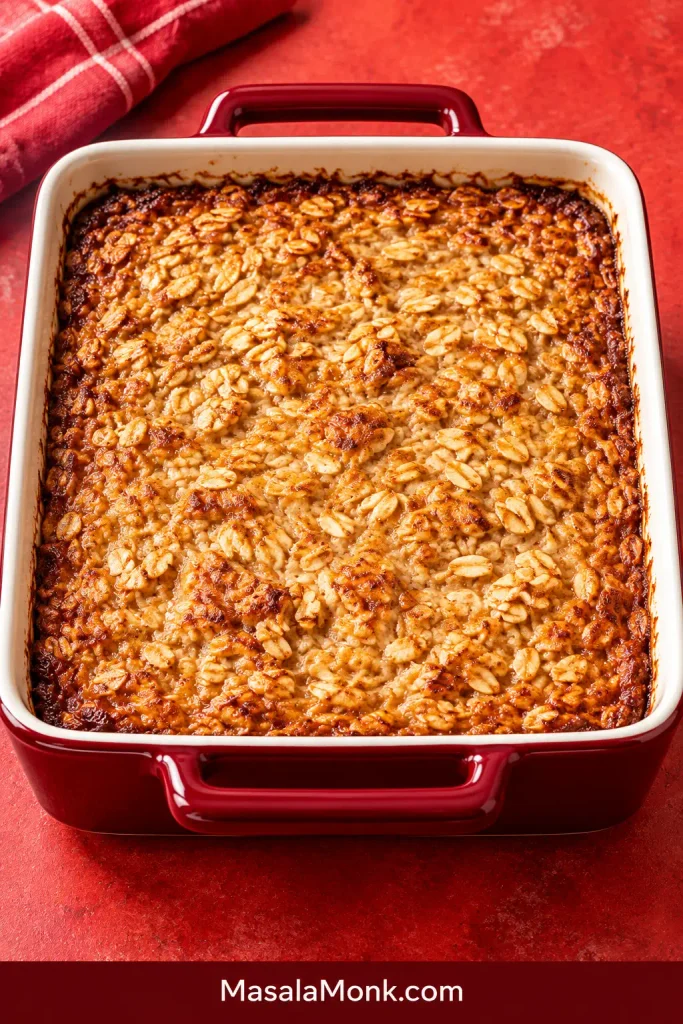
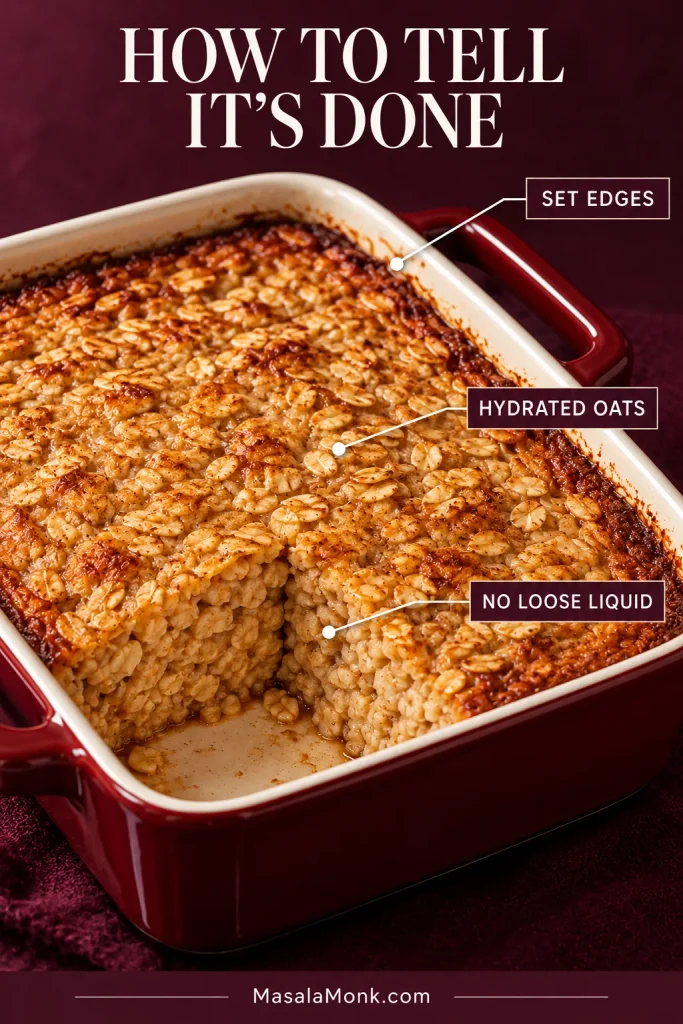
- Bake. Begin checking at 35 minutes. The edges should be set and lightly golden. The oats in the center should look hydrated, and the middle should be moist but set, with no loose liquid moving between the oats. Frozen berries may release extra moisture and extend the bake, so judge the center as well as the time.
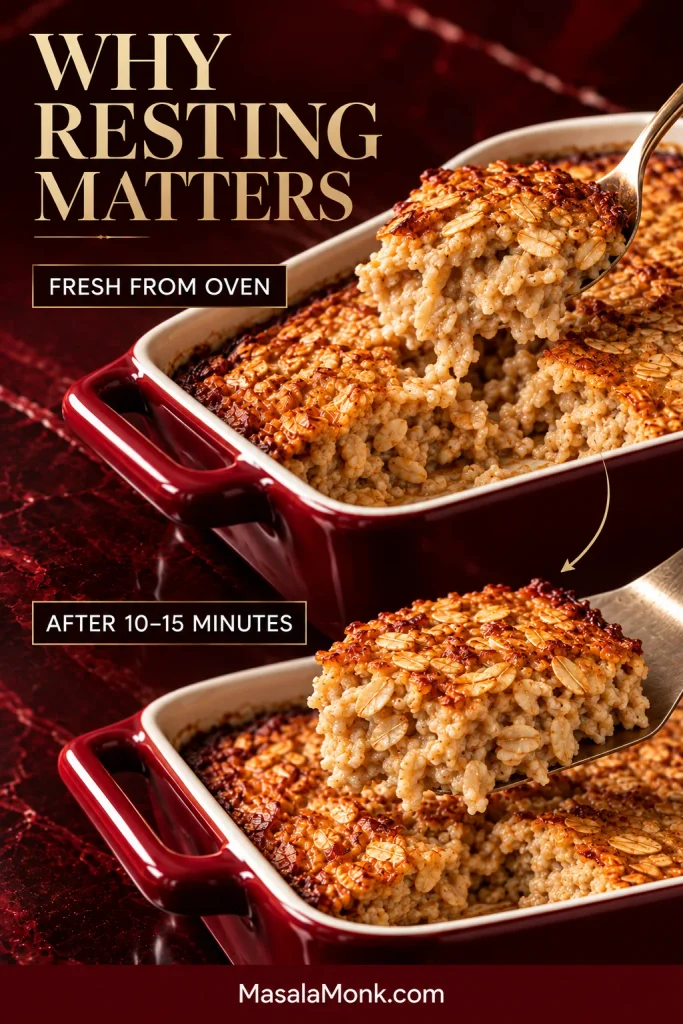
- Rest. Leave the pan for 10–15 minutes before serving. It will become more cohesive as it cools. Serve it warm for a softer bowl, or cool it further for cleaner portions.
Recipe Notes
- No fruit? Leave it out and bake the base on its own. Add milk, yogurt, nut butter, fresh fruit or a little extra maple syrup when serving.
- Oat substitutions: Quick oats produce a softer, finer texture. Steel-cut oats need more liquid and a much longer cooking method, so use a recipe developed for them.
- Pan size: A larger dish creates a shallower layer that cooks faster; a smaller or deeper dish takes longer through the middle. Use the visual cues as well as the clock.
- Less sweet: A modest reduction in maple syrup is reasonable. A large reduction also removes liquid and may leave the oatmeal firmer.
- Make ahead: Bake the oatmeal ahead rather than leaving this fully mixed batter to soak overnight.
- Storage: Refrigerate leftovers promptly and use them within 3–4 days. Freeze cooled individual portions airtight for about 3 months for best quality.
Texture, Storage & Easy Swaps
Get the Bake Right
Choose the Oats for the Texture You Want
| Oat type | How it behaves here |
|---|---|
| Old-fashioned rolled oats | Recommended. They hydrate while keeping visible flakes and some chew. |
| Quick oats | The smaller flakes absorb liquid faster, giving the oatmeal a softer, more uniform bite. |
| Steel-cut oats | They need more liquid, a longer cooking time and a method designed around them. |
| Instant oatmeal packets | Too variable for this recipe; they may be very finely processed and often contain extra sugar, flavoring or thickeners. |
You can see the processing difference before baking: old-fashioned oats have broad, intact flakes, while quick oats are thinner and more fragmented. Steel-cut oats are chopped groats, not flakes, and need a different cooking method.
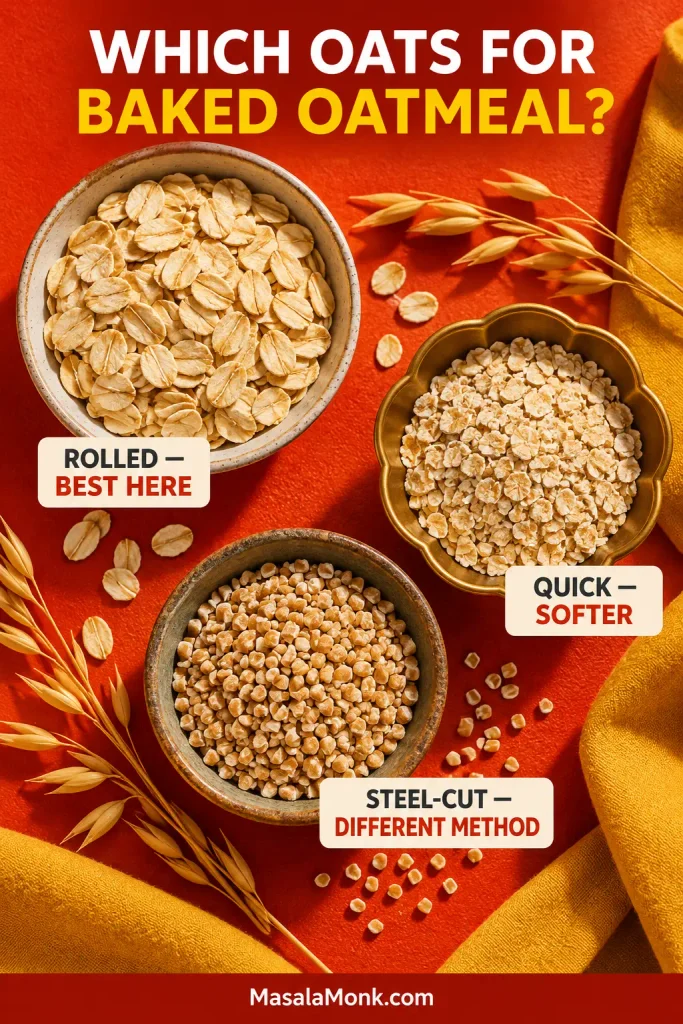
Not sure which package is in the cupboard? The guide to rolled, quick, instant and steel-cut oats explains how processing changes the way each type behaves.
How to Tell When Baked Oatmeal Is Done
The edges should be set and lightly golden; the center should look hydrated, with no loose milk pooling between the oats. A soft-looking middle is not automatically undercooked.
Read the center, not just the timer. The surface may already be golden while the middle still needs time.
| Stage | What to look for |
|---|---|
| Before baking | Loose and visibly wet, with liquid distributed around the oats. |
| Just baked | Set, lightly golden edges and a moist center without loose milk pooling between the oats. |
| After 10–15 minutes | Tender and cohesive enough to scoop or lift with a spatula. |
| Fully cooled or chilled | Firmer and easier to cut into individual portions. |
The Center Is the Part That Matters
The perimeter will have more color and chew than the middle. Check that the center’s oat flakes are swollen and tender and that the mixture has set; it does not need to feel as firm as the edges.
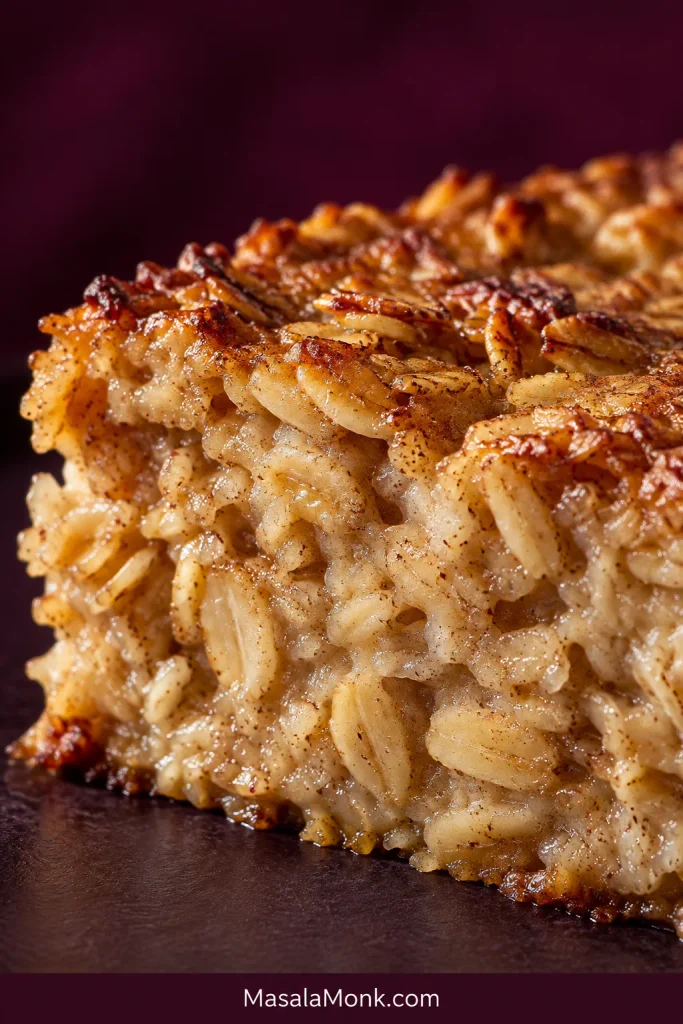
This is not cake, so a perfectly dry toothpick is not a useful target. Once the oats are hydrated and the center has set, there is no need to keep baking just to make it look dry.
Give It a Few Minutes Before Serving
A short rest lets the oats settle and makes the pan easier to serve. Spoon it warm if you like a softer consistency, or let it cool completely when you want neater pieces for later.
Still having a texture problem? Go to troubleshooting →
Baked Oatmeal Troubleshooting: Mushy, Dry or Rubbery
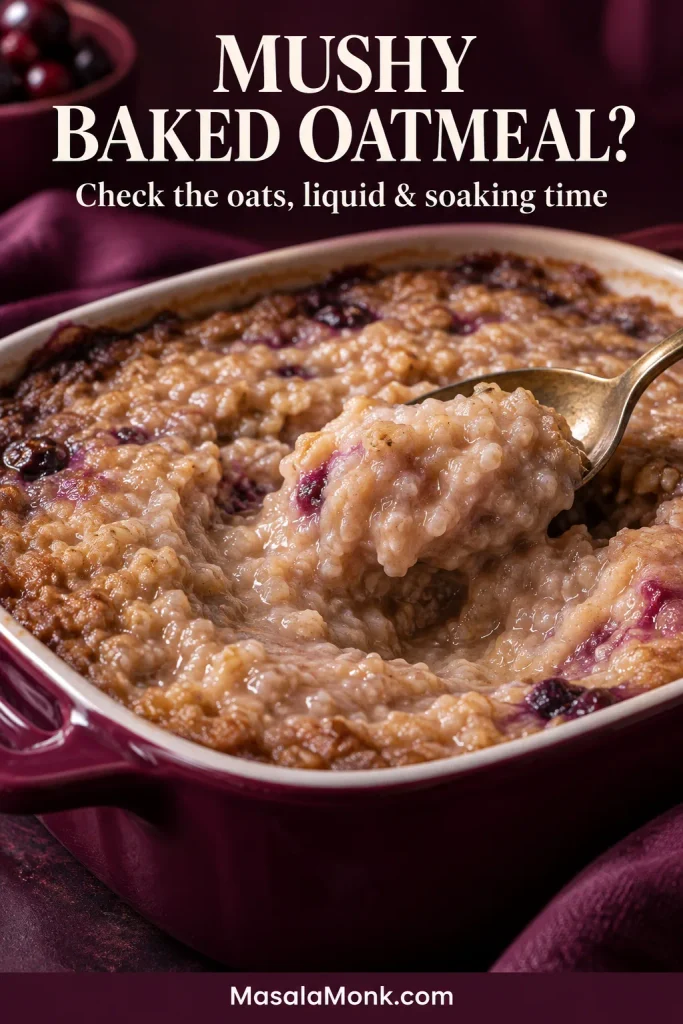
Mushy baked oatmeal can have several causes. Before changing the recipe, distinguish a soft, hot center from one that still has loose liquid, then check the oat type, pan depth, soaking time and doneness.
Match the Symptom to the Fix
| What happened | Likely cause and best fix |
|---|---|
| Wet in the middle | The center probably needs more time, especially in a deep dish or with frozen fruit. Continue in short increments and judge the middle, not the browned top. |
| Mushy throughout | Use rolled oats, avoid a long pre-soak with this batter, and check that the middle has set before removing the pan. |
| Dry or crumbly | Overbaking, a shallow oversized pan or too many dry additions can be responsible. Check the pan depth and pull the next batch once the center is set. |
| Rubbery or very hard after chilling | Overbaking or extra egg, protein powder or other dry ingredients can make the oatmeal tighten as it cools. Reheat with a small splash of milk. |
| Eggy pockets | The eggs may not have been fully whisked into the wet mixture, or too much milk was removed. Mix the wet ingredients thoroughly before adding the oats. |
| Falls apart when cut | The pan may still be too hot, slightly underbaked or not cooled enough to hold clean slices. Let it rest, then cool it further before judging the structure. |
| Wet around berries | Frozen or very juicy berries can leave the oats immediately around them softer. Check that the rest of the center is set; do not keep baking the whole pan just to dry out every berry pocket. |
| Bland | Oats can mute flavor. Keep the salt, vanilla and cinnamon, then add fruit or a little maple syrup at the table if you want more sweetness. |
Back to the recipe ↑ · Meal prep →
How to Meal Prep Baked Oatmeal
For the Next Few Days
Transfer the oatmeal to shallow covered containers and refrigerate it within 2 hours of leaving the oven, or within 1 hour if the room temperature is above 90°F (32°C). Use refrigerated portions within 3–4 days, following USDA guidance for cooked leftovers.
Refrigeration makes each portion firmer. That is normal: chilling changes the structure much more than the short rest after baking.
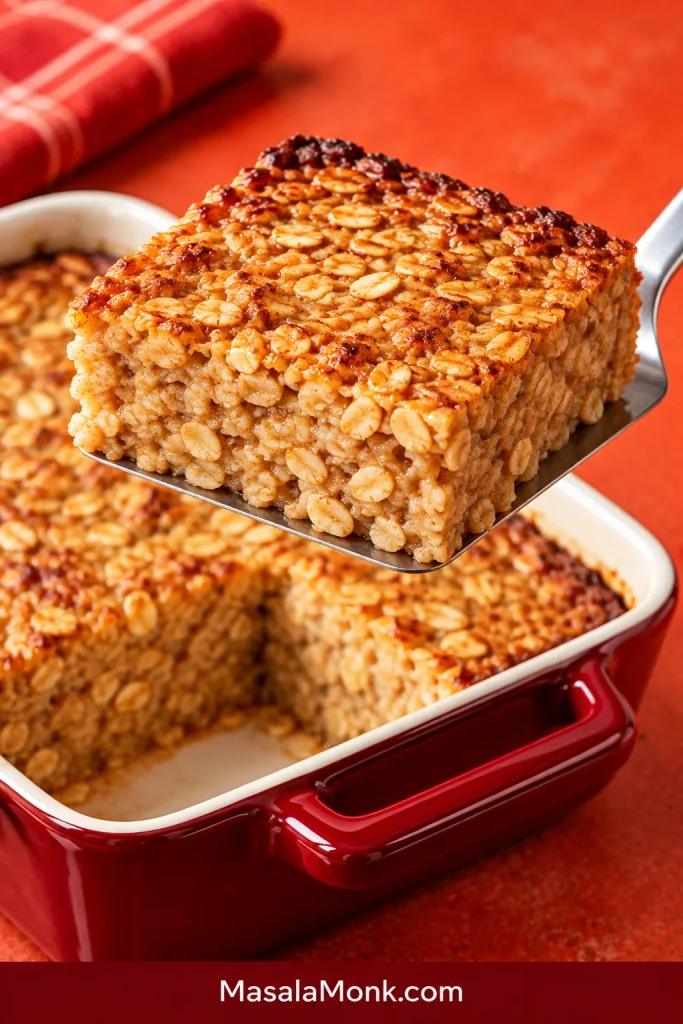
For the Freezer
Cool the pan completely, cut it into individual portions and wrap or store them airtight. Smaller pieces thaw and heat more evenly than one large frozen block. Use them within about 3 months for best quality.
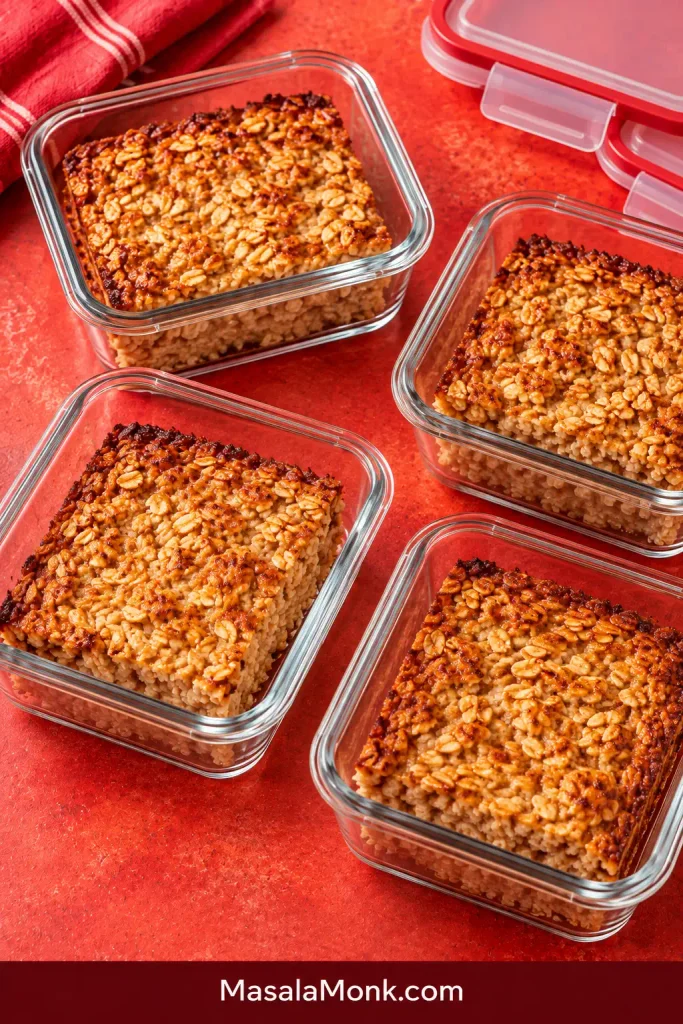
Reheating
Reheat refrigerated portions in the microwave or oven until hot throughout, reaching 165°F (74°C). When using a microwave, cover the portion and rotate it as needed for more even heating; check the temperature in more than one spot if possible.
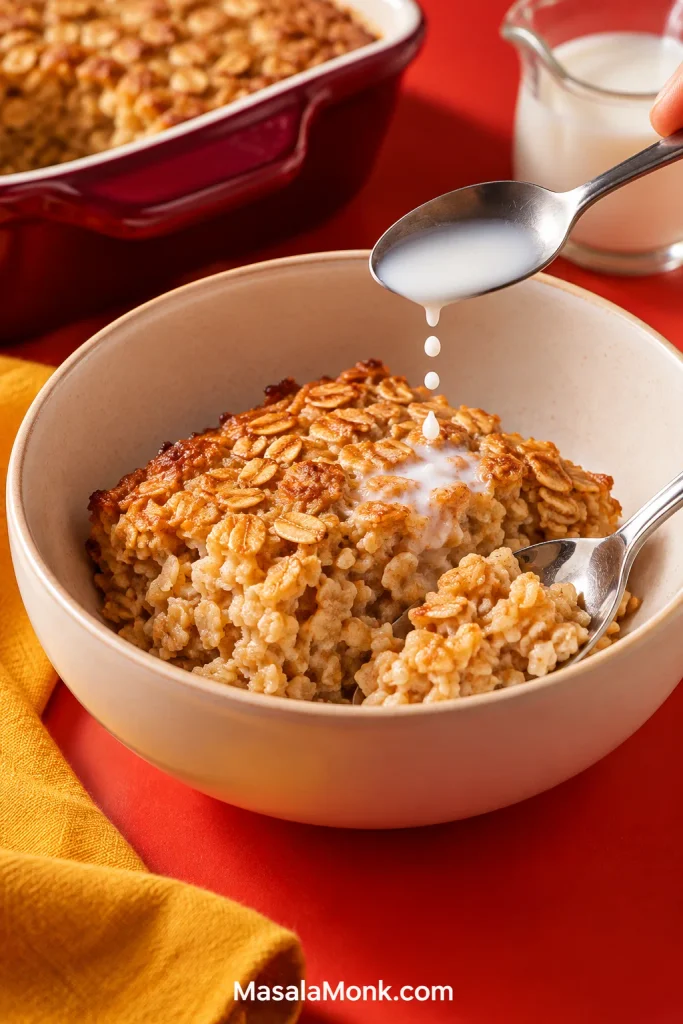
Frozen pieces can be thawed overnight in the refrigerator or reheated from frozen with extra time. Make sure the center reaches the same reheating temperature before serving.
What About Mixing It the Night Before?
You can bake this oatmeal ahead, but this particular batter is best baked shortly after it is fully mixed. Leave the rolled oats sitting in the milk all night and they continue absorbing it, which can make this version much softer than intended.
You can still do most of the prep the night before: measure the dry ingredients into one bowl and refrigerate the whisked wet ingredients separately, then combine them in the morning. If you use butter, it may firm up in the refrigerator; let the mixture stand briefly or warm it gently and whisk until smooth before combining. Neutral oil stays liquid when chilled.
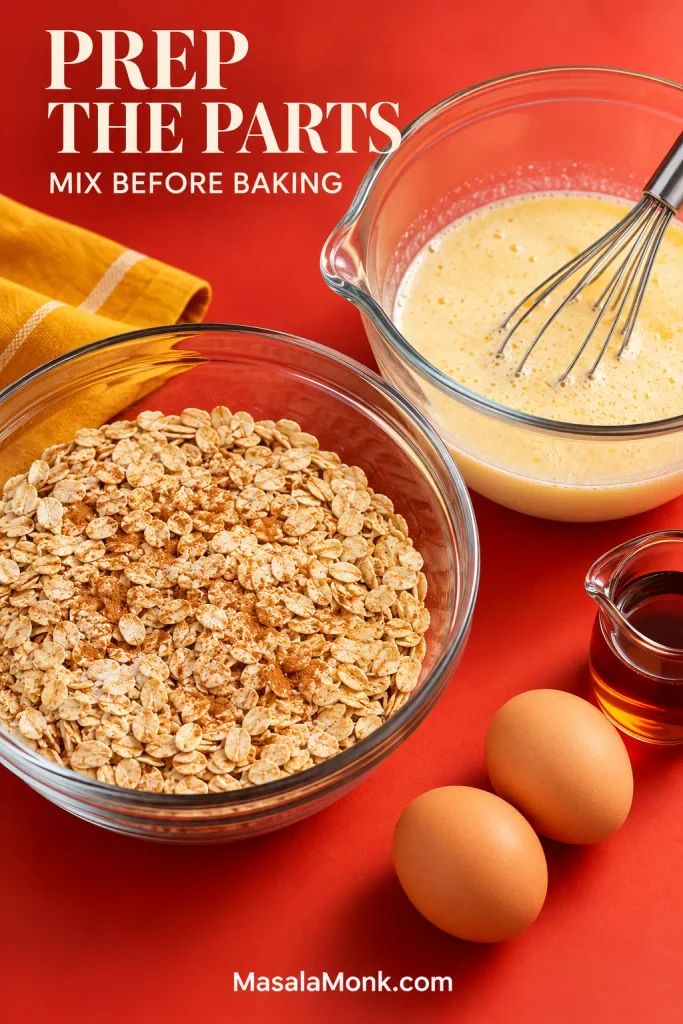
For an oat breakfast designed to soften slowly in the refrigerator, overnight oats are the better fit.
What Can You Swap?
You have room to change the flavor. Use plain, preferably unsweetened dairy or nondairy milk. Changes that affect how much liquid the oats absorb or how firmly the pan holds together need more care.
- Less sweetness: Reduce the maple syrup modestly if you prefer a less-sweet breakfast. A large reduction also removes liquid, so the oatmeal may bake firmer.
- Egg-free or vegan: Nondairy milk is straightforward. For the eggs, use a baked-oatmeal method designed around flax, chia or another binder; simply leaving the eggs out of this recipe is not a reliable substitution.
- Higher protein: Use higher-protein milk or serve the oatmeal with Greek yogurt to add protein without substantially changing the bake. Larger additions of egg whites, cottage cheese or protein powder can alter the texture. High-protein oatmeal is a better starting point when protein is the main goal.
- Gluten-free: Choose oats specifically labeled gluten-free if cross-contact matters for you. The FDA explains the U.S. gluten-free labeling standard.
See baked oatmeal variations →
Baked Oatmeal Variations
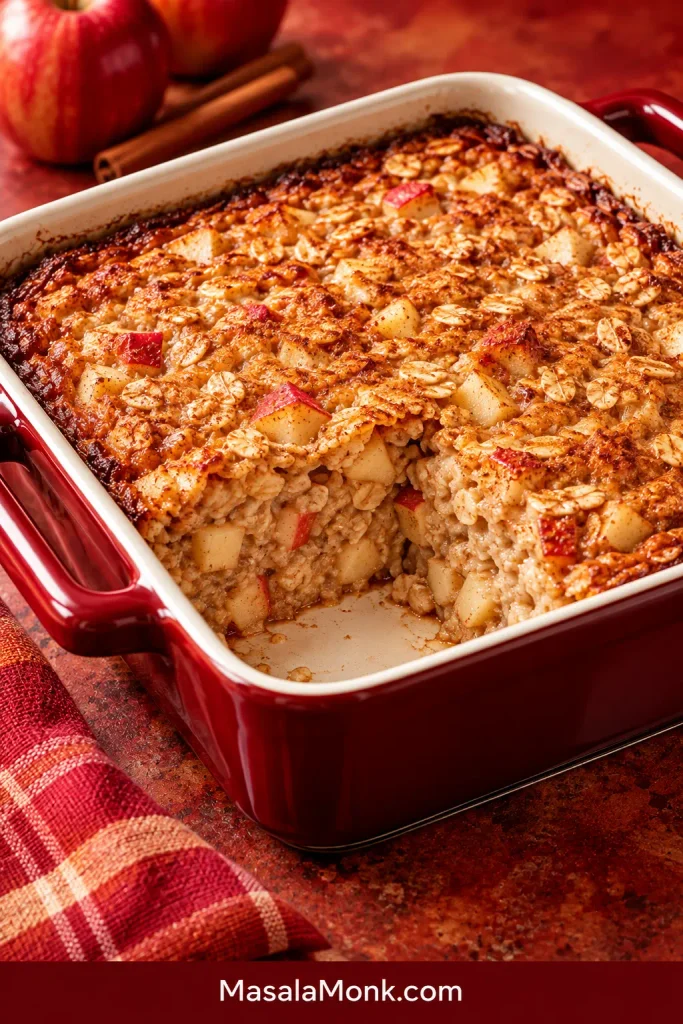
Apple Cinnamon Baked Oatmeal
Fold in about 1 cup of small apple cubes so they soften along with the oats. A pinch of nutmeg adds a warmer apple-pie note; for apples under a crisp oat topping instead, try apple crisp.
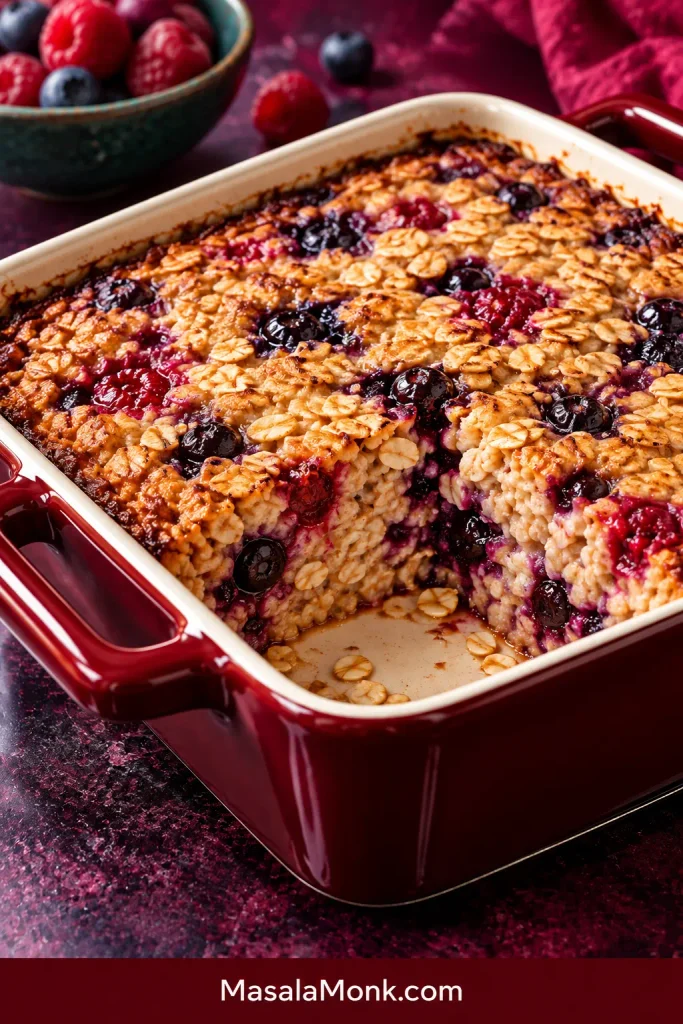
Blueberry or Mixed Berry Baked Oatmeal
Use about 1 cup of fresh or frozen berries for juicy pockets throughout the oatmeal. Frozen berries can go in without thawing, although they may release more moisture and slightly extend the bake.
More Easy Variations
- Banana: Slices or small pieces are easy additions. A generous amount of mashed banana adds more moisture and binding, so it changes the bake. For another way to use ripe bananas, see banana bread with applesauce.
- Peach: Cut fresh peaches small, or drain canned peaches thoroughly before folding them in.
- Pumpkin: Pumpkin purée becomes part of the wet mixture. A pumpkin version needs its liquid adjusted instead of adding a large scoop to this base unchanged.
Serve baked oatmeal warm when you want the softest, most spoonable texture. As the same batch cools, it gradually becomes firmer and easier to portion.
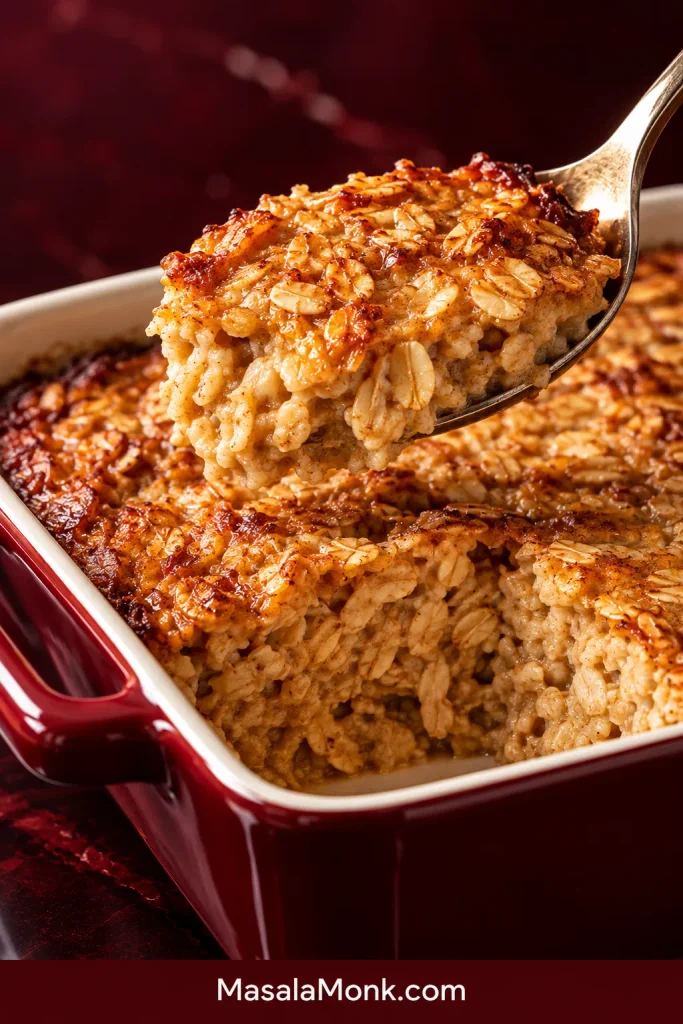
Chill whatever is left, portion it when you’re ready, and breakfast for the next few days is already handled.








