When it comes to the keto lifestyle, we often find ourselves scrutinizing every ingredient label and macro ratio. The keto diet, after all, is a high-fat, low-carb regimen that demands precision and dedication. Amidst this culinary inspection, one question often bubbles to the top: Is sour cream keto-friendly? It’s creamy, tangy, and a staple in everything from dips to casseroles — but can it really have a place in a strict low-carb diet?
Let’s dive into the rich, cultured world of sour cream and uncover how it fits into your ketogenic journey.
🧬 The Nutritional Breakdown: What’s in a Dollop?
To understand whether sour cream aligns with keto principles, we first need to analyze its macronutrient profile.
A 2-tablespoon (30g) serving of full-fat sour cream typically contains:
- Calories: ~60
- Fat: ~5g
- Carbohydrates: ~1g
- Protein: ~1g
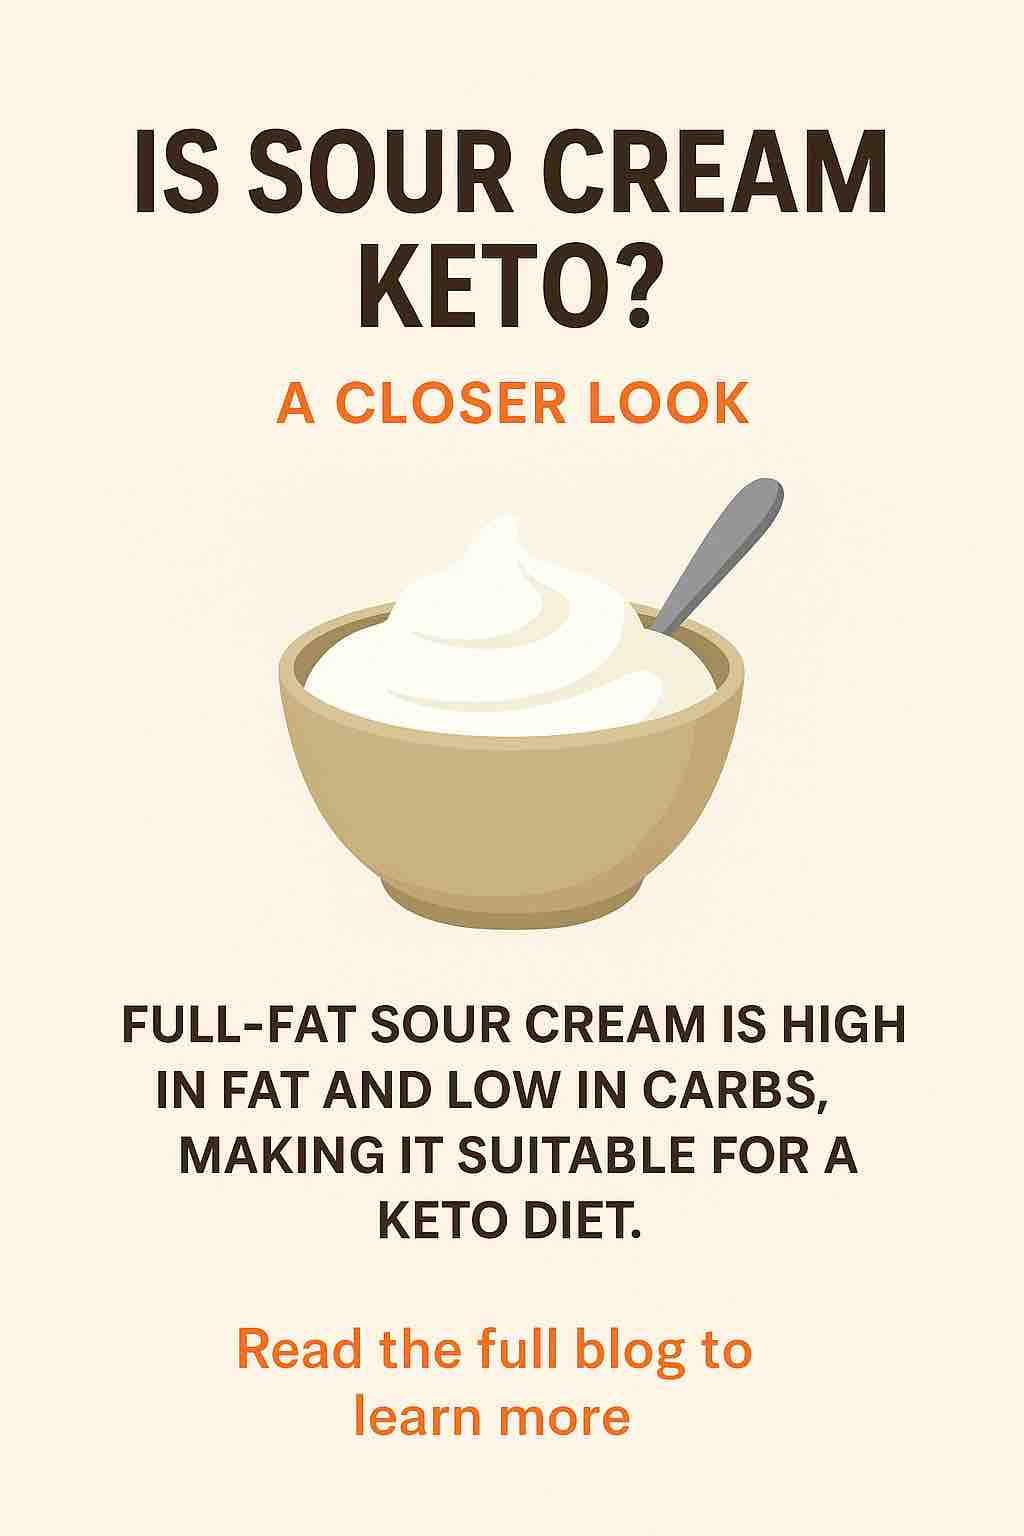
These numbers might vary slightly by brand and type, but the key takeaway here is that sour cream — at least the full-fat variety — is high in fat and low in carbs, which aligns beautifully with keto macros.
But before you rush to top every keto taco with it, let’s unpack this further.
⚖️ Full-Fat vs. Low-Fat: The Devil’s in the Details
The keto diet celebrates fats, so it might come as no surprise that full-fat sour cream is the variety to reach for. It contains more dietary fat and fewer carbs compared to its low-fat or fat-free cousins.
Why avoid low-fat versions?
- They often contain added starches or sugars to make up for the lost creaminess.
- These additives can spike the carb count and throw your macros off balance.
- Keto thrives on nutrient-dense fats, and full-fat dairy provides just that.
Pro tip: Always check the ingredient label. If you see added sugar, cornstarch, or modified food starch — it’s best to skip.
🥛 How Is Sour Cream Made (and Why It Matters)?
Understanding how sour cream is made gives you insight into why it works so well on a keto diet.
Traditional sour cream is produced by fermenting cream with lactic acid bacteria. The fermentation process thickens the cream and gives it that signature tangy flavor. This natural method results in a product that’s rich in:
- Healthy fats
- Calcium
- Probiotics (in some cases)
Not all sour creams contain live cultures, but when they do, they can support gut health — an added bonus on a diet that can sometimes slow digestion due to reduced fiber intake.
🧠 Keto Logic: Why Sour Cream Fits the Diet
Let’s connect the dots between sour cream and ketosis:
1. High Fat = Ketosis Fuel
Keto is built on the principle of training your body to burn fat for energy. Every gram of fat you consume (within reason) helps fuel this metabolic shift. Sour cream’s fat content supports this process.
2. Low Carb = Ketosis Protection
Staying in ketosis means keeping carbs low — usually under 20–50 grams per day. A small serving of sour cream adds minimal carbs, so it’s unlikely to disrupt your state of ketosis.
3. Versatility = Sustainability
Success on keto isn’t just about numbers — it’s also about enjoying your meals. Sour cream adds richness, texture, and flavor to keto dishes, helping you stick with the diet long-term.
🍽️ Delicious Keto Uses for Sour Cream
Sour cream’s culinary versatility makes it a keto all-star. Here are some creative (and satisfying) ways to incorporate it:
- Keto Dips: Mix with herbs, garlic, and a touch of lemon for a creamy dip.
- Salad Dressings: Blend with olive oil and vinegar for a rich, tangy twist.
- Taco Topping: Dollop it on lettuce-wrapped tacos for creamy contrast.
- Eggs & Omelets: Stir into scrambled eggs or use as a side for quiche.
- Baking Substitute: Add to keto muffins or pancakes for moisture and tang.
It’s also a fabulous addition to keto casseroles, creamy chicken dishes, and soups that benefit from a touch of acidity.
⚠️ Caveats and Cautions
While sour cream is keto-friendly, moderation is still key. Some tips to keep in mind:
- Stick to full-fat varieties to avoid hidden carbs.
- Track your intake if you’re close to your daily carb limit.
- Beware of flavored or sweetened versions, especially in ready-made dressings or dips.
Also, if you’re lactose intolerant or sensitive to dairy, sour cream might cause digestive issues. In that case, explore lactose-free or plant-based alternatives designed for low-carb lifestyles (like coconut cream with a splash of lemon juice for tang).
🧂 Final Thoughts: Sour Cream — A Creamy Companion on Keto
So, is sour cream a good choice for keto?
Absolutely — when chosen wisely and enjoyed in moderation. It brings a luscious creaminess to meals, fits perfectly within keto macros, and can even offer some digestive benefits if it contains live cultures.
Just like any food on a keto journey, it’s not about excess, but about smart integration. When you use sour cream as part of a balanced, well-tracked ketogenic diet, it becomes more than just a condiment — it becomes a tool for sustainability, satisfaction, and flavor.
So go ahead: embrace the tang, enjoy the richness, and keep your low-carb journey deliciously creamy.
🔍 Frequently Asked Questions (FAQs)
1. Is sour cream allowed on a keto diet?
Yes, full-fat sour cream is keto-friendly due to its high fat and low carbohydrate content. Always choose varieties without added sugars or starches.
2. How many carbs are in sour cream?
A typical 2-tablespoon (30g) serving of full-fat sour cream contains about 1 gram of net carbs. Be sure to check labels, as carb content may vary by brand.
3. Can I eat low-fat or fat-free sour cream on keto?
It’s best to avoid low-fat or fat-free versions, as they often contain higher carbs due to thickeners and added sugars to compensate for reduced fat.
4. Does sour cream have sugar in it?
Plain full-fat sour cream usually contains naturally occurring milk sugars (lactose), but no added sugar. Flavored or low-fat versions may contain added sugars — always check the ingredients.
5. How much sour cream can I eat on keto?
You can safely enjoy 2–4 tablespoons per day, depending on your total daily carb limit. Just factor the carbs into your daily allowance.
6. Is sour cream a good source of fat for keto?
Yes, sour cream provides a good amount of dietary fat — about 5g per 2 tablespoons — making it a great addition to fat-focused keto meals.
7. Are there keto-friendly alternatives to sour cream?
Yes. If you’re dairy-sensitive or avoiding lactose, you can try coconut cream, almond milk-based sour cream, or lactose-free sour cream with similar macros.
8. Does sour cream contain probiotics?
Some sour cream products contain live cultures that offer probiotic benefits. Look for labels that mention “live and active cultures” for gut health support.
9. Can sour cream kick me out of ketosis?
Not if used in moderation. The carb count is low, but overconsumption or use of high-carb versions could affect your ketosis, especially if you’re close to your daily limit.
10. Is sour cream inflammatory or bad for digestion on keto?
For most people, full-fat sour cream is well-tolerated. However, those with lactose intolerance or dairy sensitivities may experience bloating or inflammation. Choose lactose-free alternatives if needed.