There’s a reason salami has been a staple in kitchens around the world for centuries. Its bold flavors, satisfying texture, and impressive shelf life make it a superstar—whether you enjoy it as a snack, in a sandwich, or as the star of your next charcuterie board. But what if you want to make your own salami at home—with lower sodium, more spice, less processing, or custom flavors? What if you want to build the ultimate, health-forward charcuterie experience?
Let’s dive into everything you need to know, with actionable tips, DIY ideas, and pairing inspiration you can use right away.
Why Make Salami at Home?
- Control the salt and spices: Perfect for low-sodium diets or those who love extra heat.
- Avoid additives and preservatives: Skip synthetic nitrites or questionable fillers.
- Endless creativity: Experiment with meat blends, herbs, heat, and even plant-based versions.
- Impress at gatherings: Nothing says “wow” like homemade charcuterie.
1. DIY Low-Sodium Salami: Satisfy Your Cravings, Not Your Salt Meter
Why try it?
Most commercial salami is loaded with salt—sometimes 600 mg or more per serving. But you can easily make your own version with 30–50% less sodium and plenty of flavor.
How to DIY:
- Use lean beef, chicken, or turkey for the base.
- Add salt at 30–50% of typical recipes (start with 1/2 teaspoon per pound and adjust to taste).
- Punch up flavor with garlic, black pepper, fresh herbs (rosemary, parsley), and a squeeze of lemon for brightness.
- Skip sodium-heavy extras like cheese or soy sauce in the mix.
- Bake or steam your log (wrapped in foil or baking paper) at 160°C (325°F) until cooked through. Cool before slicing.
Pairing tips:
- Serve with crunchy, fresh veggies and unsalted nuts.
- Choose mild, low-sodium cheeses like fresh mozzarella or ricotta.
- Avoid pairing with aged cheeses and salted crackers—balance is key!
2. Spicy DIY Salami: Bring the Heat!
Why try it?
Traditional spicy salamis—like Calabrese or Ventricina—are legendary, but homemade means you control the fire!
How to DIY:
- Start with any basic ground meat salami recipe.
- Add chili flakes, black pepper, cayenne, or smoked paprika to taste.
- For smoky depth, add a touch of liquid smoke or smoked paprika.
- Optional: Add minced jalapeño or chili paste for extra heat.
- Steam or bake your log, then chill before slicing thin.
Pairing tips:
- Serve with creamy cheeses (brie, burrata) to balance the spice.
- Add fruit like figs, dates, or honey for a sweet counterpoint.
- Use with mild pickles or fresh bread; avoid pairing with sharp/spicy cheeses that can overwhelm.
3. Salami for Charcuterie Boards: Flavor, Texture, and Balance
Why DIY for charcuterie?
Nothing is more impressive (or fun) than a board filled with your own creations.
How to DIY:
- Make two or three small-batch salamis: one classic (garlic, black pepper), one herby (fennel seed, thyme), one spicy (see above).
- Mix textures—try one leaner, one with a touch more fat.
- For color, roll some logs in cracked pepper, chopped herbs, or smoked paprika before cooking.
Building the board:
- Pair with a variety of cheeses: soft (goat), semi-firm (manchego), hard (aged cheddar).
- Add olives, nuts, fresh fruit, pickles, and something sweet (fig jam, honey).
- Use a mix of crackers and crusty bread, but leave space so each element stands out.
What to avoid:
- Too many salty or spicy ingredients together.
- Overcrowding—simplicity and balance always win.
4. Dry-Cured Salami: The Traditional Artisan’s Route
Why try it?
Dry-cured salami has the deepest flavor, the most tradition, and—if made safely—the longest shelf life. This style takes patience and care but is incredibly rewarding.
How to DIY (basic method):
- Mix pork shoulder (or blend of pork and beef), pork fat, salt, black pepper, garlic, red wine, and your favorite spices.
- Use natural casings (from a butcher) and a starter culture (for safe fermentation).
- Stuff mixture into casings, tie, and hang in a cool (15–20°C), humid (80–90%) environment for 3–6 weeks.
- Dry until the log loses about 30% of its weight.
- Always follow proven recipes and food safety guidelines!
Pairing tips:
- Thinly slice and serve with crusty bread, olives, and a sharp, nutty cheese.
- Pair with juicy tomatoes or simple greens for freshness.
- Don’t pair with other strong, funky cured meats—let your dry-cured masterpiece shine.
What to avoid:
- Attempting dry-curing without proper temp/humidity control.
- Skipping starter cultures or curing salts—safety first!
5. Uncured Salami: What Does It Really Mean?
What is it?
“Uncured” means it’s made without synthetic nitrites or nitrates—using natural sources like celery powder instead. Some home recipes simply skip curing salts altogether and use baking/steaming for safety.
How to DIY:
- Use lean meat, sea salt, celery powder (if desired), black pepper, garlic, and vinegar or wine.
- Bake or steam until fully cooked—no need for extra preservatives.
Pairing tips:
- Great with crunchy veggies, soft cheeses, and fresh herbs.
- Enjoy as part of a healthy lunchbox with whole grain crackers and fruit.
What to avoid:
- Assuming “uncured” means preservative-free—it’s still a preserved meat.
- Storing homemade uncured salami too long—consume within a week if not dry-cured.
6. General DIY & Pairing Tips
- Start small: Try mini logs with different spices and meats.
- Stay safe: If fermenting or curing, always use a tested recipe and proper food safety measures.
- Experiment: Mix meats (turkey and pork; beef and chicken), add seeds, chopped nuts, or even dried cranberries for creative twists.
- Variety matters: For your charcuterie, always include something fresh (veggies or fruit), something creamy, something crunchy, and your show-stopping salami.
Common Mistakes to Avoid
- Over-salting or under-seasoning: Always taste-test with a mini patty before shaping your whole log.
- Rushing the chilling or drying stage: Let flavors develop and the texture firm up!
- Using poor-quality meat: The flavor of your salami is only as good as what you start with.
- Ignoring food safety: When in doubt, stick to cooked (not cured) recipes.
Conclusion: Your DIY Salami Journey Starts Here
Whether you want to cut sodium, dial up the spice, try traditional dry-curing, or impress your friends with a custom charcuterie board, homemade salami puts you in control. You get healthier results, unique flavors, and the satisfaction of true kitchen creativity.
Ready to try?
Mix up a batch, slice it thin, and build your board. Share your results, ask questions, and keep experimenting—your salami adventure is just beginning!
Explore more recipes and guides on MasalaMonk.com, and tag us with your homemade creations!
What’s your favorite salami style? Have you ever made your own? Let us know in the comments!
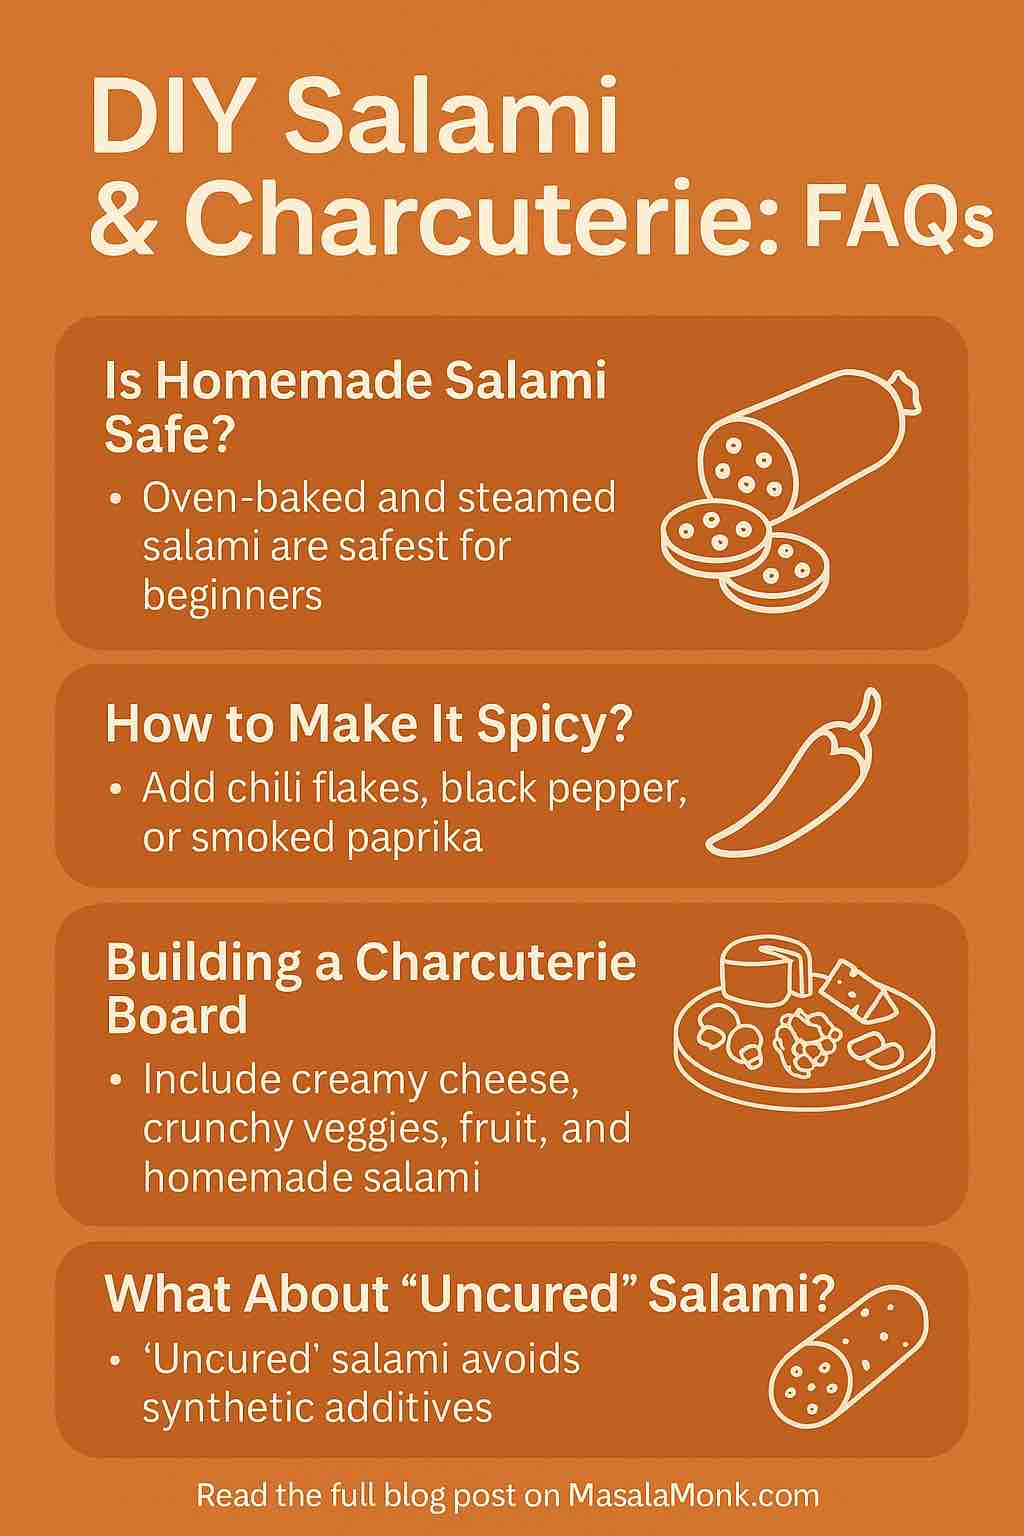
10 FAQs for DIY Salami & Charcuterie
1. Can I really make salami at home safely?
Yes! Oven-baked and steamed salami recipes are safest for beginners. If you try dry-curing, always use a trusted recipe, proper salt, and (if possible) a starter culture and curing chamber.
2. How do I lower the sodium in homemade salami?
Simply use less salt—start with about half the amount most recipes recommend and boost flavor with fresh herbs, garlic, pepper, and lemon zest.
3. What’s the difference between cured, uncured, and dry-cured salami?
Cured salami uses synthetic nitrates/nitrites for preservation; uncured uses natural sources like celery powder; dry-cured is fermented and aged for weeks using salt and sometimes a starter culture.
4. Can I make spicy salami at home?
Absolutely! Just add chili flakes, black pepper, smoked paprika, or minced chilies to your favorite base recipe.
5. How long does homemade salami last?
Oven-baked and steamed salami lasts up to a week in the fridge. Dry-cured salami can last for weeks to months if stored properly.
6. Do I need special equipment for homemade salami?
No special equipment for baked/steamed recipes. For dry-curing, a sausage stuffer, casings, and (ideally) a curing chamber or temperature- and humidity-controlled fridge help.
7. What meats work best for DIY salami?
Traditional salami uses pork, but beef, chicken, turkey, and even plant-based options work well. Leaner meats make lighter salamis.
8. How do I build a balanced charcuterie board with homemade salami?
Mix flavors and textures: include creamy cheese, crunchy veggies or nuts, a sweet element (fruit or jam), and your homemade salami, sliced thin.
9. What should I avoid when making or pairing salami?
Avoid excess salt or spice, overcrowding your board, using low-quality meats, or skipping food safety steps. Don’t pair all salty or all spicy items—balance is key.
10. Is uncured salami healthier?
Uncured salami avoids synthetic additives but still uses natural curing agents. For the healthiest option, make your own with minimal salt, no fillers, and lots of fresh flavor.


