Welcome to Day 1 of Your Pilates Adventure!
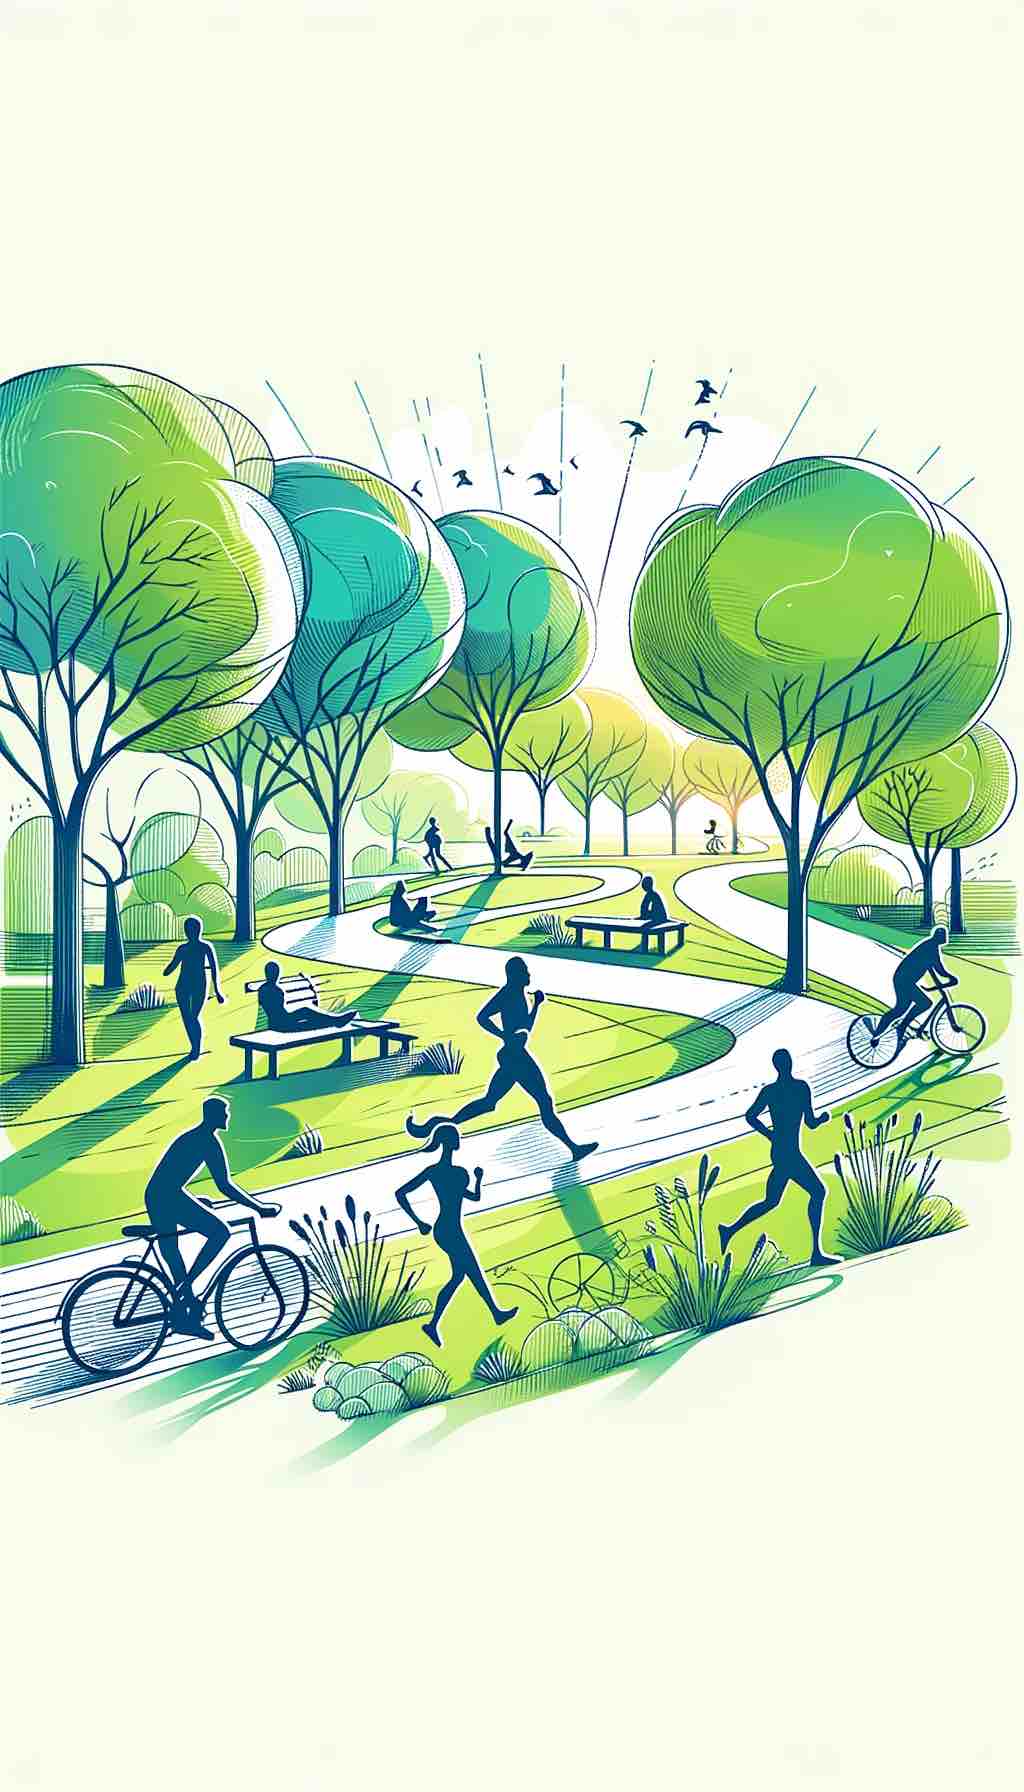
Welcome, Pilates Enthusiasts, to the beginning of your transformative journey with the 28-Day Wall Pilates Challenge! In collaboration with advanced AI technology, we’ve curated a comprehensive plan to sculpt your core strength, enhance balance, and elevate vitality. So, roll out your mat, find a wall, and let’s embark on this empowering journey together!
Introduction:
Today’s session serves as the cornerstone of your Pilates practice, focusing on core engagement and stability. With AI optimization, we’ve crafted a detailed routine to guide you through each movement, ensuring precision and effectiveness.
Before we start with the day, let us welcome you to the AI-powered 28-Day Free Wall Pilates Challenge! This challenge is designed using modern Artificial intelligence tools. We asked AI to act like a trainer and make a 28-day plan for us. We have put this up as a FREE challenge – do try this and let us know how you feel about it.
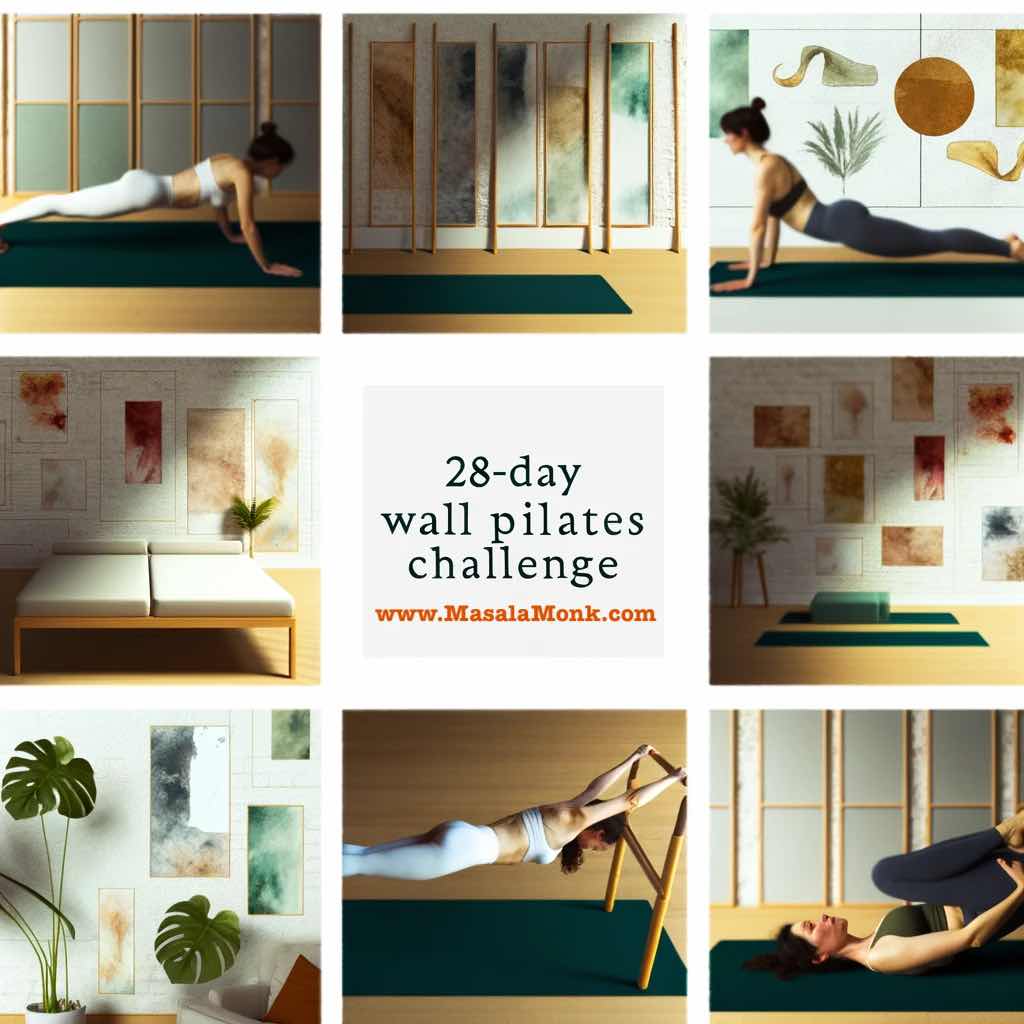
28-Day Wall Pilates Challenge
Select the Week to see Day Wise Guides to this AI Designed Challenge.
Warm-Up: Awakening Your Body (5 Minutes)
Arm Swings and Circles (2 Minutes)
- Execution: Stand tall with feet hip-width apart, arms relaxed by your sides. Inhale deeply, then exhale as you swing your arms forward and backward in a rhythmic motion. Transition into circular arm movements, gradually increasing the size of the circles.
- Breathing: Inhale through your nose during the backward swing, exhale through your mouth during the forward swing. Maintain a steady rhythm of breath to synchronize with the movement.
Leg Swings (2 Minutes)
- Execution: Step away from the wall, finding your balance on one leg while gently swinging the other leg forward and backward. Keep your standing knee slightly bent and engage your core for stability. Gradually increase the range of motion with each swing.
- Breathing: Inhale as you swing your leg forward, exhale as you swing backward. Focus on maintaining controlled, steady breaths throughout the movement.
Wall Angels (1 Minute)
- Execution: Stand with your back against the wall, feet hip-width apart, and arms extended out to the sides at shoulder height. Slowly slide your arms up and down the wall in a controlled motion, maintaining contact with the wall at all times.
- Breathing: Inhale deeply as you slide your arms up, exhale fully as you slide them down. Focus on elongating your spine and opening up your chest with each movement.
Main Session: Core Engagement and Stability (25 Minutes)
Wall Plank (3 Sets, 30-60 Seconds Each)
- Execution: Face away from the wall, place your hands shoulder-width apart on the floor, and walk your feet up the wall until your body forms a straight line. Engage your core, glutes, and leg muscles to maintain stability. Hold the position for 30 to 60 seconds.
- Breathing: Inhale deeply through your nose, exhale fully through your mouth. Focus on maintaining a steady breath to support your stability and endurance.
Wall Sit (3 Sets, 30-60 Seconds Each)
- Execution: Lean your back against the wall, slide down until your thighs are parallel to the ground, and your knees are at a 90-degree angle. Engage your core, quads, and glutes to hold the position. Hold for 30 to 60 seconds before releasing.
- Breathing: Inhale deeply to prepare, exhale as you sink into the wall sit. Maintain a consistent breath pattern to support your muscles and enhance endurance.
Wall Push-Ups (3 Sets, 8-12 Reps Each)
- Execution: Stand facing the wall, place your hands shoulder-width apart, and extend your arms at shoulder height. Lower your chest toward the wall by bending your elbows, then push back up to the starting position. Repeat for 8 to 12 reps.
- Breathing: Inhale as you lower your chest toward the wall, exhale as you push back up. Focus on synchronizing your breath with the movement to optimize control and strength.
Cooldown: Embracing Stillness (5 Minutes)
Wall Hamstring Stretch (2 Minutes Each Leg)
- Execution: Face the wall, extend one leg forward, and lean your hips back, keeping both feet flat on the ground. Feel the stretch in the back of your extended leg and hold for 30 seconds. Switch sides and repeat.
- Breathing: Inhale deeply to prepare for the stretch, exhale as you lean into the stretch. Focus on releasing tension with each exhalation.
Chest Opener (2 Minutes)
- Execution: Stand facing away from the wall, interlace your fingers behind your back, and gently straighten your arms as you lift your chest toward the ceiling. Hold the stretch for 30 seconds, focusing on opening up your chest and shoulders.
- Breathing: Inhale deeply to expand your chest, exhale fully to deepen the stretch. Allow your breath to guide you into a state of relaxation and release.
Reflection and Gratitude
Congratulations on completing Day 1 of the 28-Day Wall Pilates Challenge! Take a moment to reflect on your practice and express gratitude for your body's strength and resilience. Remember to stay hydrated, nourish your body with wholesome foods, and prioritize rest for optimal recovery. I'll see you tomorrow for Day 2, where we'll continue to build upon today's foundation and explore new dimensions of strength and vitality!
Join Our 28-Day Wall Pilates Challenge
Are you ready to embark on a transformative journey to strengthen your body, mind, and spirit through Pilates? Welcome to our 28-day Wall Pilates Challenge, designed to ignite your passion for Pilates and unlock your full potential!
Overview:
- Duration: 28 days
- Focus: Core strength, flexibility, balance, endurance, and overall well-being
- Structure: Each week focuses on specific themes and goals, with daily workouts to guide you through the challenge.
Week 1: Core Foundations
Day 1: Core Foundations - Ignite Your Pilates Journey
Start your journey with foundational Pilates exercises to build a strong core and establish proper alignment.
Day 2: Balance and Alignment - Strengthen Your Core Connection
Focus on improving balance and alignment to enhance core stability and connection.
Day 3: Flexibility Flow - Unlock Your Body's Potential
Enhance flexibility and fluidity in movements to unlock your body's full potential.
Day 4: Power and Stability - Strengthen Your Pilates Foundation
Build power and stability for a solid Pilates foundation with challenging exercises.
Day 5: Endurance Elevation - Embrace the Power Within
Increase endurance and stamina through dynamic Pilates workouts.
Day 6: Harmony in Motion - Cultivating Balance and Coordination
Cultivate balance and coordination for graceful and harmonious movement.
Day 7: Rest and Rejuvenate - Nourishing Your Pilates Journey
Take a day to rest and rejuvenate your body and mind, allowing for optimal recovery.
Week 2: Mindful Movement
Day 8: Mindful Movement - Deepening Your Pilates Practice
Deepen your Pilates practice through mindfulness and focused movement techniques.
Day 9: Strengthen and Lengthen - Unleash Your Inner Warrior
Strengthen muscles while promoting lengthening and flexibility for a balanced body.
Day 10: Core Stability and Balance - Finding Your Center of Strength
Enhance core stability and find your center of strength through targeted exercises.
Day 11: Mobility and Flexibility - Embrace Fluid Movement
Embrace fluid movement by improving mobility and flexibility in your Pilates practice.
Day 12: Alignment and Posture - Discover Your Perfect Balance
Focus on proper alignment and posture to achieve balance and prevent injuries.
Day 13: Strength and Endurance - Building Resilience Within
Build strength and endurance to overcome challenges and build resilience.
Day 14: Rest and Recovery - Nourish Your Body and Mind
Take a well-deserved day of rest and recovery to rejuvenate your body and mind.
Week 3: Full Body Flow
Day 15: Balance and Coordination - Find Your Center of Gravity
Explore balance and coordination exercises to find your center of gravity and enhance stability.
Day 16: Flexibility and Mobility - Embrace Fluidity in Motion
Improve flexibility and mobility to move with grace and ease through dynamic movements.
Day 17: Core Strength and Stability - Ignite Your Power Center
Ignite your power center with core-strengthening exercises for stability and strength.
Day 18: Upper Body Strength and Toning - Sculpt Your Pilates Powerhouse
Sculpt and tone your upper body muscles for improved strength and definition.
Day 19: Balance and Coordination - Find Your Center of Gravity
Continue refining balance and coordination skills to enhance your Pilates practice.
Day 20: Flexibility and Mobility - Unlock Your Body's Potential
Unlock your body's full potential by increasing flexibility and mobility for greater range of motion.
Day 21: Rest and Reflect - Nourish Your Body and Mind
Reflect on your progress and take time to nourish your body and mind with rest and relaxation.
Week 4: Lower Body Strength
Day 22: Lower Body Strength - Building Foundations
Focus on building a strong foundation for lower body strength through targeted exercises.
Day 23: Core Power - Ignite Your Center
Ignite your core power with exercises designed to strengthen and stabilize your center.
Day 24: Full Body Flow - Harmony in Motion
Experience the harmony of full-body movement with flowing Pilates sequences.
Day 25: Lower Body Burn - Sculpt and Strengthen
Sculpt and strengthen your lower body muscles with targeted exercises to feel the burn.
Day 26: Core Strength - Ignite Your Powerhouse
Ignite your powerhouse with core-strengthening workouts for a strong and stable center.
Day 27: Flexibility and Mobility - Embrace Fluidity
Embrace fluidity in movement by enhancing flexibility and mobility in every workout.
Day 28: Final Challenge and Celebration - Embrace Your Triumph
Celebrate your achievements and embrace the final challenge as you complete the 28-Day Wall Pilates Challenge.
We invite you to join us on this exciting journey and share your experiences and feedback. Together, let's fine-tune and improve this challenge to help others achieve their fitness goals. Are you ready to embrace the 28 Days Wall Pilates Challenge? Let's get started!
Don't forget to check out our interactive navigation app above to easily access each day's workout details. Let the challenge begin!
Best regards,