Part 1: What Are Keto ACV Gummies and Why Is Everyone Talking About Them?
In recent years, two major health trends have dominated the wellness world: the keto diet and apple cider vinegar (ACV). Now, marketers and supplement companies have fused them into one convenient, bite-sized supplement — the Keto Apple Cider Vinegar Gummy. The appeal is obvious: you get the reputed metabolic and digestive benefits of ACV without the harsh taste, and the fat-burning, energy-boosting potential of keto-friendly nutrients like BHB salts and MCT oil — all in a tasty gummy.
But what do these trendy gummies actually do? Are they worth the hype, or just another passing health fad? In this 3-part guide, we dive into the science, side effects, and real-world questions surrounding Keto ACV gummies — starting with what benefits they truly offer.
🟩 What Are Keto ACV Gummies?
Keto ACV gummies are supplements that typically combine:
- Apple cider vinegar (with “the mother”)
- Beta-Hydroxybutyrate (BHB) salts — exogenous ketones that support fat burning
- Medium-Chain Triglycerides (MCT) oil — a fast energy source for those on low-carb diets
- Plus extras like vitamins B6, B12, folate, or pomegranate and beetroot extract
The goal is to provide metabolic support, especially for people on a ketogenic diet, while avoiding the acidity and inconvenience of liquid ACV.
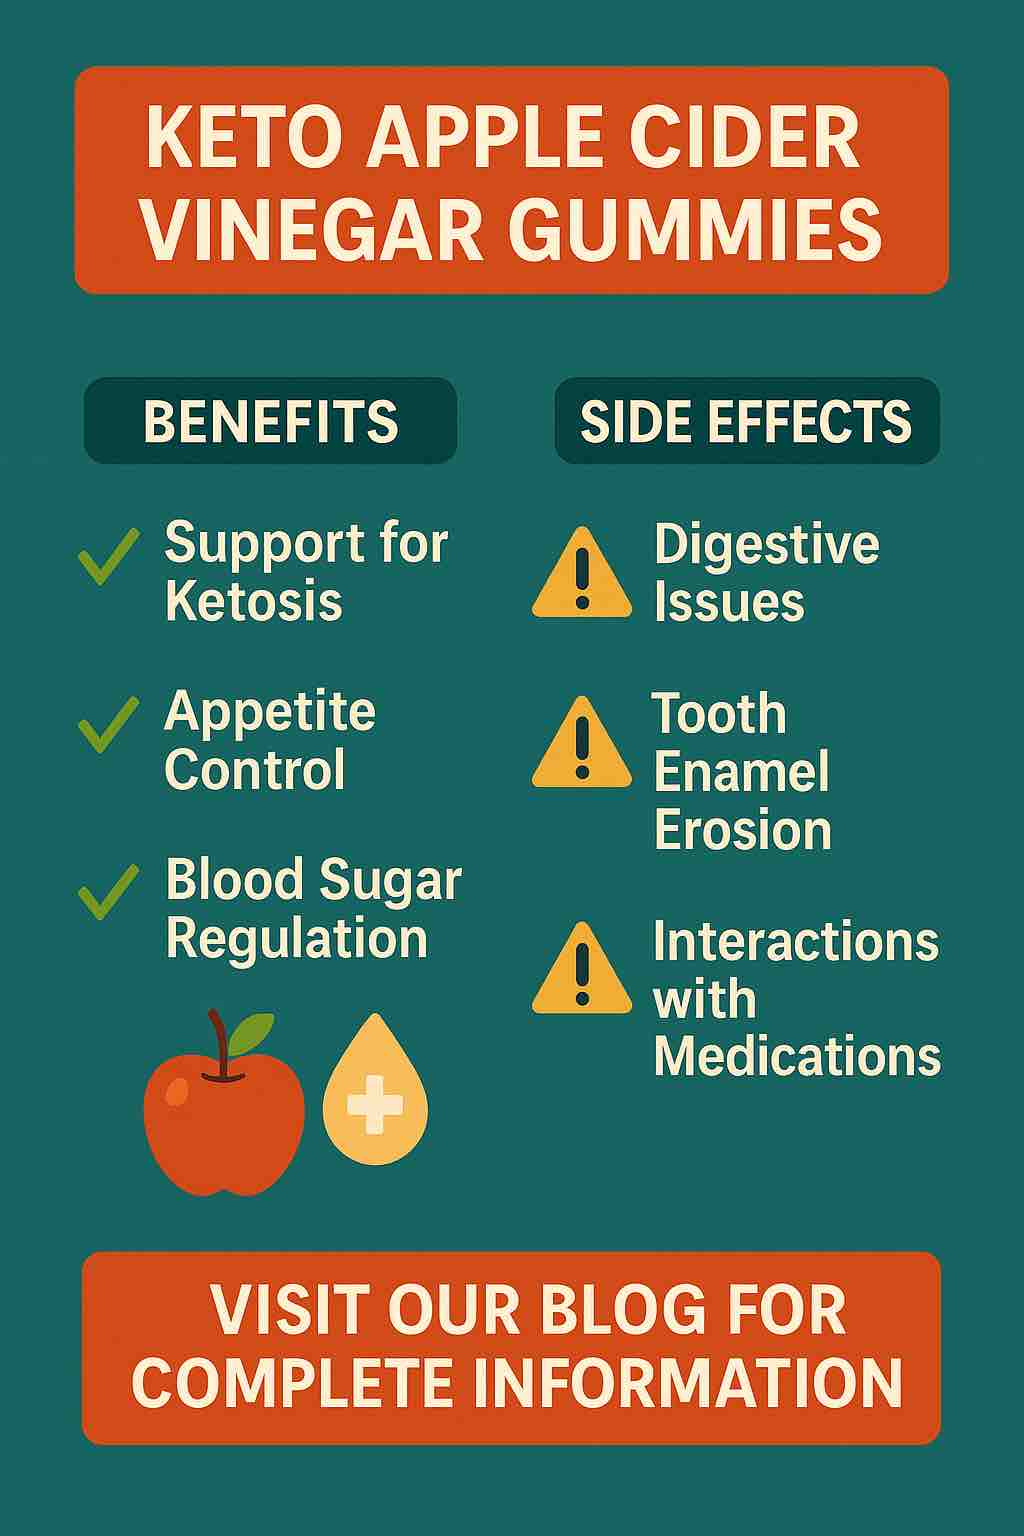
🌟 Benefits of Keto ACV Gummies
1. Support for Ketosis and Fat Burning
The inclusion of BHB salts and MCTs makes these gummies more than just a digestive supplement. BHB is a form of exogenous ketone that can help:
- Bridge the energy gap when transitioning into ketosis
- Enhance mental clarity and energy
- Support fat metabolism even in early keto adaptation
MCTs, meanwhile, convert rapidly into ketones in the liver and are an efficient fuel source — especially beneficial during workouts or mental focus tasks.
2. Improved Blood Sugar Control
One of ACV’s most studied benefits is its impact on blood glucose regulation. Multiple studies show that ACV may:
- Improve insulin sensitivity after high-carb meals
- Slow gastric emptying, reducing sugar spikes
- Support healthier fasting glucose levels
This effect can be especially useful for individuals on a low-carb or ketogenic diet, where blood sugar control is a top priority.
3. Digestive Health & Appetite Suppression
ACV is known for its acetic acid, which promotes the production of stomach acid and digestive enzymes — supporting better nutrient absorption and smoother digestion. Many users report:
- Less bloating
- Fewer cravings
- A feeling of satiety after meals
While research is still ongoing, early evidence suggests that this may help with calorie reduction and weight loss over time — especially when paired with keto.
4. Heart Health Support
Some formulations include antioxidants like pomegranate or beetroot extract. Additionally, ACV itself has shown promise in modestly improving cholesterol levels and blood pressure markers:
- Lower total cholesterol and LDL
- Higher HDL (“good” cholesterol)
- Reduced triglycerides
These benefits may be modest but are encouraging when combined with a nutrient-dense, low-carb diet.
5. Convenience and Taste
Let’s face it — drinking ACV isn’t exactly pleasant. Its harsh, acidic taste can be tough on the throat and stomach, and even damage tooth enamel over time. Keto ACV gummies:
- Taste like fruit snacks
- Are easy to travel with
- Avoid the need to mix or dilute vinegar daily
For people who want consistency without the daily hassle, this makes a real difference.
🎯 Who Might Benefit Most?
- Keto beginners: struggling with keto flu or adaptation fatigue
- Intermittent fasters: looking for appetite control between meals
- People sensitive to liquid ACV: needing a gentler delivery method
- Busy professionals: who prefer a portable wellness solution
Whether you’re deep into keto or just experimenting, these gummies can be a strategic supplement — but they’re not a silver bullet.
Part 2: The Side Effects and Risks of Keto ACV Gummies – What You Need to Know
While Keto ACV gummies are marketed as a convenient health hack — offering the benefits of apple cider vinegar and ketogenic boosters in a sweet, chewable form — they are not without potential downsides. Like all supplements, they may pose side effects, interact with medications, or even counteract your wellness goals if taken improperly or without adequate awareness.
Let’s unpack the potential risks, so you can make an informed decision before jumping on the gummy bandwagon.
⚠️ 1. Digestive Upset
Though ACV can aid digestion for some, for others it may cause gastric discomfort. The acetic acid in vinegar can be irritating to the digestive tract, especially if taken:
- On an empty stomach
- In large amounts
- With low stomach acid levels
Symptoms may include:
- Bloating
- Stomach cramps
- Nausea
- Heartburn or reflux
For individuals prone to acid reflux or IBS, this could worsen symptoms — despite the gentle gummy form.
⚠️ 2. Tooth Enamel Erosion (Still Possible!)
Though far less acidic than liquid vinegar, some ACV gummies retain a low pH. If chewed frequently and not followed by rinsing or brushing, this could still contribute to enamel erosion over time. This is especially true for people consuming multiple gummies daily or holding them in the mouth for prolonged periods.
Pro Tip: Swallow quickly, rinse with water, and wait at least 30 minutes before brushing your teeth.
⚠️ 3. Added Sugar or Artificial Sweeteners
This one’s a big red flag for many keto dieters.
Some commercially available ACV gummies contain sugar, glucose syrup, or high-carb fillers — defeating the purpose of supporting ketosis.
Even “sugar-free” versions may include artificial sweeteners (like sucralose or maltitol) that:
- Can spike insulin in sensitive individuals
- Cause GI distress or bloating
- Trigger cravings in some people
Always check the nutritional label and look for:
- 0g sugar
- 0–2g net carbs
- Natural sweeteners like stevia or erythritol
⚠️ 4. Electrolyte Imbalance in Keto Dieters
Many keto ACV gummies include exogenous ketones like BHB salts (sodium, calcium, or magnesium BHB). While these are helpful in small amounts, they can throw off your electrolyte balance if you’re:
- Not replenishing with whole foods or mineral supplements
- Taking multiple keto supplements at once
Signs of imbalance:
- Fatigue
- Muscle cramps
- Headaches
- Irritability
Hydration and electrolyte support are crucial if you’re using BHB-containing products regularly.
⚠️ 5. Interactions with Medications
This is one of the most serious concerns with ACV supplementation — and it often goes unmentioned.
ACV may interact with the following:
- Diabetes medications (e.g., insulin, metformin):
- May enhance their effects, increasing the risk of hypoglycemia
- Diuretics:
- May compound potassium loss
- Heart medications (e.g., digoxin):
- Can dangerously lower blood potassium when combined with vinegar
- Laxatives or medications for GI motility:
- Can amplify effects and increase the risk of dehydration or mineral loss
Always consult your physician before taking ACV supplements, especially if you have chronic conditions or take daily medications.
⚠️ 6. Not a Replacement for Diet or Lifestyle
The biggest misconception surrounding ACV and keto gummies is that they do the work for you. But here’s the truth:
✅ They may support weight loss and ketosis,
❌ But they won’t induce fat burning if you’re eating high-carb meals, skipping workouts, or consuming excess calories.
Some users fall into a trap of “compensatory eating” — thinking that because they took a supplement, they can eat more freely. This mindset undermines results and creates a false sense of progress.
⚠️ 7. Unregulated Supplement Market
Dietary supplements in the U.S. (and many other regions) are not strictly regulated by the FDA before hitting the market. That means:
- Not all claims are verified
- Some products may contain undisclosed ingredients
- Potency and quality can vary significantly between brands
Look for third-party certifications (like NSF, USP, or Informed-Choice) to verify purity and safety. Brands that disclose lab testing or sourcing transparency are usually a better bet.
🧠 Final Word on Side Effects
Keto ACV gummies can be a useful tool — but only when used intentionally, moderately, and with full awareness of your own health status.
You’re more likely to benefit from these supplements if you:
- Use them in addition to, not instead of, a clean keto diet
- Select high-quality, lab-tested brands
- Monitor your electrolyte levels and hydration
- Consult your healthcare provider before adding them to your routine
Part 3: Commonly Asked Questions About Keto ACV Gummies – What You Need to Know
Now that we’ve covered the basics and potential side effects of Keto ACV Gummies, it’s time to answer the most frequently asked questions. Whether you’re considering incorporating these gummies into your daily routine or just curious about their true benefits, this section will clear up common misconceptions and provide clarity.
❓ 1. Do Keto ACV Gummies Really Help with Weight Loss?
One of the most prominent claims around Keto ACV Gummies is their ability to aid in weight loss. Let’s dig into this and see what the research says.
The Role of ACV in Weight Loss
The active ingredient in ACV, acetic acid, has been linked to various weight-related benefits. Some studies suggest that ACV may:
- Promote satiety: ACV may help increase feelings of fullness after meals, reducing overall calorie intake. This is particularly useful if you’re trying to stick to a caloric deficit for weight loss.
- Reduce fat storage: Some animal studies indicate that acetic acid could influence genes responsible for fat metabolism, reducing body fat accumulation.
- Lower blood sugar levels: Since high blood sugar levels can promote fat storage, controlling these spikes may indirectly support weight management.
The Impact of Keto in Weight Loss
As for the keto aspect, BHB salts (exogenous ketones) and MCT oil in the gummies are designed to help your body switch to fat as a primary fuel source instead of carbohydrates. This is a key principle of the ketogenic diet — and it can help promote fat burning and weight loss, particularly when combined with a low-carb diet.
The Verdict
While Keto ACV gummies might support weight loss, especially when consumed alongside a balanced ketogenic or low-carb diet, they are not magic pills. The key to weight loss is still creating a caloric deficit and maintaining a healthy, active lifestyle. Gummies alone will not melt away the pounds.
❓ 2. Will Keto ACV Gummies Break My Fast?
If you’re following an intermittent fasting (IF) routine, you might be wondering if consuming Keto ACV gummies will break your fast.
Do Gummies Contain Calories?
Yes, most Keto ACV gummies do contain calories, typically ranging between 10-20 calories per serving (usually 1-2 gummies). The presence of sugars, sweeteners, or ketone salts means that, technically, they could break a fast — especially if you’re aiming for strict zero-calorie fasting.
However, if you’re following a more lenient intermittent fasting approach where small amounts of calories (especially from non-insulin-spiking sources) don’t completely negate the benefits, then Keto ACV gummies may still be acceptable to consume without significantly hindering your fast. It ultimately depends on your fasting goals and how strict your protocol is.
The Verdict
If your primary goal during fasting is autophagy (cellular repair), even a small amount of calories could disrupt this process. If you’re fasting primarily for weight loss or insulin sensitivity, you might be able to incorporate a small serving of ACV gummies without significantly derailing your progress. However, it’s safest to consume them outside of your fasting window.
❓ 3. How Many Keto ACV Gummies Should I Take per Day?
The appropriate dosage for Keto ACV gummies varies depending on the brand and formulation. Most manufacturers recommend a dosage of 2-4 gummies per day. However, it’s important to note that dosage guidelines can vary based on your individual health goals and the concentration of ACV or exogenous ketones in each gummy.
Guidelines for Use:
- Follow the Manufacturer’s Instructions: Always start with the recommended dosage on the packaging to avoid consuming too much.
- Adjust Based on Tolerance: If you’re new to ACV, you may want to start with a smaller dose and gradually increase it. Some people are sensitive to apple cider vinegar, especially in concentrated forms.
- Monitor Your Response: Pay attention to how your body responds. If you experience digestive issues, it may be a sign to cut back.
- Spread Out Doses: It’s generally best to spread out the intake over the course of the day, rather than taking them all at once.
The Verdict
Typically, 2-4 gummies are sufficient for most people. However, always adhere to the dosage instructions of the specific product you choose.
❓ 4. Can I Take Keto ACV Gummies Every Day?
Yes, most people can safely take Keto ACV gummies daily, as long as they follow the recommended dosage. Many users take them regularly to maintain their ketosis, promote digestive health, and potentially curb appetite.
Potential Risks of Daily Use:
- Overuse: Consuming too many gummies over time (e.g., more than the recommended dose) could lead to gastric irritation, tooth enamel damage, or electrolyte imbalances — particularly if you’re not hydrating properly.
- Artificial Sweeteners: Some gummy formulations use artificial sweeteners, which may cause digestive discomfort or cravings in sensitive individuals.
- Keto Adaptation: While BHB and MCTs can help support ketosis, over-reliance on these external sources of ketones might prevent you from fully adapting to ketosis through diet alone. This is especially relevant if you are using them in place of consistent dietary efforts.
The Verdict
Taking Keto ACV gummies daily is safe for most people when done responsibly and in moderation. However, it’s important to remember that these should supplement a healthy lifestyle, not replace foundational habits like a balanced diet, regular physical activity, and proper sleep.
❓ 5. Are Keto ACV Gummies Safe for Diabetics?
For individuals with diabetes, particularly those on medications that affect blood sugar levels, the blood sugar-lowering effects of ACV might offer some benefits. Studies have shown that ACV can help improve insulin sensitivity, potentially lowering the insulin requirements for diabetic individuals.
Things to Consider:
- Monitor Blood Sugar: If you’re diabetic and considering Keto ACV gummies, it’s important to monitor your blood sugar levels regularly to see how your body responds.
- Medication Interactions: ACV may enhance the effects of insulin or diabetes medications, potentially leading to hypoglycemia (low blood sugar). Always consult with a healthcare provider before using these gummies if you’re on diabetes-related medications.
The Verdict
If you have diabetes, Keto ACV gummies could potentially help manage blood sugar, but they should be used with caution and under the supervision of your healthcare provider. It’s important to ensure they don’t interfere with your medication regimen or cause blood sugar to dip too low.
❓ 6. Are There Any Alternatives to Keto ACV Gummies?
If you’re not a fan of gummies or want to avoid potential side effects, there are alternatives to get similar benefits:
- Liquid Apple Cider Vinegar: Take 1-2 tablespoons of diluted ACV daily. This form provides higher potency than gummies.
- ACV Capsules: Some prefer capsules for a more straightforward, pill-based solution.
- BHB or MCT Oil Supplements: If your goal is to support ketosis, you can focus on BHB salts or MCT oil supplements without the ACV component.
The Verdict
If gummies aren’t your preference, liquid ACV or capsules are viable alternatives — just be sure to adjust the dosage according to your needs.
🧠 Final Thoughts on Keto ACV Gummies
Keto ACV gummies have gained significant attention for their convenience, potential health benefits, and ability to complement a low-carb or ketogenic lifestyle. However, while they can support weight loss, improve digestion, and help maintain ketosis, they are most effective when combined with a balanced diet and regular exercise.
Before you make them a regular part of your routine, consider any potential side effects, dietary restrictions, and consult a healthcare professional if you have underlying health conditions.
10 FAQs About Keto Apple Cider Vinegar (ACV) Gummies
1. What Are Keto ACV Gummies?
Answer: Keto ACV Gummies are chewable supplements that combine apple cider vinegar (ACV) with keto-friendly ingredients like exogenous ketones (BHB salts) and MCT oil. These gummies are designed to support ketosis, improve digestion, and potentially promote weight loss, all in a convenient, easy-to-consume form.
2. How Do Keto ACV Gummies Help with Weight Loss?
Answer: The combination of ACV and keto-friendly ingredients like BHB salts and MCT oil may help with weight loss by promoting fat burning, suppressing appetite, and controlling blood sugar levels. However, they work best when combined with a healthy diet and regular exercise.
3. Can Keto ACV Gummies Break My Fast?
Answer: Yes, taking Keto ACV gummies during a fasting window could technically break your fast due to their calorie content, typically 10-20 calories per serving. If you’re strict about fasting, it’s best to consume them during your eating window.
4. Are Keto ACV Gummies Safe to Take Every Day?
Answer: Yes, Keto ACV gummies are generally safe for daily use when taken as directed. However, it’s important to avoid overuse and to choose high-quality gummies that don’t contain unnecessary sugars or artificial sweeteners. Always follow the manufacturer’s dosage recommendations.
5. Can I Take Keto ACV Gummies on a Non-Keto Diet?
Answer: Yes, you can still take Keto ACV gummies even if you’re not on a strict keto diet. The benefits of ACV, such as appetite suppression and blood sugar control, can be beneficial regardless of your diet. However, the ketogenic ingredients like BHB and MCT oil are more effective for those following a low-carb or ketogenic lifestyle.
6. What Are the Side Effects of Keto ACV Gummies?
Answer: Common side effects may include digestive issues like bloating, nausea, or stomach cramps due to the acetic acid in ACV. Some people may also experience tooth enamel erosion if the gummies are chewed excessively. It’s important to follow the recommended dosage and consult a doctor if you have pre-existing digestive conditions.
7. Do Keto ACV Gummies Contain Sugar or Carbs?
Answer: Many Keto ACV gummies are marketed as sugar-free or low-carb, but it’s essential to check the label. Some gummies may contain artificial sweeteners like sucralose or maltitol, which could still impact insulin levels or cause digestive discomfort. Look for gummies with 0g sugar and 2g net carbs or less per serving for the best results.
8. Can I Take Keto ACV Gummies with Other Supplements?
Answer: In most cases, Keto ACV gummies can be taken alongside other supplements, such as vitamins, minerals, or protein powders. However, if you’re using supplements that affect your electrolyte balance (e.g., BHB, magnesium), be mindful of overloading on certain nutrients. It’s always best to consult a healthcare provider before stacking multiple supplements.
9. Are There Any Alternatives to Keto ACV Gummies?
Answer: Yes! If you don’t like gummies, you can opt for liquid apple cider vinegar, which provides the same acetic acid benefits. You can also take ACV capsules, or use MCT oil and BHB salts separately to support ketosis. The key is finding the form that best fits your lifestyle.
10. Will Keto ACV Gummies Improve My Digestion?
Answer: Yes, ACV is known for supporting digestion by stimulating stomach acid production and aiding in nutrient absorption. The gummies provide a gentler way to benefit from ACV without the harsh taste or acidity, which can be especially helpful for people with sensitive stomachs.