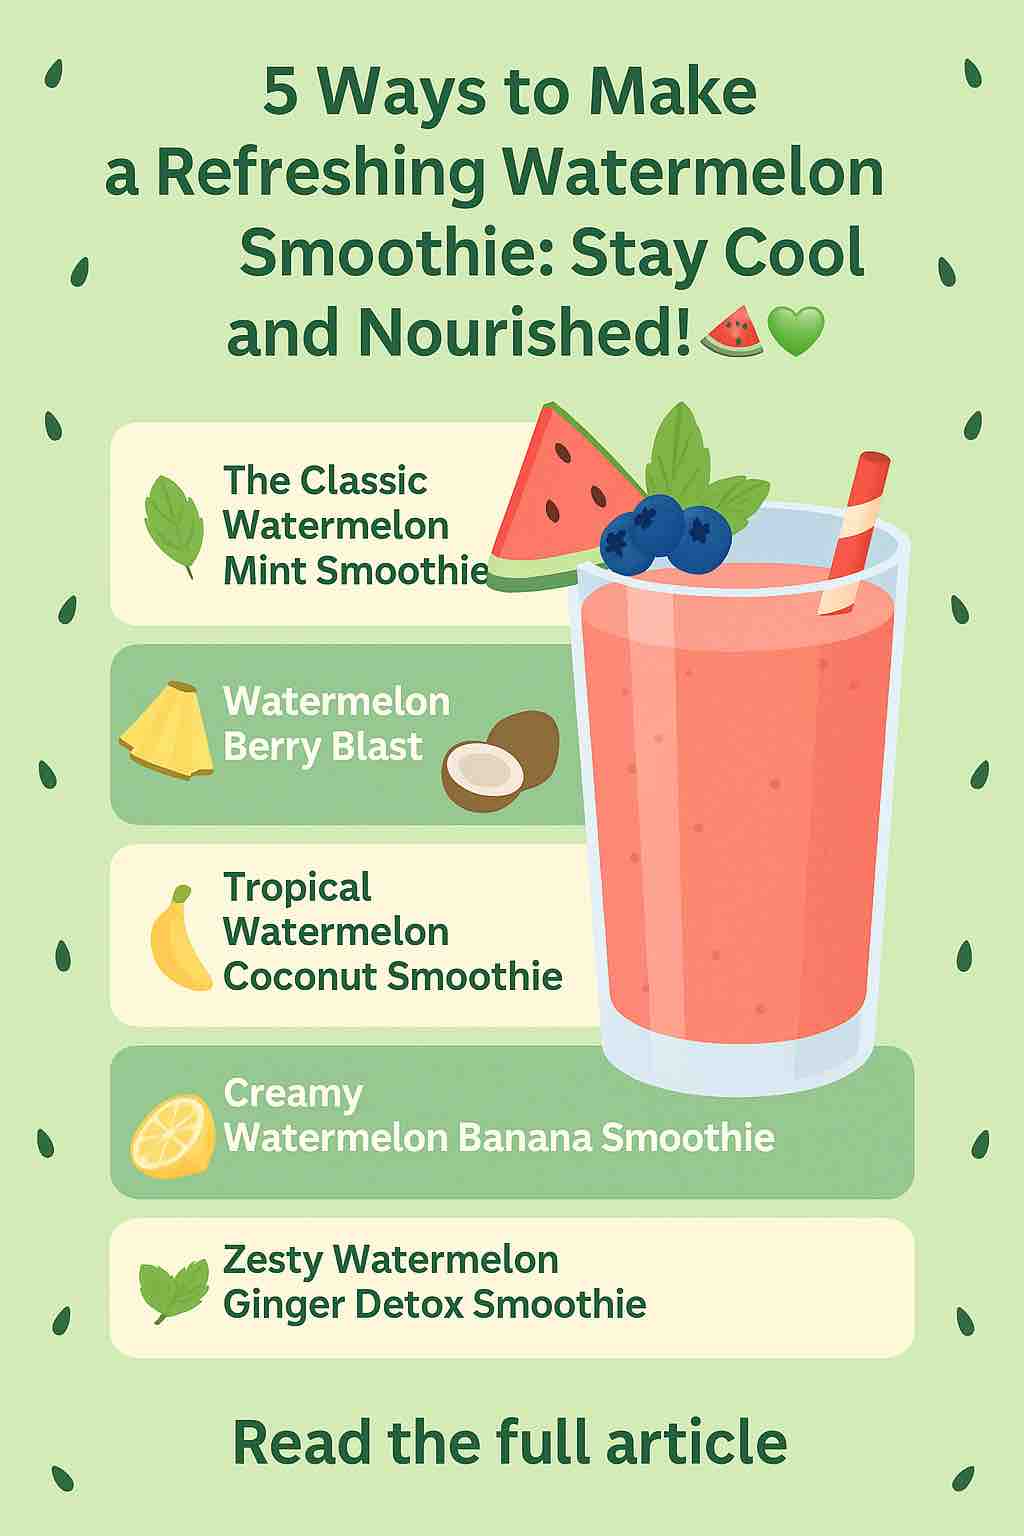
When you think of sunflower seeds, you probably imagine a light snack or a topping for your salad. But did you know these tiny seeds can also be a powerful ally in your weight loss journey? Packed with fiber, healthy fats, protein, and essential nutrients, sunflower seeds offer much more than a satisfying crunch — they can help regulate appetite, stabilize blood sugar, and even reduce inflammation.
Let’s explore five effective and sustainable ways to incorporate sunflower seeds into your daily routine for lasting weight loss success.
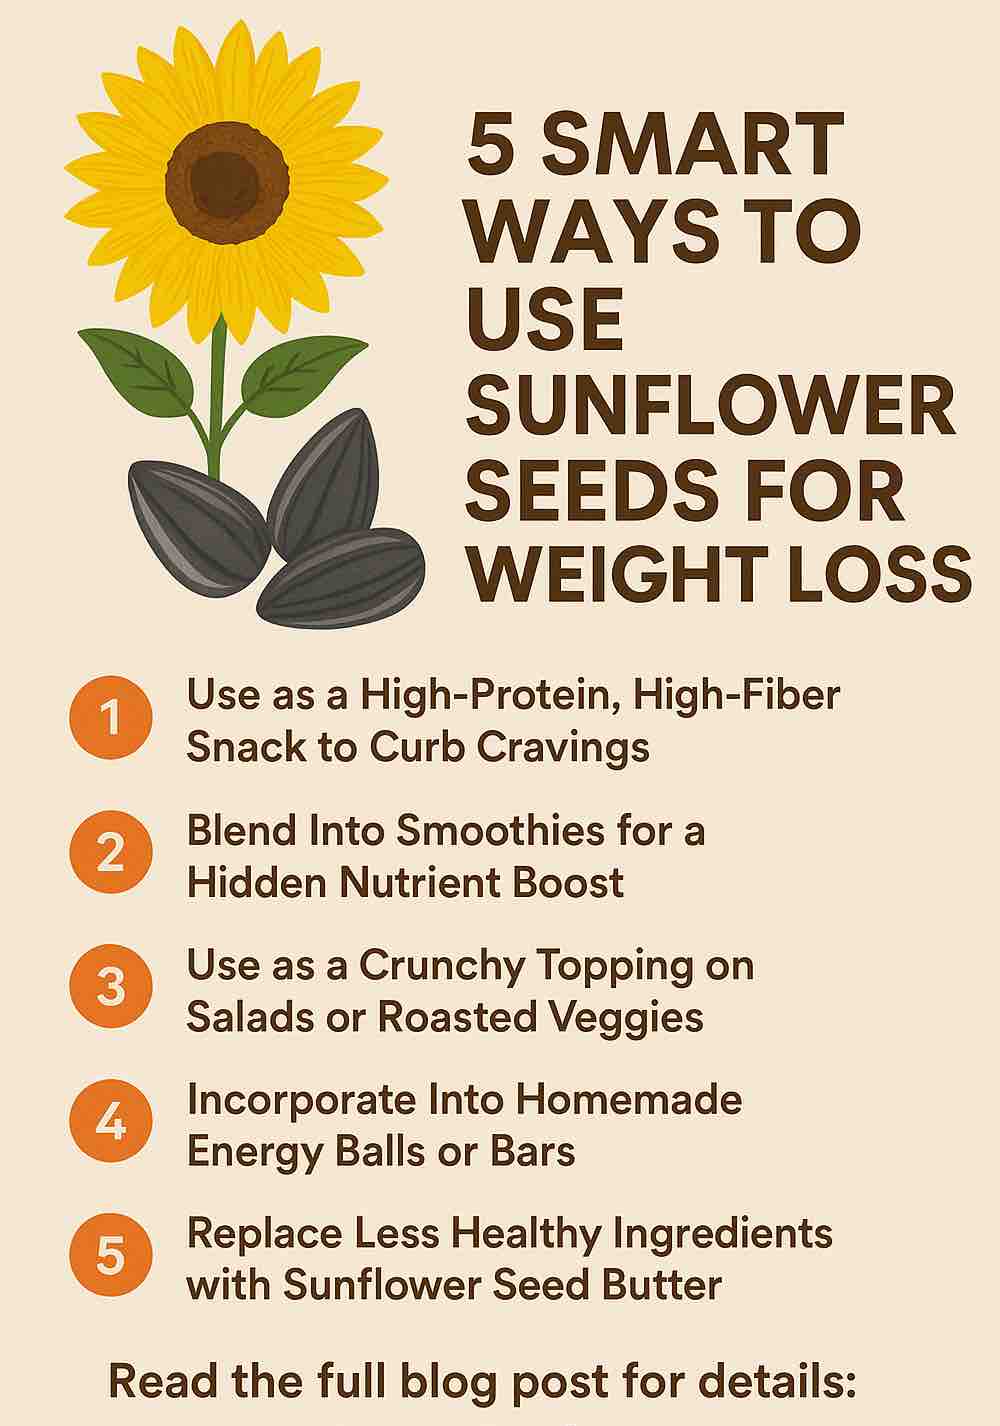
1. Use as a High-Protein, High-Fiber Snack to Curb Cravings
One of the biggest hurdles in weight loss is managing hunger between meals. Sunflower seeds — especially the shelled, unsalted kind — are naturally high in both protein and dietary fiber, two critical nutrients for promoting satiety.
- 1 oz (28g) of shelled sunflower seeds contains:
- 5.5g of protein
- 3g of fiber
- 14g of healthy fats
- Only 164 calories
How to Use It:
- Pack 2–3 tablespoons in a small container and keep them handy at work or in your bag.
- Eat them slowly, chewing thoroughly. The act of cracking shells (if using in-shell seeds) also helps you eat more mindfully.
- Pair with a piece of fruit or a few veggie sticks for a balanced mini-meal.
Why It Works:
The protein helps preserve lean muscle mass during calorie deficits, while the fiber slows digestion — making you feel full longer and less likely to reach for processed snacks.
2. Blend Into Smoothies for a Hidden Nutrient Boost
Smoothies can be a double-edged sword in weight loss — nutrient-dense when done right, or sugar bombs when not. Adding a tablespoon of sunflower seeds (or sunflower seed butter) can significantly enhance the nutritional profile of your smoothie without spiking blood sugar.
Benefits in Smoothies:
- Healthy fats reduce glycemic load, preventing energy crashes.
- Magnesium, Vitamin E, and Selenium contribute to better metabolism and reduced oxidative stress.
- Mild flavor that doesn’t overpower fruits or greens.
Try This:
Weight Loss Smoothie with Sunflower Seeds
- 1 cup unsweetened almond milk
- 1 cup spinach or kale
- ½ banana
- 1 tablespoon sunflower seeds
- 1 tablespoon chia seeds
- ½ cup frozen berries
- Blend until smooth
This combination keeps blood sugar stable and provides long-lasting energy.
3. Use as a Crunchy Topping on Salads or Roasted Veggies
Replacing croutons, fried toppings, or high-calorie dressings with sunflower seeds is a smart swap. They provide texture, flavor, and nutrition — minus the refined carbs and unhealthy fats.
How to Do It:
- Lightly toast raw, unsalted seeds in a dry pan until golden (3–4 minutes).
- Sprinkle 1–2 tablespoons over:
- Mixed green salads
- Quinoa bowls
- Roasted vegetables like broccoli, sweet potatoes, or Brussels sprouts
Weight Loss Edge:
The seeds’ combination of fats and fiber enhances absorption of fat-soluble vitamins (like A, D, E, and K) from vegetables, making your healthy meals even more efficient and satisfying.
4. Incorporate Into Homemade Energy Balls or Bars
When you’re on the go, it’s easy to reach for convenience foods that derail your calorie goals. Making your own energy balls with sunflower seeds gives you full control over ingredients and nutrient density.
DIY Energy Balls Recipe:
- ½ cup oats
- ¼ cup sunflower seed butter or ground seeds
- 2 tablespoons flax or chia seeds
- 2 tablespoons honey or date paste
- Dash of cinnamon
- Optional: cocoa powder, dried fruit, or vanilla
Mix and form into balls. Refrigerate and enjoy as a pre- or post-workout snack.
Why It Helps:
Keeps you full and energized with clean-burning fuel, rather than crashing after high-sugar snacks.
5. Replace Less Healthy Ingredients with Sunflower Seed Butter
Sunflower seed butter can be a game-changer if you’re allergic to nuts or trying to avoid highly processed spreads. It can be used in everything from dressings to breakfast bowls and baking.
Use It:
- As a spread on whole grain toast instead of butter
- In overnight oats or yogurt for added creaminess
- Mixed with lemon juice and water to make a healthy salad dressing
What You Avoid:
- Hydrogenated oils
- Added sugars (if you opt for natural varieties)
- Highly processed nut-based alternatives
Bonus Tip:
Be mindful of portion sizes — 1 tablespoon of sunflower seed butter has about 100 calories. Use measuring spoons to stay on track.
Nutritional Highlights of Sunflower Seeds (Per 1 oz, shelled):
- Calories: ~164
- Protein: 5.5g
- Fiber: 3g
- Fats: 14g (mostly polyunsaturated and monounsaturated)
- Magnesium: ~37% of RDI
- Vitamin E: ~37% of RDI
- Selenium & Phytosterols: Support metabolic health
Final Thoughts
Sunflower seeds aren’t just a tasty snack — they’re a functional food that supports a healthy metabolism, curbs appetite, and provides essential nutrients that many weight-loss diets miss. By integrating them thoughtfully into your meals, you can make your weight loss journey more nourishing, satisfying, and sustainable.
Whether you’re sprinkling them on a salad, blending them into a smoothie, or using their creamy butter as a swap — sunflower seeds might just become your secret weapon in achieving your health goals.
📌 FAQs:
1. Are sunflower seeds good for weight loss?
Yes, sunflower seeds are rich in protein, fiber, and healthy fats — all of which help you feel full longer, stabilize blood sugar, and reduce overeating. When eaten in moderation, they can support weight loss as part of a balanced diet.
2. How many sunflower seeds should I eat per day for weight loss?
A recommended portion is 1 to 2 tablespoons (about 15–30g) per day. This gives you the benefits without consuming excess calories. Always account for them in your daily calorie intake.
3. Are roasted sunflower seeds healthy?
Yes — if they’re dry-roasted and unsalted. Avoid heavily salted or oil-roasted seeds, which can contain added sodium and unhealthy fats. Light toasting at home is ideal.
4. Is sunflower seed butter a good alternative to peanut butter for weight loss?
Yes, unsweetened sunflower seed butter can be a healthy, allergy-friendly alternative. It offers similar protein and fat content, and it’s often free from added sugars and oils if you choose clean brands.
5. Can I eat sunflower seeds at night while trying to lose weight?
Yes, in moderation. A small handful of sunflower seeds at night can prevent late-night cravings thanks to their protein and fat content. Just be mindful of portion size and total daily calories.
6. Do sunflower seeds help burn belly fat specifically?
While no food burns belly fat directly, sunflower seeds support overall fat loss by helping regulate hunger and blood sugar. They’re part of a weight-loss-friendly eating pattern, not a miracle food.
7. Are sunflower seeds high in calories?
Yes, they’re calorie-dense. One ounce (28g) contains about 160–170 calories, but they’re nutrient-dense calories that contribute to satiety and better metabolism when consumed wisely.
8. Can I add sunflower seeds to my weight loss meal plan every day?
Absolutely — as long as you keep your portion sizes in check and use them to replace, not just add to, higher-calorie or less nutritious foods.
9. What’s better for weight loss: sunflower seeds or chia seeds?
Both are excellent in different ways. Sunflower seeds provide more protein and essential fats, while chia seeds offer more fiber and omega-3s. Use them together for the best benefits.
10. Should I buy raw or roasted sunflower seeds?
Raw, unsalted sunflower seeds are best for full control over how they’re prepared. You can lightly toast them at home to enhance flavor without sacrificing nutrition or adding harmful ingredients.