A Real Indian Kitchen Review for Singles, Couples & Small Families
Have you ever found yourself dreading that daily pile of oily plates and chai-stained katoris? Or arguing with your flatmate, spouse, or parents about whose turn it is to do the dishes? Maybe your maid didn’t turn up again, and you’re staring at a mountain of utensils after dinner.
If you’re tired of the endless sink drama, you’re not alone. More and more Indians—especially city dwellers, renters, and small families—are turning to compact, countertop dishwashers to save time, water, and (let’s be honest) household harmony.
Meet the Godrej Eon 8 Place Setting Counter-Top Dishwasher
Who is it really for?
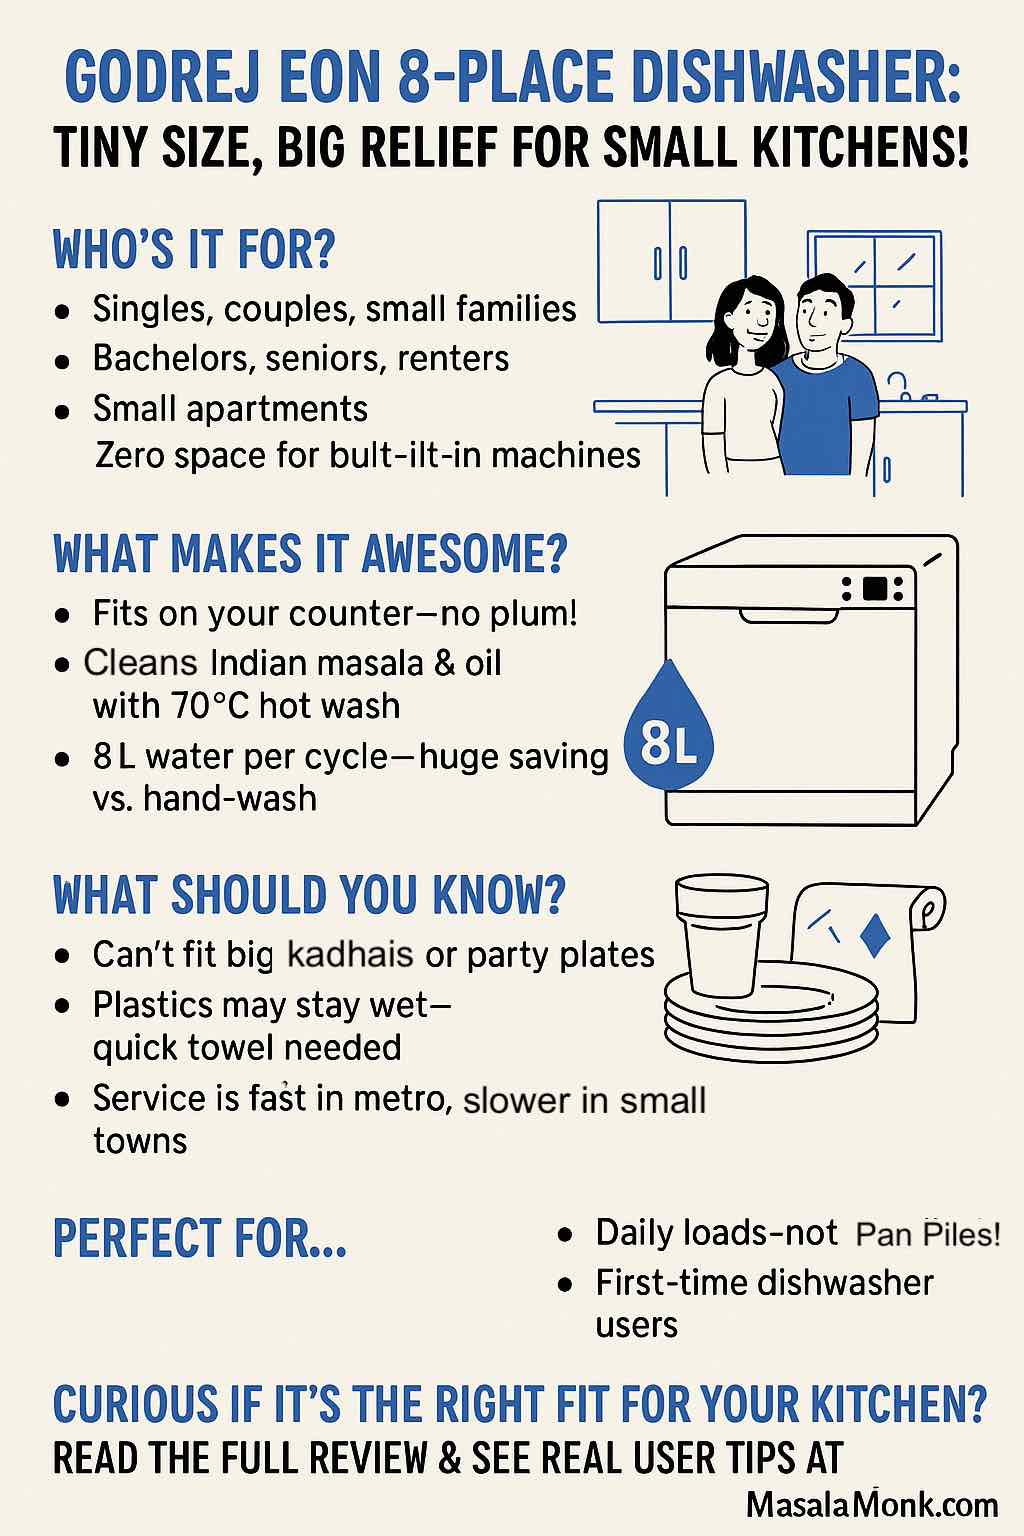
- Singles and working couples
- Small families (up to 3 people)
- Bachelors, seniors, or anyone living in a compact flat
- Renters or people with zero space for a full-size dishwasher
This is not a one-size-fits-all machine. If you have a joint family or you’re regularly hosting 10+ people, you’re probably better off with a larger built-in model. But if your daily load is more “two plates, a couple of bowls, and some glasses”—keep reading!
The Compact Advantage: Why Counter-Top?
1. No Major Kitchen Remodeling Needed
It sits right on your counter—no new cabinets, plumbing changes, or “builder drama.” Just plug it in, connect the inlet and drain hoses (takes minutes), and you’re ready to go.
2. Ideal for Urban Kitchens
It’s small (about the size of a microwave oven), looks sleek in silky black, and fits easily even in rented apartments where you might not be allowed to make permanent changes.
3. True Water & Time Saver
Each cycle uses just about 8 litres of water (way less than hand-washing a pile of dishes), and lets you reclaim your evenings or post-dinner nap.
Key Features at a Glance
- 8 Place Settings – Enough for everyday loads: 2-3 plates, bowls, katoris, glasses, cutlery.
- 6 Wash Programs – Intensive, Normal, Eco, Glass, 90-min, Quick (pick what suits your mess).
- In-Built Heater (Up to 70°C) – Tackles Indian oil, ghee, and masala stains better than cold-water dishwashers.
- 49 dB Noise – Quiet enough for flats; you can run it after midnight without annoying your neighbors.
- Quick Wash Option – Get clean utensils in as little as 30-40 minutes for lighter loads.
- Affordable Entry Point – Lower upfront cost than Bosch/LG/Faber full-size machines.
- Buy Godrej Eon 8 Place on Amazon
What Real Indian Users LOVE
1. Space-Saving, Easy to Install
“Fits my Mumbai flat kitchen, no plumber or drilling needed!”
No bending, no crawling under the sink. Perfect for elderly parents or anyone with back pain.
2. Makes Small Loads a Breeze
If you’re tired of that “just two plates but feels like a mountain” problem, this is for you.
“Great for two people but not more. We run it once after breakfast, again after dinner—never a pile-up.”
3. Water & Time Efficiency
Many users notice their water bill drops after switching to a dishwasher—especially in apartments where water charges are per litre.
4. Decent Cleaning for Indian Mess
Hot water cycles really do work.
“Oily thalis, masala bowls, even sticky chai residue—all come out clean on Intensive mode. Scrape first, don’t overload.”
5. Quiet, Night-Friendly
“Can run it after dinner or before bed—won’t wake up roommates or family.”
6. Affordable, Plug-and-Play
No need to commit to expensive kitchen modifications. If you move, just unplug and take it with you!
What Might Annoy You (But Here’s How to Handle It)
1. Not for Large Utensils or Party Loads
If you’re hoping to wash huge kadhais, big pressure cookers, or piles of party plates—look elsewhere.
“Doesn’t fit our large kadhai or the plates we use during family get-togethers. Okay for everyday use, not events.”
2. Stacking is a Learning Curve
You’ll need to figure out what fits where. Some trial and error is part of the first week.
“Takes a few cycles to learn how to arrange thalis and bowls efficiently.”
Pro tip: Always leave space between dishes, don’t overlap plates, and keep bowls facing downward.
3. Burnt or Baked-on Messes Still Need Help
No compact dishwasher will magically clean burnt dal or “halwa disasters.” Pre-soak or a quick scrub is still needed, especially for stubborn messes.
4. Plastics Need a Towel Dry
This is true of almost all dishwashers, especially compact ones.
Steel and glass come out shiny, but plastic dabbas or lids might be damp at the end.
5. Service Depends on Where You Live
Most metro users are happy with Godrej’s service, but some in smaller cities have reported slow repair response.
What Users Are Saying: Straight from the Reviews
- “Probably the best kitchen product purchased by us in a long time.”
- “Fits daily loads perfectly and makes cleaning hassle‑free for a family of two.”
- “Not for big loads, but a lifesaver for singles and working couples.”
- “Saves my relationship, honestly. No more fighting about dishes in a 1BHK.”
- “Installation in Delhi was fast, but my cousin in Jaipur had to wait for a repair.”
- “If you have a big Indian family or cook with large pots daily, look for a bigger machine.”
Practical Tips for Dishwasher Success
- Scrape off big food bits, pre-soak burnt or very oily utensils.
- Don’t overload—better to run twice than cram and get poor results.
- Use proper dishwasher detergent, salt, and rinse aid.
- Clean the filter weekly.
- Place plastics and deep bowls tilted for better drainage.
- Run a vinegar or self-clean cycle monthly for best performance.
Who Should Buy (and Who Should Skip)?
Perfect For:
- Singles, couples, and small nuclear families (2-3 members)
- People with small kitchens, rental homes, or no space for big machines
- Seniors who want to avoid standing for long at the sink
- First-time dishwasher users wanting an affordable, entry-level experience
Maybe Not For:
- Large or joint families
- Heavy Indian cooking with big utensils every day
- Those expecting “one load does it all” for feasts or parties
Explore More Dishwasher Reviews for Every Indian Kitchen
Looking for something bigger, quieter, or loaded with tech? We’ve got you covered! Check out our detailed, practical reviews for all types of Indian families and kitchens:
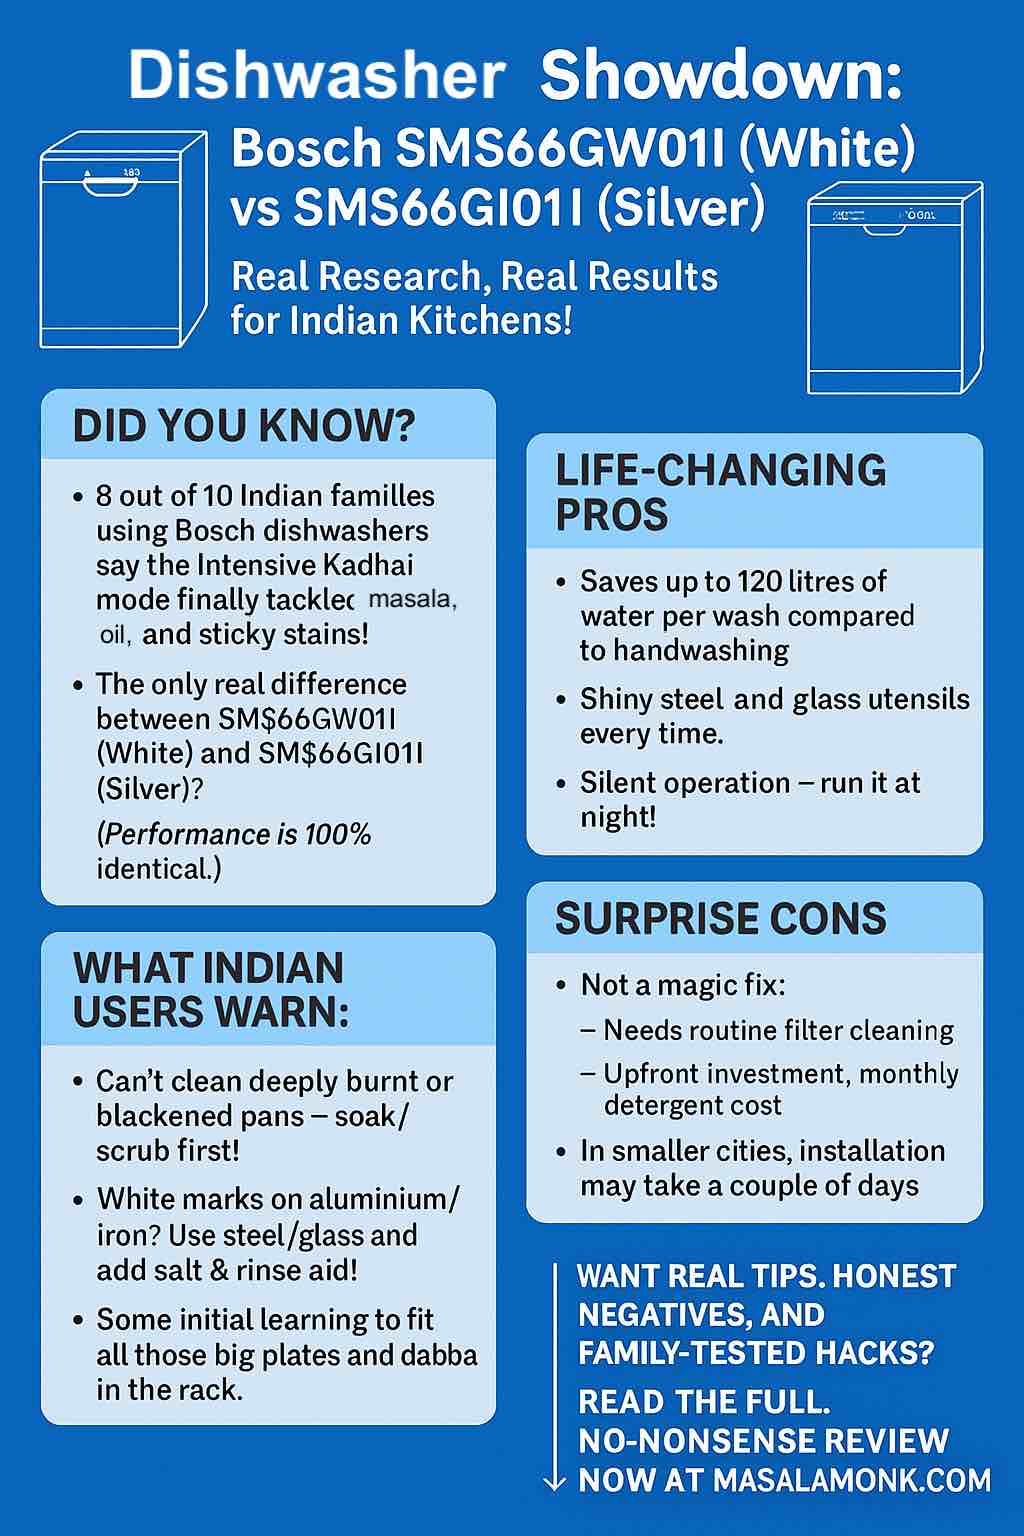
Bosch 13 Place Setting Dishwashers
- Models: Bosch SMS66GW01I (White) & SMS66GI01I (Silver)
- Why Consider?
Proven workhorses for Indian homes, superb with masala and oily loads, reliable service network.
Read our detailed comparison and review
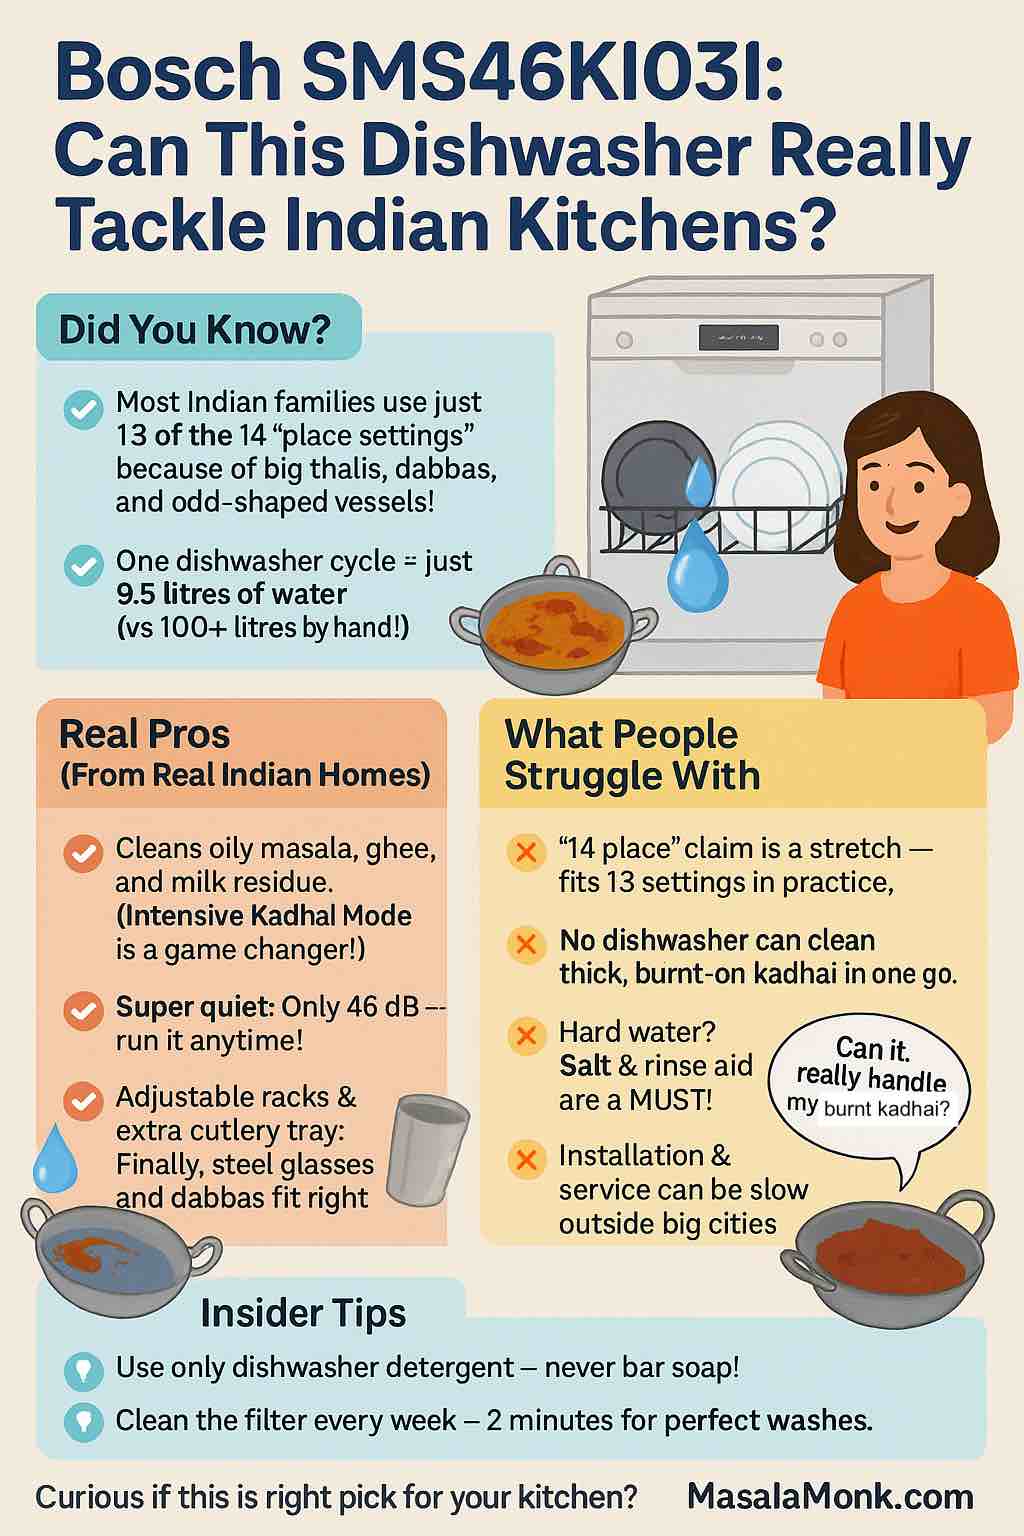
Bosch 14 Place Setting Dishwasher
- Model: Bosch SMS46KI03I
- Why Consider?
More space for bigger families, super-flexible racks, whisper-quiet, premium feel.
Full review and real-life feedback
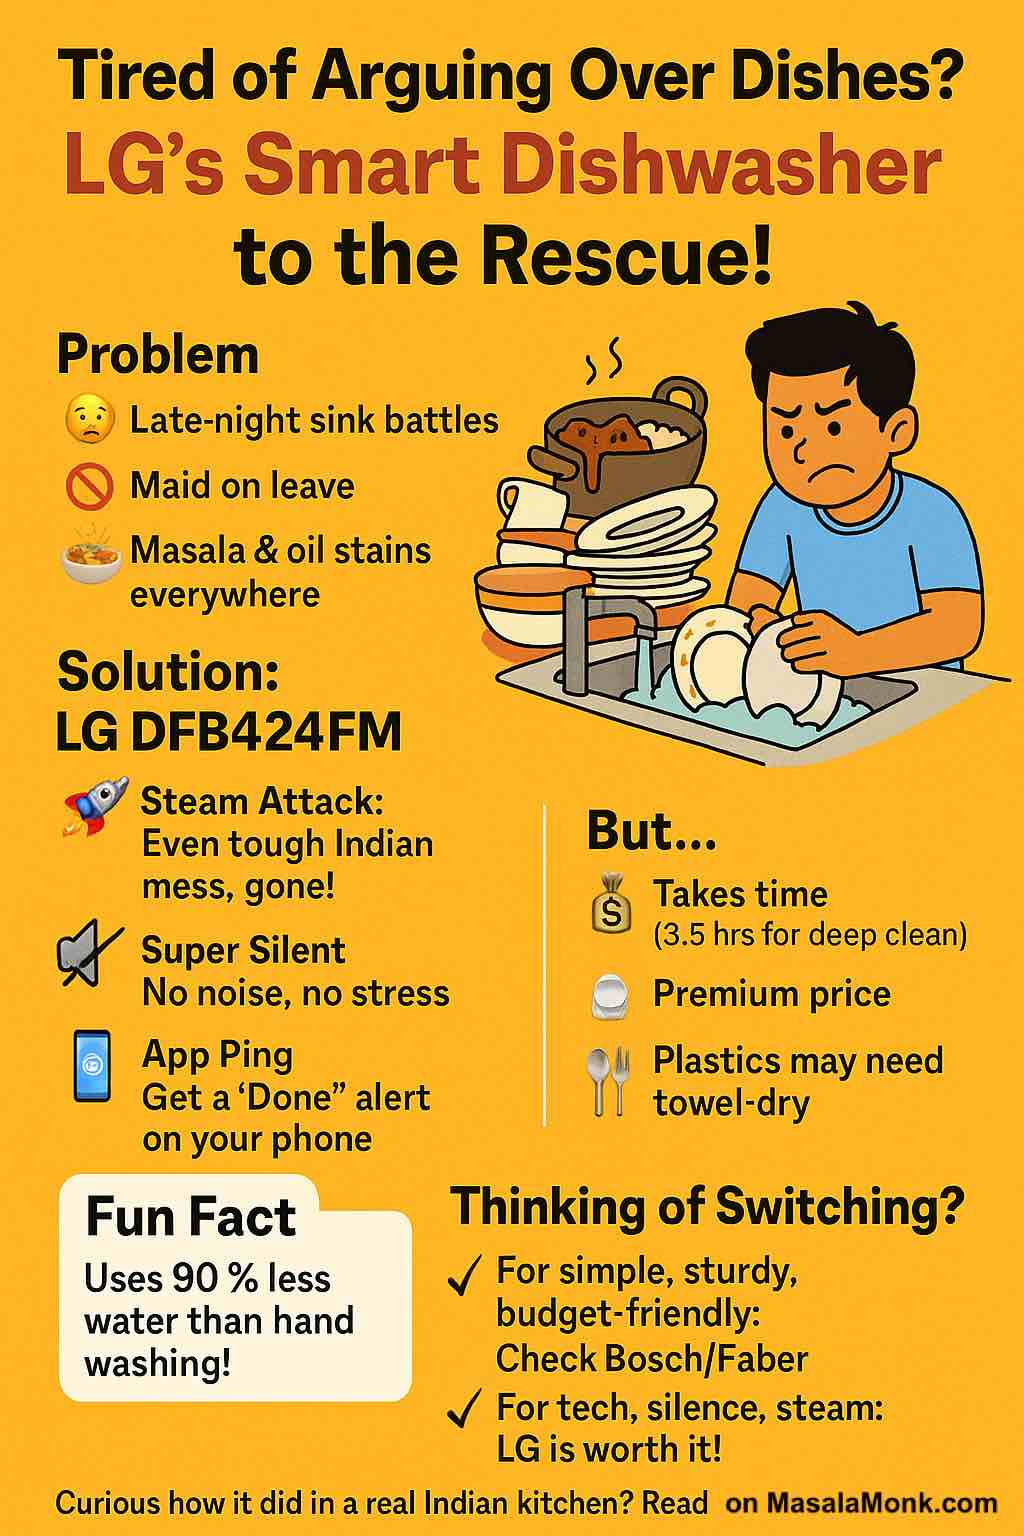
LG 14 Place Setting Dishwasher
- Model: LG DFB424FM (Matte Black, TrueSteam, QuadWash, Smart Wi-Fi)
- Why Consider?
The most high-tech, silent, and flexible dishwasher for modern Indian kitchens.
Read our in-depth, user-based review
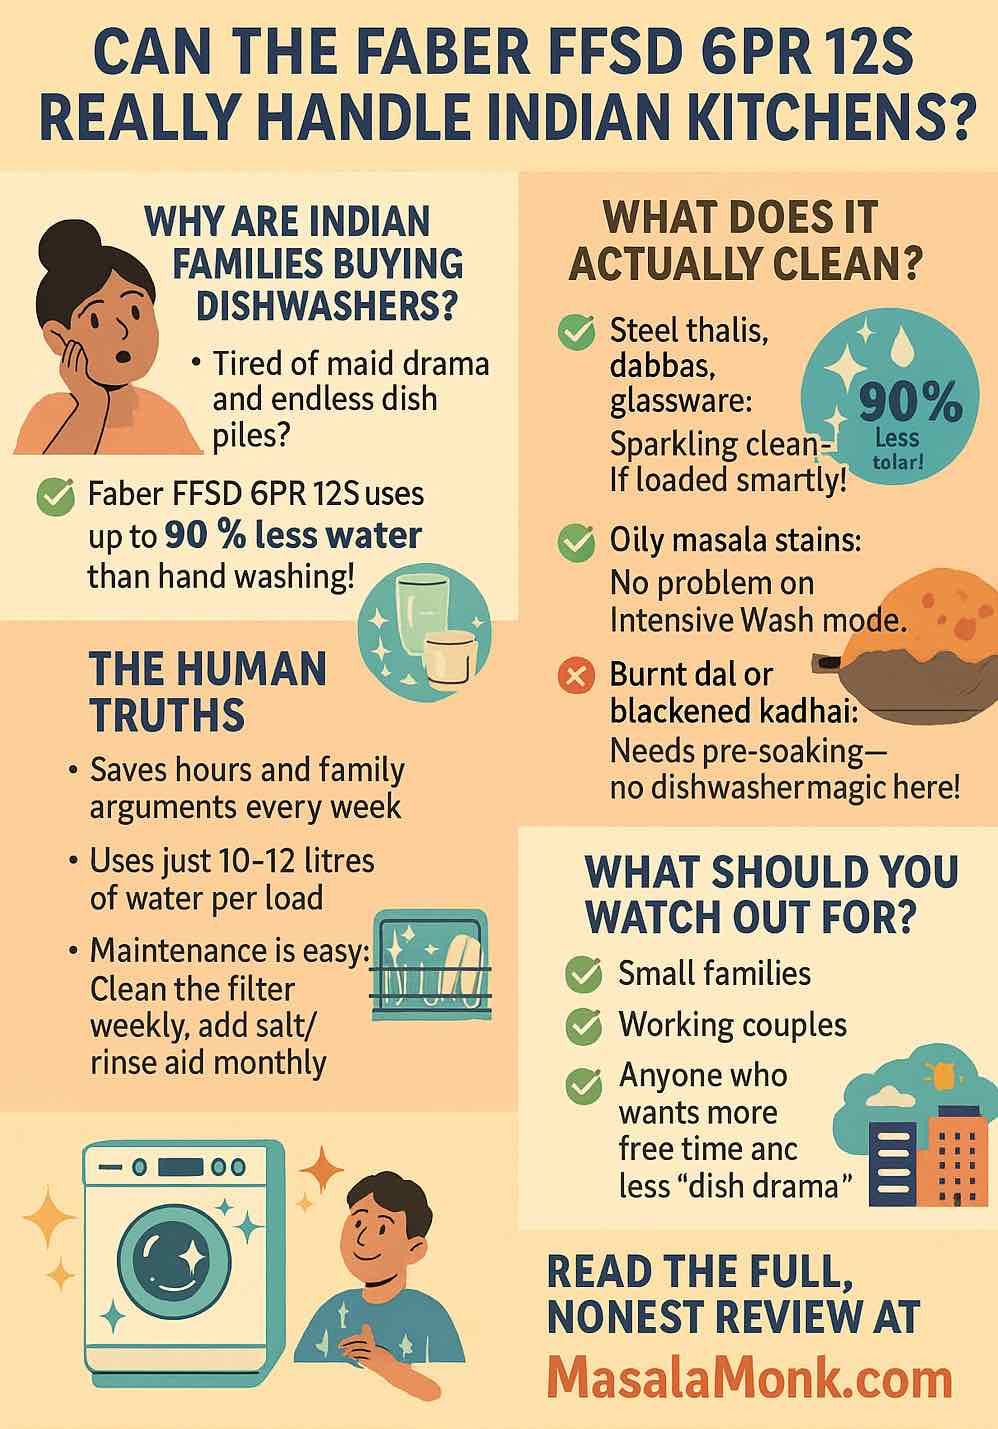
Faber FFSD 6PR 12S
- Why Consider?
Affordable, perfect for first-timers or small families, handles Indian mess well for the price.
Full hands-on review and honest user tips
Whichever machine you pick, make sure it fits your family size, kitchen space, and the type of food you cook most often. For more advice, pros and cons, or reader Q&A, check out the full reviews linked above!
Final Verdict: A Real-World Upgrade for Small Indian Homes
The Godrej Eon 8 Place Setting Counter-Top Dishwasher is a genuinely practical upgrade for small households tired of sink drama. It’s not perfect—no compact dishwasher is—but for singles, couples, or anyone who wants clean utensils without daily slog, it delivers serious value for the price.
You’ll save water, time, and (maybe most importantly) family arguments!
Ready to skip the dish drama?
See price & more details here.
Affiliate Disclosure:
As an Amazon Associate, I may earn a small commission if you buy through the link—at no extra cost to you. This helps fund honest, practical reviews for Indian families.
Share with a friend, flatmate, or that family WhatsApp group—someone will thank you the next time the maid disappears!
FAQs: Godrej Eon 8 Place Setting Counter-Top Dishwasher
1. Will it fit large Indian utensils like kadhais or pressure cookers?
No. The compact size is best for regular dinner plates, bowls, glasses, katoris, and small serving vessels. Large kadhais or pressure cookers generally won’t fit.
2. Is this dishwasher suitable for joint or big families?
It’s ideal for singles, couples, or small families (2–3 people). Big or joint families may find the capacity too limited for all daily utensils in one go.
3. How effective is it for oily, masala-stained Indian dishes?
The built-in heater reaches 70°C, making it effective for typical Indian oil and masala stains—especially on the Intensive program. Heavy burnt-on messes still need a pre-soak or light scrub.
4. Does it require special installation or plumbing?
No. It sits on your counter, connects to a tap, and drains into your sink—no need for cabinet changes or professional plumbing.
5. Can it be used in rented flats or for moving homes?
Absolutely! Its portable, plug-and-play design is perfect for renters and people who move frequently.
6. How much water and electricity does it use per cycle?
It uses about 8 litres of water per cycle, much less than hand washing. Power use is comparable to a standard microwave.
7. Do plastics and deep bowls dry completely?
Steel and glassware come out dry. Plastics and deep bowls may need a quick towel wipe—this is common for all dishwashers, especially compact ones.
8. Is it noisy? Can I run it at night?
It runs at about 49 dB—quiet enough for flats, and you can run it late without disturbing your home.
9. What detergent and maintenance does it need?
Use dishwasher detergent (not dish soap), plus dishwasher salt and rinse aid, especially in hard water areas. Clean the filter weekly for best performance.
10. How is the service and warranty?
Godrej generally provides good support in metro cities. In smaller towns, users have sometimes reported slower service—always check your local ratings. The product comes with a standard warranty.